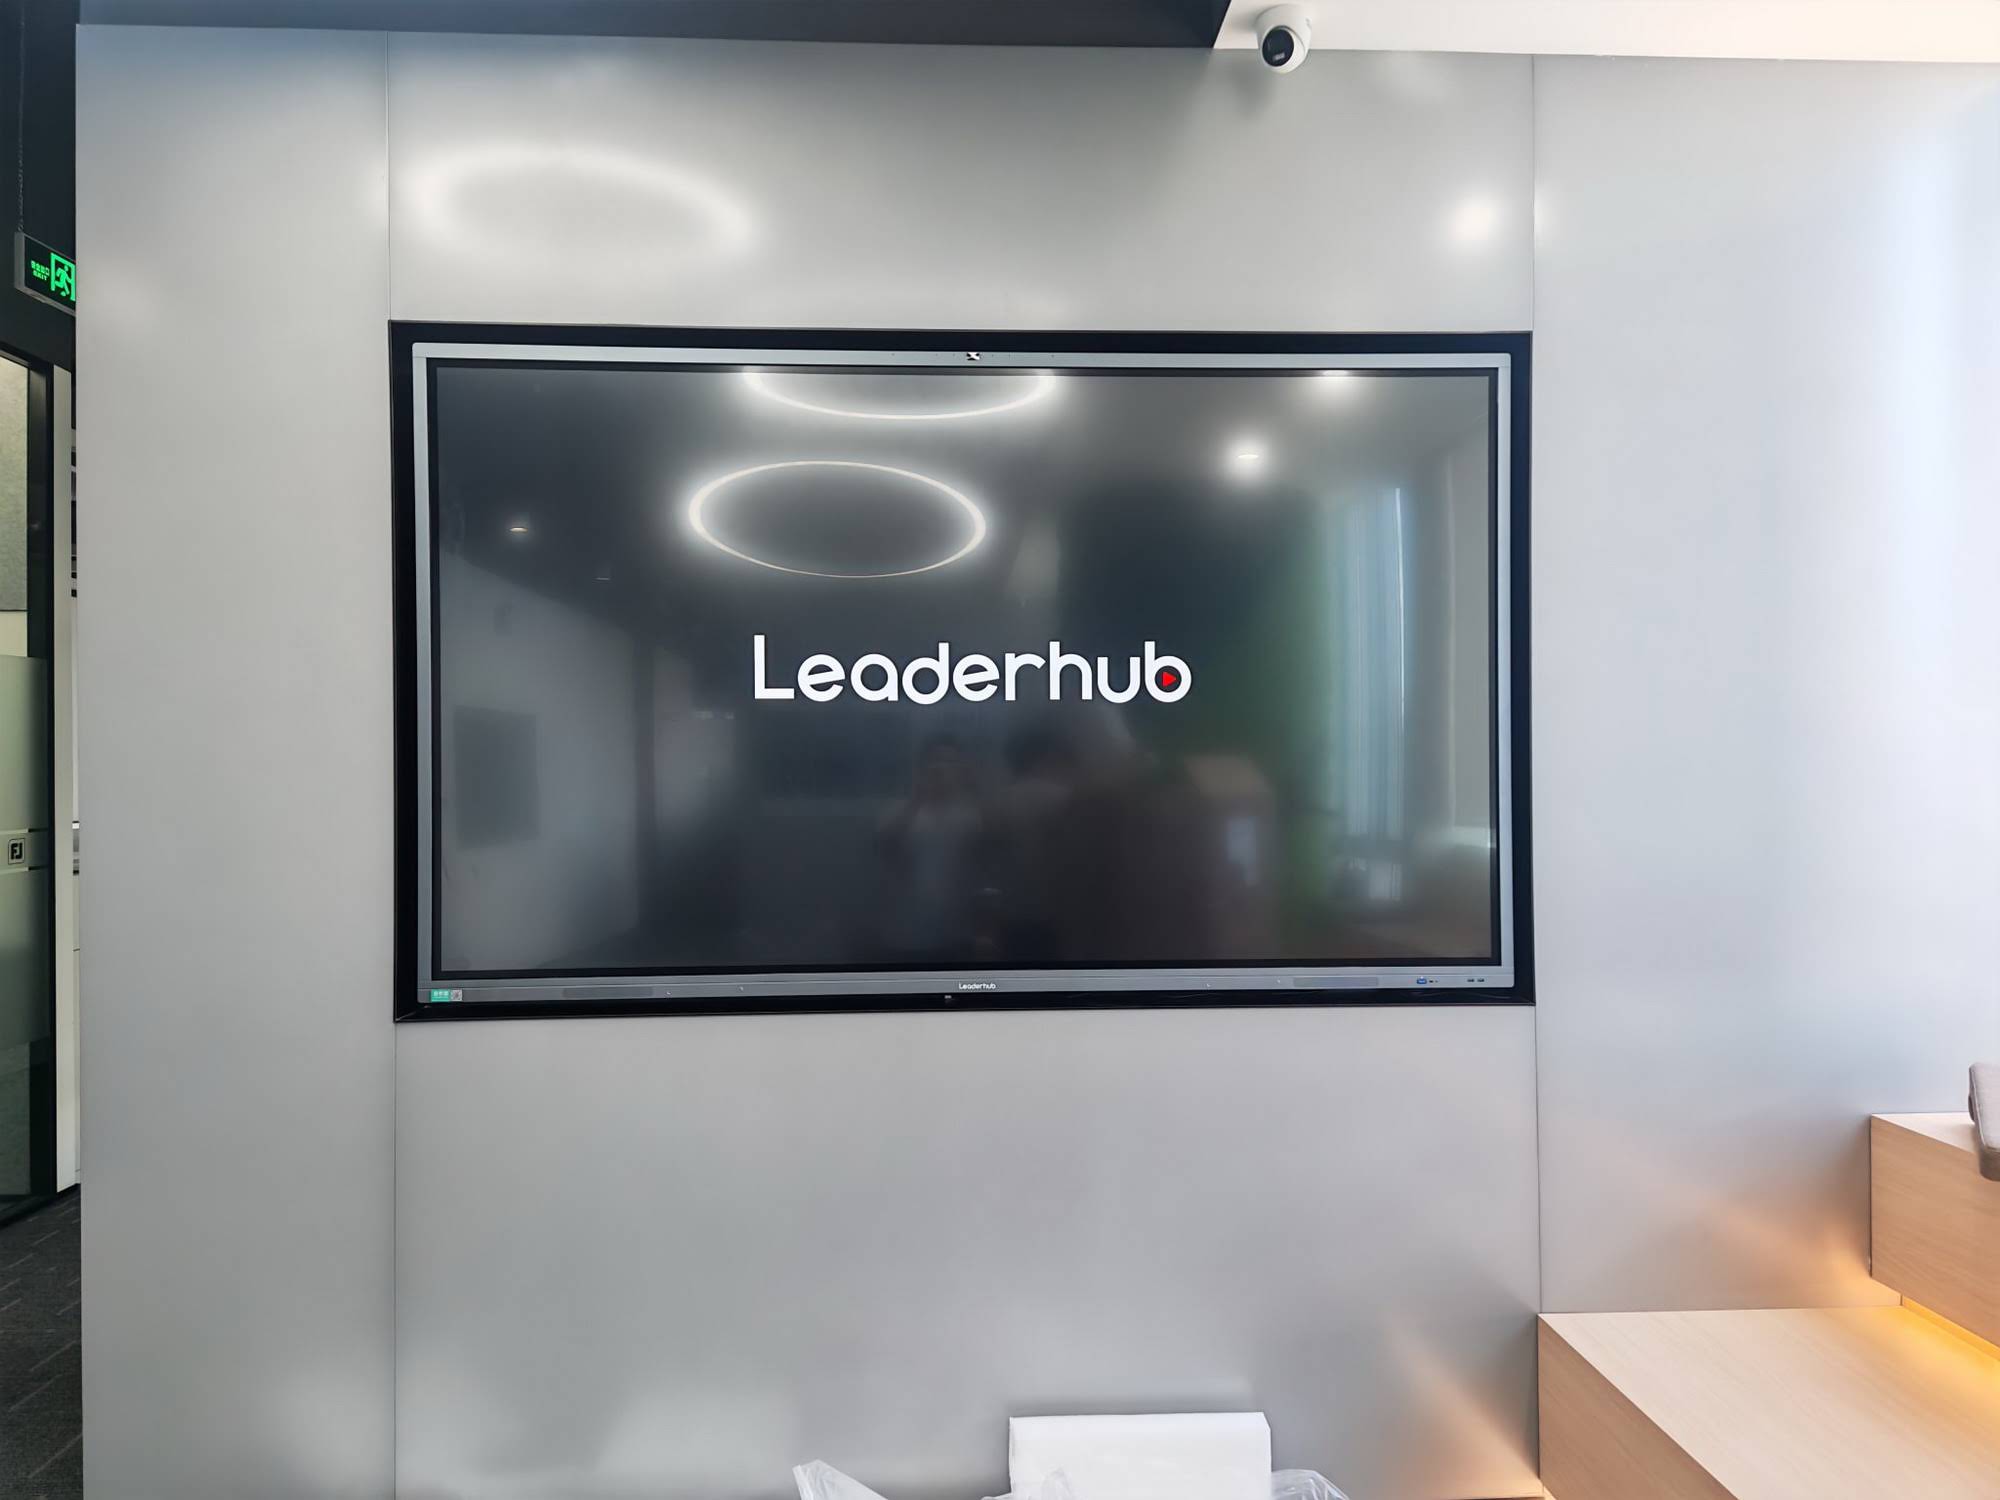
If you are searching for how to connect to smart board wirelessly, the easiest method is to match the board’s casting technology with your device, then join the same network and start screen mirroring.
Wireless connection is ideal for classrooms, boardrooms, and training spaces because it reduces cable clutter, speeds up setup, and lets presenters move freely. For a broader view of how digital tools support learning, you can also review the UNESCO Digital Education guidance.
What You Need Before You Start
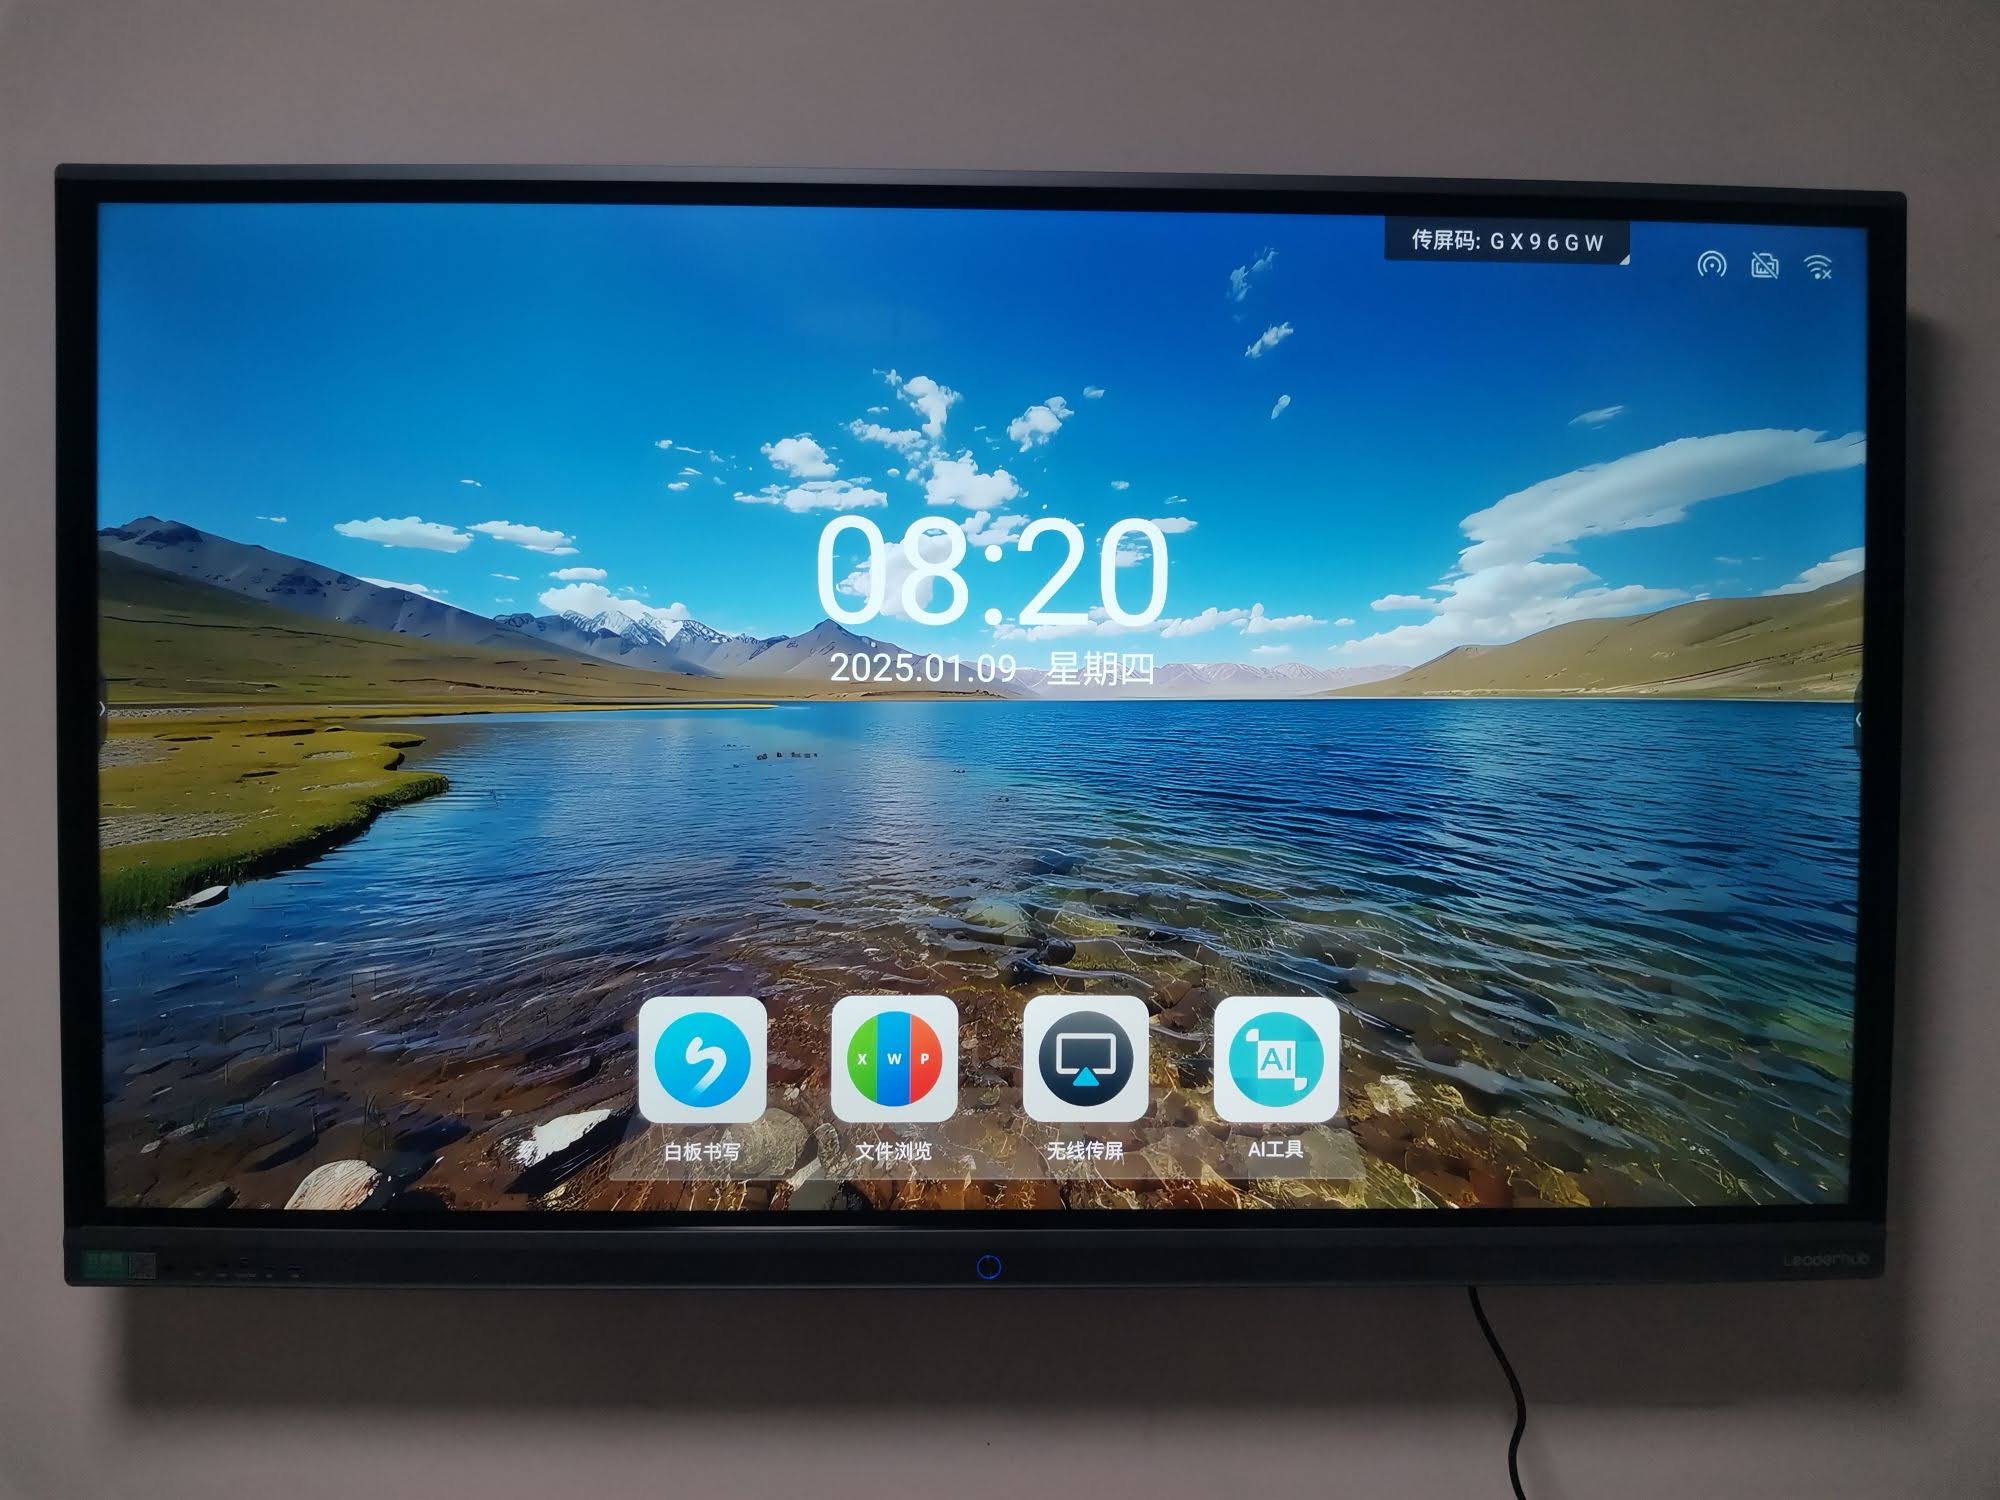
Before you try to connect, make sure your smart board and your device support a compatible wireless method.
- Smart board wireless sharing enabled on the display
- A laptop, tablet, or phone with casting or screen-mirroring support
- The board and device on the same Wi-Fi network, when required
- Updated software or firmware for both devices
- Enough signal strength in the room for stable streaming
If you are comparing display options, browse our smart whiteboards or explore devices that can support meeting-room casting alongside a mini PC.
Simple Step-by-Step Wireless Connection
- Turn on the smart board and open the input or wireless display menu.
- Enable screen mirroring, casting, or wireless display mode on the smart board.
-
On your device, open the casting tool:
- Windows: press Win + K or open Connect
- Mac: use AirPlay if the board supports it
- Android: tap Cast, Smart View, or Screen Cast
- iPhone/iPad: swipe to open Control Center and tap Screen Mirroring
- Select the smart board name from the list of available devices.
- Approve the pairing prompt on the smart board if a code appears.
- Adjust display settings such as duplicate, extend, or second-screen only.
- Test audio and touch response before presenting to a group.
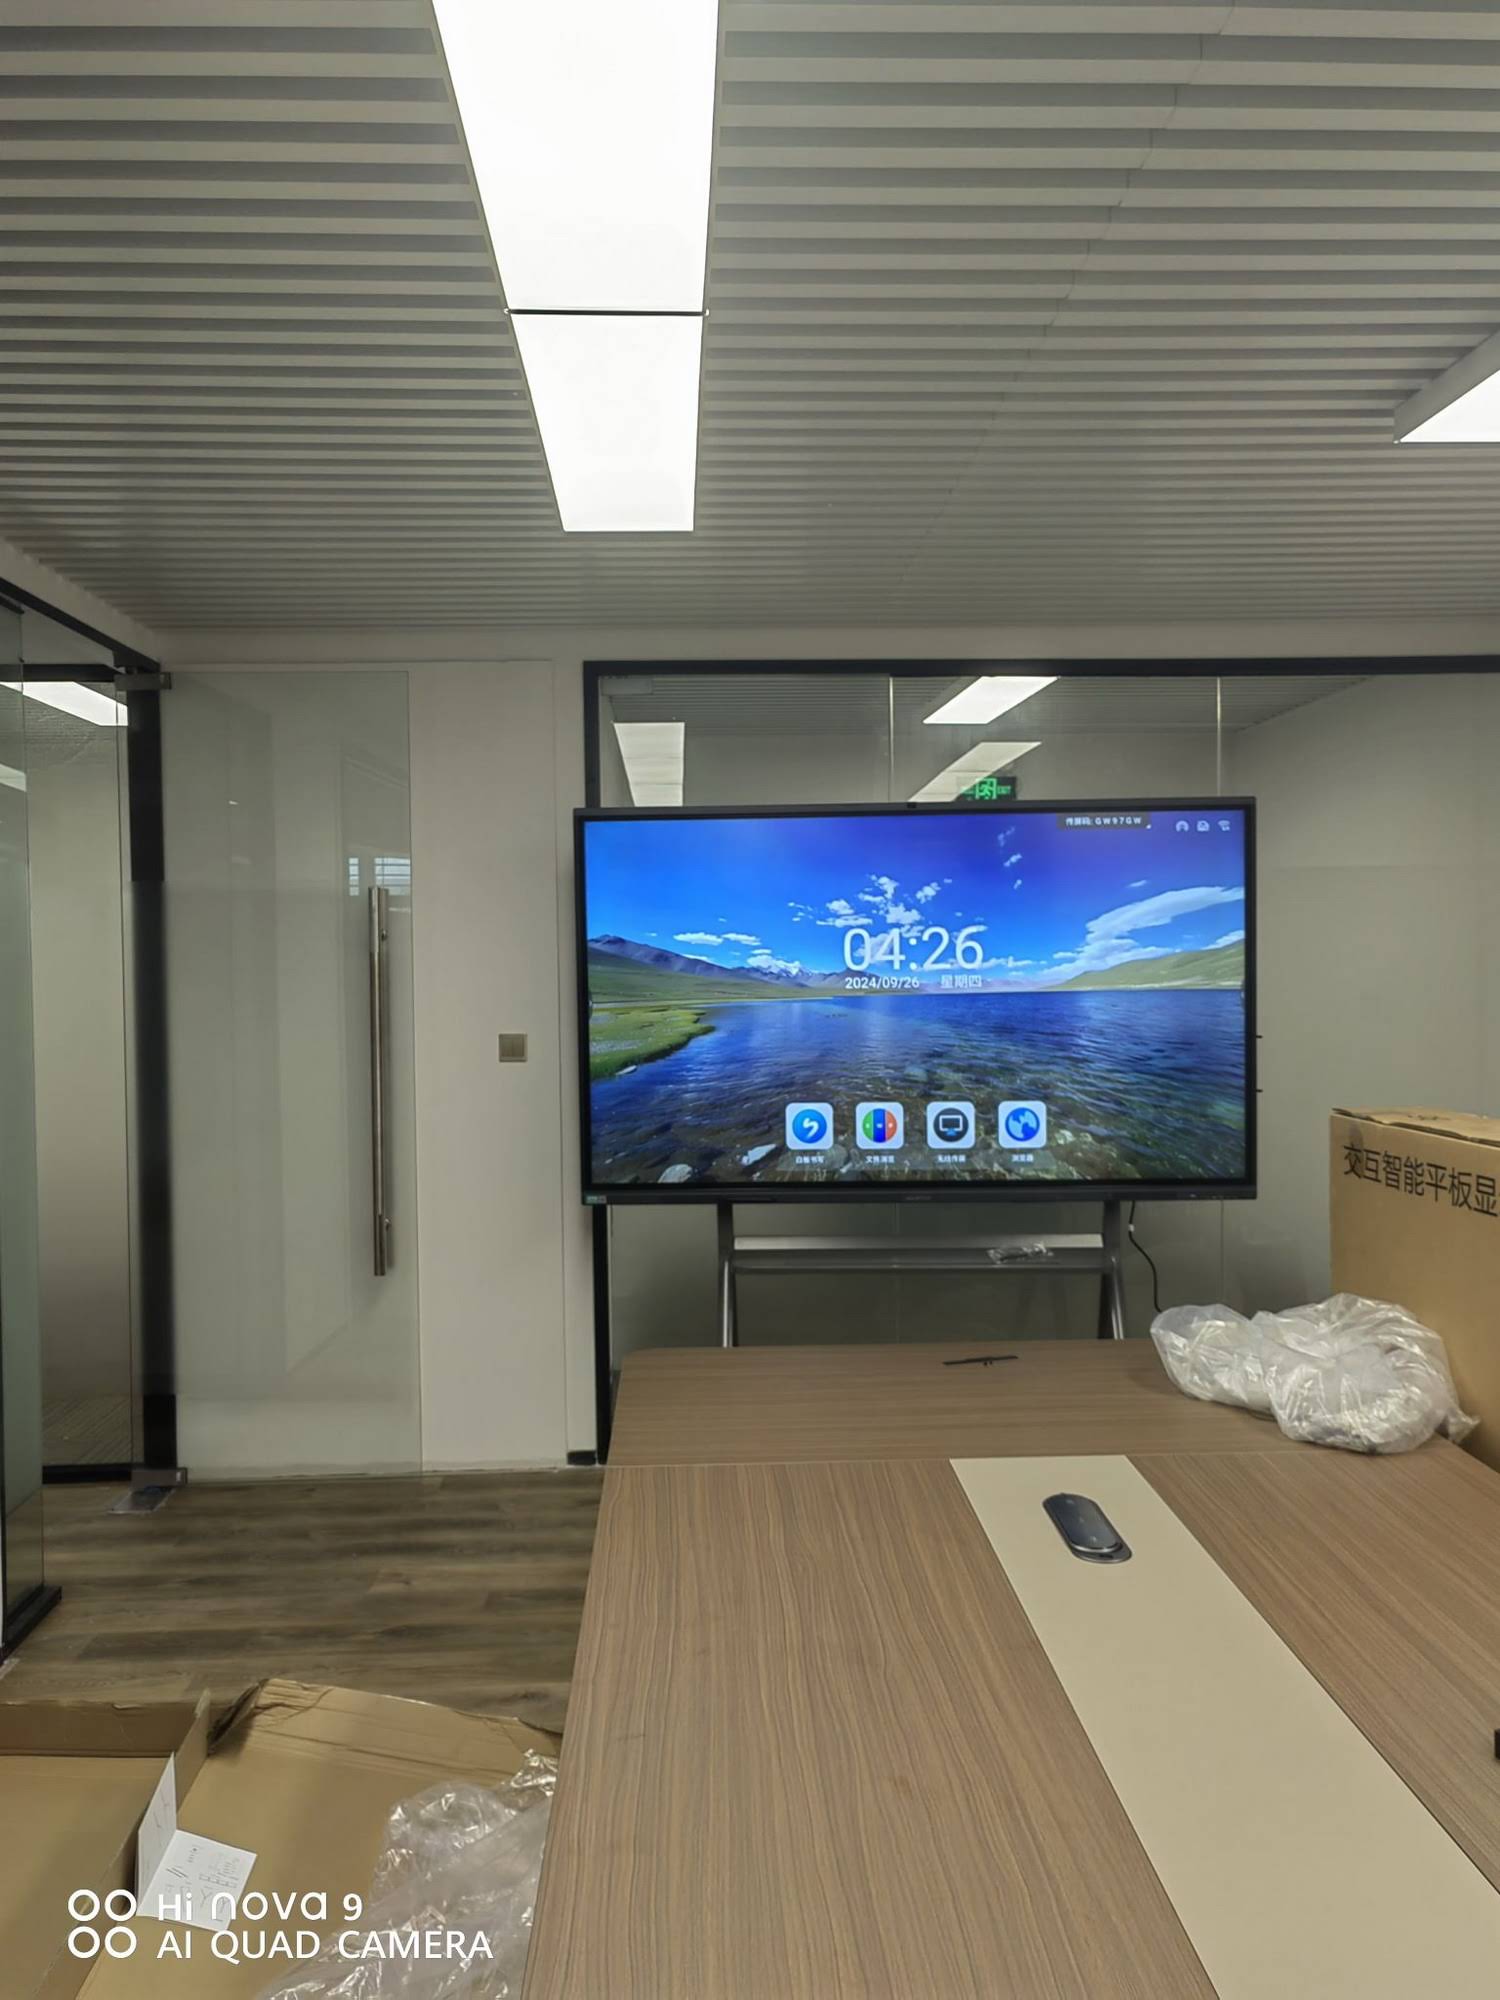
Wireless Connection Methods Compared
| Method | Best For | Pros | Watch Out For |
|---|---|---|---|
| Miracast / Wireless Display | Windows laptops and many Android devices | Fast setup, no cable needed | May require compatible hardware and drivers |
| AirPlay | Mac, iPhone, and iPad users | Simple and familiar for Apple devices | Smart board must support AirPlay or a receiver app |
| Chromecast / Cast | Chrome browsers and Android users | Great for browser tabs and quick sharing | Can be limited by app support |
| Vendor Casting App | Mixed-device classrooms and meeting rooms | Often includes annotations and remote control | May need installation on every device |
Connection Steps by Device
Windows Laptop
- Open the wireless display panel with Win + K.
- Choose the smart board name from the list.
- Wait for the pairing code and confirm it if shown.
- Use Duplicate for live teaching or Extend for multitasking.
MacBook
- Click the Control Center or AirPlay icon.
- Select the smart board or receiver device.
- Enter the code if the display asks for verification.
- Choose screen mirroring mode based on your presentation style.
iPhone or iPad
- Swipe down to open Control Center.
- Tap Screen Mirroring.
- Select the board from the device list.
- Use the app or shared whiteboard tools if your board supports them.
Android Phone or Tablet
- Pull down the quick settings panel.
- Tap Cast, Smart View, or a similar option.
- Pick the smart board from available devices.
- Confirm the connection and check image scaling.

Common Problems and Quick Fixes
- The board does not appear: confirm both devices are on the same network and the wireless mode is active.
- Connection drops: move closer to the router or reduce Wi-Fi congestion in the room.
- Lag or delay: close heavy background apps and switch to a stronger 5 GHz network if available.
- No sound: check the board’s audio output and make sure your laptop is not muted.
- Touch not working: reconnect the device and verify whether the board supports touch-back on wireless mode.
Best Practices for Smooth Wireless Presenting
- Keep firmware updated on both the smart board and the casting device.
- Use a dedicated room network when possible for more stable performance.
- Test before meetings so you are not troubleshooting in front of the audience.
- Assign one primary casting method for your classroom or office to reduce confusion.
- Keep the board visible so users can quickly confirm pairing and status messages.
Educational organizations that follow technology guidance such as ISTE Standards often prioritize simple, reliable, and collaborative display tools. Wireless smart boards fit well when the goal is fast sharing, active participation, and easy device switching.
When to Upgrade Your Setup
If your current display struggles with weak casting, limited compatibility, or frequent reconnection issues, it may be time to upgrade to a smarter collaboration setup. A modern board with better wireless support can save minutes at every meeting and improve classroom flow.
You can review product options in the online shop or reach out through the contact page if you need help choosing the right model.
LeaderHub has built interactive-display solutions for classrooms and meeting rooms for 16 years, and the right hardware can make wireless sharing much easier from day one.