
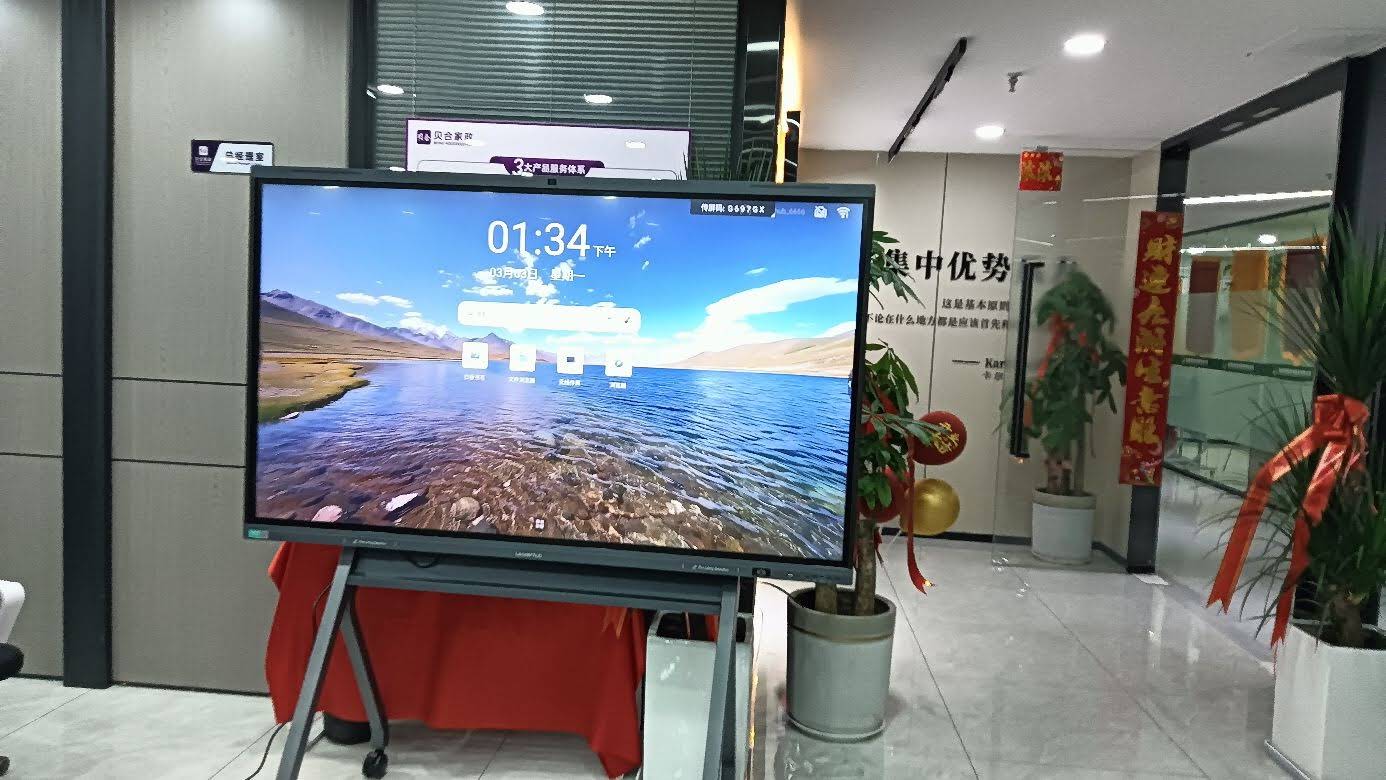
Learning how to make a smart board is easier than most people think. With the right display, a touch layer, a small computer, and the right software, you can turn a regular screen into an interactive board for lessons, meetings, brainstorming, and presentations.
This DIY guide walks you through a practical build that works for classrooms, home offices, training rooms, and small business spaces. If your goal is a simple setup that feels professional, focus on compatibility, calibration, and stable mounting first.
What a Smart Board Really Is
A smart board is usually a combination of three parts:
- Display — a TV, monitor, or flat panel that shows content clearly.
- Touch input — an infrared frame, touch overlay, or touch-enabled panel.
- Computer and software — a device that runs whiteboard, annotation, and collaboration tools.
That means you do not need to build a screen from scratch. Instead, you build an interactive system around an existing display.
Tools and Materials You Need
| Item | Why You Need It | Best DIY Option |
|---|---|---|
| Display | Shows your content clearly | 4K TV or large monitor |
| Touch frame or overlay | Adds touch interaction | IR touch frame |
| Mini PC | Runs the operating system and apps | Windows mini PC or compact Android box |
| Mounting hardware | Keeps everything secure | Wall mount or mobile stand |
| Whiteboard software | Lets you draw, annotate, and save notes | Open-source or commercial whiteboard app |
Step-by-Step: How to Make a Smart Board
Step 1: Choose the right display
Start with a display that fits your room size and viewing distance. For a small office or classroom, a 55-inch to 75-inch screen is often enough. For larger rooms, choose 86 inches or more.
- Look for 4K resolution for sharper text and diagrams.
- Check brightness if the room has strong ambient light.
- Make sure the display has enough HDMI and USB ports.
Step 2: Add a touch layer
The easiest DIY method is an infrared touch frame placed around the screen. It detects finger or stylus movement and converts it into touch commands.
If you want a lower-cost project, some users try touchscreen overlays. However, touch frames are usually easier to install and recalibrate.
Step 3: Connect a mini PC or media device
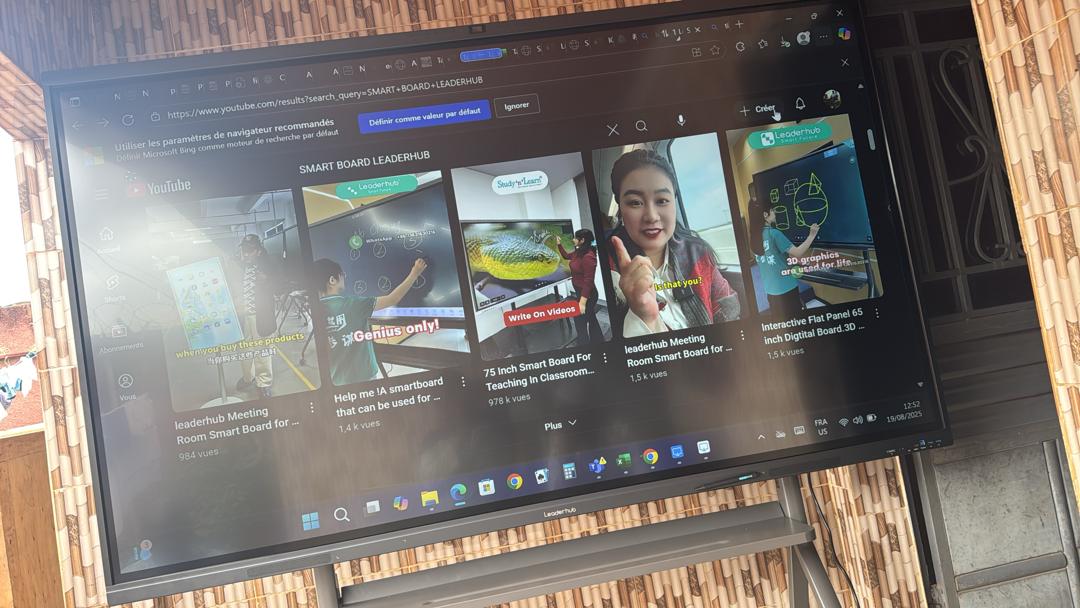
A smart board needs a computer to run software. A mini PC is a strong choice because it is compact, quiet, and powerful enough for whiteboarding and presentations.
- Windows mini PC: best for compatibility with office tools.
- Android-based device: simple for basic annotation and casting.
- Mac mini: good for teams already using Apple workflows.
Step 4: Install whiteboard and annotation software
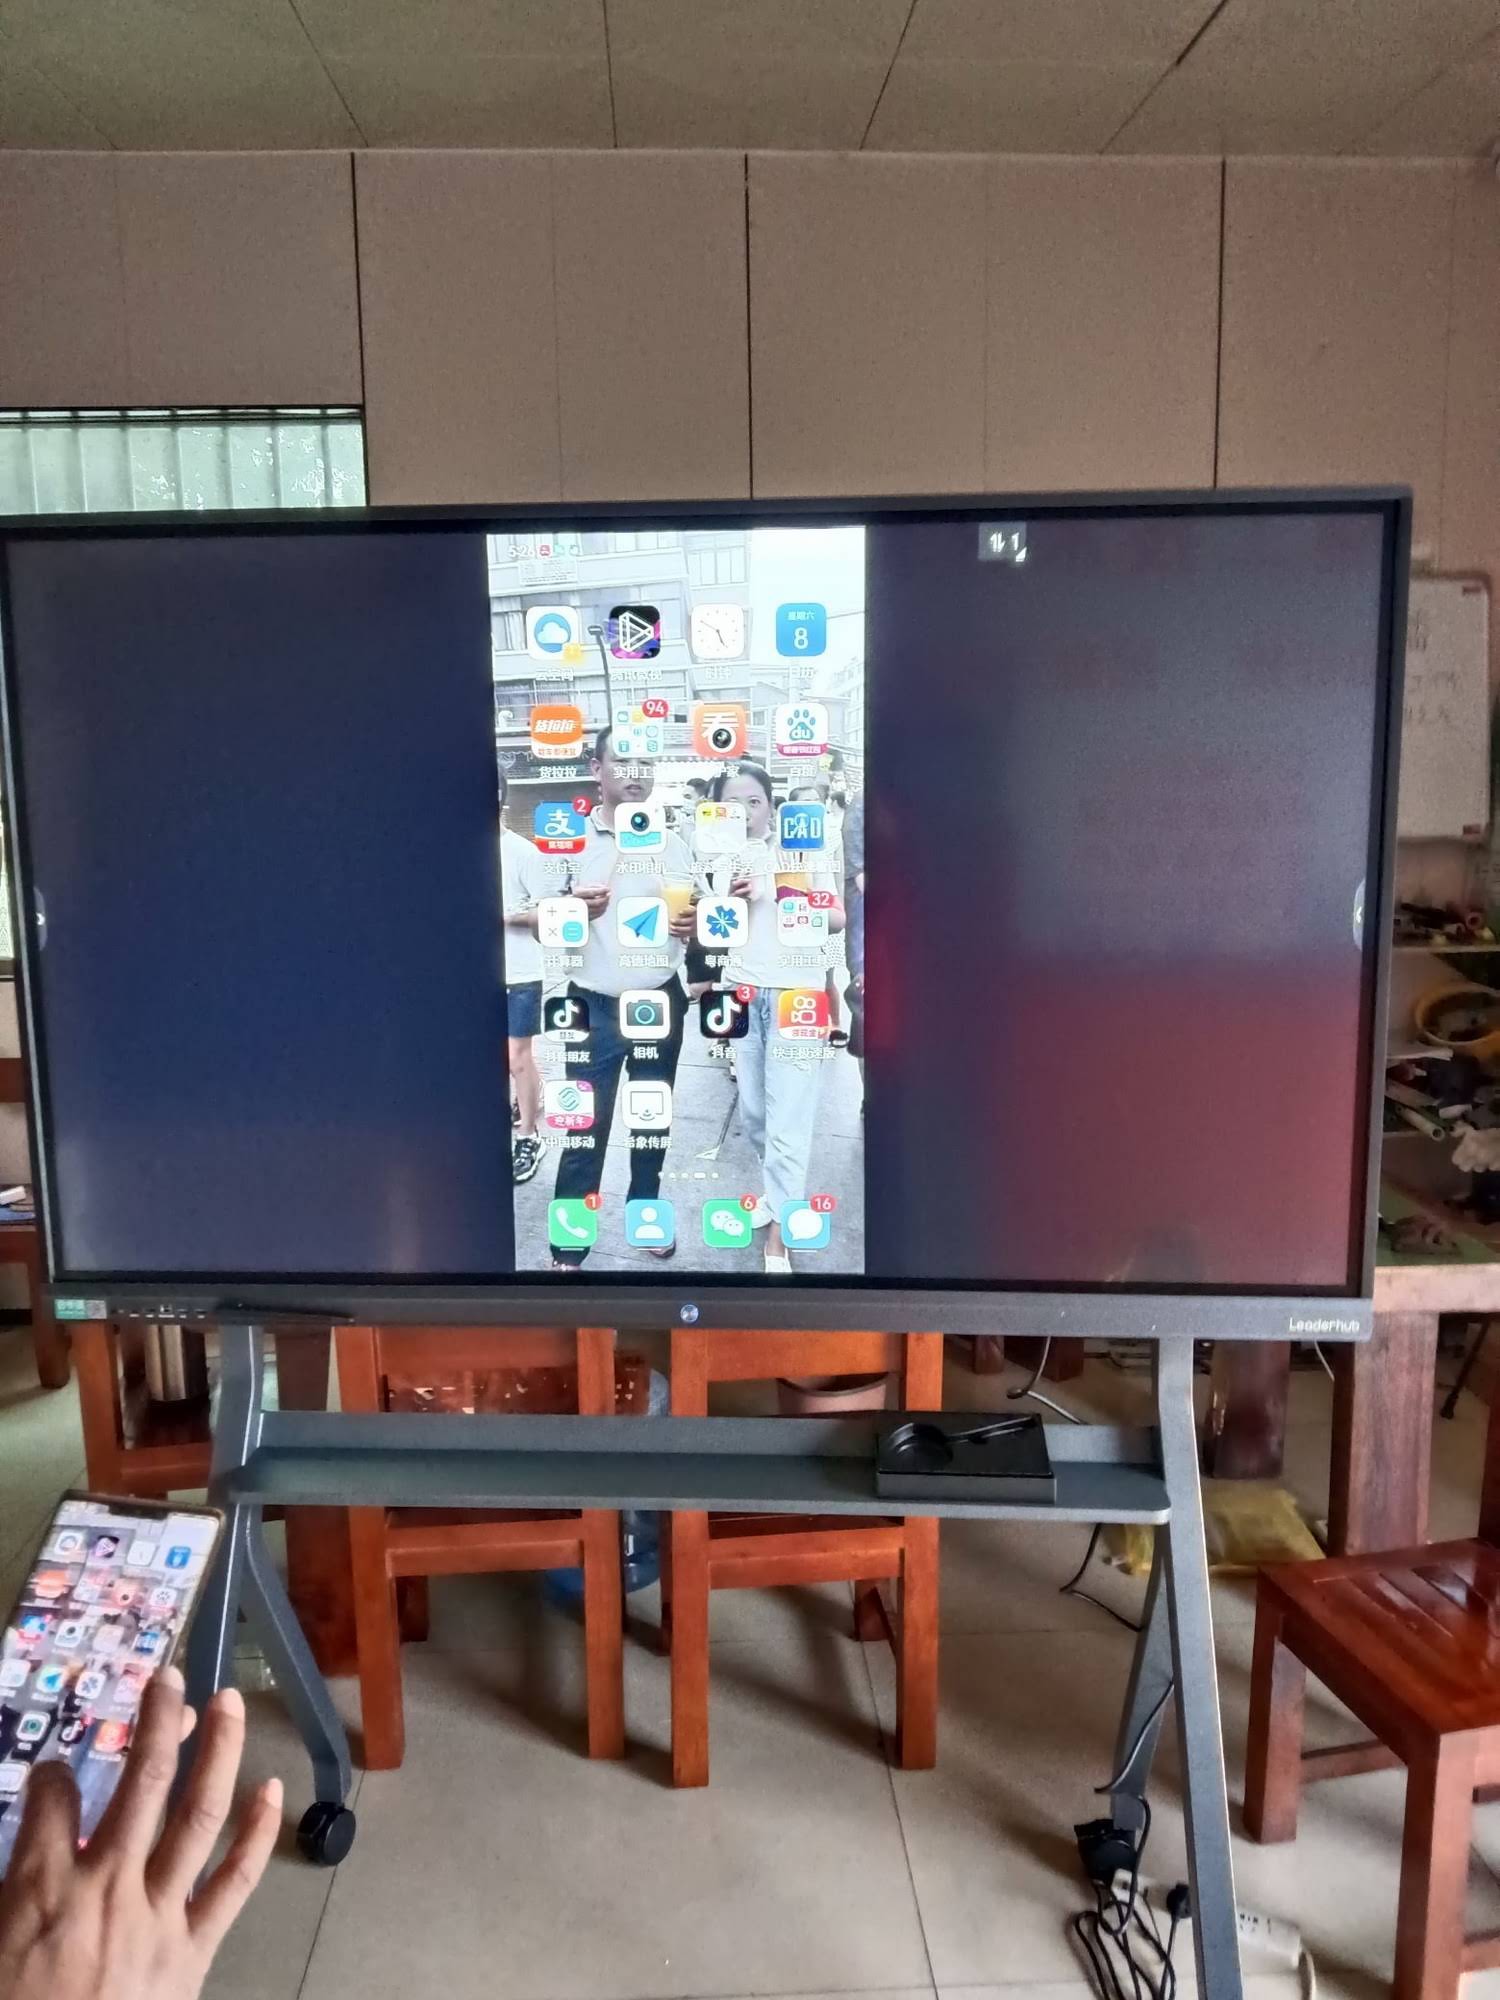
Choose software that supports drawing, screen capture, shape tools, text input, and exporting notes. Good software makes the board feel more natural and useful.
Useful features include:
- Pen tools and color options
- Eraser and undo controls
- File import for PDF, PPT, and image annotation
- Cloud saving or local export
Step 5: Mount and align everything carefully
Secure mounting matters more than people expect. If the display shifts even a little, touch accuracy can suffer.
- Use a level during installation.
- Keep cables organized to avoid accidental unplugging.
- Leave space for ventilation behind the display and computer.
Step 6: Calibrate the touch response
Calibration maps your finger or stylus position to the exact point on the screen. This is the step that makes the system feel truly interactive.
If touches are offset, open the calibration utility and follow the on-screen points carefully. Repeat calibration after any major movement or hardware change.
Best Display and Computer Combinations
| Use Case | Recommended Display | Recommended Computer |
|---|---|---|
| Home office | 55" or 65" 4K TV | Basic mini PC |
| Small meeting room | 75" 4K display | Mid-range mini PC |
| Classroom | 86" interactive panel | Windows mini PC with strong RAM |
How to Improve Accuracy and User Experience
- Keep latency low by using a reliable computer and a short, high-quality cable.
- Use a stable mount so the touch frame does not drift.
- Choose simple software that teachers or team members can learn quickly.
- Test gestures like drag, pinch, and multi-touch before daily use.
Common Problems and Quick Fixes
| Problem | Likely Cause | Quick Fix |
|---|---|---|
| Touch points are inaccurate | Calibration issue | Run calibration again and check screen alignment |
| Laggy response | Weak PC or bad connection | Use a faster mini PC and better USB/HDMI cable |
| Display looks too dim | Brightness or lighting mismatch | Increase brightness or adjust room lighting |
When DIY Makes Sense, and When It Does Not
DIY is a good choice when you want flexibility, low startup cost, and a project you can customize. It works especially well for makers, schools testing interactive learning, and small teams building a presentation wall.
However, if you need fast deployment, consistent support, and a system ready for daily business use, a turnkey product may be the better path. For comparison, you can explore smart whiteboards, check compatible mini PCs, or visit the shop page to see different system options.
Helpful Research to Guide Your Setup
Interactive learning and digital collaboration work best when technology supports a clear purpose. For broader context, see the UNESCO Technology in Education Report and the ISTE Education Technology Standards.
FAQ
Can I make a smart board from a regular TV?
Yes. A regular TV can become a smart board if you add a touch solution and connect a computer with whiteboard software.
What is the cheapest way to build one?
The most budget-friendly version usually combines a used large-screen TV, an IR touch frame, and a basic mini PC.
Is a DIY smart board good for classrooms?
It can be, as long as calibration is accurate, the mount is secure, and the software is easy for teachers to use.
What should I buy first?
Start with the display. After that, match the touch layer and computer to the screen size and the room’s real use case.
Final Build Tip
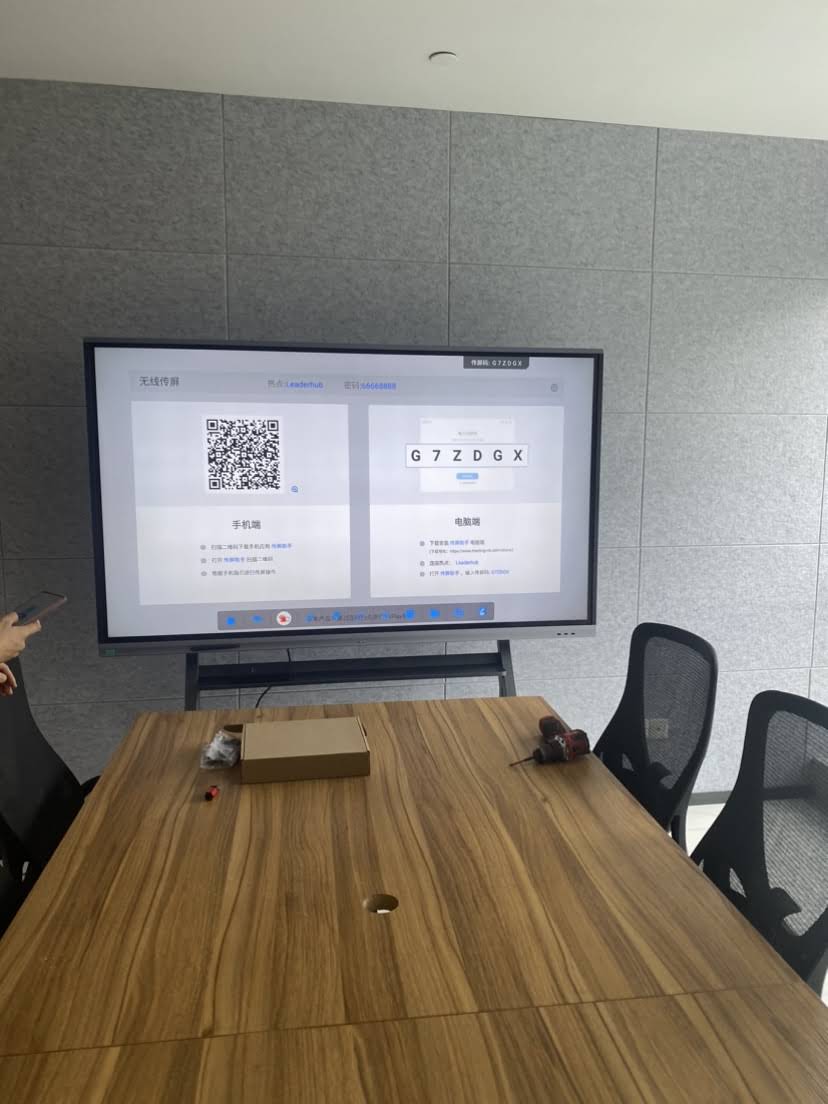
The best how to make a smart board project is the one that stays simple: choose a clear display, add dependable touch input, use a stable computer, and calibrate carefully. That combination gives you a practical smart board that is easy to use every day.
If you decide a DIY build is not the best fit, LeaderHub provides ready-made smart display solutions for faster deployment.
Contact us
to discuss your project, or
browse smart board options
if you want a more turnkey solution.








