
Installing a smart board with a projector is a practical way to create an interactive classroom or meeting room, but the setup works best when you plan the layout, cabling, calibration, and software in the right order. This guide explains how to install a smart board with projector step by step so the image is clear, the touch response is accurate, and the whole system is easy to maintain.
- Plan the room first to avoid alignment problems later.
- Choose the right projector type for your board size and viewing distance.
- Calibrate carefully so touch points match the displayed image.
- Use compatible devices and software to keep daily use simple.
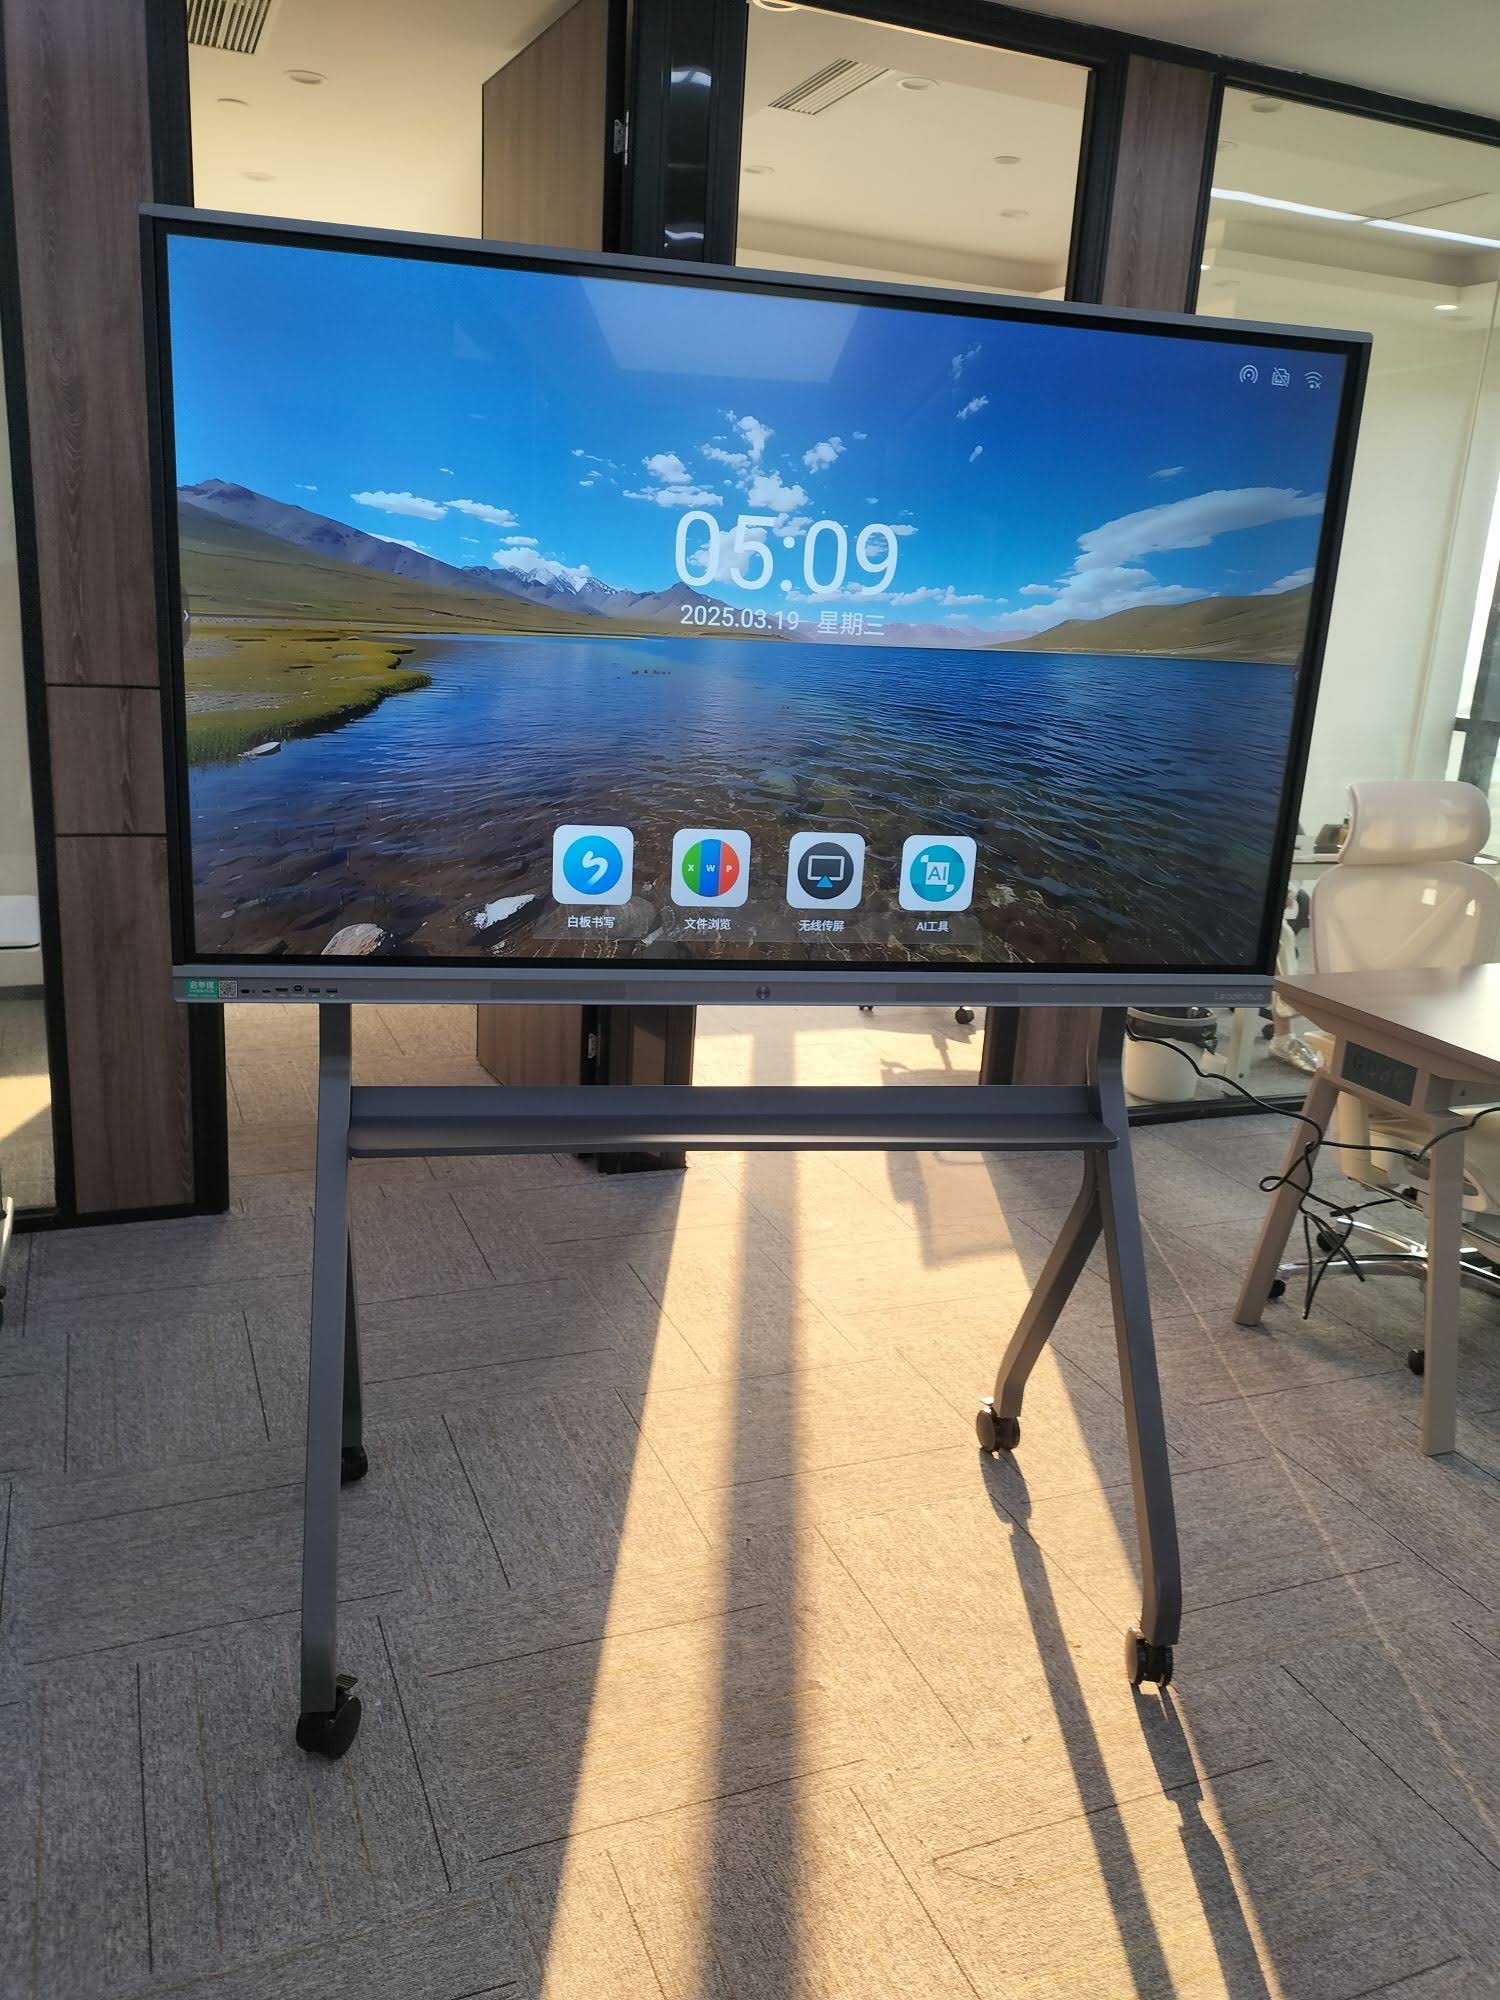
What You Need Before You Start
Before mounting anything, gather every component and confirm the installation location. A clean plan saves hours of rework, especially when you are aligning a projected image with a touch-sensitive surface.
| Item | Why It Matters | Setup Tip |
|---|---|---|
| Smart board | Provides the interactive surface | Confirm the board size matches your room |
| Projector | Displays the content on the board | Short-throw models reduce shadow issues |
| Mount or bracket | Keeps the projector stable | Use a level to avoid keystone distortion |
| HDMI / USB cables | Carries video and touch data | Choose the shortest practical cable run |
| Computer or mini PC | Runs presentation and whiteboard software | A compact device reduces desk clutter |
| Tools | Needed for mounting and adjustment | Keep a drill, tape measure, screwdriver, and spirit level ready |
If you are sourcing hardware for a classroom or boardroom, LeaderHub offers compatible options that can simplify the setup process.
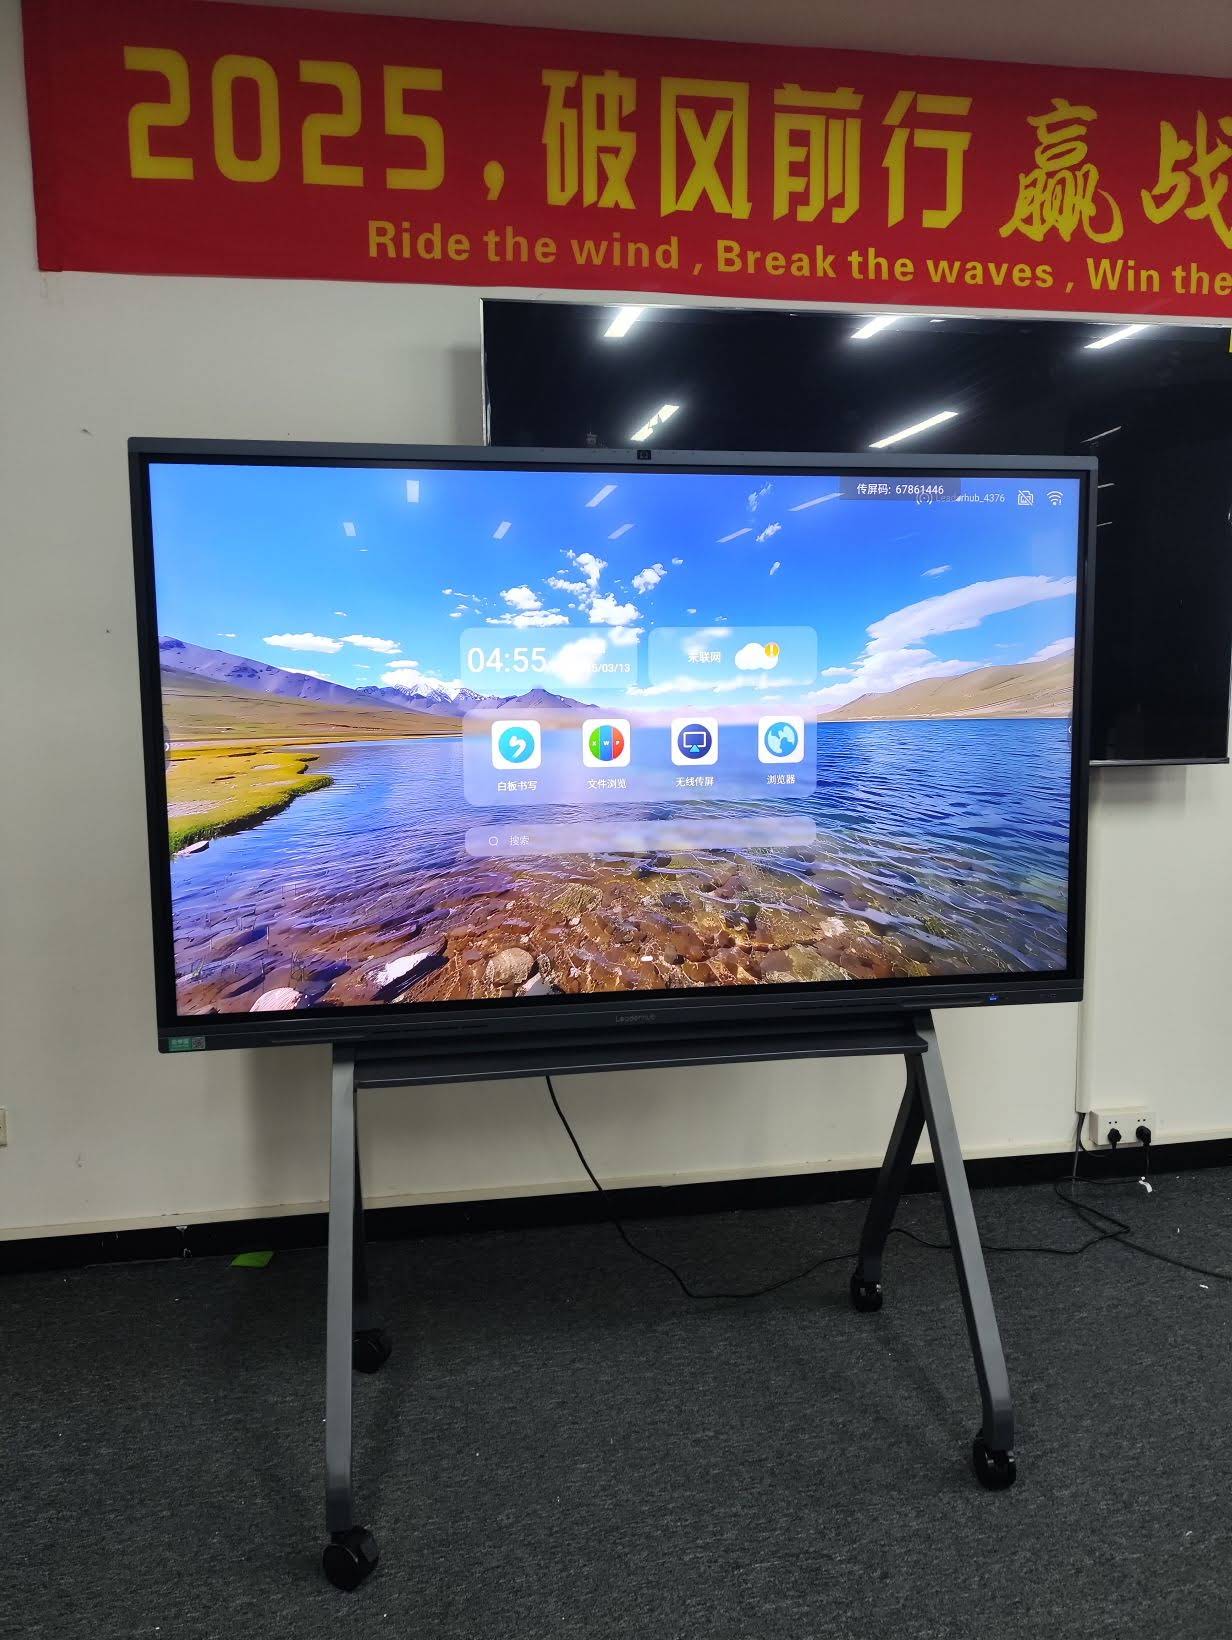
Step 1: Measure the Room and Choose the Right Position
Start by deciding where the smart board will sit and where the projector will be mounted. The goal is to create a straight, unobstructed projection path with enough room for presenters to move freely.
Check these points first
- Board height should suit the main users, whether students or meeting participants.
- Projector throw distance must match the room depth.
- Light sources, windows, and reflective surfaces should be minimized.
- The viewing angle should be comfortable from the back of the room.
Tip: Mark the board centerline and projector centerline before drilling any holes. That simple step makes alignment much easier later.
Step 2: Mount the Smart Board Securely
Use a level and wall studs or a reinforced mounting surface. A smart board that is even slightly tilted can cause touch calibration errors and visible image distortion.
- Hold the mounting bracket in position and mark drill points.
- Install the anchors or bolts according to the wall type.
- Attach the board and verify that it is perfectly level.
- Leave space for cable access behind or below the unit.
Do not skip structural checks. A large interactive board and projector system can be heavy, and the mount must support the full load safely.
Step 3: Install the Projector and Align the Image
Projector placement is one of the most important parts of the installation. For most interactive setups, a short-throw or ultra-short-throw projector works better than a standard long-throw model because it reduces shadows and keeps the image closer to the board.
| Projector Type | Best For | Main Advantage |
|---|---|---|
| Ultra-short-throw | Small rooms, classrooms, training spaces | Minimal shadowing and compact installation |
| Short-throw | Medium rooms, conference rooms | Balanced cost and flexible placement |
| Standard throw | Large spaces with more mounting distance | Works well when ceiling space is available |
After mounting, project a test image onto the board. Adjust focus, zoom, and lens shift if your model supports them. If not, fine-tune the bracket angle before using digital keystone correction.
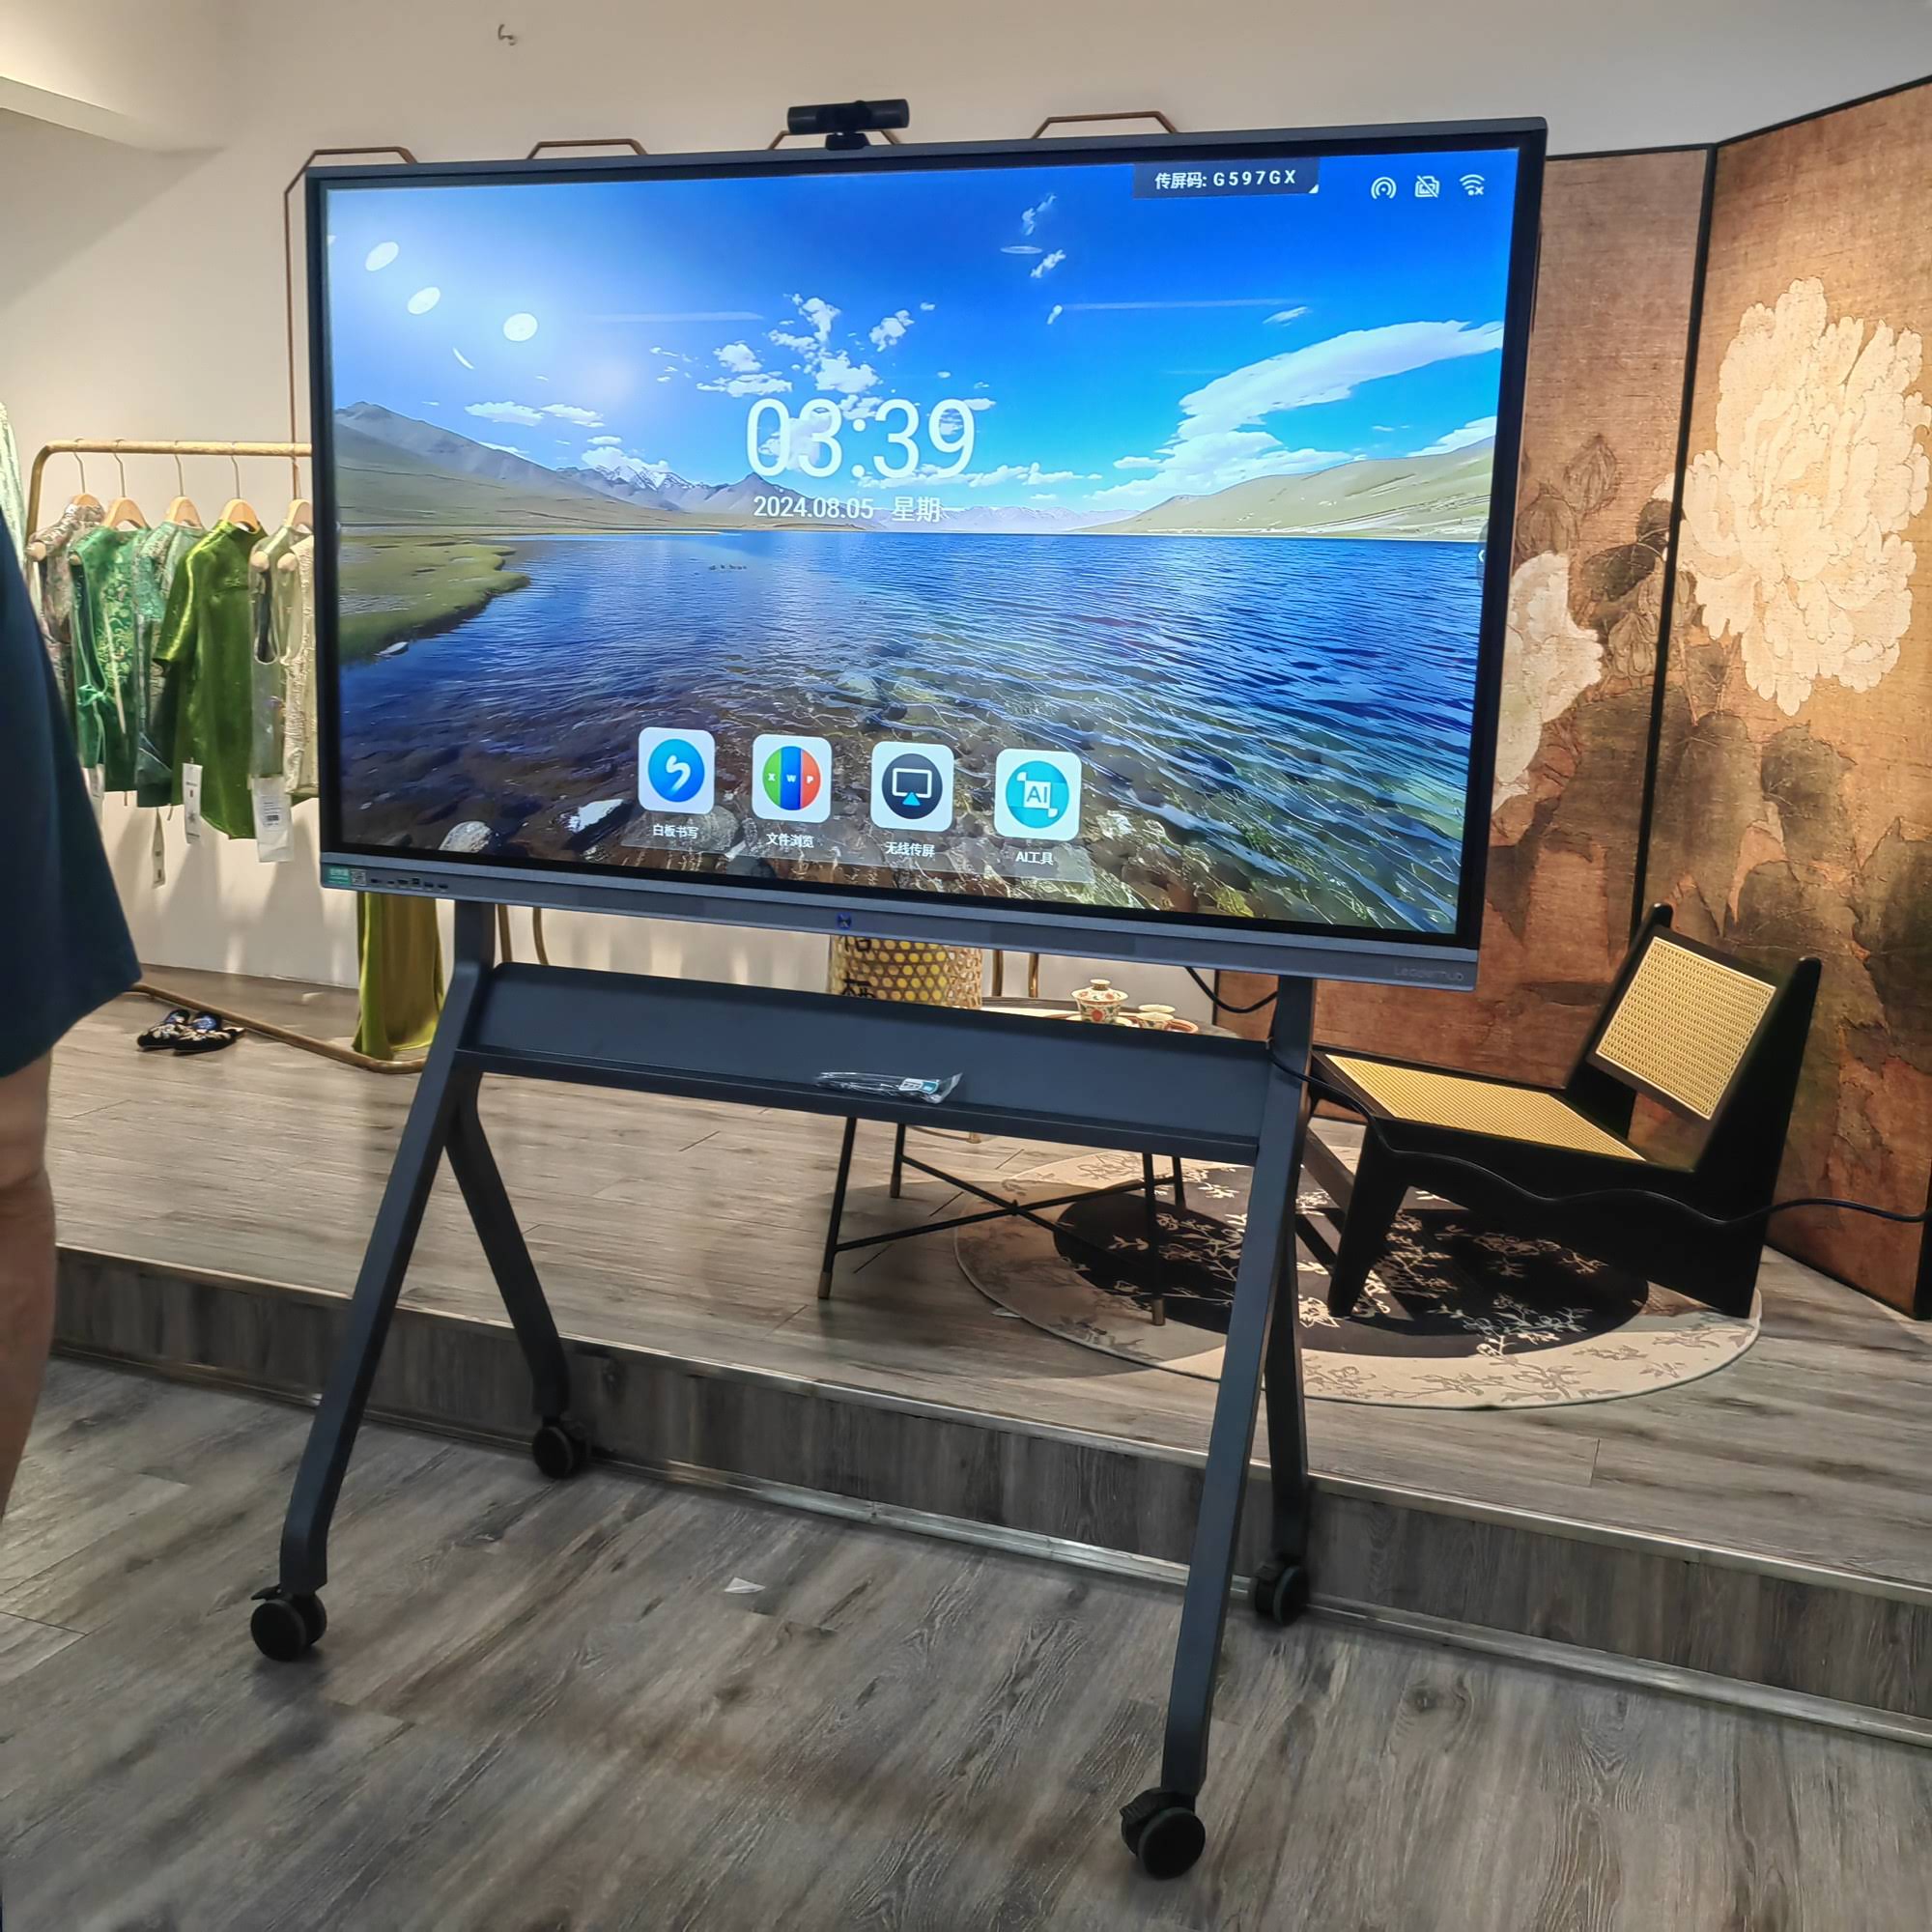
Step 4: Connect the Video, Touch, and Power Cables
Most installations need separate connections for video and touch. A common setup uses HDMI for the image signal and USB for touch feedback, with power connected to both the projector and the smart board.
Recommended connection order
- Connect the smart board to power first.
- Run the HDMI cable from the computer or mini PC to the projector.
- Connect the USB touch cable from the board to the computer.
- Organize cables with clips or channels to reduce strain and accidents.
Important: Keep power and signal cables separated when possible to reduce interference.
Step 5: Install Software and Drivers
Once the hardware is connected, install the smart board software, display drivers, and any required calibration utility. If your device uses a companion app, make sure it is updated before the first calibration.
- Power on the computer and projector.
- Confirm that the operating system detects the display.
- Install the whiteboard or touch driver package.
- Restart the device if the software requests it.
- Open the calibration tool and follow the on-screen prompts.
For organizations building a full collaboration workspace, a compact mini PC can be a clean, reliable source for presentations and interactive lessons.
Step 6: Calibrate Touch and Image Alignment
Calibration is the step that turns a basic projection setup into a true interactive system. Even if the image looks centered, the touch points may still be slightly off until calibration is complete.
- Use the full calibration grid rather than skipping points.
- Tap carefully and steadily during the calibration process.
- Repeat calibration if the room temperature changes significantly or the projector is moved.
- Test writing, dragging, and gesture controls after calibration.
To avoid frustration, ask one person to stand back and confirm image position while another runs the calibration tool. That simple teamwork often improves accuracy.
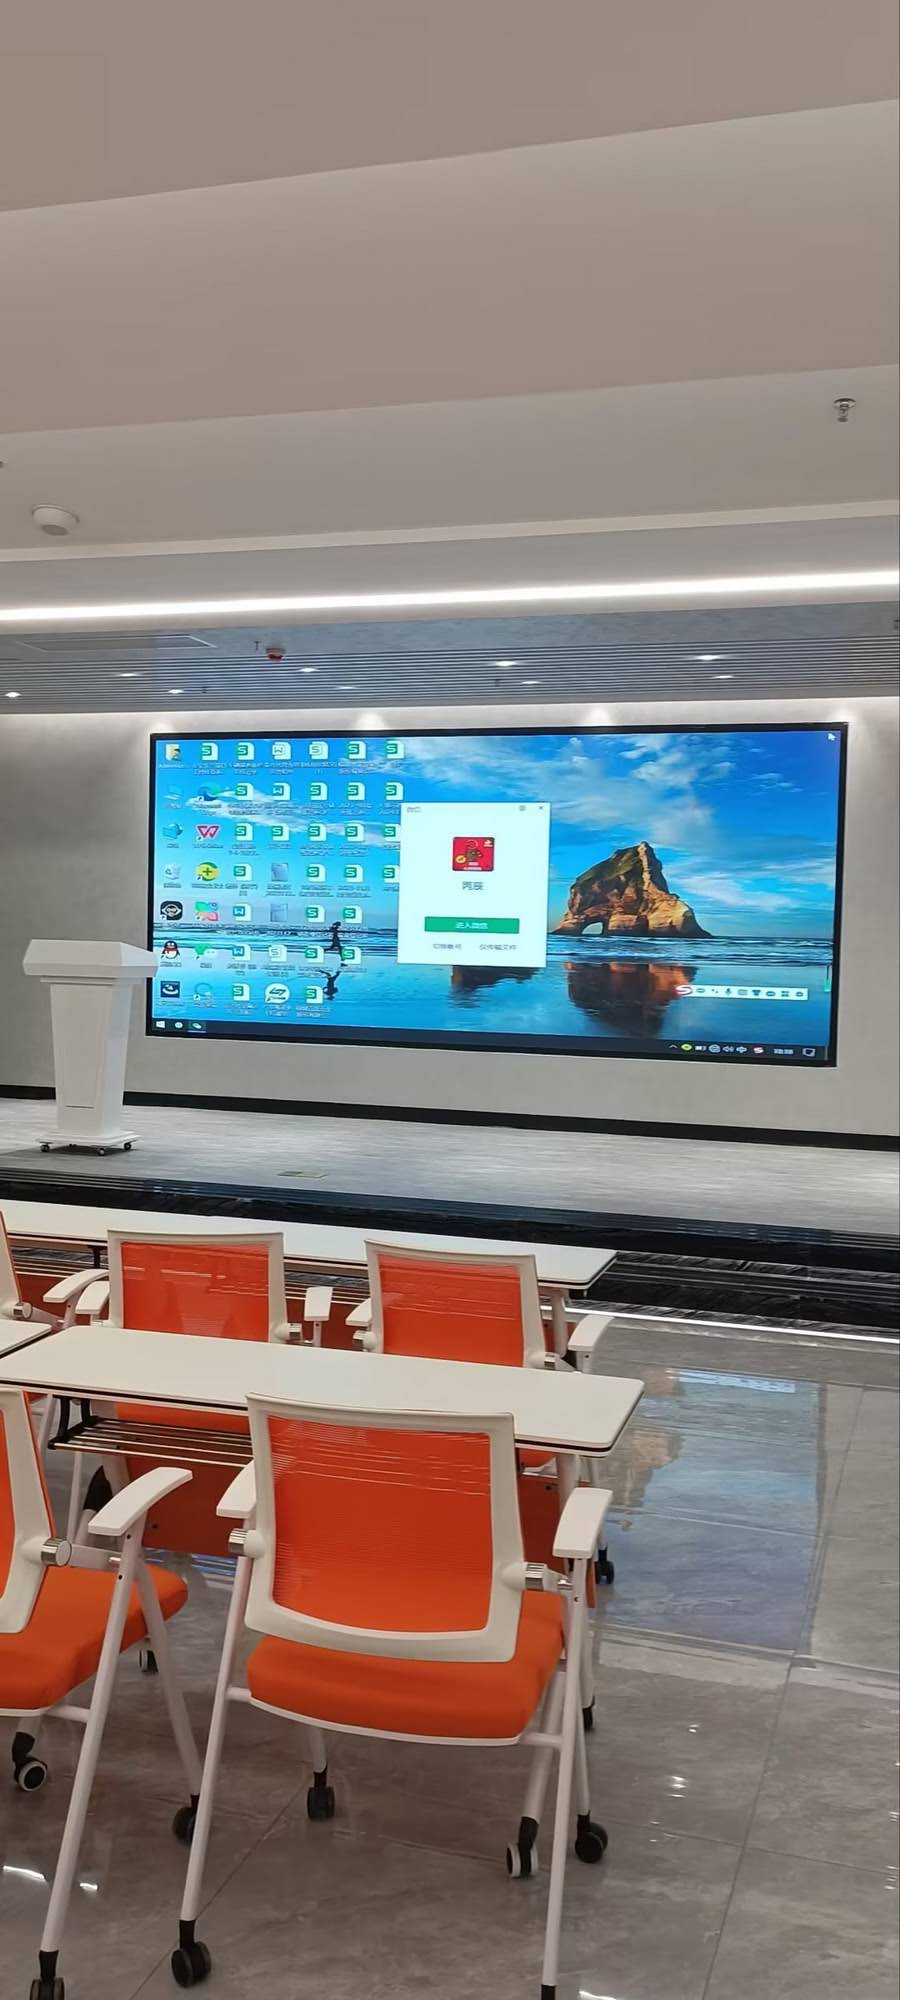
Step 7: Test the Full Setup
Before you call the installation complete, run a full functionality test. The system should respond quickly, display clearly, and operate without shadows or dead zones.
| Test Item | Pass Condition |
|---|---|
| Image clarity | Text and icons remain sharp across the screen |
| Touch response | Touches register accurately at every corner |
| Audio and video | No lag, no missing sound, no signal dropouts |
| Cable management | Cables are secure and do not hang loose |
Common Mistakes to Avoid
- Mounting the projector before confirming the board height.
- Using a projector with the wrong throw distance.
- Ignoring room light and glare.
- Skipping touch calibration after moving the projector.
- Running long, unprotected cables across walking paths.
Best Practices for Classrooms and Meeting Rooms
Interactive display systems work best when they are easy to use every day. Keep the interface simple, label cables, and leave clear instructions near the device so teachers or staff can start quickly without technical help.
- Place frequently used tools in a nearby drawer or cabinet.
- Use a dedicated input source for the board to prevent accidental switching.
- Keep firmware and driver updates on a scheduled maintenance plan.
- Train at least one backup user in case the main operator is unavailable.
For broader buying guidance and classroom planning, you can also review the UNESCO Technology Recommendations, the ISTE Standards, and AVIXA resources for AV best practices.
Recommended Setup Checklist
- Board mounted securely and level
- Projector centered and aligned
- Video and touch cables connected
- Software installed and updated
- Calibration completed successfully
- Test session finished without errors
When the room is ready to scale, browse more options in the smart whiteboards category, explore system accessories on the shop page, or send questions through the contact us page.








