
how to use smart board for teaching in the classroom becomes much easier when you treat the board as a teaching workflow, not just a screen. Used well, it can help you explain concepts faster, engage students more actively, and keep lessons organized from start to finish.
For schools planning a more interactive classroom setup, the right board setup matters as much as the lesson content. If you are comparing options, you can explore smart whiteboards, mini PCs, and portable collaboration screens; LeaderHub is one example of a provider in this space. For broader context on digital learning, see the UNESCO Technology in Education Report and ISTE Standards for Educators.
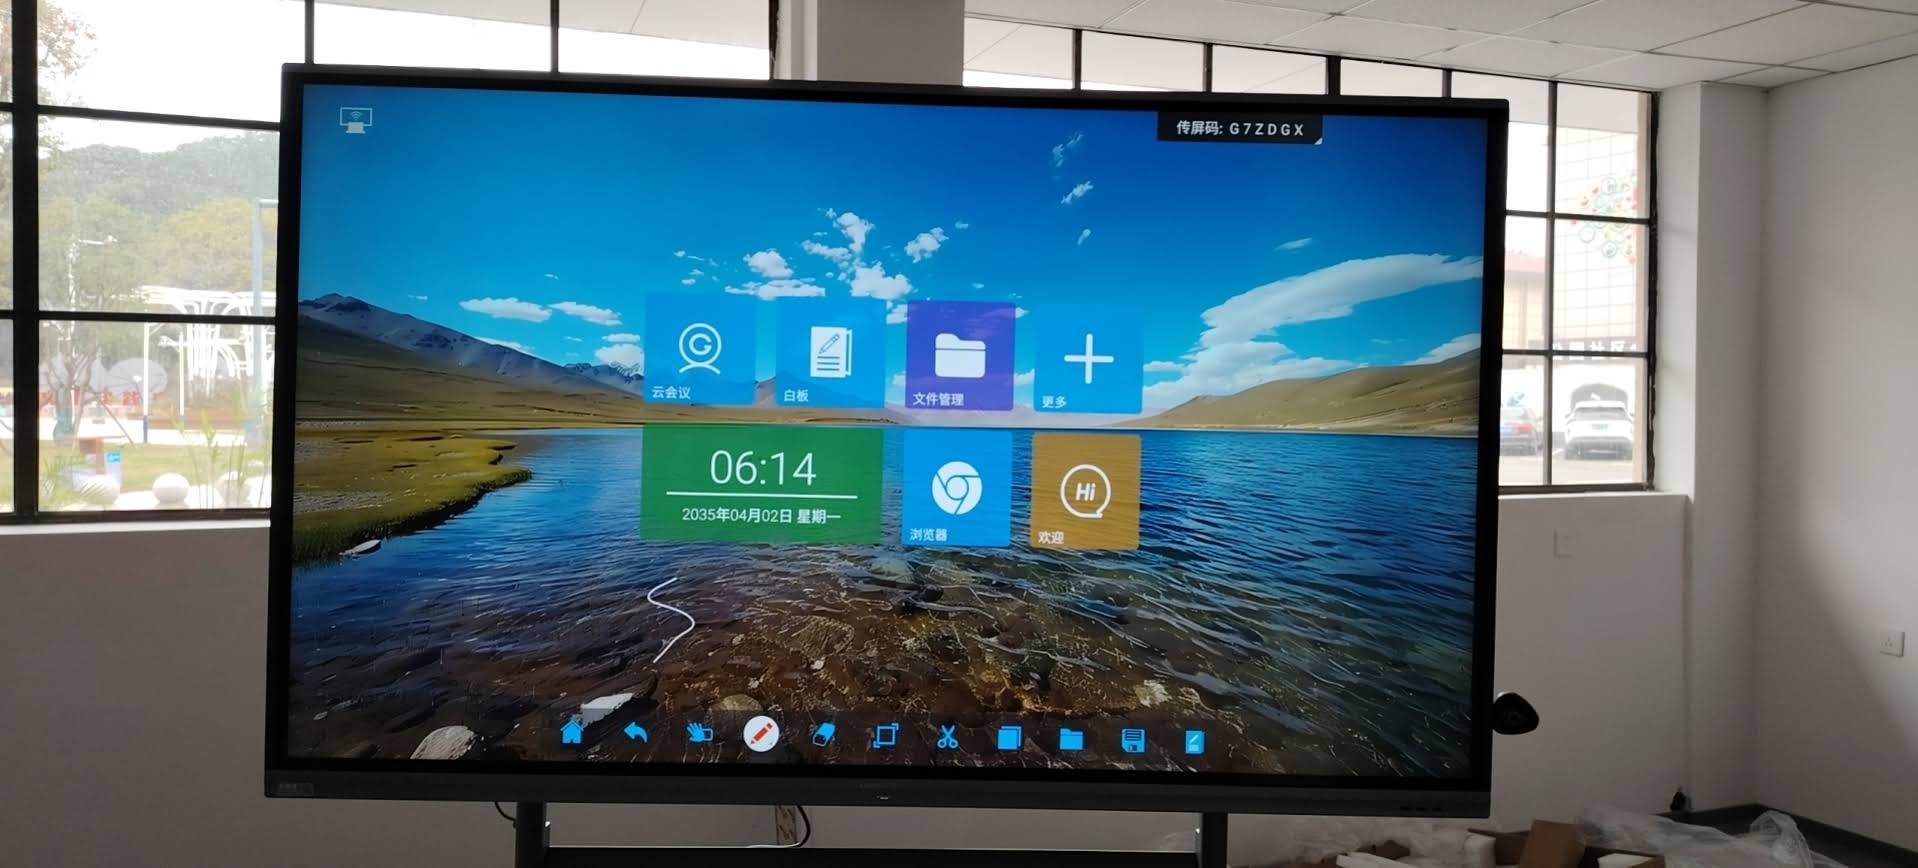
Why Smart Boards Work So Well in Classrooms
A smart board combines touch interaction, visuals, audio, and connected software in one place. That means teachers can write, annotate, display videos, open websites, and save lesson notes without switching between multiple devices.
- More active participation: students can come to the board, solve problems, and interact with content directly.
- Better visual learning: diagrams, animations, and color coding make lessons easier to understand.
- Faster lesson flow: no need to waste time erasing, changing boards, or re-writing key points.
- Easy saving and sharing: class notes can be exported for review after the lesson.
Before the Lesson: Set Up the Board for Success
A good lesson starts before students enter the room. Use this setup routine to avoid disruptions and keep the board ready for teaching.
| Setup Step | What to Do | Why It Helps |
|---|---|---|
| Check power and connection | Make sure the board, computer, and internet are working | Prevents delays during class |
| Open lesson files | Load slides, videos, and worksheets in advance | Keeps the lesson moving smoothly |
| Set touch and pen tools | Test writing tools, eraser, and touch response | Improves accuracy for handwriting and annotation |
| Prepare classroom rules | Decide who can touch the board and when | Reduces confusion and keeps students focused |
Step-by-Step: How to Use a Smart Board for Teaching in the Classroom
1. Start with a clear lesson agenda
Open the lesson with a simple agenda on the board. A visible outline helps students understand what they will learn and what to expect.
2. Teach with a mix of media
Use slides for structure, short videos for explanation, and live annotation for emphasis. The board works best when you combine formats instead of relying on one long presentation.
3. Write, highlight, and annotate in real time
Live writing is one of the biggest advantages of a smart board. Circle important terms, underline formulas, or mark key dates while you explain them. This makes the thinking process visible to students.
4. Invite students to interact
Ask students to drag labels, solve a problem, match vocabulary, or identify errors on the board. Even short interactive moments can raise attention and participation.
5. Save the board work
At the end of class, save notes, annotations, and completed exercises. Sharing the file later gives students an easy way to review key points at home.
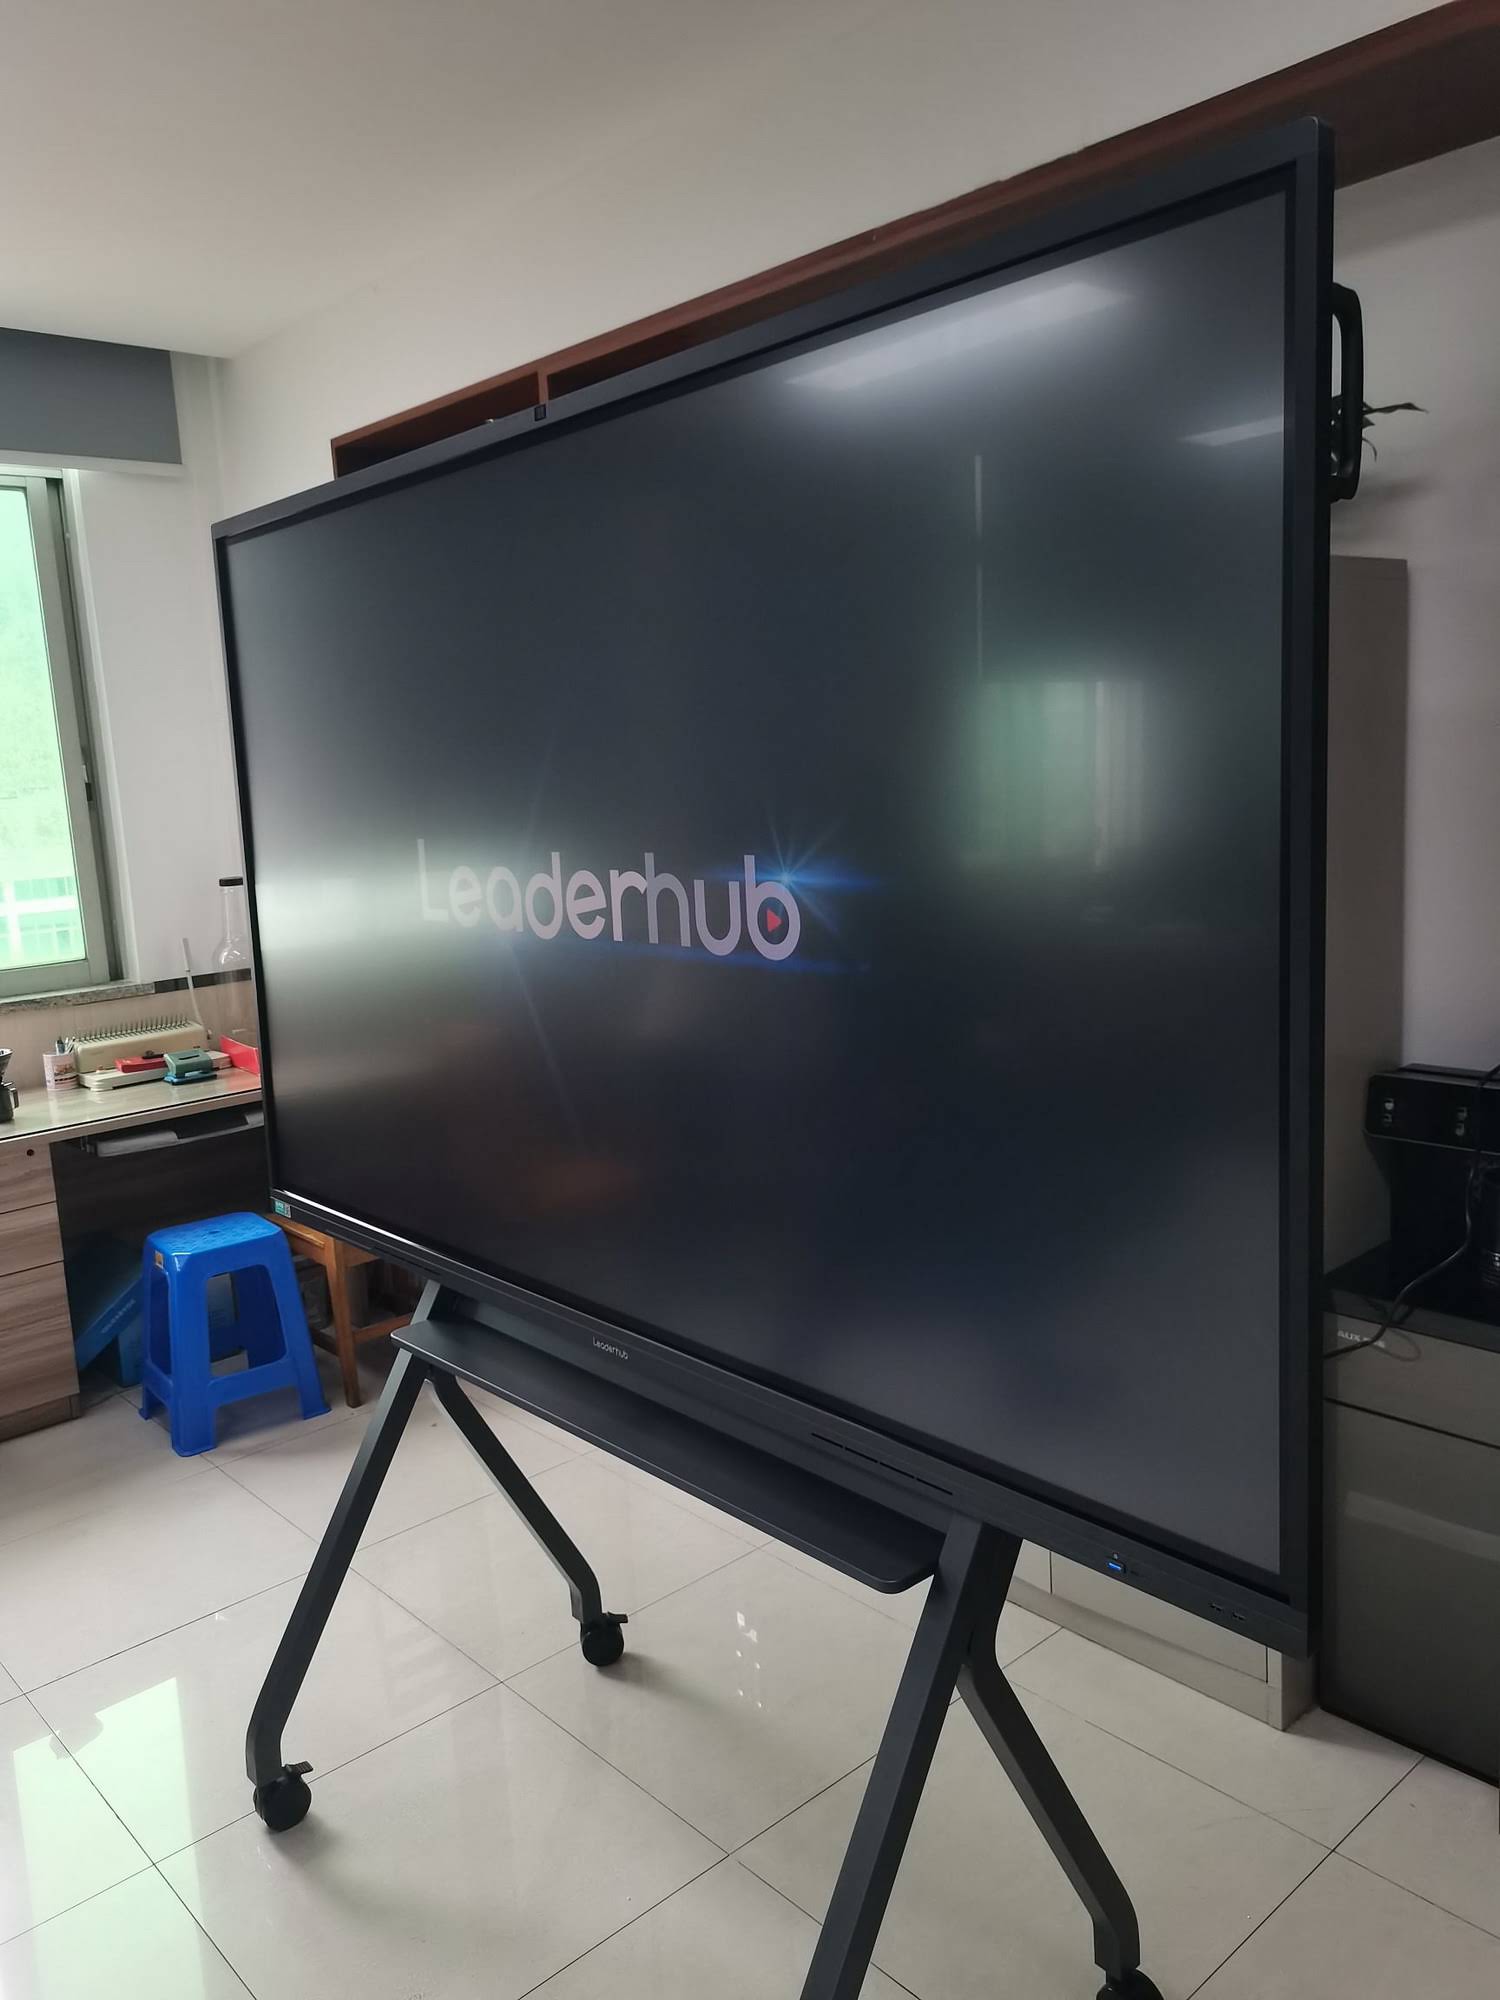
Practical Teaching Strategies That Keep Students Engaged
The best smart board lessons are not passive presentations. They create a rhythm of teacher input, student response, and visual reinforcement.
- Think-pair-share: show a question, let students discuss in pairs, then collect answers on the board.
- Labeling activities: use arrows, boxes, and drag-and-drop labels for science, geography, or grammar.
- Guided problem solving: solve one step at a time and ask students to predict the next move.
- Quick quizzes: display one question at a time and record answers immediately.
- Class brainstorming: collect student ideas on the board and group them into themes.
Best Uses by Subject
Different subjects benefit from different smart board activities. The table below shows how to adapt the board to common classroom needs.
| Subject | Smart Board Use | Example Activity |
|---|---|---|
| Math | Step-by-step writing and highlighting | Solve equations with student input |
| Science | Diagrams, simulations, and labels | Label the parts of a cell or a circuit |
| English | Reading, annotation, and grammar practice | Edit a paragraph together |
| History | Timelines, maps, and source analysis | Build a timeline of major events |
| Art | Image display and live sketching | Analyze color, shape, and composition |
How to Keep the Board from Becoming a Distraction
Smart boards are powerful, but they can also become overwhelming if every screen is busy. Keep your design clean and your lesson objectives clear.
- Use one main focus per screen instead of packing in too much text.
- Keep animation purposeful and avoid effects that slow down learning.
- Limit on-screen clutter so students know where to look.
- Give clear touch rules so students understand when they can interact.
- Balance digital and oral teaching to keep the class teacher-led, not device-led.
A Simple Classroom Workflow You Can Reuse Every Day
Here is a repeatable structure that works well in many classrooms:
- Warm-up: display a question or short review task.
- Input: teach the new concept with visuals and examples.
- Practice: let students interact with the board or answer from their seats.
- Check understanding: do a quick poll, quiz, or correction activity.
- Wrap-up: save notes and assign the next step.
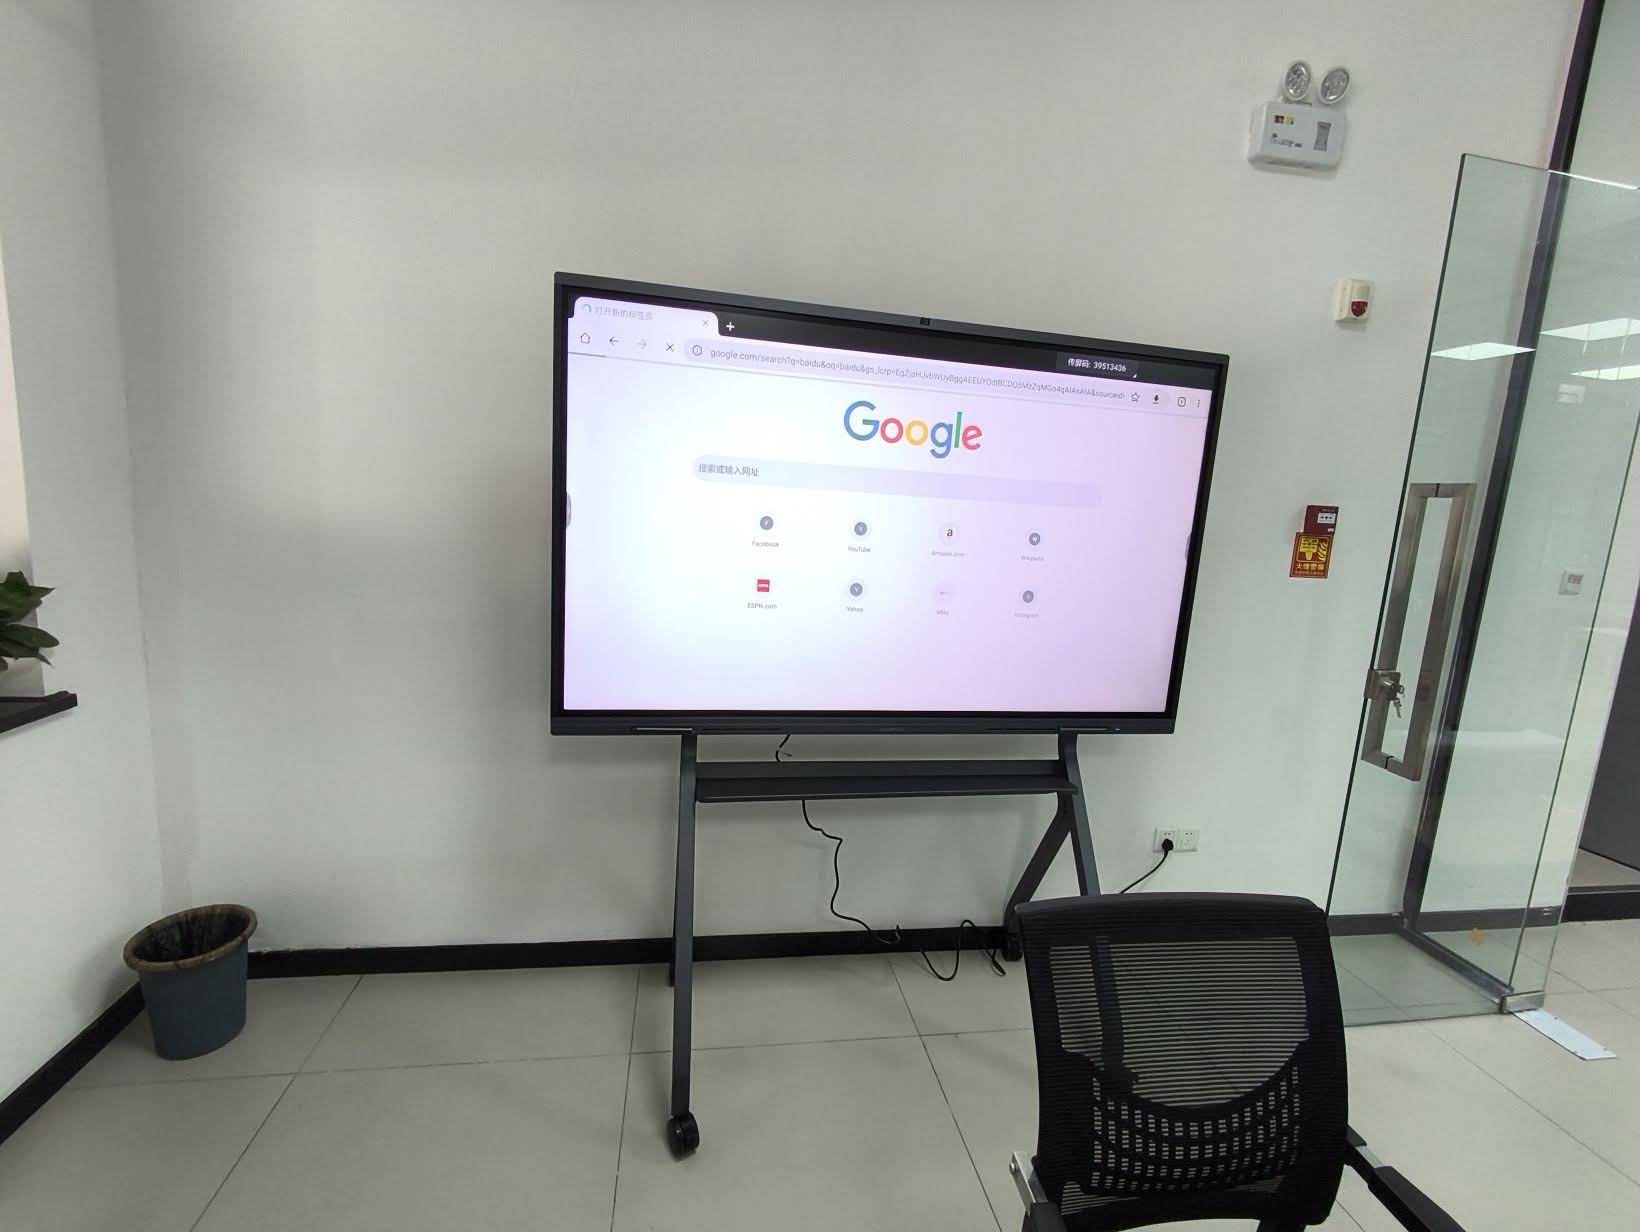
Common Mistakes to Avoid
Many classrooms do not get full value from a smart board because the teacher uses it like a normal projector. Avoid these common mistakes:
- Reading every slide word-for-word
- Using too much text on one screen
- Forgetting to test touch, audio, and internet before class
- Not involving students in the lesson flow
- Leaving the board unsaved at the end of class
Quick Checklist for Teachers
| Check | Yes / No |
|---|---|
| Lesson files are ready | □ |
| Board, sound, and internet are tested | □ |
| Students know how to interact with the board | □ |
| At least one student activity is planned | □ |
| Notes will be saved and shared | □ |
When to Upgrade Your Classroom Hardware
If your current setup causes lag, poor touch response, or unclear visuals, it may be time to upgrade. A modern smart board paired with the right computing device can improve lesson reliability and reduce technical interruptions. For schools following digital teaching frameworks, the OECD Digital Education guidance also reinforces the importance of purposeful technology use, teacher readiness, and classroom fit.
The goal is not to use technology everywhere. The goal is to use it where it improves explanation, interaction, and retention.
Final Teaching Tip
Think of the smart board as your classroom command center. Use it to present, annotate, question, collect answers, and summarize. When you build lessons around clear interaction and simple visuals, the board becomes a teaching tool that supports both the teacher and the students.








