
How to change a bulb in a smart board projector safely starts with one important check: many modern smart board projectors use LED or laser light engines, not a replaceable lamp. If your unit still uses a traditional lamp, this guide walks you through the full replacement process, from cooling down the projector to resetting the lamp timer.
For classrooms, meeting rooms, and training spaces, a failed projector bulb can interrupt the entire lesson or presentation. The good news is that with the right replacement part, a few basic tools, and careful handling, most lamp changes are manageable without a full system swap.
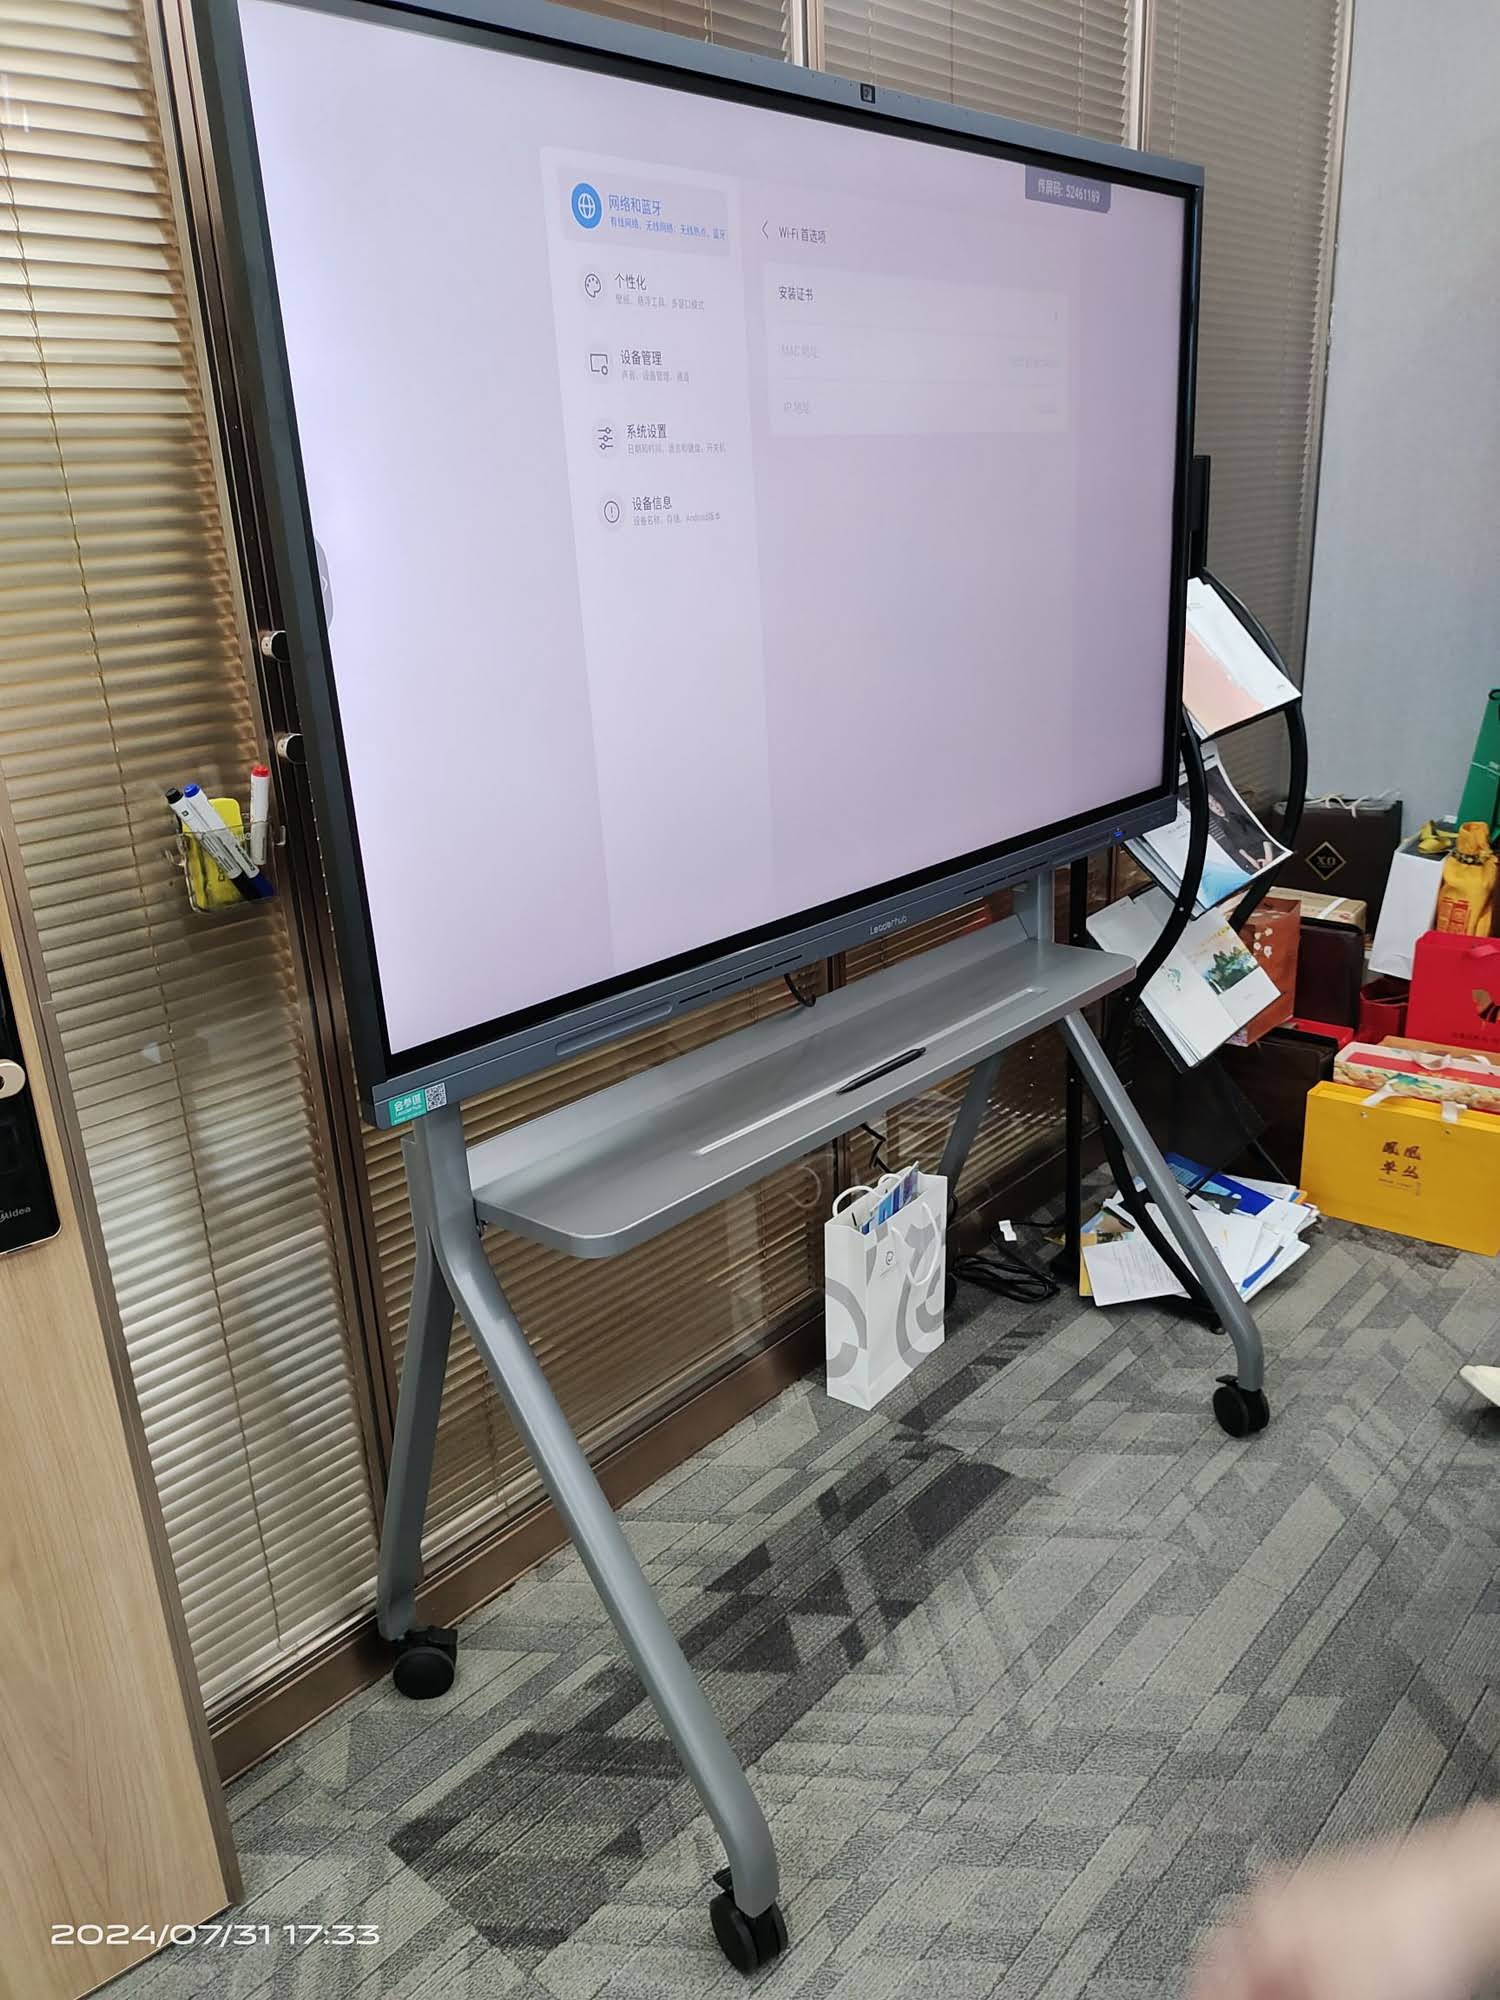
Before You Start: Confirm It Actually Uses a Replaceable Bulb
Before searching for a replacement lamp, verify your model type in the user manual or on the manufacturer label. A true lamp-based smart board projector will usually show signs such as:
- Noticeably dimmer image output over time
- Startup warnings like “Replace Lamp” or “Lamp Hours Exceeded”
- A removable lamp door or lamp cover
- A replaceable lamp module listed in the parts section
If your display is a lamp-free solution, replacing a bulb is not possible. In that case, it may be worth comparing a modern smart whiteboard or checking interactive flat panels for a lower-maintenance classroom setup.
Tools and Materials You’ll Need
| Item | Why It Matters |
|---|---|
| Compatible replacement bulb or lamp module | Ensures proper brightness and fit |
| Phillips screwdriver | Used to open the lamp compartment |
| Clean microfiber cloth | Helps remove dust around the housing |
| Gloves | Protects the lamp from oil and fingerprints |
| User manual | Shows the exact lamp location and reset steps |
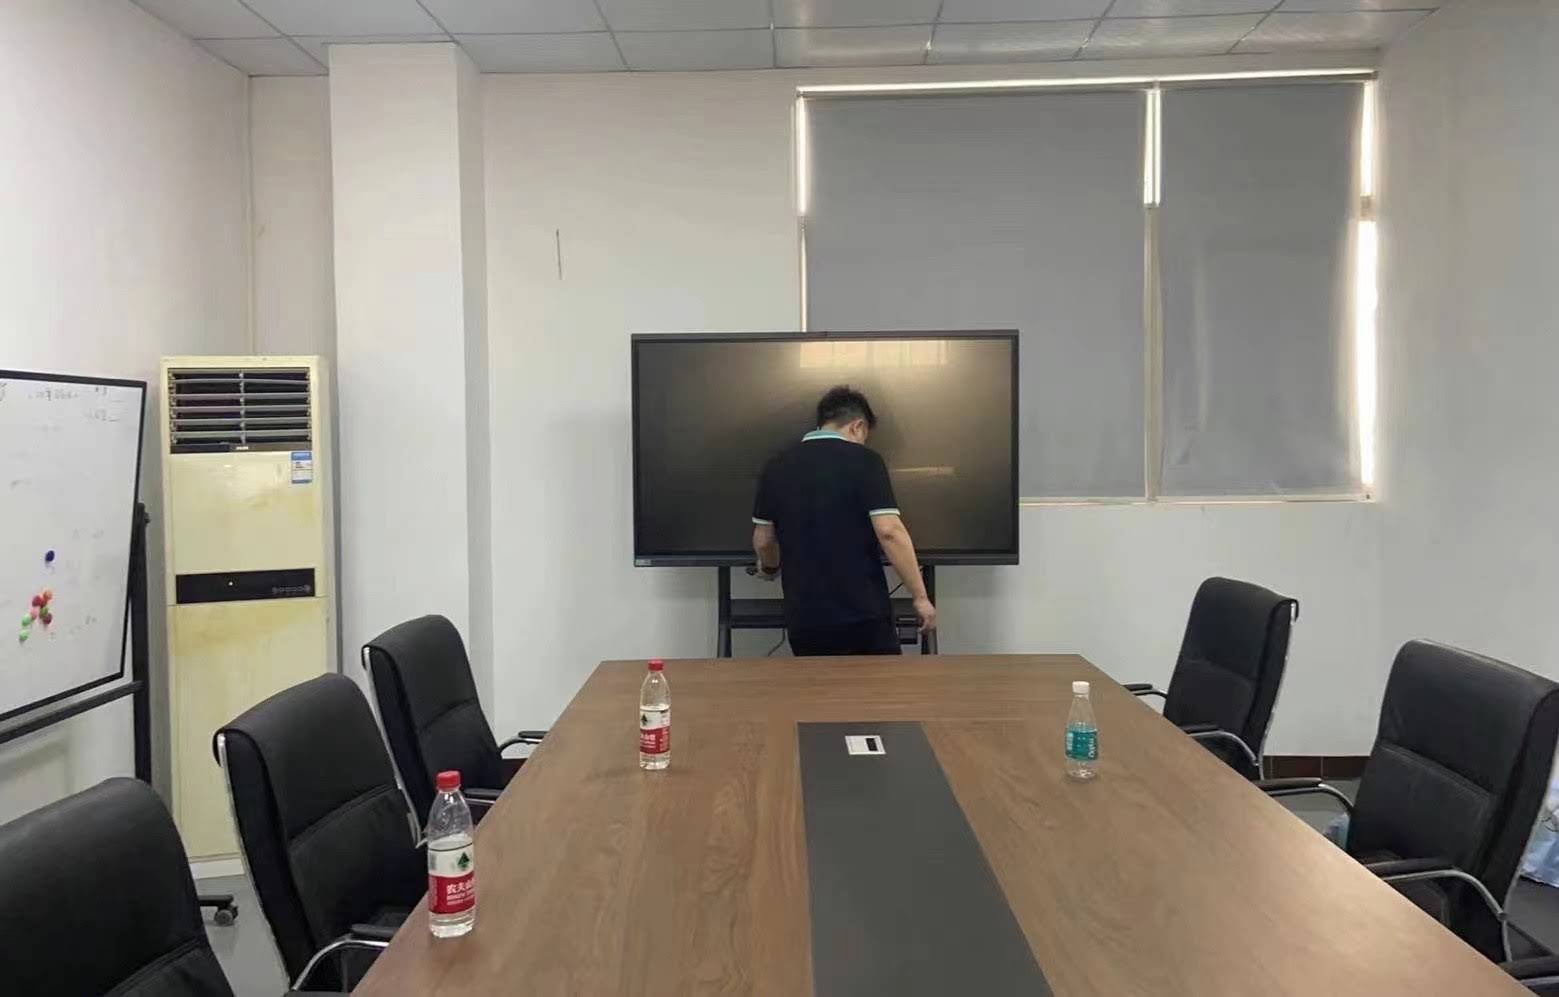
Step-by-Step: How to Change a Bulb in a Smart Board Projector
-
Turn off the projector completely.
Unplug the power cable and let the unit cool for at least 30 minutes. Hot lamp housings can cause burns and damage the new bulb. -
Locate the lamp cover.
On most smart board projectors, the lamp compartment is on the side or bottom of the housing. Check the manual if the cover is not obvious. -
Remove the lamp door screws.
Use the correct screwdriver and place the screws in a safe spot. Do not force the cover if it feels stuck. -
Take out the old lamp module.
Some modules have a pull tab or handle. Slide it out gently and avoid shaking the spent bulb. -
Install the new bulb or lamp module.
Hold the lamp by the casing, not the glass. Align it carefully with the socket and slide it into place until it sits firmly. -
Reattach the cover.
Replace the lamp door and tighten the screws securely. The projector may not start if the cover is left loose. -
Reset the lamp timer.
Go to the projector menu and reset the lamp hours counter. This helps the system track the new bulb’s lifespan accurately. -
Test the image quality.
Power on the unit and check brightness, color, and fan noise. A stable startup usually means the replacement was successful.
Important: If the image still looks dim after replacement, the issue may be dust, air filter blockage, or an incorrect lamp model rather than the bulb itself.
Quick Troubleshooting After Replacement
| Problem | Likely Cause | What to Do |
|---|---|---|
| Projector will not turn on | Lamp cover not seated properly | Open the cover and reinstall it firmly |
| Lamp warning still appears | Lamp timer not reset | Reset the timer from the settings menu |
| Dim or uneven image | Wrong bulb model or dirty optics | Verify part number and clean the filter/lens area |
| Fan runs loudly | Dust buildup or overheating | Clean vents and check airflow clearance |
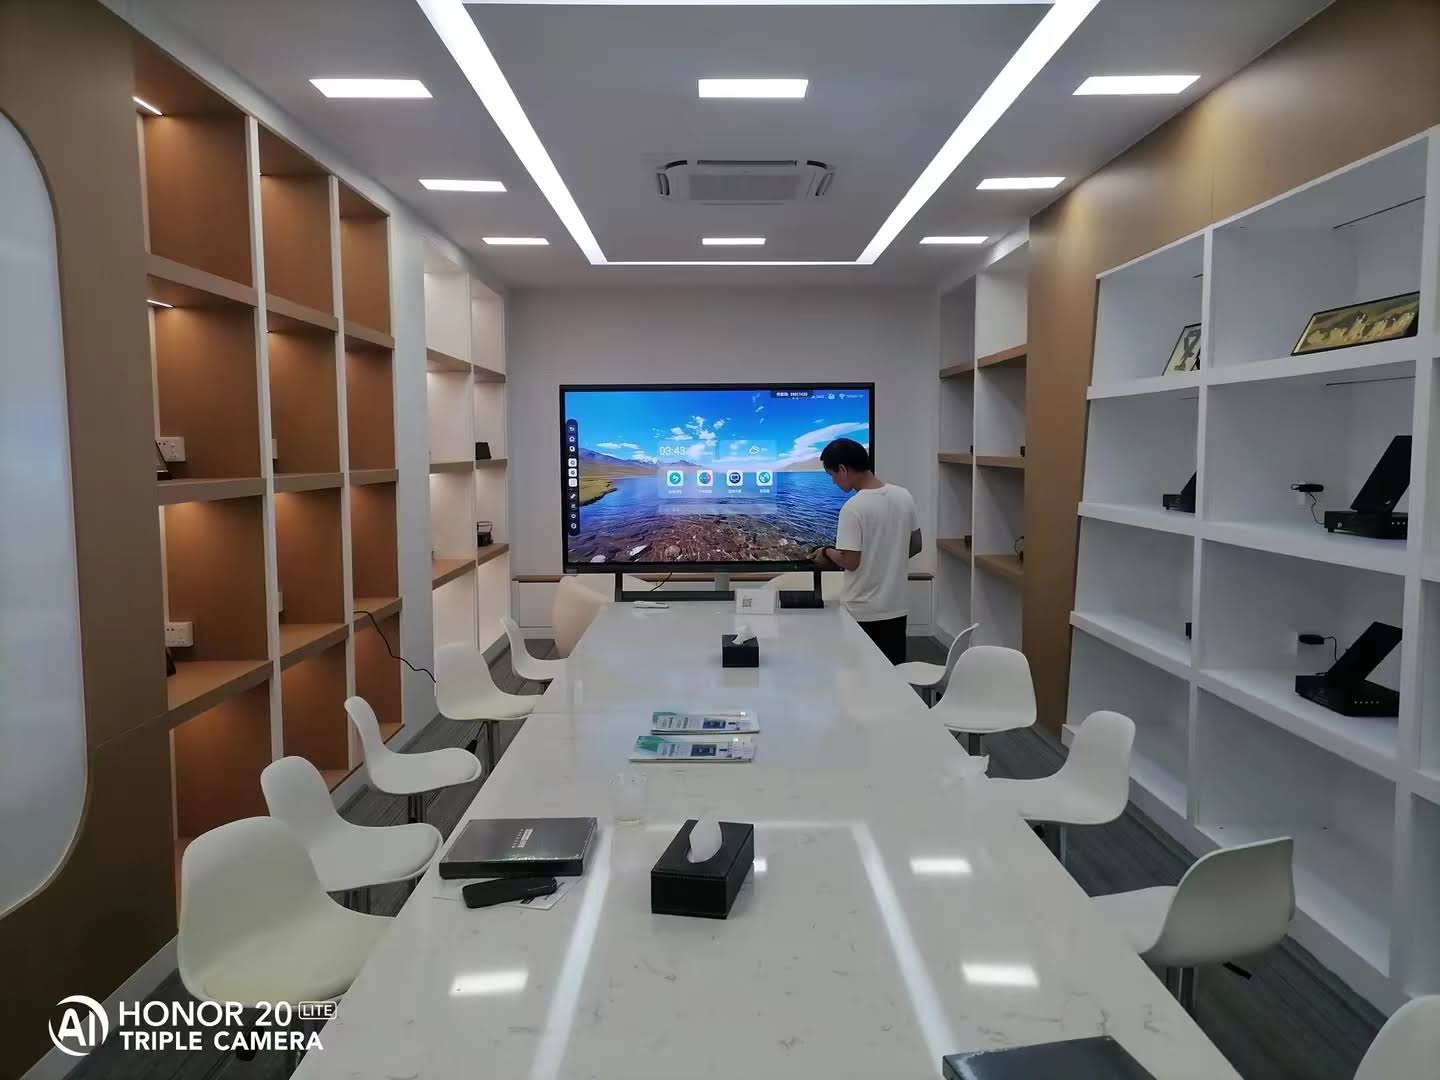
Safety Tips for Classrooms and Meeting Rooms
- Never touch the glass of the new bulb with bare hands.
- Always unplug the projector before opening any cover.
- Let the lamp cool fully before removal.
- Use the exact lamp part number recommended by the manufacturer.
- Keep screws and covers organized so nothing is left loose after installation.
- If the projector is ceiling-mounted, use a second person for safety.
For maintenance teams managing multiple rooms, a structured AV checklist based on AV industry best practices can reduce downtime and help you avoid repeat failures.
When to Replace the Whole Unit Instead of the Bulb
Sometimes a lamp change is not the smartest fix. If the projector is very old, the image is still unstable after a new bulb, or the cost of the lamp is too close to a new display, it may be better to upgrade. In that case, a lamp-free system can save time and maintenance over the long term.
You can also browse display solutions or contact us for help choosing the right setup for classrooms, conference rooms, or hybrid training spaces.
Frequently Asked Questions
How often should a smart board projector bulb be replaced?
Most bulbs last between 2,000 and 5,000 hours, depending on brightness mode, usage, and ventilation. Heavy daily use will shorten the lifespan.
Can I use any bulb that fits physically?
No. The bulb must match the exact model number and electrical specification. Using the wrong part can damage the projector or create safety risks.
Why is the replacement image still dark?
Possible reasons include an incorrect lamp model, dirty air filters, dust on the lens, or a projector that needs servicing beyond a simple bulb change.
Final Checklist
- Model verified as lamp-based
- Correct replacement bulb purchased
- Power disconnected and unit cooled down
- New lamp installed without touching the glass
- Lamp cover reattached securely
- Lamp timer reset
- Image tested for brightness and stability
For schools and businesses that want fewer maintenance interruptions, LeaderHub supports interactive display planning with modern classroom and meeting-room solutions.








