
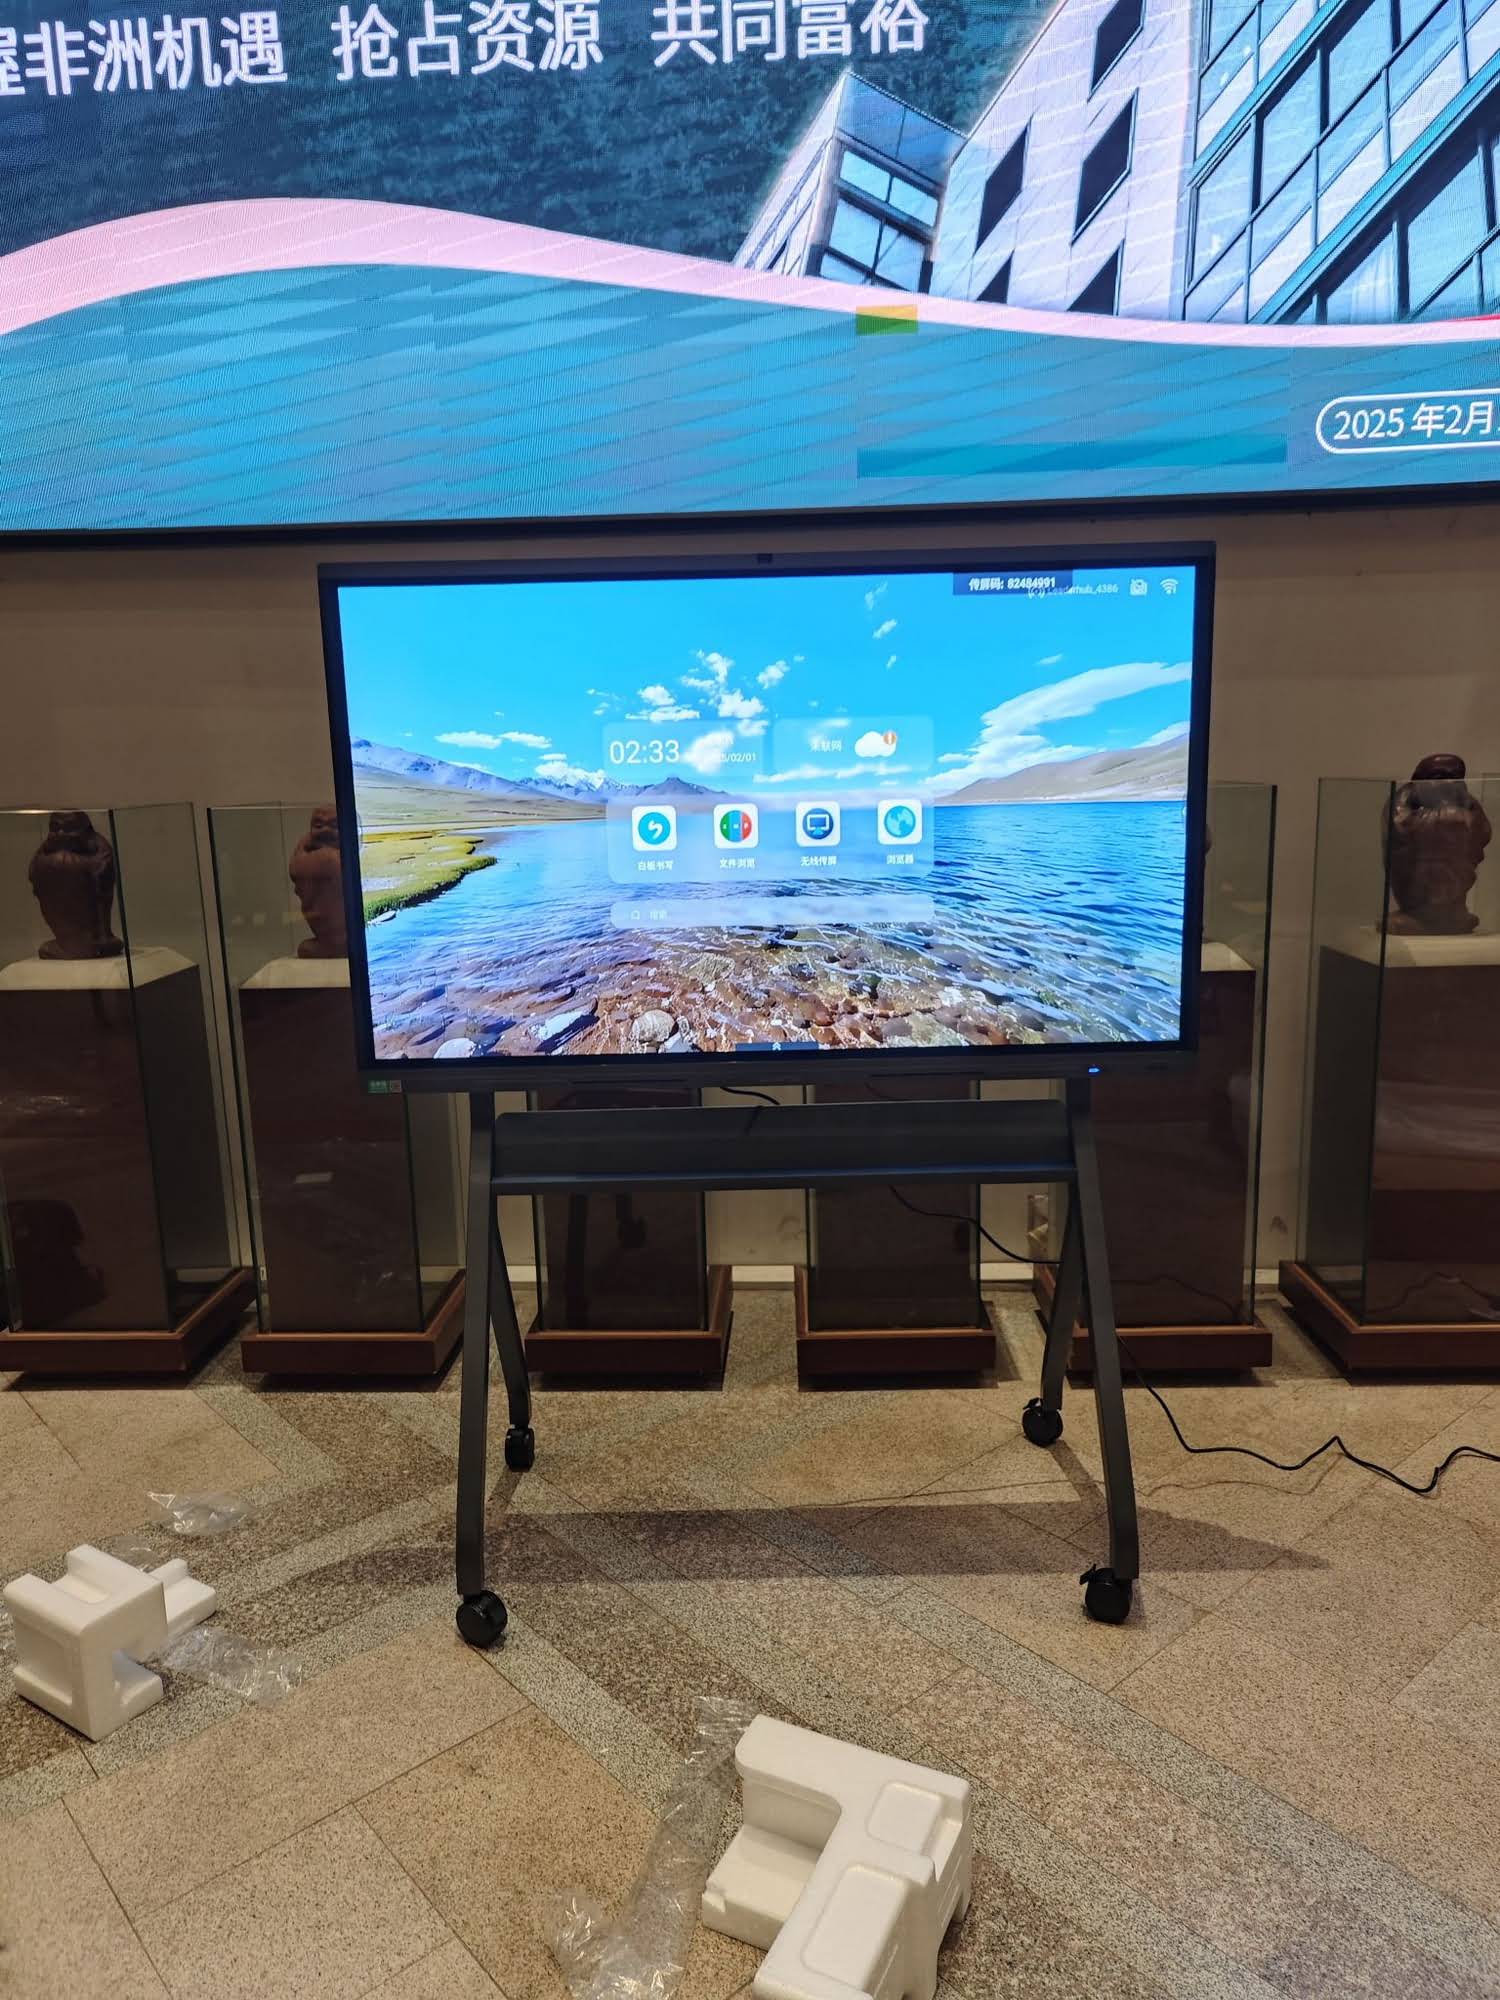
How to connect smart board with laptop is a question many teachers, trainers, and office teams ask when setting up a modern classroom or meeting room. The good news is that the process is usually simple once you understand the available ports, the right cables, and the display settings on your laptop.
In this guide, you’ll learn the fastest ways to connect a smart board to a laptop, how to enable touch control, and how to avoid common setup issues on Windows and macOS.
What You Need Before Connecting
Before you plug anything in, check the ports on both devices. Most setups use one of these connection types:
- HDMI for video output from the laptop to the smart board
- USB for touch, pen, camera, or audio control
- USB-C for one-cable video, data, and charging on supported devices
- Wireless casting for cable-free screen sharing
If you are planning a permanent classroom or boardroom installation, it helps to review smart whiteboards and compare them with your laptop’s available outputs.
How to Connect Smart Board with Laptop: Step-by-Step
- Turn on the smart board. Wait until it fully boots into the home screen or input menu.
- Check the laptop ports. Identify HDMI, USB-C, USB-A, or DisplayPort on your laptop.
- Connect the video cable. Use HDMI or USB-C to send the laptop display to the smart board.
- Connect the USB cable. If your smart board supports touch interaction, connect a USB cable from the board to the laptop.
- Select the correct input source. On the smart board, choose HDMI, USB-C, or the relevant source you plugged into.
- Set display mode on your laptop. Choose Duplicate, Extend, or Second screen only.
- Test touch and pen functions. Open a note app or whiteboard tool and confirm the board responds correctly.
Quick Connection Methods Compared
| Connection Method | Best For | What You Need |
|---|---|---|
| HDMI + USB | Most classrooms and conference rooms | HDMI cable and USB cable |
| USB-C | Modern laptops with one-cable support | USB-C cable with video support |
| Wireless Casting | Fast presentations and BYOD environments | Compatible wireless software or dongle |
Using HDMI and USB Together
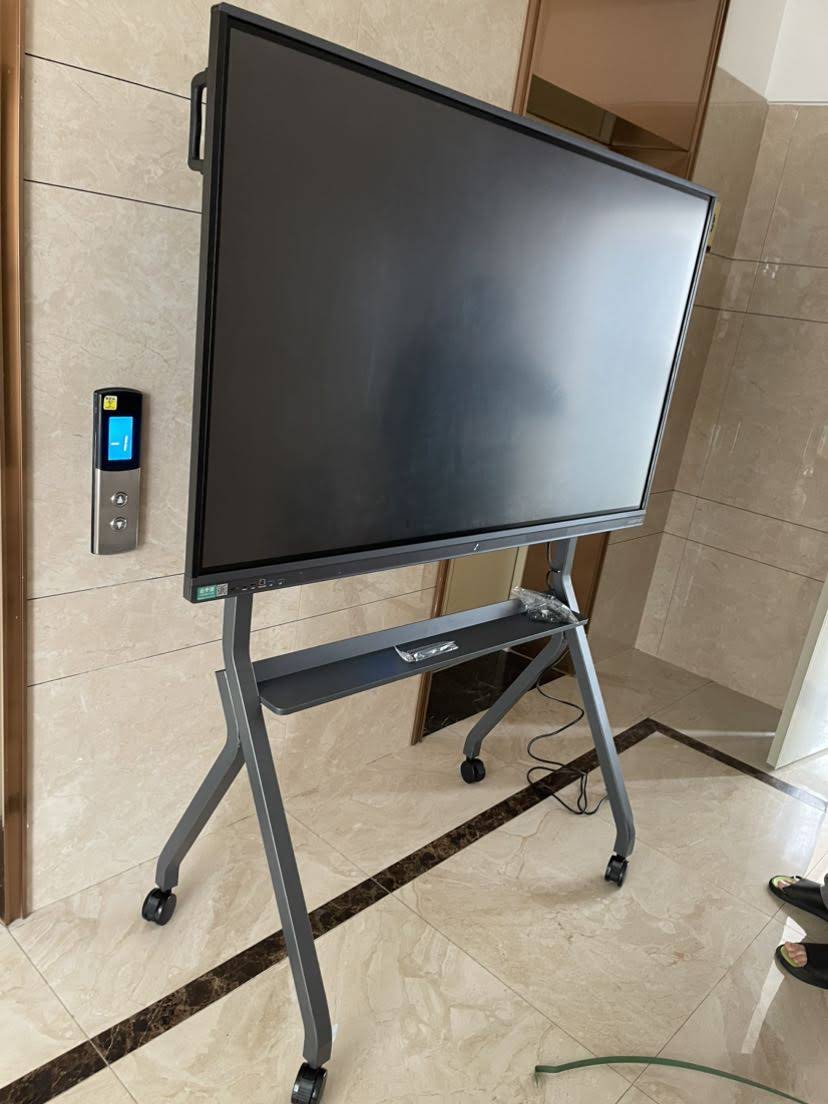
This is the most common setup. The HDMI cable carries the picture from your laptop to the smart board, while the USB cable enables touch input and interactive tools.
- Connect HDMI from laptop to board for video
- Connect USB from board to laptop for touch control
- Set the board input to the matching HDMI port
- Open your preferred app, such as PowerPoint, a browser, or a whiteboard tool
If Touch Does Not Work
- Confirm the USB cable is connected securely
- Try another USB port on the laptop
- Restart both devices
- Install the board’s driver if required
Connecting with USB-C
If your laptop and smart board both support USB-C with video output, one cable may be enough for display and touch. This keeps the desk clean and reduces setup time.
Important: not every USB-C port supports video. Look for a DisplayPort symbol, Thunderbolt icon, or check your laptop manual.
Wireless Connection Tips
Wireless screen sharing is convenient for meetings and classes, especially when multiple users need to present quickly. However, for the most stable touch experience, wired connection is often better.
- Open the wireless casting tool on the smart board
- Install or open the matching app on your laptop
- Join the same network if required
- Start sharing and confirm the screen appears correctly
- Check latency before using it for video or annotation-heavy lessons
Windows vs. Mac Setup Tips
| System | Recommended Action | Tip |
|---|---|---|
| Windows | Press Win + P to choose display mode | Duplicate mode is best for teaching and live demos |
| Mac | Go to System Settings > Displays | Check adapter compatibility if using HDMI |
Common Problems and How to Fix Them
| Problem | Likely Cause | Fix |
|---|---|---|
| No image on board | Wrong input source or loose cable | Switch the source and reconnect the cable |
| Touch not responding | USB not connected or driver missing | Reconnect USB and install the correct driver |
| Poor resolution | Display settings not optimized | Set the laptop to the board’s native resolution |
Best Practices for a Smooth Setup
- Use certified cables whenever possible
- Keep adapters short and reliable
- Test the connection before class or client meetings
- Label input ports for quick switching
- Update laptop drivers and smart board firmware regularly
If your team uses interactive learning tools, these resources can help you make better decisions: UNESCO Technology Recommendations, ISTE Education Technology Standards, and EU Digital Education.
Choosing the Right Hardware for Long-Term Use
For classrooms, training rooms, and executive meeting spaces, the right hardware can simplify daily use. If your laptop is older or lacks the right ports, adding a compact computer can improve stability and reduce adapter issues. You can also explore mini PCs as a dedicated presentation source or check contact options for a tailored setup recommendation.
For organizations that want a more integrated solution, LeaderHub supplies interactive displays designed to make laptop-to-board connections easier in education and business environments.
Frequently Asked Questions
Can I connect a smart board to any laptop?
Most laptops can connect to a smart board if they have HDMI, USB-C, or the correct adapter. The key is matching the board’s input ports with your laptop’s output ports.
Do I need both HDMI and USB?
For full interactivity, yes, in many cases. HDMI handles the image, and USB often enables touch and annotation control.
Is wireless connection good enough?
Wireless is convenient for fast sharing, but wired connections are usually more stable for teaching, design work, or detailed presentations.
Bottom line: once you know the correct cable, input source, and display mode, connecting a smart board to a laptop becomes a quick routine instead of a technical challenge.








