
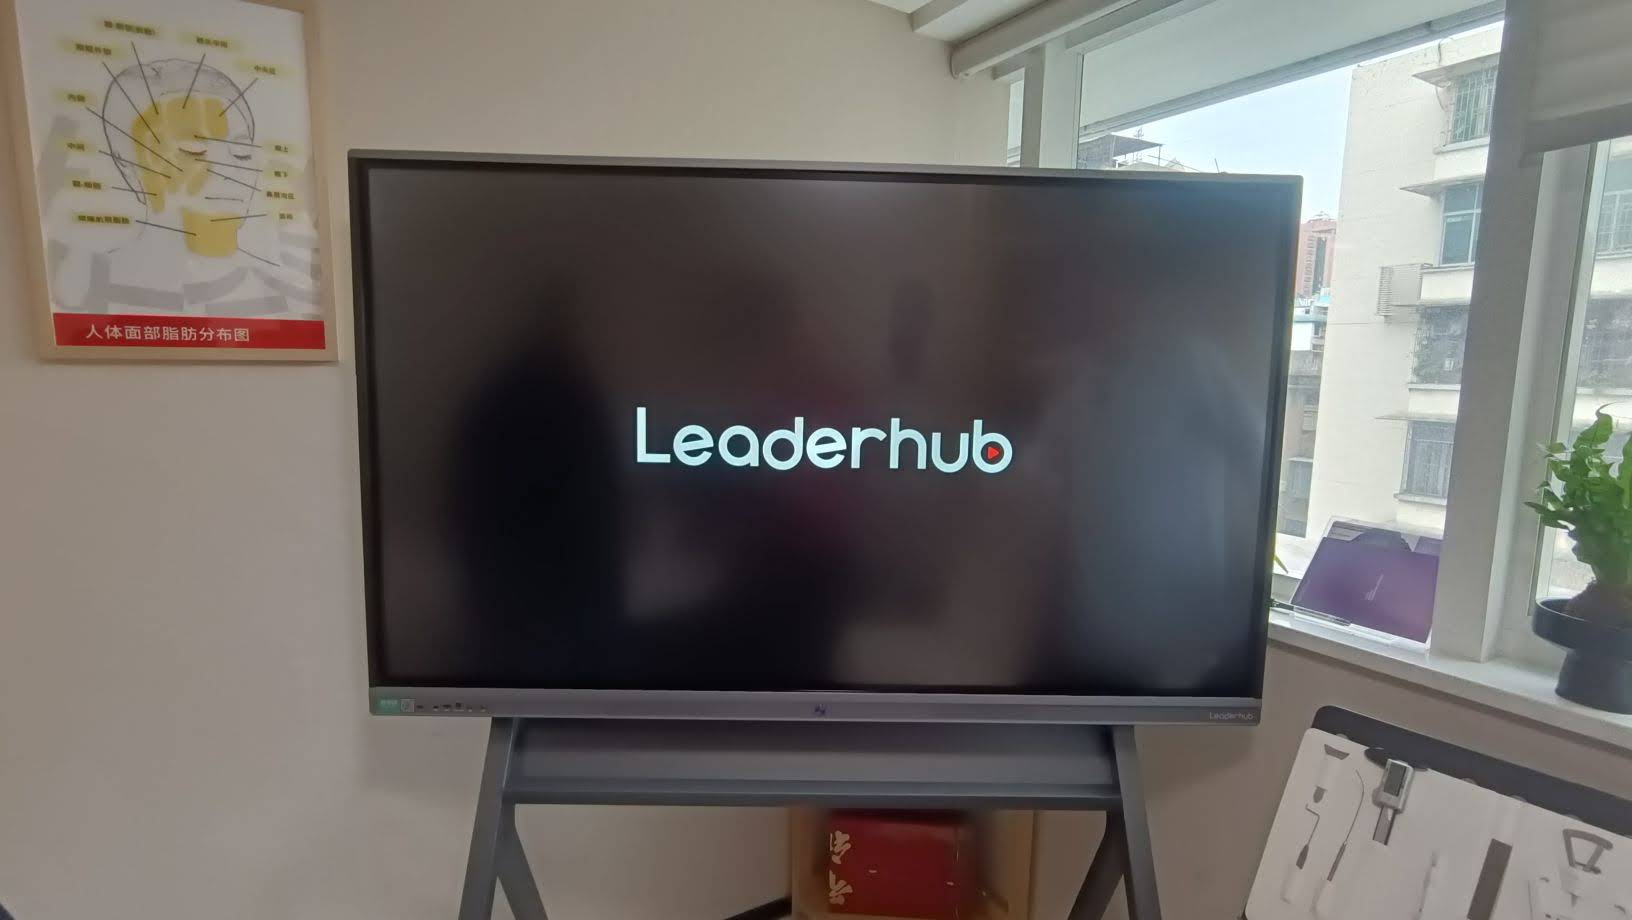
A smart board can work as a standalone device when it includes its own operating system, Wi‑Fi, apps, and file playback tools. That means you can teach, present, annotate, and collaborate without a separate computer.
If you are searching for how to use smart board without computer, the key is to treat the board like a large touch-enabled tablet: connect it to the internet, open built-in apps, import files from USB or cloud storage, and save your notes directly on the board.
What You Need Before You Start
You do not need a laptop, but you do need a few basic items to make the experience smooth:
- Power and a stable wall mount or mobile stand
- Wi‑Fi for cloud access, updates, and casting
- USB drive for offline files such as PDFs, images, and videos
- Stylus or finger touch for writing and navigating
- Optional camera or microphone for hybrid meetings
| Setup Item | Why It Matters | Without a Computer? |
|---|---|---|
| Wi‑Fi | Access apps, cloud files, and screen casting | Yes |
| USB drive | Open local content offline | Yes |
| Built-in apps | Whiteboard, browser, file viewer, meeting tools | Yes |
| Mini PC | Adds Windows or extra processing power | Optional |
Simple Step-by-Step Setup
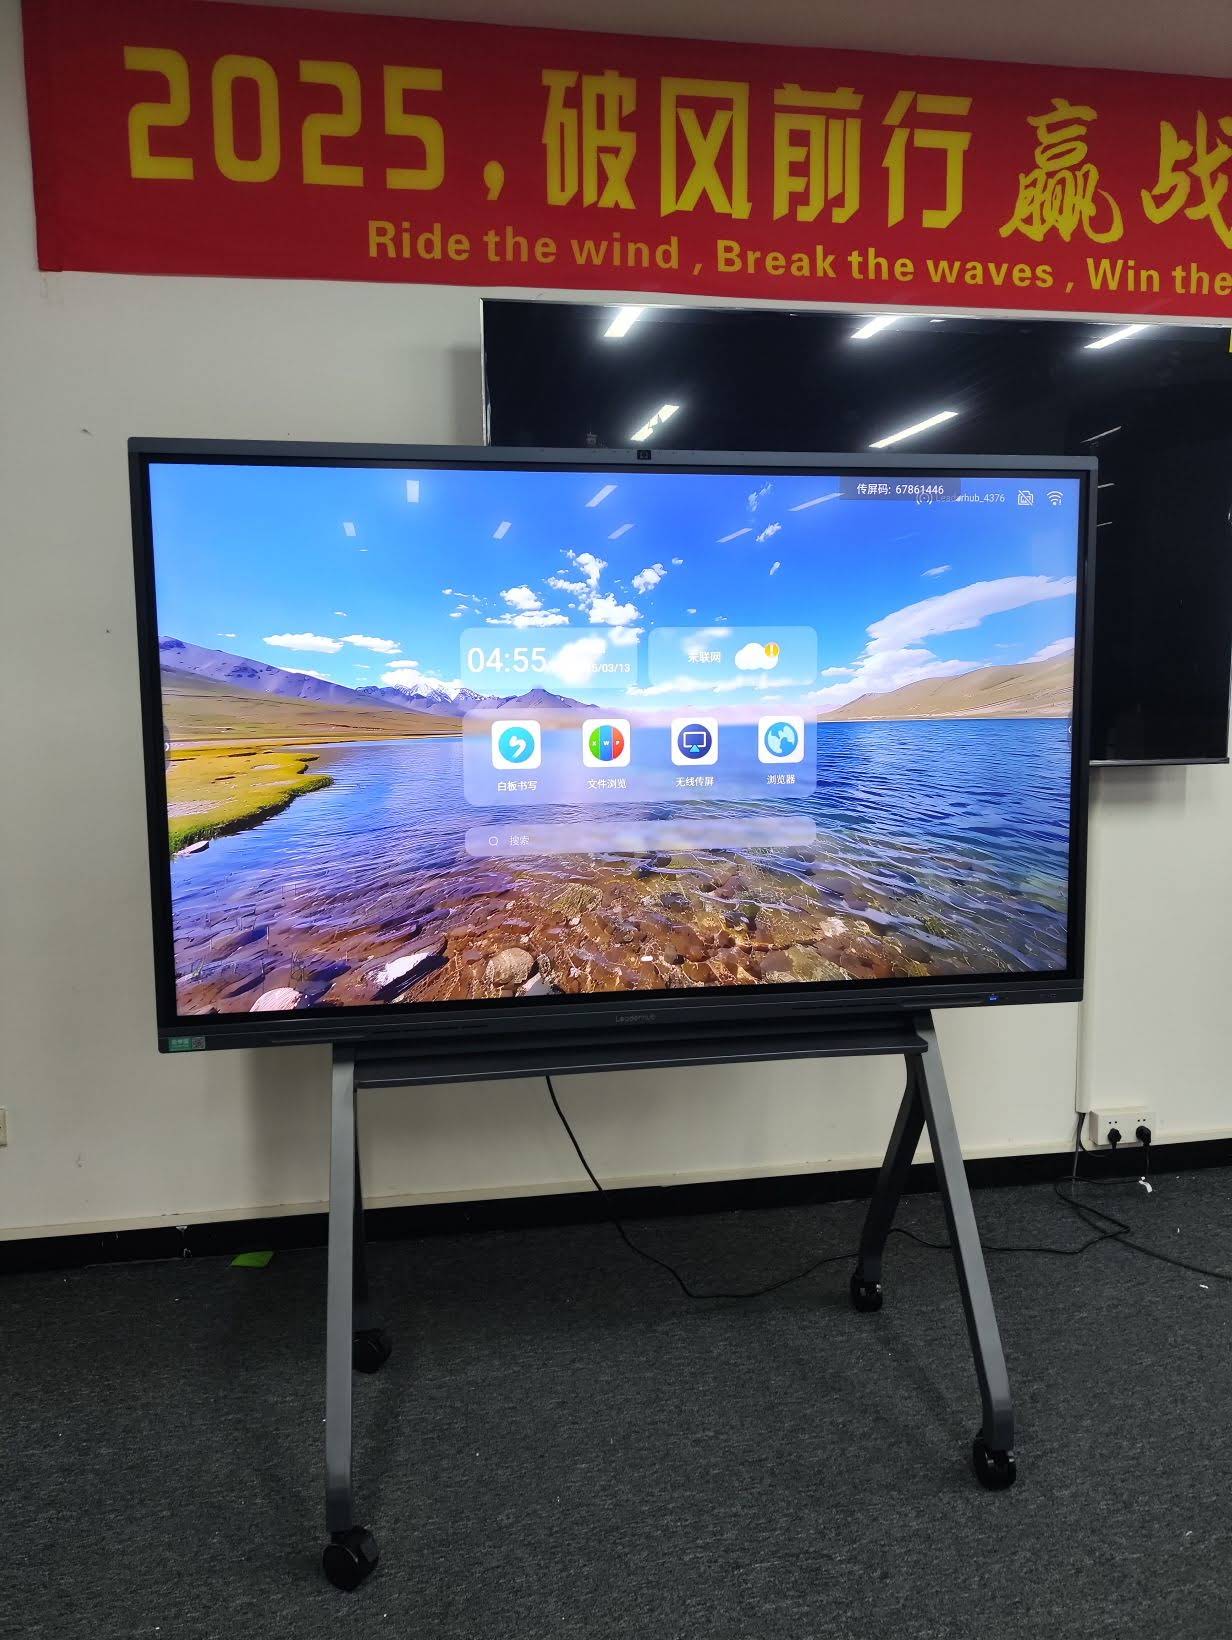
- Turn on the board and complete the first-time language, region, and network settings.
- Connect to Wi‑Fi so you can use cloud whiteboarding, browser tools, and wireless casting.
- Open the built-in whiteboard app to start writing, drawing, or sketching ideas right away.
- Import content from USB, local storage, or cloud folders if you want to present slides, PDFs, or images.
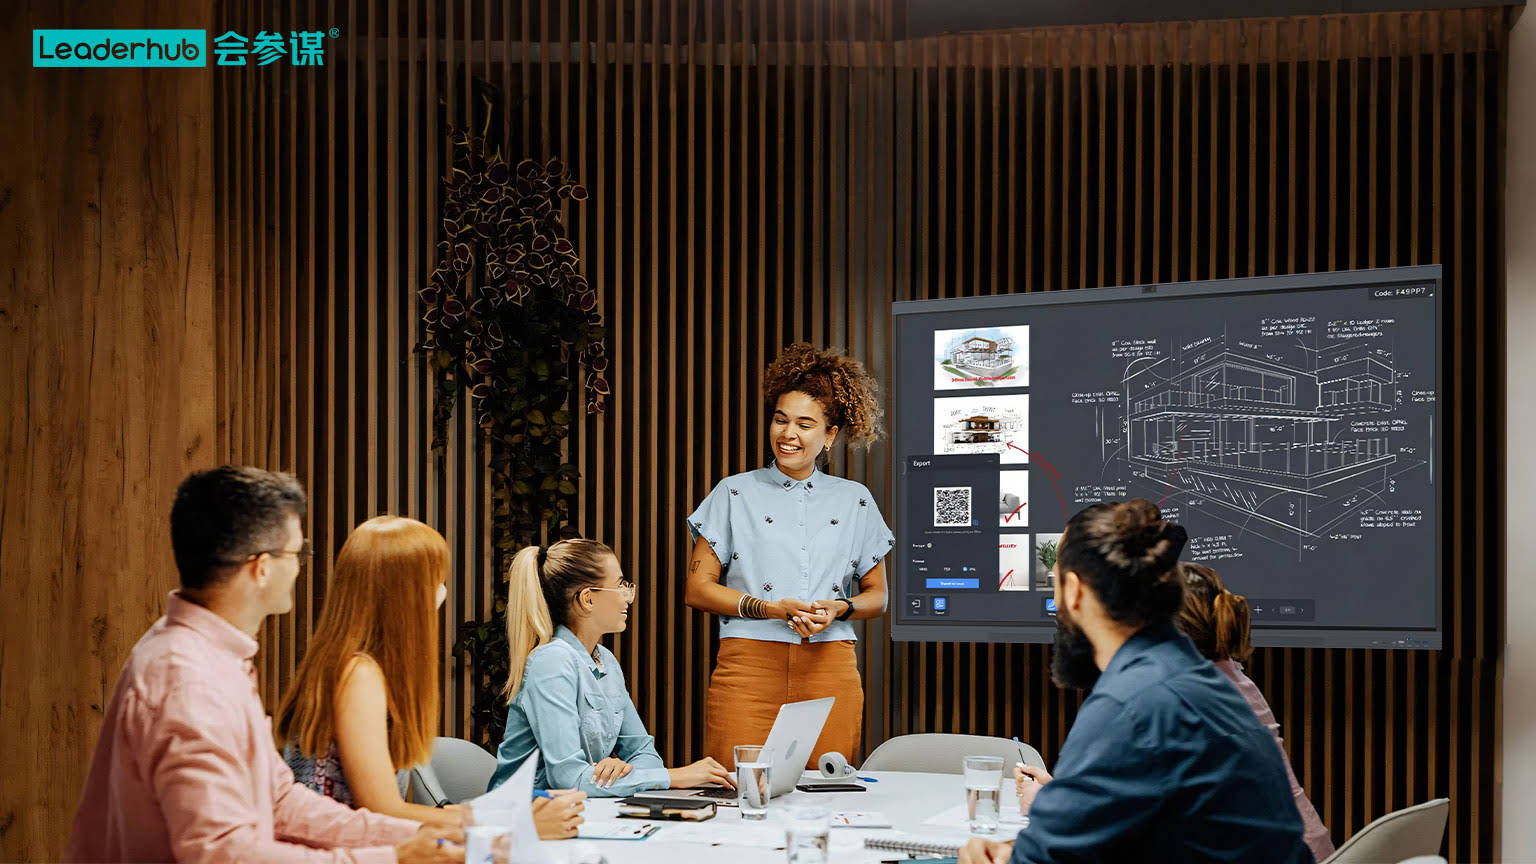
- Use annotation tools to highlight points, add shapes, draw arrows, and mark important text.
- Save and share your notes as a file, QR code, email attachment, or cloud link.
The Best Ways to Use a Smart Board Without a Computer
1) Built-in Whiteboard Mode
This is the easiest option for meetings, lessons, and brainstorming sessions. Write directly on the screen, erase with one tap, and keep all content on the board.
2) USB Playback
Load your presentation, PDF handout, or video onto a USB drive and open it from the board’s file manager. This is ideal for offline rooms or quick demos.
3) Wireless Casting
Share a phone or tablet screen wirelessly when you need to show a webpage, a photo gallery, or a live app. Many boards support fast screen-mirroring tools.
4) Cloud Collaboration
Sign in to cloud storage, open shared documents, and let teams annotate in real time. For educators, this is especially useful for saving lesson notes.
5) Built-in Browser
Open online resources, search the web, and display reference pages directly on the board. This works well for interactive discussions and live fact-checking.
For hardware that supports standalone use, browse smart whiteboards, mini PCs, and portable smart screens.
Pro Tips for a Better Standalone Experience
- Keep your most-used files in a dedicated folder for faster access.
- Use large icons and clear file names so navigation is easier on a touch screen.
- Check touch calibration if writing feels inaccurate.
- Store lesson decks or meeting decks in PDF format for more reliable opening.
- Connect a USB keyboard only when you need faster text entry.
| Use Case | Best Standalone Feature | Recommended File Type |
|---|---|---|
| Classroom teaching | Whiteboard + annotation | PDF, image, web page |
| Team meeting | Real-time brainstorming | Notes, slides, cloud docs |
| Sales demo | USB playback + casting | Video, PPT, product images |
| Workshop | Multi-user writing | Templates, checklists |
Common Problems and Quick Fixes
| Problem | Likely Cause | Quick Fix |
|---|---|---|
| Can’t open a file | Unsupported format | Convert to PDF, JPG, MP4, or PPT-compatible format |
| Touch feels offset | Calibration issue | Run touch calibration from settings |
| Casting is unstable | Weak network | Use stronger Wi‑Fi or move closer to the router |
| Board feels slow | Too many apps running | Close unused apps and restart the board |
Useful Guidance for Schools and Meeting Rooms
Technology works best when it is chosen for a clear purpose. If you are planning a classroom or conference room rollout, these independent resources are worth reading:
- UNESCO Technology Recommendations
- OECD Digital Education
- ISTE Education Technology Standards
- EU Digital Education
These sources are helpful when deciding whether your board should run mainly as a whiteboard, a presentation display, or a collaborative teaching hub.
When You Still Might Want a Mini PC
A smart board can work on its own, but a mini PC is useful when you need desktop software, heavier multitasking, local Windows apps, or a familiar file workflow. For many teams, the best setup is still board-first, computer-optional.
If your room needs a simple all-in-one display solution, a modern panel with built-in apps may be enough; if you want more flexibility, add a compact computer later.
Recommended Next Steps
- Test the board in whiteboard mode before your first meeting or lesson.
- Prepare a USB drive with sample files for offline use.
- Save your favorite web pages and cloud folders for fast access.
- Review support documentation and device settings after setup.
Explore the shop or contact us if you are planning a room upgrade.








