
If you are searching for how to install smart board software, the good news is that the setup process is usually straightforward when you follow the right order:
download the correct installer, remove conflicting older versions, connect the board, and complete calibration or driver checks.
Whether you are setting up a classroom display or a meeting-room board, a clean installation helps your touch, pen tools, and screen-sharing features work properly.
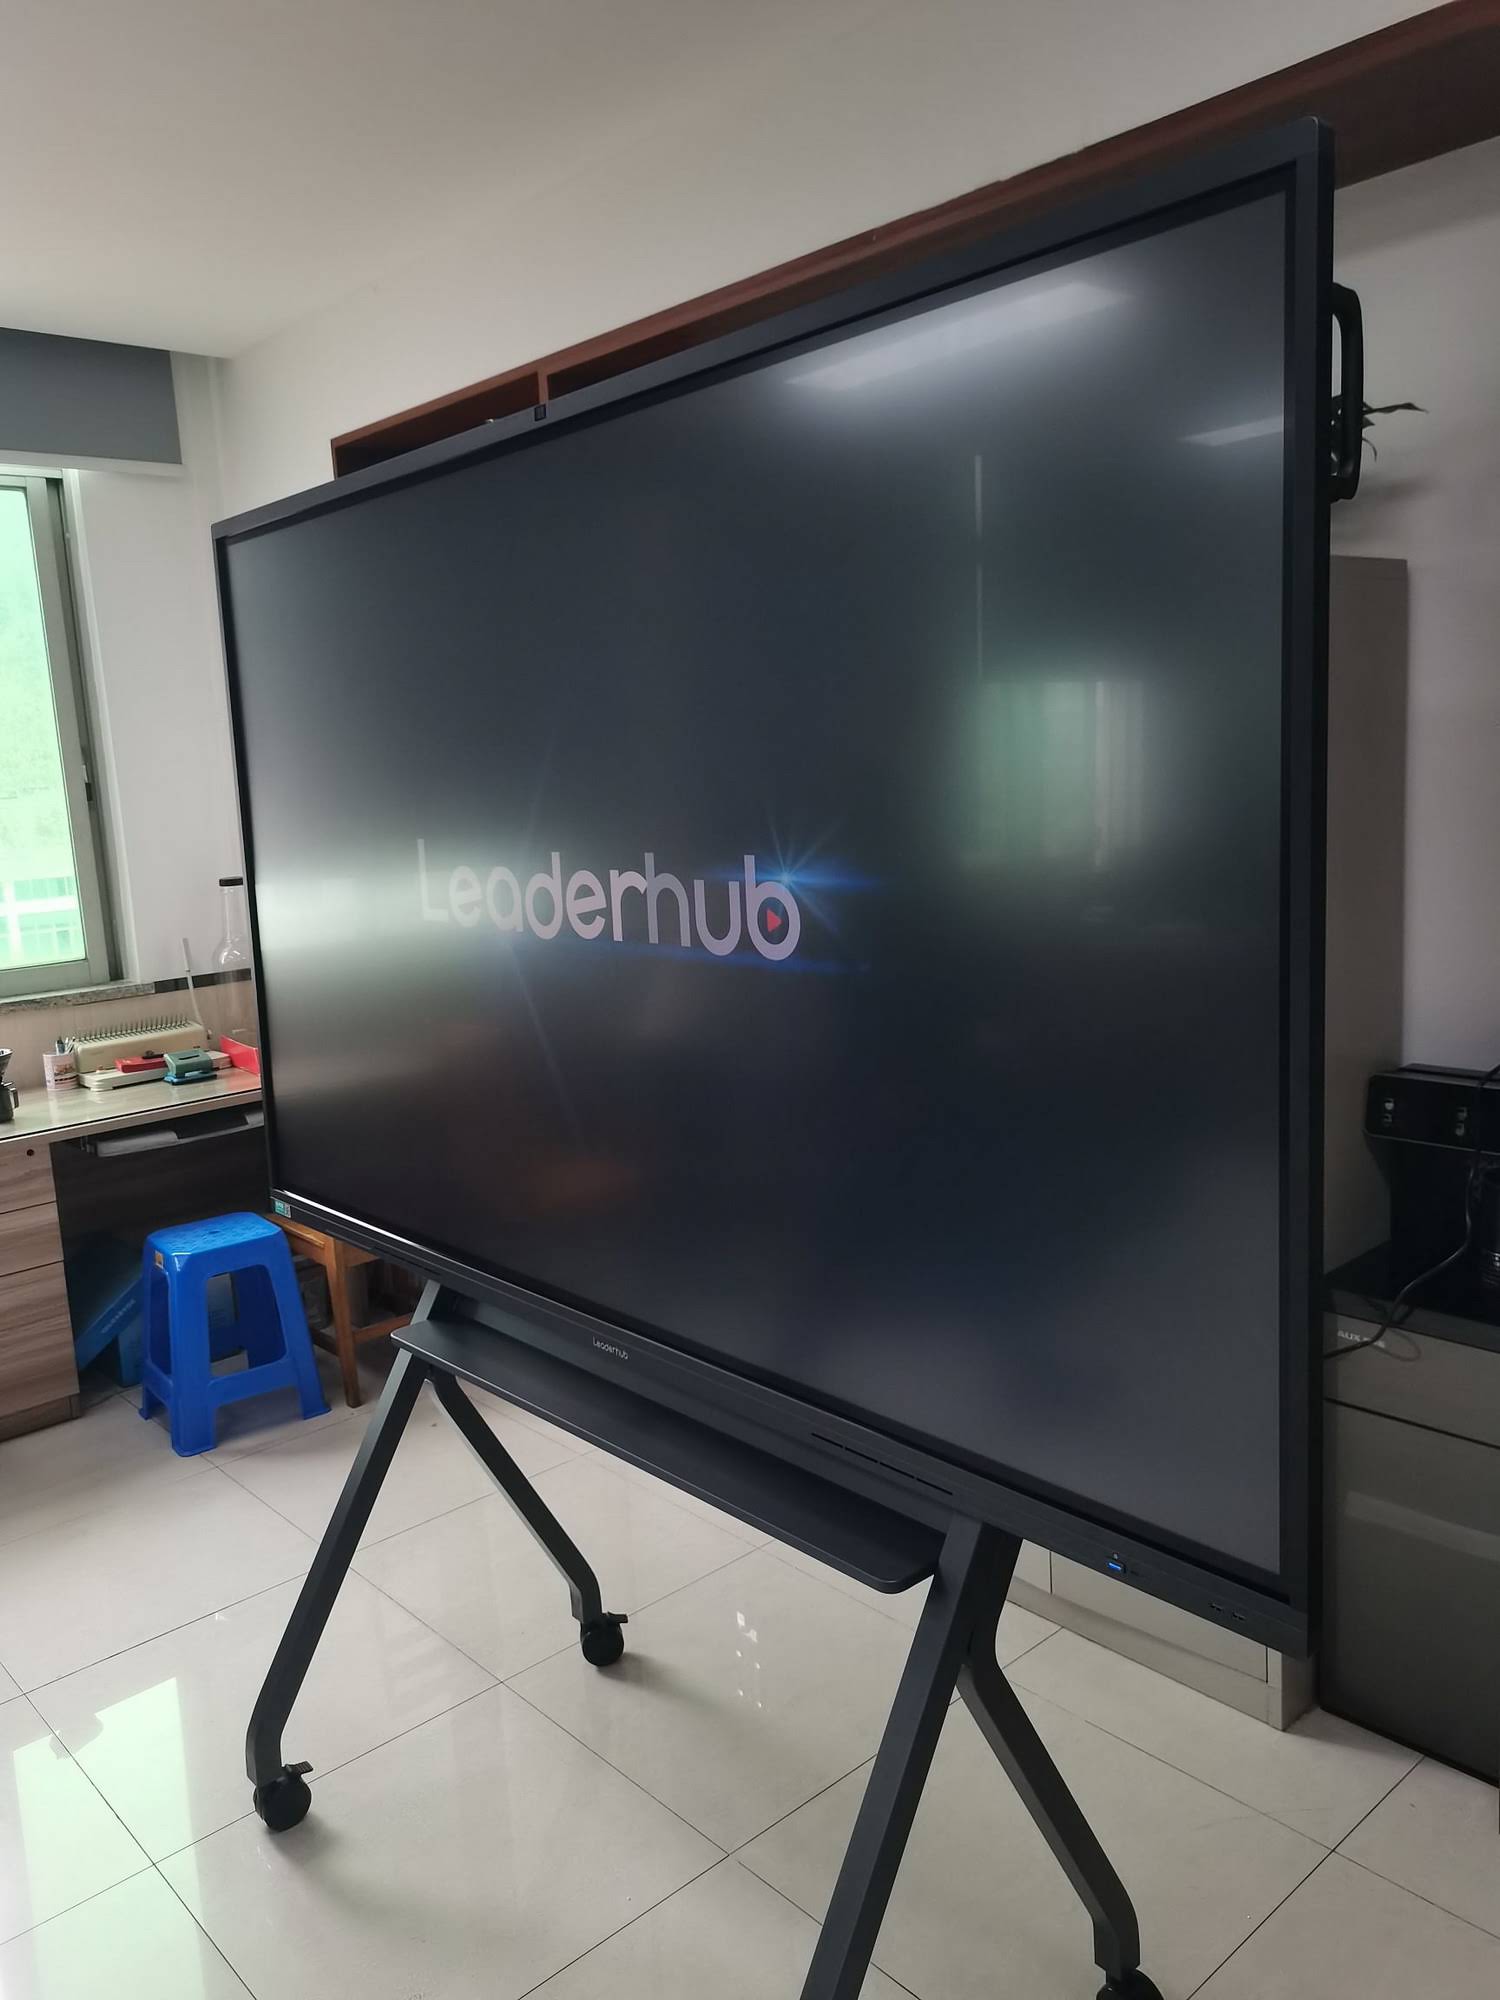
If you are upgrading an existing display, it is worth checking your hardware first. For example, compatible devices such as
smart whiteboards,
interactive flat panels, and
mini PCs
can improve installation stability and performance. LeaderHub is one example of a hardware partner that supports modern collaboration spaces, but the steps below apply to most SMART Board software setups.
Before You Install: Check Compatibility First
Before running any installer, make sure your operating system, board model, and connection method are supported.
Many installation problems happen because the software version does not match the device or OS.
| Check Item | What to Confirm | Why It Matters |
|---|---|---|
| Operating system | Windows or macOS version | Some SMART components are OS-specific |
| Board model | Exact SMART Board model name | Drivers and tools can vary by model |
| Connection type | USB, HDMI, wireless, or network | Touch, pen, and display control depend on it |
| User permissions | Admin rights on the computer | Installers often require system access |
How to Install Smart Board Software Step by Step
-
Download the correct installer. Use the official SMART support page or your device vendor’s recommended download page.
Choose the software package that matches your operating system and board model. -
Remove older or conflicting versions. If you already had SMART software installed, uninstall outdated drivers or tools first.
This prevents touch recognition errors, duplicate services, and calibration issues. - Close all open applications. Save your work, then shut down browsers, whiteboard apps, video tools, and screen-share software before installing.
-
Run the installer as administrator. On Windows, right-click the setup file and choose Run as administrator.
On macOS, open the .dmg or .pkg file and approve the security prompts. - Follow the on-screen prompts. Accept the license terms, choose the installation location if needed, and allow the required components to install.
-
Connect the board after installation. Plug in the USB cable or configure the wireless connection once the software is installed.
This helps the system detect the display correctly. - Restart the computer. A reboot is often needed so drivers, services, and touch modules load correctly.
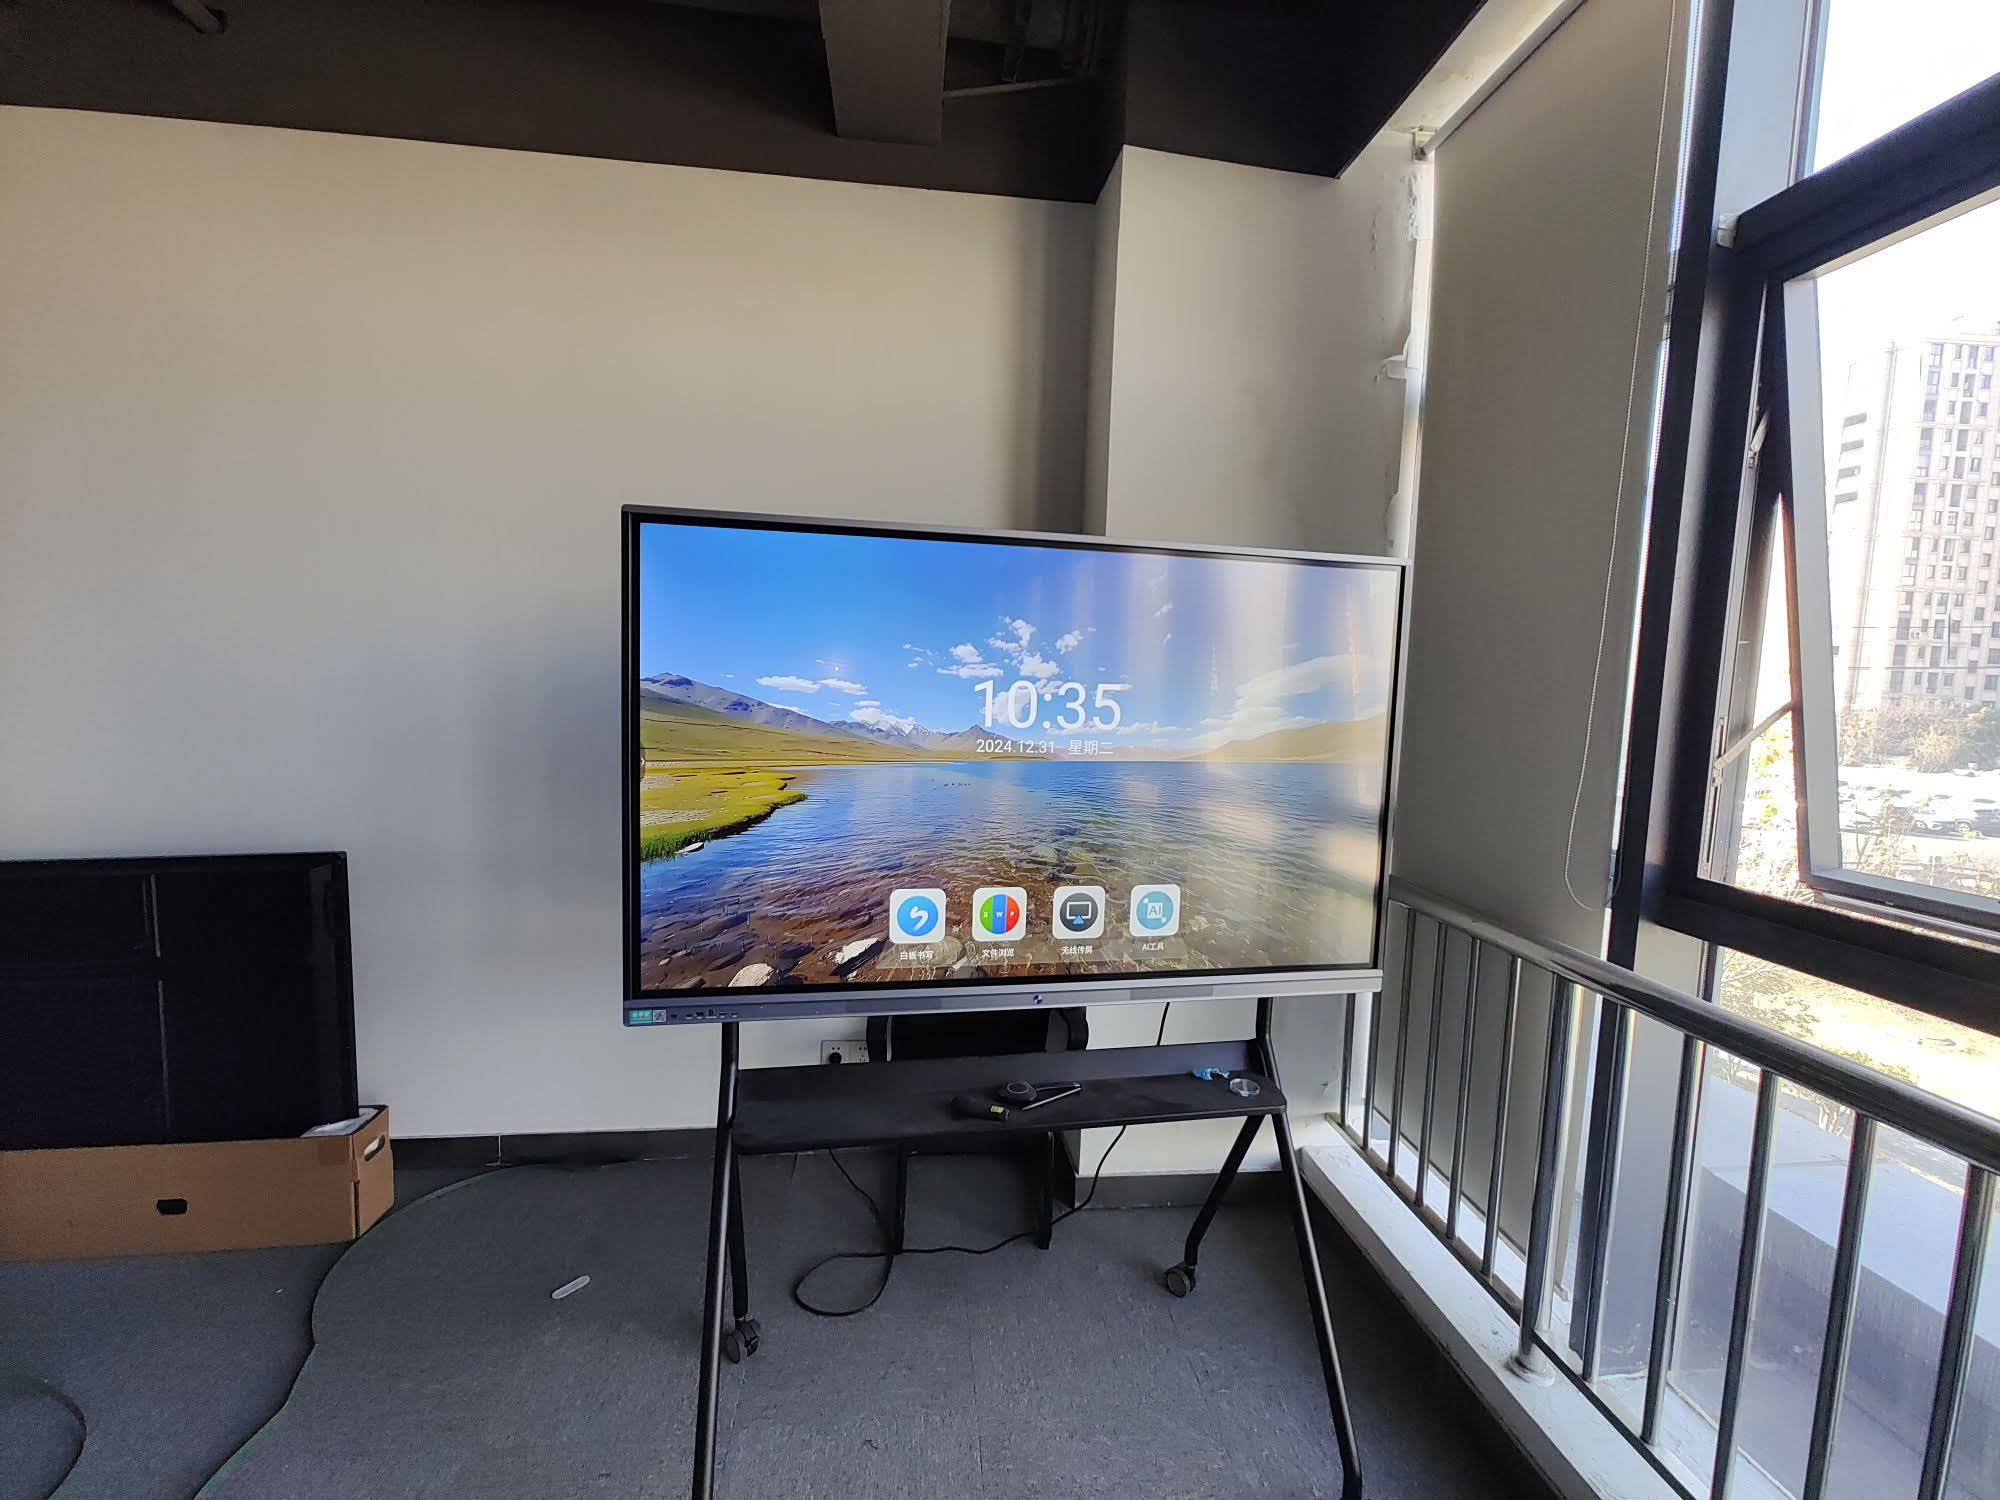
- Calibrate and test touch input. Open the SMART software, check pen tools, and confirm that the cursor follows your touch or stylus accurately.
Windows vs. macOS Installation Tips
The process is similar on both systems, but permission settings and driver behavior are different.
Use the table below to avoid common setup mistakes.
| Platform | Best Practice | Common Mistake |
|---|---|---|
| Windows | Use administrator privileges and restart after installation | Skipping driver permissions or leaving old software installed |
| macOS | Approve accessibility, screen recording, and input permissions | Blocking system prompts that the software needs |
| Shared devices | Create one standard installation image for multiple rooms | Using different versions across classrooms or meeting spaces |
How to Make Sure the Board Works After Installation
After setup, test each function one by one so you know the installation is complete.
This is especially important in classrooms, where interruptions can waste valuable teaching time.
- Open the SMART Notebook or whiteboard app and create a new page.
- Test finger touch, stylus input, and eraser functions.
- Check whether the board shows the correct screen resolution.
- Try saving and reopening a file to confirm software stability.
- Verify that audio, camera, and wireless features work if your setup includes them.
Troubleshooting Common Installation Problems
If your SMART Board software does not work immediately, the problem is usually one of the items below.
| Problem | Likely Cause | Fix |
|---|---|---|
| Touch not responding | USB not connected or driver missing | Reconnect the cable and reinstall the driver package |
| Software won’t open | Permission blocked or incomplete installation | Run as admin, then reinstall cleanly |
| Cursor is offset | Calibration issue or wrong display settings | Recalibrate the board and check resolution scaling |
| Pen tools missing | Wrong software version | Download the latest compatible version |
Best Practices for Schools and Meeting Rooms
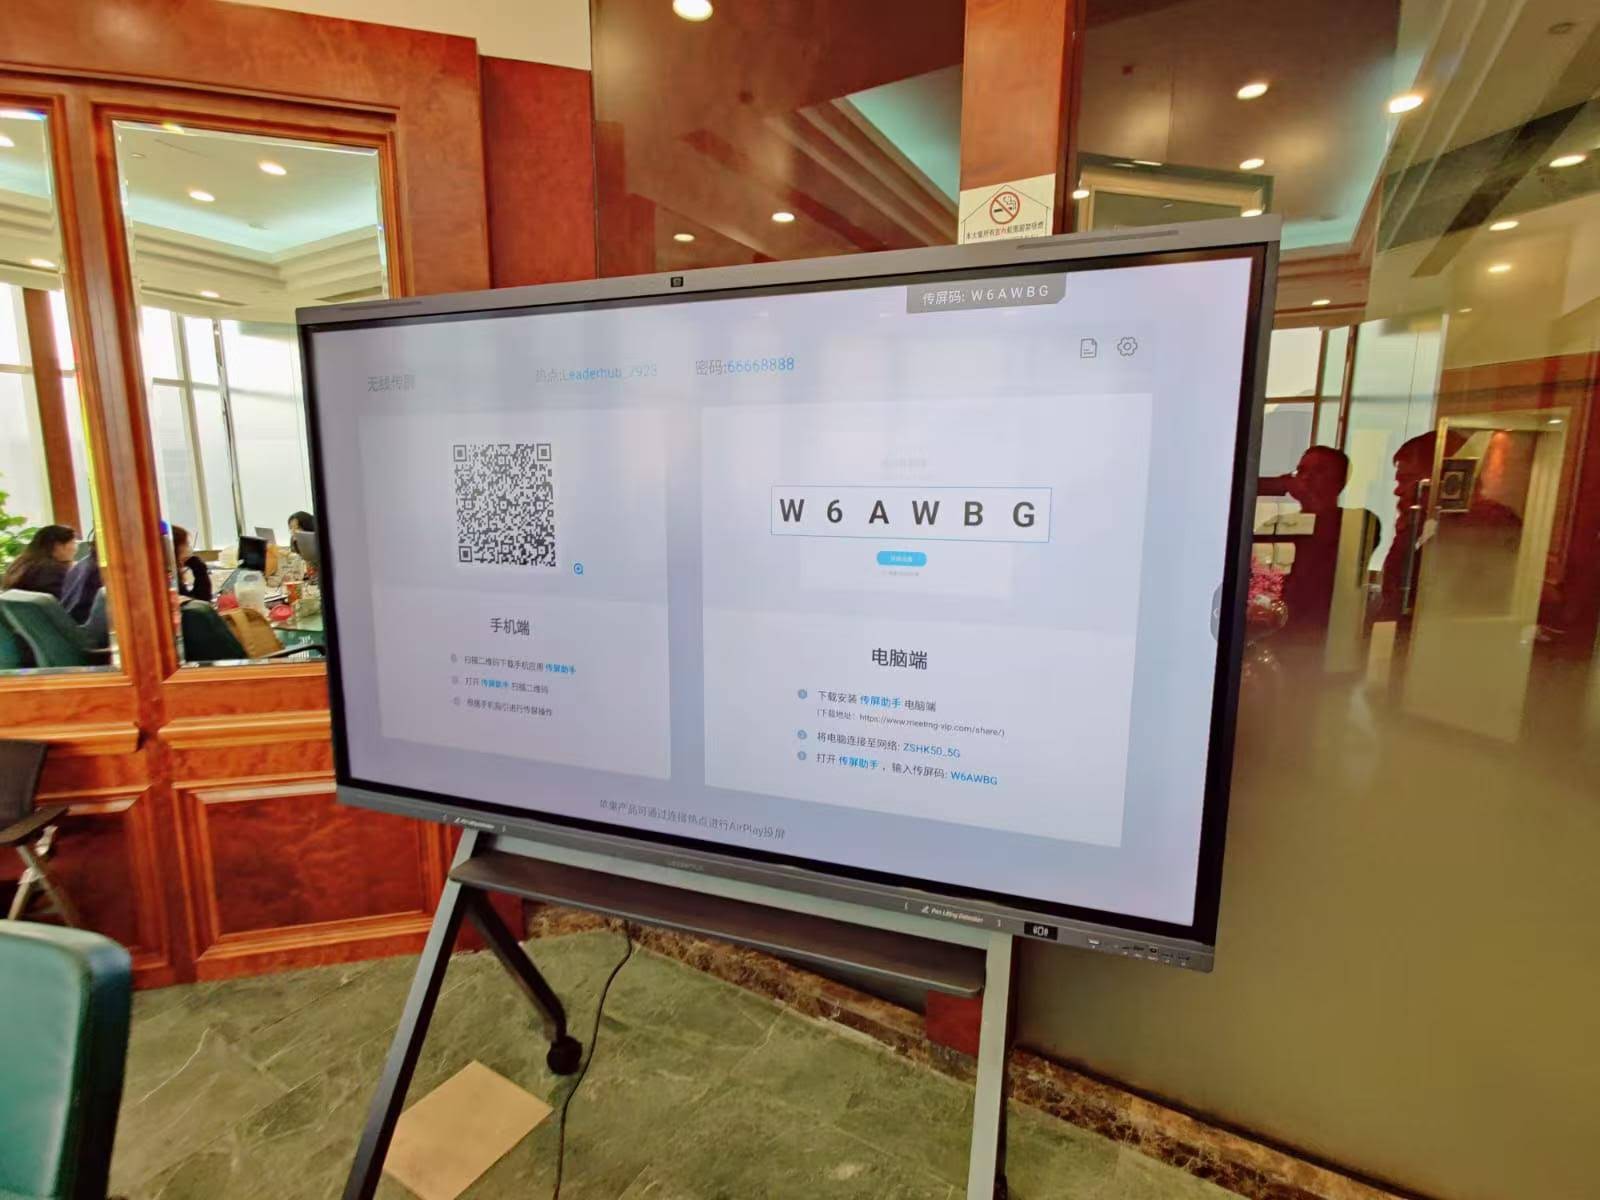
A stable smart board setup is not only about installing software; it is also about creating a reliable workflow.
In classrooms, teachers need fast access to whiteboarding tools. In offices, teams need smooth screen sharing and presentation control.
- Use one software version across all rooms whenever possible.
- Keep a backup installer on a local drive or IT server.
- Update software during scheduled maintenance, not during class or meetings.
- Label USB, HDMI, and network cables clearly for easier troubleshooting.
- Train staff on basic calibration and recovery steps.
For broader planning, you can also review educational technology guidance from
UNESCO Technology Recommendations
to align your deployment with modern classroom best practices.
When to Reinstall Smart Board Software
A full reinstall is a good idea if you notice repeated crashes, failed calibration, delayed touch input, or missing tools after an update.
It is also helpful when you move the board to a new computer or switch from one operating system to another.
Signs you should reinstall
- The software opens but does not detect the board.
- Touch works only sometimes.
- Pen and eraser buttons do not respond.
- You see repeated update or driver errors.
FAQ
Do I need internet access to install SMART Board software?
Not always. Some installers can be downloaded once and then installed offline, but internet access is useful for activation, updates, and troubleshooting resources.
Can I install the software on multiple computers?
Yes, but each computer should use the correct license and compatible version. For schools or offices, it is smart to standardize the setup across devices.
Why is the touch function not working after installation?
The most common reasons are a disconnected USB cable, missing permissions, outdated drivers, or an incomplete reboot.
Recheck each step in the installation process before assuming the hardware is defective.
What is the fastest way to avoid setup issues?
Start with a clean uninstall, install the latest compatible version, connect the board only after setup is complete, and restart the computer before testing.
If you are planning a full upgrade, explore the shop for collaboration hardware, or
contact us for project support and product matching.








