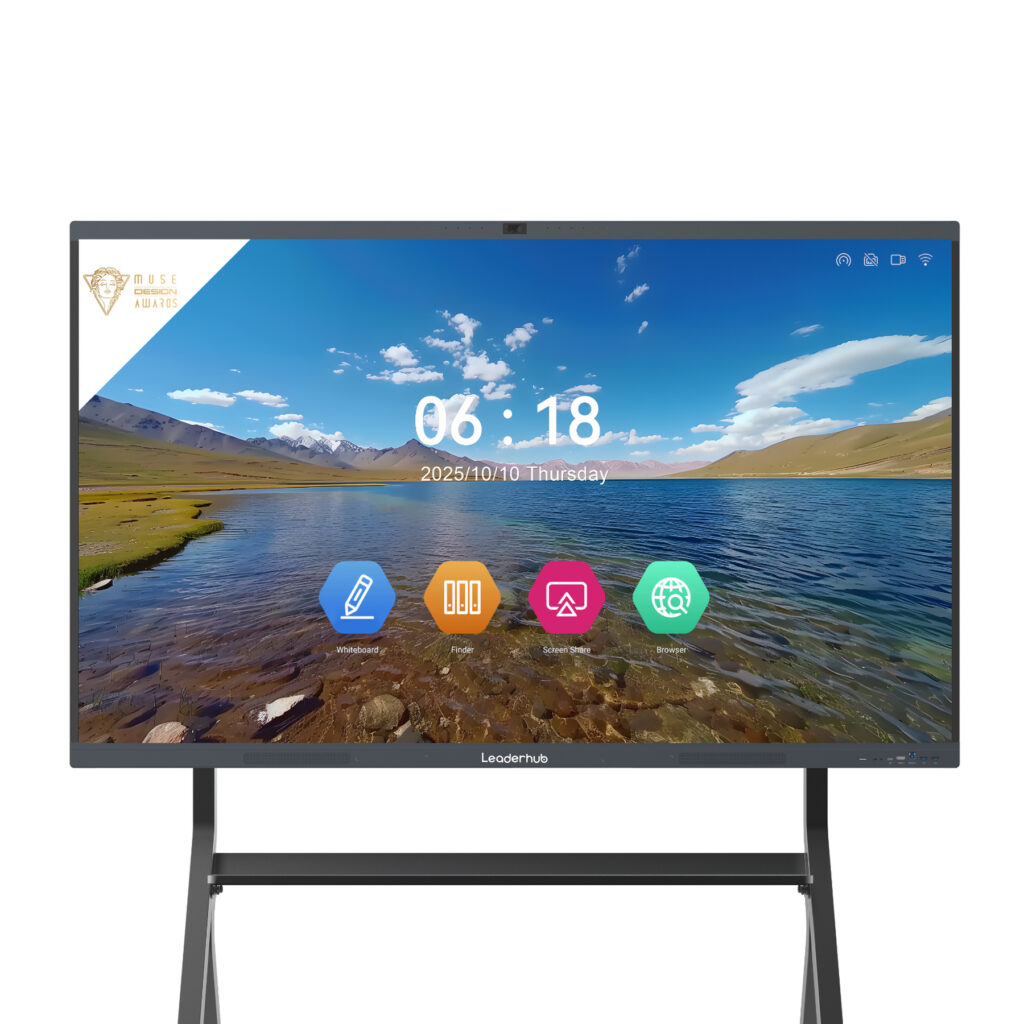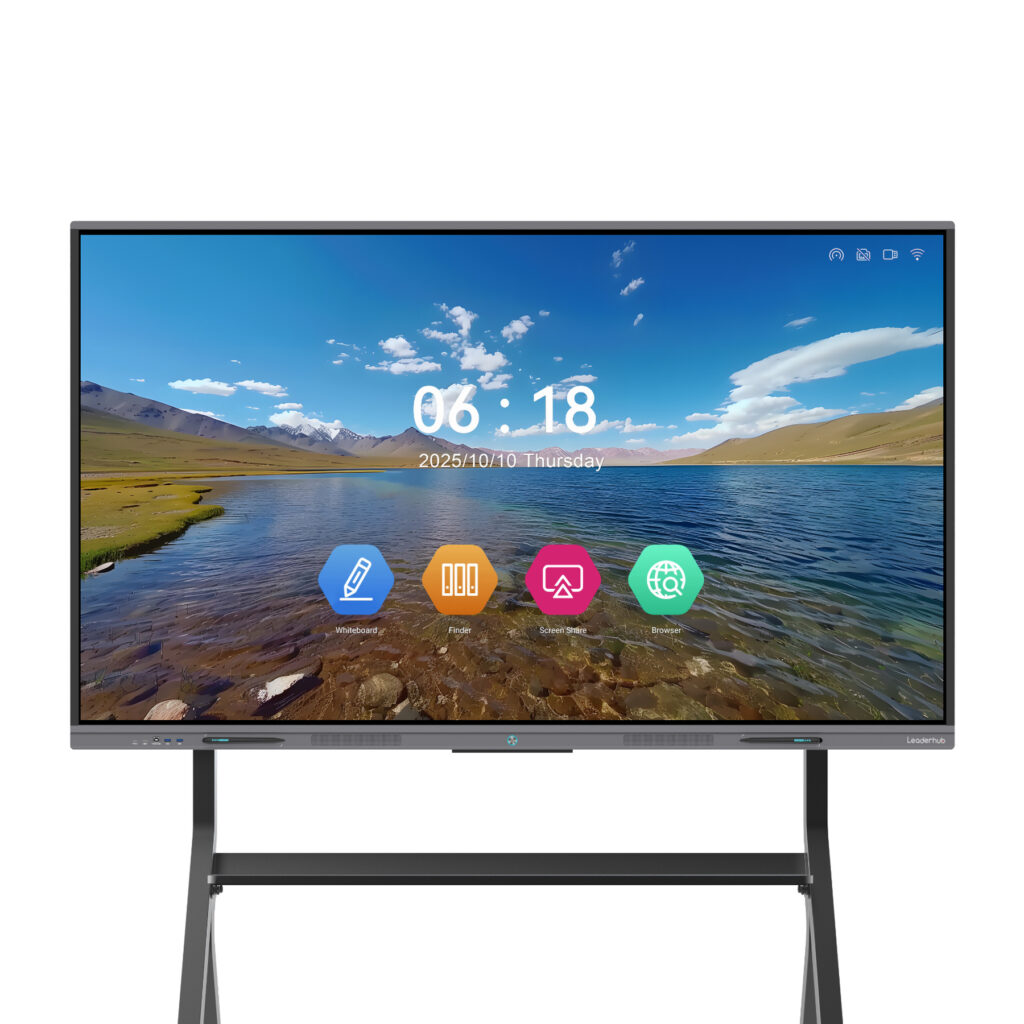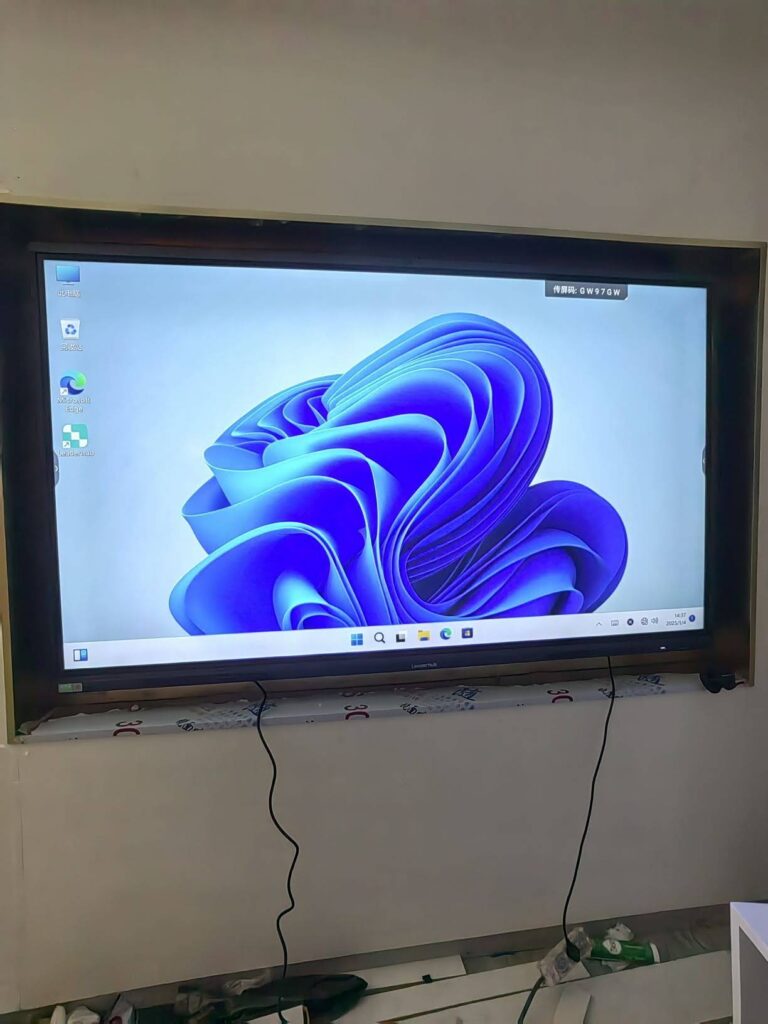
Shipping an interactive display across the ocean is a one-way trip. Once a 75-inch or 86-inch panel leaves the factory, every scratch, dead pixel, loose port, or missing accessory becomes a costly return, a frustrated distributor, or a classroom that stays dark on launch day. That is exactly why a structured smart board pre-shipment inspection checklist matters so much for importers, system integrators, school procurement teams, and OEM/ODM buyers.
This guide walks through 15 key checks that quality teams use before a smart board is boxed, palletized, and loaded. Whether you are inspecting a single pilot unit or a 40-foot container of interactive flat panels, these steps help you confirm that what arrives at your warehouse matches what you ordered.
Why a Smart Board Pre-Shipment Inspection Checklist Is Essential
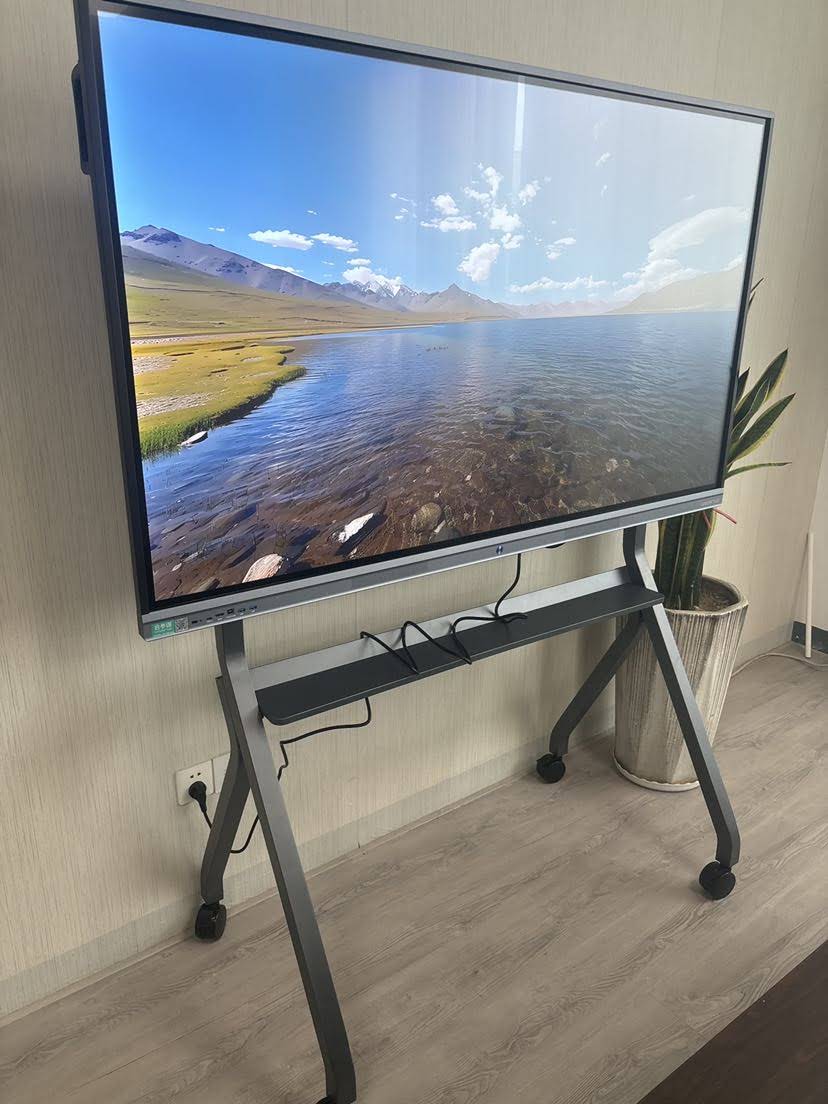
Interactive flat panels are large, fragile, and electronically complex. A single unit combines an LCD module, a touch frame (infrared or capacitive), an Android or Windows computing module, speakers, cameras, microphones, and a dense I/O panel. Each subsystem can fail independently, and many defects are invisible until the unit is powered on and touched.
A pre-shipment inspection (PSI) is typically performed when 80–100% of the order is finished and at least 80% is packed. At this stage, the inspector can verify the finished product, the packaging, and the shipping marks all at once. Skipping this step pushes quality risk downstream to your installers and end users, which is far more expensive than catching it on the factory floor.
What a Good Inspection Delivers
- Verified functionality of display, touch, audio, and connectivity before transit
- Confirmation that specifications match the purchase order (size, resolution, OPS slot, RAM, storage, OS version)
- Reduced DOA (dead-on-arrival) rates and warranty claims
- Proof of compliance labeling (CE, FCC, RoHS, energy labels) for customs clearance
- A documented quality record for your own customers and tenders
Quick Overview: The 15 Checks at a Glance
| # | Check Item | Category | Typical Method |
|---|---|---|---|
| 1 | Order & spec conformity | Documentation | Compare PO, label, system info |
| 2 | Cosmetic & frame inspection | Appearance | Visual, 30–50 cm distance |
| 3 | Dead / bright pixel test | Display | Full-screen color patterns |
| 4 | Brightness & uniformity | Display | Luminance meter, 9-point grid |
| 5 | Light leakage & mura | Display | Black screen in dim room |
| 6 | Touch accuracy & linearity | Touch | Grid drawing, edge test |
| 7 | Multi-touch & palm rejection | Touch | 20-point test app |
| 8 | Anti-glare glass & surface | Touch | Hardness pencil, glare check |
| 9 | Port & connectivity test | Hardware | Plug every HDMI, USB, LAN |
| 10 | Audio, camera & microphone | Hardware | Playback, recording, video call |
| 11 | Wi-Fi, Bluetooth & OPS slot | Hardware | Signal strength, hot-swap |
| 12 | Firmware, OS & software | Software | Version check, whiteboard app |
| 13 | Safety, aging & power test | Safety | Hi-pot, 4–8 hour burn-in |
| 14 | Accessories & labeling | Packaging | Packing list, serial match |
| 15 | Carton, pallet & drop test | Packaging | ISTA-style drop, strapping |
Part 1: Documentation and Appearance Checks
Check 1 — Order and Specification Conformity
Before touching the screen, confirm the product is what you ordered. Pull three units at random from different pallets and compare the model number, serial number, screen size, panel resolution, Android version, RAM/ROM, and OPS configuration against the purchase order and the pro-forma invoice. Open the system “About” page to verify RAM, storage, and firmware build rather than trusting the label alone.
- Panel size and resolution (e.g., 65″ / 75″ / 86″ at 3840 × 2160)
- Touch technology: infrared (IR) vs. capacitive, and touch point count
- Android version and CPU/RAM/storage
- Presence of OPS slot, built-in camera, microphone array, NFC
- Power plug type and voltage range for the destination market
Check 2 — Cosmetic and Frame Inspection
Inspect the bezel, back cover, stand mounting points, and glass surface under good lighting from about 30–50 cm. Look for scratches, dents, paint flaws, gaps between the frame and glass, misaligned logos, and residual adhesive. For aluminum alloy frames, run a gloved finger along the edges to check for burrs that could cut a user. Count any defects against your agreed cosmetic standard (Zone A front glass is usually stricter than Zone C rear housing).
Part 2: Display Quality Checks
Check 3 — Dead and Bright Pixel Test
Cycle through full-screen red, green, blue, white, and black test patterns. Dead pixels show as black dots on bright backgrounds; stuck or bright pixels show as colored dots on black. Most commercial panels follow ISO 9241-307 Class II or a stricter factory standard. A common acceptance rule for a 4K educational panel is zero bright pixels in the central zone and no more than 2–3 dark pixels overall, but confirm the exact threshold in your quality agreement.
Check 4 — Brightness and Uniformity
Using a luminance meter on a full-white screen at maximum brightness, measure nine points (center, four corners, four edge midpoints). Compare the center value against the datasheet (typically 350–450 cd/m² for classroom panels) and check that uniformity stays above 75–80%. Large drops at the corners suggest backlight or diffuser issues that will become obvious in a sunlit classroom.
Check 5 — Light Leakage, Mura and Color Cast
Display a pure black image in a dimly lit area. Look for backlight bleeding at the edges, cloudy patches (mura), and uneven dark bands. Then switch to a 50% gray pattern to detect vertical or horizontal lines and color tint differences between left and right halves. These defects are easy to miss in a bright factory hall but are the number one complaint from end users watching video content.
Part 3: Touch Performance Checks
Check 6 — Touch Accuracy and Linearity
Open the built-in whiteboard app and draw straight lines across the entire screen using a ruler, both horizontally and vertically, including the outermost 10 mm near the bezel. The ink should follow the stylus with no offset greater than about 1–2 mm, no broken strokes, and no “jump” at the edges. Repeat with a finger and with the supplied passive stylus. Also test writing speed: fast cursive handwriting should not produce jagged, lagging lines.
Check 7 — Multi-Touch and Palm Rejection
Run a multi-touch test application and place 10, then 20 fingers on the screen simultaneously. All points should register and track independently. Then rest a palm on the glass while writing with the pen — the panel should ignore the palm and keep writing clean. Finally, test dual-pen, dual-color writing if the model supports it, plus gesture erase with the back of the hand.
Check 8 — Anti-Glare Glass and Surface Hardness
Confirm the glass is the tempered, anti-glare type specified (usually 4 mm, Mohs 7 hardness). A quick pencil-hardness check on a corner, a reflection test under overhead lights, and a visual inspection for coating haze or oily residue are usually sufficient. Make sure the protective film is applied straight and that the glass has no chips at the corners, which are the most common breakage points during transit.

Part 4: Hardware and Connectivity Checks
Check 9 — Port and Connectivity Test
Do not assume a port works because it is physically present. Plug a live source into every HDMI input, the HDMI output, each USB-A and USB-C port, the Touch-USB port, LAN, and the audio jacks. Verify that the front USB ports supply power, that USB-C delivers video plus touch-back, and that the LAN port negotiates a Gigabit link. Confirm that switching sources is fast and that the touch signal follows the active source without re-plugging.
| Port | What to Verify | Pass Criteria |
|---|---|---|
| HDMI In (all) | 4K@60Hz signal, audio, touch-back | Image stable, no flicker or sparkle |
| USB-C | DisplayPort Alt mode, PD charging | Laptop charges and mirrors in one cable |
| USB-A (front/rear) | File read, camera recognition | USB 3.0 speed, no disconnects |
| LAN / RJ45 | Link speed, IP assignment | 1000 Mbps link light, DHCP OK |
| OPS Slot | Boot, touch, hot-swap behavior | Windows boots, touch works instantly |
| Audio Out / SPDIF | Signal to external speaker | Clean sound, no hum |
Check 10 — Audio, Camera and Microphone
Play a sweep tone and a voice track at 50% and 100% volume. Listen for distortion, rattle from the speaker grille, and channel imbalance. If the unit has a built-in 4K camera and microphone array, start a video call or recording app: check auto-framing, low-light noise, and that voices are picked up clearly from 6–8 meters. For models like the L75H Pro interactive flat panel, also confirm the camera privacy shutter or indicator LED behaves correctly.
Check 11 — Wi-Fi, Bluetooth and Wireless Casting
Connect to both 2.4 GHz and 5 GHz networks and measure signal strength from the farthest corner of the inspection room. Pair a Bluetooth keyboard or speaker. Then cast from a Windows laptop, an iPhone, and an Android phone to verify that the wireless screen-sharing feature supports all three platforms with acceptable latency. Finally, test Wi-Fi hotspot mode if the panel is intended for rooms without network cabling.
Part 5: Software and Safety Checks
Check 12 — Firmware, OS and Pre-Installed Software
Confirm the firmware build matches the version approved in the golden sample. Check that the Android launcher, whiteboard, annotation tool, file manager, and any customer-specific apps or wallpapers are present, licensed, and free of trial watermarks. Verify the default language, time zone, and keyboard layout for the destination country, and that OTA update is enabled or disabled per your instructions. If OEM branding was ordered, check the boot logo, launcher logo, and system name.
Check 13 — Safety, Aging and Power Test
Electrical safety is non-negotiable for products going into classrooms. Confirm that every unit passed hi-pot (dielectric withstand) and ground continuity tests on the production line, and that the inspector can see the records. Request proof of a 4–8 hour burn-in (aging) test with the screen on, during which no restarts, freezes, or thermal shutdowns occurred. On the sampled units, measure standby power, check fan noise if applicable, and confirm the rear housing temperature is reasonable after two hours of use. Verify CE/FCC/RoHS/UKCA marks and the rating label match the destination market. For broader AV installation standards, the AV Industry Standards and Resources published by AVIXA are a useful reference for integrators.
Part 6: Packaging and Shipping Checks
Check 14 — Accessories, Labels and Serial Traceability
Open the accessory box and count every item against the packing list: power cord with the correct plug, HDMI cable, USB touch cable, remote control with batteries, two or more styluses, wall-mount bracket and screws, user manual, warranty card, and quick-start guide. Then confirm that the serial number on the panel, the carton label, and the packing list all match. Mismatched serials create warranty nightmares later and can delay customs clearance for orders that require serial-level declarations.
Check 15 — Carton Strength, Pallet and Drop Test
Large panels are usually shipped in a double-wall or triple-wall carton with EPS or EPE foam corner protectors, standing upright and strapped to a wooden or plastic pallet. Check the following before releasing the shipment:
- Carton is undamaged, dry, and printed with correct shipping marks, “This Side Up,” and “Fragile” symbols
- Foam inserts hold the panel firmly with no movement when the carton is gently rocked
- Pallet is heat-treated (ISPM-15 stamped) for international shipping
- Units are strapped and stretch-wrapped, with corner boards protecting the edges
- One sample passes a carton drop or incline test per ISTA 1A/2A or the agreed protocol, with no glass or frame damage afterward
- Carton dimensions and gross weight match the shipping documents for container loading plans
Recommended Sampling Plan for Smart Board Inspections
Most buyers use the AQL (Acceptable Quality Limit) sampling method from ISO 2859-1, General Inspection Level II. Because interactive panels are high-value items, many importers tighten the sample for functional tests while keeping standard sampling for cosmetics.
| Lot Size (units) | Sample Size (Level II) | Critical Defects | Major (AQL 2.5) | Minor (AQL 4.0) |
|---|---|---|---|---|
| 2 – 8 | 2 (or 100%) | 0 | 0 | 0 |
| 9 – 50 | 8 | 0 | 0–1 | 1 |
| 51 – 150 | 20 | 0 | 1 | 2 |
| 151 – 280 | 32 | 0 | 2 | 3 |
| 281 – 500 | 50 | 0 | 3 | 5 |
Critical defects (electrical safety failure, cracked glass, non-functional touch) always result in rejection. Major defects (dead pixels beyond limit, one non-working port, missing OPS support) affect usability. Minor defects (small rear-cover scuff, slightly misaligned label) are cosmetic only.
Common Defects Found During Smart Board Inspections
Knowing where problems usually hide makes inspections faster. Based on typical factory and third-party reports for interactive flat panels, these are the issues that appear most often:
- Touch dead zones at the edges — usually caused by dust or misalignment in the IR frame; easily fixed at the factory, impossible to fix on site without disassembly
- Light leakage at the bottom edge — a frame tension or panel seating issue
- Wrong power cord plug type — surprisingly common when an order ships to multiple regions
- Watermarked or trial software — licenses not activated before packing
- Speaker buzz at high volume — loose grille or housing screws
- Carton foam too thin for the panel size — leading to corner cracks after sea freight
How Manufacturers Build Quality In Before Inspection
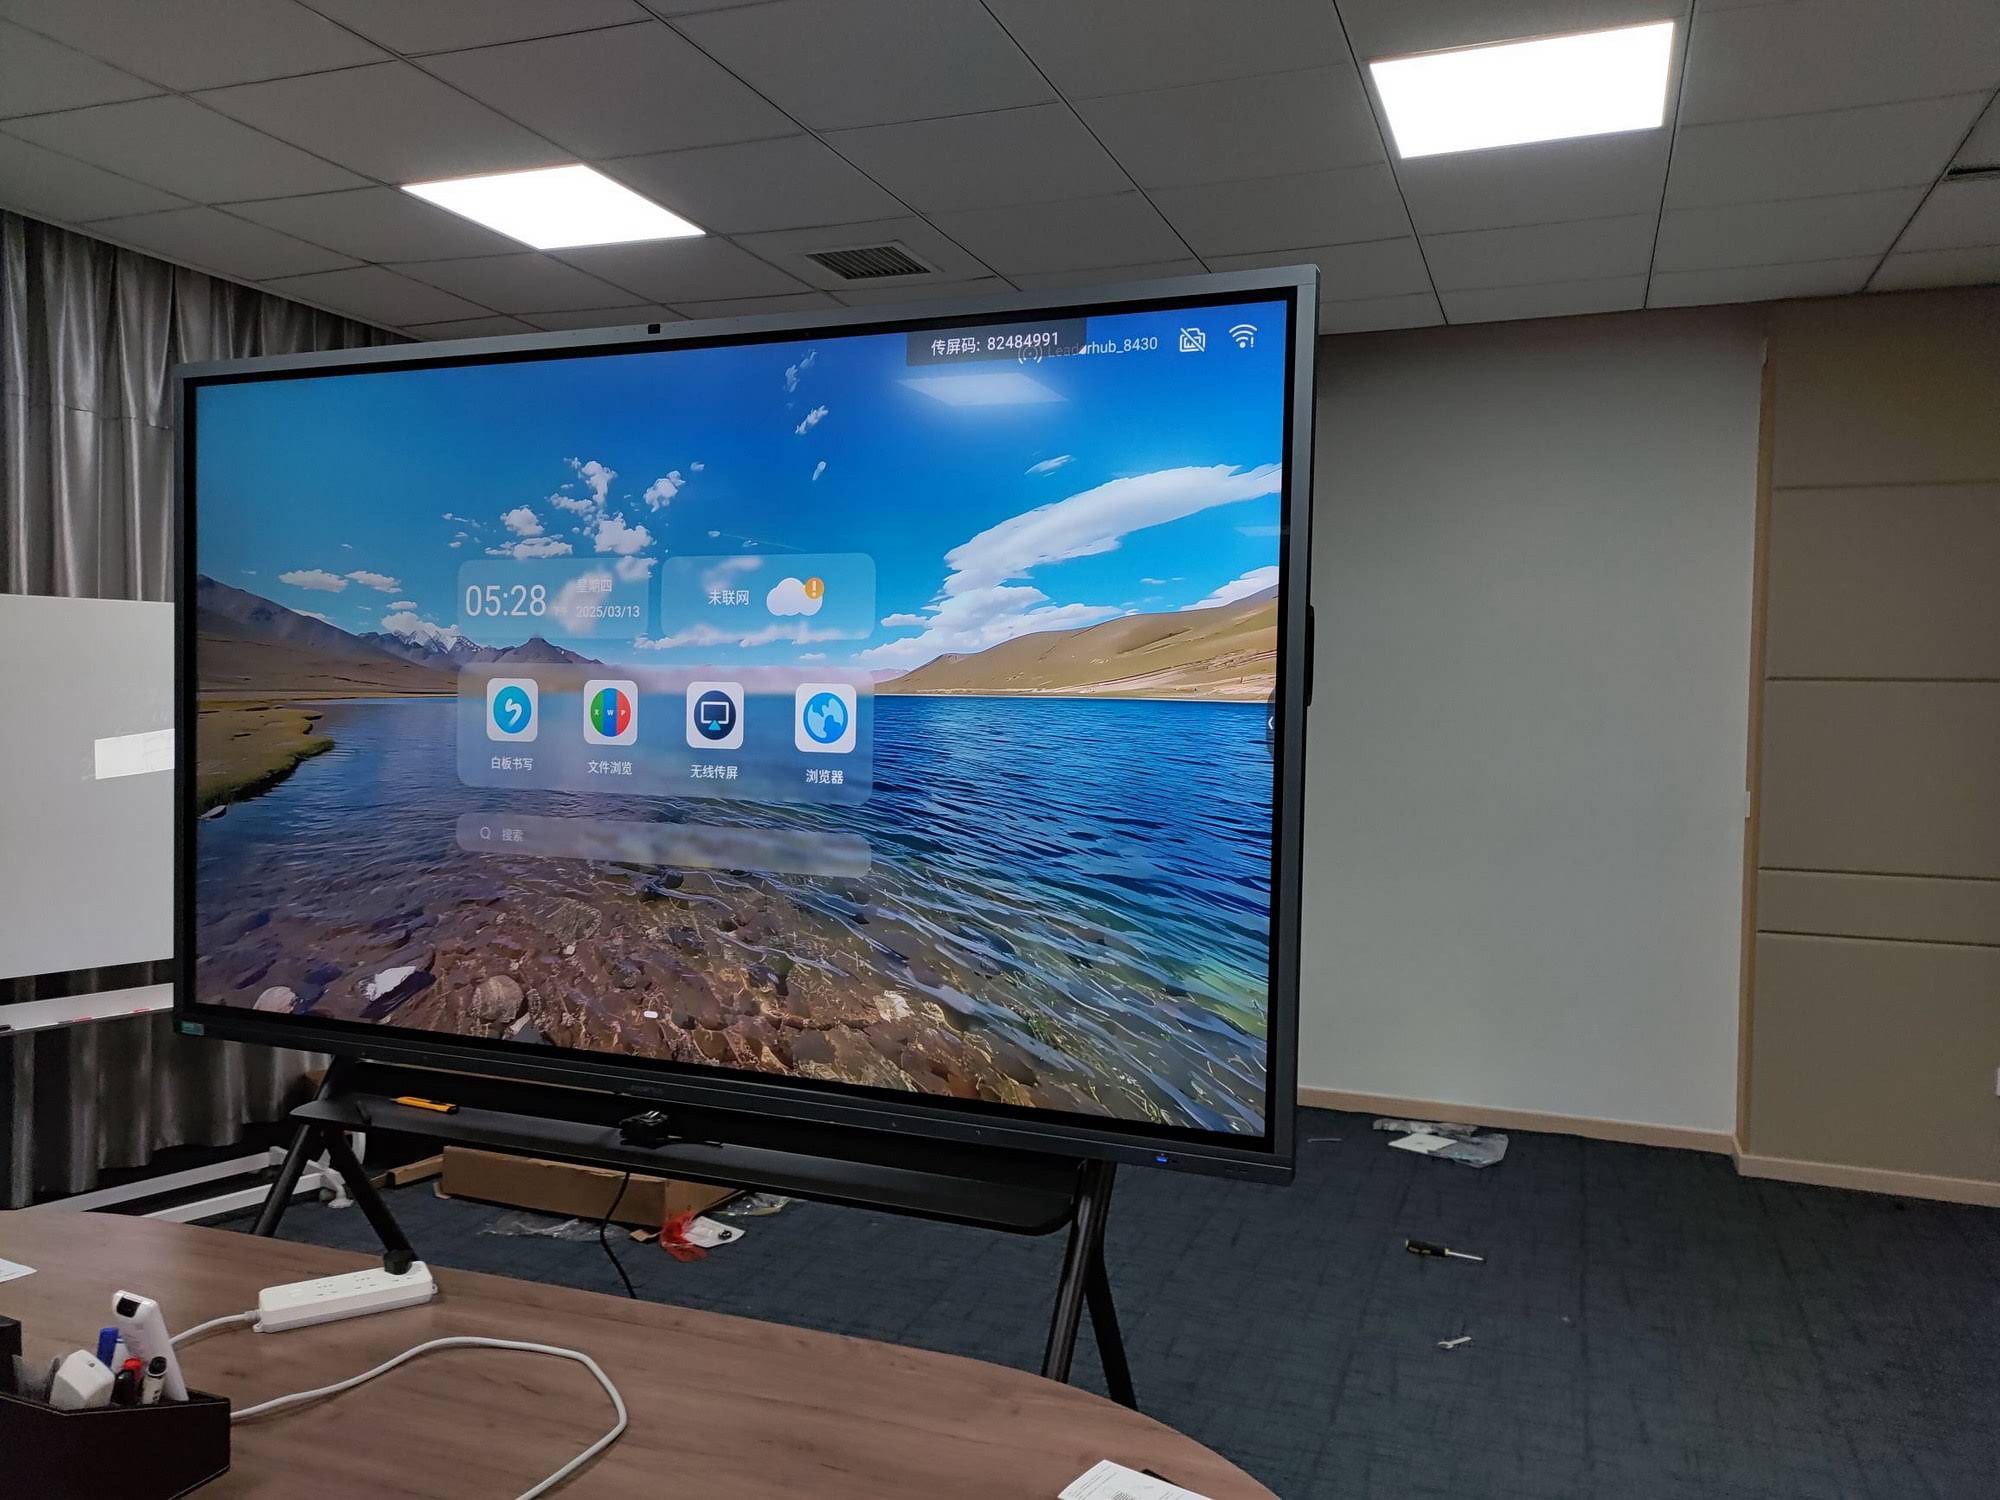
A pre-shipment inspection is a safety net, not a substitute for good manufacturing. Experienced factories integrate many of these 15 checks into the production line itself: automated optical inspection for pixels, 100% touch calibration, line-end hi-pot testing, and a full aging room where every panel runs for hours before packing. Leaderhub, a Shenzhen-based interactive display manufacturer with 16 years in the industry and shipments to more than 82 countries, applies this type of in-line testing across its smart whiteboard range, so that the formal pre-shipment inspection confirms quality rather than discovers problems.
When choosing a supplier, ask for their internal checklist, their aging-test duration, and sample inspection reports from previous orders. A manufacturer that answers quickly and transparently is usually one whose containers arrive without surprises.
Applying the Checklist to Different Smart Board Models
The core of a smart board pre-shipment inspection checklist is the same for every size, but emphasis shifts with the product:
| Model Type | Example | Extra Attention Points |
|---|---|---|
| 65″ classroom panel | L65ZM 65″ 4K Smart Panel | Wall-mount hole pattern, stylus holder, child-safe edges |
| 75″ meeting-room panel | L75HM 75″ 4K Touchscreen | Camera framing, microphone pickup range, USB-C one-cable |
| 86″ lecture-hall panel | L86ZM 86″ 4K Smart Panel | Brightness uniformity, carton strength, two-person handling marks |
| Mobile / battery panel | U55Pro 55″ Mobile 4K Display | Battery capacity & charge cycle, caster locks, UN38.3 documents |
| Rotating / handheld screen | Rotating Screens | Hinge torque, auto-rotate sensor, battery safety labels |
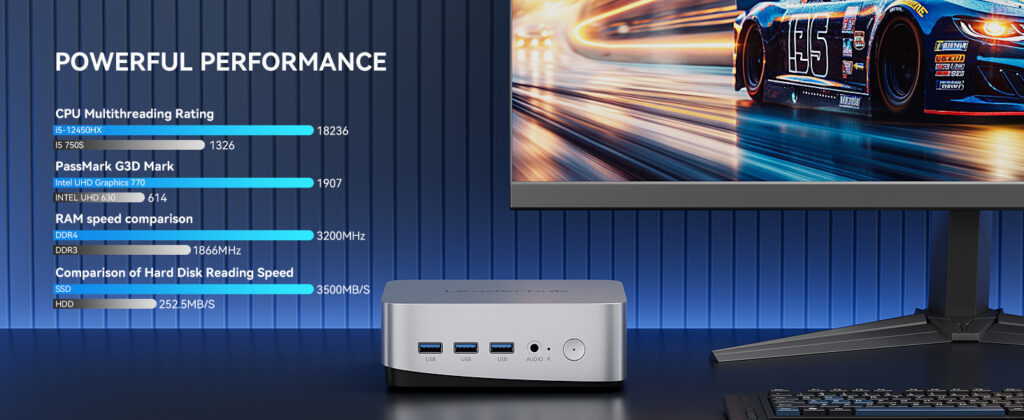
If your panels will be paired with external computing, inspect the OPS or external mini PC units in the same session — boot time, Windows activation, and touch driver installation — so that the complete solution is verified together.
Frequently Asked Questions
When should the pre-shipment inspection take place?
Ideally when 100% of the order is produced and at least 80% is packed. Inspecting earlier means you cannot verify the final packaging; inspecting after loading means defects can no longer be reworked without unloading the container.
Should I use a third-party inspection company or trust the factory report?
For first orders or high-value shipments, an independent inspector adds confidence. For repeat orders from a proven supplier, many buyers accept the factory’s PSI report with photos and video, supplemented by occasional third-party audits.
How long does a smart board pre-shipment inspection take?
A trained inspector typically needs 20–30 minutes per sampled unit for a full functional test. For a 200-unit lot with 32 samples, plan for one full day including packaging and documentation checks.
What documents should I receive after the inspection?
A signed report listing each check, pass/fail results, photos of defects, measured values (brightness, uniformity), serial numbers of sampled units, and copies of safety test records and compliance certificates.
Final Thoughts
A disciplined, 15-point smart board pre-shipment inspection checklist is the most cost-effective insurance you can buy. It protects your margin, your delivery schedule, and your reputation with the schools and businesses who will use these displays every day for years. Share this checklist with your supplier before production starts, agree on the acceptance criteria in writing, and make the inspection a standard step in every order.
Looking for a manufacturer that welcomes inspection and ships fully tested interactive displays? Explore the full product range or contact the team to request a sample inspection report and discuss OEM/ODM quality requirements for your market.