
Smart boards have revolutionized how we teach, present, and collaborate in modern classrooms and meeting rooms. Whether you’re an educator preparing for your first digital lesson or a business professional setting up a conference room, understanding how to use these interactive displays effectively can transform your presentations and boost engagement. This comprehensive guide walks you through everything you need to know about operating a smart board, from basic setup to advanced features that make collaboration seamless and productive.
What Is a Smart Board and Why Should You Use One?
A smart board, also known as an interactive flat panel, is a large touchscreen display that combines the functionality of a traditional whiteboard with the power of a computer. Unlike conventional whiteboards that require markers and erasers, smart boards allow users to write, draw, annotate, and manipulate digital content using touch gestures or stylus pens.
These devices have become essential tools in education and business environments because they:
- Enable real-time collaboration between team members or students
- Support multimedia presentations with video, audio, and interactive applications
- Save and share content instantly via cloud storage or email
- Reduce reliance on printed materials and physical resources
- Accommodate various learning styles through visual, auditory, and kinesthetic engagement
According to recent studies, classrooms equipped with interactive displays show a 16-20% increase in student engagement compared to traditional teaching methods. Similarly, businesses report that meetings conducted with smart boards are 35% more efficient in decision-making processes.
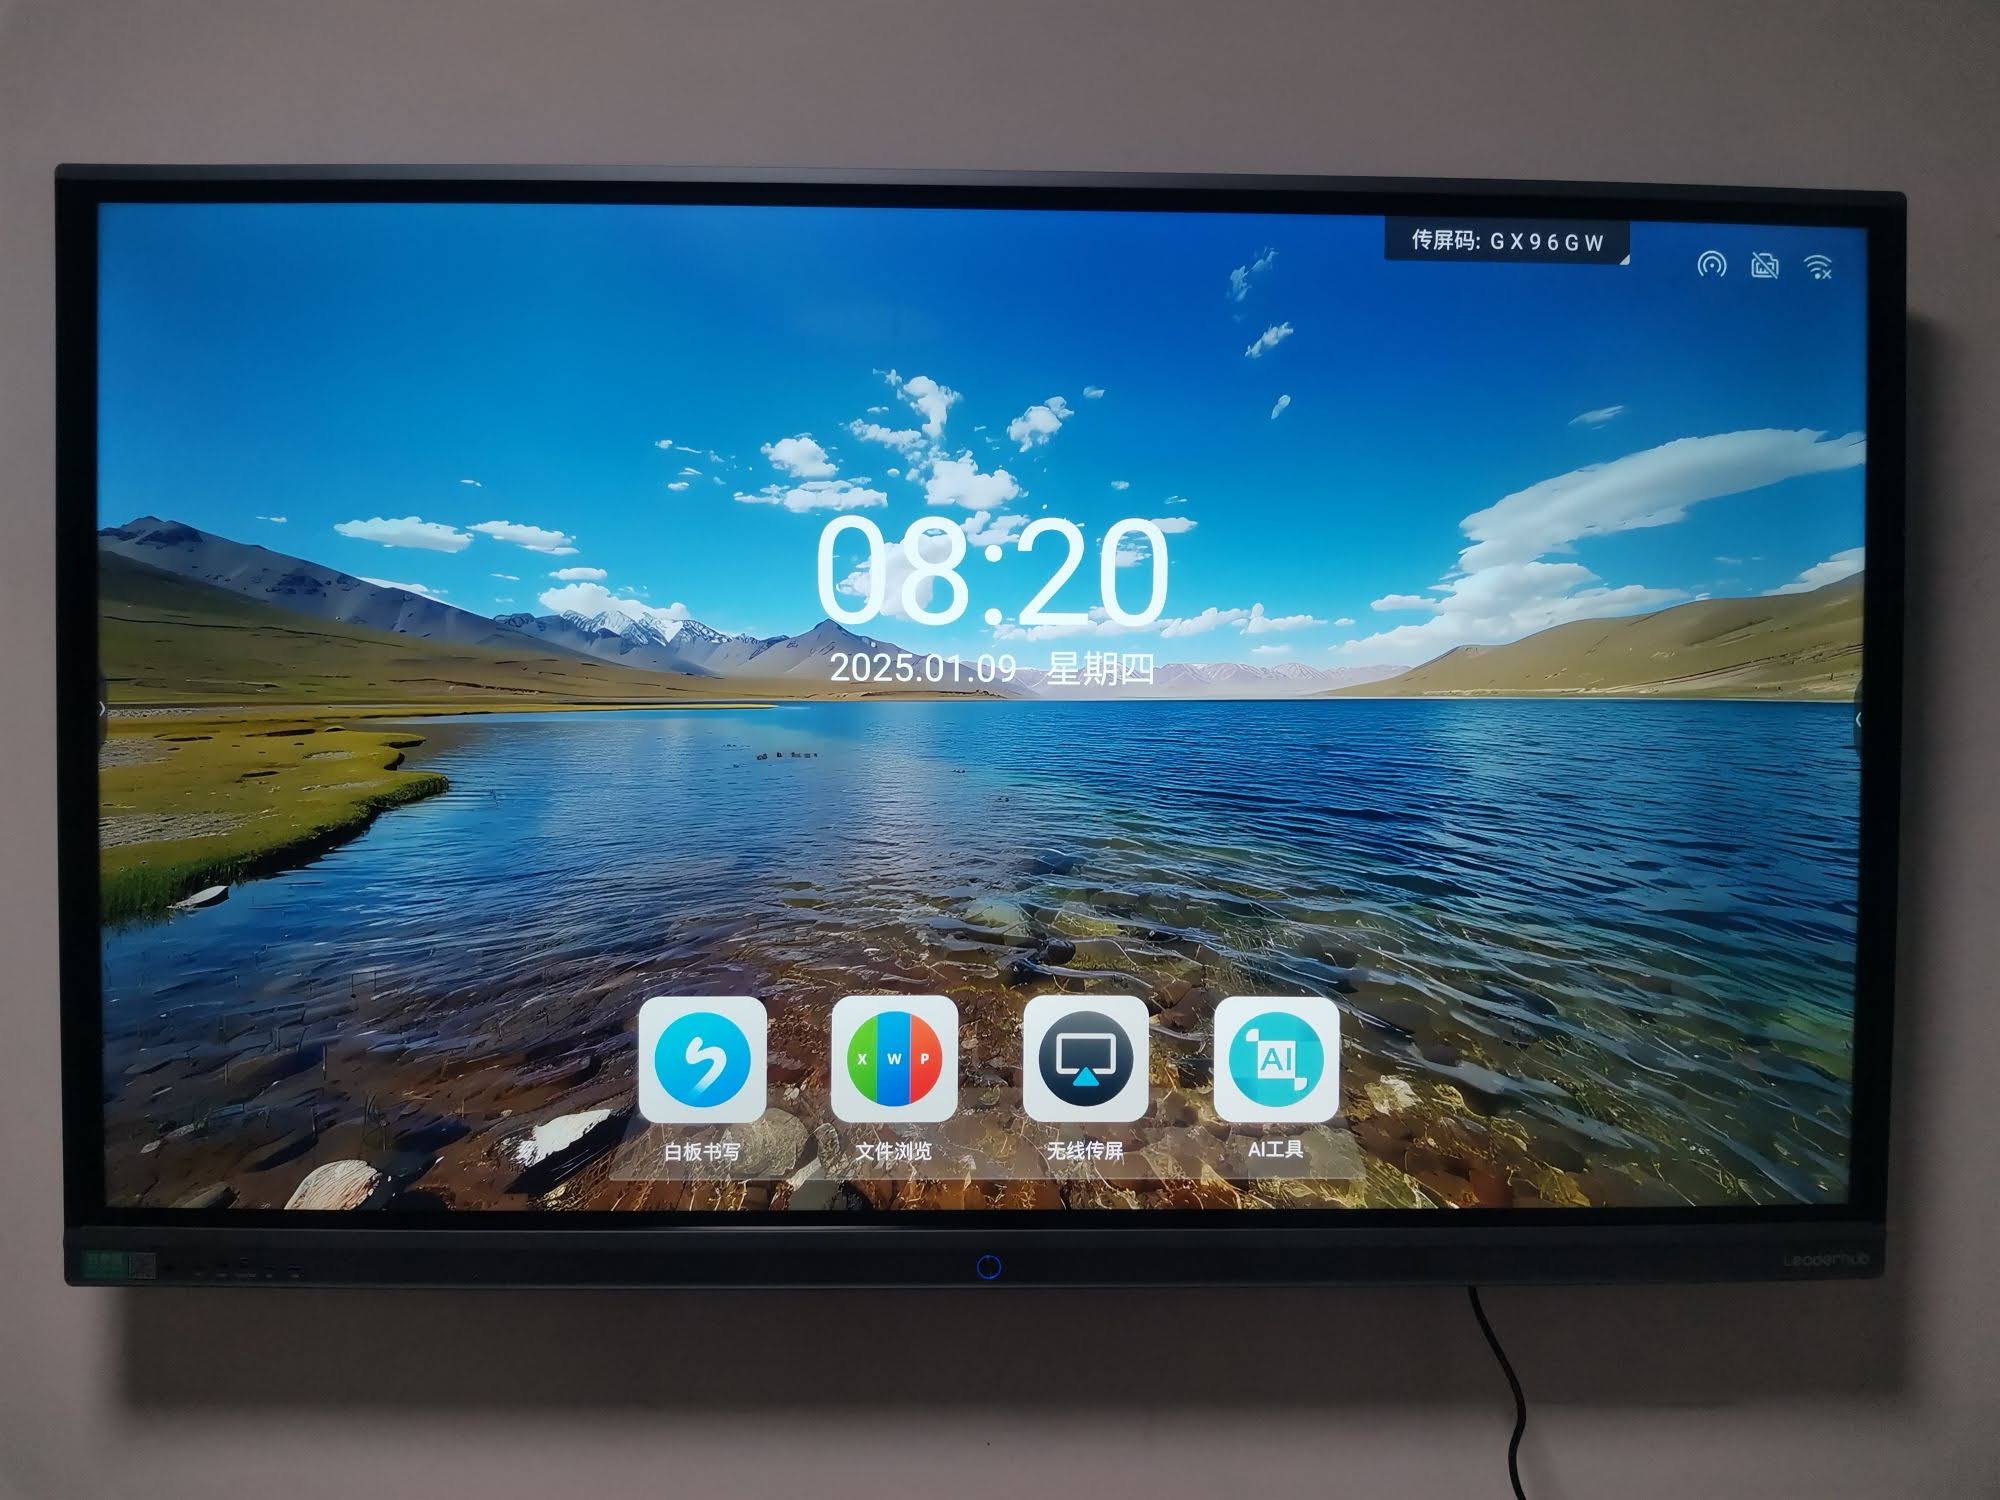
Getting Started: Initial Setup and Power On
Before you can start using your smart board, proper setup is crucial. Most modern interactive panels are designed for straightforward installation, but following these steps ensures optimal performance:
Physical Installation
Mount the smart board at an appropriate height¡ªtypically, the center of the screen should be at eye level for the majority of users. In classrooms, this usually means positioning the bottom edge approximately 30-36 inches from the floor. In meeting rooms, consider the seated viewing angle for participants.
Power and Connectivity
Connect the power cable to a surge-protected outlet. Most smart boards require a standard power connection and will display a standby indicator light when properly connected. For network features, connect an Ethernet cable or configure the built-in Wi-Fi settings through the system menu.
| Connection Type | Purpose | Recommended Use |
|---|---|---|
| HDMI | Connect external devices (laptops, tablets) | Screen sharing and presentations |
| USB | Touch functionality and data transfer | Interactive control from connected devices |
| Ethernet/Wi-Fi | Network connectivity | Cloud access, screen sharing, updates |
| USB-C | Single-cable solution | Modern laptops with video, audio, and touch |
Turning On Your Smart Board
Locate the power button, typically found on the front bezel or along the bottom edge of the display. Press and hold for 2-3 seconds until the screen illuminates. The boot process usually takes 15-30 seconds, after which you’ll see the home screen with available applications and tools.
Understanding the Interface and Navigation
The smart board interface is designed to be intuitive, but familiarizing yourself with the layout improves efficiency. Most systems feature a toolbar that can be accessed from the screen edge, containing essential tools and settings.
Home Screen Layout
The home screen typically displays:
- Whiteboard application: Your primary workspace for drawing and writing
- Input source selector: Switch between built-in system and external devices
- App launcher: Access installed educational or business applications
- Settings menu: Configure network, display, audio, and system preferences
- Quick access tools: Screen capture, annotation mode, and freeze screen
Touch Gestures and Control Methods
Modern smart boards support multi-touch gestures similar to smartphones and tablets. Understanding these gestures makes navigation natural and efficient:
- Single tap: Select items, open applications, or click buttons
- Double tap: Open files or activate specific functions
- Drag: Move objects, scroll pages, or draw lines
- Pinch/spread: Zoom in and out on images, documents, or web pages
- Two-finger swipe: Navigate between pages or undo/redo actions
- Palm rejection: Rest your hand on the screen while writing without unintended marks
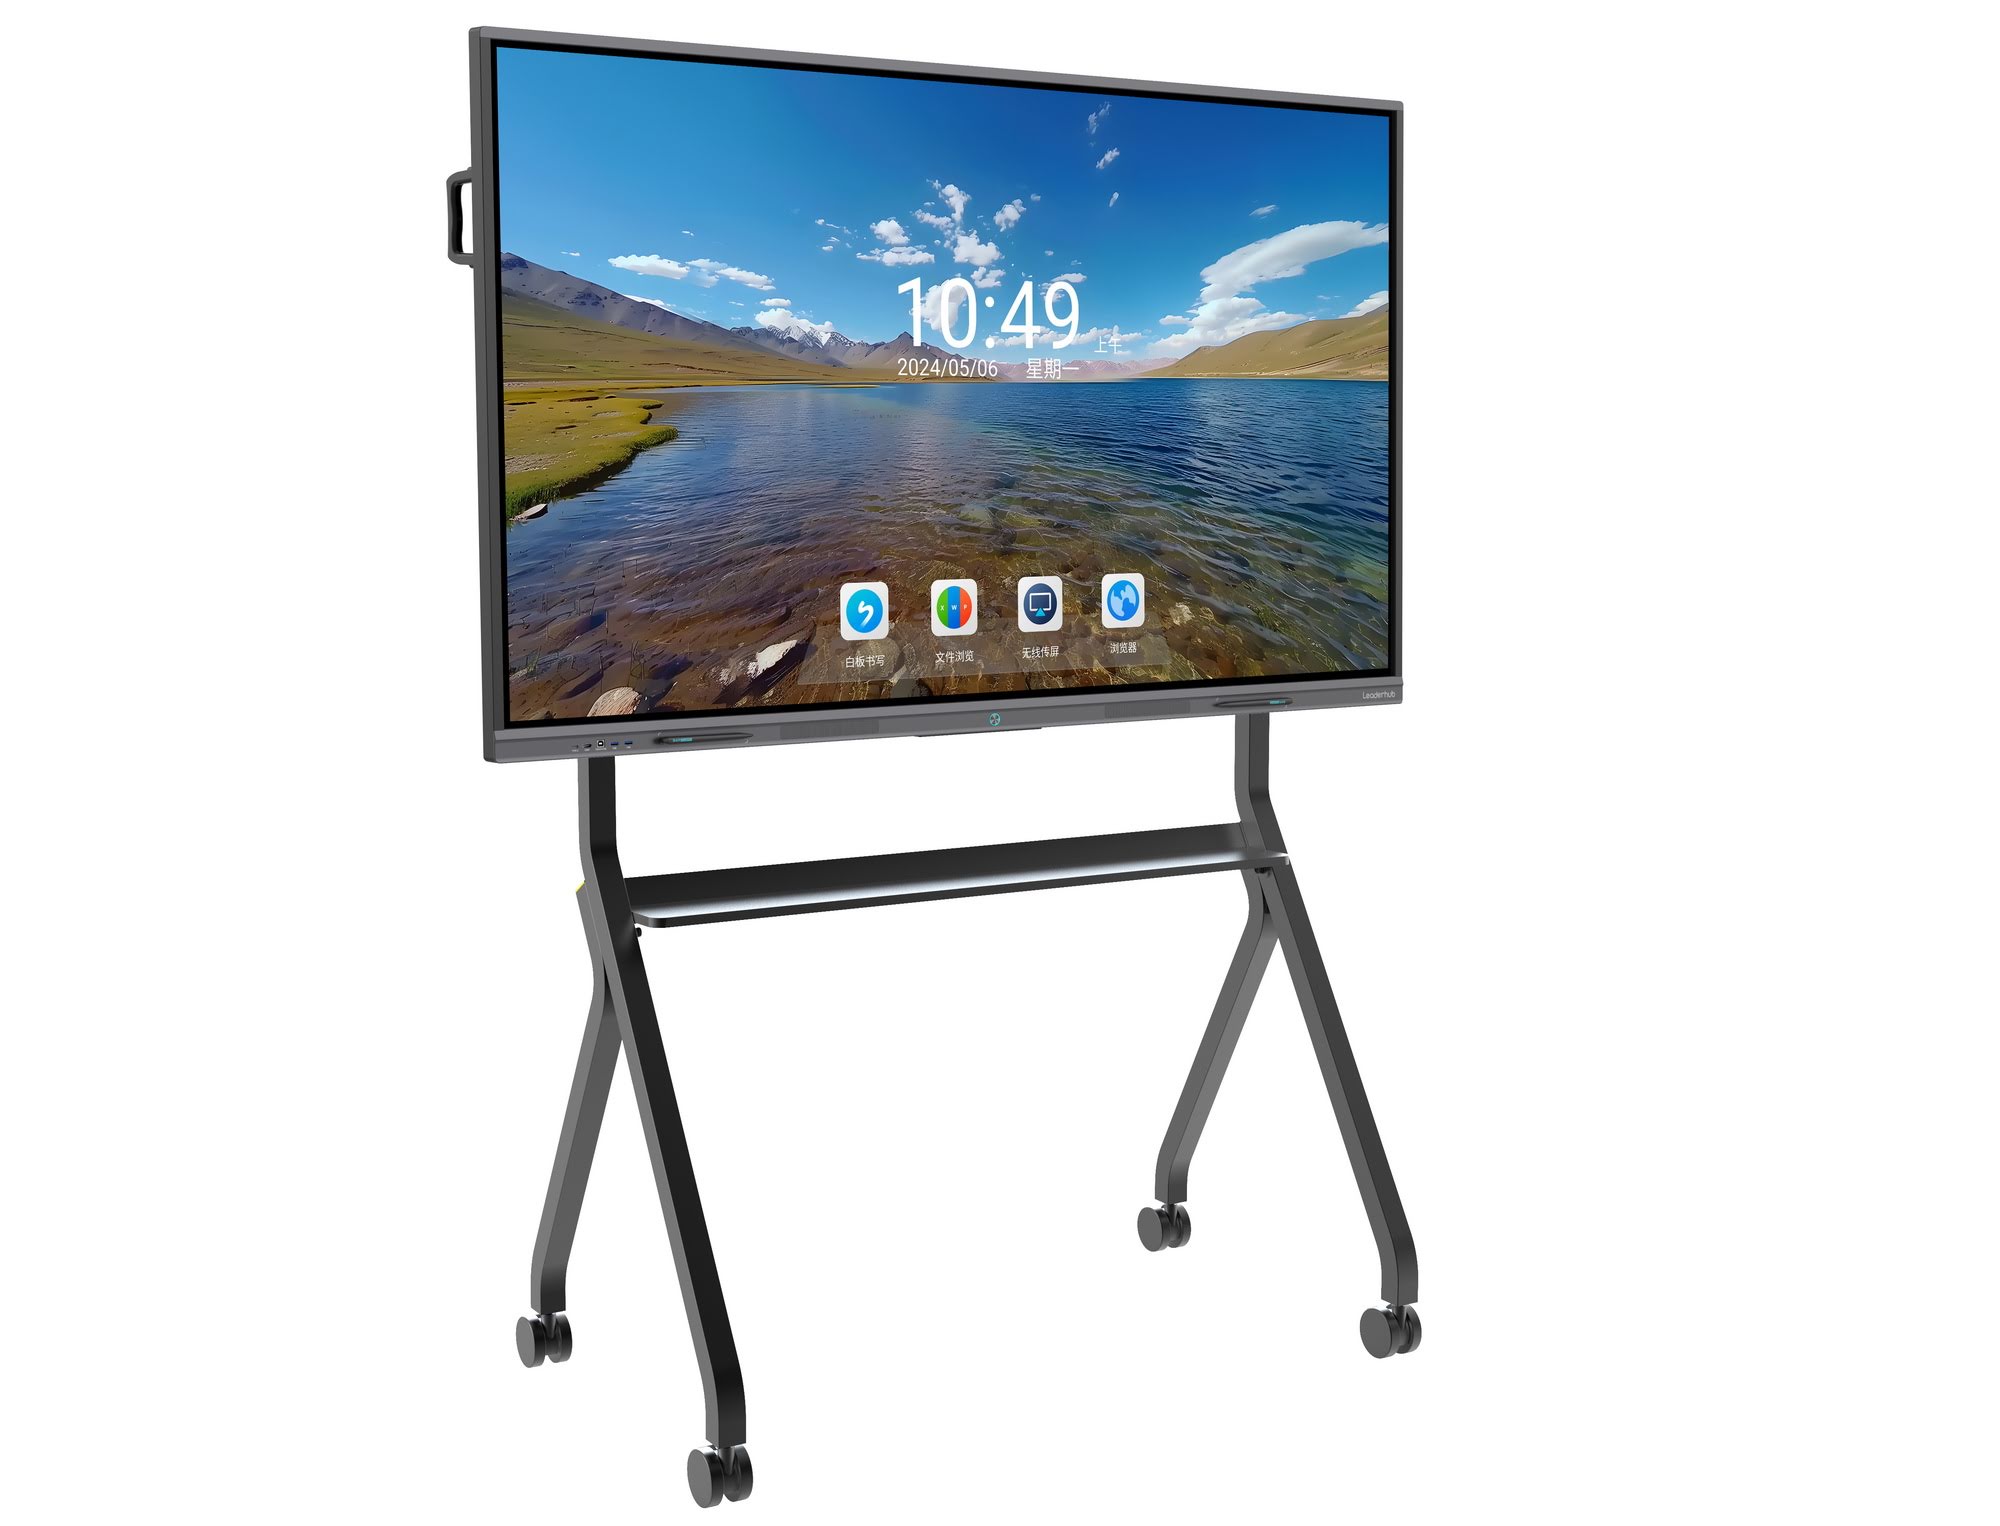
Using the Whiteboard Application
The whiteboard app is the core tool for most users. It replicates the experience of a traditional whiteboard while adding powerful digital capabilities.
Writing and Drawing
Select a pen tool from the toolbar and choose your preferred color and thickness. You can write directly on the screen using your finger or a stylus. Most systems offer palm rejection technology, allowing you to rest your hand naturally while writing without creating unwanted marks.
Pro tip: Use different colors to categorize information or highlight key points. Research shows that color-coded notes improve information retention by up to 25% in educational settings.
Erasing Content
Most smart boards offer multiple erasing options:
- Object eraser: Removes individual strokes or elements
- Area eraser: Clears content within a selected region
- Clear all: Wipes the entire page clean instantly
- Undo/redo: Step backward or forward through your recent actions
Inserting and Manipulating Objects
Beyond writing, you can insert various content types directly onto your workspace. Common insertions include:
| Content Type | How to Insert | Best Use Case |
|---|---|---|
| Images | Import from device or cloud storage | Visual explanations, diagrams, reference materials |
| Text boxes | Select text tool and tap to create | Typed content, labels, structured information |
| Shapes | Draw freehand with shape recognition | Flowcharts, organizational diagrams, geometry |
| PDFs | Open directly or import as background | Annotating existing documents and worksheets |
| Web content | Built-in browser or screen capture | Real-time research, demonstrations, references |
Connecting External Devices
One of the most powerful features of a smart whiteboard is its ability to integrate with other devices. This allows you to display content from laptops, tablets, or smartphones while maintaining interactive capabilities.
Wired Connections
For the most reliable connection, use HDMI or USB-C cables. Connect your device to the appropriate port on the smart board, then select the corresponding input source from the home screen. Within seconds, your device’s display will appear on the smart board.
When using USB touch-back functionality, connect both HDMI (for video) and USB (for touch control). This allows you to control your laptop directly from the smart board’s touchscreen¡ªperfect for delivering PowerPoint presentations or demonstrating software applications.
Wireless Screen Sharing
Modern smart boards support wireless casting protocols like Miracast, AirPlay, and Chromecast. To use wireless sharing:
- Ensure both devices are on the same Wi-Fi network
- Open the screen sharing app on the smart board
- On your device, select the smart board from available casting destinations
- Authorize the connection when prompted
- Your device screen will now mirror or extend to the smart board
Wireless connections eliminate cable clutter and allow multiple users to share content quickly during collaborative sessions. Many organizations report that wireless sharing reduces meeting setup time by 60% compared to traditional cable-based systems.
Advanced Features for Effective Collaboration
Beyond basic writing and display functions, smart boards offer sophisticated tools that enhance collaboration and productivity.
Split Screen and Multi-Source Display
Display content from multiple sources simultaneously. For example, show a presentation on one side while taking notes or displaying reference materials on the other. This feature is particularly valuable in:
- Comparative analysis presentations
- Language learning classes (showing text and video simultaneously)
- Project review meetings (comparing different design versions)
- Training sessions (demonstrating while providing written instructions)
Screen Recording and Capture
Record your entire session, including annotations, voice narration, and on-screen actions. This creates valuable reference materials for students who were absent or colleagues who need to review meeting decisions. Screen captures can be saved as images and immediately shared via email or cloud storage.
Annotation Over Any Content
One of the most powerful features is the ability to annotate over any displayed content¡ªwhether it’s a video, website, document, or application. Simply activate annotation mode, and you can draw, highlight, or add notes directly over whatever is on screen. These annotations can be saved separately or integrated into the original file.
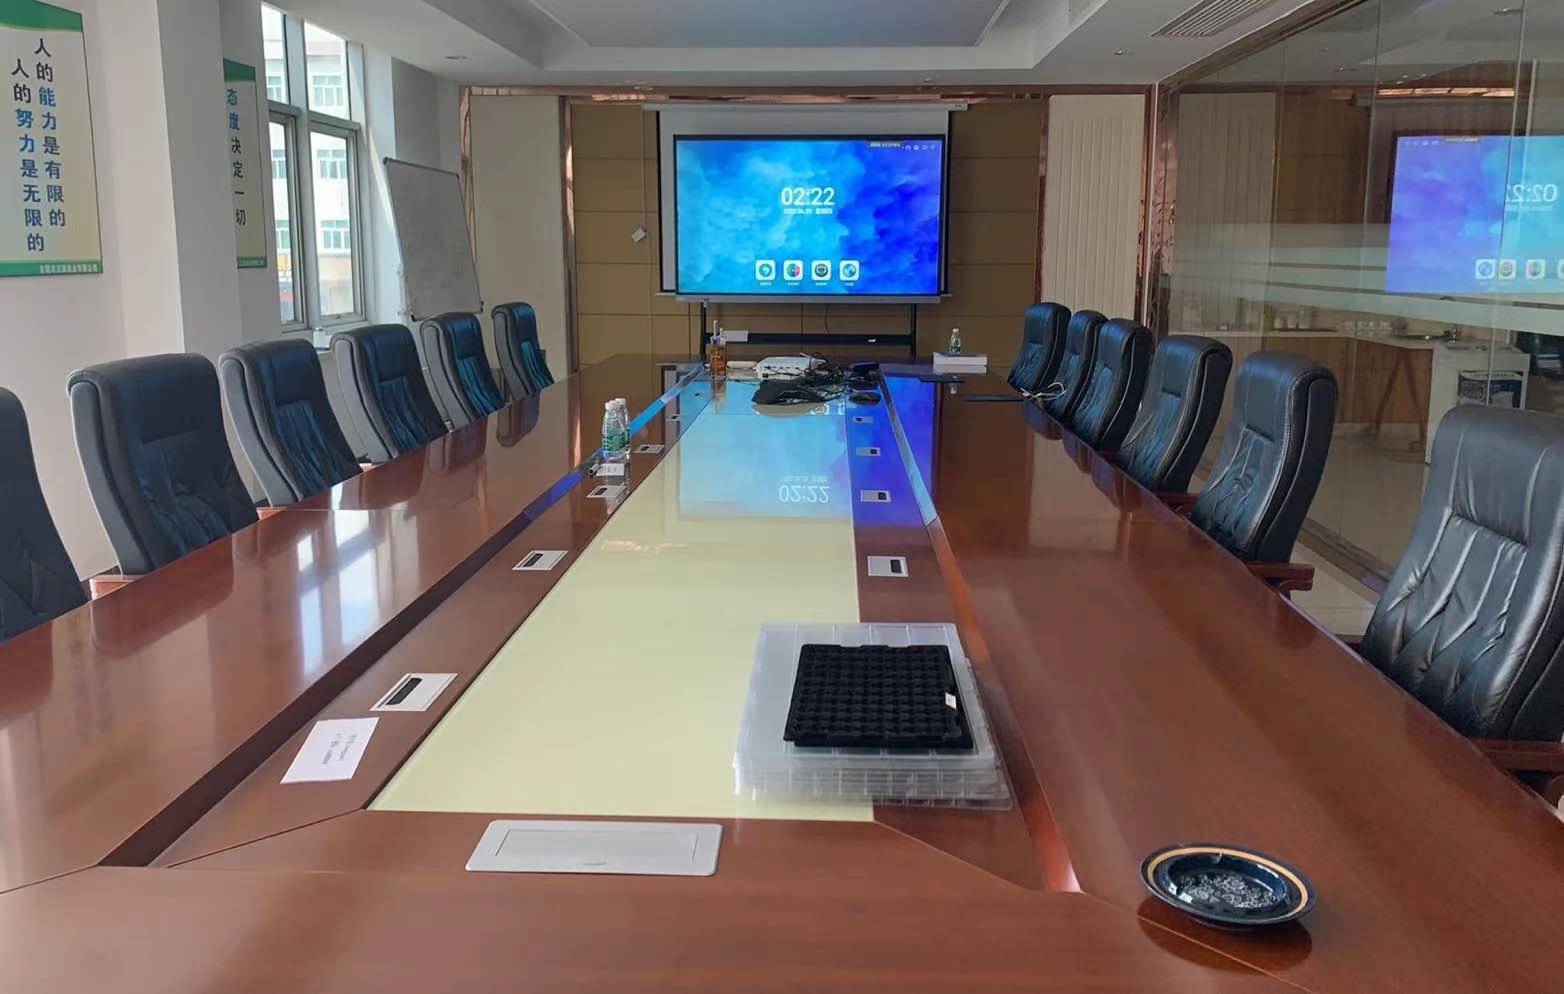
Educational Applications and Classroom Management
For educators, smart boards transform traditional teaching methods into interactive, engaging learning experiences.
Interactive Lessons and Activities
Create dynamic lessons that respond to student input. Use drag-and-drop exercises, sorting activities, labeling diagrams, and interactive quizzes that provide immediate feedback. Educational research consistently shows that interactive learning increases retention rates by 30-40% compared to passive instruction.
Student Collaboration Tools
Many smart boards support multi-user interaction, allowing several students to work simultaneously on different parts of the screen. This promotes collaborative problem-solving and accommodates diverse learning styles. Students can also share work from their personal devices to the smart board for class discussion and peer review.
Content Library and Lesson Planning
Build a library of reusable lesson components¡ªtemplates, images, videos, and interactive elements. This saves preparation time and ensures consistency across lessons. Most platforms allow teachers to share resources within their school or professional networks, creating collaborative curriculum development opportunities.
Business Meeting Applications
In corporate environments, smart boards streamline meetings and enhance decision-making processes.
Video Conferencing Integration
Most modern smart boards integrate seamlessly with platforms like Zoom, Microsoft Teams, and Google Meet. The large display allows remote participants to be seen clearly, while the built-in camera, microphone, and speakers provide professional audio-visual quality. Hybrid meetings become more equitable when everyone can see shared content clearly and participate in real-time annotations.
Brainstorming and Idea Management
Replace traditional whiteboards and sticky notes with digital brainstorming tools. Participants can add ideas, vote on concepts, organize thoughts into categories, and export the entire session for follow-up action. Digital brainstorming eliminates the problem of lost sticky notes and illegible handwriting.
Project Management and Tracking
Display project timelines, task boards, and resource allocation charts. Team members can update status directly on the board during stand-up meetings, ensuring everyone stays informed. Integration with project management software allows real-time updates that sync across all platforms.
Saving, Sharing, and Managing Content
Effective content management ensures that your work is preserved, accessible, and shareable across your organization.
Local and Cloud Storage Options
Most smart boards offer multiple saving options:
- Internal storage: Save directly to the smart board’s built-in memory
- USB drives: Export to removable storage for physical transfer
- Cloud services: Connect to Google Drive, OneDrive, Dropbox, or other platforms
- Network drives: Save to shared organizational storage systems
- Email: Send content directly from the board to specified recipients
QR Code Sharing
Some advanced systems generate QR codes that participants can scan to instantly receive copies of board content on their personal devices. This eliminates the need for photographing the screen or manual distribution of materials.
File Format Options
Export your work in formats appropriate for your needs:
| Format | Best For | Advantages |
|---|---|---|
| Archiving and printing | Universal compatibility, preserves layout | |
| PNG/JPG | Quick sharing and presentations | Small file size, easy embedding |
| Native format | Continued editing | Maintains all interactive elements |
| MP4 | Recording sessions | Captures actions, audio, and annotations |
Troubleshooting Common Issues
Even well-designed technology occasionally encounters problems. Understanding common issues and their solutions minimizes disruption.
Touch Calibration Problems
If the touchscreen is unresponsive or inaccurate, run the calibration utility found in the settings menu. Follow the on-screen instructions to tap specific points, allowing the system to map touch inputs correctly. Most manufacturers recommend calibrating after installation and periodically thereafter.
Connection and Display Issues
For external device connection problems:
- Verify cable connections are secure at both ends
- Select the correct input source on the smart board
- Check that the external device is set to output video (may require function key combinations)
- Try a different cable or port to rule out hardware failure
- Restart both devices to reset the connection
Network and Wireless Sharing Problems
If wireless features aren’t working:
- Confirm the smart board is connected to the network (check Wi-Fi settings)
- Ensure devices are on the same network subnet
- Check that firewall settings aren’t blocking screen sharing protocols
- Verify that wireless display features are enabled in system settings
- Update the smart board’s firmware if available
Performance and Responsiveness
If the system becomes slow or unresponsive:
- Close unused applications running in the background
- Clear cached data and temporary files
- Restart the smart board to refresh system memory
- Check available storage space¡ªperformance degrades when storage is nearly full
- Install system updates that may include performance optimizations
Maintenance and Best Practices
Regular maintenance extends the lifespan of your smart board and ensures consistent performance.
Screen Cleaning
Clean the touchscreen regularly using a microfiber cloth slightly dampened with water or screen-specific cleaning solution. Avoid ammonia-based cleaners, abrasive materials, or excessive moisture. Clean in gentle circular motions and immediately dry with a clean cloth. Many manufacturers recommend cleaning weekly in high-use environments.
Software Updates
Keep the operating system and applications current. Updates provide security patches, bug fixes, and new features. Many systems can check for updates automatically, but it’s good practice to manually verify monthly. Schedule updates during non-use hours to avoid disruption.
Usage Guidelines
Establish clear usage guidelines for your organization:
- Never use permanent markers or sharp objects on the screen
- Avoid pressing excessively hard when writing or tapping
- Power down properly rather than disconnecting power during operation
- Keep liquids away from the device
- Report issues promptly rather than attempting unauthorized repairs
Choosing the Right Smart Board for Your Needs
If you’re considering purchasing a smart board, understanding key specifications helps ensure you select the right model for your environment.
Screen Size Considerations
Choose screen size based on room dimensions and viewing distance. For classrooms with 20-30 students or medium conference rooms, a 65-75 inch display typically provides adequate visibility. Larger spaces benefit from 86-inch or larger panels. Calculate viewing distance using the rule: optimal distance equals 1.5 to 2 times the screen diagonal.
Resolution and Display Quality
4K Ultra HD resolution (3840 x 2160) has become standard for professional-grade smart boards. Higher resolution ensures text remains sharp and images appear detailed even when viewed up close. This is particularly important when displaying complex diagrams, financial data, or detailed graphics.
Touch Technology
Modern smart boards use infrared or capacitive touch technology. Both support multi-touch gestures and work with fingers or styluses. Consider the number of simultaneous touch points supported¡ªeducational environments often benefit from displays supporting 20+ touch points for collaborative activities.
Operating System and Ecosystem
Smart boards run on various operating systems¡ªAndroid, Windows, or proprietary systems. Android-based systems offer app flexibility and familiarity. Windows provides compatibility with existing business software. Consider what ecosystem aligns with your organization’s existing technology infrastructure.
Companies like LeaderHub have specialized in interactive display technology for over 16 years, serving more than 82 countries with reliable smart whiteboards and interactive flat panels designed for both educational and business environments.
Training and Professional Development
Technology is only effective when users feel confident operating it. Investing in training accelerates adoption and maximizes return on investment.
Initial Training Programs
Provide structured training sessions covering:
- Basic operations and navigation
- Core applications relevant to user roles
- Content creation and management
- Troubleshooting common issues
- Best practices for specific use cases
Hands-on practice is essential. Schedule training in the actual environment where the smart board will be used, allowing participants to experiment and ask questions in context.
Ongoing Support and Resources
Establish support mechanisms for continued learning:
- Quick reference guides posted near the smart board
- Video








