Setting up a smart board is easier when you follow a clear plan. Whether you are installing it in a classroom, conference room, training center, or home office, the goal is the same: secure mounting, clean wiring, smooth touch response, and a reliable network connection. LeaderHub, a Shenzhen-based interactive display company with 16 years of experience, has helped organizations across education and business build practical smart collaboration spaces.

Before you begin, make sure you know your room layout, power outlet location, wall material, and whether you will use a wall mount or a mobile stand. A careful first setup saves time later and helps your display perform at its best.
What You Need Before Installation
Prepare the tools and accessories first so you can complete the job without interruptions.
| Item | Why It Matters | Best Practice |
|---|---|---|
| Level, drill, stud finder | Helps you mount the board safely and evenly | Double-check wall anchors before drilling |
| Power strip / surge protector | Protects the device from electrical spikes | Use a certified, grounded power source |
| HDMI, USB, LAN cables | Connects laptops, peripherals, and internet | Choose cable lengths with room to spare |
| Microfiber cloth | Keeps the screen clean during setup | Wipe the panel before first power-on |
Checklist Before You Unbox
- Measure the wall area and confirm the screen size fits comfortably.
- Check that the wall or stand can support the full weight of the display.
- Confirm power access is close enough to avoid visible cable clutter.
- Make sure you have a stable internet connection for updates and cloud features.
Choose the Right Installation Type
Different rooms need different mounting options. If you are setting up a smart board for frequent movement or multi-room use, a mobile stand may be the best choice. For a fixed classroom or meeting room, a wall mount is usually cleaner and more stable.
| Setup Type | Best For | Main Advantage | Watch Out For |
|---|---|---|---|
| Wall mount | Classrooms, boardrooms, training rooms | Clean look and strong stability | Requires proper wall support |
| Mobile stand | Flexible meeting spaces, shared offices | Easy to move and reposition | Needs locked casters and cable management |
| Tabletop or temporary setup | Demos, short-term events, testing | Fast to deploy | Not ideal for long-term daily use |
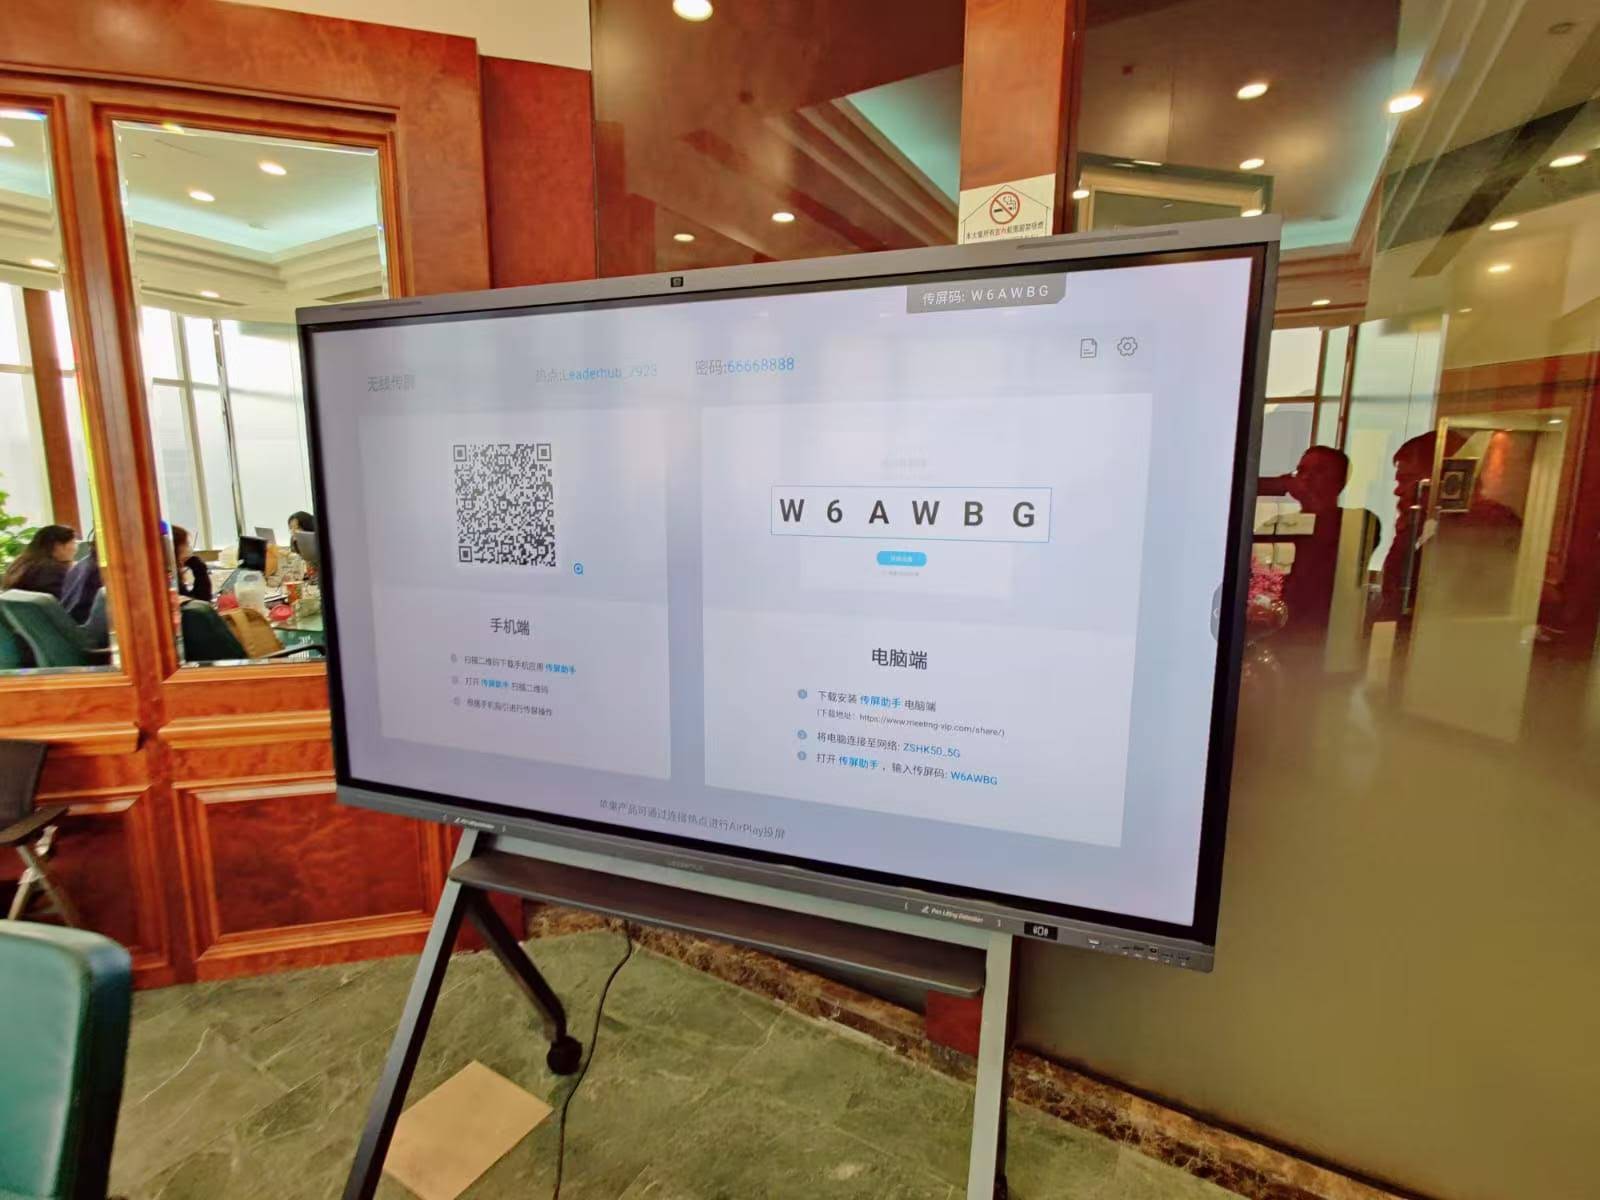
How to Set Up a Smart Board Step by Step
1. Unbox and Inspect Everything
Open the package carefully and confirm that the display, power cable, remote control, stylus, wall bracket or stand parts, and documentation are all included. Look for any visible damage before you start mounting. If the device will be installed on the same day it arrives, keep the packing materials until you finish testing.
2. Assemble the Mount or Stand
If you are using a wall bracket, assemble the bracket first and follow the included layout guide. If you are using a mobile cart, attach the frame, tighten all bolts, and lock the wheels before moving the panel. Never lift a smart board by the screen surface. Use two or more people for large displays.
3. Mark the Mounting Points
Use a level to keep the display straight and mark the holes exactly where the bracket should sit. For drywall, locate studs or use proper anchors. For concrete or brick, choose the correct drill bit and expansion hardware. A few extra minutes here can prevent an expensive mistake later.
4. Install the Display Securely
Lift the board onto the bracket slowly and confirm that both sides are evenly seated. Tighten the locking screws if your mount includes them. On mobile stands, verify that the display is centered and balanced before releasing your grip.
5. Connect Power and Devices
Plug the panel into a grounded outlet or surge-protected power strip. Then connect your accessories:
- HDMI for laptops, OPS modules, or media players
- USB for touch return, cameras, or external drives
- LAN for more stable internet access
- Audio cable or Bluetooth for speakers and microphones
If you want a cleaner and faster-running system, consider pairing the display with a mini PC for smart board use. For larger classrooms or conference rooms, a dedicated computing device can improve startup speed and simplify software management.
6. Turn On the Smart Board and Complete First-Time Setup
Power on the display and follow the on-screen guide. Typical setup steps include language selection, time zone, network connection, and account sign-in. If the board runs Android or a dual-system interface, check that both the whiteboard software and the launcher are responding correctly.
7. Calibrate Touch and Test Writing
Calibration ensures the touch point matches the pen or finger position. After calibration, open the whiteboard app and test:
- Single-touch writing
- Multi-touch gestures
- Pen color and eraser function
- Shape recognition, if supported
For schools planning larger deployments, it helps to review UNESCO Technology Recommendations and ISTE Standards for Educators so the installation supports real teaching outcomes, not just hardware setup.
8. Set Up Network, Apps, and Sharing Features
Connect to Wi-Fi or wired internet, update the firmware, and install only the apps you actually need. For business rooms, that may include video conferencing and screen sharing. For classrooms, it may include annotation tools, classroom timers, and file import apps.
9. Test the Full Workflow
Before handing the room over to users, run a complete test:
- Open a document from a laptop
- Write on the board and save the file
- Switch inputs smoothly
- Check speakers, microphone, and camera
- Confirm the remote control works from a normal viewing distance
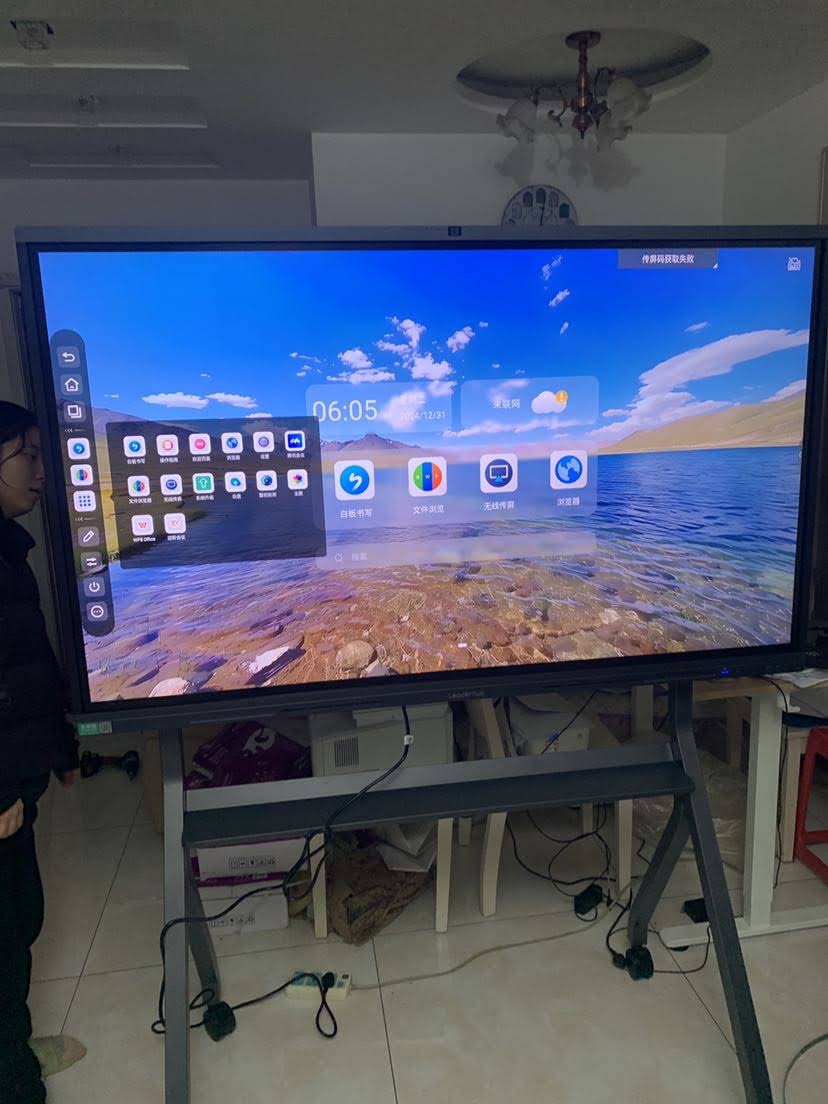
Common Smart Board Setup Problems and Fixes
| Problem | Likely Cause | Quick Fix |
|---|---|---|
| Touch is inaccurate | Calibration is off or the screen is dirty | Clean the panel and run calibration again |
| No signal from laptop | Wrong input source or loose cable | Check HDMI source and reconnect both ends |
| Slow startup | Too many apps loading at boot | Disable unnecessary startup apps |
| Weak Wi-Fi | Distance from router or signal interference | Use wired LAN or reposition the router |
Best Practices for a Reliable Setup
- Keep cables short, neat, and labeled for easier maintenance.
- Leave enough space around the display for ventilation.
- Save a backup copy of the whiteboard software and firmware version.
- Train the main users on input switching and file saving.
- Use a surge protector to help reduce power-related issues.
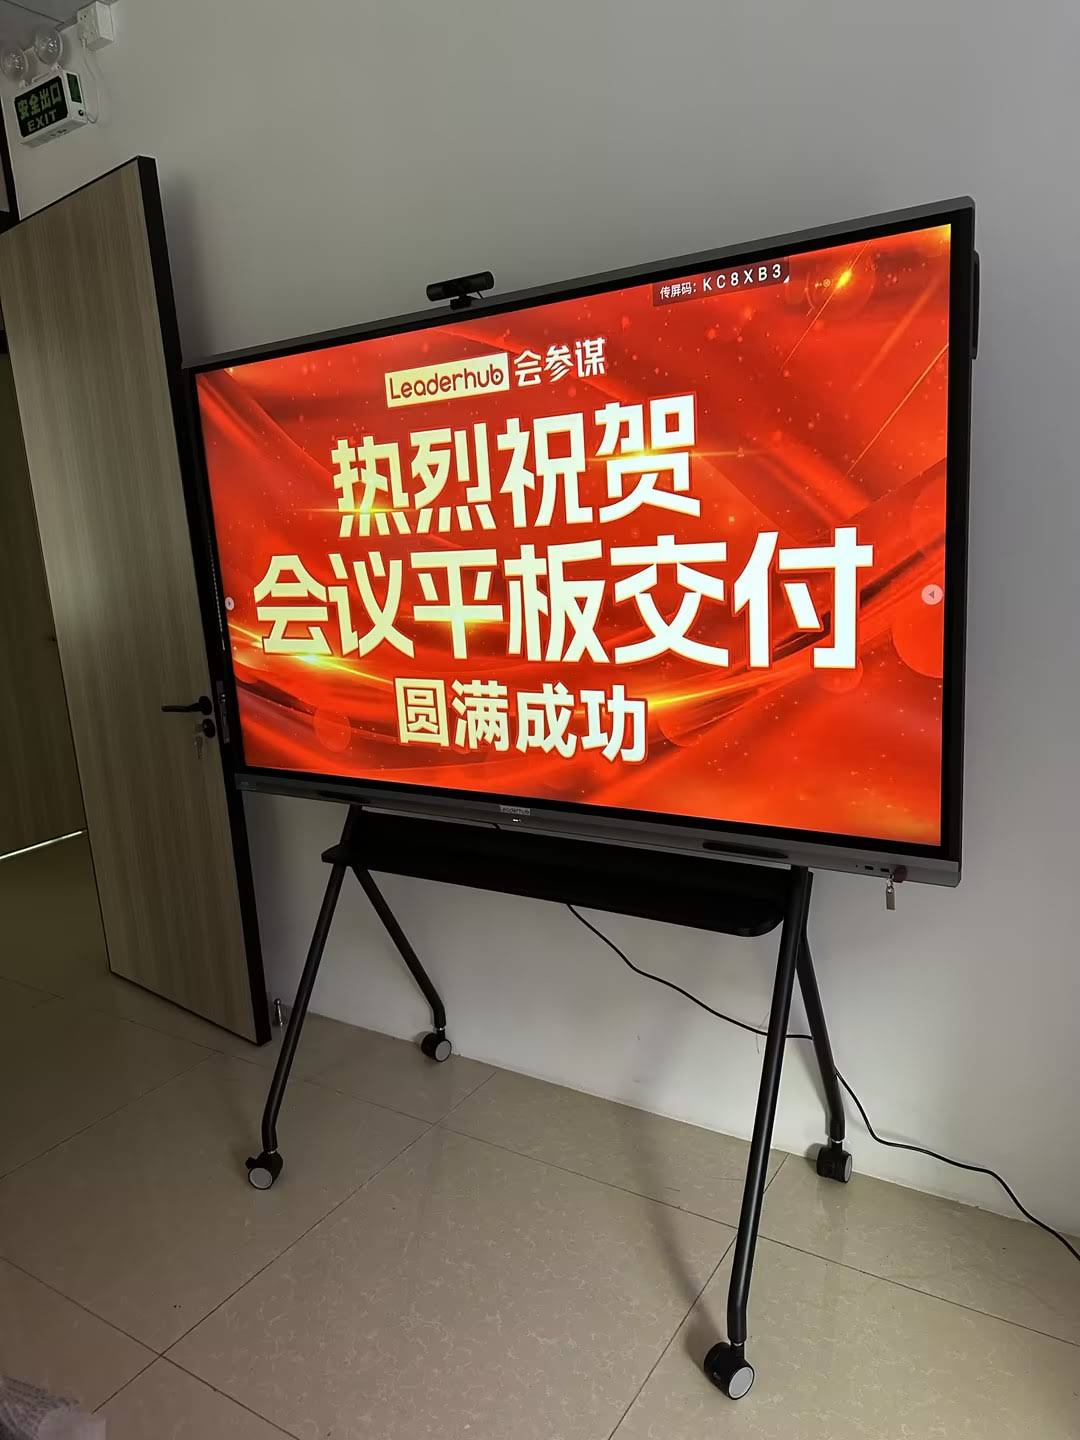
Choosing the Right Smart Board for Your Space
If you are still comparing models, start with a display size that fits your room and audience distance. Browse the smart whiteboard collection if you want a fixed interactive board for teaching or meetings. If you need a larger solution, review a 75-inch 4K interactive flat panel. For smaller rooms or budget-sensitive projects, a 65-inch interactive smart whiteboard can be a practical choice.
For more options, you can also shop the full product range or contact our team if you want help matching the display to your room layout and use case.
Tip: A good setup is not just about hanging the screen on the wall. It is about creating a complete workflow for writing, presenting, sharing, and collaboration that your team can use every day.