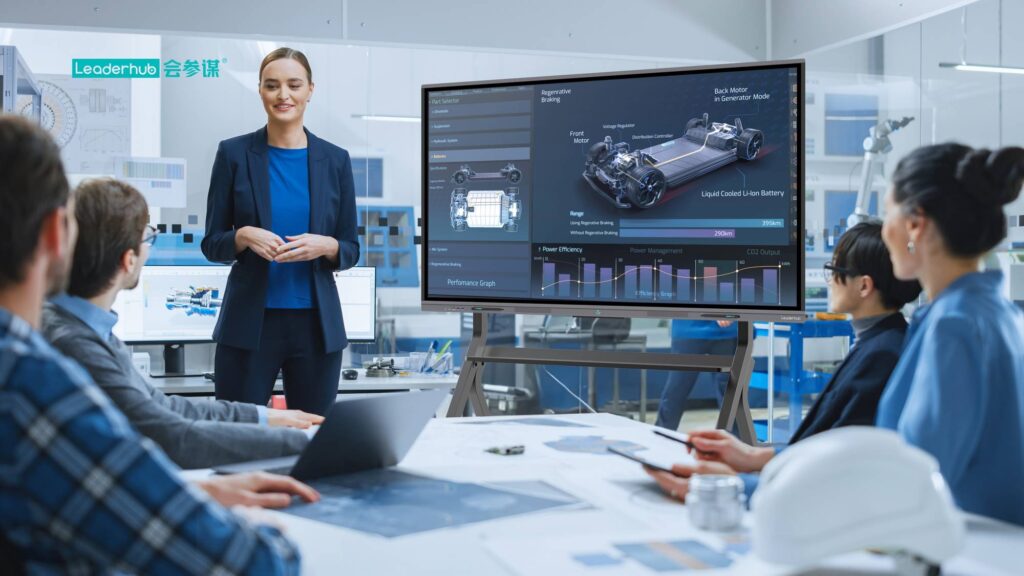
Why screen sharing on a smart board matters
Learning how to share screen with smart board is one of the fastest ways to turn a passive display into a collaborative workspace.
In classrooms, meeting rooms, and training spaces, screen sharing helps you present slides, annotate documents, compare files side by side, and keep everyone focused on the same content.
LeaderHub, a Shenzhen-based interactive display company with 16 years of experience, builds smart whiteboards, mini PCs, and portable smart screens designed for this kind of seamless collaboration.
If your goal is a smoother setup, it helps to start with the right hardware. You can explore
smart whiteboards,
pair your display with a
mini PC,
or view the latest options in the
shop.
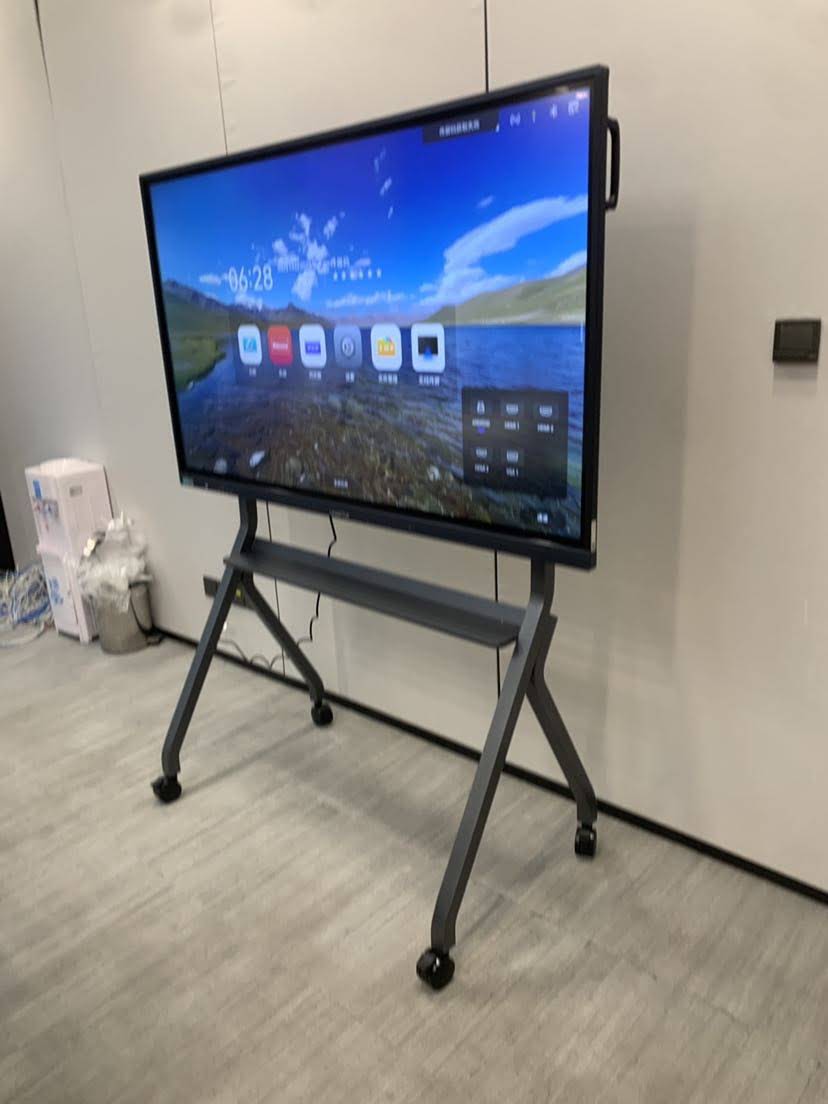
What you need before you start
- A smart board or interactive flat panel with the correct input ports or wireless casting support.
- A laptop, tablet, or phone that can connect through HDMI, USB-C, AirPlay, Miracast, or a screen-sharing app.
- The right cable or adapter if you plan to use a wired connection.
- Stable Wi-Fi if you want wireless screen sharing.
- Optional touch drivers if you want to control the computer from the board.
The easiest ways to share your screen with a smart board
There are several reliable methods, and the best one depends on your device, room setup, and how often you present.
The table below gives a quick comparison.
| Method | Best for | Pros | Watch out for |
|---|---|---|---|
| HDMI / USB-C cable | Presentations, classrooms, stable office use | Fast, reliable, low latency | Cable length and adapter compatibility |
| Wireless casting | Team meetings, guest presenters | No cable clutter, quick sharing | Needs stable Wi-Fi |
| Miracast / AirPlay | Windows, iPhone, and Mac users | Built into many devices | Device and board compatibility |
| Mini PC connected to the board | Kiosks, teaching stations, shared rooms | Always ready, easy to manage | Requires initial setup |
Step-by-step: how to share screen with smart board
Step 1: Turn on the smart board and choose the correct input
Start by powering on the board and selecting the input source you want to use.
If you are connecting with a cable, switch to HDMI or USB-C.
If you are casting wirelessly, choose the board’s screen mirroring or wireless display mode.
Step 2: Connect your laptop, tablet, or phone
- HDMI: Connect your laptop to the smart board with an HDMI cable.
- USB-C: Use a full-featured USB-C port if your device supports video output.
- Wireless: Open the casting menu on your device and select the smart board name.
- App-based sharing: Install the recommended screen-share app if the board uses one.
Step 3: Set the display to mirror or extend
On a laptop, decide whether you want to mirror the screen or extend it.
Mirroring is ideal for lessons and demos because everyone sees the same content.
Extending works well when you want presenter notes on your laptop and the main content on the board.
Step 4: Match the resolution
For the sharpest image, set your computer to the board’s native resolution whenever possible.
Most modern boards support 4K output, which makes text, charts, and video look crisp and professional.
Step 5: Test touch control and audio
If the smart board is touch-enabled, install any required touch driver and confirm that touch input works correctly.
Then test the audio if you plan to play videos or online meetings through the board’s speakers.
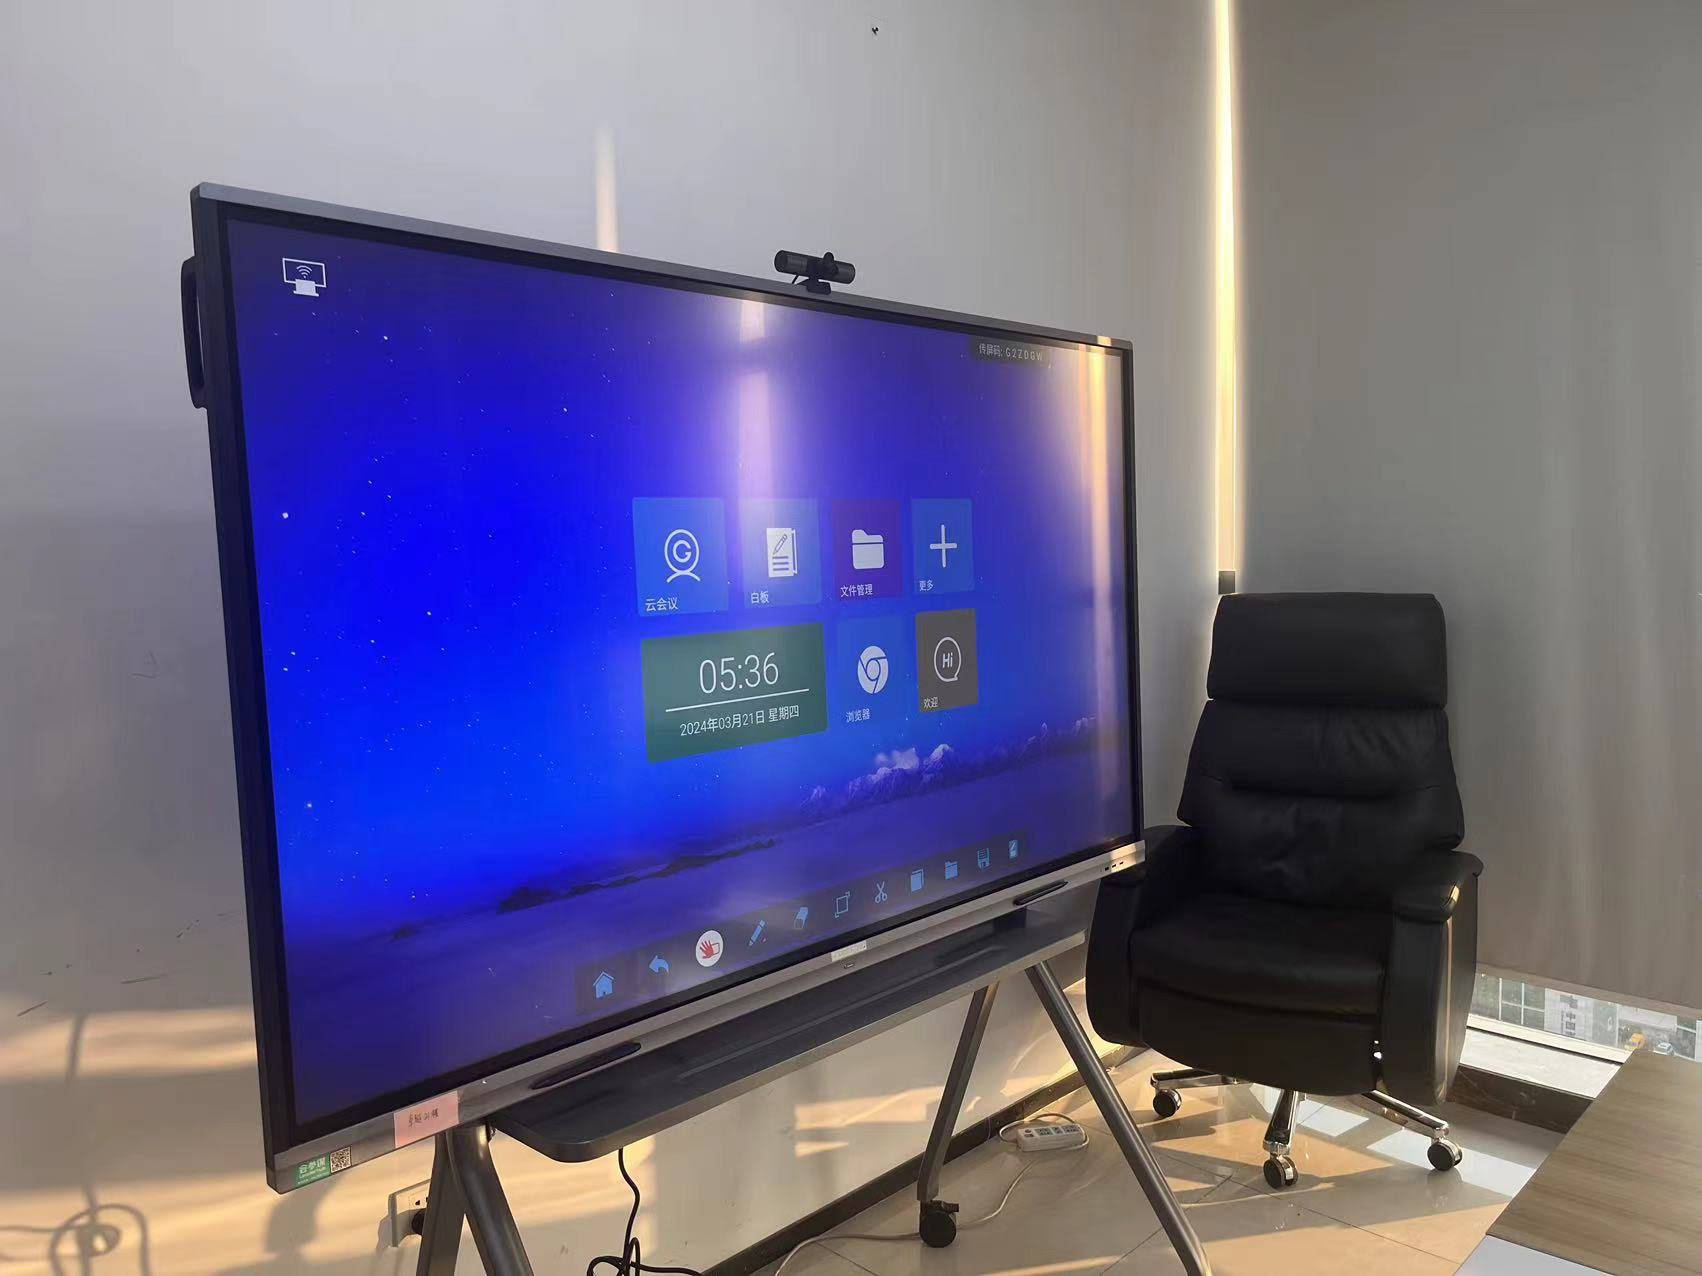
Wireless sharing tips for smoother presentations
- Keep both devices on the same network when required by the casting method.
- Close unnecessary apps to reduce lag and protect performance.
- Use a dedicated presenter profile for shared offices or classrooms.
- Label your room devices clearly so guests can connect without confusion.
- Restart the board and router if the connection is unstable.
Common problems and how to fix them
| Problem | Likely cause | Quick fix |
|---|---|---|
| No signal on the board | Wrong input selected or loose cable | Choose the correct source and reconnect the cable firmly |
| Screen is blurry | Resolution mismatch | Set your device to the board’s native resolution |
| Wireless connection keeps dropping | Weak Wi-Fi or interference | Move closer to the router or switch to wired sharing |
| Touch does not control the laptop | Driver missing or USB cable disconnected | Install the touch driver and reconnect USB |
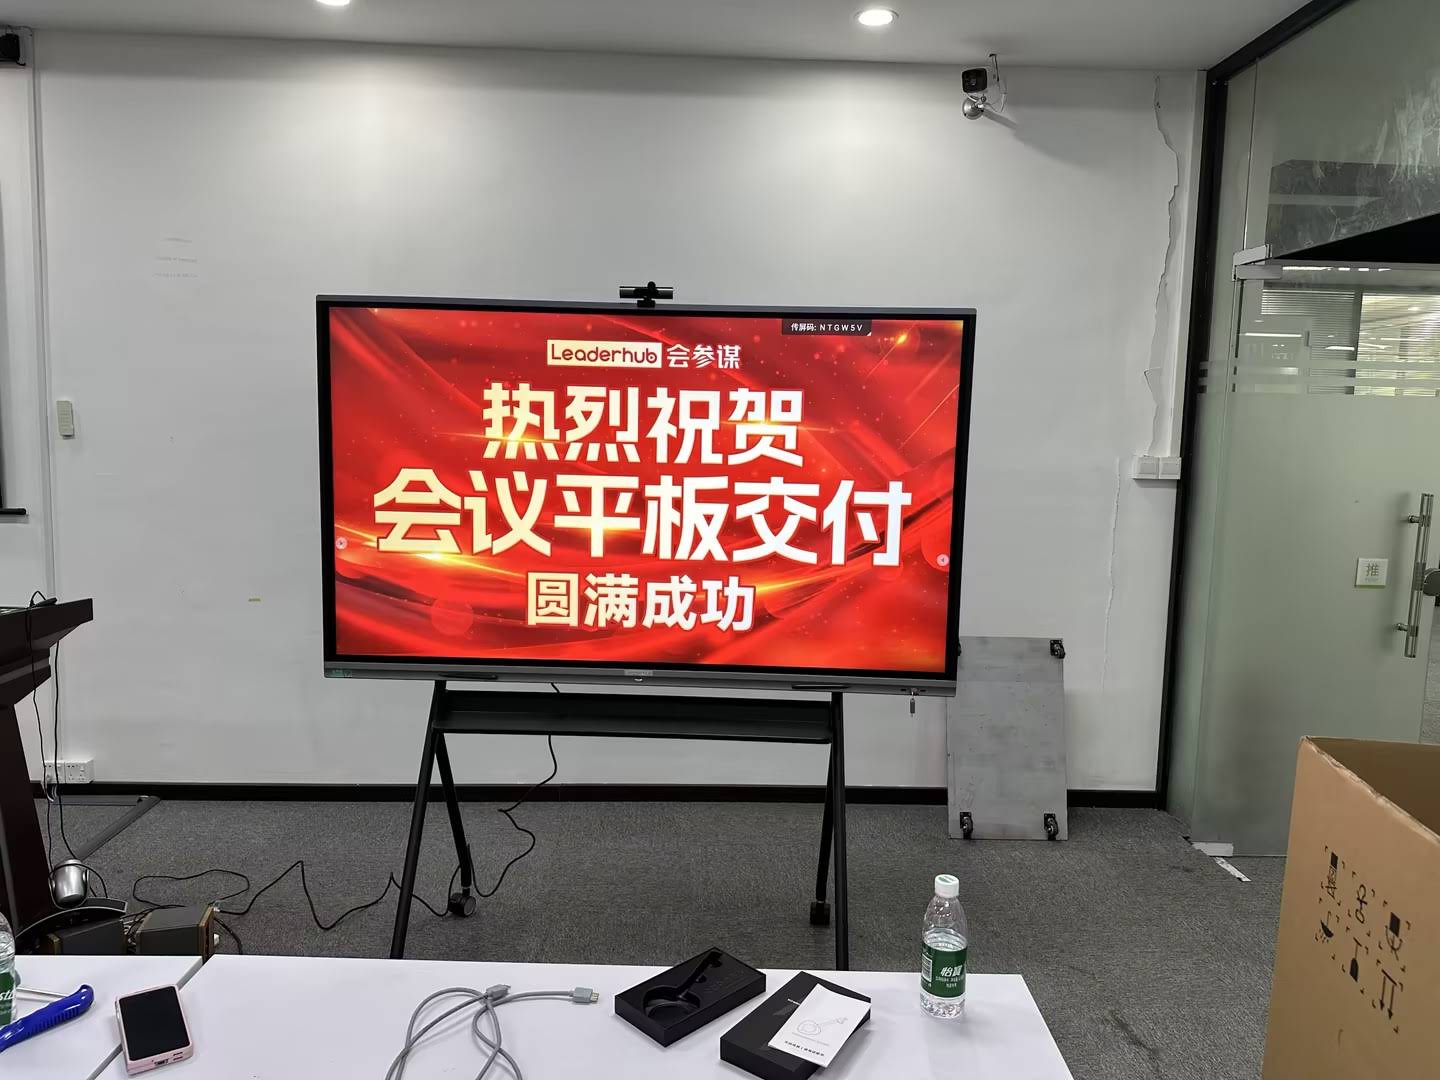
Best practices for classrooms and meetings
- Choose the simplest method for the room. For frequent presenters, wired HDMI or a dedicated mini PC is often best.
- Keep the interface visible. A clear home screen makes it easier for new users to start screen sharing quickly.
- Use annotation tools. Highlight key ideas directly on the board to improve engagement.
- Maintain a clean setup. Cable management and a fixed device label reduce support issues.
- Train staff on one primary workflow. Consistency lowers friction and saves time during every session.
For education leaders, digital display planning is stronger when it supports real teaching goals, not just hardware features.
Resources like the
UNESCO Technology in Education Report
are useful for understanding how technology should support learning outcomes.
Recommended devices for a simpler setup
If you want a more stable and repeatable experience, these product types are worth considering.
A smart board with a built-in Android system is convenient, while a separate PC can offer extra flexibility for professional environments.
| Product | Best use case | Why it helps screen sharing |
|---|---|---|
| 65″ interactive smart whiteboard | Small classrooms and huddle rooms | Compact size, touch collaboration, easy presentation setup |
| 75″ interactive smart whiteboard | Classrooms and training spaces | Better viewing distance for groups and larger rooms |
| 86″ interactive smart whiteboard | Large meeting rooms and auditoriums | Ideal for sharing detailed content with large audiences |
| Mini PC | Shared rooms and kiosk-style setups | Keeps the board ready with a dedicated always-on source |
If you are building a room that needs reliable, repeatable sharing, a smart display plus a dedicated PC can be a practical combination.
To compare more options, visit the
smart whiteboards category
or
mini PCs category.
FAQ
Can I share my screen wirelessly without a cable?
Yes. Many smart boards support wireless casting through Miracast, AirPlay, built-in mirroring tools, or vendor apps.
Just make sure your device and board are compatible and connected to a stable network.
Why does my laptop show a black screen on the smart board?
This usually happens when the wrong input is selected, the cable is faulty, or the resolution is unsupported.
Recheck the source, reconnect the cable, and switch to the correct display mode.
Do I need touch drivers to use the board as a touchscreen?
In many cases, yes. If you want to control your computer from the board, the USB touch connection and the correct driver are often required.
What is the most reliable method for daily use?
For daily office or classroom use, wired HDMI or USB-C is usually the most stable.
If you want convenience and less cable clutter, wireless casting is a strong second choice.
If you need help choosing a display for your room size or workflow, you can
contact us
for a tailored recommendation.