
If you are searching for how to convert TV to smart board, the good news is that you do not always need to buy a brand-new interactive display. With the right accessories, software, and setup, a regular TV can work like a smart board for home learning, classroom teaching, meetings, and presentations.
The main difference is simple: a TV can become a smart display with apps, casting, and a connected computer, while a real smart board adds touch interaction and whiteboard-style writing. In this guide, you will learn both options so you can choose the best one for your budget and goals.
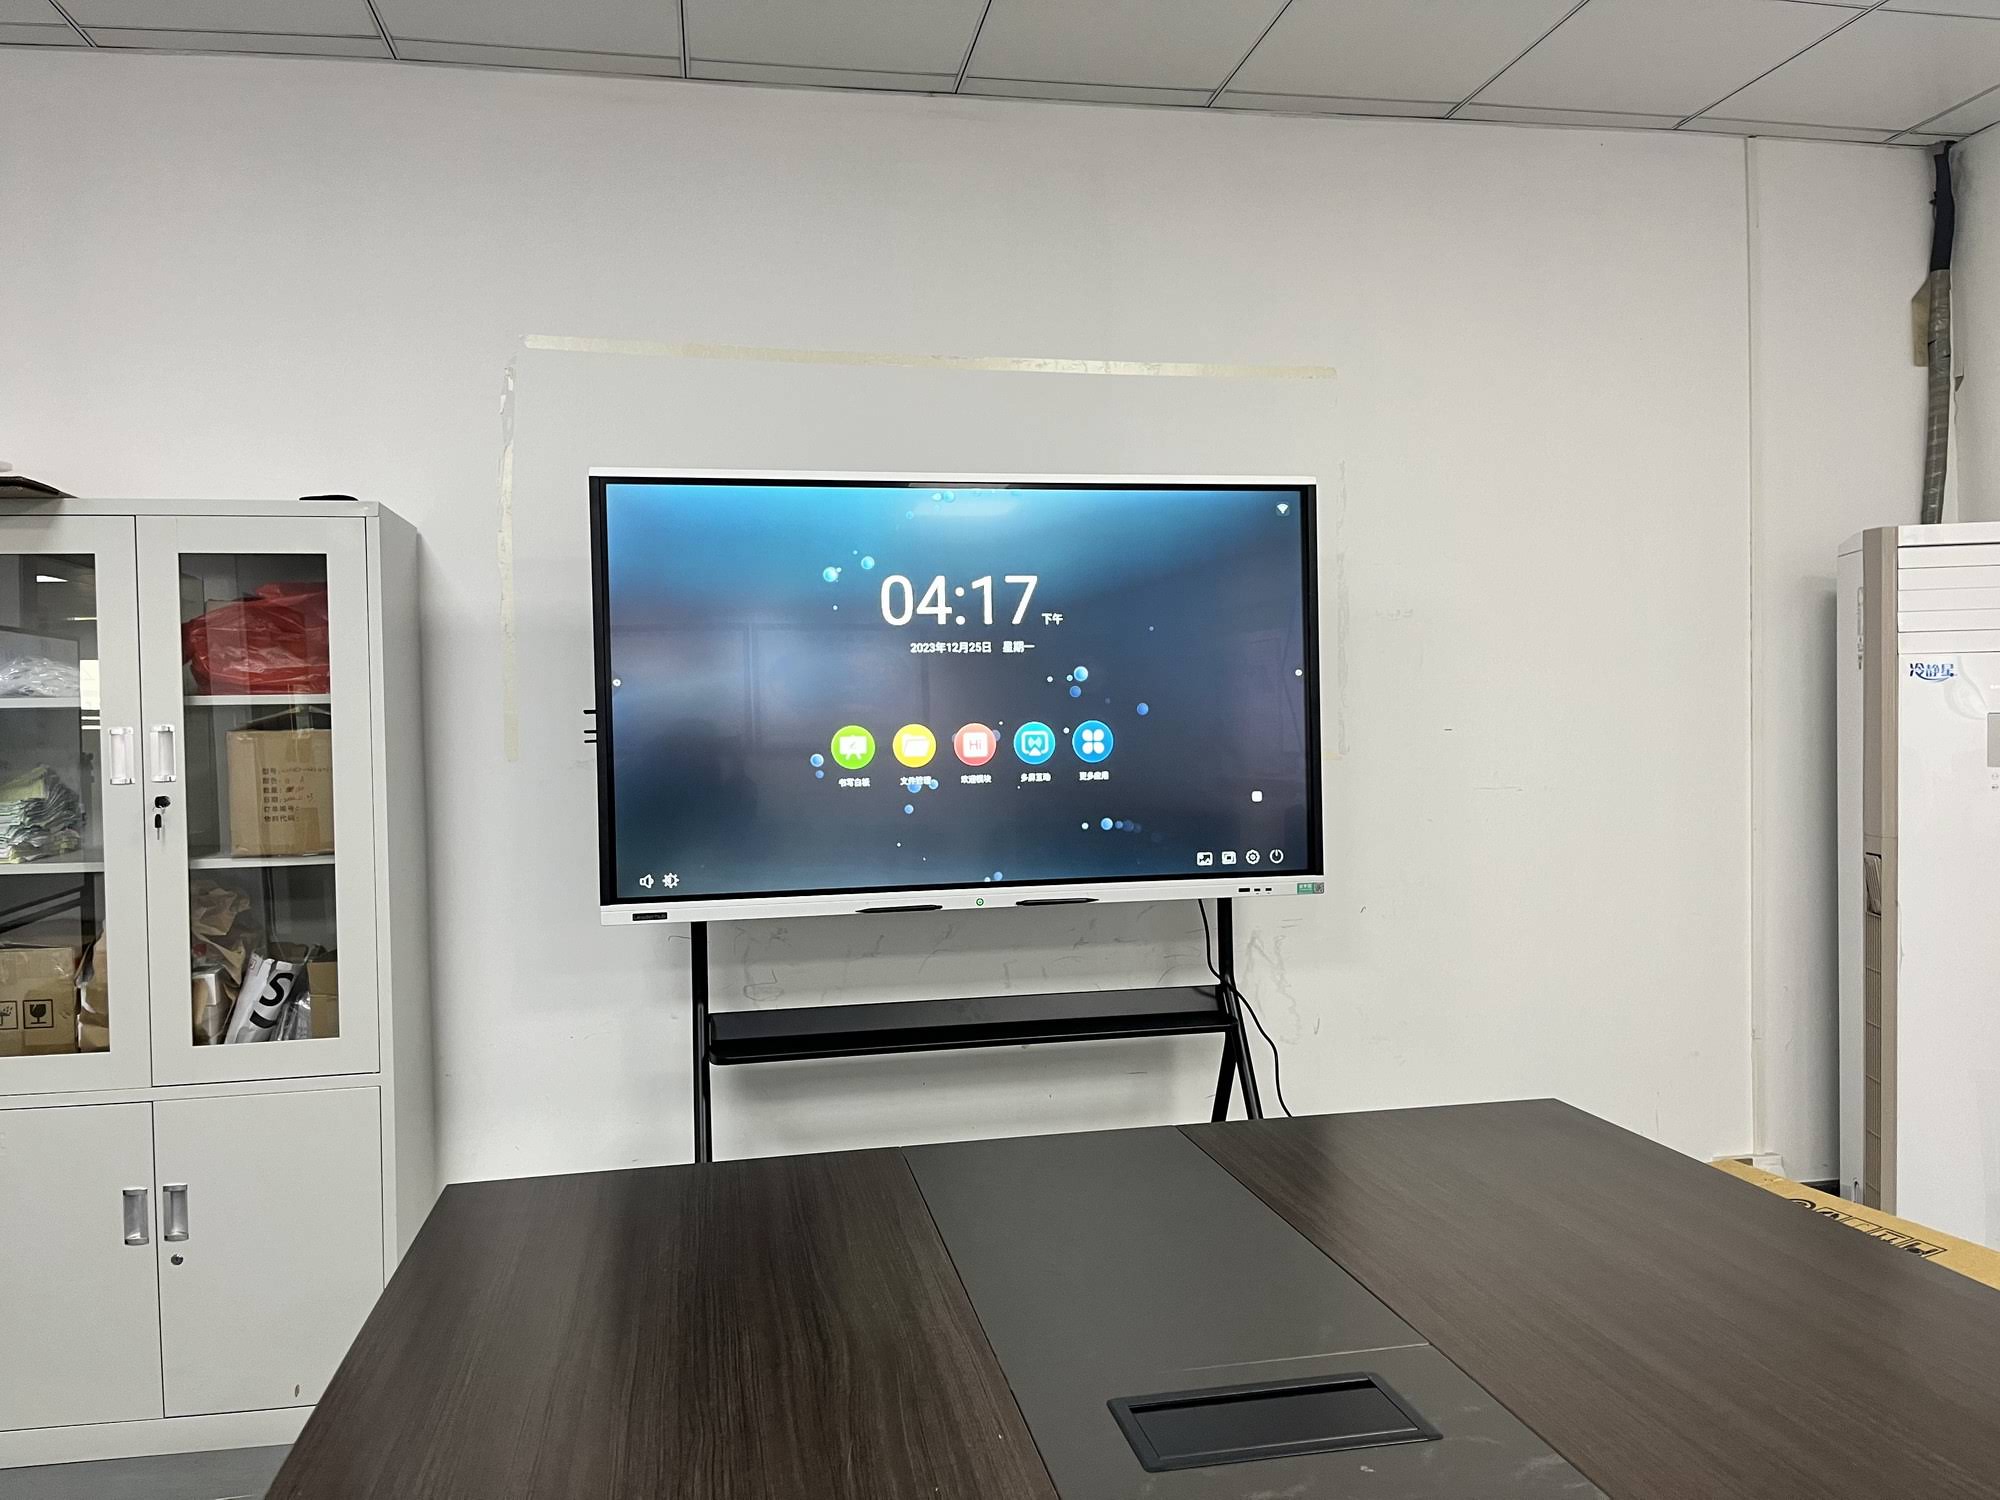
What “Smart Board” Really Means
Before you start, it helps to define the result you want. A smart board usually includes one or more of these features:
- Touch control for tapping, dragging, and writing
- Whiteboard tools for annotations, drawing, and saving notes
- Wireless sharing from phones, tablets, and laptops
- Apps and internet access for videos, documents, and teaching tools
- Audio output for lessons, meetings, and media playback
If your goal is just to show lessons or slides on a larger screen, a TV upgrade can be very affordable. If you want handwriting and touch, you will need a touch layer, interactive frame, or an all-in-one solution.
Best Ways to Convert a TV to a Smart Board
| Method | Best For | Touch? | Cost Level |
|---|---|---|---|
| Streaming device + apps | Basic smart TV functions | No | Low |
| Mini PC + whiteboard software | Home office, classroom display | No, unless paired with touch hardware | Medium |
| Touch overlay or infrared frame | Interactive writing and annotations | Yes | Medium to High |
| Dedicated interactive display | Schools, training rooms, offices | Yes | Higher upfront, better value long term |
For most DIY users, the easiest route is:
TV + mini PC + whiteboard software + wireless casting.
This gives you a smart board-style experience without replacing the TV.
What You Need for a DIY Smart Board Setup
Core Equipment
- A TV with an HDMI port
- Mini PC or laptop connected by HDMI
- Wireless keyboard and mouse, or a presenter remote
- Whiteboard or annotation software
- Wi-Fi connection
- Optional webcam and speakers for online teaching
Optional Upgrades for True Interactivity
- IR touch frame for a TV
- Touch overlay panel
- Stylus pen input system
- Wall mount with cable management
- Soundbar or external speakers
Step-by-Step: How to Convert TV to Smart Board
Step 1: Mount and position the TV
Place the TV at a comfortable viewing height. For classrooms, the center of the screen should usually be visible to both seated and standing learners. Avoid glare from windows and overhead lights.
Step 2: Connect a mini PC or laptop
Use HDMI to connect your computer to the TV. A mini PC is a strong choice because it can stay behind the display and keep the setup neat. If you want a stable all-in-one solution, check the mini PC options.
Step 3: Install whiteboard software
Install software that supports drawing, importing files, screen recording, and saving annotations. Good examples include interactive whiteboard tools, note apps, and presentation apps with pen mode.
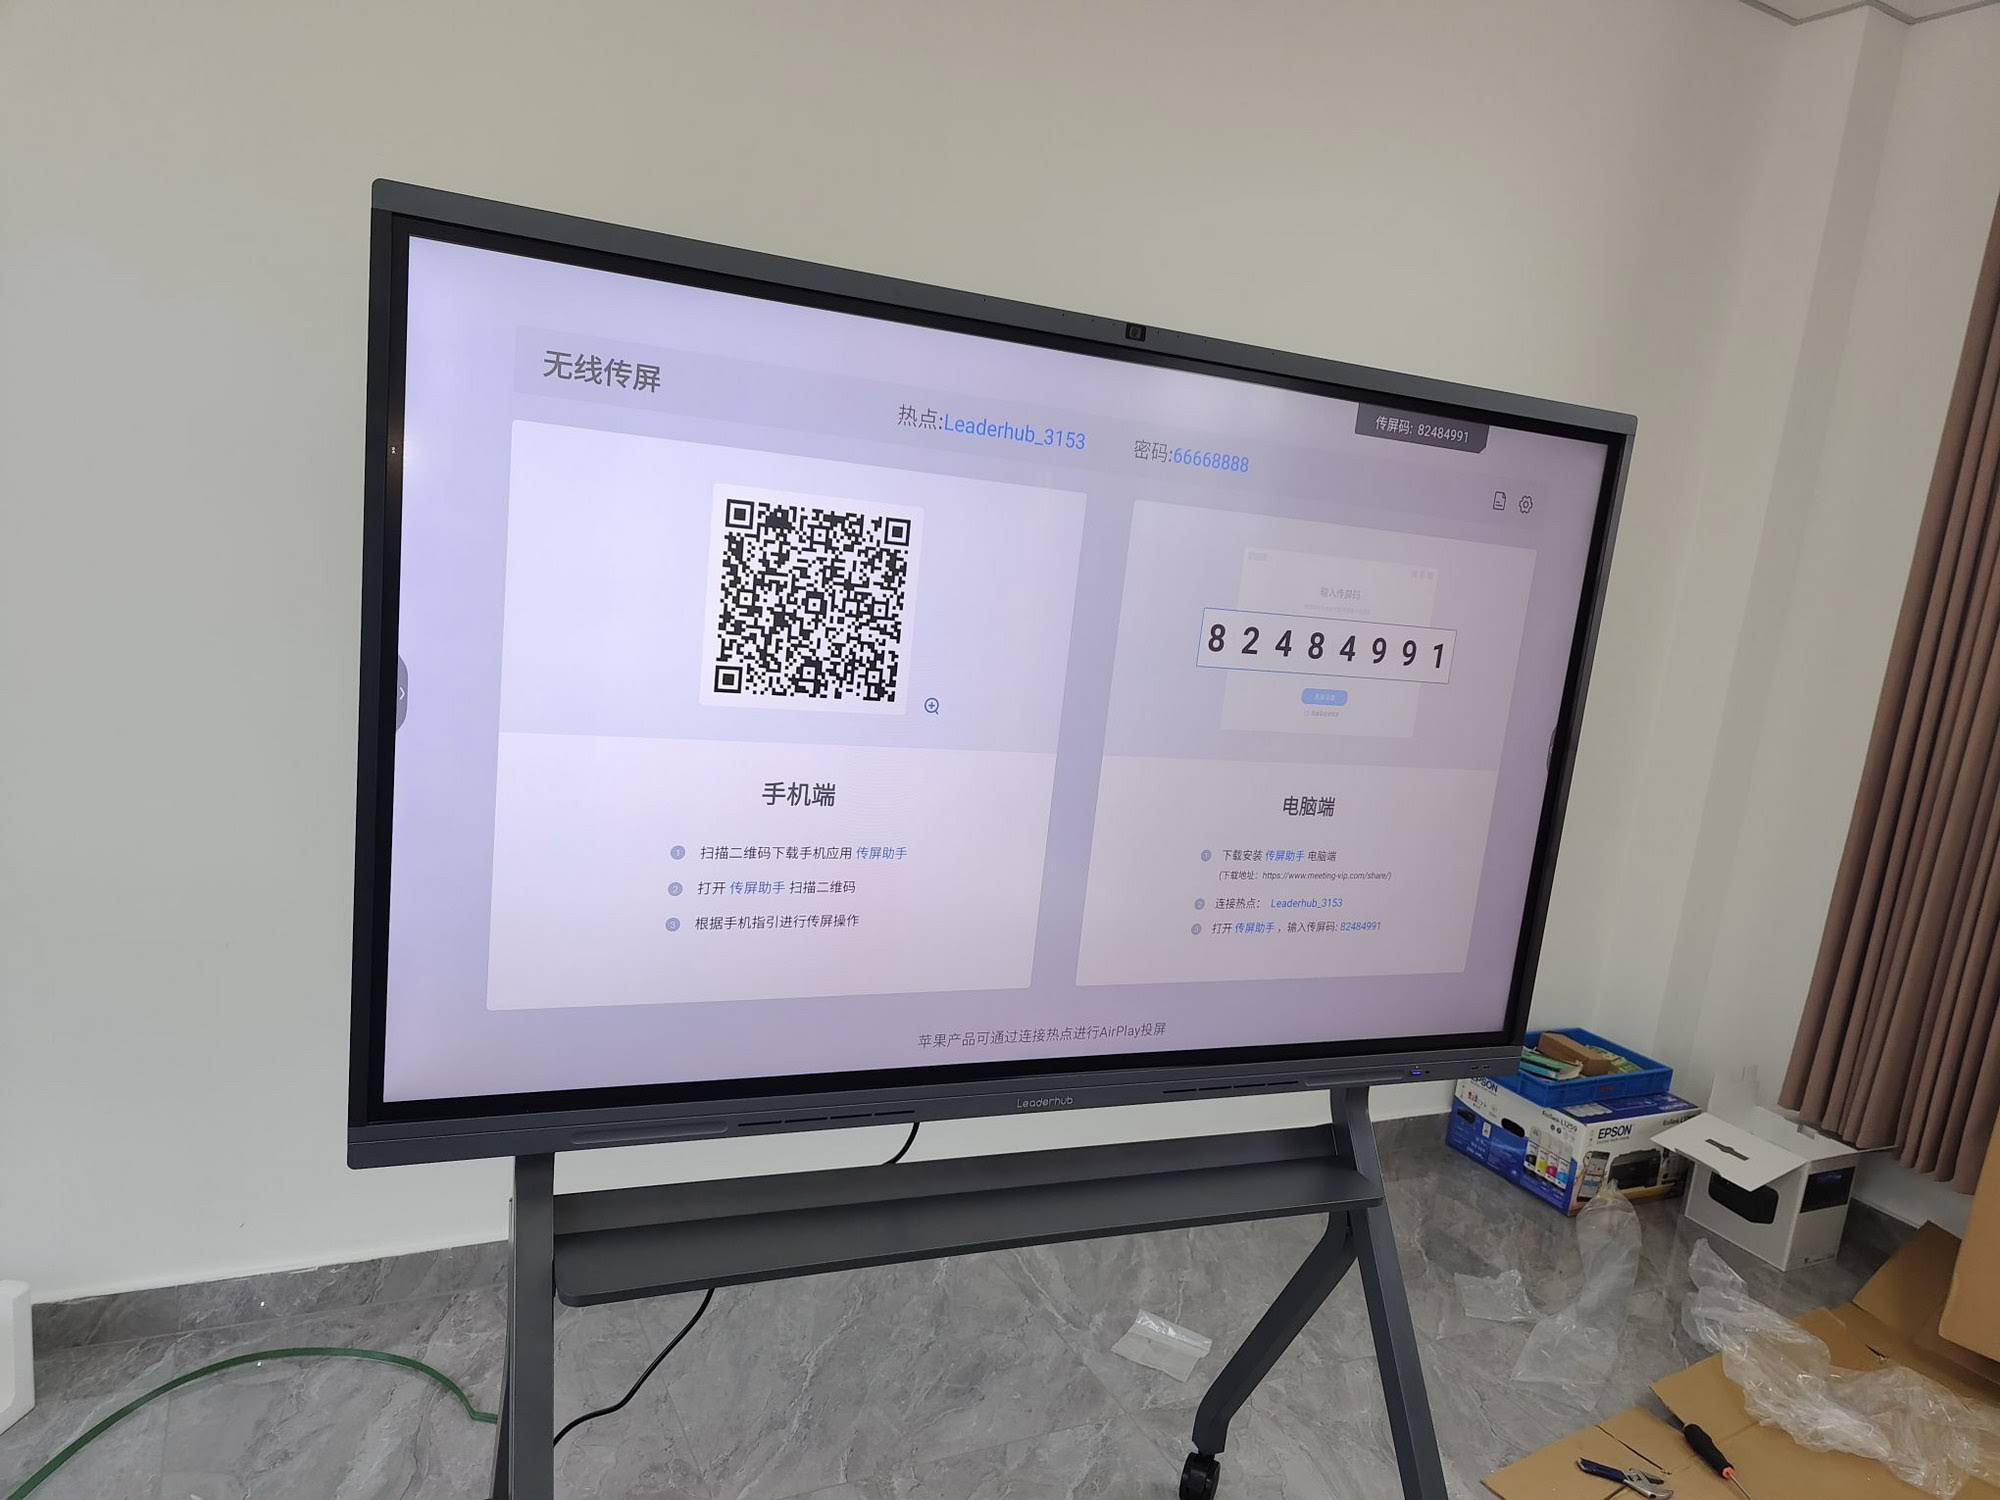
Step 4: Add wireless sharing
To make the TV feel more like a smart board, enable screen mirroring from phones, tablets, and laptops. This is ideal for classrooms where students need to present quickly, or for meetings where several people need to share content.
Step 5: Improve audio and input
Add a soundbar or external speakers if the TV sound is weak. For better control, use a wireless mouse, keyboard, or stylus. In a classroom, this makes lesson switching faster and smoother.
Step 6: Upgrade to touch if needed
If you need handwriting and multi-touch gestures, add an IR touch frame or use a dedicated interactive panel instead of a standard TV. This is the main step that turns a “smart display” into a real “smart board” experience.
Recommended Software Features
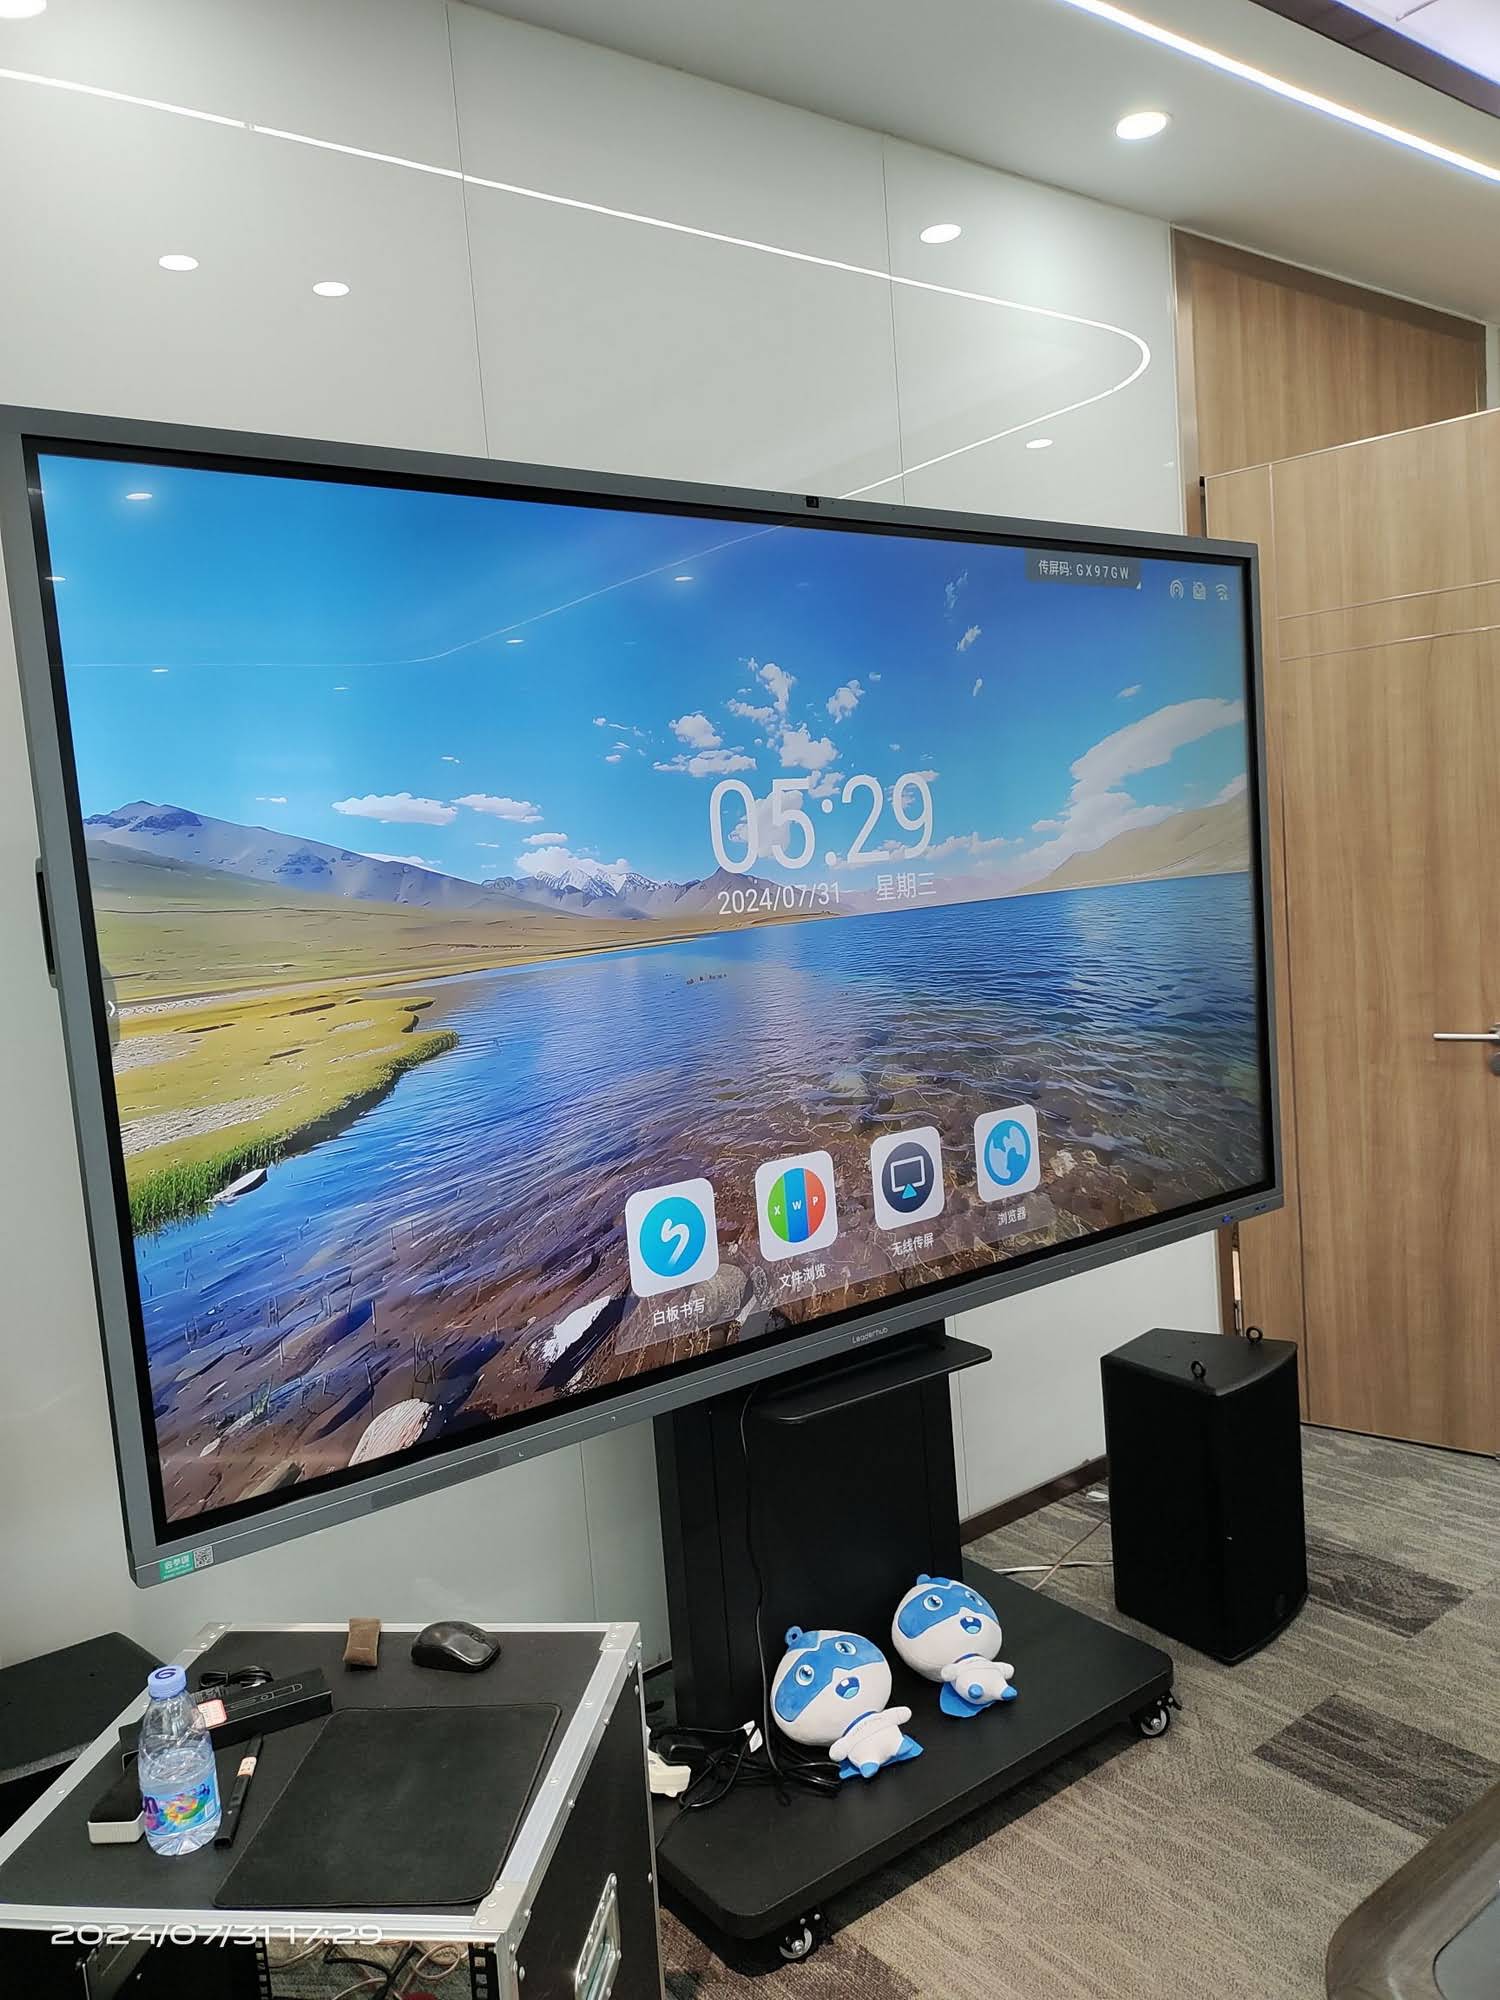
When choosing software for your DIY setup, look for these features:
- Pen tools for highlighting and writing
- Shape recognition and eraser tools
- Import support for PDF, PPT, images, and videos
- Cloud saving and export options
- Split-screen or multi-window display
- Easy screen capture and lesson recording
For classroom adoption, software should be simple enough for teachers to learn quickly. Research from organizations such as
UNESCO Technology Recommendations
also highlights the importance of choosing technology that supports real learning outcomes, not just novelty.
TV vs Smart Board: Which Is Better?
| Feature | Converted TV | Dedicated Smart Board |
|---|---|---|
| Display quality | Good, depending on TV model | Very good, usually optimized for long use |
| Touch support | Needs extra hardware | Built in |
| Setup time | Fast | Fast to use, minimal configuration |
| Best use case | Budget setups, home teaching, basic meetings | Schools, training centers, collaborative work |
| Long-term value | Good if budget is tight | Better for heavy daily use |
Home Use Ideas
A converted TV can become a powerful home learning station. Parents can use it for:
- Online tutoring
- Homework review
- Language learning
- Family presentations and planning
- Home office whiteboarding
If the TV is in a living room or shared space, keep the setup simple. A wireless keyboard, a casting tool, and one whiteboard app are often enough for everyday use.
Classroom Use Ideas
For schools and training rooms, the goal is usually to improve participation. A TV-based smart board setup can help teachers:
- Display lesson slides and videos
- Annotate directly on documents
- Save notes for later review
- Share student work instantly
- Support hybrid or remote learning
This aligns well with modern classroom guidance from
OECD Digital Education
and
UNESCO Digital Education,
where purposeful technology use is emphasized over simply adding devices.
Common Mistakes to Avoid
- Choosing a TV with poor brightness for a sunny classroom
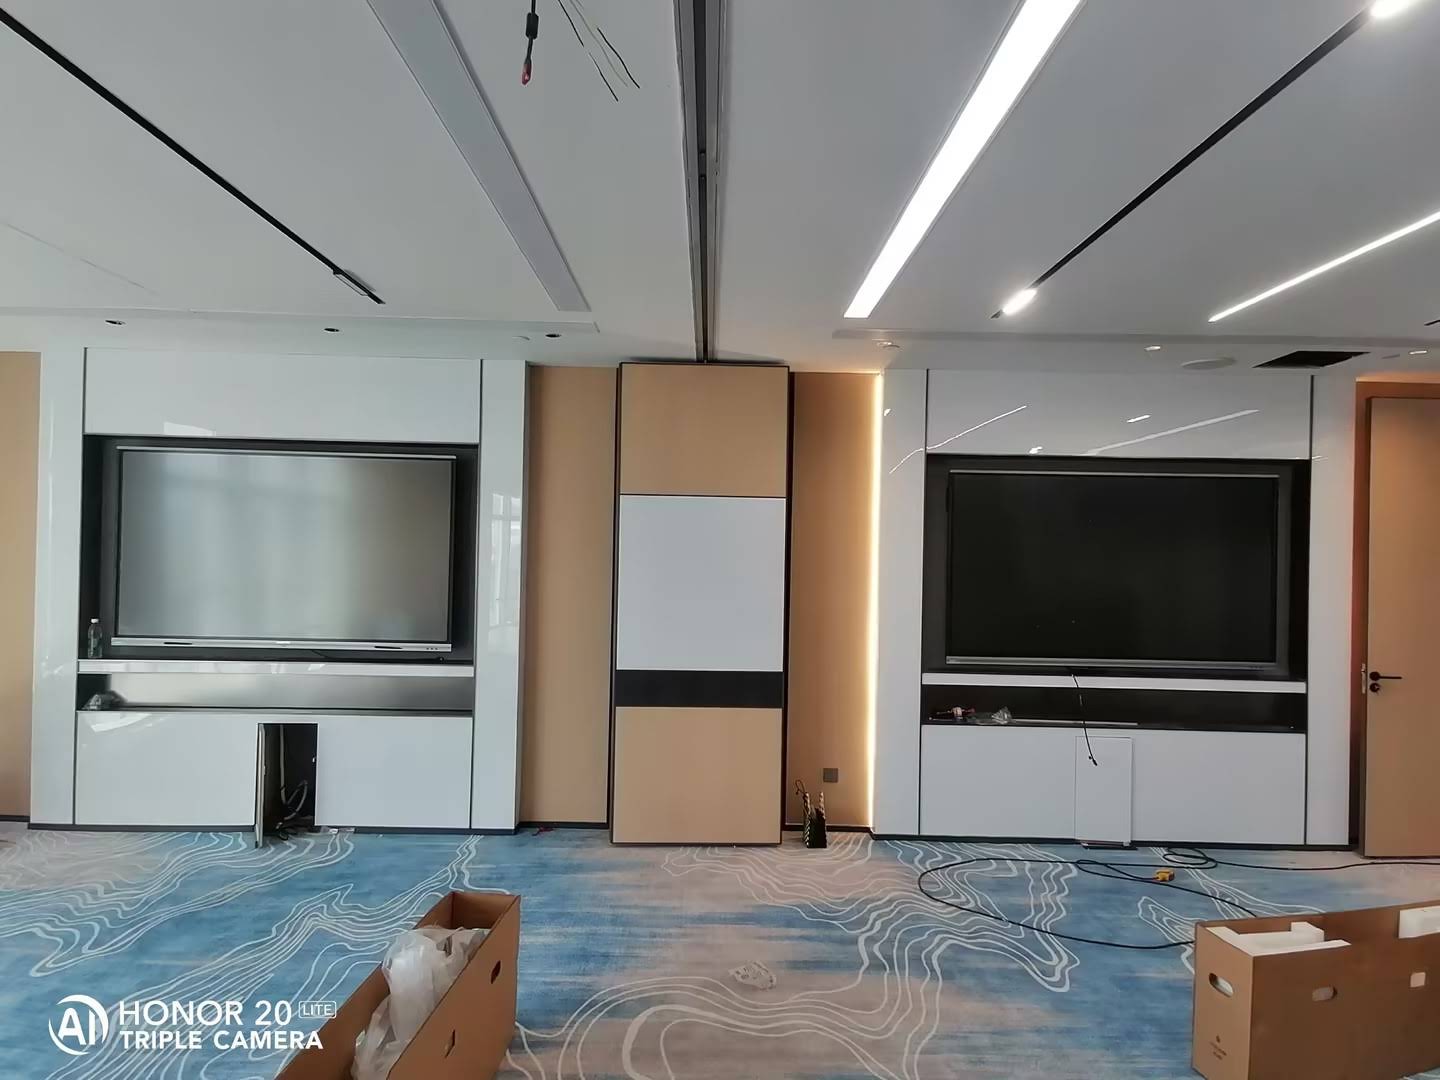
- Ignoring cable management and power placement
- Using software that is too complex for teachers or students
- Expecting a normal TV to behave like a touch panel without extra hardware
- Skipping audio setup when teaching online or playing media
Quick tip
If you will use the screen every day, it is worth comparing the cost of upgrades against a purpose-built interactive display. Sometimes the smarter investment is a full smart board rather than a DIY conversion.
DIY TV-to-Smart-Board Checklist
| Task | Done? |
|---|---|
| TV mounted or placed at the right height | ☐ |
| Mini PC or laptop connected by HDMI | ☐ |
| Whiteboard software installed | ☐ |
| Wireless casting enabled | ☐ |
| Sound and input devices tested | ☐ |
| Touch hardware added if needed | ☐ |
When You Should Upgrade Instead of DIY
A DIY setup works well for small budgets, temporary rooms, and light daily use. However, you should consider a dedicated interactive display if you need:
- Heavy classroom use every day
- Fast multi-touch collaboration
- Better durability and longer life cycle
- Lower maintenance for IT teams
- A cleaner all-in-one installation
If you want to compare DIY and ready-made solutions, browse smart whiteboards
or get in touch through Contact Us.
LeaderHub is a Shenzhen-based interactive display manufacturer with 16 years of experience, and its solutions are designed for classrooms, meetings, and collaboration spaces.
Final Setup Tips for Better Results
- Keep the home screen simple
- Use large icons and easy-to-read fonts in the software
- Save lesson templates for repeat use
- Test audio, Wi-Fi, and casting before class or meetings
- Label cables and keep a spare HDMI cable nearby
The easiest answer to how to convert TV to smart board is this: start with a TV, add a computer, install the right software, and upgrade to touch hardware only if you truly need it. That approach keeps costs down while giving you a flexible setup for learning, presenting, and collaborating.
Useful resources:
U.S. Education Technology,
ISTE Standards,
EU Digital Education.








