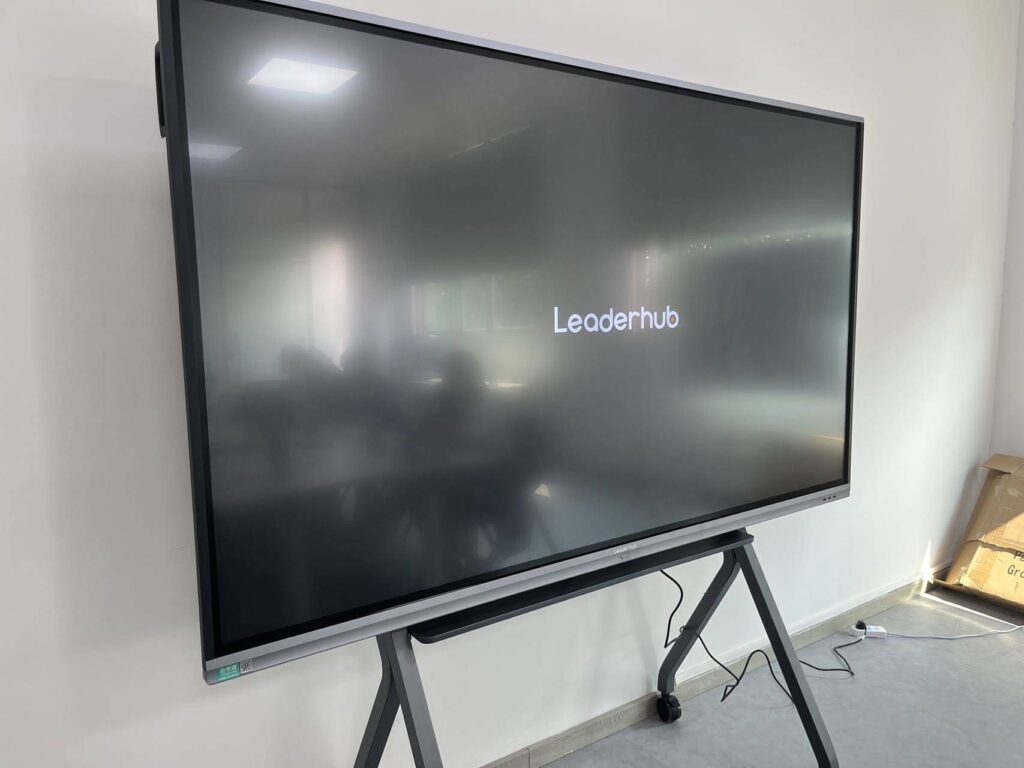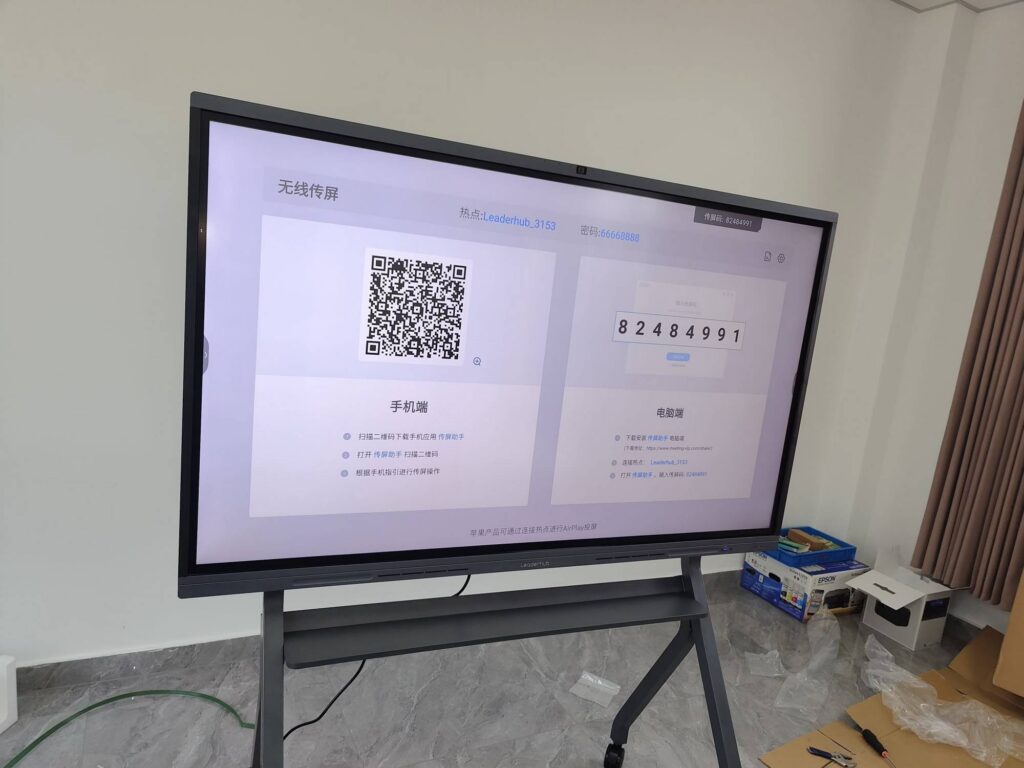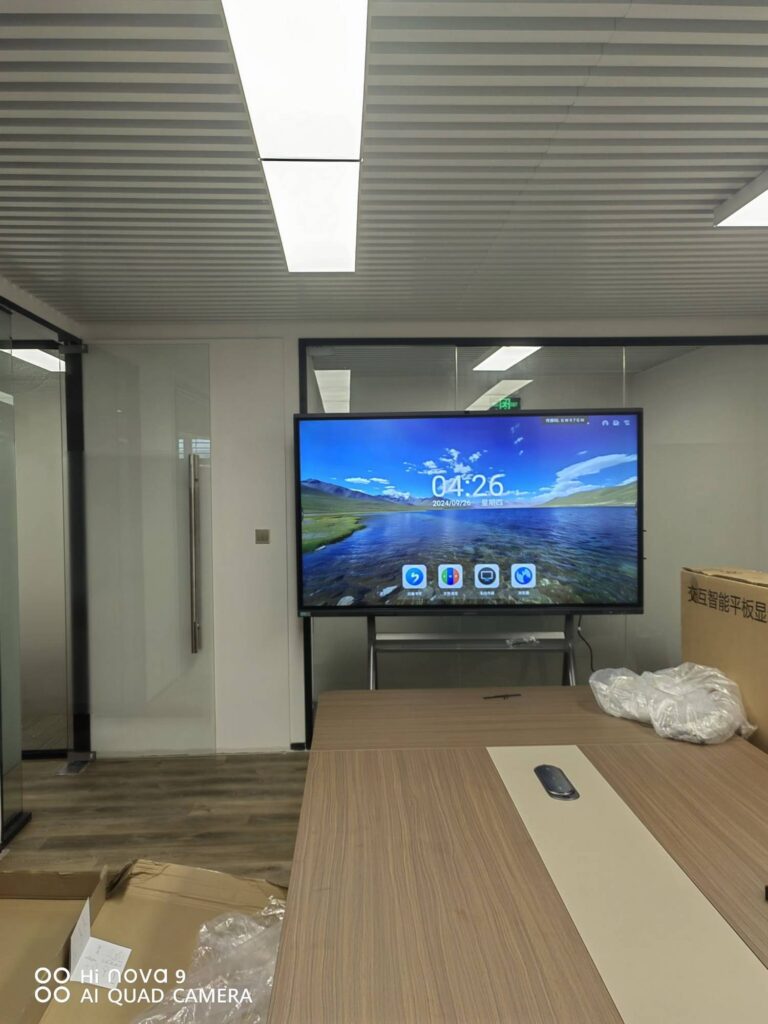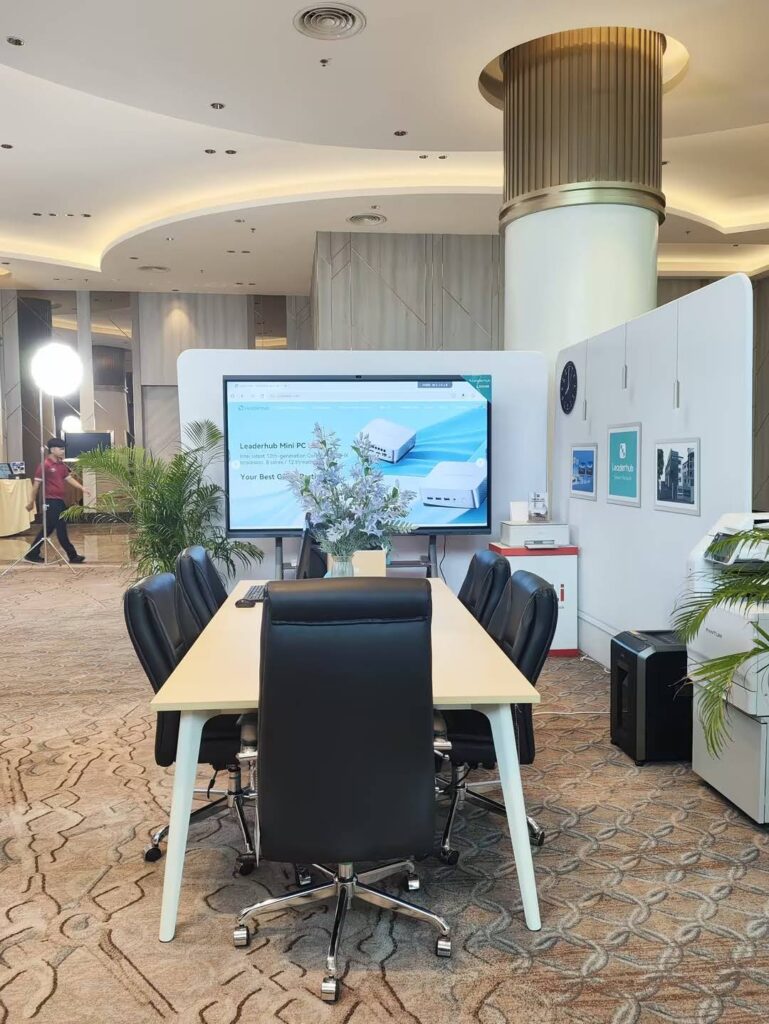
A demonstration lesson is where teaching is at its most visible. Whether you are modelling a new strategy for colleagues, delivering an observed lesson, or presenting an open class to parents and school leaders, every explanation, annotation and student interaction is on display. The right smart board for teacher demonstration lessons turns that pressure into an advantage: it lets you move fluidly between slides, live writing, video and student work without breaking the rhythm of the class. This guide explains what to look for when choosing one, which screen size fits your room, and how to use the board to keep students actively involved from the first minute to the last.
Why Demonstration Lessons Need a Different Kind of Display
A regular classroom display only has to work for one teacher and one group of students. A demonstration lesson has a wider audience and a tighter script. Observers sit at the back of the room, the lesson plan usually includes several transitions, and there is rarely time to troubleshoot a frozen connection. That changes the priorities when selecting hardware:
- Legibility from the back row – observers and students in large rooms must read handwriting and small diagrams clearly.
- Zero-lag writing – any delay between pen and ink is magnified when twenty adults are watching your board work.
- Fast switching between sources – slides, a document camera, a student tablet and a web page may all appear within ten minutes.
- Reliability under pressure – the panel must wake, connect and respond the same way every time.
- Evidence capture – saving annotated pages and recordings is useful for reflection, feedback and portfolios.
Research on classroom technology consistently shows that devices alone do not raise outcomes; it is how teachers integrate them into pedagogy that matters. The UNESCO Technology in Education Report stresses that technology should be chosen on the teacher’s terms and in service of clear learning goals, which is exactly the mindset a demonstration lesson rewards.
What Makes a Smart Board Suitable for Teacher Demonstration Lessons?
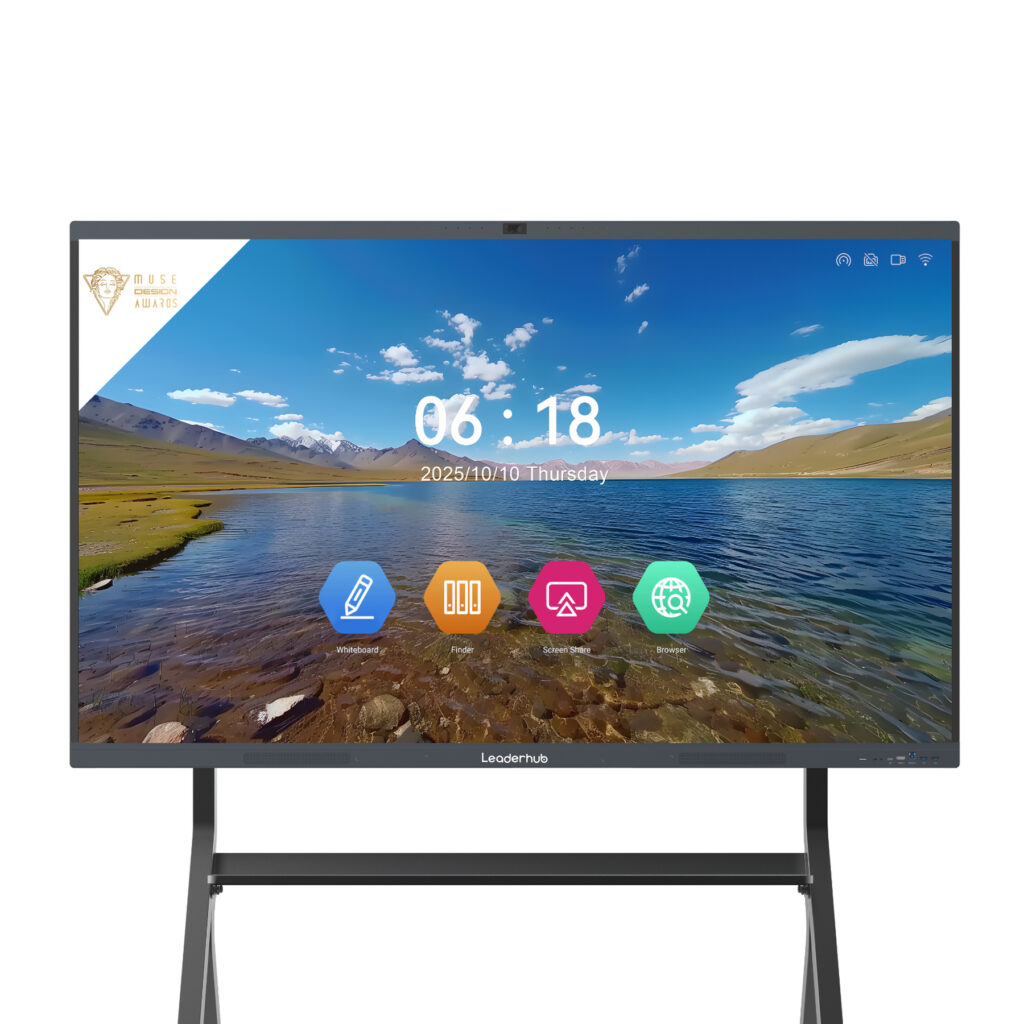
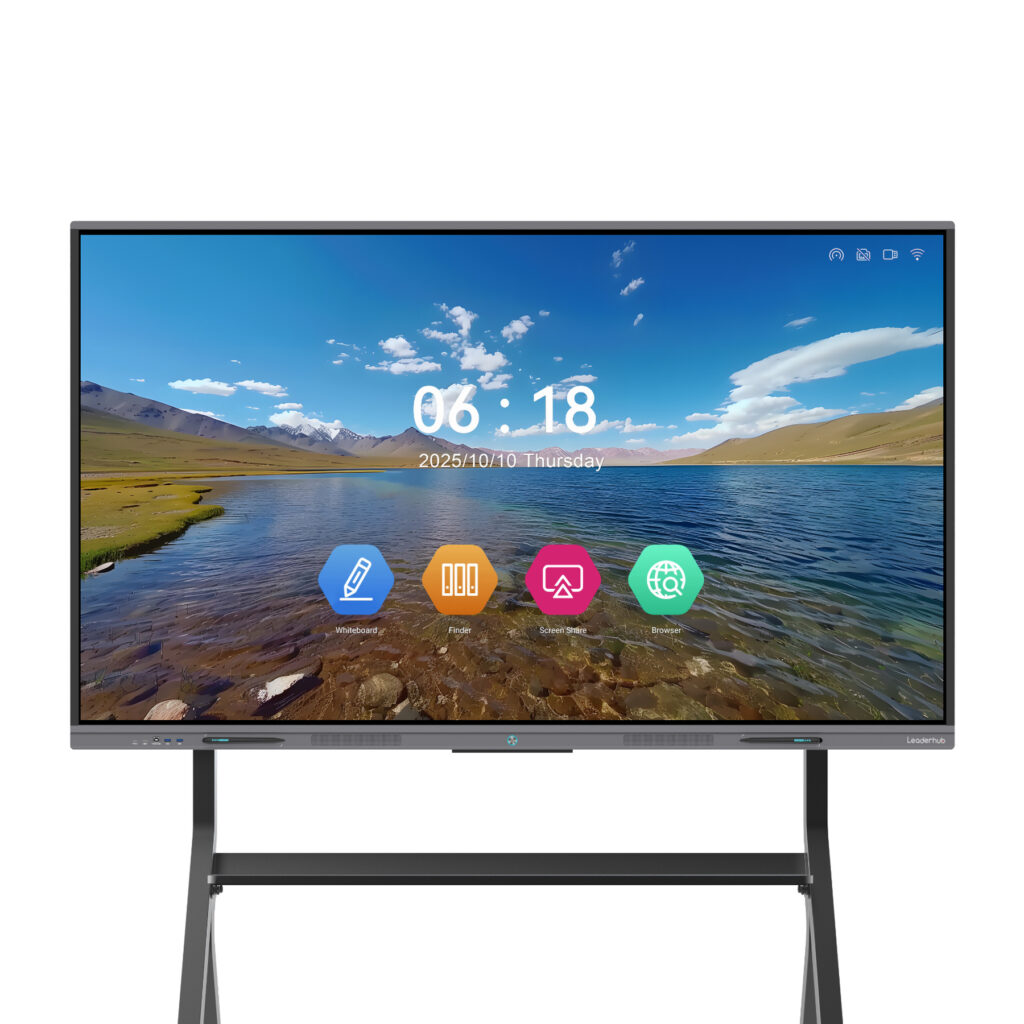
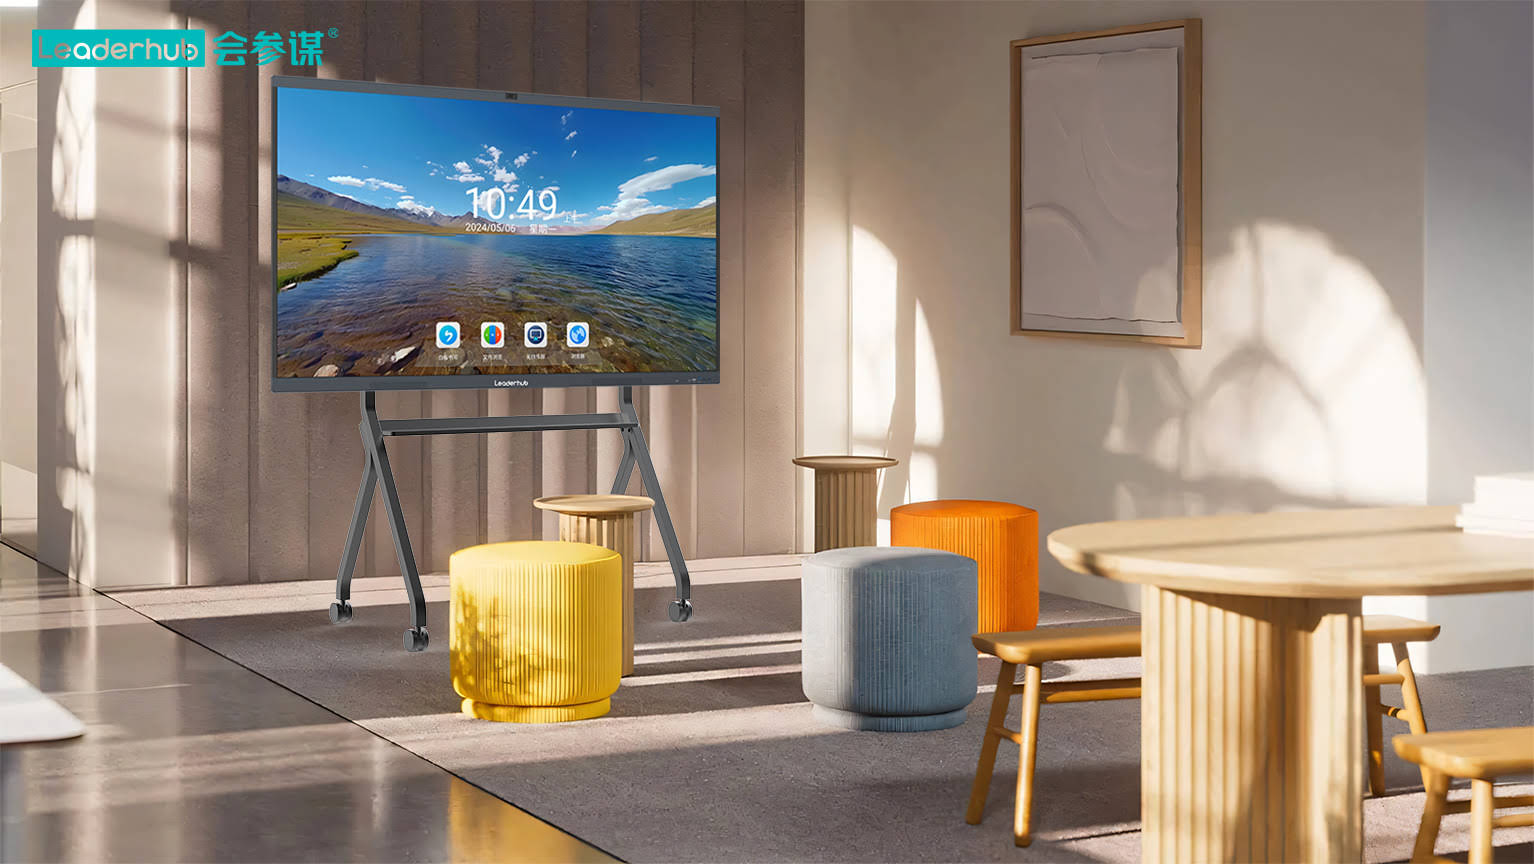
A modern smart board, also called an interactive flat panel, is a large 4K touchscreen with a built-in Android system, whiteboarding software, wireless screen sharing and, optionally, a slot-in or external PC. Unlike a projector-based interactive whiteboard, it produces no shadows, needs no calibration and stays bright in daylight. For demonstration teaching, the most important differences come down to how the board handles writing, media and participation at the same time.
Core Capabilities to Expect
- Multi-point touch (20 points or more) so several students can write together.
- Infinite-canvas whiteboard with pen, highlighter, shapes, rulers and handwriting recognition.
- Annotation over any source, including live video and shared student screens.
- One-tap wireless casting from laptops, tablets and phones.
- Built-in camera and microphone array for recording or hybrid participation.
- Cloud saving and QR-code export of every page produced during the lesson.
How to Choose a Smart Board for Teacher Demonstration Lessons
The buying decision comes down to six factors. Weigh them against your room, your subject and how often the board will travel between spaces.
1. Screen Size and Viewing Distance
Size is the single biggest influence on engagement. If students cannot read the board comfortably, they stop looking at it. A practical rule for 4K panels is that the farthest viewer should sit no more than roughly six times the screen height away for detailed text. Demonstration lessons often take place in larger rooms or lecture halls with extra observers, so it is wise to size up rather than down.
| Room Type | Typical Audience | Recommended Size | Notes for Demo Lessons |
|---|---|---|---|
| Small group / tutoring space | Up to 15 people | 55″ – 65″ | A mobile stand lets the board travel to different rooms for demos |
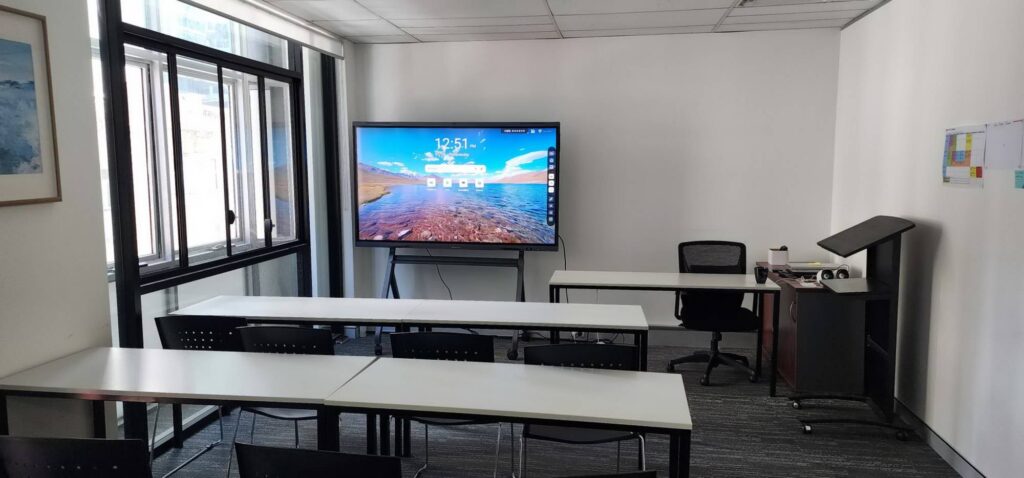
| Standard classroom | 25 – 35 students plus observers | 75″ | The most popular choice; balances legibility and cost |
| Large classroom / open-lesson hall | 40 – 60 people | 86″ | Keeps split-screen layouts readable from the back |
| Lecture theatre / training centre | 60+ people | 98″ – 110″ | Suitable for district-wide model lessons and teacher training events |
2. Writing Experience
Look for a response time under 8 ms, palm rejection and a pen that feels natural to write with. Anti-glare, fully bonded glass reduces reflections from classroom lighting, which matters when a lesson is being filmed. Dual-colour pens are a small feature with a big payoff: you can switch between two ink colours by flipping the pen, which keeps your explanation flowing.
3. Software and Operating System
An up-to-date Android system with ample RAM ensures apps open quickly and the whiteboard never stutters with dozens of pages open. If your school relies on Windows-only software, choose a panel that accepts a slot-in or external mini PC so you can run full desktop applications on the same screen. Guidance such as the OECD Digital Teaching Guidance highlights that teachers adopt tools faster when they fit existing workflows rather than replacing them.
4. Connectivity and Screen Sharing
Count the inputs you will actually use in one lesson: HDMI for a laptop, USB-C for charging and video in one cable, and wireless casting for student devices. The ability to display four student screens side by side is particularly valuable for comparing work during a demonstration.
5. Mobility
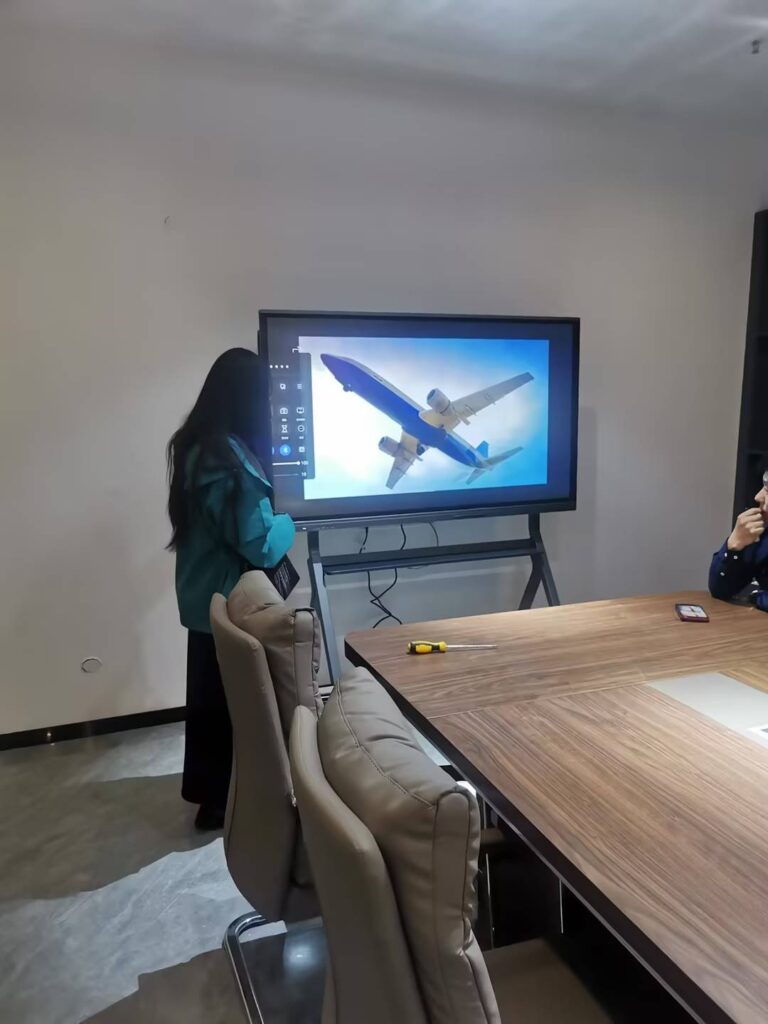
Demonstration lessons rarely happen in just one room. A board on a height-adjustable mobile stand, or a smaller panel with a built-in battery, can be wheeled into any classroom or training space. Rotating stands that switch between landscape and portrait are useful for displaying long documents, reading passages or vertical worksheets.
6. Audio and Camera
Built-in front-facing speakers of 2 × 15 W or more fill a standard classroom without an external sound bar. If your demonstration lessons are recorded or streamed to teachers in other schools, an integrated 4K camera with auto-framing saves setup time and keeps the lesson natural.
Recommended Smart Boards for Demonstration Teaching
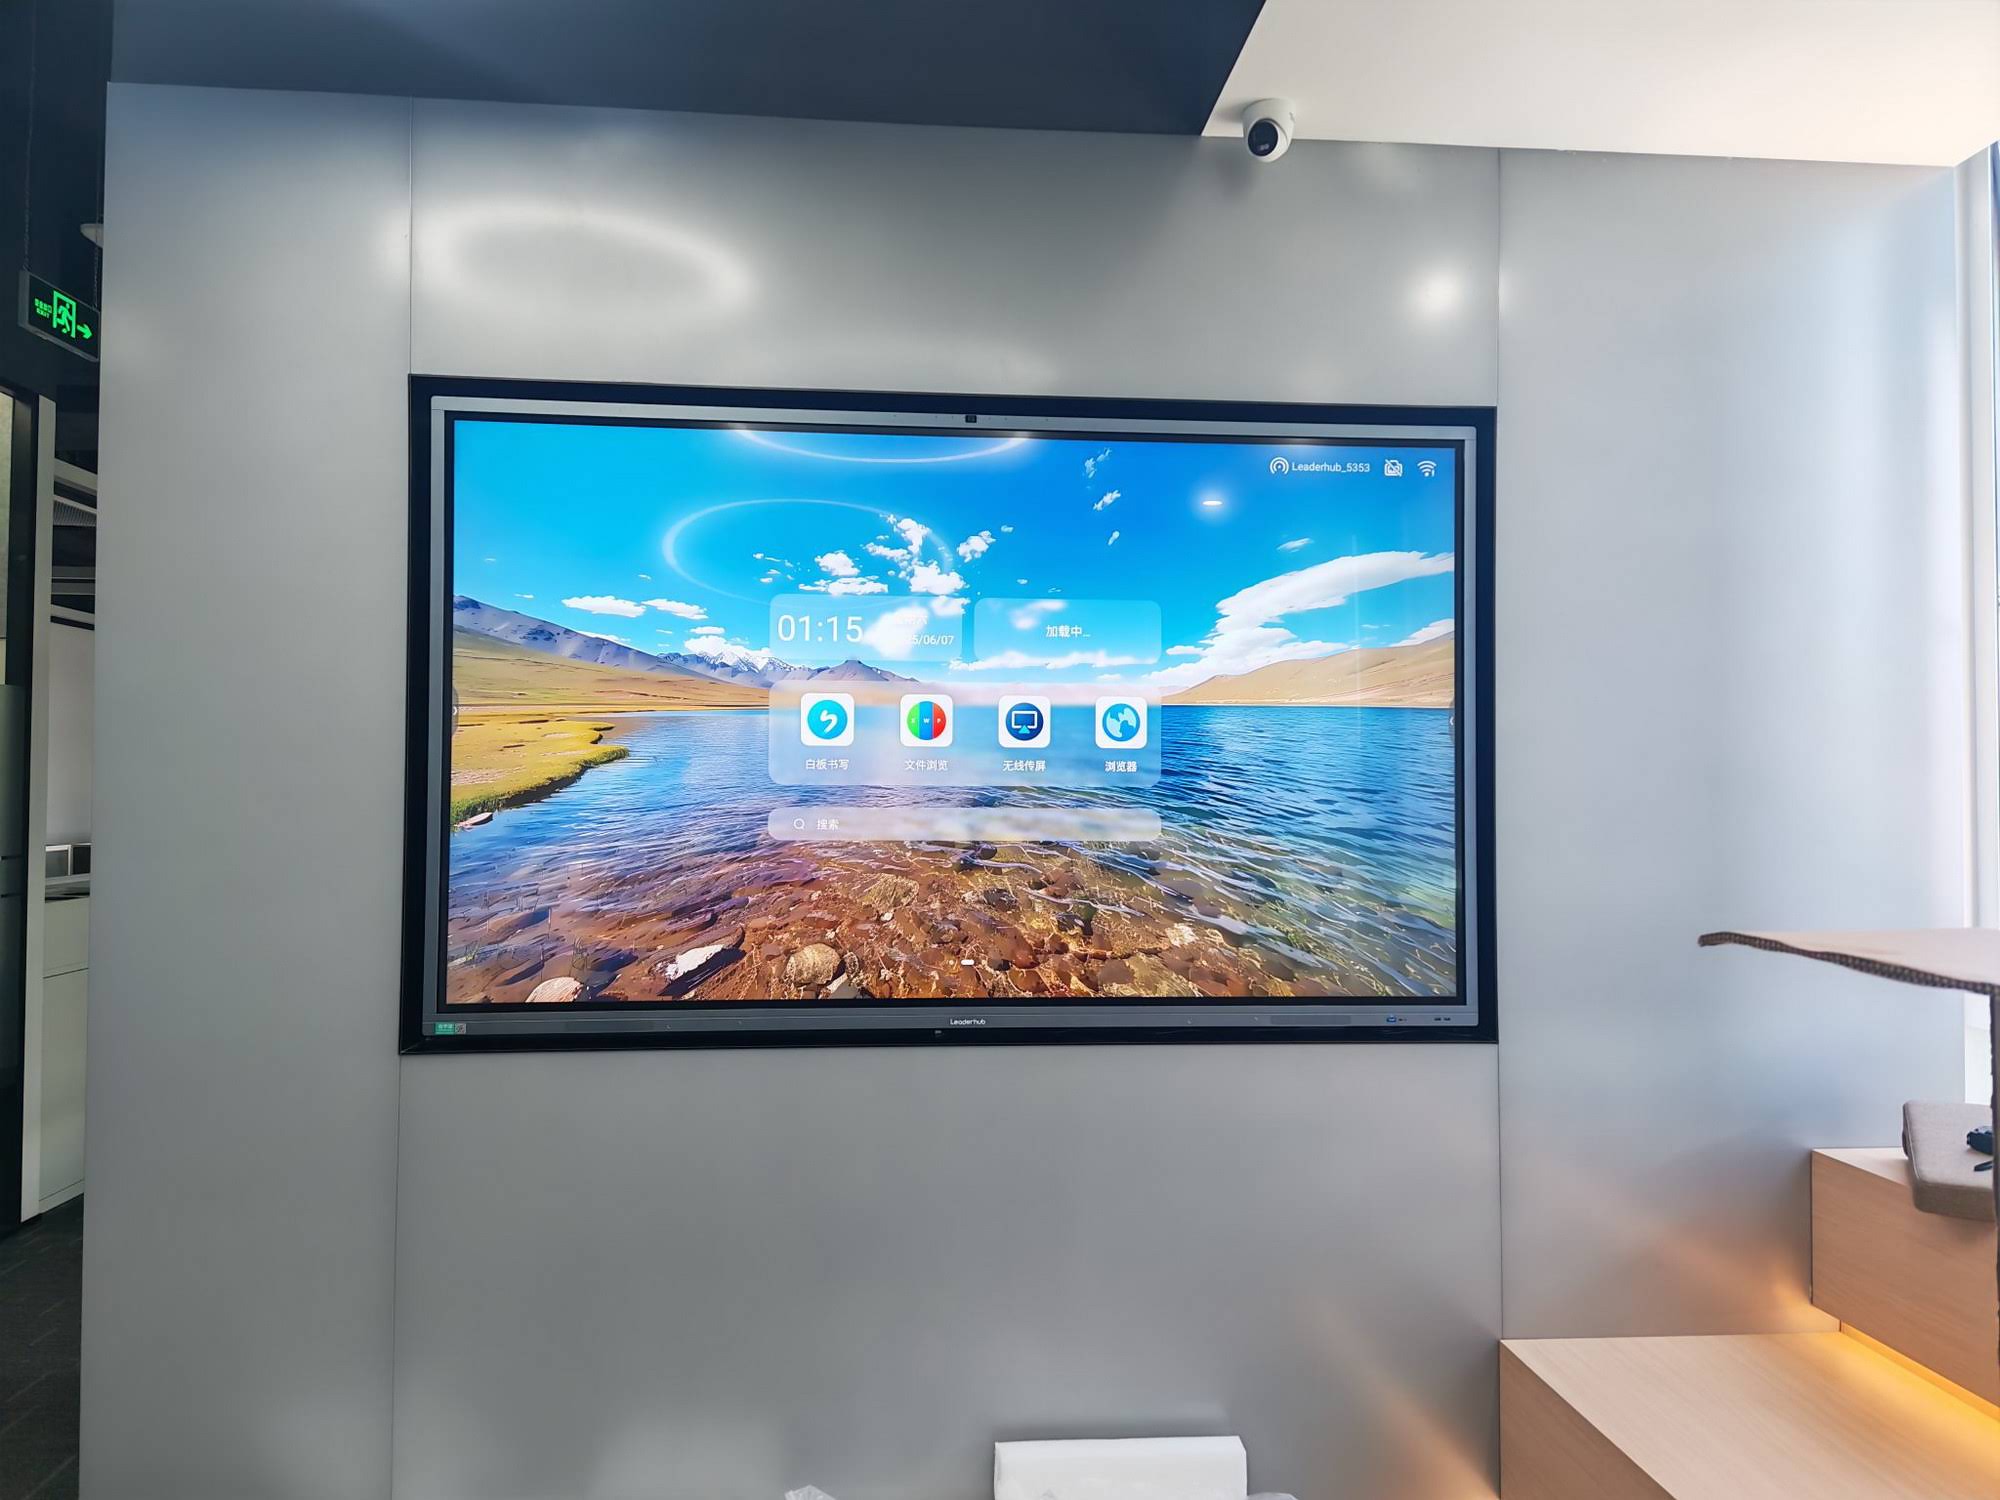
The models below cover the most common demonstration scenarios, from mobile small-group sessions to large open-lesson halls. All are 4K touch panels with built-in whiteboarding and wireless sharing.
| Model | Size | Best For | Price |
|---|---|---|---|
| U55Pro Mobile Interactive Flat Panel | 55″ | Travelling demo lessons, small groups, teacher training rooms | $2,499.00 |
| L65ZM Interactive Whiteboard | 65″ | Budget-conscious classrooms and resource rooms | $1,099.00 |
| L75HM Interactive Smart Whiteboard | 75″ | Standard classrooms hosting observed lessons | $1,599.00 |
| L86ZM Interactive Whiteboard | 86″ | Large classrooms and open-lesson events | $1,699.00 |
| L110H Interactive Flat Panel | 110″ | Lecture theatres and district-level model lessons | $7,999.00 |
For schools that want a portable companion screen for station rotation or small-group modelling, the rotating smart screens with built-in batteries can be carried from desk to desk and mirror the main board wirelessly. You can browse the full range of smart whiteboards for education to compare specifications side by side.
How to Use a Smart Board to Engage Students in a Demonstration Lesson
Choosing the right hardware is only half the task. The sections below walk through a practical workflow that experienced demonstration teachers use before, during and after the lesson.
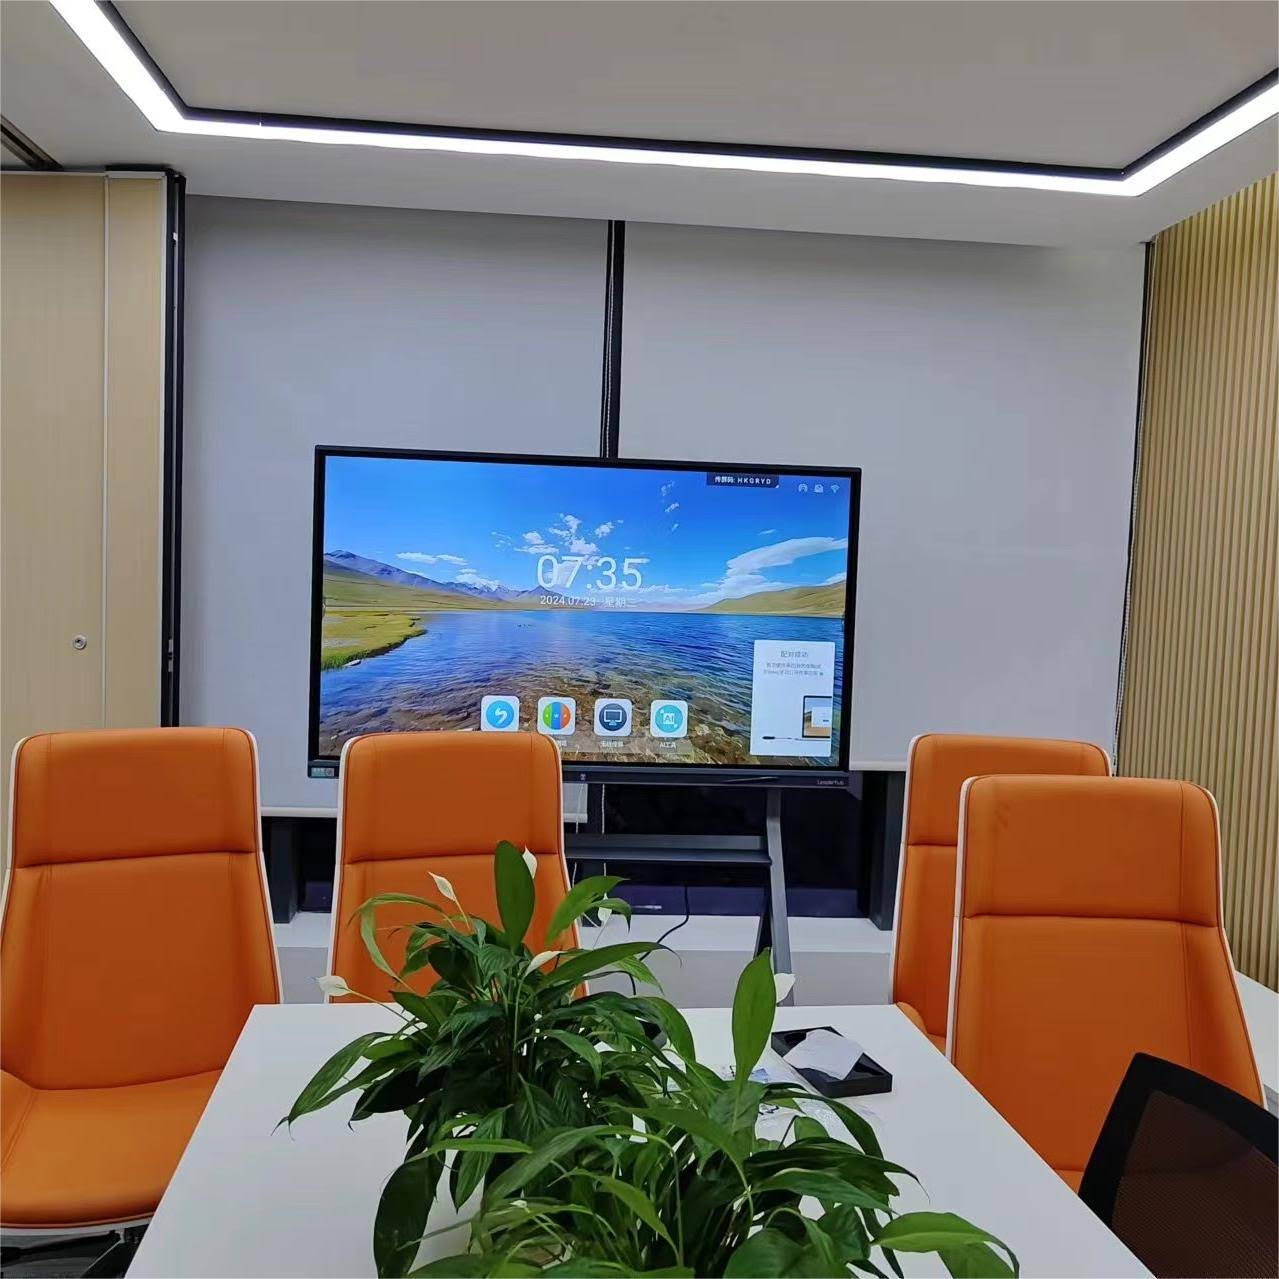
Before the Lesson: Prepare Once, Perform Smoothly
- Build a whiteboard file in advance. Pre-load page templates with titles, learning objectives, diagrams and blank spaces for student responses so you are not drawing axes or tables live.
- Test every input you plan to use, including the wireless casting codes for student devices, and save them as favourites.
- Set the board to open your lesson file on wake-up so the first thing the room sees is your objective slide.
- Check the viewing angle from the observers’ seats and adjust the stand height if the board is mobile.
- Prepare a backup copy of the lesson on a USB drive and on the cloud.
During the Lesson: Turn Watching into Doing
The fastest way to lose engagement is to use a smart board as a very expensive slideshow. Each of these techniques puts students’ hands or thinking on the board.
Live Modelling With Visible Thinking
Write your worked example by hand, using one ink colour for the process and a second for commentary on your own thinking. Students see the reasoning unfold rather than a finished answer, and the lesson feels authentic to observers.
Multi-Student Collaborative Writing
Split the canvas into zones and invite two or three students to solve the same problem simultaneously. Multi-touch support means they can write at the same time, and the class can compare approaches instantly.
Cast, Compare, Critique
Ask students to photograph or write their work on tablets and cast it to the board. Display up to four responses side by side, then annotate over them to highlight strengths and misconceptions. This is one of the most powerful demonstrations of formative assessment an observer can see.
Freeze, Annotate, Resume
When showing a video or simulation, pause the frame, draw directly over it to label a process, and then resume. The annotation layer works over any source, so the transition is seamless.
Quick Polls and Exit Tickets
Use built-in or web-based polling tools so every student responds, not just the confident ones. Showing the live results on the board gives the whole class a reason to look up.
After the Lesson: Capture Evidence and Reflect
- Save the full annotated whiteboard file and share it with students via QR code so they leave with the complete board, not a hurried photo.
- Export a PDF for observers and mentors to reference in feedback meetings.
- If the lesson was recorded, review your transitions and board use alongside the student work captured on screen.
- Reuse the template: a well-structured demonstration lesson file becomes a reusable resource for your department.
Frameworks such as the ISTE Standards for Educators describe exactly this cycle of designing, facilitating and reflecting with technology, and a demonstration lesson is an ideal occasion to show it in action.
Engagement Techniques at a Glance
| Lesson Phase | Smart Board Technique | Engagement Benefit |
|---|---|---|
| Starter | Drag-and-drop sorting task or timed quiz on screen | Immediate participation; activates prior knowledge |
| Direct instruction | Hand-written worked example with two-colour annotation | Makes expert thinking visible and paced |
| Guided practice | Multi-student writing in split canvas zones | Peer comparison; shared ownership of the board |
| Independent work | Timer and success criteria displayed; teacher circulates | Clear expectations without constant verbal reminders |
| Feedback | Cast student work and annotate live | Authentic, specific feedback the whole class learns from |
| Plenary | Live poll and QR-code export of the lesson | Every student responds and leaves with the record |
Common Mistakes to Avoid
- Overloading the screen. Dense slides with small text defeat the purpose of a large display. Keep each page to one idea.
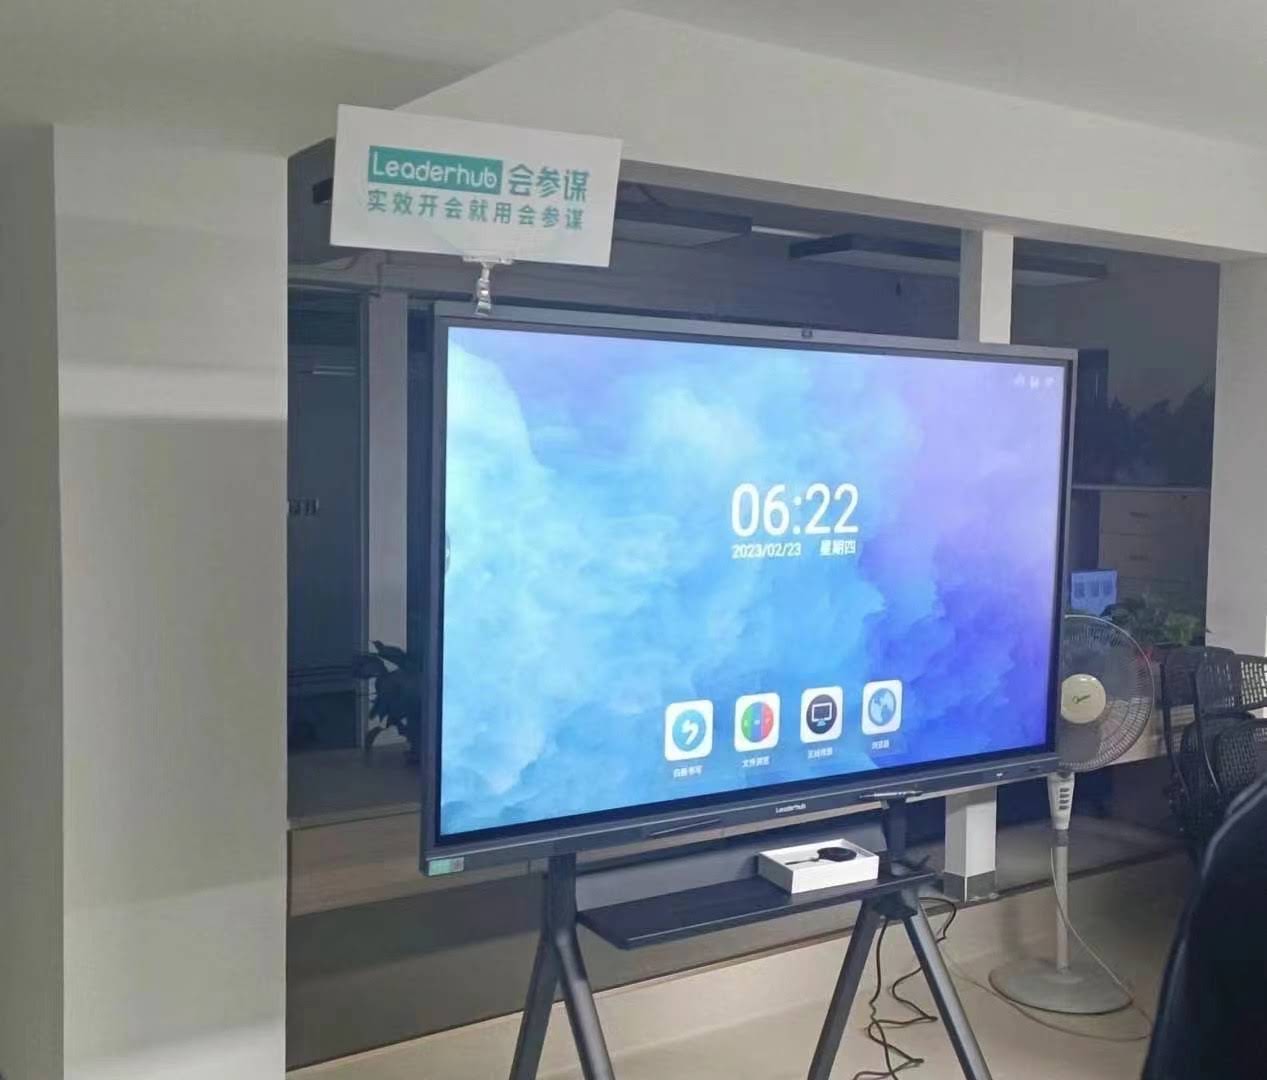
- Standing in front of the board. Flat panels have no projector shadow, so use that freedom to stand to the side and keep the content visible.
- Letting the teacher do all the touching. If students never approach the board, observers will see a presentation, not interaction.
- Relying on untested devices. A student tablet with a flat battery or an unpaired laptop can stall a lesson; check them beforehand.
- Skipping the save. The annotated board is the most valuable artefact of the lesson; export it before the panel is switched off.
Evidence reviews such as the EEF Digital Technology Guidance point out that technology is most effective when it supports explanation, modelling and feedback, which is precisely where a smart board for teacher demonstration lessons earns its place.
Budget and Total Cost Considerations
Sticker price is only part of the picture. When comparing options, factor in the following:
- Mounting or mobile stand – a quality height-adjustable trolley adds flexibility for demo lessons across rooms.
- Optional slot-in or external PC if Windows applications are essential.
- Software licences, although most panels now include whiteboarding and casting at no extra cost.
- Warranty length and local service response, especially for boards that travel frequently.
- Energy use; LED panels typically consume far less than projector systems and have no lamp replacements.
Many schools find that a 75″ panel in the $1,400 to $1,700 range offers the best balance for demonstration teaching, with 86″ worthwhile when observers regularly join the class. For district-wide procurement, a tiered approach (65″ for small rooms, 75″ for standard classrooms, 86″ or larger for halls) keeps budgets predictable while matching each space.
Frequently Asked Questions
Is a smart board better than a projector for demonstration lessons?
Yes, in most cases. A flat panel is brighter, sharper, casts no shadows, needs no calibration and allows multiple students to write at once. Projectors remain useful only when extremely large image sizes are needed on a tight budget.
Do I need a PC connected to the smart board?
Not necessarily. The built-in Android system handles whiteboarding, browsing, casting and most teaching apps. Add a mini PC only if your curriculum depends on Windows-specific software.
How do I share the lesson with students afterwards?
Most panels generate a QR code that students scan to download the full annotated whiteboard as images or PDF. You can also save directly to cloud storage or email.
Can a mobile smart board replace a wall-mounted one?
For teachers who deliver demonstration lessons in different rooms, a 55″ or 65″ panel on a mobile stand is often more practical than a fixed board. Larger 75″ and 86″ panels can also be mounted on heavy-duty trolleys for in-building moves.
What size should I choose if observers sit at the back of the room?
Go one size larger than you would for students alone. A 75″ board suits a standard classroom with a few observers; an 86″ board is safer when a full row of visitors joins the lesson.
Final Thoughts
A demonstration lesson is a showcase of your teaching, and the display you use should make that teaching clearer, not more complicated. Choose a 4K touch panel sized for the farthest viewer, prioritise a natural writing experience and reliable wireless sharing, and then build routines that put students’ hands on the board as often as yours. Prepared well, a smart board for teacher demonstration lessons lets you model thinking, compare student work live and leave every participant with a complete record of what was learned.
The models featured in this guide are designed and manufactured by Leaderhub, a Shenzhen-based interactive-display specialist with 16 years of industry experience and products delivered to more than 82 countries, serving schools, training providers and enterprises worldwide. If you are planning a classroom upgrade or a district-wide rollout for demonstration teaching, contact the team for sizing advice, education pricing and customised solutions.