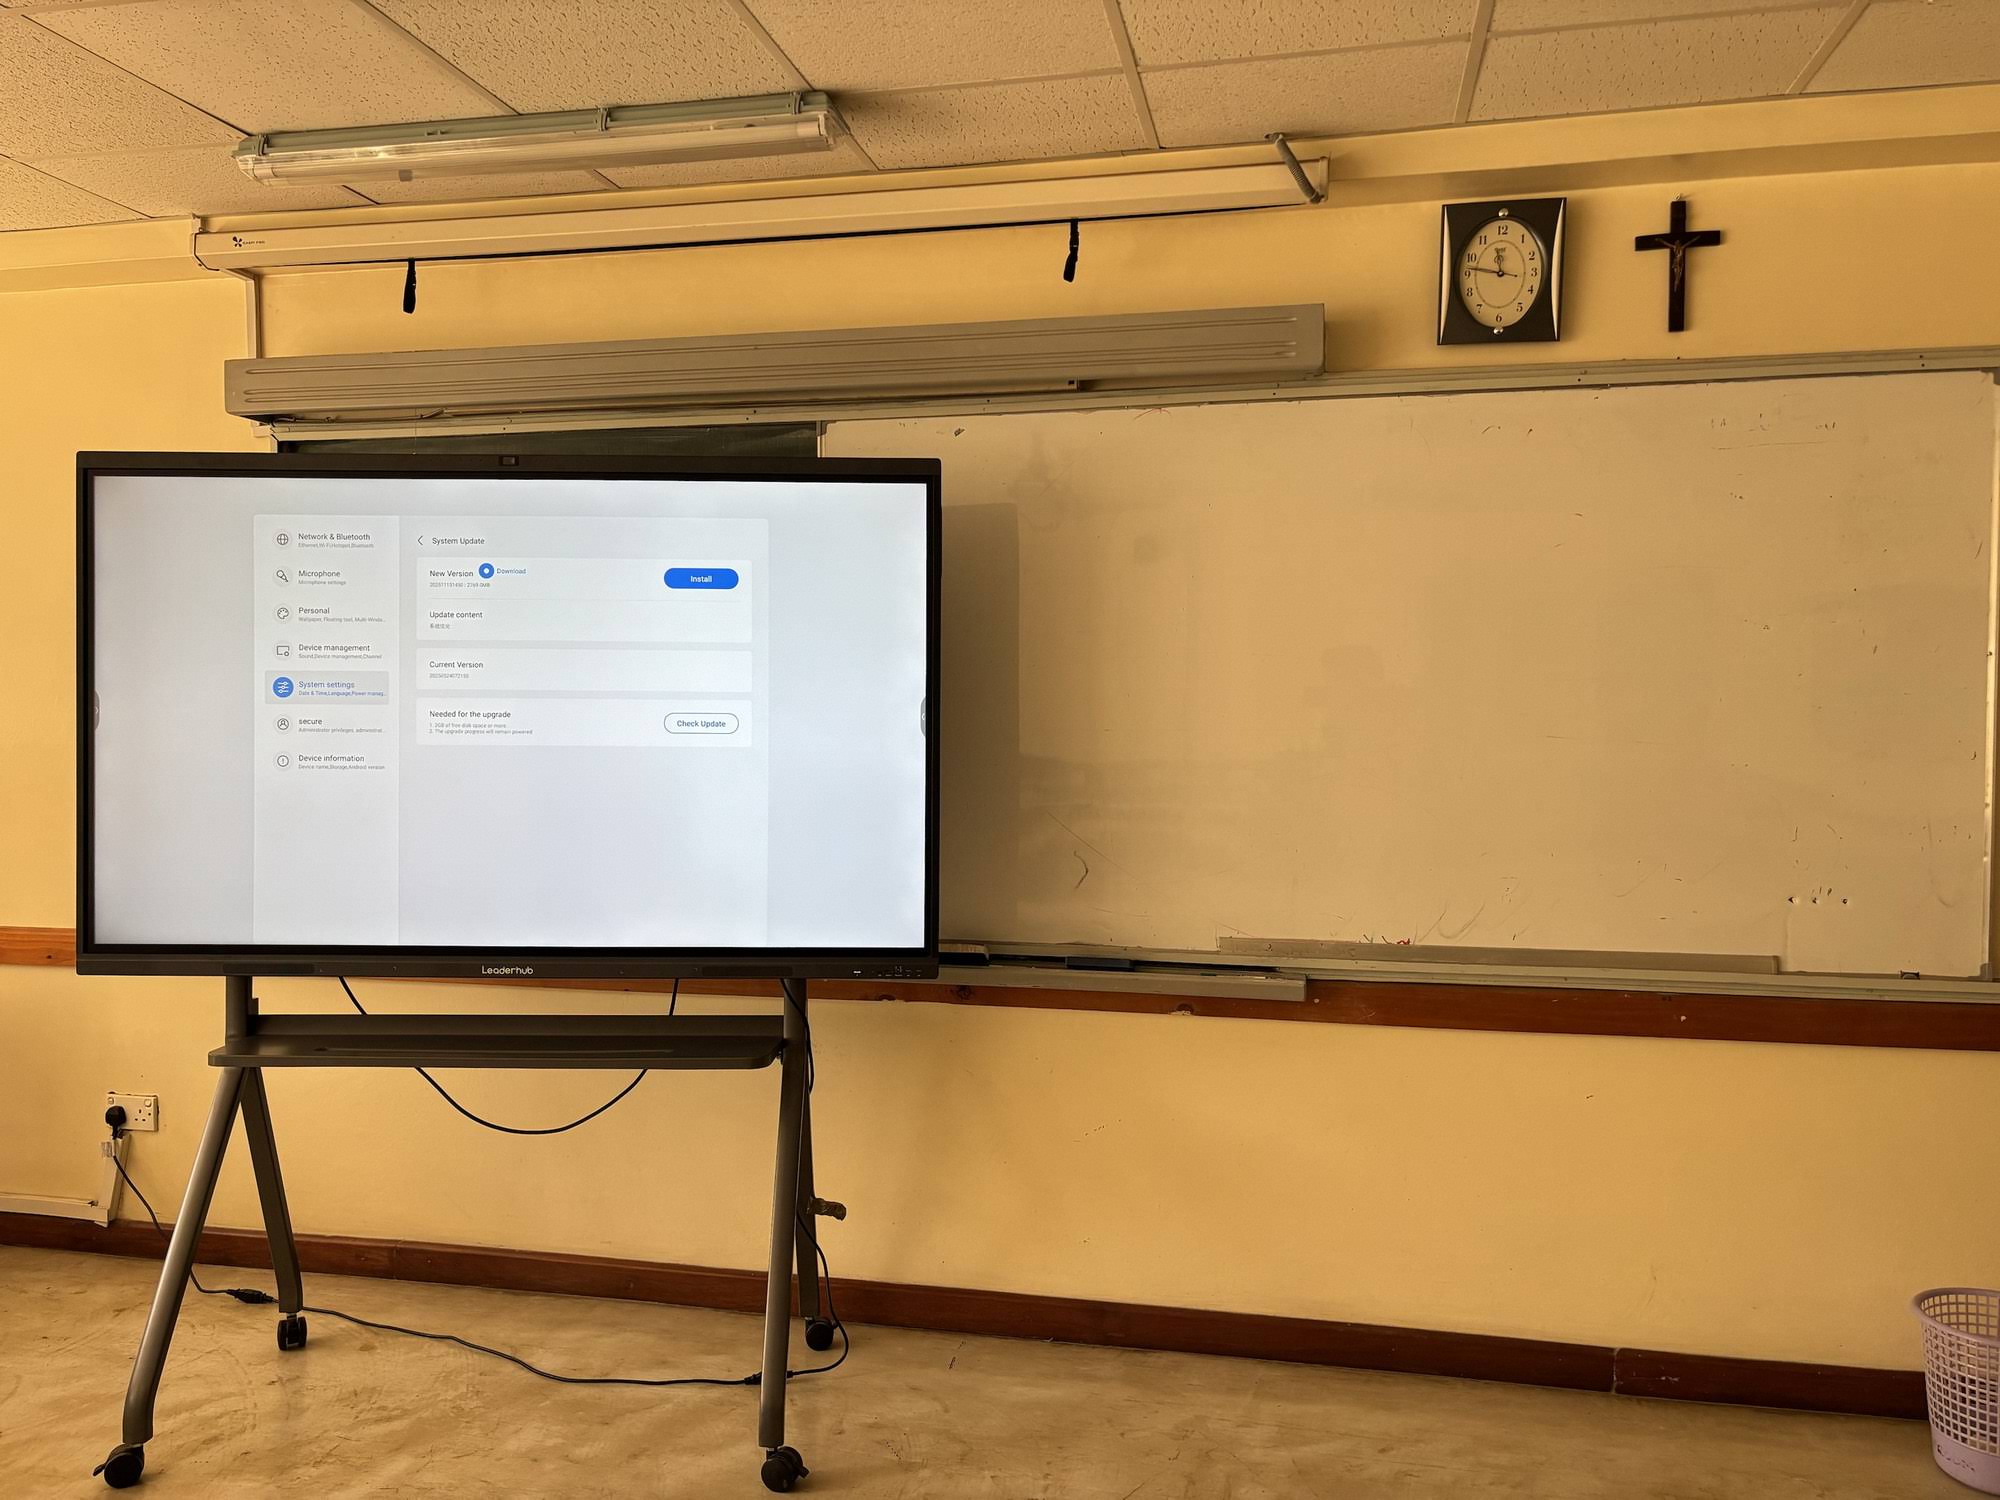
If your touch points feel slightly off, your handwriting drifts away from your stylus, or your presentations look blurry on the edges, it usually means one thing: your smart board needs calibration. This is one of the most common issues reported by teachers, trainers, and office professionals who rely on interactive displays every day.
The good news is that calibrating a smart board is a quick process that takes less than five minutes on most modern devices. In this guide, we’ll walk through why calibration matters, when you should do it, and a step-by-step process that works across most major smart board brands and operating systems.
Why Smart Board Calibration Matters
Calibration aligns the touch sensors on your interactive flat panel with what’s displayed on the screen. Without proper calibration, your stylus or finger touches may register in the wrong location, making writing, drawing, and navigation frustrating or inaccurate.
According to classroom technology surveys conducted by education technology organizations, touch accuracy issues are among the top three reported hardware complaints in schools using interactive displays. Regular calibration significantly reduces these complaints and extends the usable life of the touch sensor.
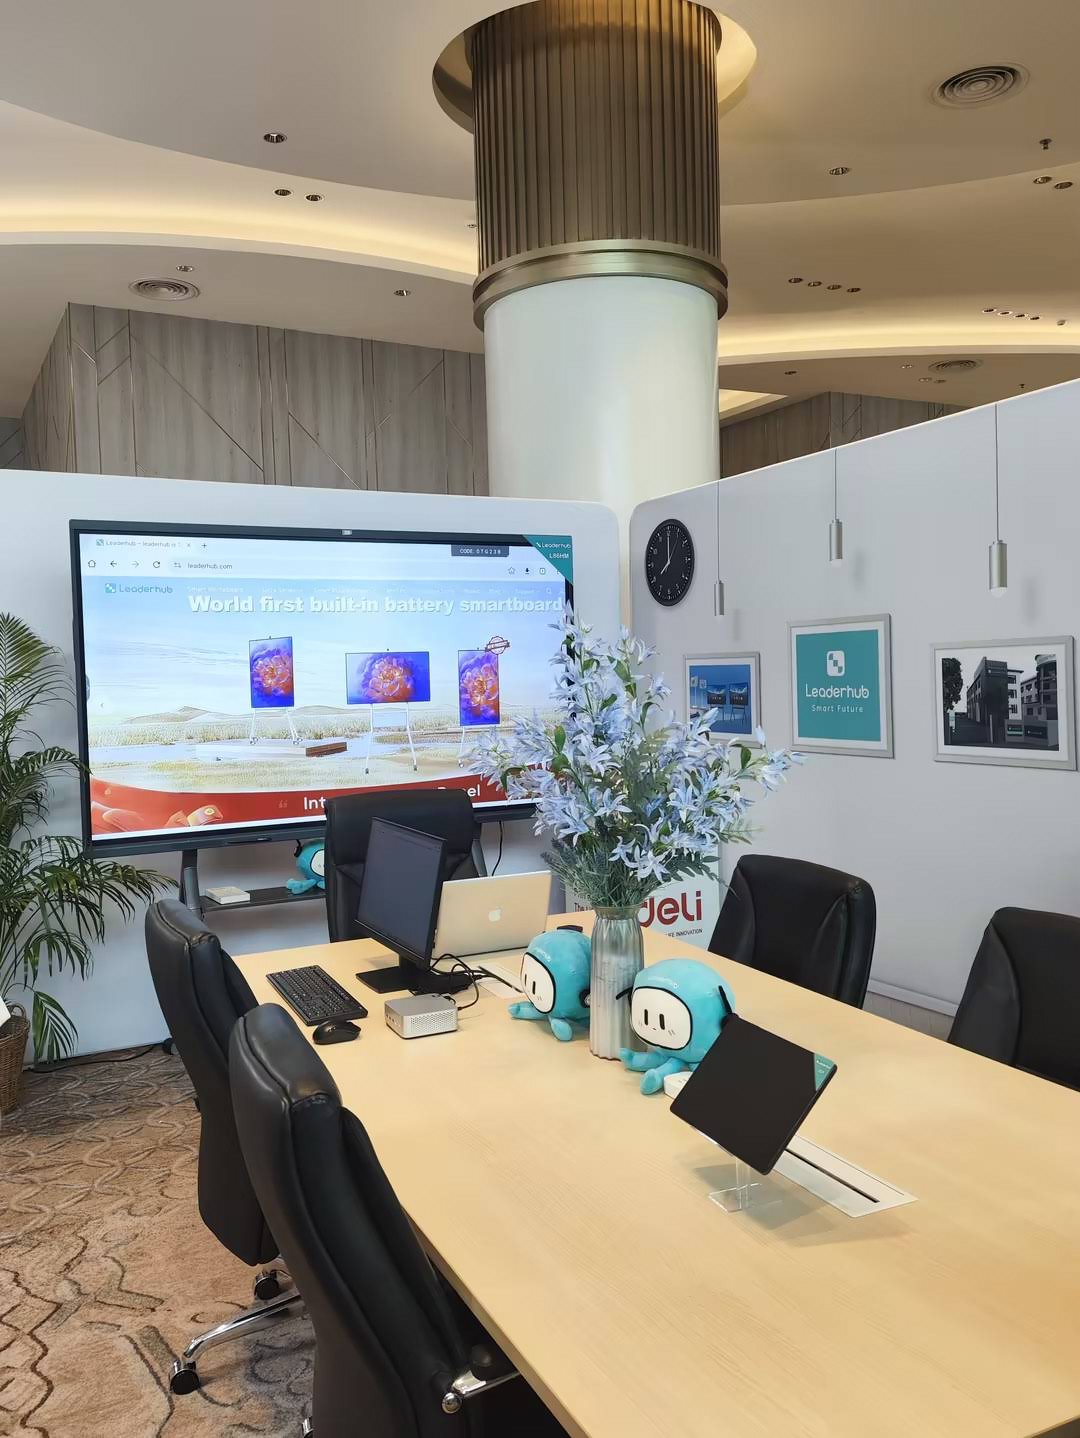
Signs Your Smart Board Needs Calibration
Before jumping into the process, check whether you’re experiencing any of these common symptoms:
- Touch input registers a few centimeters away from where you actually touched
- Handwriting or drawing appears offset or jagged near screen edges
- The cursor jumps unpredictably when using a stylus
- Multi-touch gestures fail to work correctly
- The board was recently moved, remounted, or updated with new firmware
If you notice any of these issues, it’s time to run a calibration cycle.
What You’ll Need Before Starting
| Item | Purpose |
|---|---|
| Stylus pen or finger | Used to tap calibration points |
| Clean, dry cloth | Wipe screen before calibration |
| Admin access | Some systems require settings permission |
| 5–10 minutes | Time required for full calibration |
Step-by-Step Guide to Calibrate a Smart Board
Step 1: Power On and Clean the Screen
Turn on your smart board and let it fully boot. Use a soft, lint-free cloth to remove dust, fingerprints, or smudges. Debris on the surface can interfere with touch sensor readings during calibration.
Step 2: Open the Settings Menu
Navigate to the main settings panel of your device. On most interactive whiteboards, this is accessible through the home screen toolbar or a dedicated settings icon, usually represented by a gear symbol.
Step 3: Locate the Touch Calibration Option
Inside the settings menu, look for a section labeled “Display,” “Touch Settings,” or “Calibration.” Depending on the operating system (Android, Windows, or a proprietary OS), the exact wording may vary slightly.
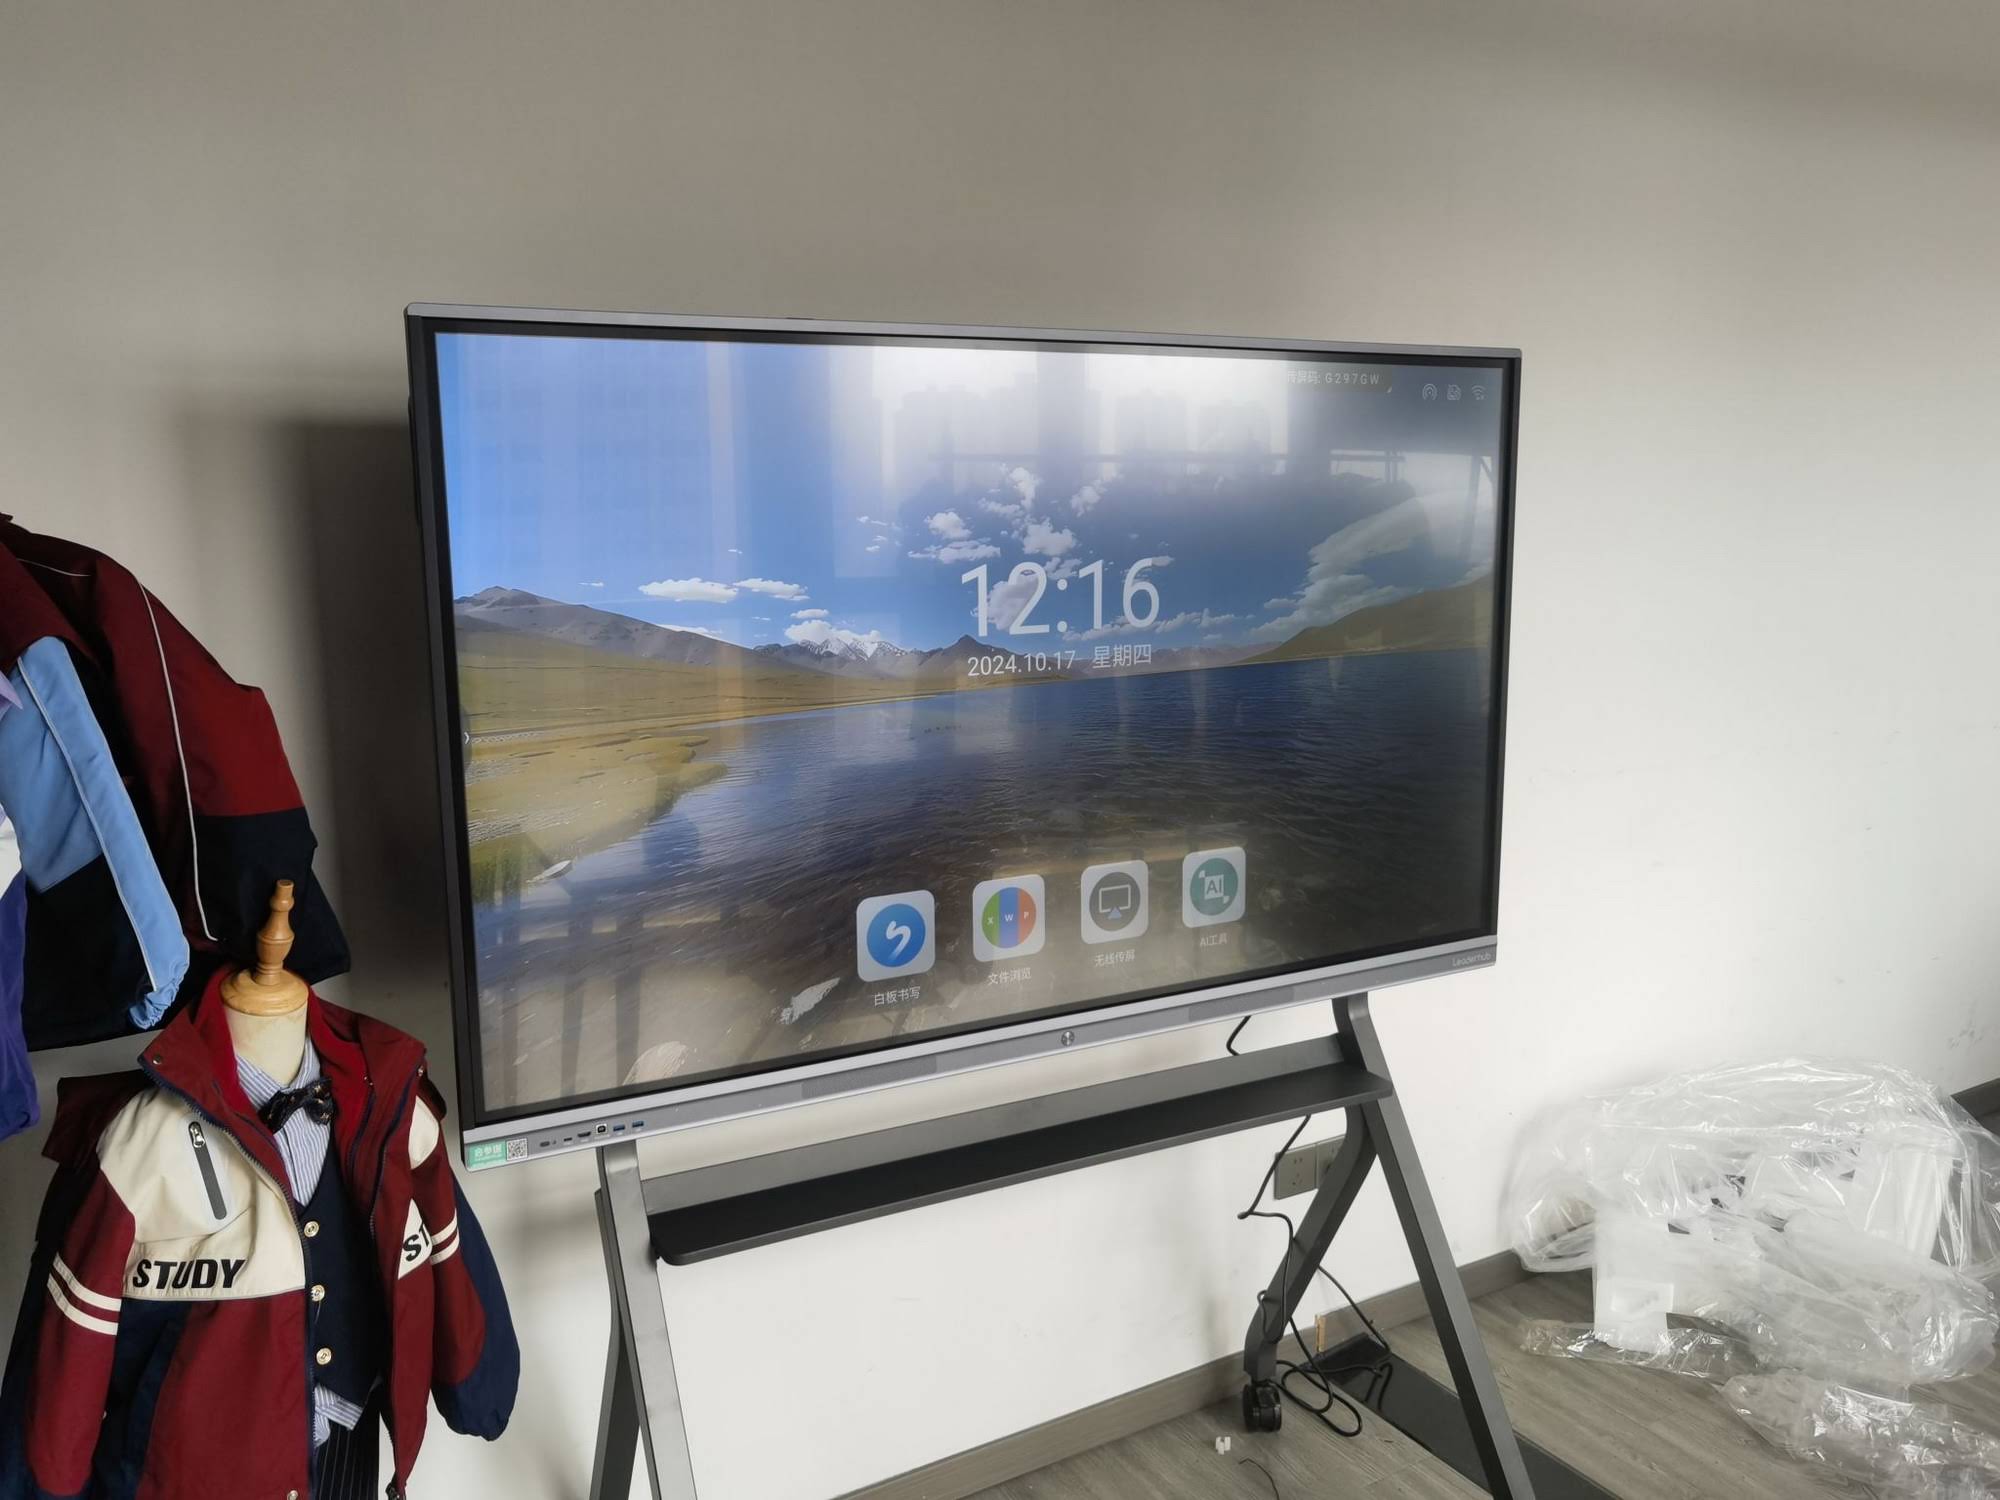
Step 4: Start the Calibration Sequence
Tap “Start Calibration.” A series of target points—typically 5, 9, or 16 crosshair markers—will appear on screen. Using the stylus or your fingertip, tap the center of each marker as precisely as possible.
Tip: Hold the stylus perpendicular to the screen for the most accurate reading. Tapping at an angle can cause slight offset errors.
Step 5: Confirm and Test
Once all points are tapped, the system will save the new calibration profile. Test the accuracy by writing a few words or drawing a simple shape near the edges and center of the screen.
Step 6: Recalibrate If Necessary
If touch accuracy still feels off, repeat the process. Some panels allow you to reset to factory calibration settings first before running the sequence again, which often resolves persistent drift issues.
Calibration Tips by Common Use Case
| Environment | Recommended Practice |
|---|---|
| Classrooms | Calibrate at the start of each term or after cleaning |
| Meeting rooms | Recalibrate after software or firmware updates |
| Training centers | Check calibration weekly due to high daily usage |
| Mobile/portable units | Recalibrate every time the unit is relocated |
Common Calibration Mistakes to Avoid
- Tapping too quickly: Rushing through calibration points reduces accuracy. Tap each point deliberately and hold for a second.
- Using a damaged stylus tip: A worn-down stylus tip can cause inconsistent readings. Replace it if it looks flattened or frayed.
- Skipping edge points: Many users tap only central markers accurately but rush through edge and corner points, which are critical for full-screen accuracy.
- Ignoring firmware updates: Outdated firmware can cause calibration settings to reset unexpectedly. Always check for updates before troubleshooting touch issues.
When to Contact Technical Support
In most cases, manual calibration resolves touch accuracy problems. However, if you’ve recalibrated multiple times and touch points remain inaccurate, this may indicate a hardware issue such as sensor damage or a loose connection inside the panel.
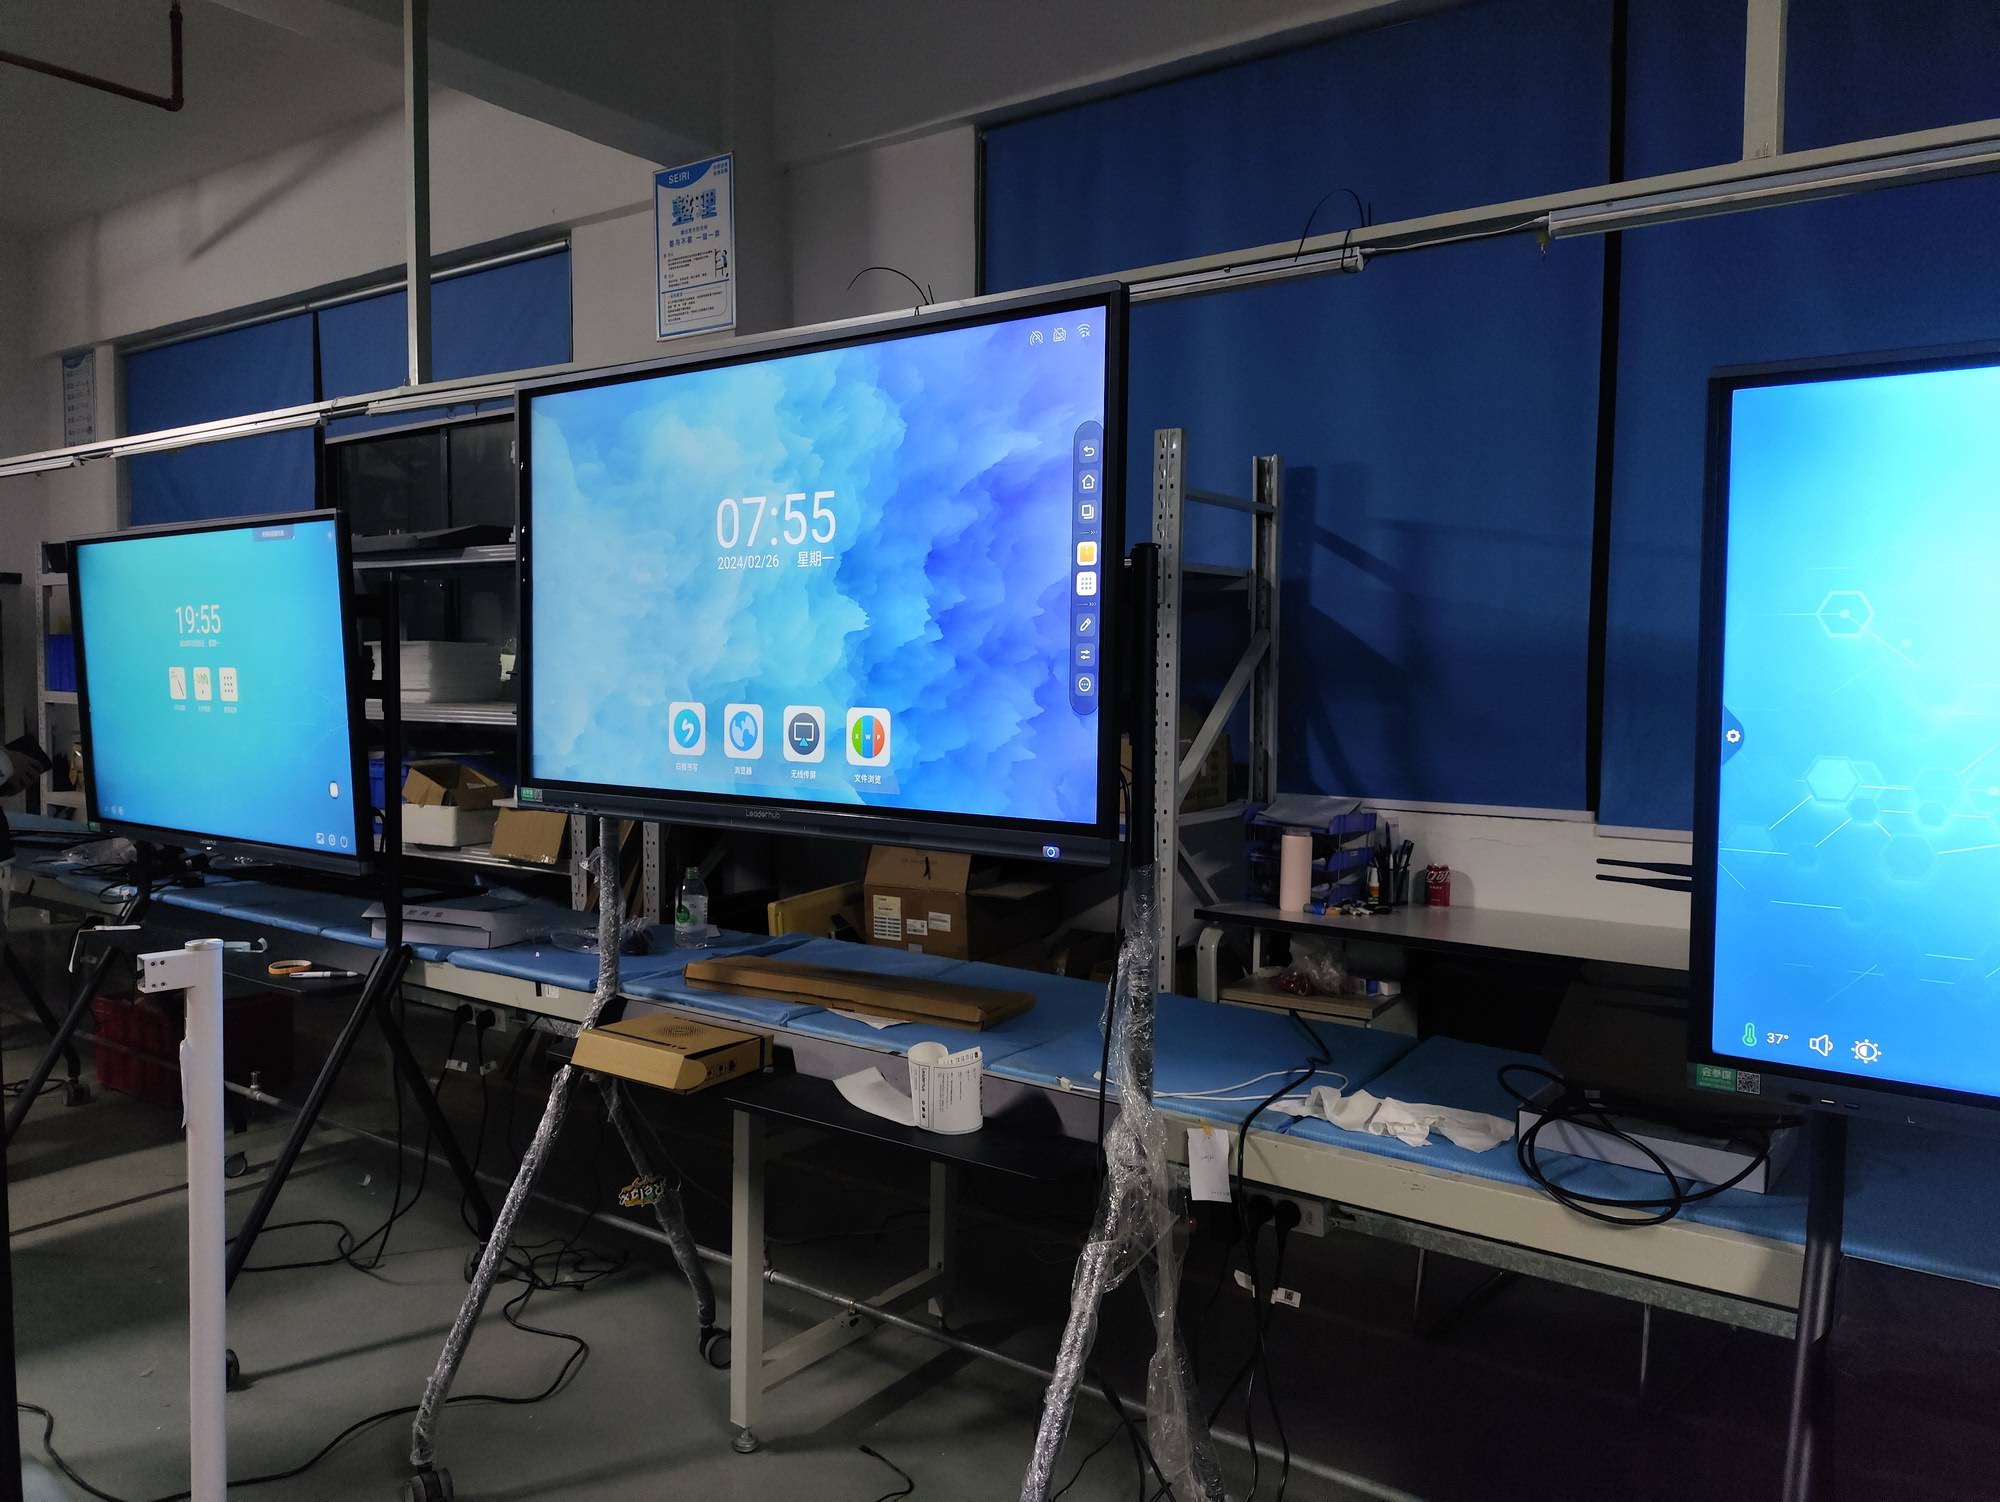
Manufacturers like LeaderHub, which has spent over 16 years developing interactive display technology used across more than 82 countries, recommend contacting technical support if calibration doesn’t resolve the issue within two attempts. Persistent problems are often a sign that the infrared sensor array or touch controller board needs professional inspection.
How Often Should You Calibrate?
There’s no fixed rule, but based on field experience from education technology deployments, most institutions calibrate their smart whiteboards under the following conditions:
- After any physical relocation or remounting
- Following major software or firmware updates
- When switching between multiple users with different touch styles
- Every 3–6 months as routine maintenance for high-traffic devices
Institutions using interactive flat panels in shared spaces, such as training centers or co-working offices, often benefit from a documented calibration schedule to maintain consistent performance across different user groups.
Quick Troubleshooting Checklist
| Problem | Quick Fix |
|---|---|
| Touch offset on one side only | Check screen mounting for tilt or misalignment |
| Calibration menu missing | Update firmware or check admin permissions |
| Stylus not responding | Replace batteries or check Bluetooth pairing |
| Calibration resets after restart | Check for firmware bugs or reinstall system update |
Final Thoughts
Calibrating a smart board is a simple but essential maintenance task that keeps your interactive display accurate, responsive, and ready for daily use. Whether you’re managing a classroom, a corporate meeting room, or a training facility, a properly calibrated screen ensures every presentation, lesson, and collaboration session runs smoothly.
By following the steps above and building a routine calibration schedule, you’ll minimize touch errors, extend the life of your device, and get the most value out of your interactive technology investment.