
Setting up a smart board correctly is essential for maximizing its potential in classrooms, meeting rooms, and collaborative workspaces. Whether you’re an educator preparing for digital learning or a business professional upgrading your conference room, understanding the proper installation process ensures smooth operation and long-term reliability. This comprehensive guide walks you through every step of hooking up a smart board, from unboxing to final calibration.
Understanding Smart Board Components Before Installation
Before beginning the installation process, familiarize yourself with the core components of your smart board system. A typical interactive flat panel setup includes the display unit, mounting hardware, power cables, connectivity ports, and often a dedicated computer or integrated Android system.
Modern smart boards from manufacturers like LeaderHub come equipped with multiple connectivity options including HDMI, USB-C, VGA, and wireless casting capabilities. Understanding these components helps you plan your installation space and gather necessary tools before starting.
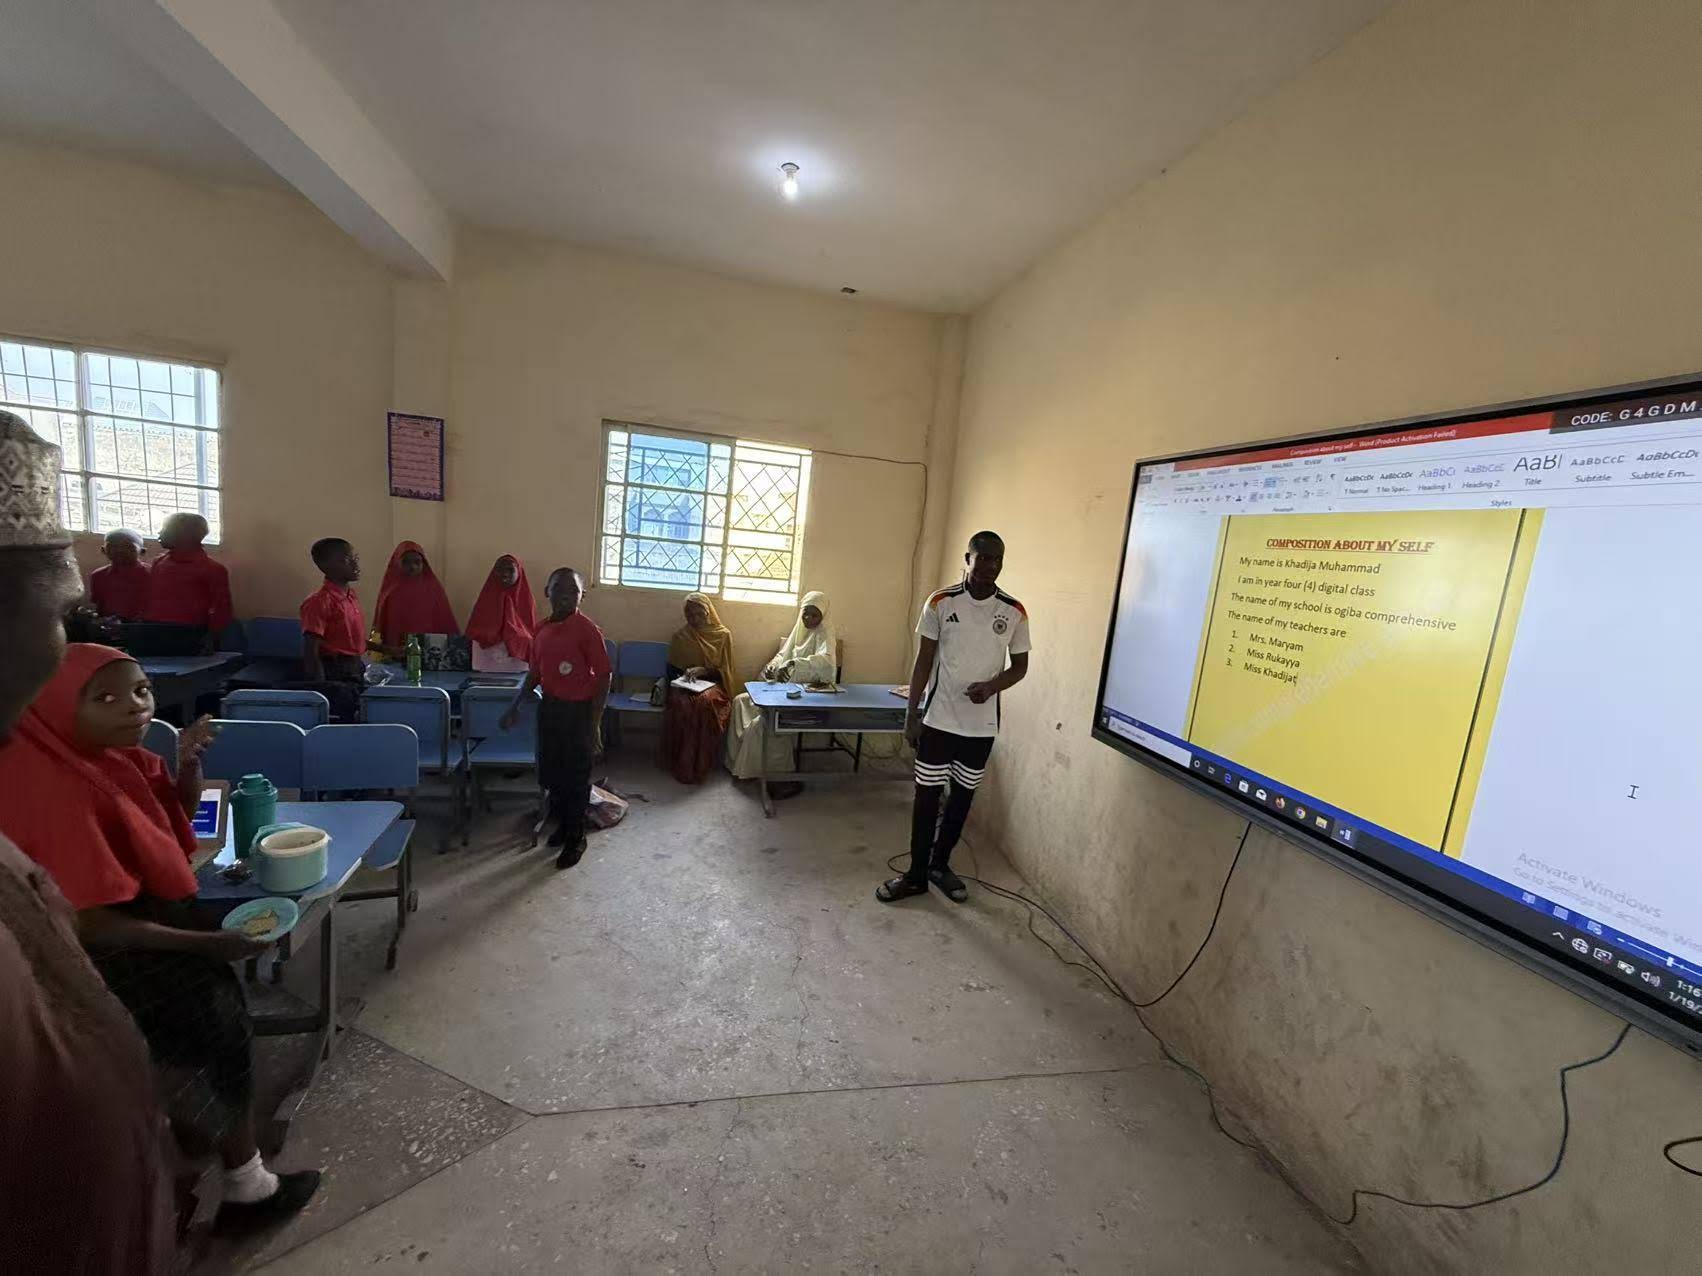
Choosing the Optimal Installation Location
Location selection directly impacts user experience and system longevity. Consider these critical factors when choosing where to mount your smart board:
- Wall strength and structure: Ensure the wall can support the display’s weight, typically ranging from 40 to 120 pounds depending on screen size
- Viewing angles: Position the board perpendicular to windows to minimize glare and reflection
- Height placement: The center of the screen should be at average eye level, approximately 48-60 inches from the floor
- Accessibility: Maintain sufficient space around the board for users to interact comfortably
- Electrical outlet proximity: Plan for power source access within 6 feet of the installation point
- Network connectivity: Consider ethernet port access for stable internet connection
According to industry research, proper positioning can improve user engagement by up to 40% in educational settings. A 2024 study by the Educational Technology Research Institute found that classrooms with optimally placed interactive displays showed 32% higher student participation rates compared to poorly positioned installations.
Essential Tools and Materials Checklist
Gathering the right tools before installation saves time and prevents potential issues. Here’s what you’ll need:
| Category | Items Required | Purpose |
|---|---|---|
| Mounting Hardware | Wall mount bracket, lag bolts, anchors, washers | Secure attachment to wall |
| Hand Tools | Drill, level, stud finder, screwdriver set, wrench | Installation and adjustment |
| Measuring Tools | Tape measure, pencil, painter’s tape | Precise positioning |
| Connectivity | HDMI cables, USB cables, ethernet cable, power strip | Device connections |
| Safety Equipment | Safety glasses, gloves, step ladder | Personal protection |
Step-by-Step Physical Installation Process
Step 1: Locate Wall Studs and Mark Mounting Points
Use a reliable stud finder to locate wooden or metal studs behind your wall. For maximum stability, your mounting bracket should attach to at least two studs. Mark these locations clearly with a pencil. If studs aren’t available in your desired location, use heavy-duty toggle bolts rated for the display’s weight plus 50% safety margin.
Step 2: Install the Mounting Bracket
Most smart boards use VESA-standard mounting patterns. Align your bracket according to the manufacturer’s template, ensuring it’s perfectly level using a spirit level or laser level. Drill pilot holes at marked points, then secure the bracket with appropriate hardware. For a 75-inch display, this typically requires 4-6 lag bolts driven into studs.
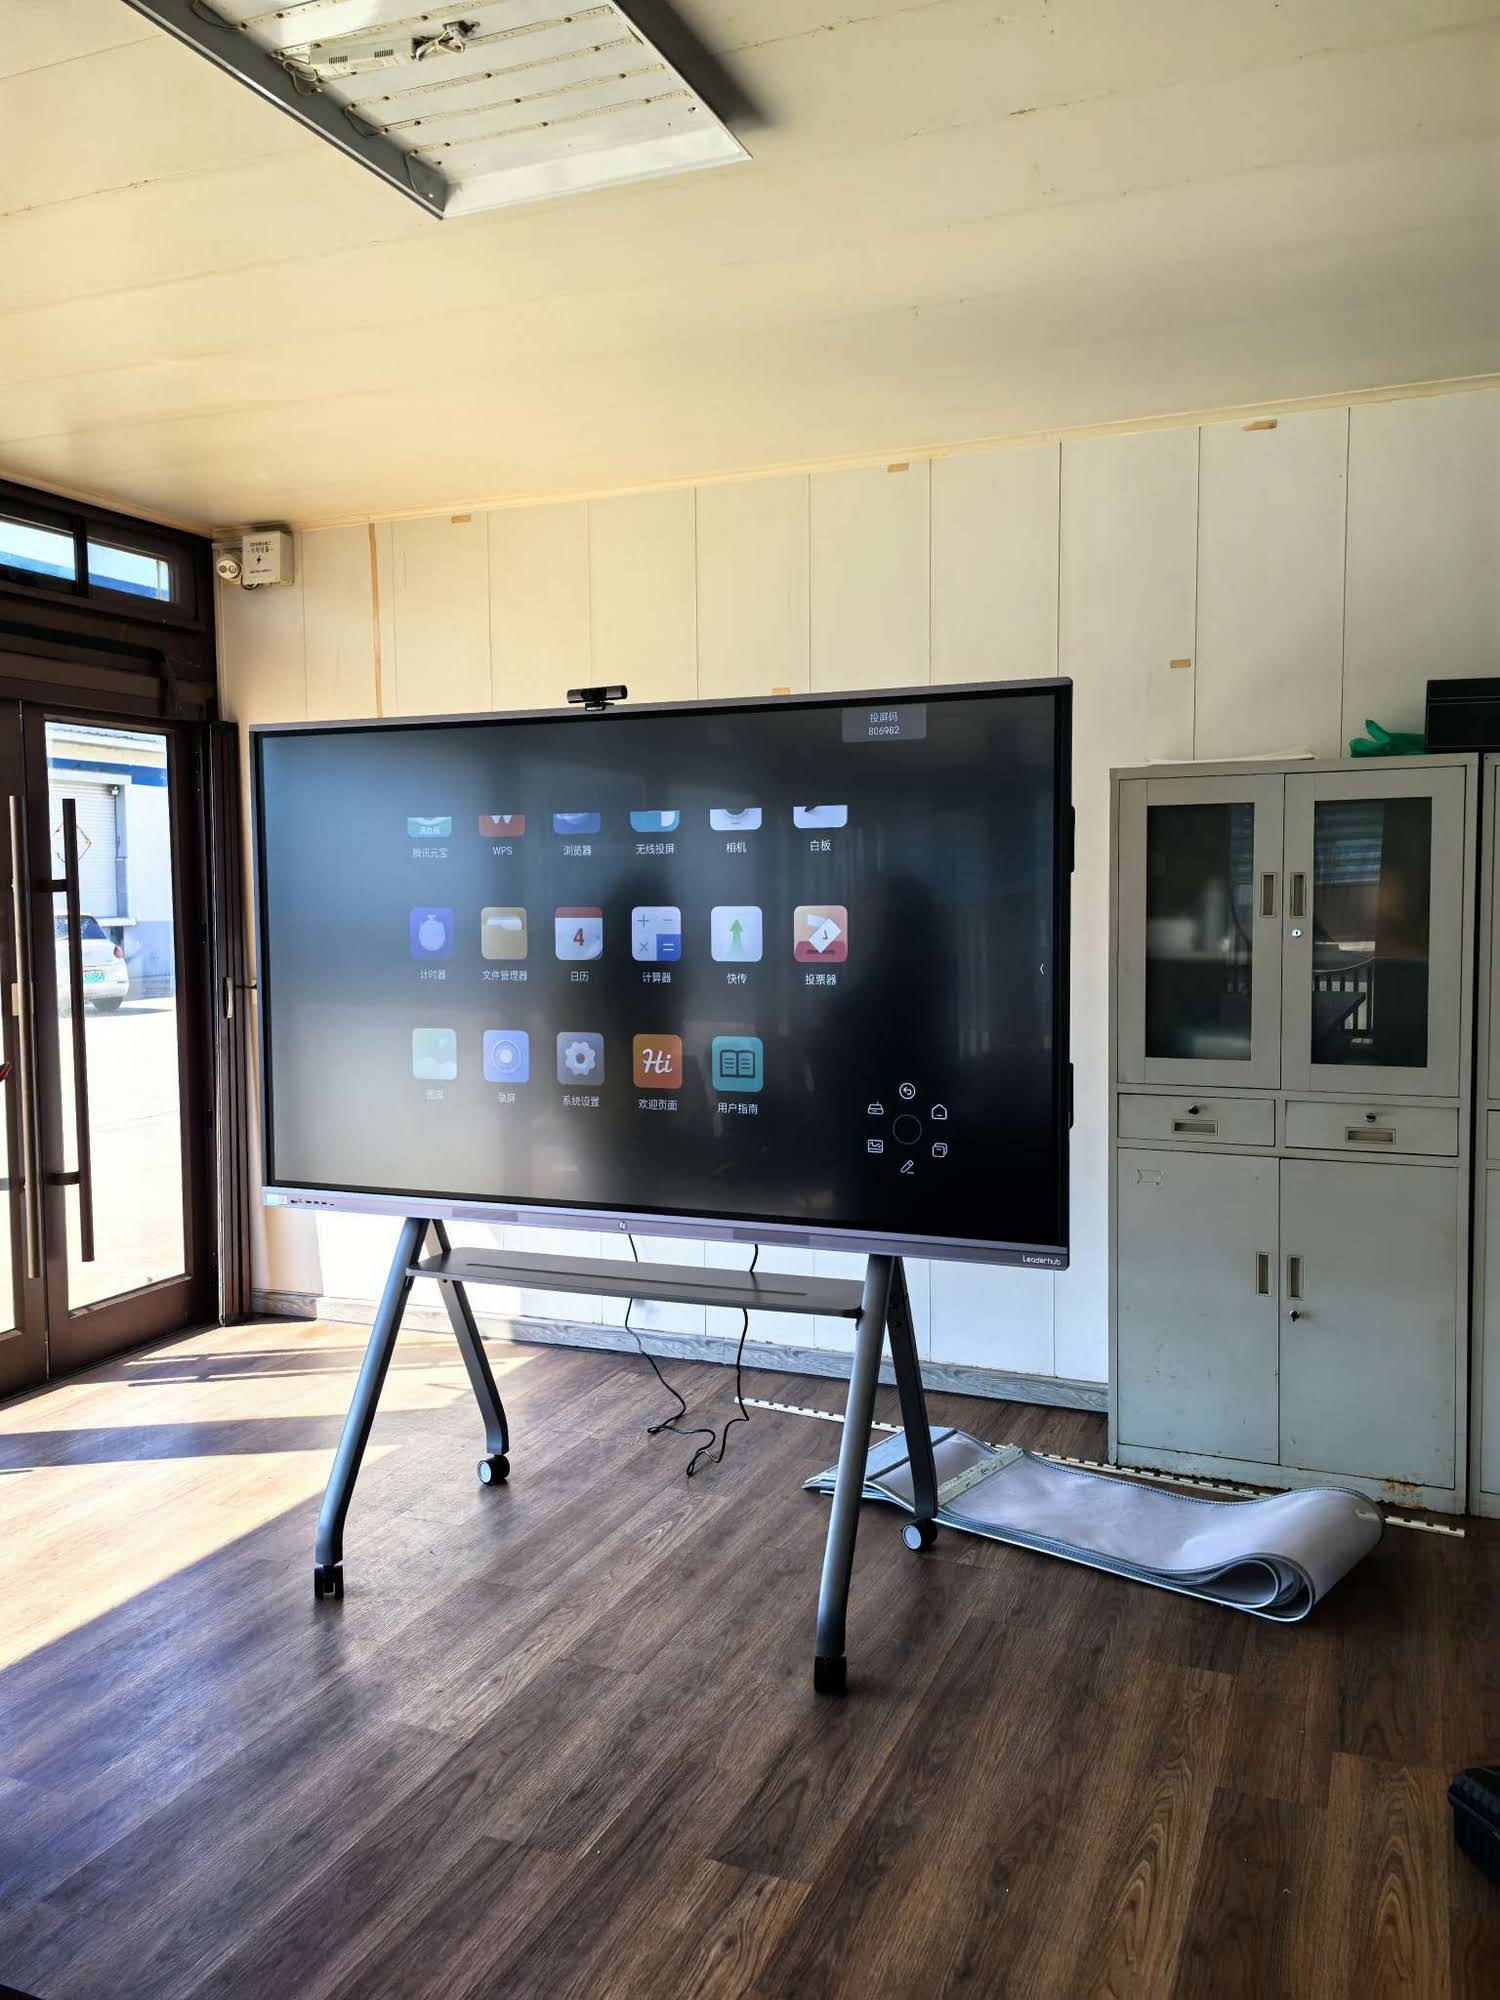
Step 3: Attach the Display Panel
This step requires at least two people due to the display’s weight and size. Carefully lift the smart board and align the mounting points on the back of the display with the installed wall bracket. Most modern systems use a hook-and-latch mechanism that clicks into place when properly aligned. Ensure all locking mechanisms are fully engaged before releasing support.
Step 4: Verify Secure Attachment
After mounting, gently test the stability by applying light pressure to different areas of the display. There should be no movement, flexing, or creaking sounds. Check that all mounting screws are tightened to manufacturer specifications using a torque wrench if provided.
Electrical and Network Connections
Power Supply Setup
Connect the smart board’s power cable to a grounded electrical outlet. For professional installations, consider having a dedicated circuit installed to prevent power fluctuations from other devices. Use a surge protector rated for the display’s power consumption, typically between 200-400 watts for standard models.
Video Input Connections
The primary connection method depends on your source device. Here are the most common configurations:
- HDMI Connection: Provides both video and audio through a single cable, supporting up to 4K resolution at 60Hz
- USB-C Connection: Offers video, audio, and sometimes power delivery, ideal for modern laptops
- VGA/DisplayPort: Legacy options for older computers, though limited to lower resolutions
- Wireless Connection: Uses built-in screen mirroring protocols like Miracast, AirPlay, or Chromecast
For maximum reliability, use certified cables rated for the distance between your source device and the smart board. Cable runs longer than 15 feet may require signal boosters or active cables to maintain quality.
Network Configuration
Connect the smart board to your network via ethernet for the most stable connection. If using Wi-Fi, ensure the display connects to a 5GHz network for better bandwidth and lower latency. Access the board’s network settings through the on-screen menu to configure IP address, subnet mask, and DNS servers if using static IP addressing.
Software Installation and Initial Configuration
Once physically connected, power on the smart board and complete the initial setup wizard. This typically involves:
- Selecting your language and region preferences
- Connecting to your Wi-Fi network if not using ethernet
- Creating or signing into your administrator account
- Accepting terms of service and privacy settings
- Installing any pending firmware updates
According to manufacturer data, firmware updates can improve touch accuracy by up to 15% and add new features. Always update to the latest version before regular use.
Touch Calibration for Optimal Accuracy
Precise touch calibration ensures the smart board responds accurately to user input. Modern displays use infrared or capacitive touch technology that requires initial calibration to account for mounting angle and environmental factors.
Calibration Procedure
Access the calibration utility through the settings menu, usually found under “Display” or “Touch Settings.” The calibration process displays a series of target points around the screen. Using a stylus or finger, touch each target precisely as it appears. The system uses these inputs to create a touch map that corrects for any parallax or distortion.
Professional installers recommend calibrating at least twice: once immediately after installation and again after 24 hours of operation when the display has reached thermal equilibrium. Environmental factors like temperature and humidity can affect touch accuracy during the first day of use.
Connecting External Devices and Peripherals
Computer Connection Methods
Your smart board can function as both a display and an input device for connected computers. Use the provided USB cable to enable touch control from your computer to the smart board. This “reverse touch” functionality allows the board to act as a giant touchscreen for your PC or Mac.
Document Camera Integration
Many educational environments integrate document cameras for displaying physical materials. Connect your document camera to one of the smart board’s HDMI inputs, then configure the input source switching in the display’s settings menu for quick transitions between digital and physical content.
Audio System Connection
While smart boards include built-in speakers, professional installations often connect external audio systems for better sound quality in large rooms. Use the audio output jack or connect via Bluetooth to powered speakers or sound systems. Ensure audio levels are balanced across all input sources to prevent volume inconsistencies when switching between devices.
Troubleshooting Common Installation Issues
No Display or Black Screen
If the smart board powers on but shows no image, verify the following in order:
- Correct input source is selected on the smart board
- Source device is powered on and not in sleep mode
- Video cables are fully seated at both ends
- Cable is not damaged or bent at sharp angles
- Source device’s display settings recognize the external display
Touch Not Responding
Touch functionality issues typically stem from driver problems or calibration errors. Ensure the USB cable is connected for touch data transmission. Download the latest touch drivers from the manufacturer’s website and install them on the connected computer. Run the calibration utility again if touch points are offset from actual touch locations.
Network Connectivity Problems
For wireless connection issues, confirm the smart board is within range of your access point and that network credentials are entered correctly. Enterprise networks with 802.1X authentication may require additional configuration through your IT department. Check that the display’s MAC address is whitelisted on networks with address filtering enabled.
Security Configuration and Access Control
Protecting your smart board from unauthorized access is critical, especially in shared environments. Configure administrative passwords to prevent unauthorized changes to system settings. Enable screen lock features that require authentication after periods of inactivity.
For enterprise deployments, integrate the smart board with your organization’s single sign-on (SSO) system. This allows users to access their personalized settings and cloud files through existing corporate credentials. Configure content filtering if the device will be used in educational settings where internet access requires monitoring.
Optimizing Performance and Display Settings
Display Calibration
Beyond touch calibration, optimize visual settings for your environment. Adjust brightness based on ambient lighting conditions¡ªtypically 60-70% brightness for well-lit classrooms and 40-50% for conference rooms with controlled lighting. Configure color temperature to 6500K (neutral white) for accurate color reproduction.
Energy Saving Features
Configure automatic power-off schedules to conserve energy during non-use periods. Set the display to enter standby mode after 15-30 minutes of inactivity. Modern smart boards consume approximately 0.5 watts in standby mode compared to 200-300 watts during active use, resulting in significant energy savings over time.
Integrating Cloud Services and Collaboration Tools
Maximize your smart board’s capabilities by connecting popular video conferencing solutions and cloud storage services. Install applications for Zoom, Microsoft Teams, Google Meet, and other collaboration platforms directly on the smart board’s integrated system.
Configure automatic cloud synchronization for annotation files and whiteboard sessions. This ensures content created during meetings or classes is immediately available across devices. Set up shared folders in Google Drive, OneDrive, or Dropbox for seamless file access during presentations.
Maintenance Best Practices for Long-Term Reliability
Proper maintenance extends your smart board’s operational life and maintains performance quality. Clean the touchscreen weekly using microfiber cloths and approved cleaning solutions. Avoid ammonia-based cleaners that can damage anti-glare coatings. For stubborn marks, slightly dampen the cloth with distilled water.
Inspect cable connections monthly for signs of wear or loosening. Dust accumulation in ports can cause connectivity issues¡ªuse compressed air to clear ports every three months. Schedule annual professional inspections for installations in high-use environments like classrooms and corporate training rooms.
Training Users for Effective Smart Board Utilization
Even the best installation fails without proper user training. Develop quick-start guides specific to your installation that cover:
- Powering the system on and off correctly
- Switching between input sources
- Basic annotation tools and whiteboard functions
- Screen sharing from personal devices
- Saving and sharing session content
- Common troubleshooting steps
Organizations that invest in comprehensive user training report 73% higher adoption rates within the first three months compared to installations with minimal training support, according to 2024 workplace technology studies.
Advanced Configuration for Specialized Environments
Educational Settings
Schools should configure parental controls and content filtering appropriate for student age groups. Enable classroom management features that allow teachers to control student device screens during instruction. Set up automated lesson recording if your district permits recorded instruction for student review.
Corporate Conference Rooms
Business environments benefit from calendar integration that automatically powers on the display before scheduled meetings. Configure HDMI-CEC to control connected devices through the smart board’s remote. Set up quick access buttons for frequently used applications like PowerPoint, Excel, or your company’s presentation software.
Healthcare Facilities
Medical environments require HIPAA-compliant configurations. Enable encryption for stored data and wireless transmissions. Configure automatic session timeouts of 5 minutes or less for unattended displays. Ensure the smart board doesn’t cache sensitive patient information between users by enabling thorough data wiping protocols.
Measuring Installation Success and ROI
Track key metrics to evaluate your smart board installation’s effectiveness. In educational settings, monitor student engagement levels, participation rates, and assessment scores before and after implementation. Corporate environments should measure meeting efficiency, decision-making speed, and participant feedback scores.
Calculate return on investment by comparing productivity gains against installation and maintenance costs. Studies show properly implemented interactive displays reduce meeting times by an average of 24% while improving information retention by 38% compared to traditional presentation methods.
Future-Proofing Your Smart Board Installation
Plan for technological evolution by choosing mounting solutions that accommodate future display upgrades. Install cable management systems with excess capacity for additional connections. Ensure your network infrastructure can support increasing bandwidth demands as cloud collaboration becomes more prevalent.
Stay informed about firmware updates and new features from your manufacturer. Companies like LeaderHub, with over 16 years of experience in interactive display technology, regularly release updates that add functionality and improve performance for existing installations. Subscribe to manufacturer newsletters and join user communities to learn about optimization techniques and emerging use cases.
Conclusion: Ensuring Long-Term Success
Successfully hooking up a smart board extends beyond physical installation. It requires thoughtful planning, precise execution, proper configuration, and ongoing maintenance. By following this comprehensive guide, you’ve established a foundation for productive collaboration and enhanced communication in your space.
Remember that technology implementation is an ongoing journey. Regularly assess how users interact with the system, gather feedback, and adjust configurations to meet evolving needs. With proper setup and maintenance, your smart board will serve as a powerful tool for education, business collaboration, and creative work for years to come.
Whether you’re setting up a classroom for the first time or upgrading a corporate conference room, the principles outlined here ensure reliable operation and maximum value from your investment. Take time to explore all features, experiment with different applications, and encourage users to discover new ways the technology can enhance their work or learning experience.








