
Smart boards have transformed modern classrooms, meeting rooms, and collaborative workspaces by combining traditional whiteboard functionality with advanced digital capabilities. Whether you’re an educator preparing for your first class or a business professional stepping into a new conference room, understanding how to operate these interactive displays will help you communicate more effectively and engage your audience with confidence.
This comprehensive guide walks you through everything you need to know about operating a smart board, from initial setup to advanced features, ensuring you can leverage this technology to its full potential.
Understanding What a Smart Board Is
A smart board, also known as an interactive flat panel or interactive whiteboard, is a large touch-sensitive display that connects to a computer or operates as a standalone device. Unlike traditional whiteboards, smart boards allow you to write, draw, manipulate digital content, run applications, and save your work for future reference.
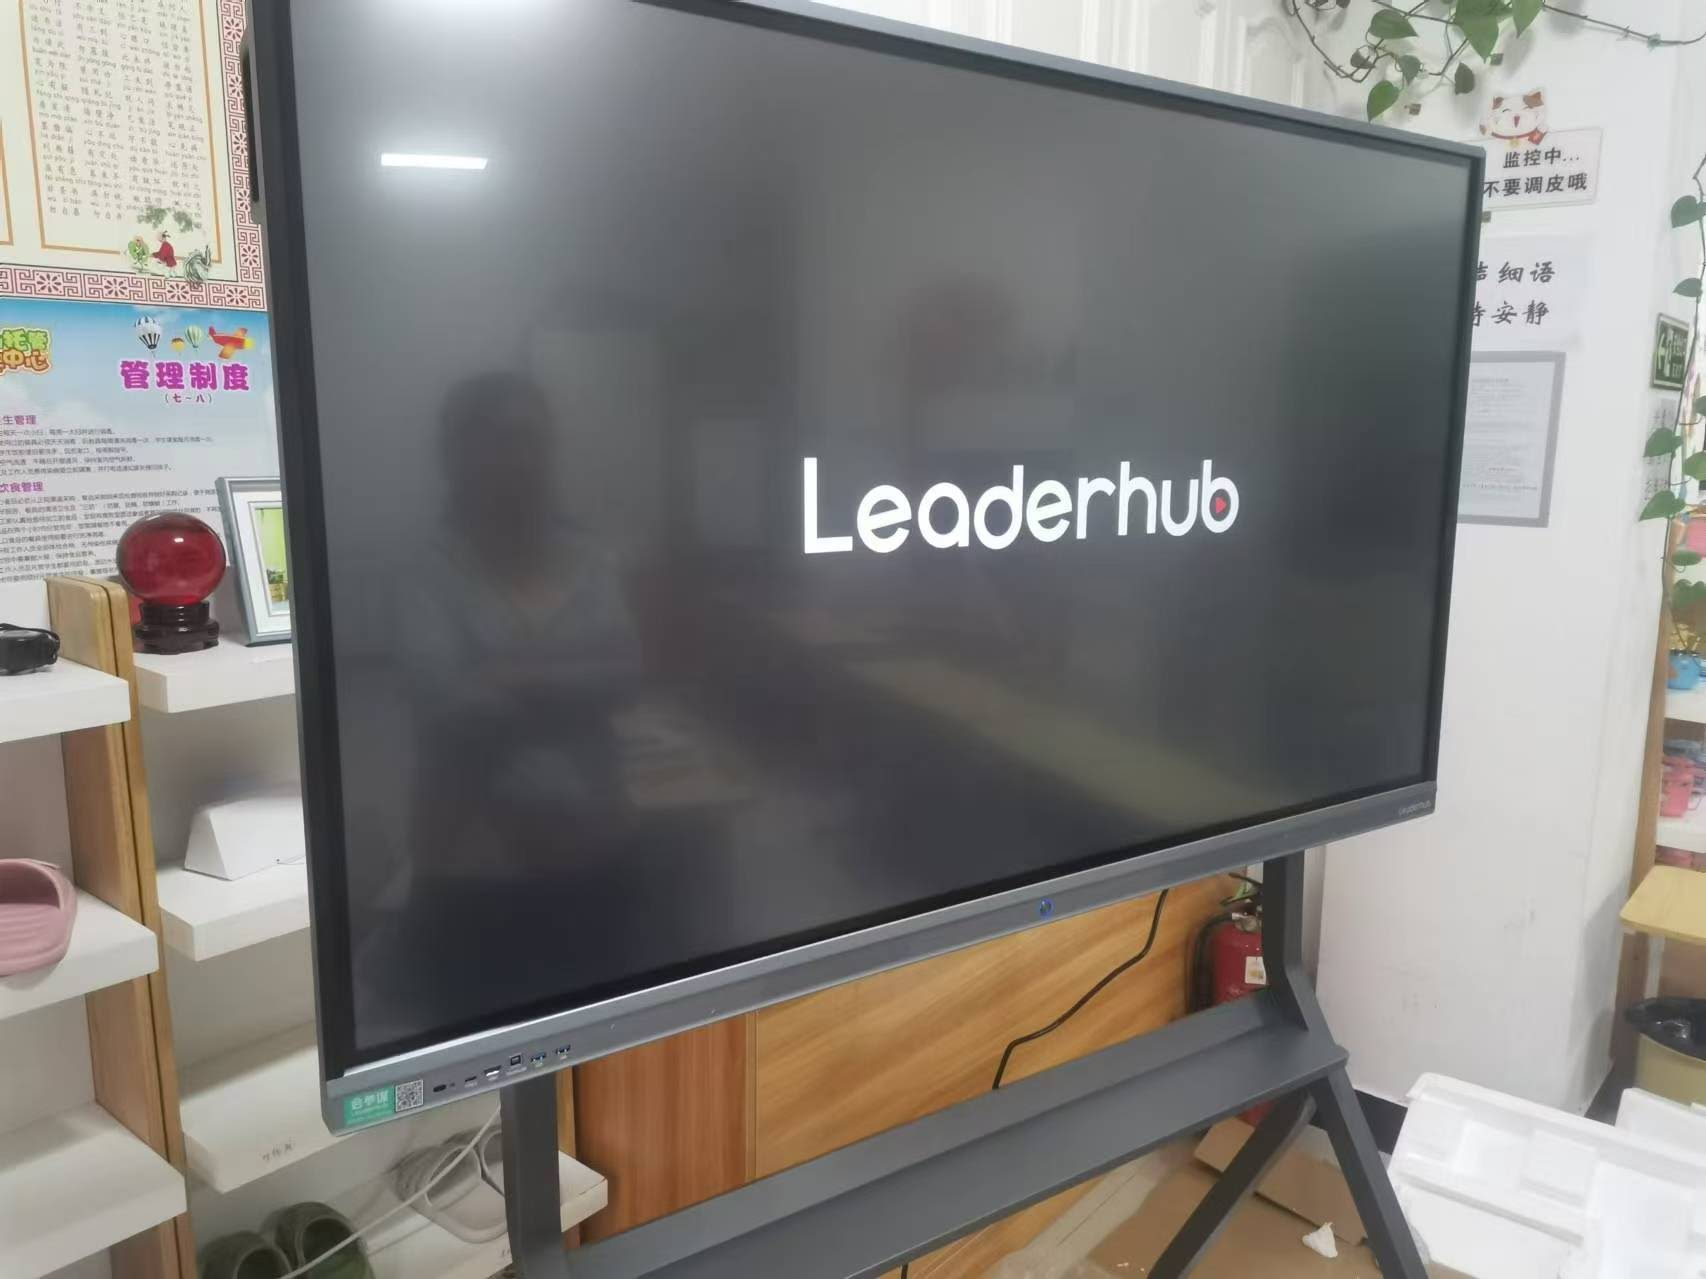
Modern smart boards integrate touchscreen technology with powerful computing capabilities, enabling users to access the internet, run educational software, display multimedia content, and collaborate in real-time. These devices have become essential tools in education and business environments worldwide, with companies like LeaderHub providing reliable interactive display solutions to more than 82 countries over the past 16 years.
Essential Components of a Smart Board System
Before operating a smart board, familiarize yourself with its key components:
| Component | Function |
|---|---|
| Touch Display | The main interactive surface where you write, draw, and interact with content |
| Control Panel | Physical buttons for power, volume, input source selection, and quick settings |
| Stylus/Pen | Digital pen for writing and drawing with precision |
| Connection Ports | HDMI, USB, and other ports for connecting external devices |
| Built-in Software | Pre-installed applications for annotation, whiteboarding, and collaboration |
Step 1: Powering On Your Smart Board
The first step in operating any smart board is turning it on correctly:
- Locate the power button: Usually found on the front panel, side edge, or bottom of the display frame
- Press and hold: Press the power button for 2-3 seconds until you see the indicator light turn on
- Wait for boot-up: The system typically takes 15-30 seconds to fully initialize
- Check connections: Ensure all necessary cables (power, network, external devices) are properly connected
If the board doesn’t power on, verify that the power outlet is functioning and the power cable is securely connected at both ends. Some models feature a main power switch on the back that must be turned on before using the front panel button.
Step 2: Navigating the Home Screen and Interface
Once your smart board powers on, you’ll see the home screen or launcher interface. Understanding this interface is crucial for efficient operation:
Main Interface Elements
Most smart boards display a user-friendly home screen with the following elements:
- App Icons: Quick access to whiteboarding tools, screen mirroring, file browser, and settings
- System Tray: Displays network connection, volume, date/time, and quick settings
- Sidebar Menu: Provides tools for annotation, screenshot capture, and input source switching
- Widget Area: May include shortcuts to frequently used applications or recent files

Navigation is intuitive¡ªsimply touch icons with your finger or stylus, just like operating a large tablet. Swipe gestures work for scrolling through content, and pinch-to-zoom functions similarly to smartphones.
Step 3: Using the Whiteboard Application
The whiteboard application is the core feature of any smart board. Here’s how to use it effectively:
Opening the Whiteboard
Launch the whiteboard app from your home screen. You’ll be presented with a blank canvas ready for writing, drawing, and annotating.
Writing and Drawing
- Select your writing tool: Choose from pen, highlighter, marker, or brush from the toolbar
- Pick your color: Tap the color selector to choose from preset colors or create custom ones
- Adjust thickness: Select line thickness options for different writing styles
- Start writing: Use your finger or stylus to write directly on the screen
- Erase content: Select the eraser tool and swipe over content you want to remove, or use palm rejection features if available
Advanced Whiteboard Features
| Feature | How to Use |
|---|---|
| Shape Recognition | Draw a rough shape and the system automatically converts it to a perfect geometric figure |
| Text Conversion | Handwritten text can be converted to typed text for cleaner presentation |
| Object Selection | Use the selection tool to move, resize, or rotate drawn objects |
| Page Management | Add new pages, duplicate existing ones, or navigate between multiple pages |
| Background Templates | Choose from grid, lined, or custom backgrounds to suit your needs |
Step 4: Connecting External Devices
Smart boards become even more powerful when connected to external devices. Here’s how to establish these connections:
Wired Connection via HDMI
- Connect an HDMI cable from your laptop or computer to the smart board’s HDMI port
- Press the input/source button on the control panel or remote
- Select the corresponding HDMI input (HDMI 1, HDMI 2, etc.)
- Your computer screen should now mirror on the smart board
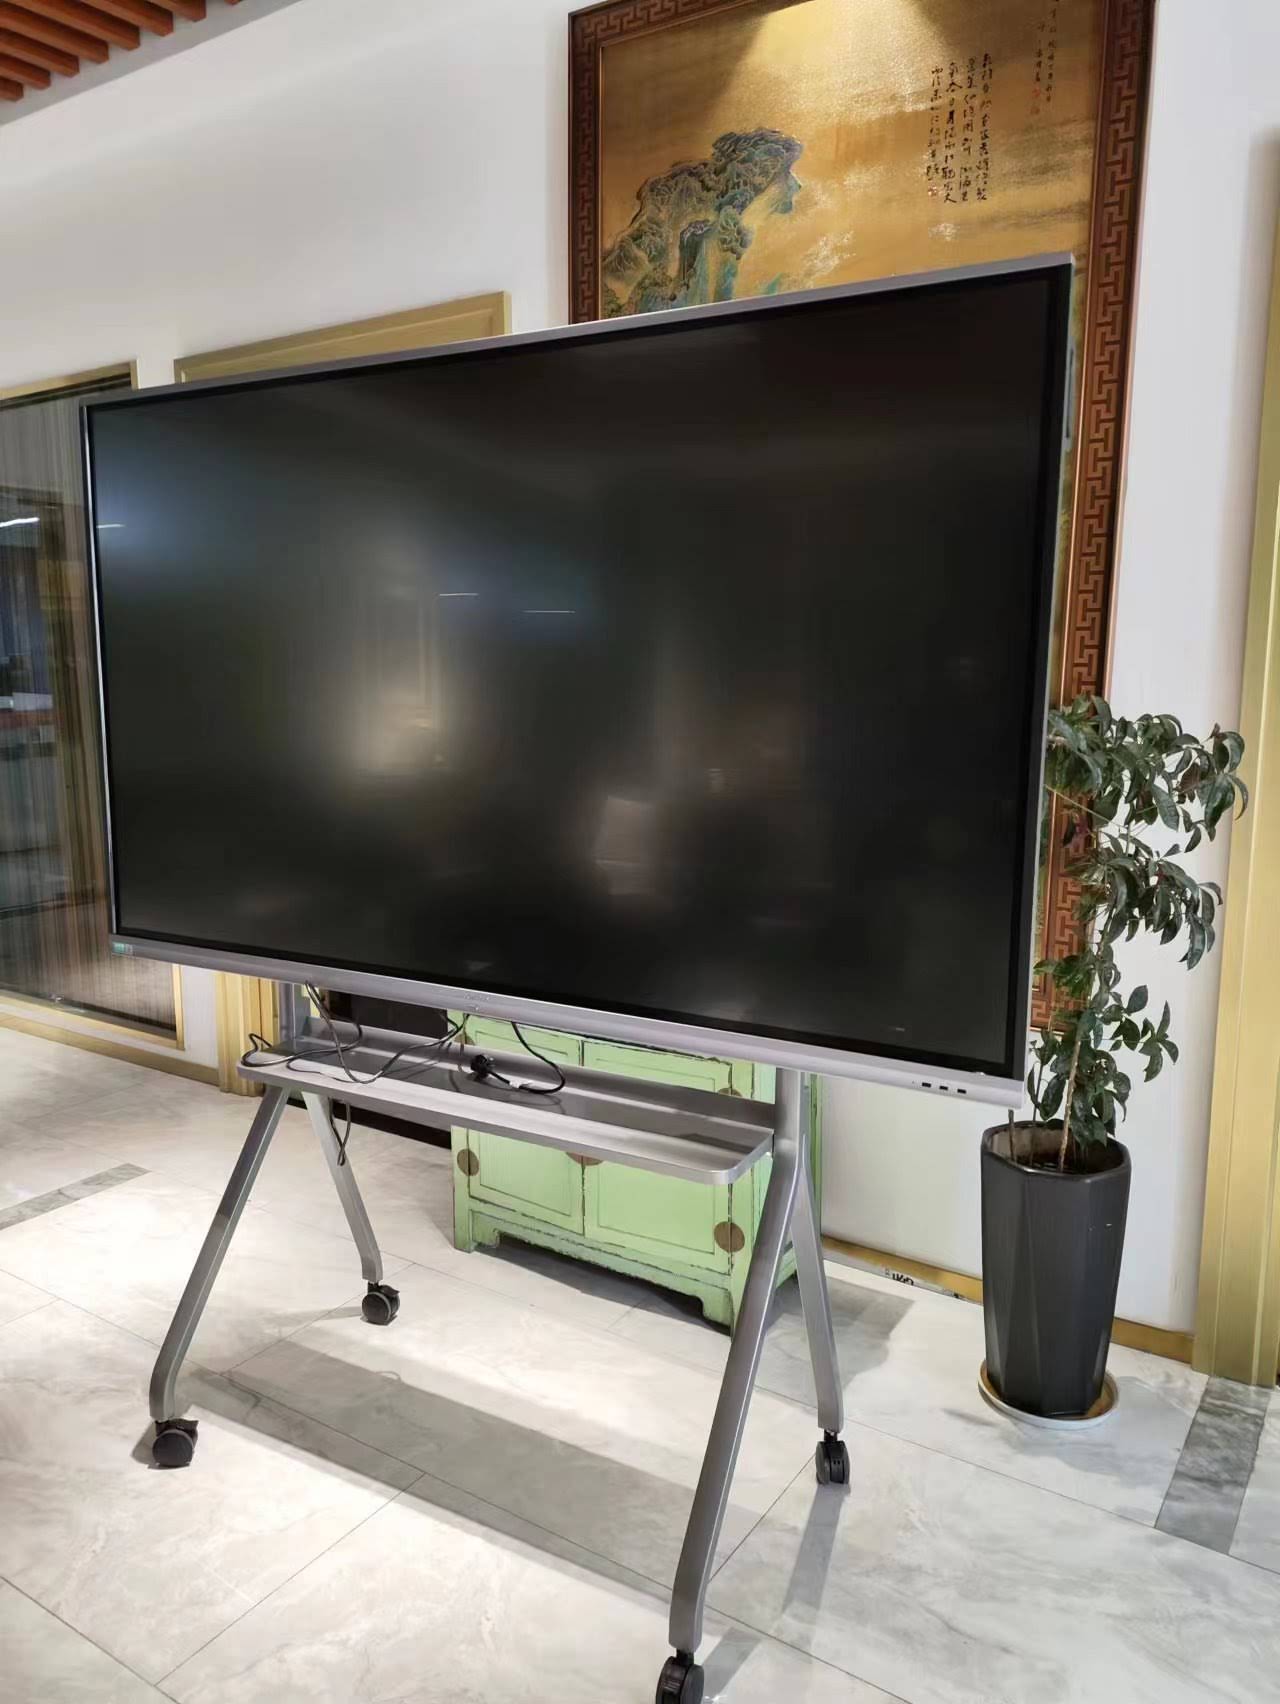
Wireless Connection via Screen Mirroring
Modern smart boards support wireless connectivity, eliminating cable clutter:
- Open the screen mirroring or casting app on your smart board
- Note the connection code or network name displayed
- On your device (laptop, tablet, or smartphone), open screen mirroring settings
- Select your smart board from the available devices list
- Enter the connection code if prompted
- Your device screen will now appear on the smart board
USB Connection for Touch Functionality
When you want your computer to respond to touches on the smart board:
- Connect a USB cable between your computer and the smart board’s USB-B or USB-C port
- Your operating system should automatically recognize the touch input
- You can now control your computer directly from the smart board surface
- Install any required drivers if touch functionality doesn’t work immediately
Step 5: Using Annotation Tools Over Content
One of the most valuable features of smart boards is the ability to annotate over any content¡ªwhether it’s a presentation, video, document, or website:
- Display your content: Open your presentation, document, or application
- Activate annotation mode: Look for a floating toolbar or sidebar with pen icons
- Select annotation tools: Choose pen, highlighter, shapes, or text tools
- Mark up your content: Write notes, circle key points, draw diagrams, or add emphasis
- Capture annotations: Take a screenshot to save your marked-up content
- Exit annotation mode: Return to normal interaction with your underlying application
According to research published in the Journal of Educational Technology & Society, interactive annotations can improve information retention by up to 38% compared to passive viewing, making this feature particularly valuable in educational settings.
Step 6: Saving and Sharing Your Work
Smart boards offer multiple options for preserving and distributing your content:
Saving Options
- Internal Storage: Save files directly to the smart board’s built-in memory
- USB Drive: Insert a USB flash drive and save files for offline portability
- Cloud Storage: Connect to services like Google Drive, OneDrive, or Dropbox
- Network Folder: Save to a shared network location accessible to your team
Sharing Methods
| Method | Best For |
|---|---|
| Sending content directly to participants or students | |
| QR Code | Quick mobile device access to session content |
| Cloud Link | Collaborative access for remote teams |
| Export to PDF | Universal format for archiving or printing |
Step 7: Managing Settings and Preferences
Customizing your smart board settings ensures optimal performance for your specific needs:
Display Settings
- Brightness: Adjust based on room lighting conditions
- Color Temperature: Set warmer tones for evening use or cooler for daytime presentations
- Screen Resolution: Typically set automatically, but can be adjusted for connected devices
Network Configuration
- Open the Settings or System menu
- Navigate to Network or Wi-Fi settings
- Select your network from available options
- Enter the password if required
- Verify connection status
Touch Calibration
If touch accuracy seems off, recalibrate your smart board:
- Access the calibration tool in system settings
- Follow on-screen prompts to touch specific points
- Complete the calibration sequence
- Test touch accuracy with normal use
Step 8: Troubleshooting Common Issues
Even with quality equipment, occasional issues may arise. Here’s how to address common problems:
Touch Not Responding
- Clean the screen surface with a microfiber cloth¡ªdirt can interfere with touch sensitivity
- Restart the smart board to reset the touch system
- Check if touch functionality is disabled in settings
- Verify USB connection if using external touch control
- Recalibrate the touch screen
No Display from External Device
- Confirm the cable is securely connected at both ends
- Select the correct input source on the smart board
- Check if your device’s display output is enabled
- Try a different HDMI port or cable
- Restart both devices
Wireless Connection Failures
- Ensure both devices are on the same network
- Restart your router if network-wide issues exist
- Update the screen mirroring app on both devices
- Check firewall settings that might block connections
- Move closer to the router to eliminate distance issues
Advanced Features for Power Users
Once you’ve mastered the basics, explore these advanced capabilities to maximize productivity:
Split-Screen Mode
Display multiple sources simultaneously¡ªfor example, show a presentation on one side while demonstrating a live application on the other. This feature is particularly valuable in training environments where comparison and reference are needed.
Recording Sessions
Many smart boards include screen recording functionality:
- Locate the record button in your toolbar or control panel
- Select audio input options (board microphone, external mic, or both)
- Start recording before beginning your presentation or lesson
- Stop recording when finished
- Save the recording to your preferred location
- Share the recorded session with absent participants
Multi-User Collaboration
Modern smart boards support simultaneous input from multiple users. According to a study by the University of North Texas Learning Center, collaborative interaction on shared digital surfaces increases engagement by 47% compared to single-user presentations.
To enable multi-user mode:
- Activate multi-touch or collaboration mode in settings
- Provide each participant with a stylus or assign touch areas
- Use color-coded tools to distinguish different users’ contributions
- Enable palm rejection to prevent accidental inputs
Best Practices for Daily Smart Board Operation
Developing good habits ensures reliable performance and extends your smart board’s lifespan:
Before Each Use
- Check the screen surface: Wipe down with appropriate cleaning solution and microfiber cloth
- Verify connections: Ensure network, power, and peripheral devices are properly connected
- Test functionality: Spend 30 seconds confirming touch response and stylus operation
- Prepare content: Load presentations, open required applications, and queue media files in advance
During Use
- Avoid excessive pressure: Light touches are sufficient; pressing hard can damage the screen
- Use proper tools: Only use fingers, approved styluses, or soft-tip pointers¡ªnever pens, pencils, or hard objects
- Save frequently: Don’t risk losing work due to unexpected power issues or system crashes
- Monitor system resources: Close unused applications to maintain smooth performance
After Each Use
- Save all work and close applications properly
- Return to the home screen or designated standby interface
- Clean the screen surface to remove fingerprints and marks
- Power down if the board won’t be used for extended periods, or leave in standby mode for quick access
- Store styluses in their designated holders to prevent loss
Maintenance and Care Guidelines
Proper maintenance preserves your investment and ensures consistent performance:
Regular Cleaning
The screen surface requires regular attention to maintain clarity and touch sensitivity:
- Daily: Wipe with a dry microfiber cloth to remove dust and fingerprints
- Weekly: Use a slightly dampened microfiber cloth with water or approved screen cleaner
- Avoid: Alcohol-based cleaners, abrasive materials, paper towels, and excessive liquid
Software Updates
Keep your smart board’s operating system and applications current:
- Check for updates in the system settings menu
- Schedule updates during off-hours to avoid interruption
- Read update notes to understand new features and fixes
- Maintain a backup of important customizations before major updates
Environmental Considerations
| Factor | Recommendation |
|---|---|
| Temperature | Maintain room temperature between 0-40¡ãC (32-104¡ãF) |
| Humidity | Keep relative humidity between 20-80% to prevent condensation |
| Lighting | Position away from direct sunlight to reduce glare and heat |
| Ventilation | Ensure adequate airflow around the device for cooling |
Integration with Educational and Business Workflows
Smart boards deliver maximum value when integrated into existing workflows:
Educational Applications
Teachers can leverage smart boards to create dynamic, engaging lessons:
- Interactive lessons: Use educational apps designed for smart boards to gamify learning
- Virtual field trips: Display 360¡ã videos and interactive maps
- Student presentations: Enable students to present directly from the board
- Real-time assessment: Use polling and quiz applications for immediate feedback
- Resource sharing: Provide students with digital copies of lesson content
Business Applications
In corporate environments, smart boards enhance meeting productivity:
- Brainstorming sessions: Capture ideas in real-time with infinite canvas features
- Data visualization: Display and interact with charts, graphs, and dashboards
- Remote collaboration: Connect with remote team members through video conferencing integration
- Project planning: Use digital kanban boards and Gantt charts
- Training delivery: Create interactive training modules with embedded assessments
Security and Privacy Considerations
When operating smart boards in professional environments, security matters:
Network Security
- Connect to secure, password-protected networks only
- Disable guest network access when handling sensitive information
- Use VPN connections for corporate network access
- Keep Wi-Fi passwords confidential and change them regularly
Data Protection
- Clear cached data and browsing history after confidential meetings
- Log out of cloud accounts when not in use
- Enable automatic screen lock with password protection
- Regularly delete temporary files and old sessions
- Use encryption for saved files containing sensitive information
Choosing the Right Smart Board for Your Needs
If you’re selecting a smart board for the first time, consider these factors:
Size Considerations
Smart boards typically range from 55 inches to 98 inches:
- 55-65 inches: Small meeting rooms and private offices
- 75-86 inches: Standard classrooms and medium conference rooms
- 98+ inches: Large auditoriums and executive boardrooms
Technical Specifications
| Specification | What to Look For |
|---|---|
| Resolution | Minimum 4K (3840¡Á2160) for crisp text and images |
| Touch Points | 10+ simultaneous touch points for collaboration |
| Response Time | Under 10ms for natural writing experience |
| Processor | Quad-core or better for smooth multitas |








