
Using a smart board in the classroom is one of the fastest ways to make lessons more visual, interactive, and memorable. If you are searching for how to use a smart board in classroom settings effectively, the key is not just turning it on — it is building a smooth teaching routine that supports explanation, participation, and quick feedback.
Smart boards work best when teachers use them as a teaching hub: display content, annotate ideas, move between activities, and save everything for later review. For practical examples of classroom-ready hardware, you can explore smart whiteboards and browse classroom-ready models.
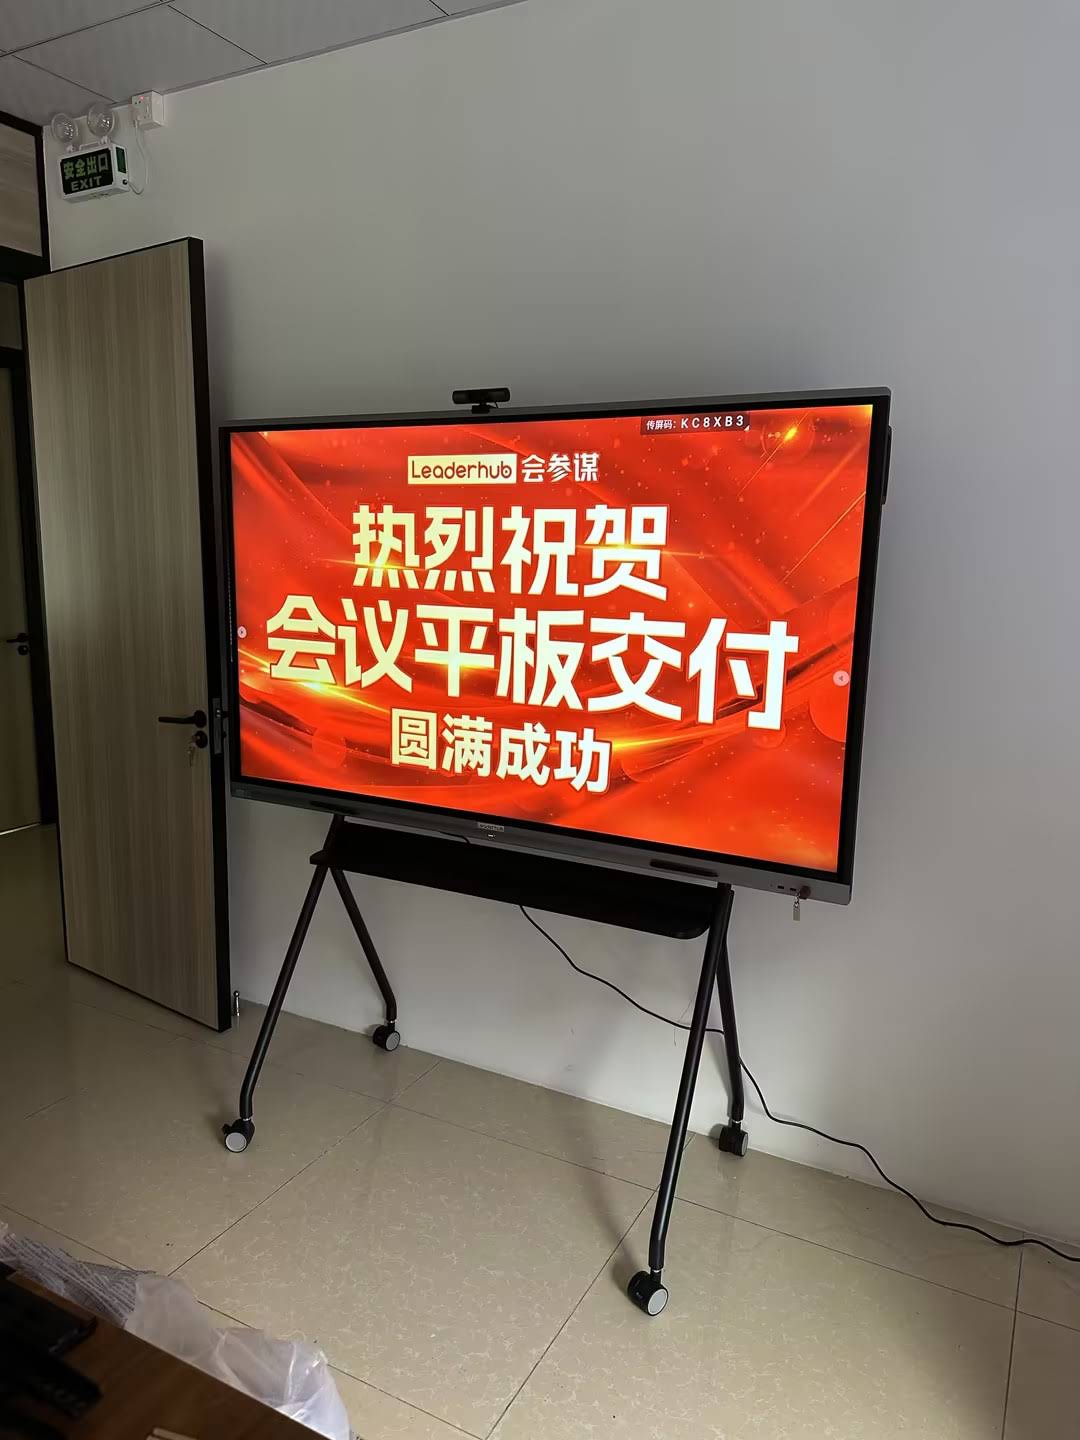
What a Smart Board Can Do in a Classroom
A smart board combines a touchscreen display, whiteboard tools, and lesson-sharing features in one device. In daily teaching, it can help you:
- Display lessons clearly for the whole class.
- Write, highlight, and draw directly on the screen.
- Open videos, websites, slides, and learning apps instantly.
- Support group work through shared annotation.
- Save notes so students can review them after class.
Step 1: Prepare the Classroom Setup
Before the lesson starts, make sure the room is ready for quick teaching and smooth interaction.
- Place the smart board where every student has a clear view.
- Check power, internet, and audio connections.
- Turn on the display and verify the touch function.
- Have your laptop, USB drive, or wireless casting device ready.
- Open your lesson files before students enter if possible.
A simple setup routine
- Power on the board.
- Confirm the correct input source.
- Test pen, touch, and speaker output.
- Open the first slide or activity.
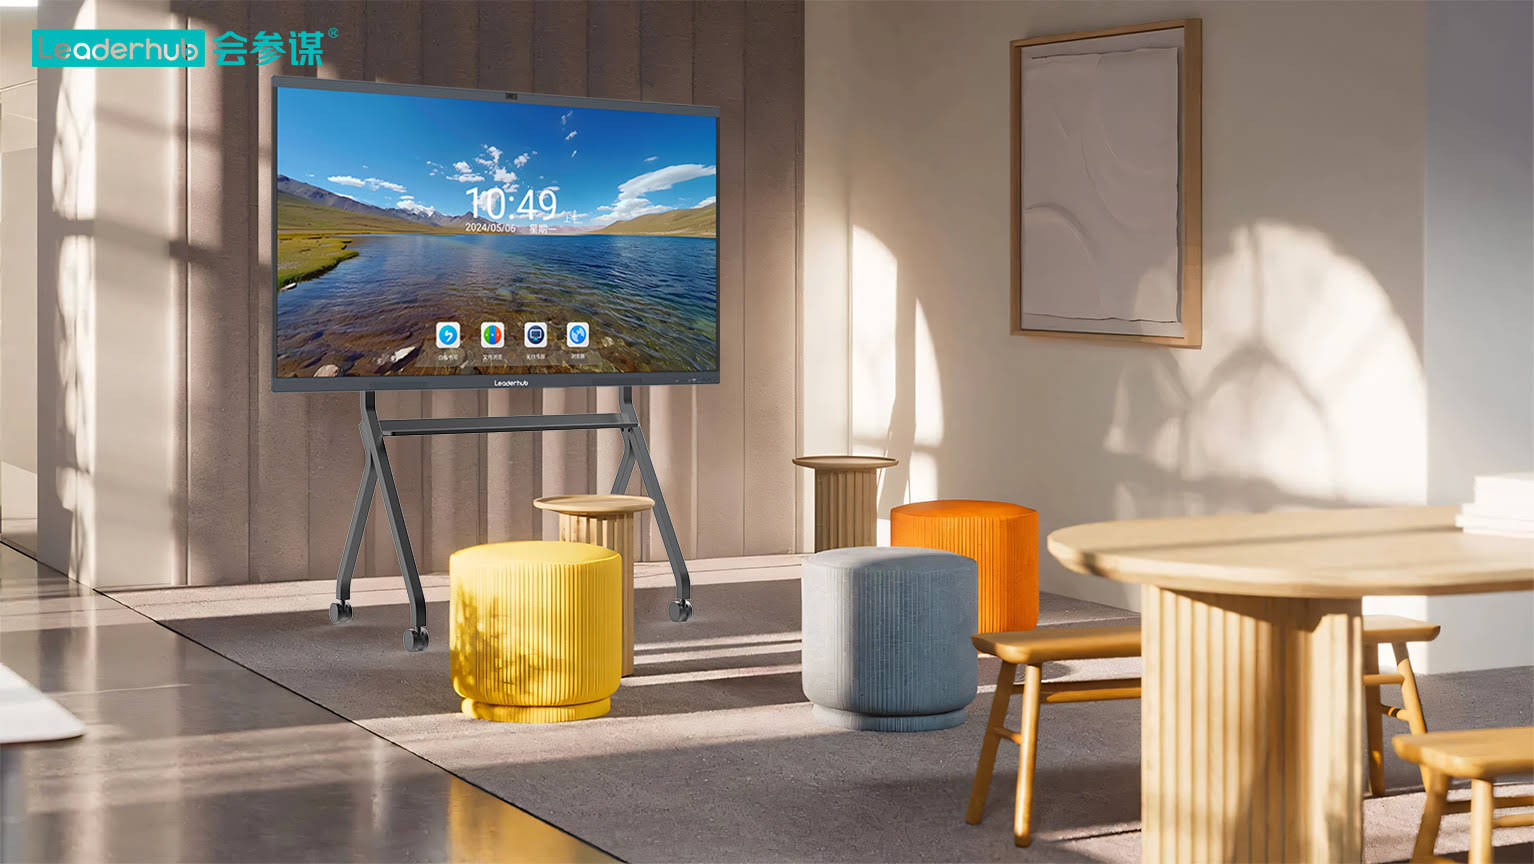
Step 2: Connect Your Device
Teachers often connect a laptop, tablet, or mini PC to control lessons. If your room uses a compact computing solution, a mini PC can keep the setup clean and reliable.
| Connection Method | Best For | Tip |
|---|---|---|
| HDMI / USB-C | Stable video and audio | Use for the most reliable classroom connection. |
| Wireless casting | Quick sharing | Great for moving around the room while teaching. |
| USB drive | Offline lessons | Helpful when internet access is limited. |
Step 3: Calibrate Touch and Pen Tools
If the board supports calibration, run it before class or after moving the display. This makes writing, dragging, and selecting items more accurate.
- Open the settings menu.
- Check touch accuracy across all corners.
- Test the pen tool and eraser.
- Save preferred pen colors for quick access.
Useful classroom tools to test
- Pen for note-taking and diagram drawing.
- Highlighter for key vocabulary or formulas.
- Shape tool for math, science, and visual planning.
- Undo for fast correction during live teaching.
Step 4: Teach with Interactive Content
Once the lesson is open, use the board to guide students through the material instead of only projecting slides. The strongest classroom use cases include:
- Direct instruction with slides, images, and short videos.
- Live annotation to explain ideas step by step.
- Student participation through drag-and-drop exercises.
- Collaborative problem solving for group activities.
- Instant review by saving notes at the end of the lesson.
For curriculum design ideas and research-backed guidance, see the UNESCO Technology Recommendations and the ISTE Standards for Educators.
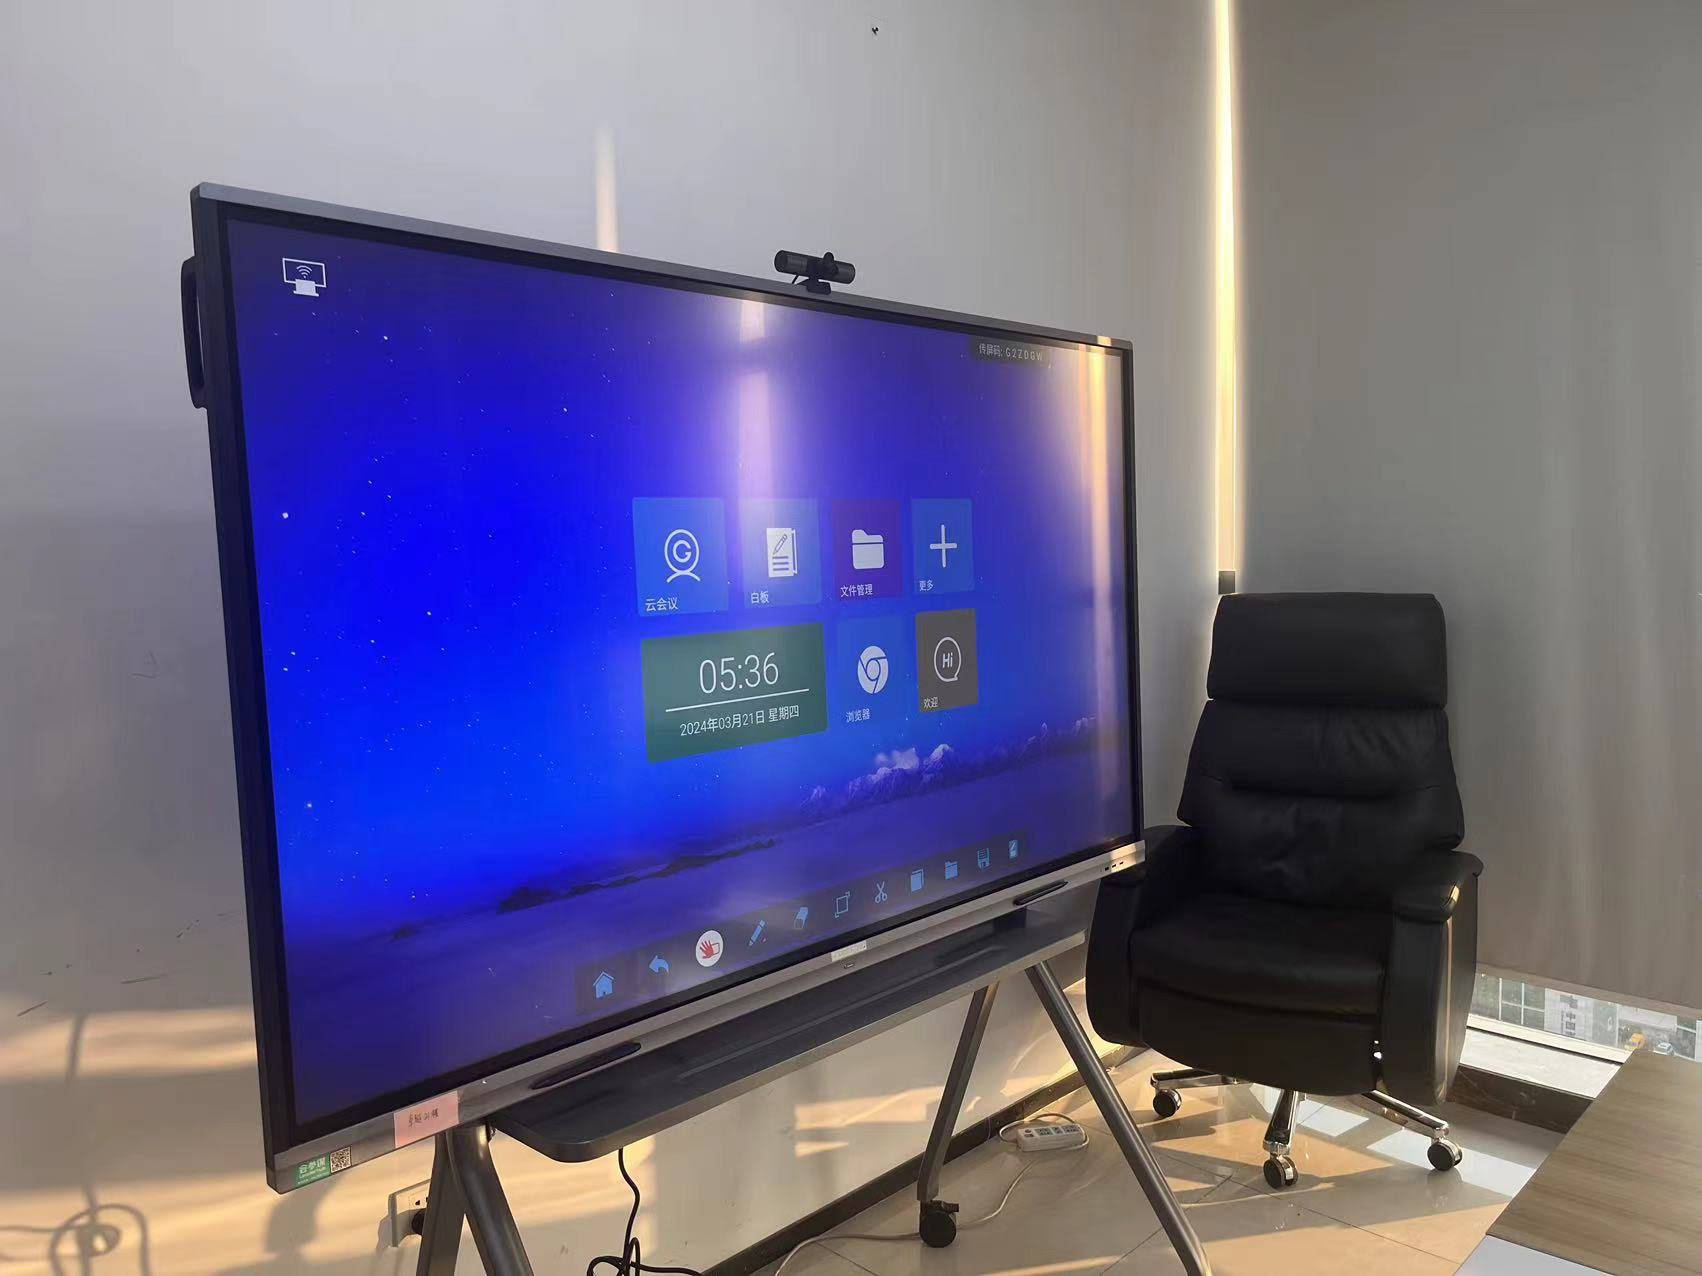
Step 5: Keep Students Engaged
A smart board should not turn students into passive viewers. The best classroom results come when students interact with the display frequently and predictably.
- Ask students to come up and solve one problem at a time.
- Use quick polls or short review questions.
- Split the screen for comparison activities.
- Invite groups to annotate different parts of the same task.
- Use timers to keep activities focused.
Engagement ideas by subject
| Subject | Smart Board Activity |
|---|---|
| Math | Solve equations step by step with live annotation. |
| Science | Label diagrams and play short experiment clips. |
| Language Arts | Highlight grammar patterns and build vocabulary lists. |
| Social Studies | Compare maps, timelines, and primary sources. |
Step 6: Save, Share, and Review
One of the most useful parts of using a smart board is that you can save the lesson board after class. This helps students revisit content and helps teachers reuse material later.
- Save annotations as images or PDF files.
- Share files through email, cloud storage, or LMS platforms.
- Upload recap notes for absent students.
- Reuse your lesson template next time to save preparation time.
Best Practices for Classroom Use
Technology works best when it supports good teaching, not when it replaces it. Reports and guidance from the UNESCO Digital Education page and the EEF Digital Technology Guidance both emphasize purposeful use, clear goals, and teacher-led instruction.
- Keep activities short and clear.
- Use the board for learning goals, not only presentation.
- Balance screen time with discussion, writing, and hands-on tasks.
- Prepare backup files in case of internet or login issues.
- Make sure every activity has a clear learning outcome.
Common Mistakes to Avoid
- Using the board like a projector only.
- Overloading slides with too much text.
- Forgetting to test touch and sound before class.
- Not saving notes after the lesson.
- Letting technology slow the pace of teaching.
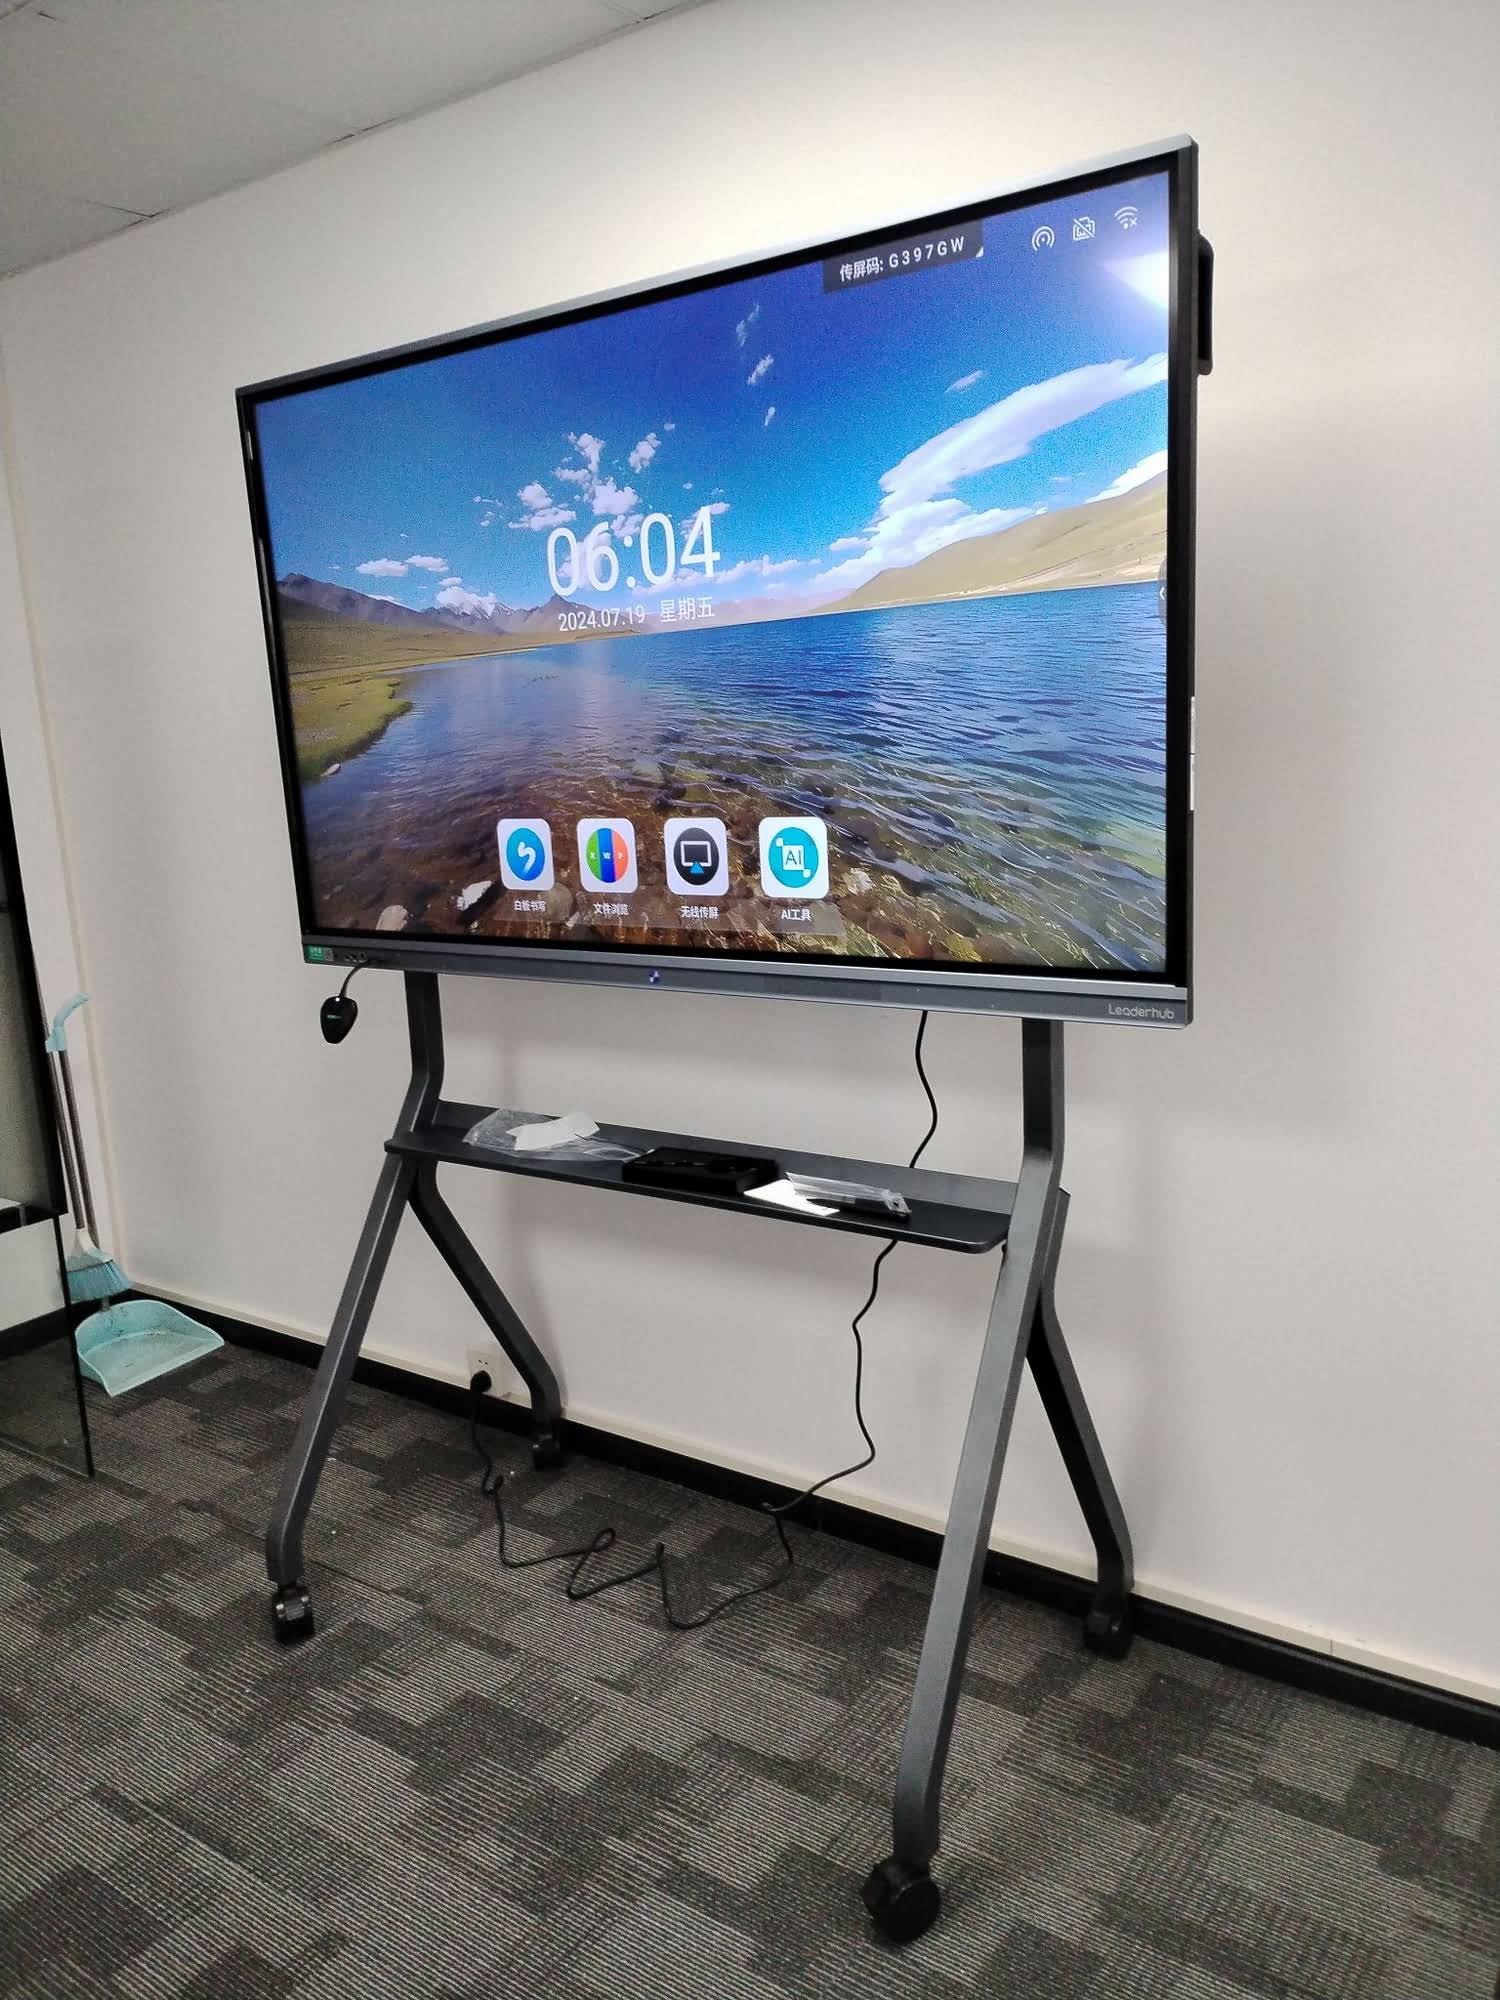
Quick Classroom Checklist
| Task | Status |
|---|---|
| Power on and confirm input source | Before class |
| Test touch, pen, and audio | Before class |
| Open lesson slides or whiteboard file | At lesson start |
| Invite at least one student interaction | During lesson |
| Save and share notes | After class |
Choosing the Right Smart Board for Your Classroom
The right size and feature set depend on class size, room layout, and teaching style. A 65-inch board can work well for smaller rooms, while larger classrooms often benefit from 75-inch, 86-inch, or even bigger displays. If you need a specific model, consider a 75-inch interactive smart whiteboard for balanced visibility and collaboration.
LeaderHub offers classroom-friendly displays designed for teaching, presentation, and collaboration, making it easier to build a reliable smart classroom workflow.
Final Teaching Tip
The smartest way to use a smart board in the classroom is to keep the lesson simple, interactive, and student-centered. When the board supports your teaching flow instead of interrupting it, you get better attention, better participation, and better learning outcomes.
If you are planning your next upgrade, you can contact us to discuss classroom deployment options, or review product specifications through the links above.








