Setting up a smart board in the classroom can transform lessons into more interactive, visual, and collaborative experiences. The process is easier than many teachers expect, as long as you plan the room, connect the right devices, and test everything before class begins.
This guide explains how to set up smart board in classroom step by step, with practical tips for teachers, IT staff, and school administrators. You’ll also find a quick checklist, common mistakes to avoid, and useful resources for digital learning best practices.
Why a Smart Board Matters in the Classroom
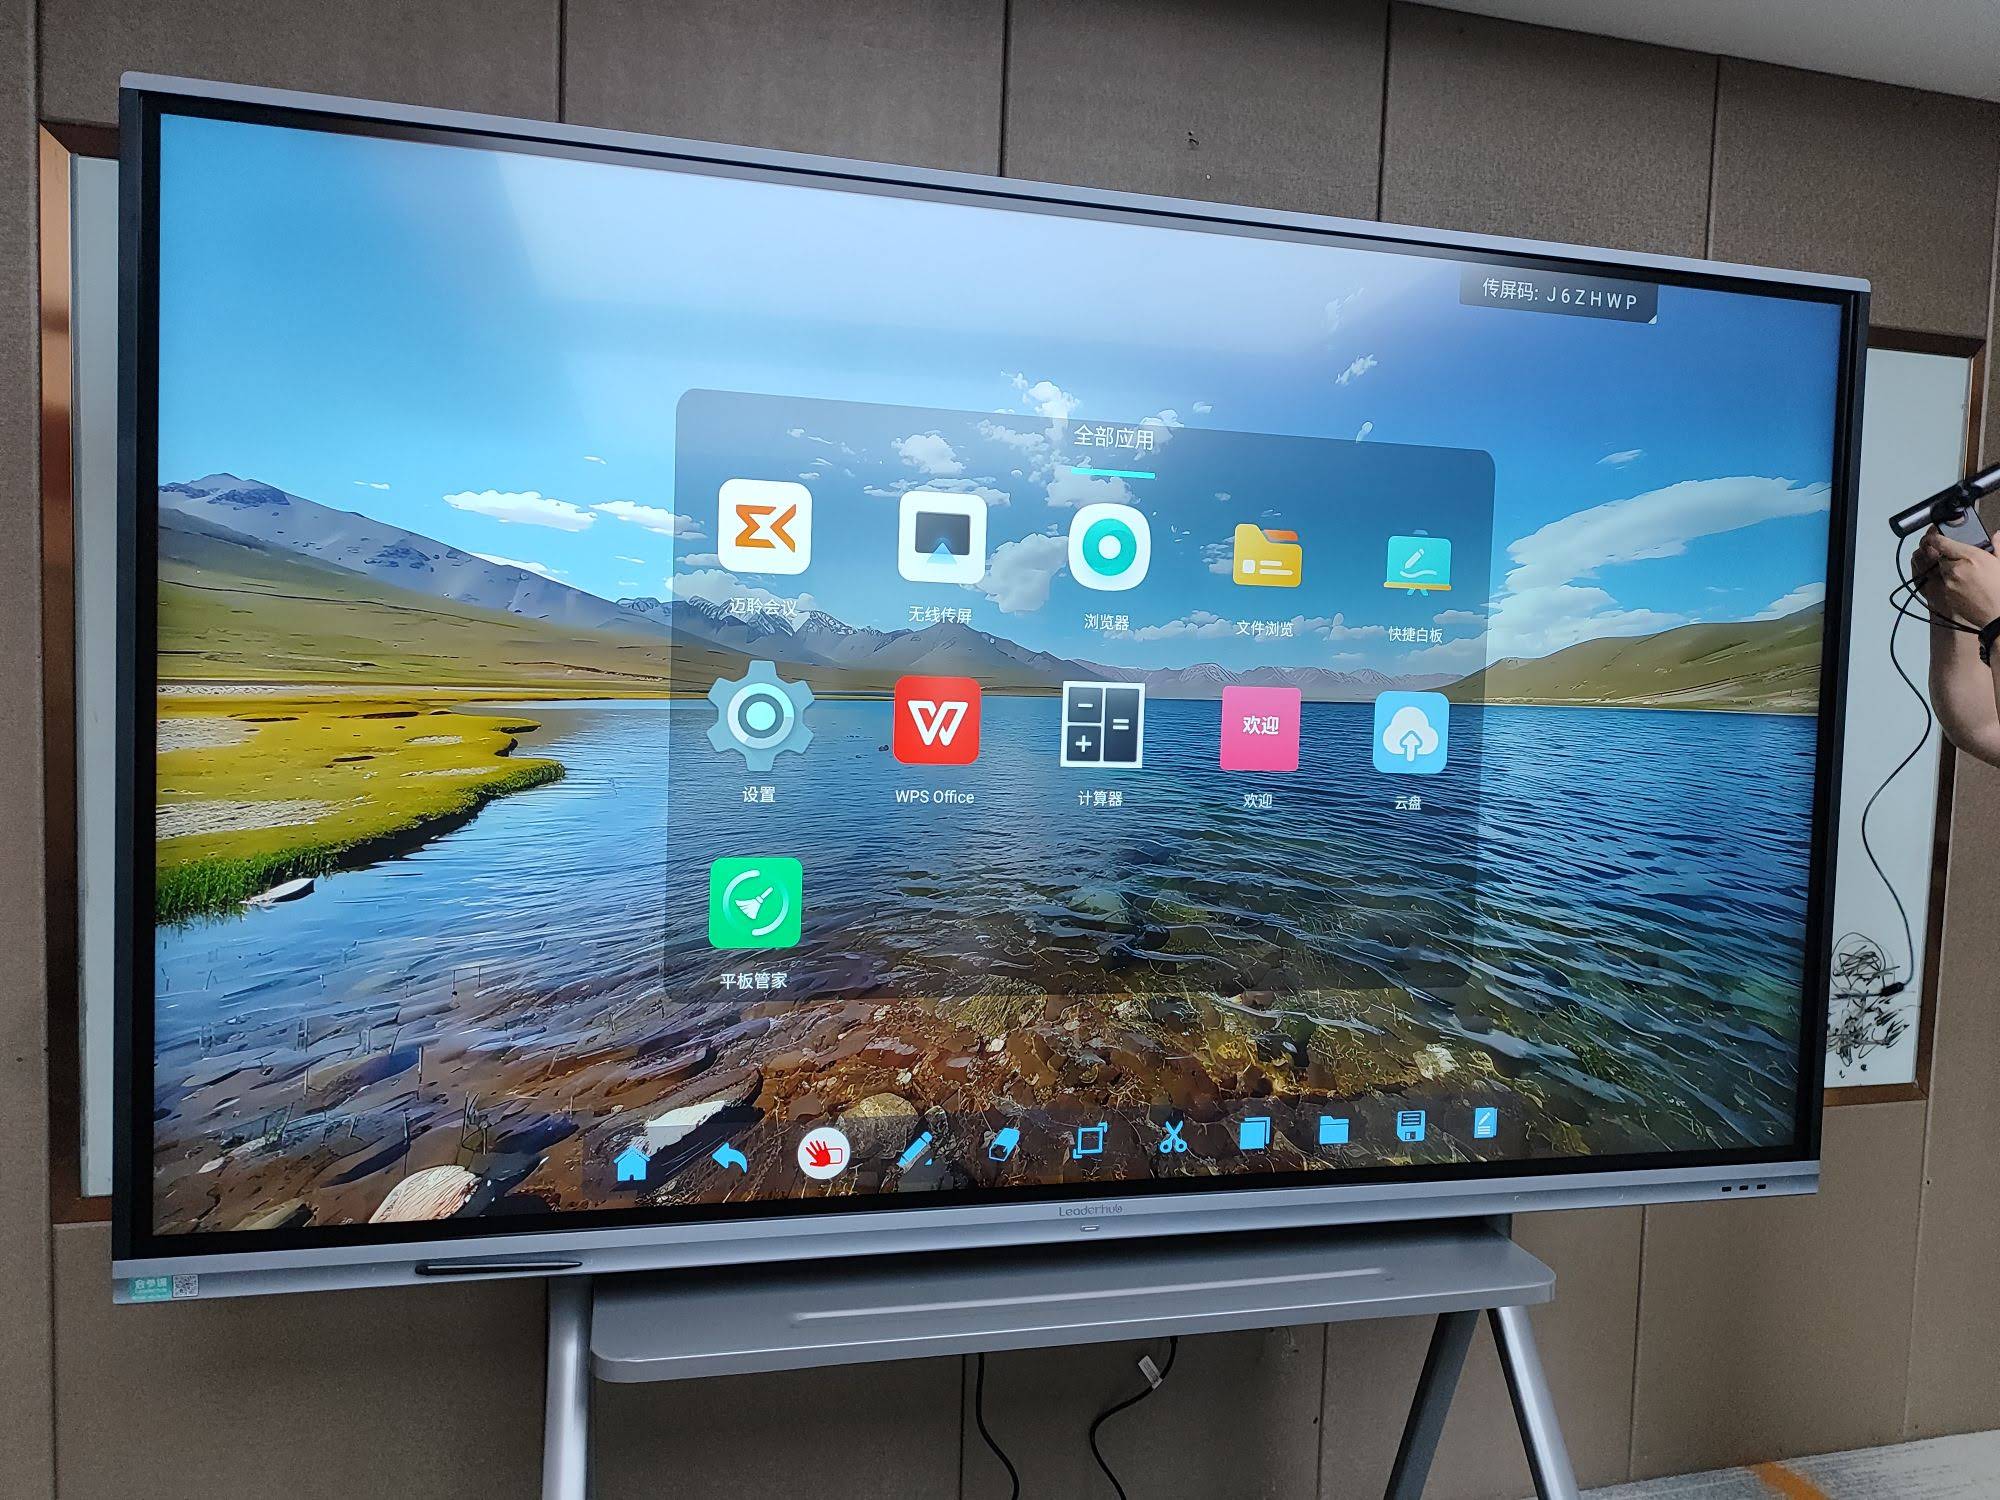
A smart board is more than a screen. It can become the center of a lesson where teachers can write, annotate, display videos, open apps, and invite student participation. When used well, it supports blended learning, group discussion, and visual explanation.
For research-backed guidance on classroom technology, you can review the UNESCO Global Education Monitoring Report and the ISTE Standards.
What You Need Before You Start
Before installing the board, gather the essentials below so the setup goes smoothly.
| Item | Purpose | Tip |
|---|---|---|
| Smart board | Main interactive display for teaching | Choose the right size for room visibility |
| Wall mount or mobile stand | Holds the display securely | Check weight support and VESA compatibility |
| HDMI / USB cables | Connects the board to a computer or mini PC | Use quality cables to reduce signal issues |
| Internet connection | Enables apps, updates, cloud tools | Prefer stable Wi-Fi or wired Ethernet |
| Teaching device | Runs presentations, whiteboard software, and lessons | A mini PC is often a compact, reliable option |
Step-by-Step: How to Set Up a Smart Board in Classroom
1. Choose the Right Location
Select a wall or stand position where all students can see the screen clearly. Avoid direct sunlight, glare from windows, and areas with heavy traffic.
- Place the board at a comfortable eye level.
- Leave enough space around the display for ventilation.
- Make sure power outlets and network access are nearby.
2. Check Power and Network Access
Before mounting, confirm that the classroom has a nearby power outlet and a reliable internet connection. If the board uses an external computer, plan where that device will sit and how cables will be hidden or secured.
3. Mount the Board or Set Up the Stand
If you are using a fixed wall mount, follow the manufacturer’s instructions carefully and confirm that the wall can support the weight. For a mobile stand, lock the wheels after positioning it in the teaching area.
4. Connect the Smart Board to Your Teaching Device
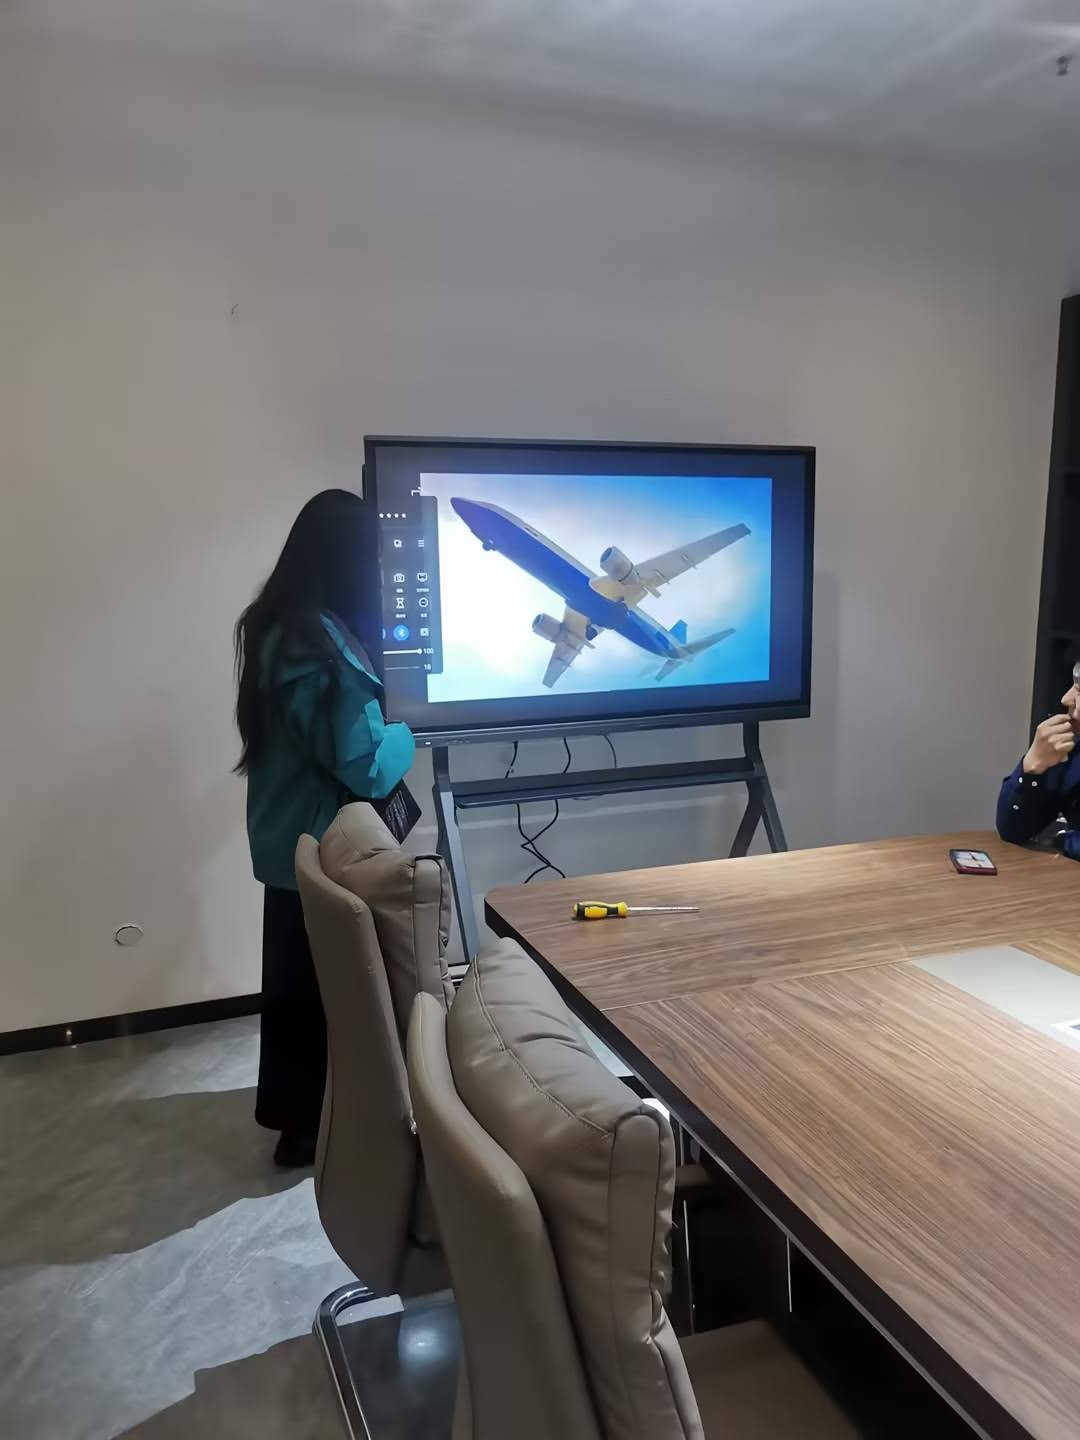
Connect the board to a laptop, desktop, or mini PC using the correct input ports. Typical setup includes:
- HDMI for video output
- USB for touch recognition
- Ethernet or Wi-Fi for online access
- Audio cable or Bluetooth speaker if needed
5. Power On and Run Initial Setup
Turn on the smart board and follow the on-screen instructions. You may need to select language, time zone, network settings, and input source. If the board includes an Android system, finish the first-time welcome steps before connecting lesson software.
6. Calibrate the Touch Screen
Touch calibration ensures that pen taps and finger gestures match the correct point on the screen. This step is important for writing accuracy and smooth classroom interaction.
- Open the calibration tool from settings.
- Follow the point-by-point prompts on the screen.
- Test writing, dragging, and erasing after calibration.
7. Install Key Teaching Apps
Install only the apps your teachers actually need. Too many apps can slow down the board and confuse users. Start with whiteboard software, presentation tools, browser access, and video conferencing platforms if your school uses hybrid learning.
8. Set Up Lesson Templates and User Profiles
To save time during class, preload frequently used files, lesson templates, and teacher profiles. This makes it easier to start each lesson quickly and keep materials organized.
Recommended Classroom Setup Flow
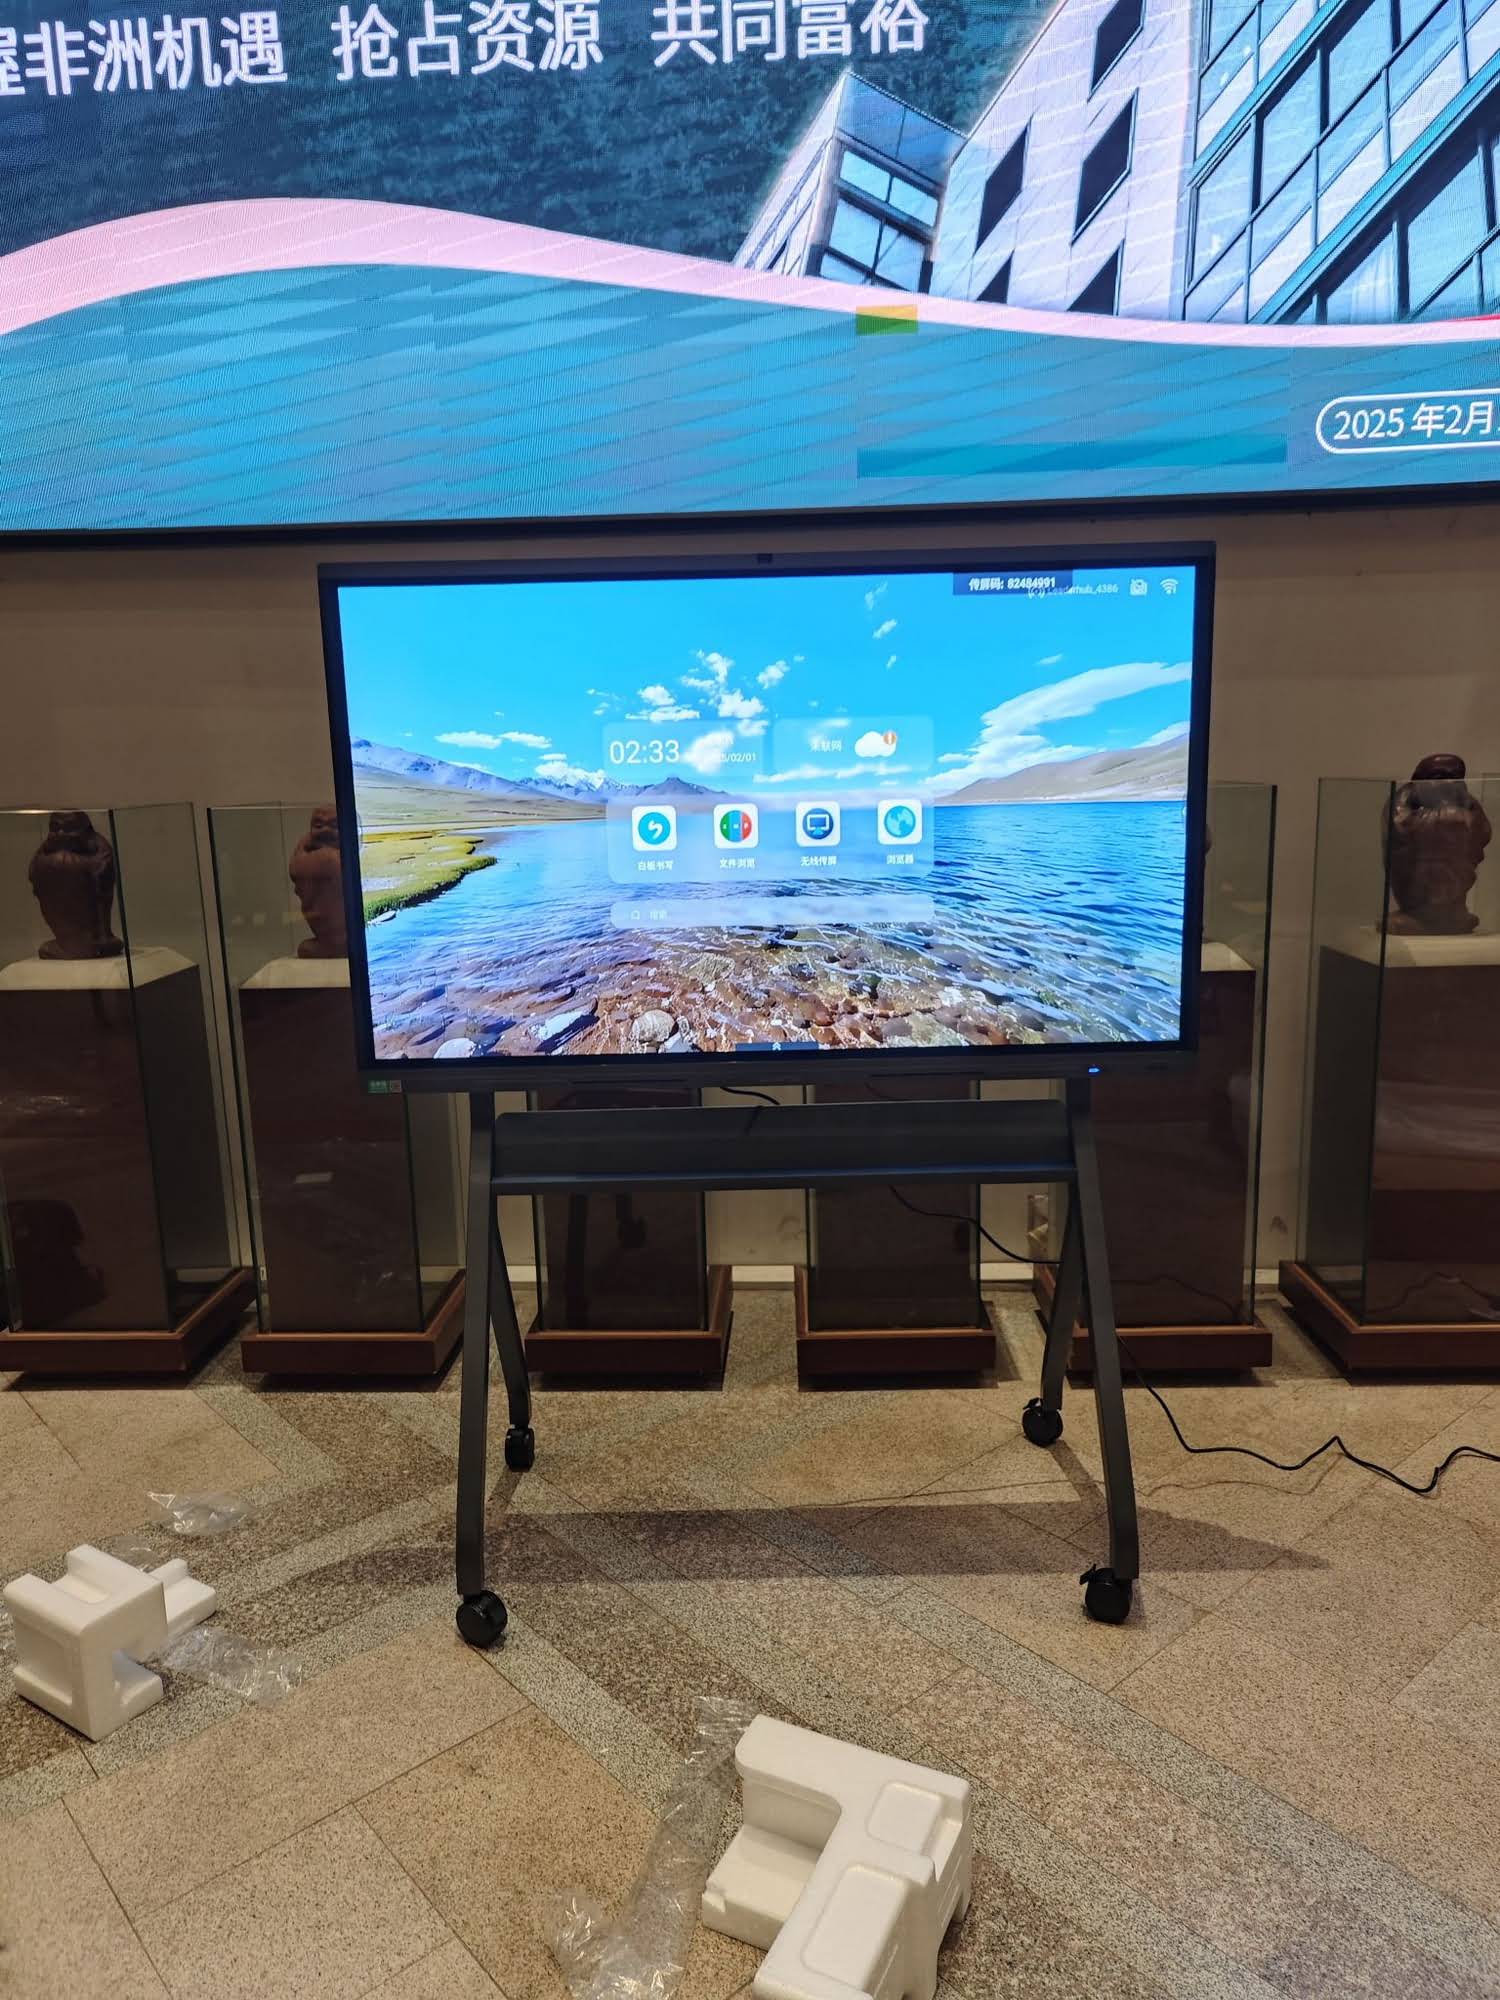
The table below shows a simple workflow that many schools follow when deploying a smart board.
| Stage | Main Task | Result |
|---|---|---|
| Planning | Measure wall space and check power/network access | Room is ready for installation |
| Installation | Mount the board or position the stand | Board is stable and secure |
| Configuration | Connect inputs, calibrate touch, install software | System is classroom-ready |
| Training | Show teachers how to use tools and save lessons | Better adoption and consistent use |
Best Practices for Teachers
Once the board is installed, the real value comes from daily use. Keep lessons simple at first, then expand gradually as teachers gain confidence.
- Start with one purpose per lesson — writing, annotation, video, or group interaction.
- Save commonly used files in a shared folder for faster access.
- Use large, readable fonts and strong contrast for visibility.
- Test audio and video before class starts.
- Keep a spare cable, stylus, and remote control in the classroom.
Common Problems and Quick Fixes
- No signal: Recheck HDMI source selection and cable connection.
- Touch not working: Verify USB connection and run calibration again.
- Slow performance: Close unused apps or switch to a dedicated shop setup with a better teaching device.
- Glare on screen: Adjust curtains, lights, or board position.
- Audio issues: Confirm volume settings and speaker pairing.
Choosing the Right Smart Board Size
The best size depends on classroom layout, student distance, and teaching style. Larger rooms often need larger displays, while smaller classrooms benefit from a more compact solution.
| Classroom Type | Suggested Size | Why It Works |
|---|---|---|
| Small classroom | 55″–65″ | Clear visibility without overpowering the room |
| Standard classroom | 75″ | Balanced size for most teaching spaces |
| Large classroom / lecture room | 86″ or larger | Better visibility from the back rows |
Helpful Internal Resources
If you are building a full classroom technology setup, these pages may help:
- Smart Whiteboards for classroom teaching and collaboration
- Mini PCs for a compact and stable system
- Contact Us for installation and product questions
A Smart Board Setup Checklist
Use this final checklist before the first lesson begins.
- Board mounted or stand locked securely
- Power connected and tested
- HDMI and USB connected correctly
- Internet working
- Touch calibrated
- Teacher account signed in
- Whiteboard app and teaching tools installed
- Audio, video, and display brightness checked
Final Tip
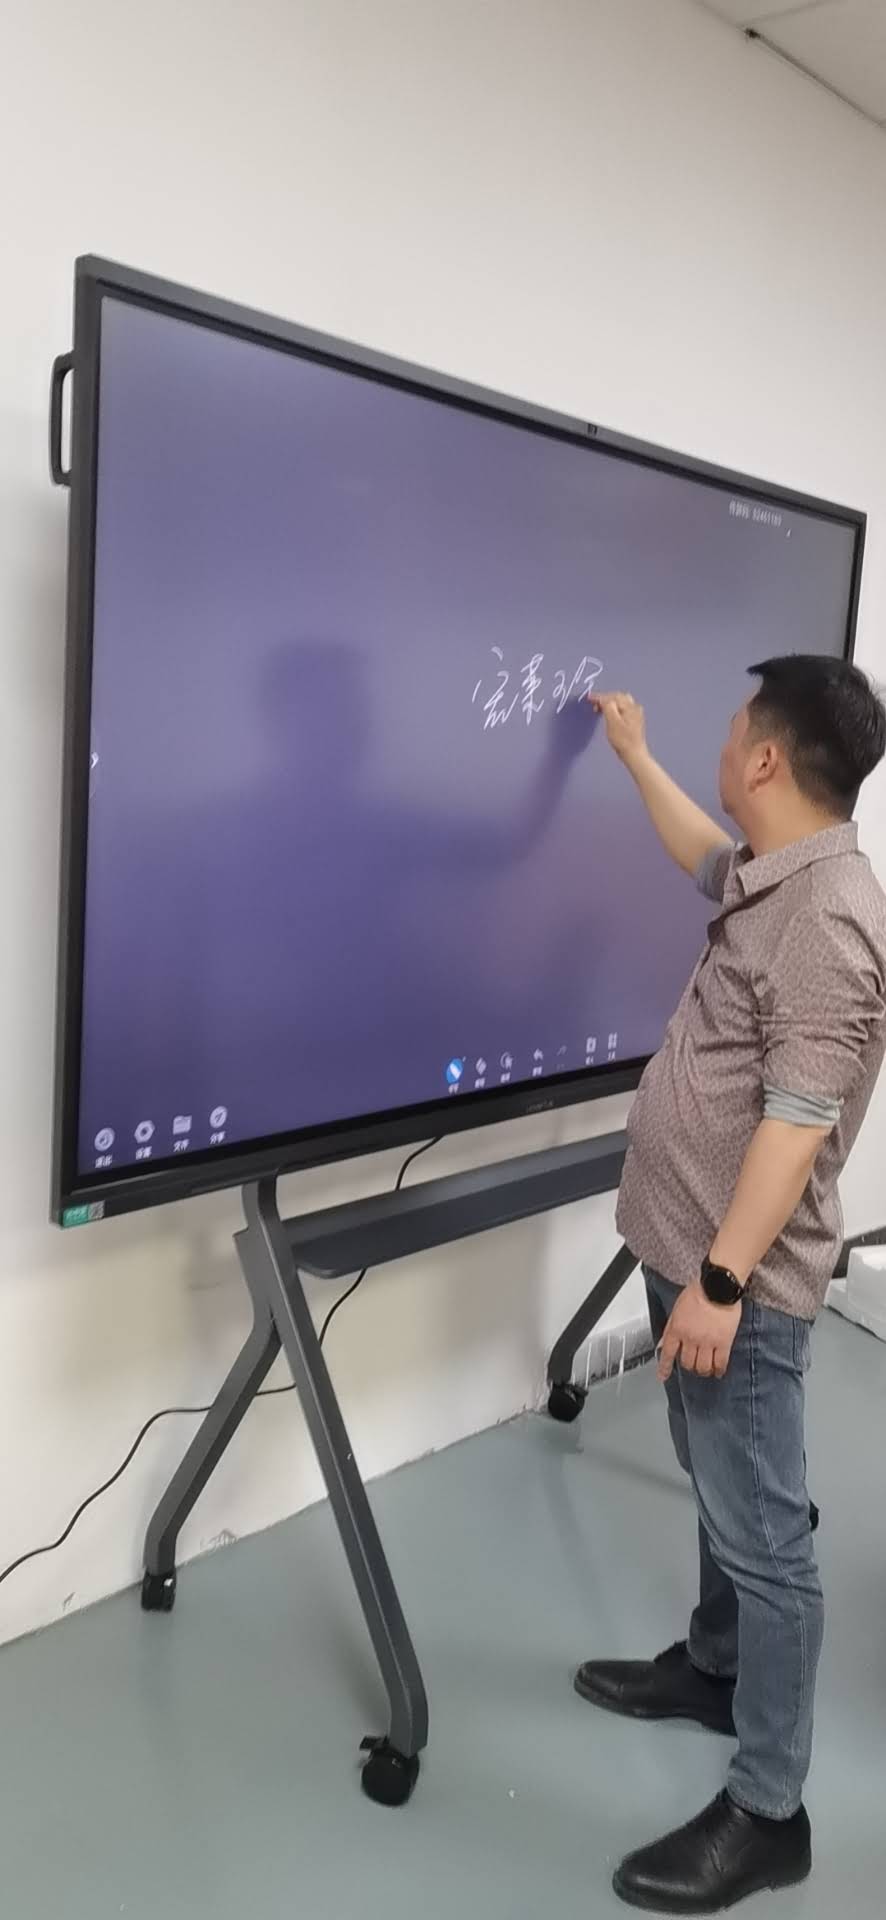
A successful classroom smart board setup is not only about installation. It is about making the technology easy for teachers to use every day. Keep the workflow simple, train staff well, and test the full system before students arrive.
For schools planning a long-term upgrade, LeaderHub offers classroom-ready interactive display solutions that can support different room sizes and teaching needs.