
Quick answer: Installing a smart board is usually a simple process when you follow the right order: plan the location, secure the mount or stand, connect power and cables, complete the initial software setup, and test touch, audio, and video before regular use.
Whether you are setting up a classroom display, a meeting-room panel, or a home learning station, this guide explains how to install a smart board in a clear step-by-step way for beginners.
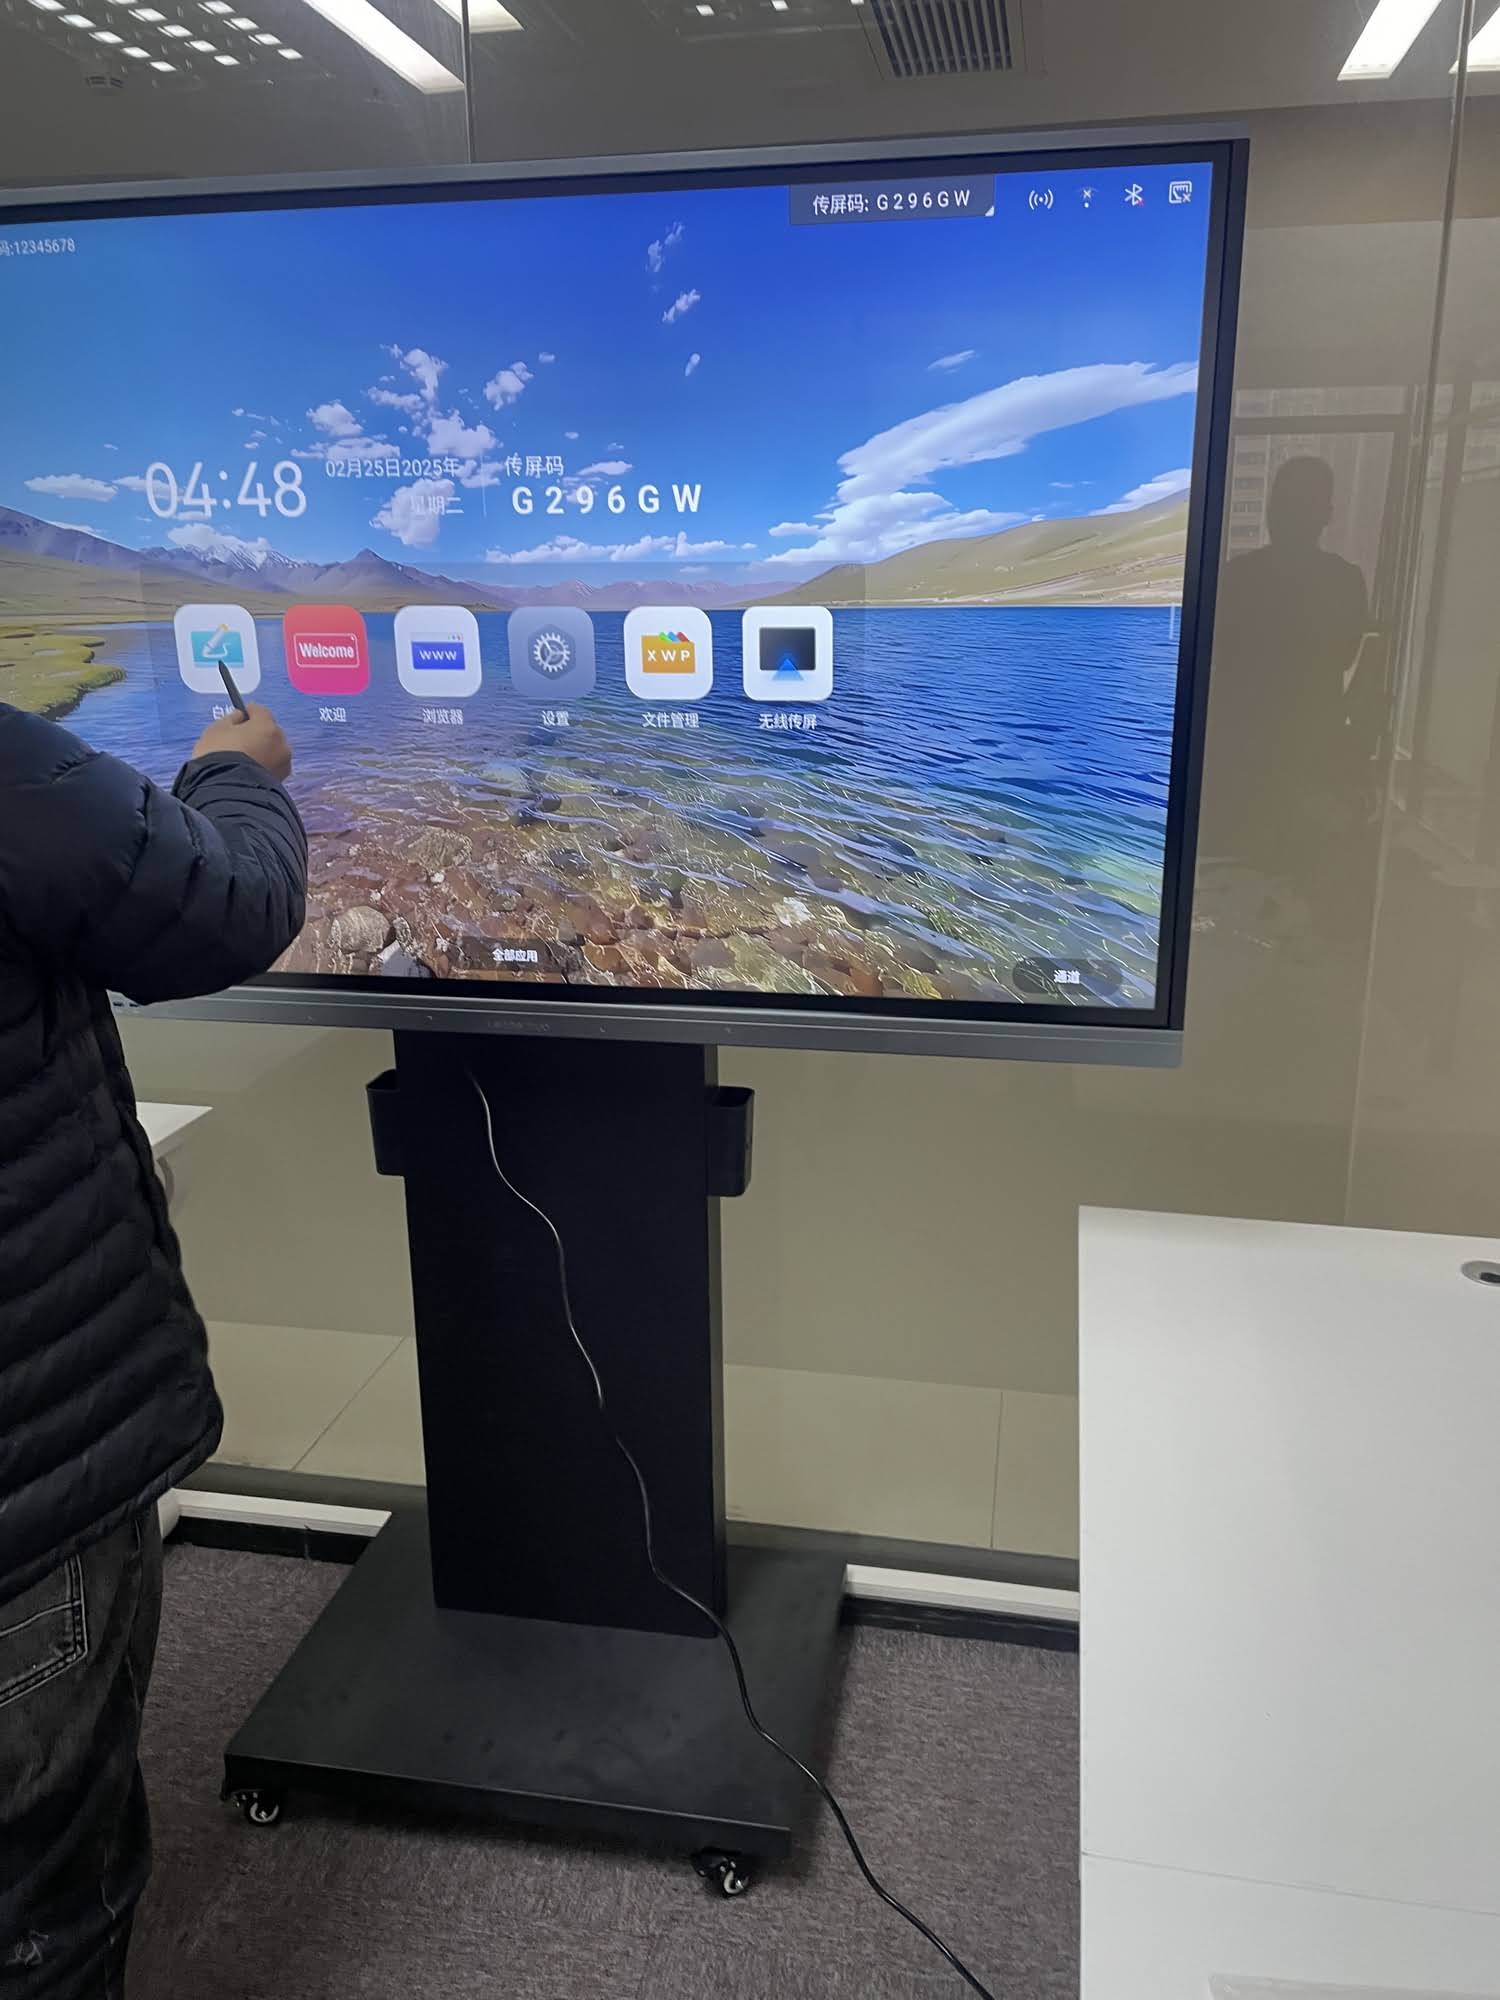
What You Need Before Installation
Before you start, make sure you have the right tools, the correct mounting method, and enough time for setup. A careful preparation stage can save you from alignment problems, weak wall support, or cable clutter later.
- Smart board or interactive flat panel
- Wall mount or mobile floor stand
- Stud finder and measuring tape
- Power drill, level, screwdriver set, and pencil
- HDMI cable, USB touch cable, and power cable
- Optional: OPS/mini PC, wireless screen-sharing dongle, camera, or speakers
Choose the Right Installation Type
If you are not sure which setup is best, use the comparison below to decide quickly.
| Installation Type | Best For | Pros | Watch Out For |
|---|---|---|---|
| Wall Mount | Classrooms, conference rooms, fixed presentation spaces | Clean look, stable, professional | Requires strong wall support and careful height planning |
| Mobile Stand | Flexible meeting rooms, training spaces, rental use | Easy to move, no wall drilling | Needs locking wheels and enough floor space |
| Desk Setup | Small spaces, demos, temporary use | Fast to install, low cost | Not ideal for large displays or long-term use |
Step 1: Pick the Best Location
Location affects visibility, touch comfort, cable management, and safety. A smart board should be placed where users can see the full screen clearly without glare.
- Keep the screen away from direct sunlight and strong reflections.
- Leave enough room for presenters to stand in front without blocking the display.
- Make sure there is access to power and network connections.
- Confirm that the wall or stand can support the display size and weight.
Tip: For classrooms and conference rooms, the ideal viewing height is usually centered around the primary user’s eye level, with enough space for both seated and standing interaction.
Step 2: Measure and Mark the Mounting Position
Careful measurement is one of the most important parts of installing a smart board. Use a level, tape measure, and pencil to mark the exact mounting points before drilling.
- Measure the desired center point on the wall.
- Mark the bracket height according to the display size.
- Use a level to ensure the mounting line is straight.
- Double-check the spacing before making any holes.
If you are mounting on drywall, always locate studs first. For brick or concrete walls, use the correct anchors and drill bits for a secure fit.
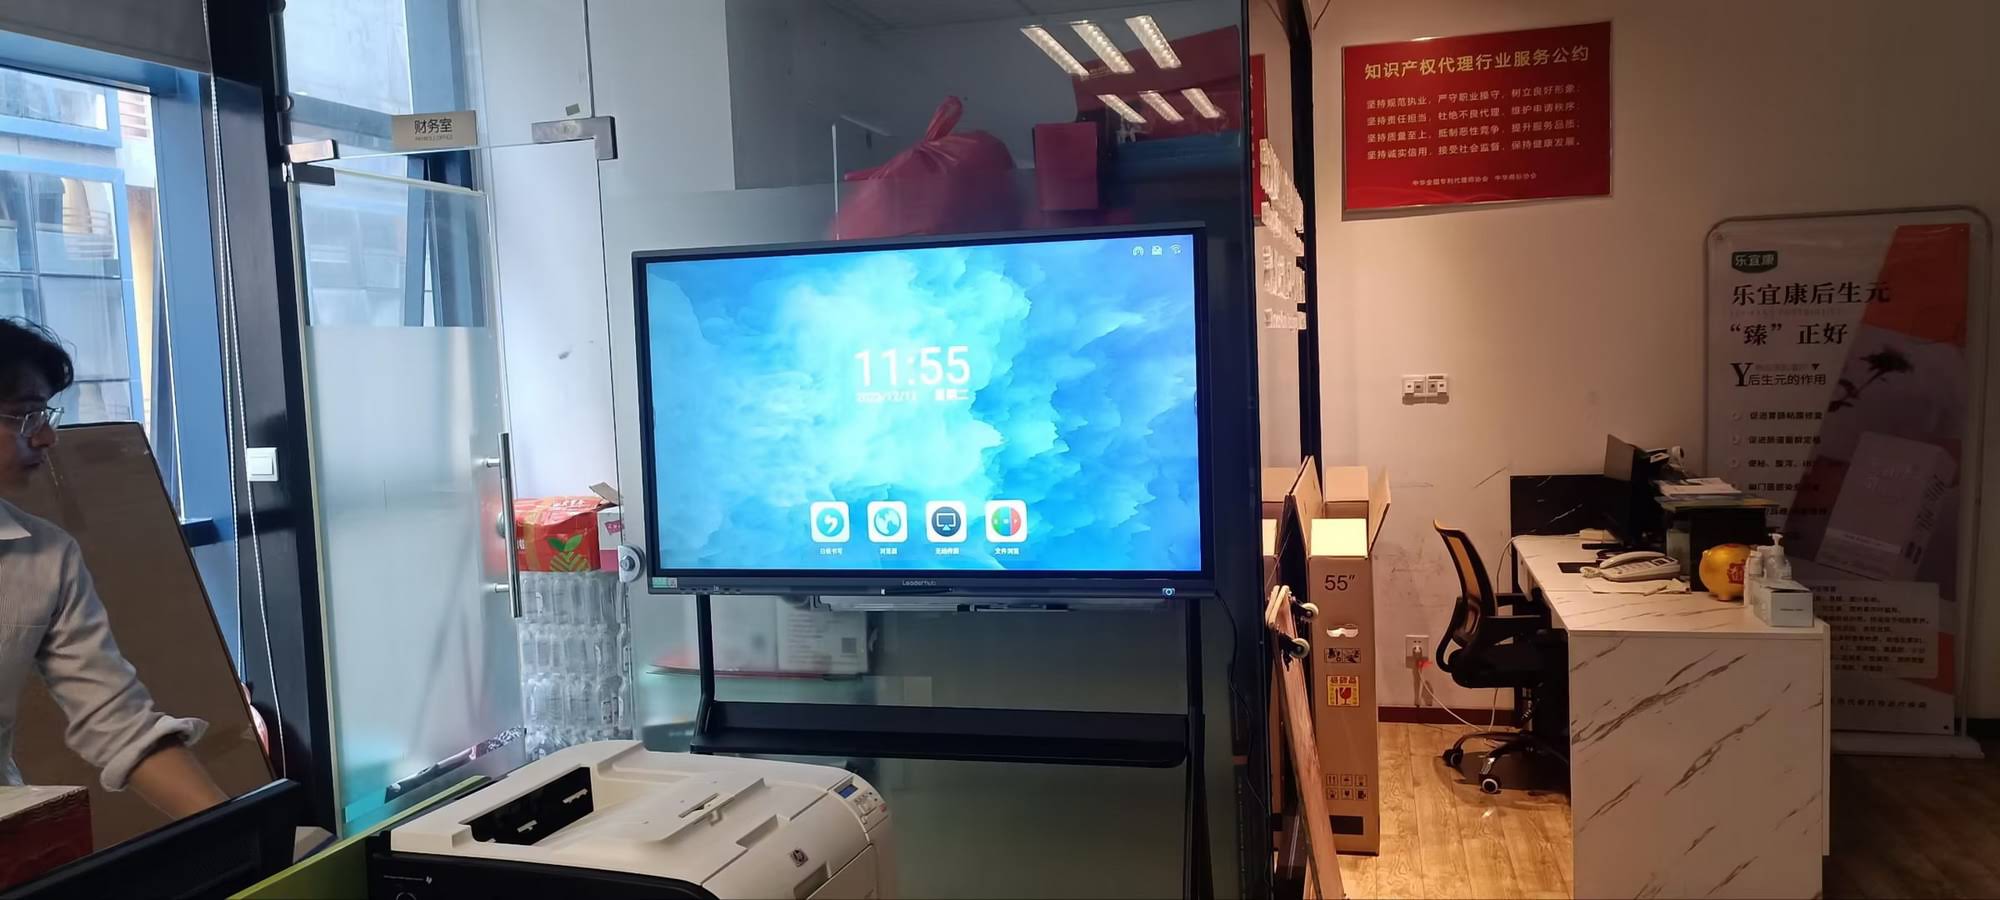
Step 3: Install the Wall Bracket or Stand
Once the position is marked, you can install the bracket or mobile stand. This step must be done carefully because the mount carries the full weight of the display.
For a Wall Mount
- Drill pilot holes at the marked points.
- Insert wall anchors if needed.
- Attach the bracket firmly and check that it is level.
- Tighten all screws evenly.
For a Mobile Stand
- Assemble the stand according to the manufacturer instructions.
- Lock the wheels during installation.
- Confirm that the VESA pattern matches the display.
- Make sure the stand does not wobble before placing the screen.
At this stage, it is also a good time to plan cable routing so the setup looks clean and stays safe for daily use.
Step 4: Mount the Smart Board Safely
This is the most important hands-on step. Because smart boards can be heavy, it is better to have at least two people lift and position the display.
- Lift the display slowly and align it with the bracket.
- Confirm that all hooks or locking points are fully seated.
- Secure the safety screws or anti-slip locks.
- Do a gentle stability check before letting go completely.
Important: Never mount the display alone unless the unit is very small and the installation manual clearly allows it.
Step 5: Connect Power, Video, and Touch Cables
After the screen is secured, connect the necessary cables. Most smart boards use a simple combination of power, HDMI, and USB touch connection.
| Cable | Purpose | Where It Connects |
|---|---|---|
| Power cable | Supplies electricity to the board | Display power input and wall outlet or power conditioner |
| HDMI cable | Carries video from a PC, OPS, or laptop | Source device to display HDMI input |
| USB touch cable | Enables touch control and annotation | Computer USB port to display touch port |
For a cleaner setup, route cables through the wall, cable tray, or stand channels whenever possible.
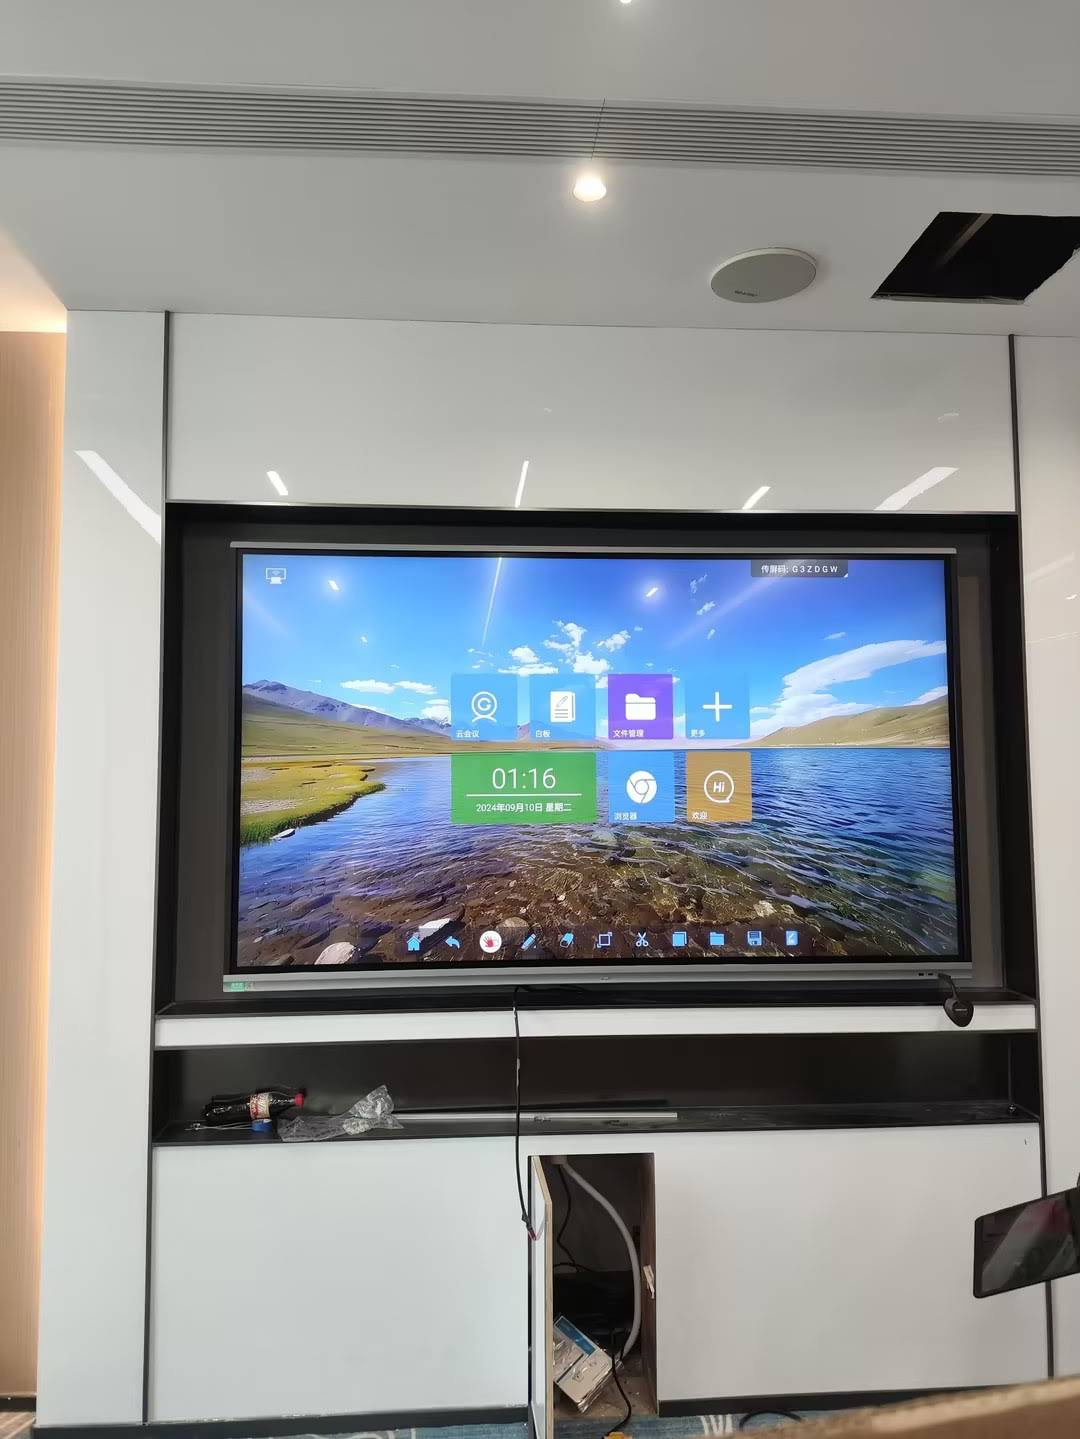
Step 6: Power On and Complete the First Setup
When everything is connected, turn the system on and follow the on-screen startup process. Most smart boards guide you through language selection, Wi-Fi setup, time zone settings, and firmware checks.
- Select your preferred language.
- Connect to Wi-Fi or wired internet.
- Check the date, time, and time zone.
- Sign in if the operating system requires it.
- Install any recommended updates.
If your smart board includes built-in Android or Windows functions, the initial setup may also include app permissions and account sign-in.
Step 7: Calibrate Touch and Test Key Functions
After setup, test all major features to ensure the installation is complete and ready for use. Touch accuracy, sound, and display clarity are the most important checks.
- Test single-touch and multi-touch response.
- Open a whiteboard app and draw with your finger or stylus.
- Check HDMI input from an external device.
- Play audio through the built-in speakers or connected sound system.
- Verify that screen-sharing and wireless casting work correctly.
Pro tip: If touch is offset, run the calibration tool again and confirm that all cables are fully inserted.
Common Problems and How to Fix Them
Even a well-planned installation can have small issues. The good news is that most problems are easy to solve.
| Problem | Likely Cause | Fix |
|---|---|---|
| No power | Loose plug or outlet issue | Check the power source, cable, and switch |
| No signal | Wrong input selected or damaged HDMI cable | Select the correct input and replace the cable if needed |
| Touch not working | USB touch cable disconnected | Reconnect USB and restart the system |
| Screen not level | Bracket installed unevenly | Loosen, re-level, and retighten the mount |
Best Practices for a Better Long-Term Setup
After installation, a few small habits can keep your smart board working smoothly for years.
- Keep cables organized and labeled.
- Clean the screen with a soft microfiber cloth only.
- Update system software regularly.
- Use a surge protector or power management solution.
- Check bracket screws and stand locks during routine maintenance.
Where Smart Boards Fit Best
Smart boards are used in classrooms, meeting rooms, training centers, hospitality spaces, and home offices. If you are comparing product types, browse smart whiteboards and other interactive display options to match your room size and use case.
For a full solution that pairs hardware with software, you can also explore the shop page or contact us for guidance before you buy.
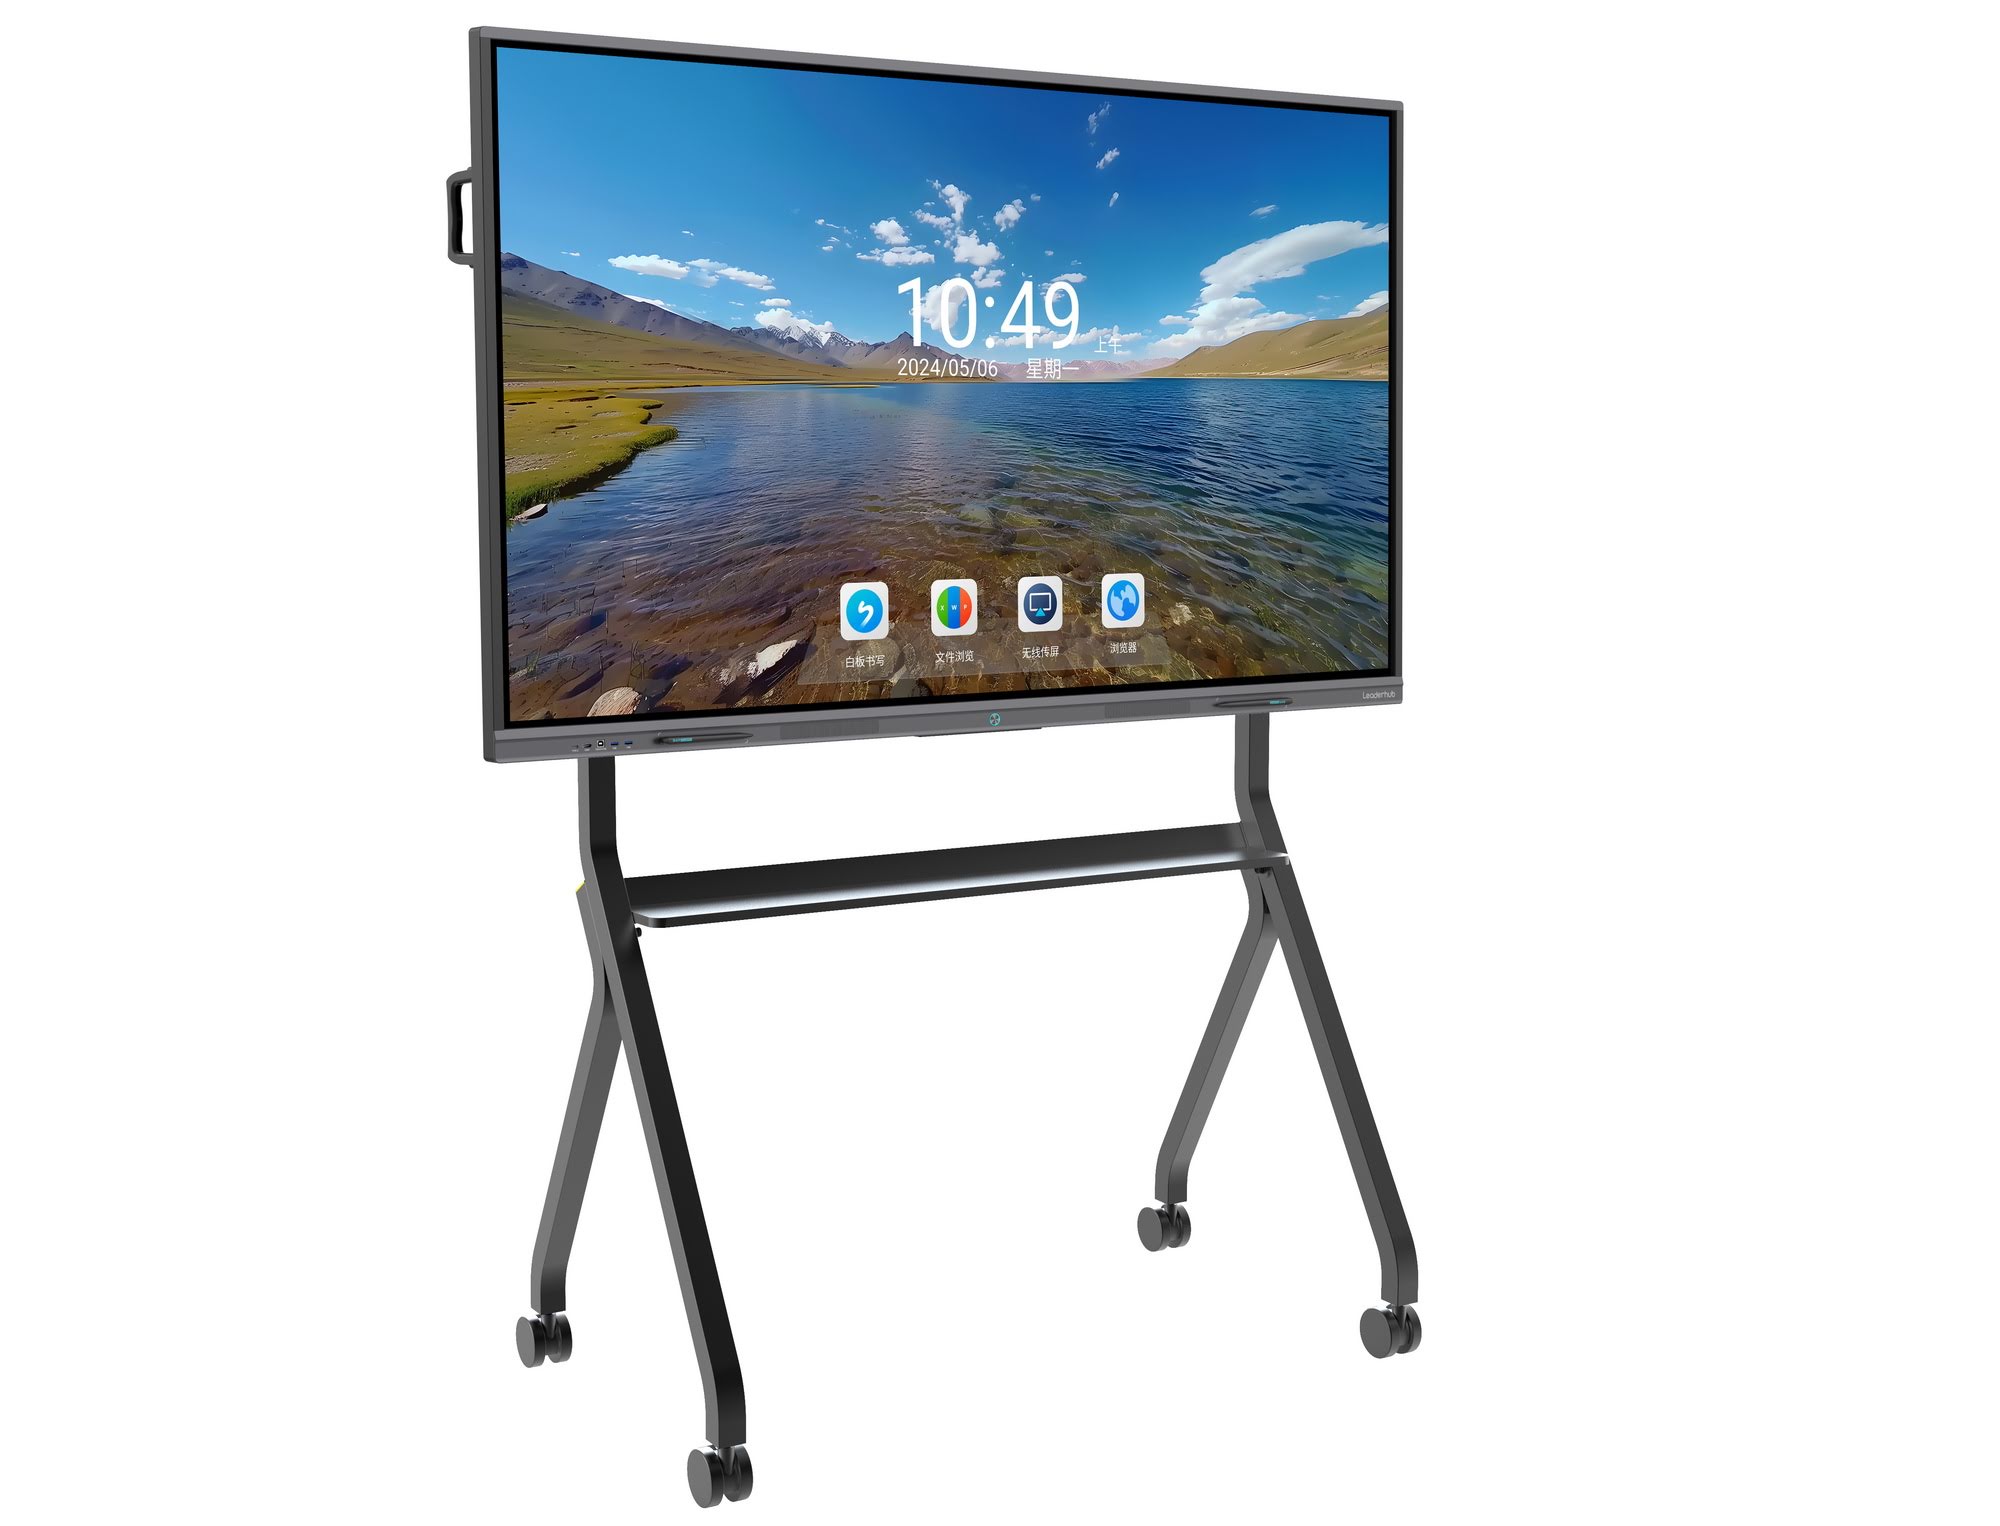
FAQ: How to Install a Smart Board
Can one person install a smart board?
It is not recommended for most full-size displays. A second person helps with lifting, alignment, and safety.
Do I need a professional installer?
Not always. If you have the right tools and a strong wall or stand, many beginners can complete the installation safely by following the manual.
What is the most common mistake?
The most common mistake is poor planning: incorrect height, weak wall anchoring, or forgetting the USB touch connection.
Should I connect Wi-Fi before or after mounting?
After mounting is fine. It is usually easier to complete network setup once the screen is fully installed and powered on.
A Simple Final Checklist
- Location measured and marked
- Bracket or stand installed level
- Display mounted securely
- Power, HDMI, and USB connected
- Software setup completed
- Touch, audio, and video tested
- Cables organized and safe
When all six steps are complete, your smart board is ready for teaching, presenting, and collaboration.
UNESCO Digital Education and other global education resources consistently emphasize that technology works best when it is implemented with a clear purpose, reliable infrastructure, and proper user training.








