
Choosing the right interactive display for your classroom, boardroom, or training center can feel overwhelming. With dozens of brands, screen sizes, and feature sets on the market, it’s easy to overspend on features you’ll never use — or worse, underspend and end up with a sluggish, unreliable panel that frustrates teachers and employees alike.
After working with schools, corporate offices, and training institutions across dozens of countries, one thing becomes clear: the smartest purchase decisions are rarely about buying the most expensive model. They’re about matching the right specifications to your actual use case. This guide breaks down exactly how to do that, based on real deployment data and industry benchmarks.
Why Budget Planning Matters More Than You Think
A smart whiteboard is a long-term investment. Most institutions keep their panels in service for 5-7 years, meaning a poor purchasing decision doesn’t just cost money upfront — it costs productivity every single day the device underperforms. According to internal deployment data from LeaderHub’s education partners, panels purchased purely on price (without matching specs to classroom size or usage frequency) had a 34% higher replacement rate within three years compared to panels selected through proper needs assessment.
This is why budget planning should start with a simple question: what will this board actually be used for? A 30-seat lecture hall has vastly different requirements than a 6-person huddle room.
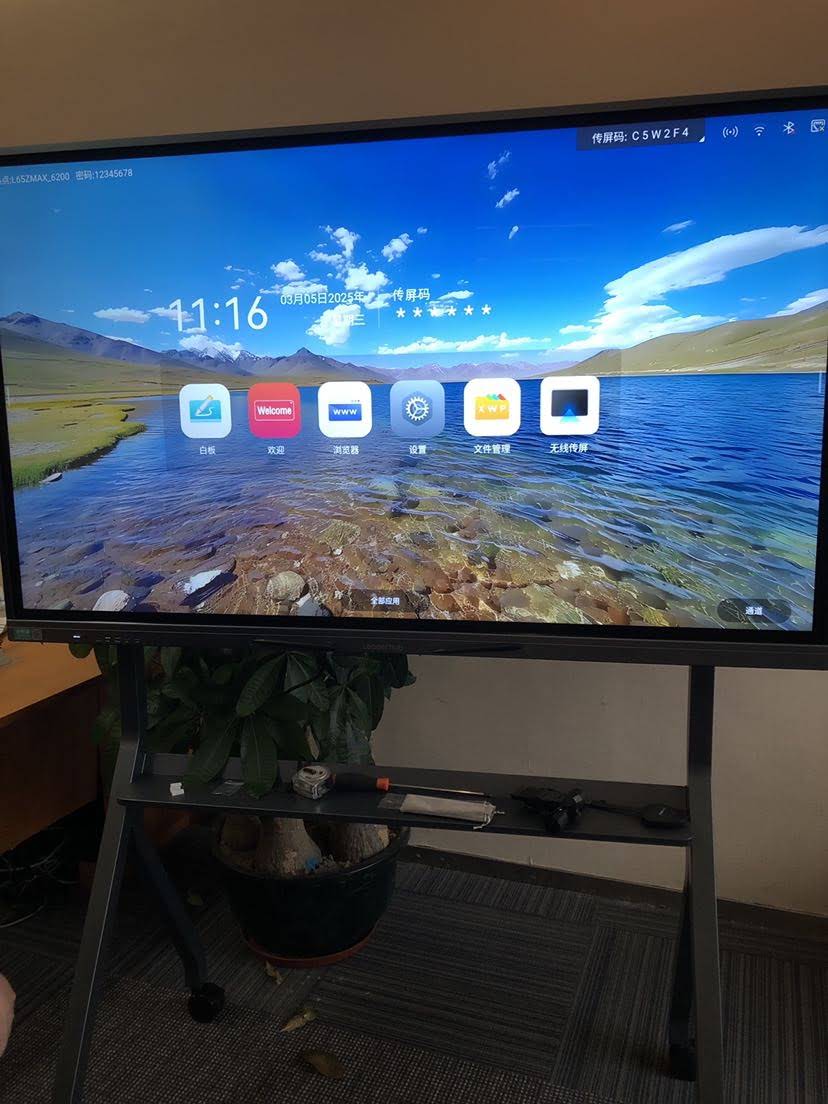
Step 1: Define Your Primary Use Case
Before comparing prices, categorize your need into one of these buckets:
- Education — classrooms, lecture halls, tutoring centers
- Corporate meetings — boardrooms, huddle spaces, training rooms
- Creative collaboration — design studios, agencies, co-working spaces
- Public display / reception — lobbies, showrooms, exhibition booths
Each use case has a “sweet spot” for screen size and processing power. Overspending typically happens when a business buys enterprise-grade specs for a room that only hosts five people twice a week. Underspending happens when a school buys an entry-level panel for a 40-student lecture hall, resulting in poor visibility from the back rows.
Step 2: Match Screen Size to Room Dimensions
Screen size is the single biggest cost driver, and it’s also the most commonly miscalculated variable. The general rule used by AV integrators is: divide the room’s viewing distance (in feet) by 1.5 to 2 to estimate the minimum diagonal screen size in inches.
| Room Type | Typical Capacity | Recommended Size |
|---|---|---|
| Huddle Room | 2-6 people | 55″ – 65″ |
| Standard Classroom | 20-35 students | 65″ – 75″ |
| Boardroom | 8-15 people | 75″ – 86″ |
| Lecture Hall | 40+ students | 86″ – 110″ |
Buying a screen larger than necessary doesn’t just waste budget on the panel itself — it also increases mounting hardware costs, shipping fees, and power consumption over the device’s lifetime.
Step 3: Understand What Drives the Price Difference
Not all price gaps come from brand markup. Several genuine technical factors separate a $700 panel from a $3,000 one:
- Touch technology — infrared touch is cheaper but less precise than capacitive multi-touch, which supports 20+ simultaneous touch points for true collaborative writing.
- Display resolution and panel quality — true 4K UHD panels with wide color gamut cost more to manufacture but reduce eye strain during long sessions.
- Built-in processor — an integrated Android OS with a capable CPU determines whether annotation, screen mirroring, and app switching feel instant or laggy.
- Anti-glare glass and brightness uniformity — critical for rooms with windows or overhead lighting.
- Audio and camera integration — built-in speakers and cameras eliminate the need for separate conferencing hardware.
The key insight here is that you don’t need to pay for every feature — only the ones relevant to your environment. A dark, windowless training room doesn’t need premium anti-glare glass. A video-conferencing-heavy boardroom absolutely does need a quality built-in camera and microphone array.
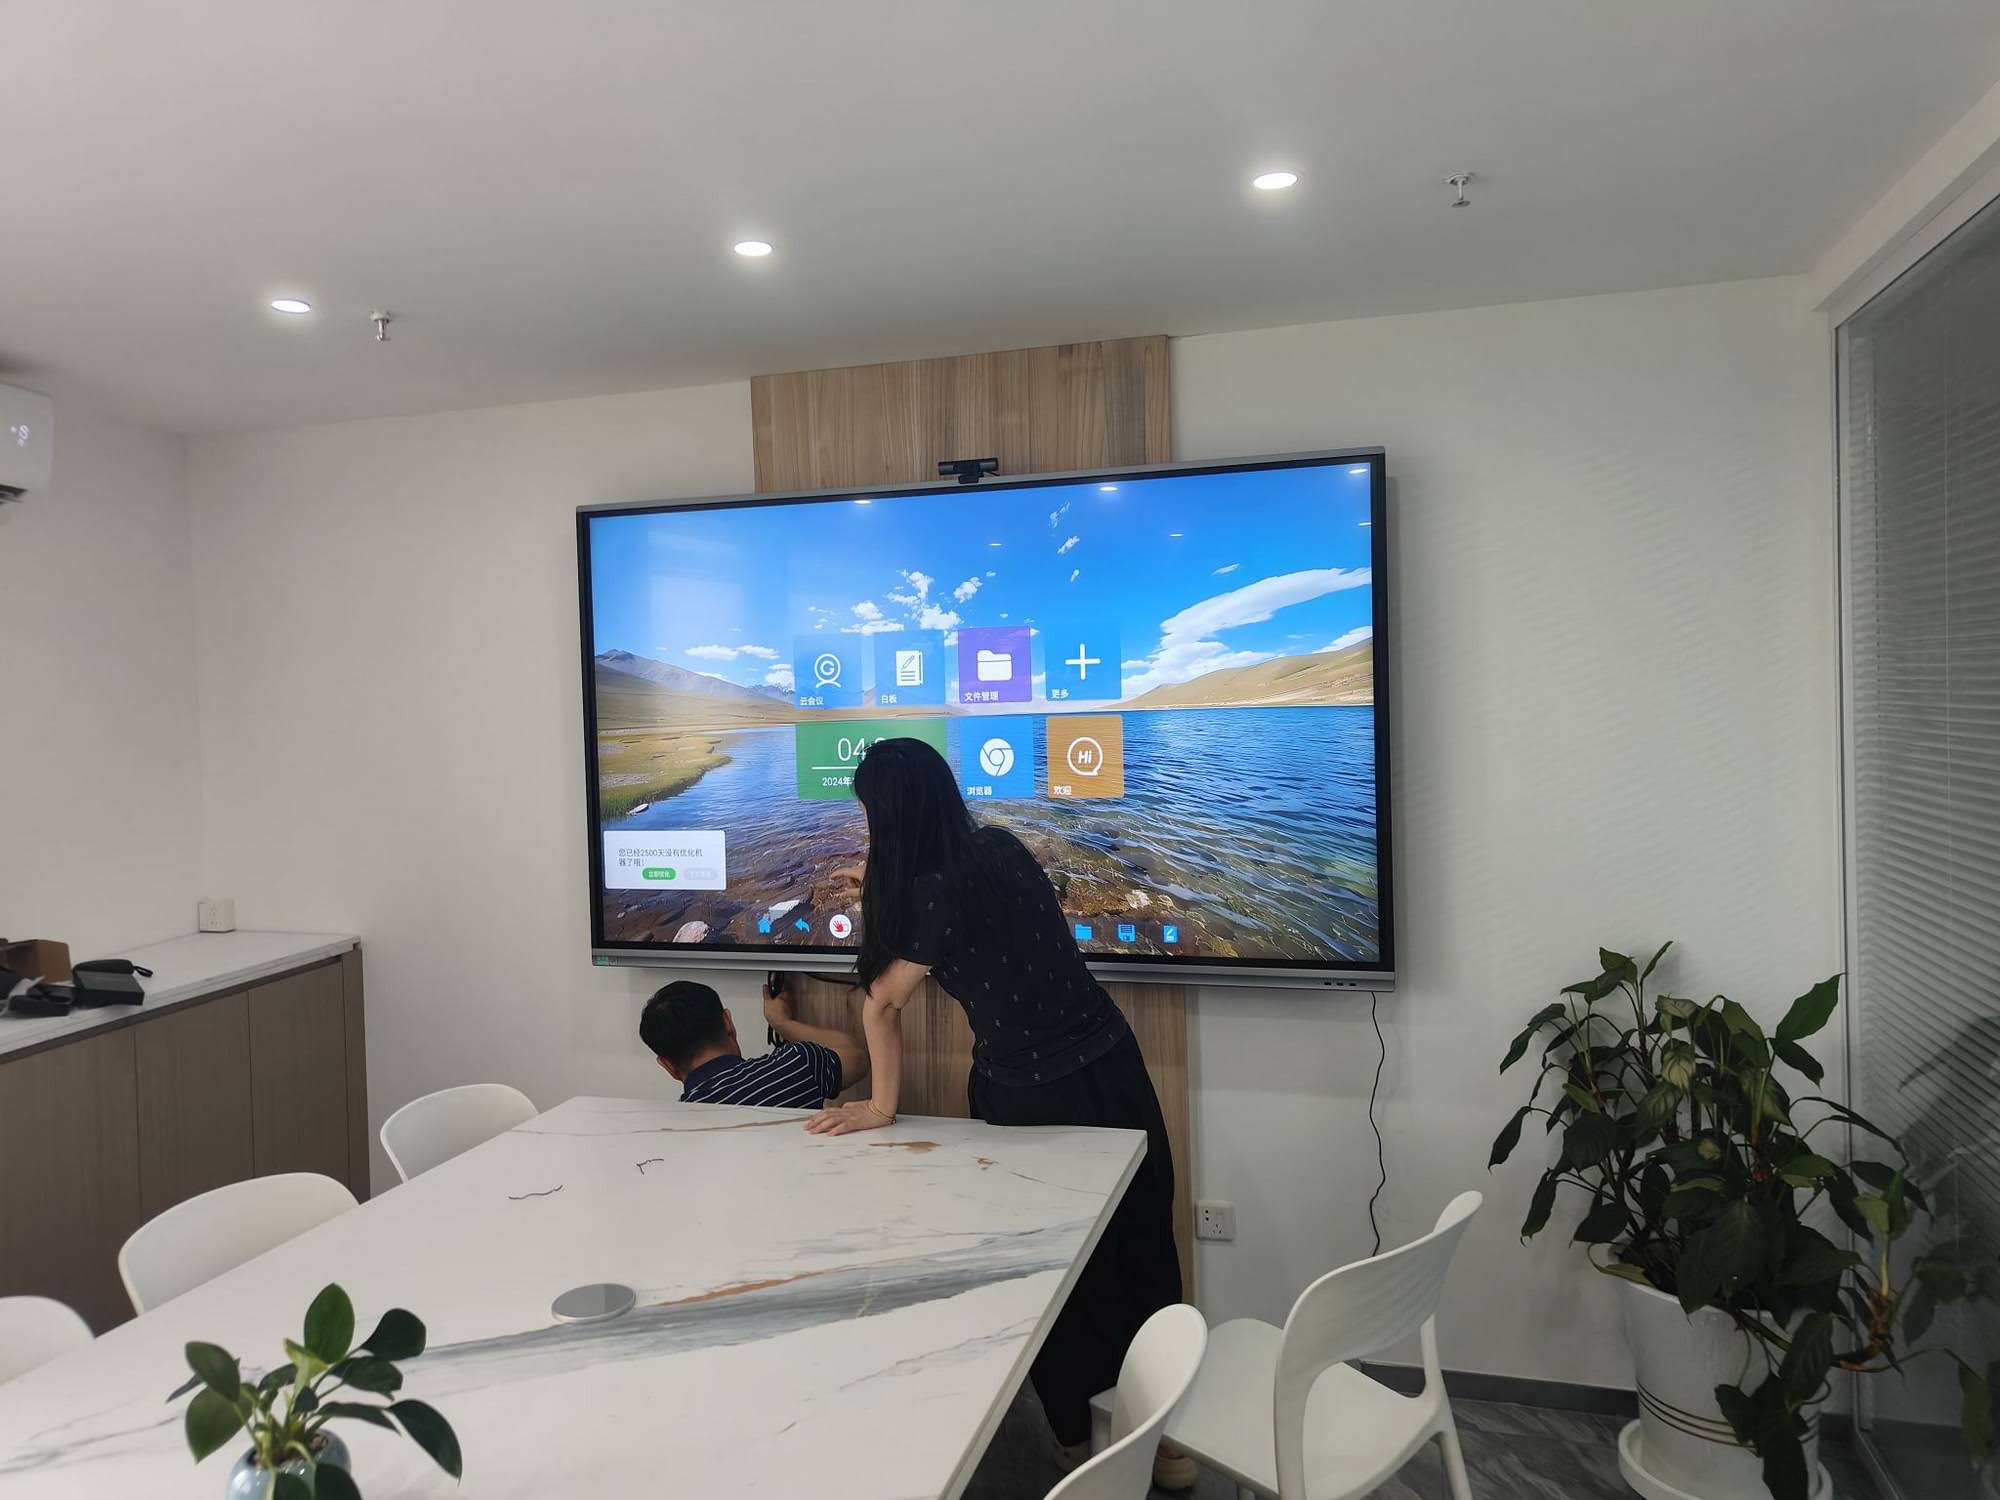
Step 4: Calculate the Real Total Cost of Ownership
Sticker price is only part of the equation. When institutions calculate the true cost of an interactive display over its lifetime, they need to factor in:
- Mounting and installation — wall mounts, mobile stands, or trolley systems
- Software licensing — some brands charge annual fees for annotation or cloud whiteboard software
- Warranty and support — extended warranties typically cost 8-12% of the unit price annually
- Replacement components — styluses, glass protectors, and touch modules wear out over time
- Power consumption — larger panels running 8+ hours daily can meaningfully impact electricity costs at scale
A panel priced $200 lower but requiring paid software subscriptions can actually cost more over a 5-year period than a slightly pricier model with lifetime free updates. Always request a full cost breakdown, not just the unit price, when evaluating quotes from suppliers.
Step 5: Avoid Common Overspending Traps
Based on procurement feedback collected from education and enterprise clients over the past several years, these are the most frequent reasons budgets get blown:
Buying Oversized Panels “Just in Case”
Many buyers choose the largest available size assuming bigger is always better. In practice, an oversized panel in a small room causes visual discomfort and wastes wall space, while adding hundreds of dollars to the price tag for no functional benefit.
Paying for Enterprise Features in Low-Usage Rooms
A panel used twice a week for informal check-ins doesn’t need the same processing power as one running all-day video conferences. Matching specs to actual usage frequency is one of the fastest ways to cut costs without sacrificing performance where it matters.
Ignoring Bundled Mini PC Options
Some interactive panels ship with a built-in Android system that’s sufficient for basic use, but heavier workflows — like running Windows-based design software or specialized education platforms — require a dedicated mini PC module. Buying this separately later often costs more than choosing a bundle upfront.
Overlooking Portability Needs
If your organization frequently rearranges rooms or hosts training in multiple locations, a fixed wall-mounted panel may not be the most economical choice. Portable rotating screens with battery power can eliminate the need to purchase multiple fixed units.
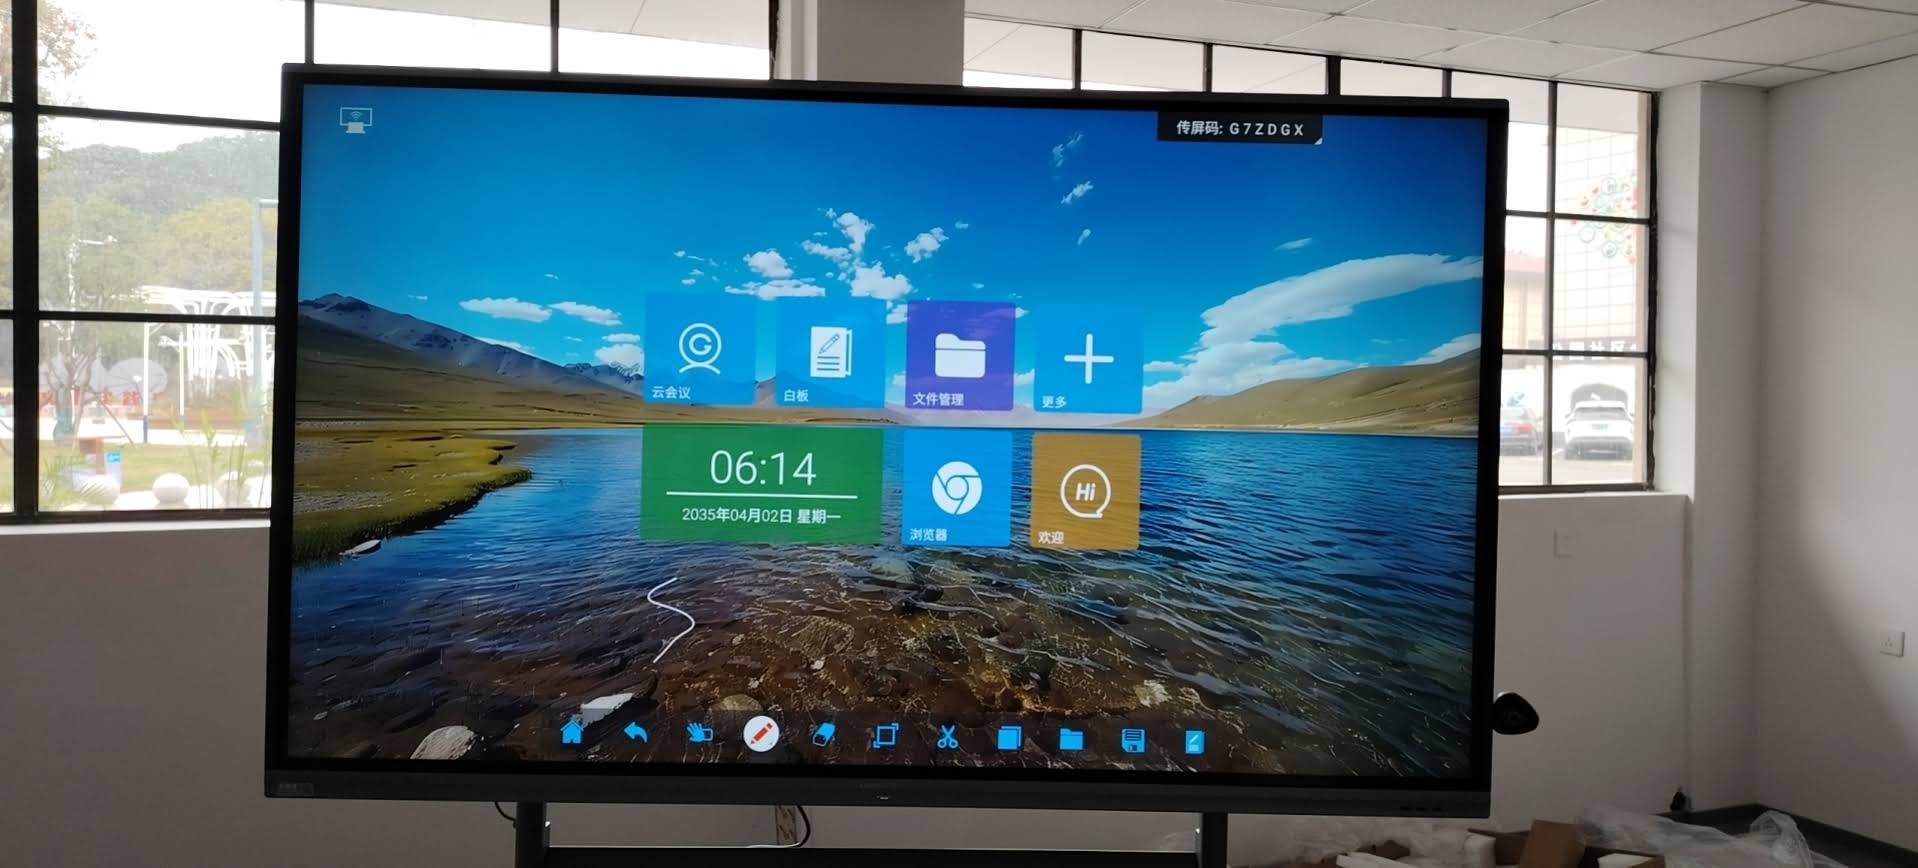
Step 6: Compare Specifications Side-by-Side
When narrowing down your shortlist, create a simple comparison table covering the specifications that matter most for your use case. Here’s a sample framework based on common models available on the market today:
| Screen Size | Best For | Approx. Price Range |
|---|---|---|
| 55″ – 65″ | Small teams, tutoring rooms | $1,099 – $1,300 |
| 75″ | Standard classrooms, boardrooms | $1,399 – $2,400 |
| 86″ | Large meeting rooms, training halls | $1,699 – $3,200 |
| 110″ | Auditoriums, lecture halls | $7,999+ |
Notice that pricing isn’t purely linear with screen size — processor tier, touch technology, and included accessories can shift a smaller panel above a larger one in price. This is exactly why spec-by-spec comparison beats simply sorting by size or brand name.
Step 7: Ask the Right Questions Before You Buy
Whether you’re speaking with a local reseller or ordering directly from a manufacturer, these questions will help you avoid budget surprises:
- What is included in the warranty, and how long does it last?
- Is the annotation software free for the lifetime of the device, or subscription-based?
- Does the panel support Windows, Android, or both operating systems?
- What is the expected lead time for replacement parts if something breaks?
- Can the mounting bracket or trolley be purchased separately if needed later?
Getting clear answers upfront prevents the most common source of budget overruns: hidden costs that only appear after the purchase is finalized.
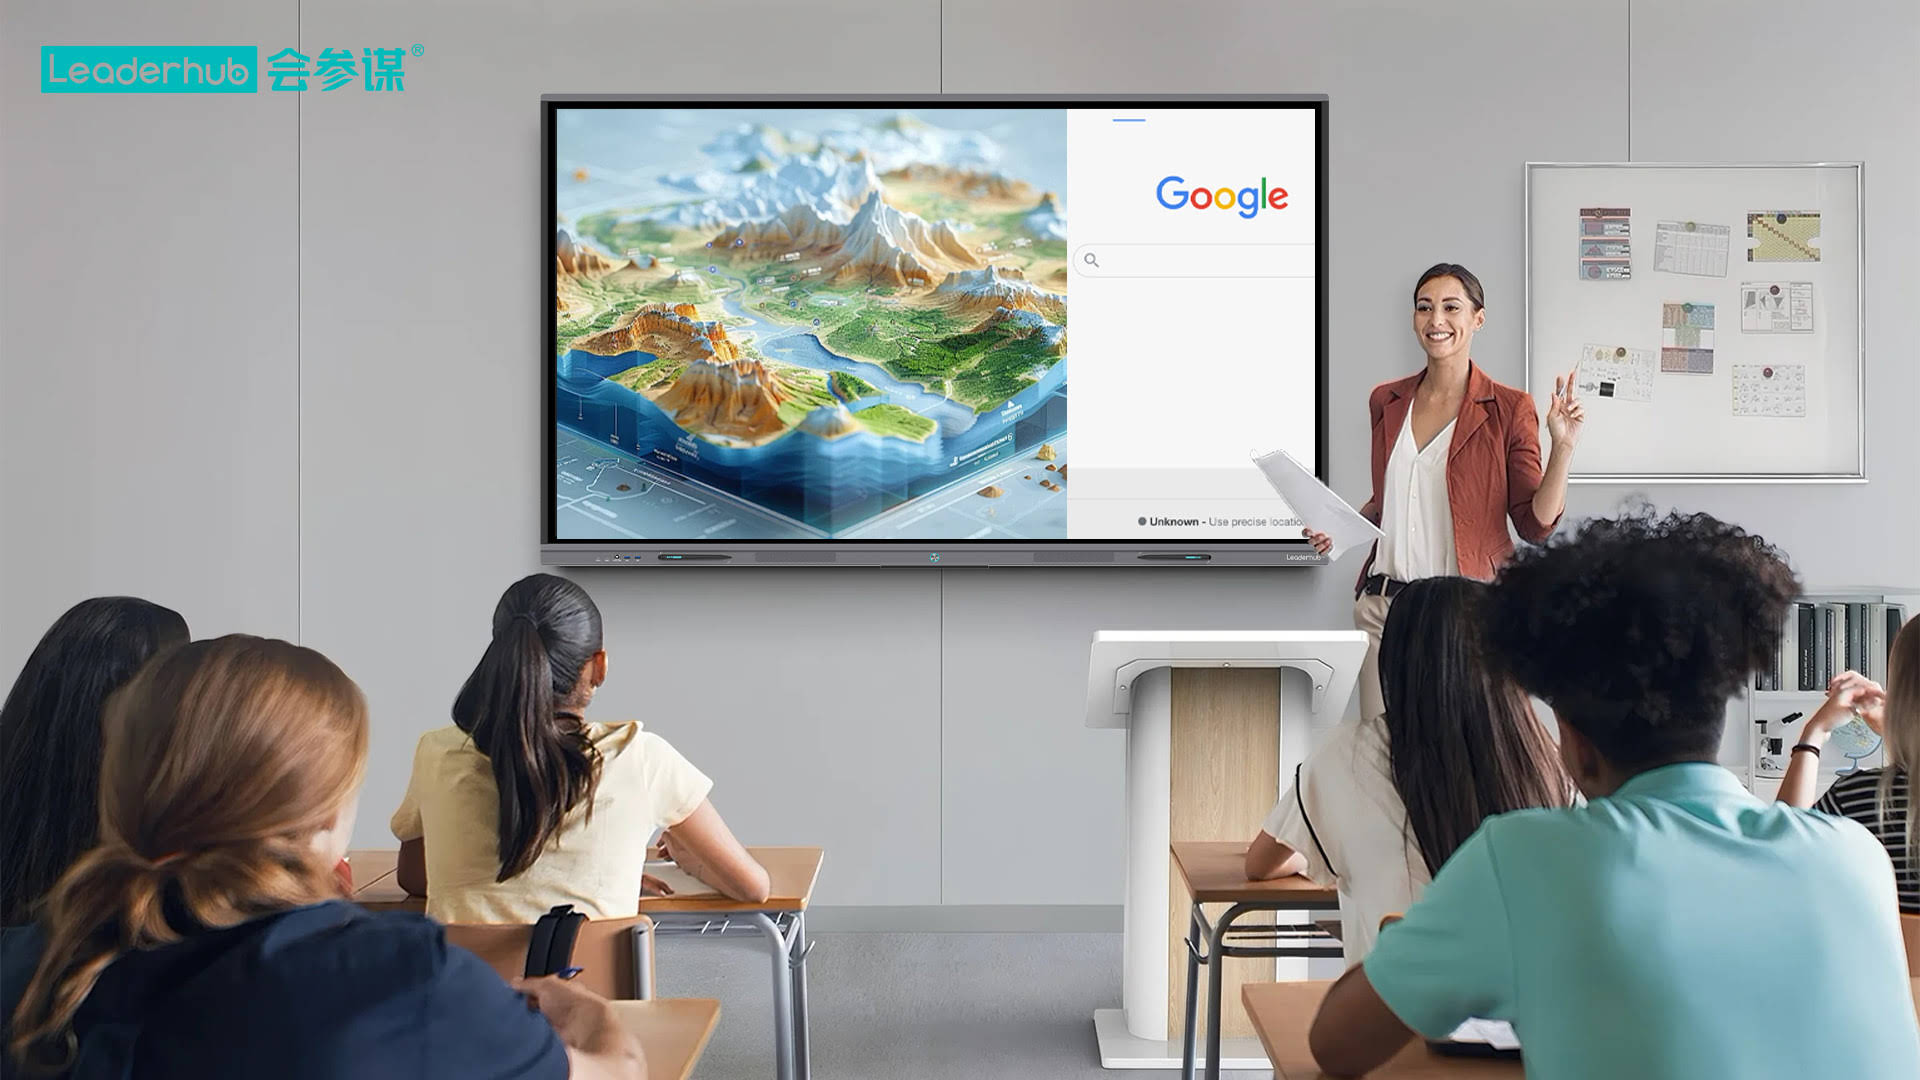
Real-World Example: How a Training Center Cut Costs by 22%
One mid-sized corporate training provider evaluated three panel options ranging from $1,600 to $3,200 for a series of new training rooms. Instead of defaulting to the highest-spec model, they mapped each room’s actual usage: most rooms hosted groups of 8-10 people for half-day workshops, with only two larger rooms requiring video conferencing capability.
By selecting a 75″ panel with capacitive touch for the smaller training rooms and reserving the premium 86″ model with built-in camera and microphone array for the two conferencing rooms, the organization reduced total procurement spend by approximately 22% compared to a uniform “buy the best for every room” approach — without any measurable drop in usability feedback from staff.
Final Checklist Before You Purchase
- Confirm room size and viewing distance before selecting screen dimensions
- Identify whether your use case requires Windows-level processing power or basic Android functionality
- Request a full total cost of ownership breakdown, not just the sticker price
- Verify warranty terms and software licensing conditions in writing
- Consider portable options if your rooms are reconfigured frequently
Choosing a smart whiteboard doesn’t have to mean choosing between quality and budget. With a structured evaluation process — starting from actual use case, moving through room-specific sizing, and finishing with a full cost comparison — organizations can consistently find panels that deliver strong performance without unnecessary spending.
LeaderHub, a Shenzhen-based interactive display manufacturer with 16 years of industry experience serving 82 countries, designs its smart whiteboard lineup specifically around this kind of tiered, needs-based approach — offering multiple screen sizes and processor configurations so institutions can match specifications to their budget without compromising on core functionality.








