
how to use a smart board interactive whiteboard starts with three simple ideas: turn it on correctly, choose the right input, and practice the basic touch tools. If you are new to interactive displays, this beginner guide will help you move from setup to confident teaching, presenting, or collaborating in just a few minutes.
Modern smart boards are built for classrooms, meeting rooms, training spaces, and hybrid work. With the right workflow, you can write, erase, annotate, share screens, and save notes without needing advanced technical skills.
What a Smart Board Does
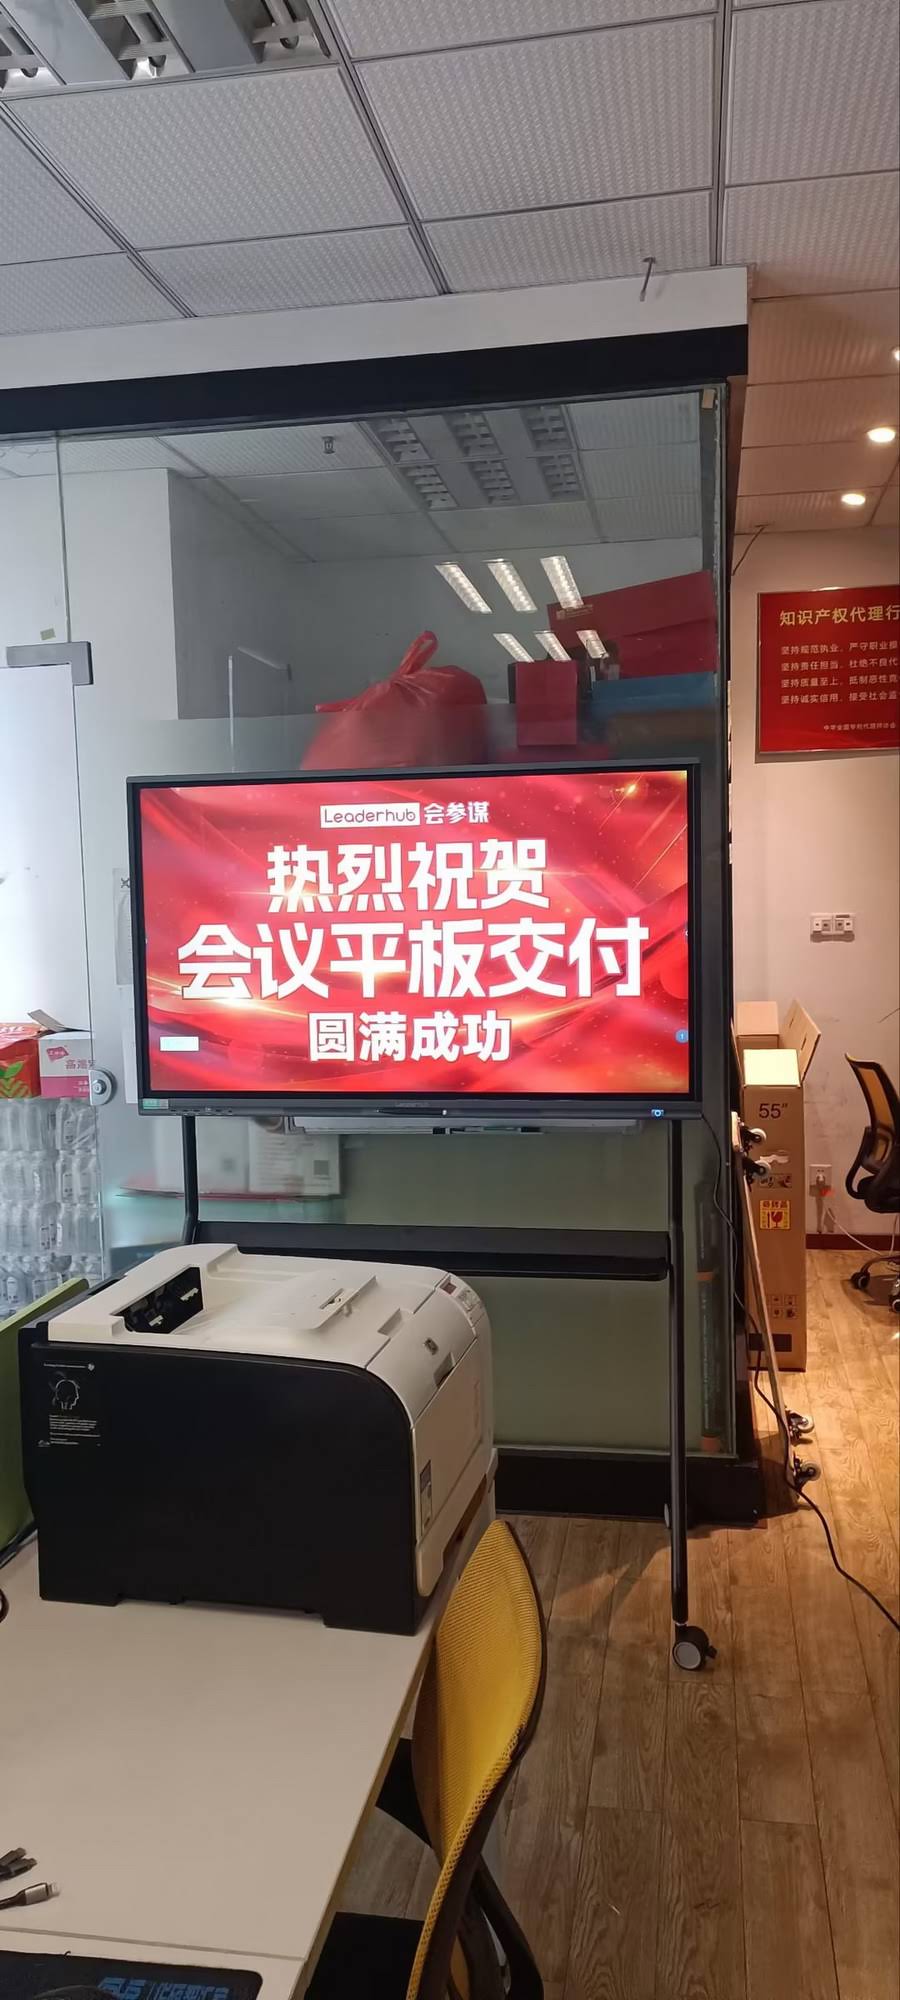
A smart board interactive whiteboard combines a large touchscreen, whiteboard software, screen sharing, and file-saving tools in one device. Instead of switching between a projector, laptop, and marker board, you can do everything directly on the screen.
- Write naturally with a finger or stylus.
- Annotate slides, PDFs, and web pages in real time.
- Save and share notes after class or meetings.
- Connect devices through HDMI, USB-C, Wi-Fi, or casting tools.
Step 1: Turn on the Board and Check the Basics
Before you start writing, make sure the board is powered on, the signal source is selected, and the device is connected to the internet if you need cloud functions.
- Press the power button on the smart board or connected system.
- Confirm that the home screen appears clearly.
- Select the correct input source if a laptop or mini PC is connected.
- Check volume, brightness, and network status.
If you are building a classroom or office setup, explore the smart whiteboards collection for different screen sizes and features.
Step 2: Learn the Basic Touch Gestures
Most boards are designed to feel intuitive. A few gestures are enough to get started.
| Action | What It Does | Beginner Tip |
|---|---|---|
| Tap | Selects apps, buttons, or menu items | Use one finger for precise selection |
| Swipe | Moves between pages or screens | Swipe slowly at first to avoid mistakes |
| Pinch | Zooms in or out | Useful for diagrams, slides, and documents |
| Long press | Opens extra options | Try it on objects you want to move or edit |
Step 3: Open the Whiteboard App or Connected Device
After the screen is ready, decide whether you want to work directly on the board or use a connected laptop.
- Whiteboard mode: best for brainstorming, teaching, and freehand notes.
- HDMI/USB-C mode: best for slides, videos, and presentations from a computer.
- Wireless casting: best for quick sharing from phones, tablets, or laptops.
For a smoother setup, you can also browse the L75HM Interactive Smart Whiteboard or larger classroom models if you need more display space.
Step 4: Write, Erase, and Move Content
This is the core of daily use. Once the board is open, you can start writing with your finger or a stylus.
| Tool | How to Use It |
|---|---|
| Pen | Write notes, draw shapes, or highlight key points |
| Eraser | Remove a word, line, or selected object |
| Select | Move objects, resize images, or edit text blocks |
| Undo / Redo | Quickly fix mistakes without starting over |
Best practice: keep annotations short and clear. Use color to emphasize key ideas, not to decorate every line.
Step 5: Import Slides, PDFs, and Images
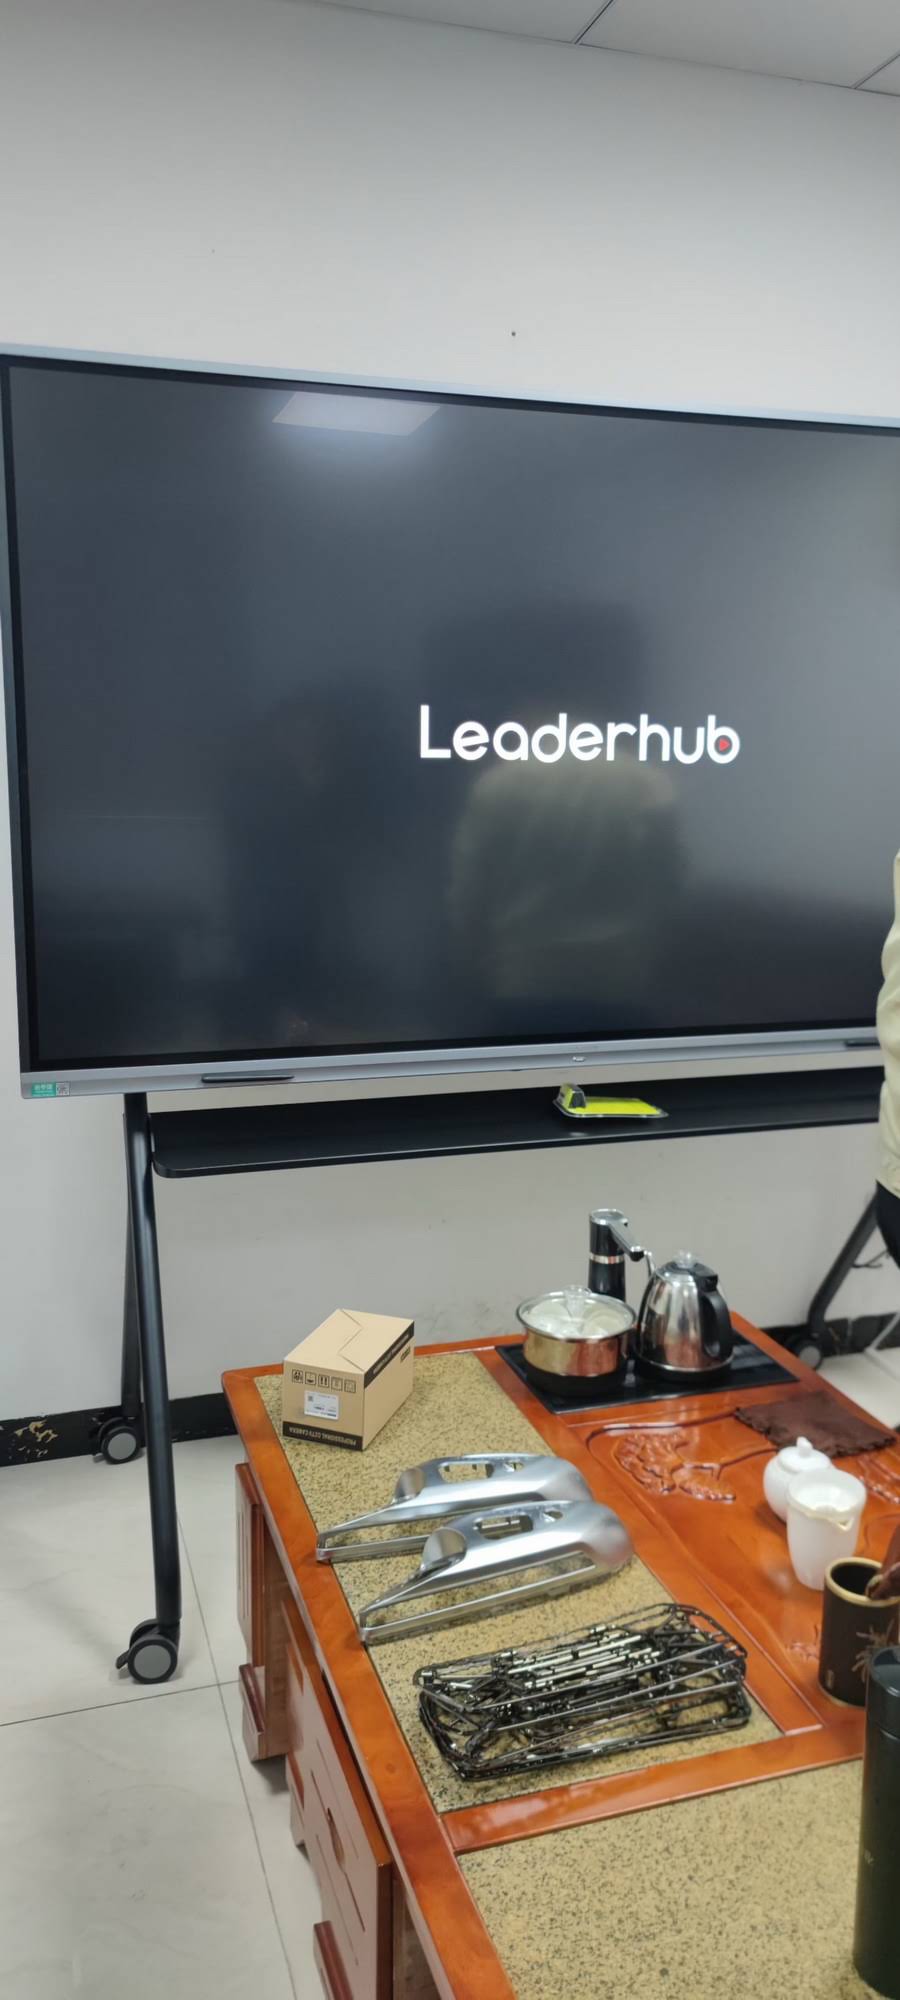
Smart boards are especially useful when you need to explain visual content. You can import files and annotate them live.
- Open PowerPoint or PDF files from a USB drive, laptop, or cloud storage.
- Insert images to explain charts, maps, or lesson examples.
- Draw directly on top of documents to highlight important details.
- Save the annotated version for later review.
For reference on effective educational technology use, see the UNESCO Technology in Education Report and ISTE Standards for Educators.
Step 6: Share Your Screen and Collaborate
One of the biggest advantages of an interactive whiteboard is collaboration. Teachers, trainers, and teams can share content in real time and make decisions faster.
- Screen sharing: mirror a laptop, tablet, or phone to the board.
- Multiple users: let more than one person write or interact at the same time.
- Remote collaboration: use video meetings and shared documents together.
- File export: send notes as images, PDFs, or editable files after the session.
If your team needs simple purchasing and support options, visit the online shop or contact the team for model guidance.
Step 7: Save, Export, and End the Session
Before powering off, always save your work. Many beginners forget this step and lose valuable notes.
- Tap the save icon or export option.
- Choose the file format you need.
- Save to local storage, USB, cloud drive, or email.
- Close the app and shut down the board safely.
Pro tip: create a habit of saving at the end of every lesson or meeting so your content is easy to reuse.
Common Beginner Mistakes to Avoid
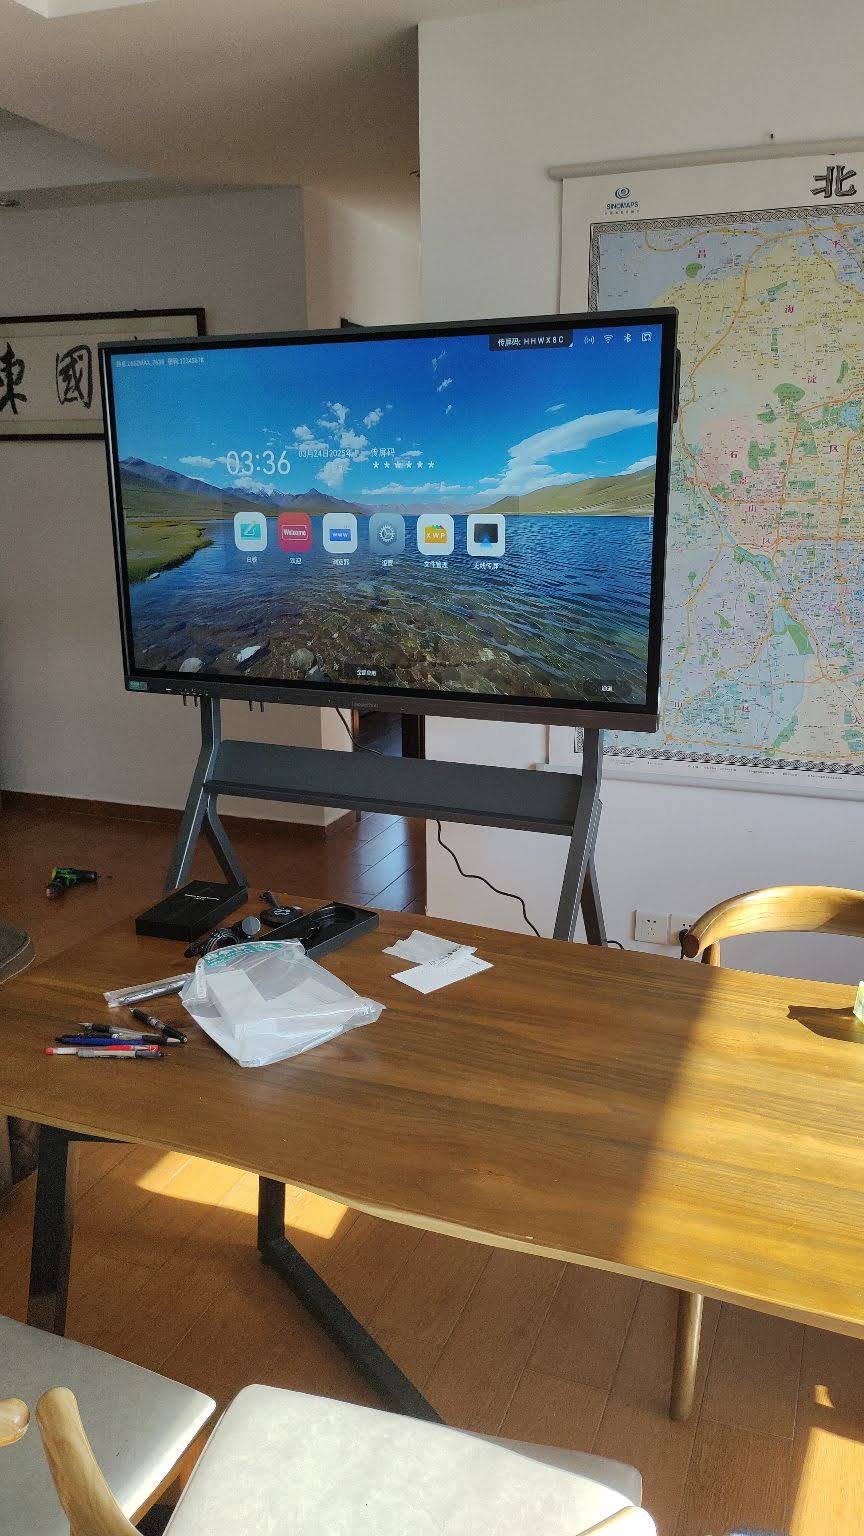
- Wrong input source: the board works, but the laptop image does not appear.
- No calibration check: touch points feel slightly off or delayed.
- Overloading the screen: too much text makes the board hard to read.
- Forgetting to save: important notes disappear after shutdown.
- Poor cable management: loose HDMI or USB-C connections create interruptions.
Quick Troubleshooting Guide
| Problem | Likely Cause | Simple Fix |
|---|---|---|
| No display signal | Wrong input source or loose cable | Reconnect the cable and choose the correct source |
| Touch is not responding | App freeze or calibration issue | Restart the board and recalibrate touch |
| Stylus marks are weak | Incorrect pen mode or low battery | Switch to pen mode and check the stylus |
| Wi-Fi is unstable | Poor signal or network settings | Move closer to the router or reconnect the network |
How to Get Better Results in Classrooms and Meetings
According to global education and digital learning guidance from UNESCO Digital Education, OECD Digital Education, and World Bank EdTech, the best technology is the one that supports clear learning goals. That means your smart board should make the session simpler, not more complicated.
- Use one main activity per screen.
- Keep fonts and visuals large enough for the whole room.
- Limit unnecessary animations and clutter.
- Combine discussion, touch interaction, and saved notes for better engagement.
Recommended Use Cases
- Education: teach lessons, explain diagrams, and run group activities.
- Business: present sales decks, brainstorm ideas, and review projects.
- Training: demonstrate workflows and collect live feedback.
- Creative work: sketch ideas, review layouts, and plan content.
Final Setup Checklist
- Power connected and screen on
- Correct input source selected
- Touch and pen tools tested
- Whiteboard app opened
- File saving method confirmed
- Screen sharing ready if needed
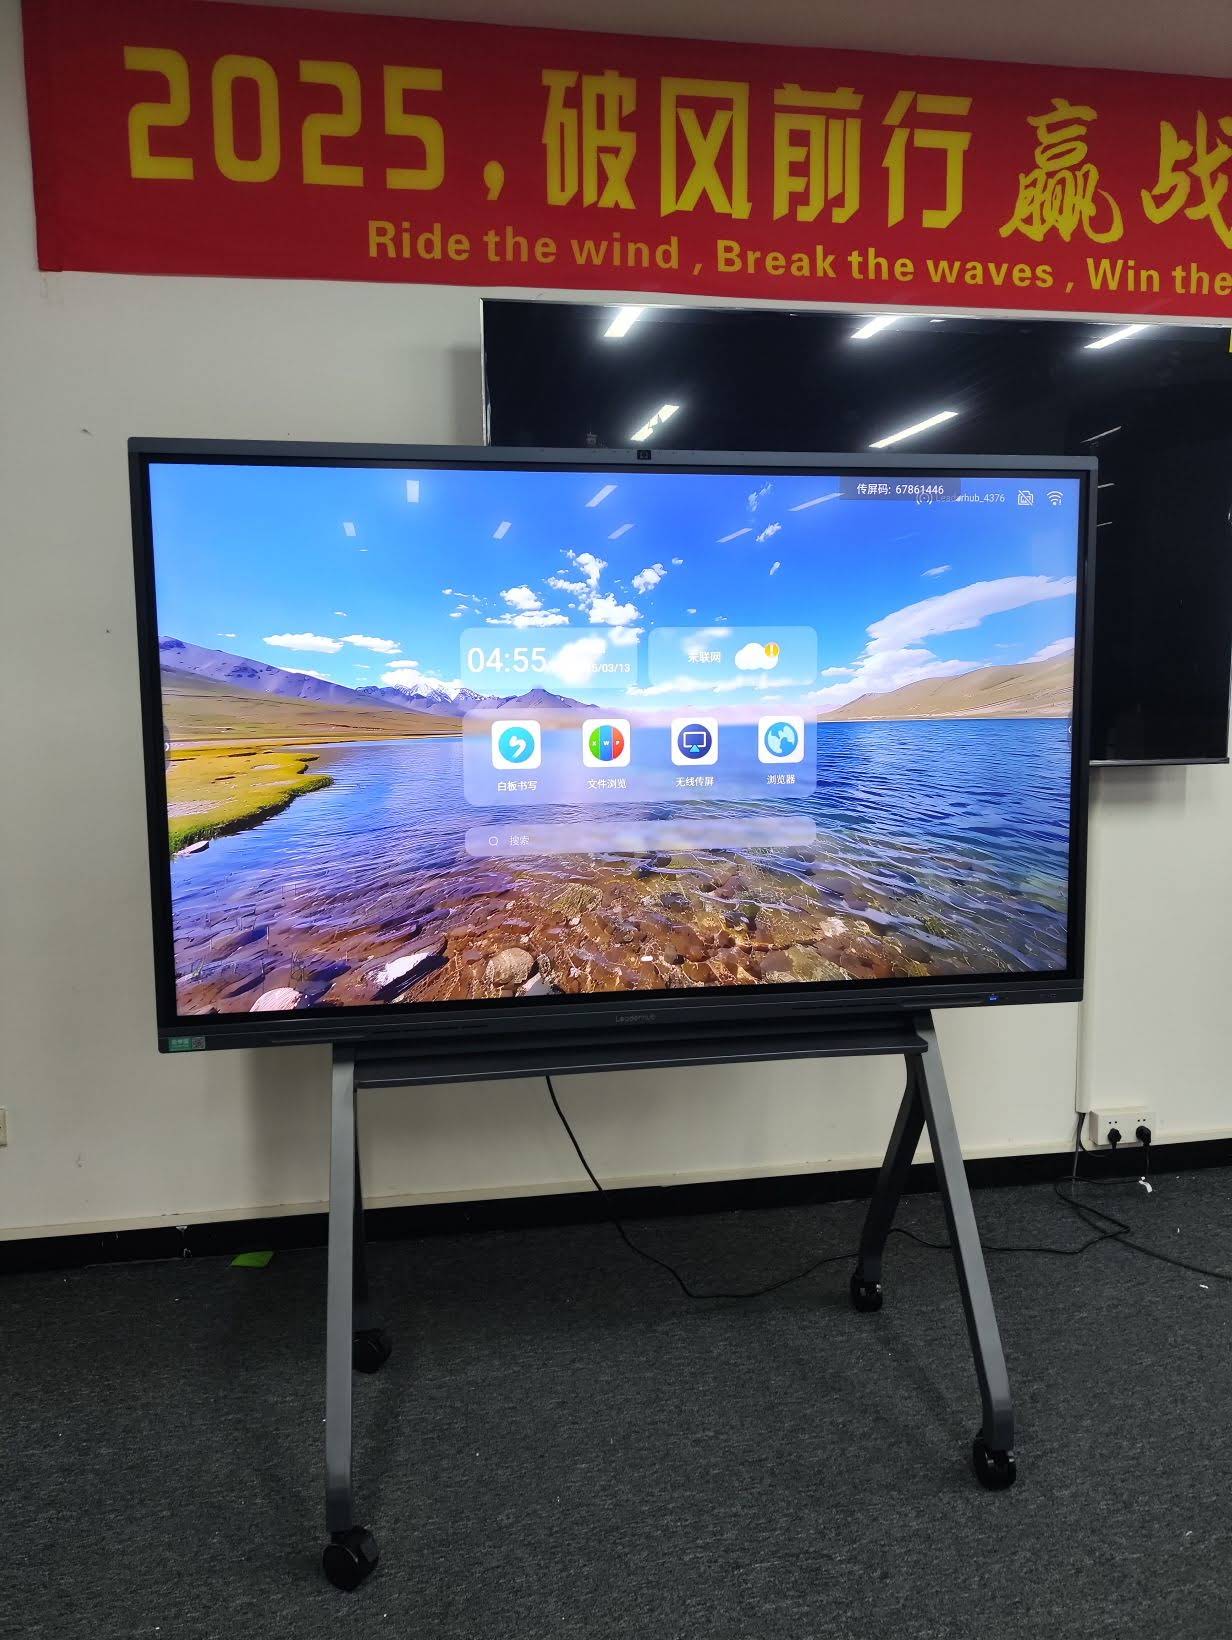
If you are comparing models for classrooms or offices, the LeaderHub smart board line offers options for different room sizes and collaboration needs, including the 65-inch model, the 75-inch model, and larger formats for more immersive presentations.
Bottom line: once you know the basics, a smart board becomes a simple, flexible tool for teaching, presenting, and collaborating with confidence.








