
Smart boards have revolutionized how we teach, present, and collaborate in modern classrooms and meeting rooms. According to recent educational technology studies, institutions using interactive displays report a 35% increase in student engagement and a 28% improvement in information retention compared to traditional teaching methods. Whether you’re an educator preparing for your first digital classroom experience or a business professional setting up a new conference room, understanding how to operate these interactive displays effectively can transform your communication approach.
This comprehensive guide walks you through everything you need to know about using a smart board, from initial setup to advanced features. Based on insights from over 16 years of interactive display technology development and feedback from users across 82 countries, we’ll cover practical techniques that work in real-world scenarios.
Understanding What a Smart Board Is
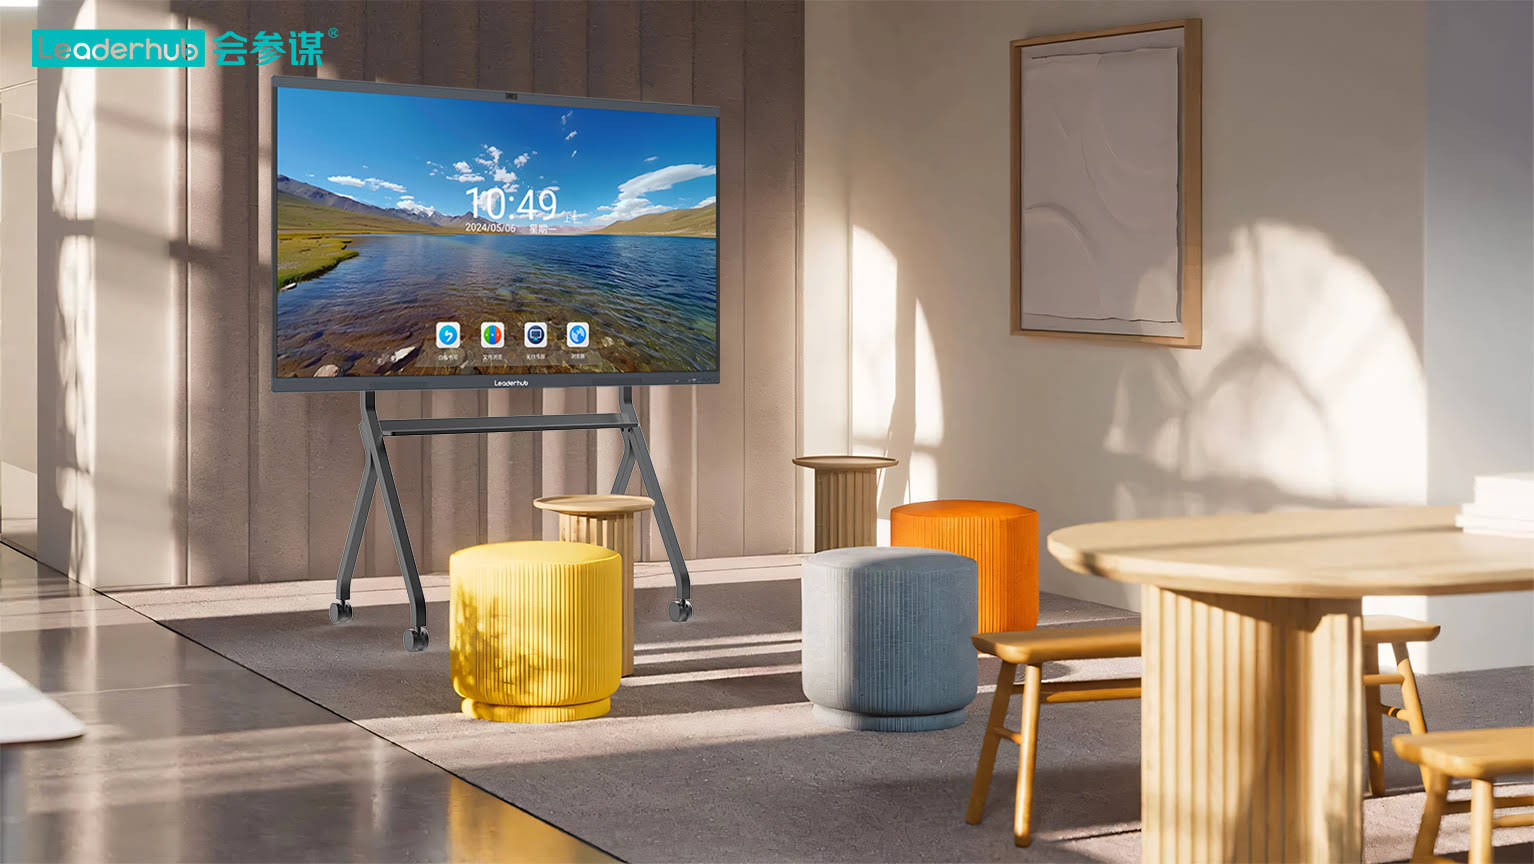
A smart board, also known as an interactive flat panel or digital whiteboard, is a large touch-sensitive display that connects to a computer and projector or operates as a standalone device. Unlike traditional whiteboards, smart boards allow you to interact directly with digital content using your fingers or a stylus, making presentations more dynamic and collaborative.
Modern smart boards typically include:
- High-resolution touchscreen displays (ranging from 55″ to 110″)
- Built-in computing systems or external PC connectivity
- Multi-touch capability supporting simultaneous users
- Integrated speakers and microphones
- Wireless screen sharing functionality
- Cloud-based collaboration tools
Leading manufacturers like LeaderHub, with over 16 years of industry experience, have developed smart boards specifically designed for educational and business environments. These devices now incorporate AI-powered features that automatically recognize handwriting, convert sketches to shapes, and facilitate real-time translation during international collaborations.
Getting Started: Initial Setup and Power On
Unpacking and Physical Installation
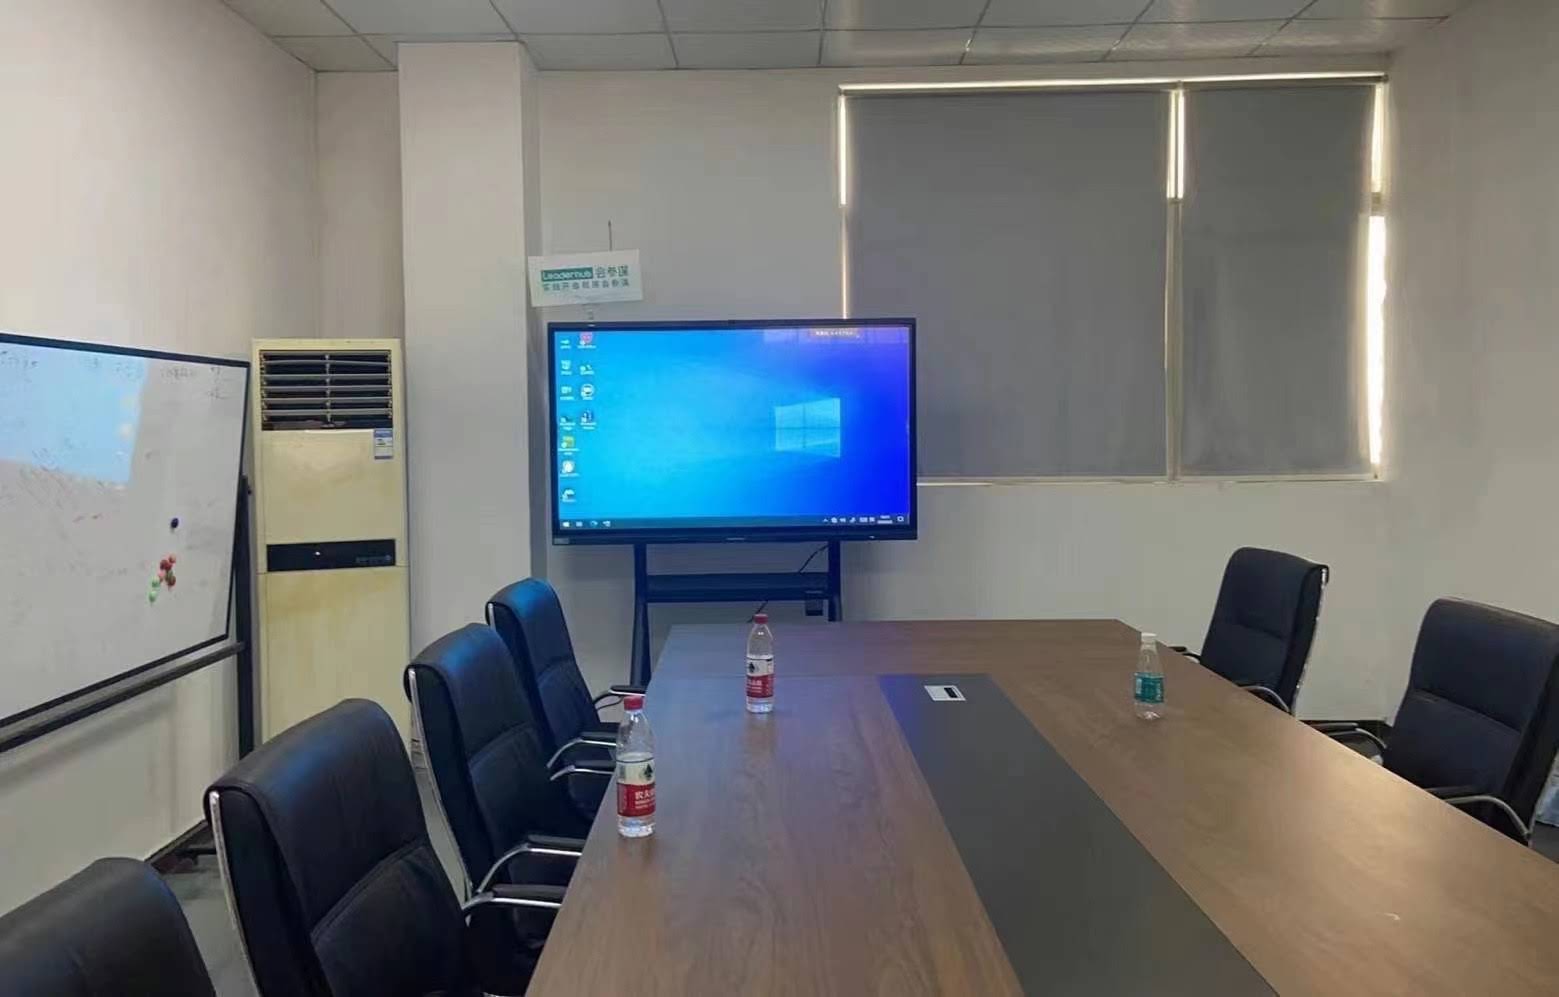
Before using your smart board, proper installation is essential. Most smart boards come with mounting brackets for wall installation or mobile stands for flexibility. Here’s what you need to do:
- Choose the right location: Position the board at an appropriate height where the center is at eye level for most users (typically 48-52 inches from the floor)
- Ensure adequate ventilation: Leave at least 4 inches of clearance around the device for proper airflow
- Check power requirements: Verify that your electrical outlet can handle the device specifications (usually 110-240V)
- Consider lighting conditions: Avoid placing the board directly opposite windows to minimize glare
Powering On Your Smart Board
Most smart boards feature a power button located on the front panel or side edge. The startup process typically takes 30-60 seconds. During first-time setup, you’ll need to:
| Setup Step | What to Configure | Typical Time Required |
|---|---|---|
| Language Selection | Choose your preferred interface language | 1 minute |
| Network Connection | Connect to Wi-Fi or ethernet | 2-3 minutes |
| Date & Time | Set timezone and clock format | 1 minute |
| User Accounts | Create admin and user profiles | 3-5 minutes |
| Calibration | Touch accuracy alignment | 2-3 minutes |
Navigating the Smart Board Interface
Modern smart board interfaces are designed to be intuitive, resembling familiar smartphone and tablet operating systems. The main elements you’ll encounter include:
Home Screen Layout
The home screen typically displays:
- App Icons: Quick access to whiteboard, browser, file manager, and other applications
- Notification Center: Updates, system messages, and collaboration requests
- Quick Settings: Volume, brightness, network status, and screen mirroring controls
- Input Source Selector: Switch between built-in system, HDMI inputs, and wireless connections
Touch Gestures and Controls
Smart boards recognize standard touch gestures that make navigation natural:
- Single tap: Select items, open apps, or activate buttons
- Double tap: Zoom in or open files
- Swipe: Scroll through content, switch between apps, or navigate pages
- Pinch to zoom: Enlarge or reduce content size
- Two-finger rotate: Change object orientation
- Palm rejection: Advanced models distinguish between intentional touch and accidental contact
Using the Digital Whiteboard Feature
The whiteboard application is the most frequently used feature on smart boards. Here’s how to maximize its potential:
Opening and Creating a New Whiteboard
Launch the whiteboard app from your home screen. Most systems allow you to choose between:
- Blank canvas (infinite or page-based)
- Pre-designed templates (grid, lined, music staff, coordinate planes)
- Subject-specific layouts (STEM, language arts, business presentations)
Writing and Drawing Tools
Modern smart whiteboards offer extensive tool options:
| Tool Type | Function | Best Use Case |
|---|---|---|
| Pen | Standard writing instrument | General note-taking and annotation |
| Highlighter | Transparent overlay marking | Emphasizing key information |
| Eraser | Remove specific marks or clear entire page | Corrections and revisions |
| Shape Tool | Auto-recognition of geometric shapes | Creating diagrams and flowcharts |
| Text Box | Typed text input | Formal presentations and documentation |
| Laser Pointer | Temporary highlighting without permanent marks | Directing audience attention during presentations |
Advanced Whiteboard Features
Professional smart boards include sophisticated capabilities that enhance productivity:
- Handwriting Recognition: Automatically converts handwritten notes to typed text
- Smart Shapes: Draws your rough sketches into perfect geometric shapes
- Object Recognition: Identifies drawn items (like chemical formulas or mathematical equations) and provides relevant information
- Split Screen: Divide the board to work on multiple canvases simultaneously
- Floating Toolbar: Moveable tool palette that doesn’t obstruct content
Connecting External Devices
Smart boards function as central hubs for multiple devices. Understanding connection methods ensures seamless integration:
Wired Connections
Most smart boards include multiple input ports:
- HDMI: Connect laptops, document cameras, or media players
- USB-C: Single-cable solution for video, audio, and touch control
- VGA (legacy models): Support for older computers
- USB ports: Connect keyboards, mice, or storage devices
To connect via HDMI:
- Insert the HDMI cable into both the smart board and your device
- Tap the input source button on the smart board
- Select the corresponding HDMI port
- Your device screen should display within 2-3 seconds
Wireless Screen Sharing
Wireless connectivity eliminates cable clutter and enables flexible collaboration. Common protocols include:
- Built-in Wireless: Proprietary apps that connect via local network
- Miracast: Standard wireless display protocol for Windows and Android devices
- AirPlay: Apple’s wireless streaming technology
- Chromecast: Google’s casting protocol
Wireless connection typically requires:
- Both devices connected to the same Wi-Fi network
- Installing companion software on your laptop or mobile device
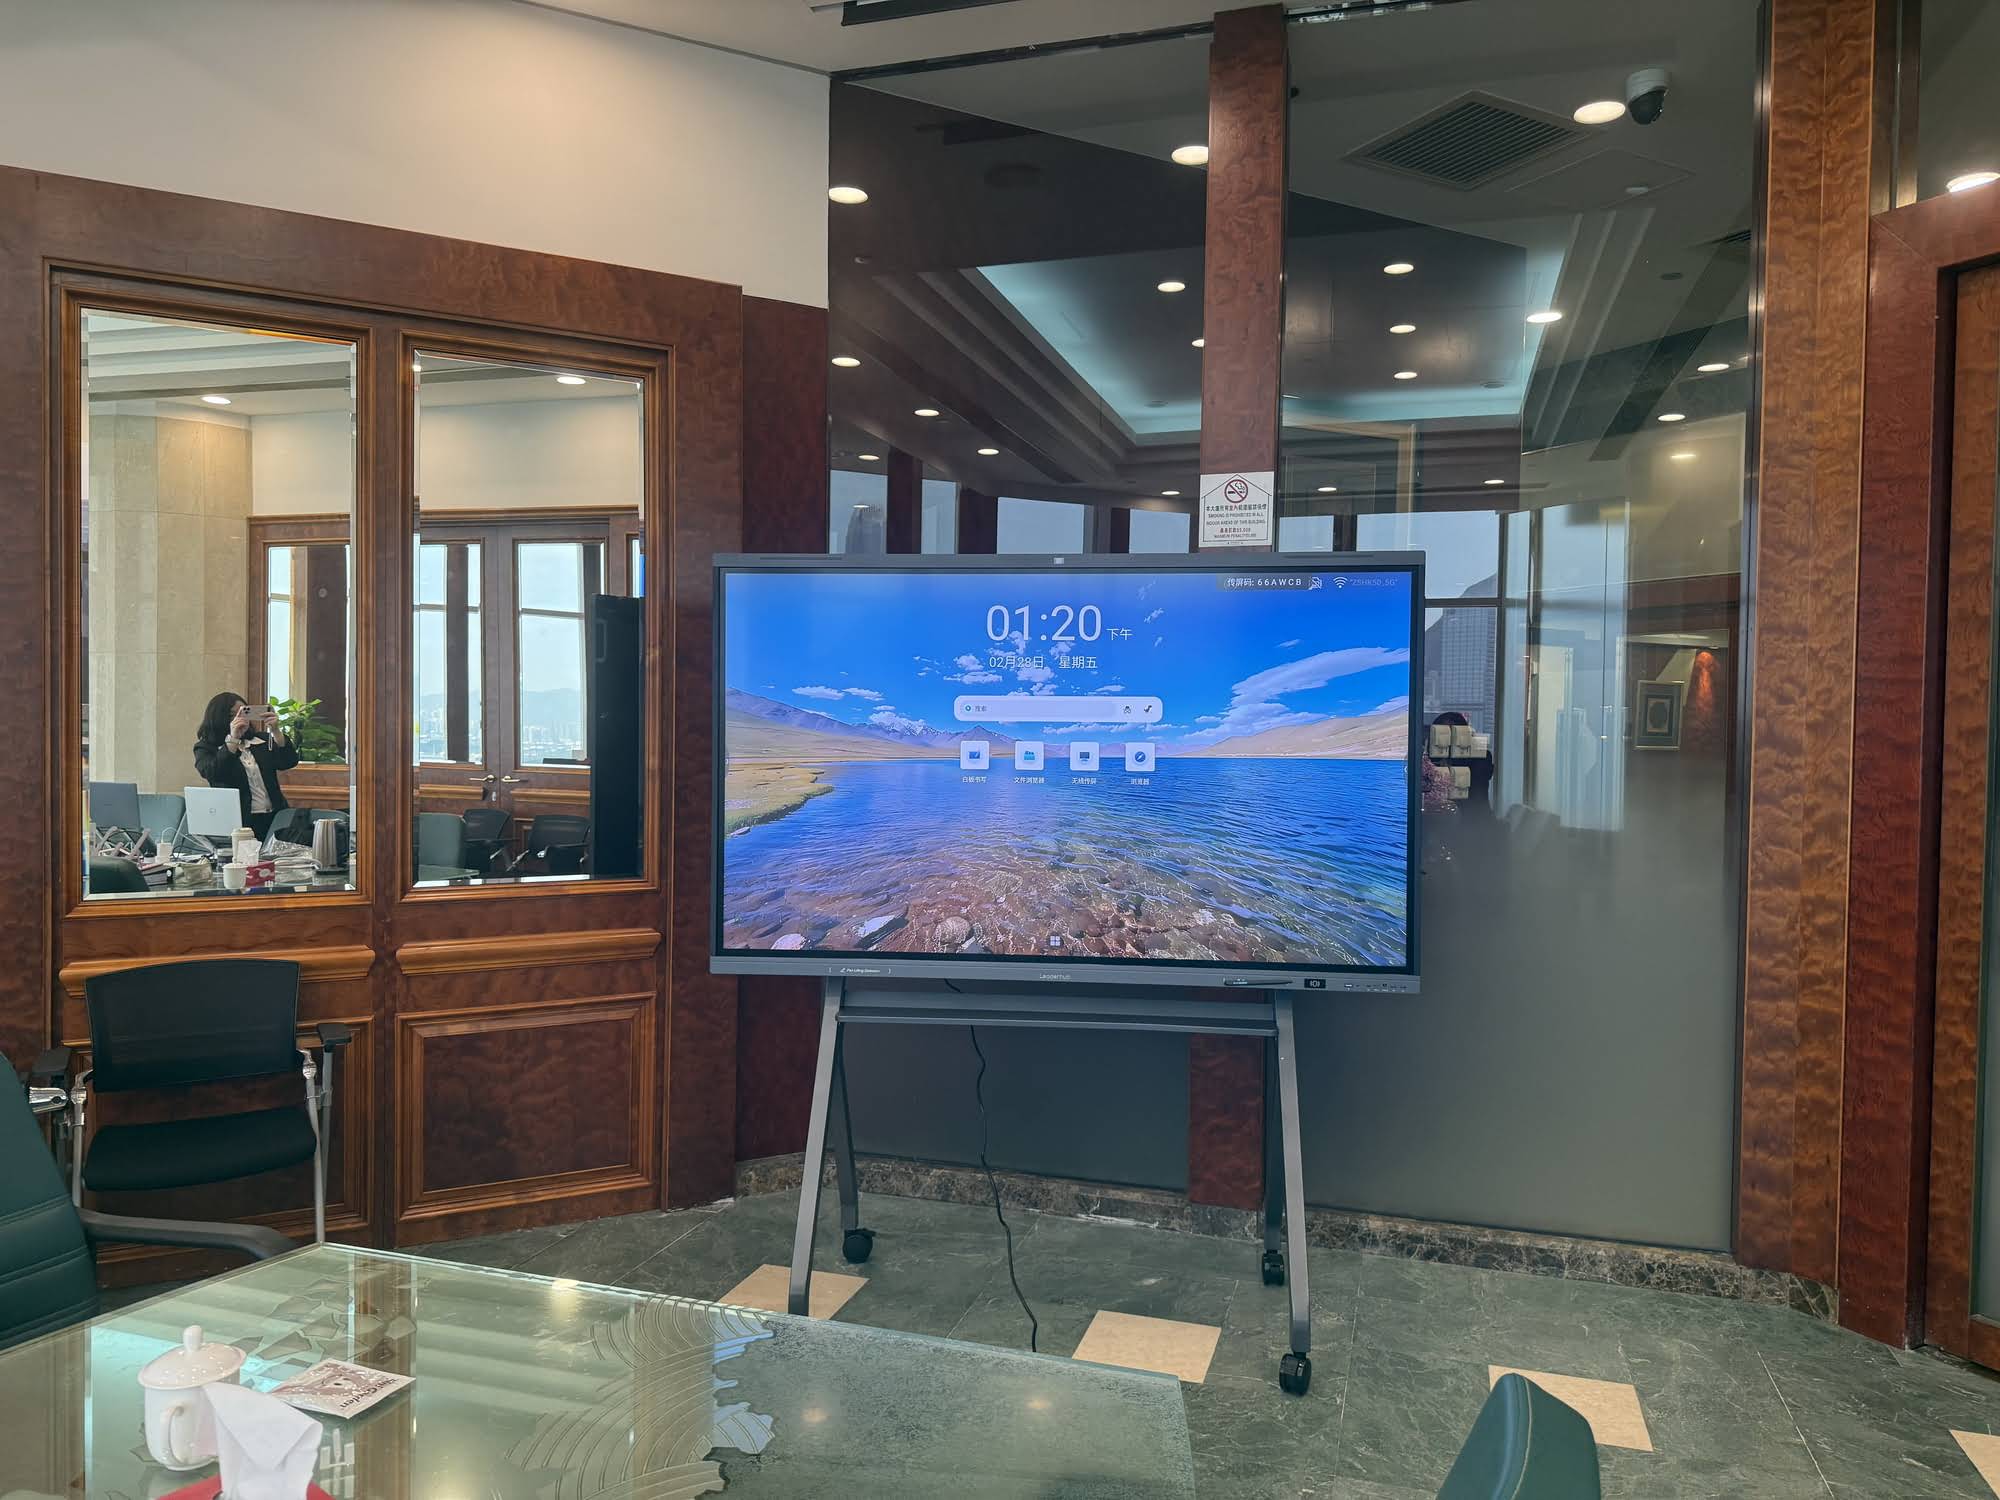
- Entering a connection code or scanning a QR code displayed on the smart board
Annotating Over Content
One of the most powerful smart board features is the ability to write directly over any displayed content¡ªwhether it’s a presentation, video, or document.
Activating Annotation Mode
Most systems offer an “annotation” or “markup” button that overlays drawing tools on your current screen. This allows you to:
- Highlight important points during PowerPoint presentations
- Circle and label diagrams in real-time
- Solve problems step-by-step over educational content
- Markup documents during review sessions
Saving and Sharing Annotations
After annotating, you have several options:
- Save as image: Capture the annotated screen as a PNG or JPEG
- Save as PDF: Create a multi-page document with all annotations
- Email directly: Send annotated content to participants immediately
- Cloud sync: Automatically backup to services like Google Drive, OneDrive, or Dropbox
- QR code sharing: Generate a scannable code that provides instant access to the session
Research from educational institutions shows that students who receive annotated lesson materials retain 42% more information compared to those who only receive the original presentation files.
Using Built-in Applications and Resources
Smart boards come preloaded with various applications designed for specific use cases:
Educational Applications
For classroom environments, common built-in apps include:
- Subject-specific tools: Math equation editors, periodic tables, anatomical models, geographical maps
- Assessment tools: Poll creation, quiz builders, and real-time response systems
- Media libraries: Curated educational videos, images, and interactive simulations
- Gamification features: Educational games and reward systems to increase engagement
Business Applications
Corporate users benefit from:
- Video conferencing: Integrated Zoom, Microsoft Teams, or Google Meet
- Project management: Kanban boards, mind mapping, and brainstorming tools
- Document editing: Word processing, spreadsheets, and presentation software
- Screen recording: Capture meetings and training sessions for future reference
Web Browser
The built-in browser allows you to access online resources directly. Best practices include:
- Bookmarking frequently used educational or business websites
- Using incognito mode to prevent personal information from being stored on shared devices
- Installing ad-blockers to maintain a professional environment
- Setting a safe search mode when used in educational settings
Collaborating with Multiple Users
Modern smart boards support simultaneous interaction from multiple users, transforming them into true collaborative workspaces.
Multi-Touch Capability
Advanced models recognize up to 20 simultaneous touch points, enabling:
- Multiple students working on different sections of the board
- Team brainstorming sessions where several participants contribute simultaneously
- Collaborative problem-solving exercises
- Competitive learning activities
Remote Collaboration
With cloud-based collaboration tools, users can participate from remote locations:
- Real-time co-editing: Multiple users edit the same whiteboard from different devices
- Video conferencing integration: Display remote participants alongside local content
- Screen sharing: Remote users can share their screens to the smart board
- Chat functionality: Text-based communication for questions and comments
According to workplace collaboration studies, teams using interactive displays report 31% faster decision-making and 27% improvement in meeting efficiency compared to traditional conference room setups.
Importing and Managing Files
Smart boards allow you to work with various file types from multiple sources:
Supported File Formats
| Category | File Formats | Notes |
|---|---|---|
| Documents | PDF, DOCX, PPTX, XLSX, TXT | Full editing support varies by model |
| Images | JPG, PNG, BMP, GIF, SVG | Can be inserted and annotated |
| Video | MP4, AVI, MOV, WMV | Playback controls and annotation |
| Audio | MP3, WAV, AAC | Background music or voiceover support |
| Interactive | IWB, NOTEBOOK (proprietary formats) | Native smart board file formats |
File Import Methods
- USB drive: Plug in and browse files through the file manager
- Cloud storage: Access Google Drive, OneDrive, or Dropbox directly
- Network drive: Connect to institutional or company servers
- Email: Send files to a dedicated smart board email address
- Mobile app: Transfer files from smartphones or tablets
File Management Best Practices
To maintain organization:
- Create a logical folder structure (by subject, date, or project)
- Use descriptive file names with dates (e.g., “Math_Geometry_2024-01-15”)
- Regularly back up important files to cloud storage
- Delete temporary or obsolete files to preserve storage space
- Set up automatic cloud synchronization for seamless access
Recording and Saving Sessions
Smart boards offer powerful recording capabilities that preserve entire teaching or presentation sessions:
Screen Recording Features
Most systems allow you to:
- Record everything displayed on the screen
- Capture audio from the built-in microphone or external sources
- Add webcam video in picture-in-picture mode
- Pause and resume recording as needed
Practical Applications
- Flipped classroom: Record lessons for students to review at home
- Absent students: Provide complete lesson recordings for students who missed class
- Training materials: Create reusable training content for new employees
- Documentation: Record brainstorming sessions and strategic planning meetings
Exporting Recorded Sessions
After recording, you can:
- Export as video files (MP4 format recommended for compatibility)
- Upload directly to learning management systems (Canvas, Moodle, Blackboard)
- Share via YouTube or Vimeo for broader access
- Store on institutional servers for long-term archiving
Educational research indicates that students who have access to recorded lessons score an average of 18% higher on assessments compared to those who rely solely on in-class notes.
Troubleshooting Common Issues
Even the most reliable smart boards occasionally encounter problems. Here are solutions to common issues:
Touch Response Problems
Symptom: The board doesn’t respond accurately to touch or gestures are misinterpreted.
Solutions:
- Recalibrate the touch screen through the settings menu
- Clean the screen surface with appropriate cleaning solution (avoid ammonia-based products)
- Ensure no debris or moisture is on the screen
- Restart the system to reset the touch controller
- Check for software updates that may address touch sensitivity
Connectivity Issues
Symptom: Devices won’t connect wirelessly or HDMI input shows no signal.
Solutions:
- Verify both devices are on the same network (for wireless connections)
- Check that HDMI cables are firmly connected at both ends
- Try a different HDMI port or cable
- Restart the wireless adapter or reconnect to the network
- Update device drivers on connected computers
- Disable firewall or security software temporarily to test connectivity
Audio Problems
Symptom: No sound or distorted audio.
Solutions:
- Check volume settings on both the smart board and source device
- Verify the correct audio output is selected in system settings
- Ensure external speakers (if used) are powered on and connected properly
- Test with different audio sources to isolate the problem
- Update audio drivers if using external computer connection
Performance Issues
Symptom: Slow response, freezing, or lagging.
Solutions:
- Close unnecessary background applications
- Clear cache and temporary files through system maintenance
- Check available storage space (low storage can cause performance degradation)
- Perform a system restart
- Factory reset as a last resort (remember to backup important files first)
Maintaining Your Smart Board
Regular maintenance extends the lifespan of your smart board and ensures consistent performance:
Daily Maintenance
- Wipe the screen with a soft, dry microfiber cloth after each use
- Ensure all applications are properly closed before powering down
- Check for system update notifications
- Log out of personal accounts on shared devices
Weekly Maintenance
- Clean the screen with manufacturer-recommended cleaning solution
- Check cable connections for wear or damage
- Review and delete unnecessary files to free up storage
- Test all input sources (HDMI ports, USB connections)
Monthly Maintenance
- Perform software updates if not set to automatic
- Review and update security settings
- Test emergency restart procedures
- Backup important files to external storage or cloud
- Inspect mounting hardware for stability (if wall-mounted)
Cleaning Best Practices
| Do | Don’t |
|---|---|
| Use microfiber cloths | Use paper towels (may scratch) |
| Apply cleaner to cloth first | Spray directly on screen |
| Use screen-specific cleaning solutions | Use ammonia or alcohol-based cleaners |
| Wipe in circular motions | Apply excessive pressure |
| Turn off device before cleaning | Clean while device is powered on |
Advanced Features and AI Integration
Modern smart boards increasingly incorporate artificial intelligence to enhance functionality and user experience:
AI-Powered Recognition
- Handwriting to text: Convert handwritten notes to editable text with over 95% accuracy
- Mathematical equation solving: Recognize and solve written mathematical problems
- Language translation: Automatically translate written content into multiple languages
- Object and image recognition: Identify drawn or imported objects and provide contextual information
Smart Assistance Features
AI integration in products from experienced manufacturers like LeaderHub includes:
- Automatic meeting summarization and action item extraction
- Voice commands for hands-free operation
- Intelligent content recommendations based on current activity
- Automatic quality enhancement for imported images and videos
- Real-time grammar and spelling correction
Accessibility Features
AI enhances accessibility for users with different needs:
- Text-to-speech for visually impaired users
- Speech-to-text for hearing impaired users
- High contrast modes and adjustable text sizes
- Screen reader compatibility
- Alternative input methods (voice, switch controls)
Security and Privacy Considerations
When using smart boards in educational or business environments, security is paramount:
User Management
- Create separate user accounts with appropriate permission levels
- Require login for administrative functions
- Set up guest accounts with limited capabilities for temporary users
- Implement automatic logout after periods of inactivity
Data Protection
- Enable encryption for stored files and transmitted data
- Use secure Wi-Fi protocols (WPA3 when available)
- Regularly change default passwords and administrative credentials
- Disable unnecessary services and ports to reduce attack surface
- Implement content filtering for educational environments
Content Privacy
- Clear browser history and cache on shared devices
- Use incognito mode when accessing personal accounts
- Enable “clear on exit” settings for whiteboard applications
- Be aware of what content may be visible to video conference participants
- Review and understand cloud storage terms and data retention policies
Selecting the Right Smart Board for Your Needs
If you’re considering purchasing a smart board, understanding your specific requirements helps ensure you choose the right model:
Key Factors to Consider
- Screen size: Based on room dimensions and viewing distance (55″ for small rooms, 75″+ for classrooms and large conference rooms)
- Resolution: Minimum 4K (3840¡Á2160) for clear text and images
- Touch points: 10-20 simultaneous touches for collaborative work
- Operating system: Android, Windows, or proprietary systems each have different advantages
- Built-in computer vs external: Standalone units offer simpler setup, external PCs provide more computing power
- Warranty and support: Look for comprehensive coverage and responsive technical support








