
If you are searching for how to hang a smart board safely, the key is not just lifting a heavy screen onto the wall — it is matching the bracket, wall structure, and cable plan to the display’s real weight and use case. A secure installation protects the panel, the people around it, and the wall itself.
Whether you are setting up a classroom, meeting room, training space, or reception area, the safest approach is to treat the job like a professional AV installation: measure first, verify the wall, and mount only with hardware rated for the exact display size.
Before You Start: What You Need
A safe installation begins with the right tools and the right wall. If you already own one of our smart whiteboards or an interactive flat panel, check the product weight, VESA pattern, and recommended mounting method before drilling anything.
| Tool | Why You Need It |
|---|---|
| Stud finder | Locates structural supports behind drywall |
| Laser level or spirit level | Keeps the smart board straight and balanced |
| Drill and correct bits | Creates clean pilot holes for lag bolts or masonry anchors |
| Lag bolts / masonry anchors | Provides a load-rated connection to the wall |
| Two-person lift | Reduces the risk of dropping or twisting the panel |
| Cable clips and conduit | Keeps power and data cables tidy and protected |
Step 1: Check the Wall Type
Not every wall can hold a smart board in the same way. The safest installation depends on what is behind the surface.
| Wall Type | Recommended Method | Safety Note |
|---|---|---|
| Drywall over wood studs | Lag bolts into studs | Best option for most rooms |
| Concrete or brick | Masonry anchors with a rated bracket | Use the correct drill bit and anchor depth |
| Metal stud wall | Professional assessment and rated mounting system | Do not rely on drywall screws alone |
| Hollow partition wall | Reinforcement or alternative installation | May need a backing board or wall rebuild |
Step 2: Measure Height and Viewing Angle
A smart board should be comfortable to use while standing and, if needed, while seated. The center of the display should usually sit at a height that keeps touch interaction natural and reduces neck strain. For classrooms and conference rooms, many installers place the bottom edge slightly above desk height and leave enough clearance for cable routing and ventilation.
- Measure twice before drilling.
- Check that the board will not block doors, whiteboards, switches, or cameras.
- Leave space for power, HDMI, USB, and network access.
- Make sure viewers can read the screen from the farthest seat in the room.
Step 3: Mark the Mounting Points
Hold the mounting bracket against the wall and use a level to make sure it is perfectly straight. Mark each hole carefully, then recheck the spacing against the VESA pattern on the back of the display. This is the moment where small errors become expensive problems later.
If the wall plate is even slightly off, the panel may tilt, stress the bracket, or sit unevenly after installation.
Step 4: Install the Wall Bracket Securely
Drill pilot holes at the marked points, then fasten the wall plate with hardware that matches the wall material. Tighten the bolts firmly, but do not over-torque them. The bracket should sit flush, with no wobble or movement.
- Use the correct anchor for each surface.
- Verify that every fastener is seated properly.
- Test the bracket by applying controlled pressure before hanging the display.
Step 5: Lift the Smart Board With Two People
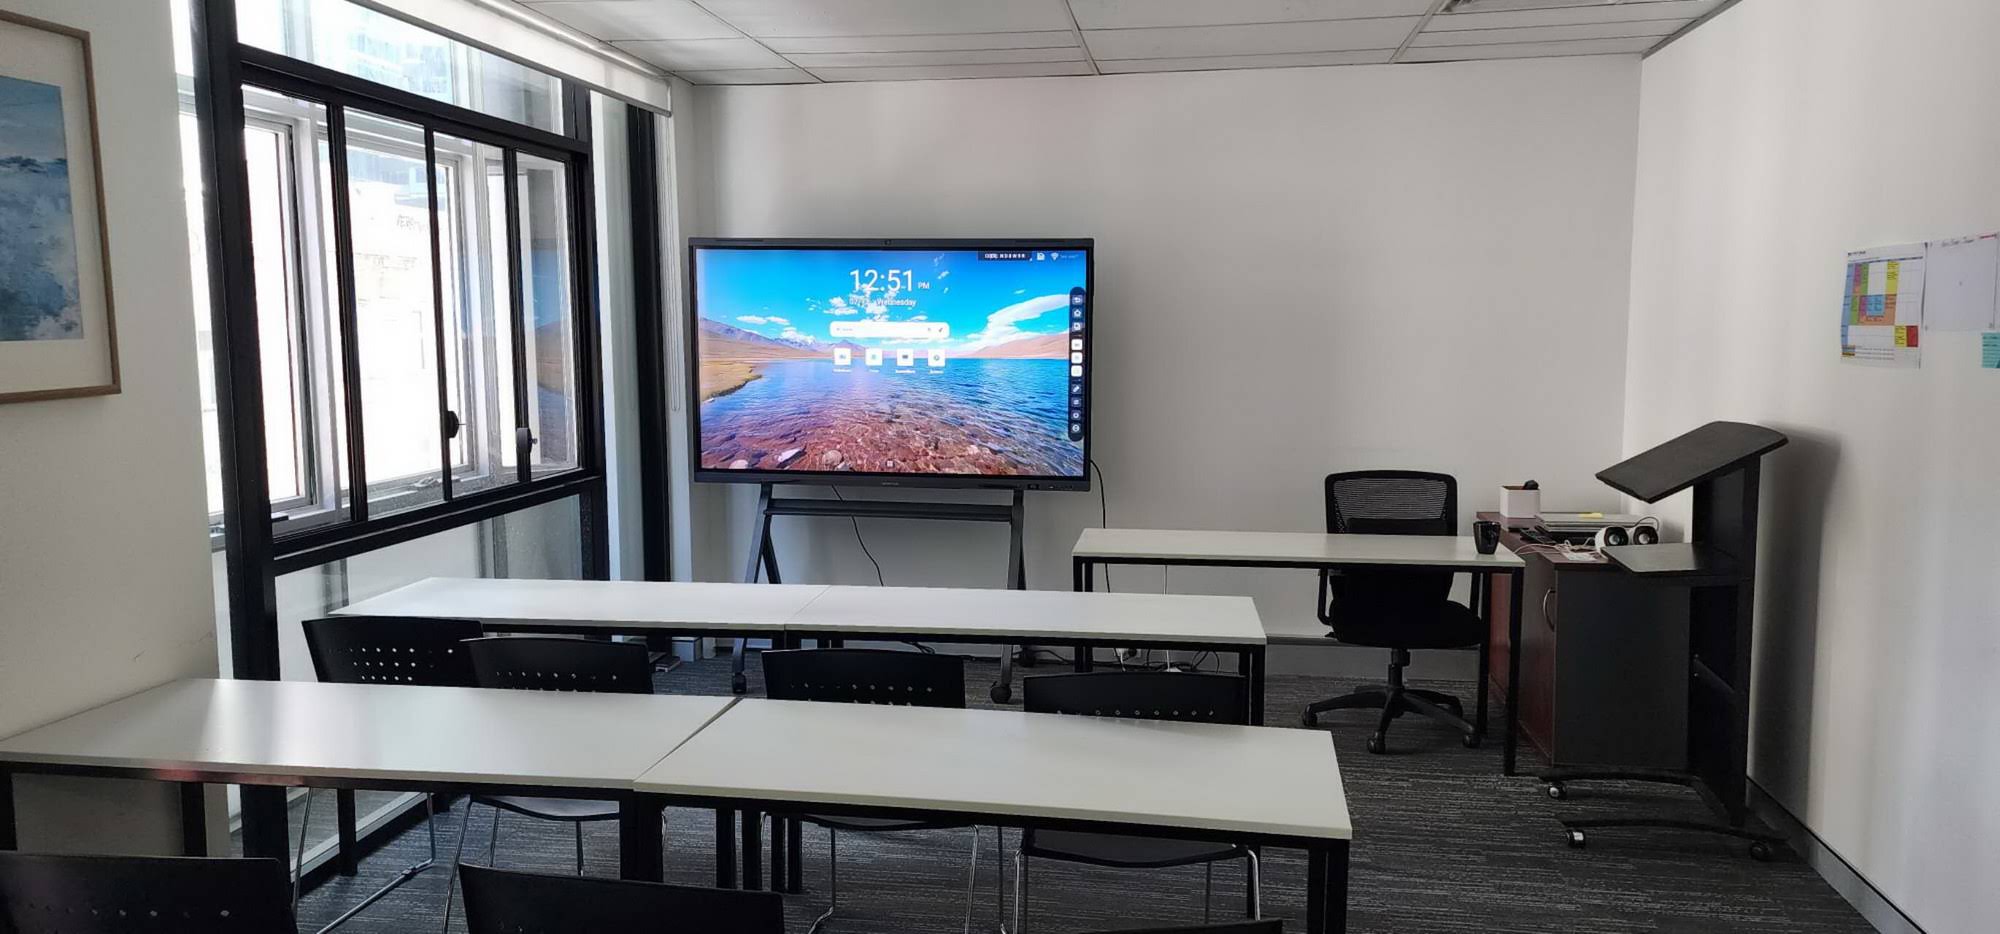
Never try to lift a large smart board alone. Even a careful solo lift can lead to a twisted frame, cracked glass, or a back injury. Use two trained people, keep the screen vertical, and align the hooks or rails with the wall plate before lowering it into place.
Once the panel is seated, gently test that it is fully locked onto the mount. If your bracket includes security screws or anti-theft locks, install them immediately.
Step 6: Manage Power and Data Cables
A safe installation is also a clean installation. Route cables so they cannot be pinched, pulled, or stepped on. Keep power separate from low-voltage signal lines when possible, and use cable clips or conduit for a professional result.
- Do not bend cables sharply behind the screen.
- Leave enough slack for servicing and future device swaps.
- Use a surge-protected outlet or approved power distribution solution.
- Label HDMI, USB, and network lines for easier maintenance.
Step 7: Test the Installation Before Daily Use
Before turning the room over to users, check the following:
- The display sits level and does not drift.
- All mount locks and safety fasteners are engaged.
- Touch input works across the full screen.
- Power, audio, and network connections are stable.
- The wall shows no signs of stress, cracking, or movement.
For larger rooms, it is smart to pair the display with a dedicated device such as one of our mini PCs so the system stays responsive and the cabling remains organized.
Common Mistakes to Avoid
- Using a bracket that is not rated for the display’s weight.
- Mounting only into drywall without structural support.
- Ignoring cable clearance behind the panel.
- Skipping the level check.
- Trying to install a large screen without help.
If you are unsure about wall structure, load rating, or hardware selection, review AVIXA installation resources and consult a qualified installer. For purchasing help, product matching, or room-planning advice, you can always contact us directly.
When You Should Hire a Professional
Hire a professional installer if the board is very large, the wall is unknown or weakened, the room has hidden wiring or plumbing, or the display must be mounted in a public space where safety and compliance matter. Professional support is especially valuable for schools, boardrooms, training centers, and multi-display projects.
If you are planning a full room upgrade, browse the shop page for compatible display options and accessories that make mounting, connecting, and using the system easier.
Quick Safety Checklist
- Confirm wall type and structural support.
- Use a load-rated mount for the correct screen size.
- Install with two people.
- Keep cables neat, safe, and serviceable.
- Test before opening the room for daily use.
A secure mount makes the smart board easier to use, safer for everyone, and more durable over time. At LeaderHub, we’ve spent 16 years building interactive displays that are designed to perform reliably in real rooms, with real users, every day.








