
Smart boards have revolutionized how we teach, present, and collaborate in modern classrooms and meeting rooms. Whether you’re an educator preparing for your first lesson or a business professional setting up for an important presentation, knowing how to properly turn on and start up your smart board is essential. This comprehensive guide walks you through every step of the process, from initial power-up to troubleshooting common issues.
Understanding Your Smart Board Before Starting
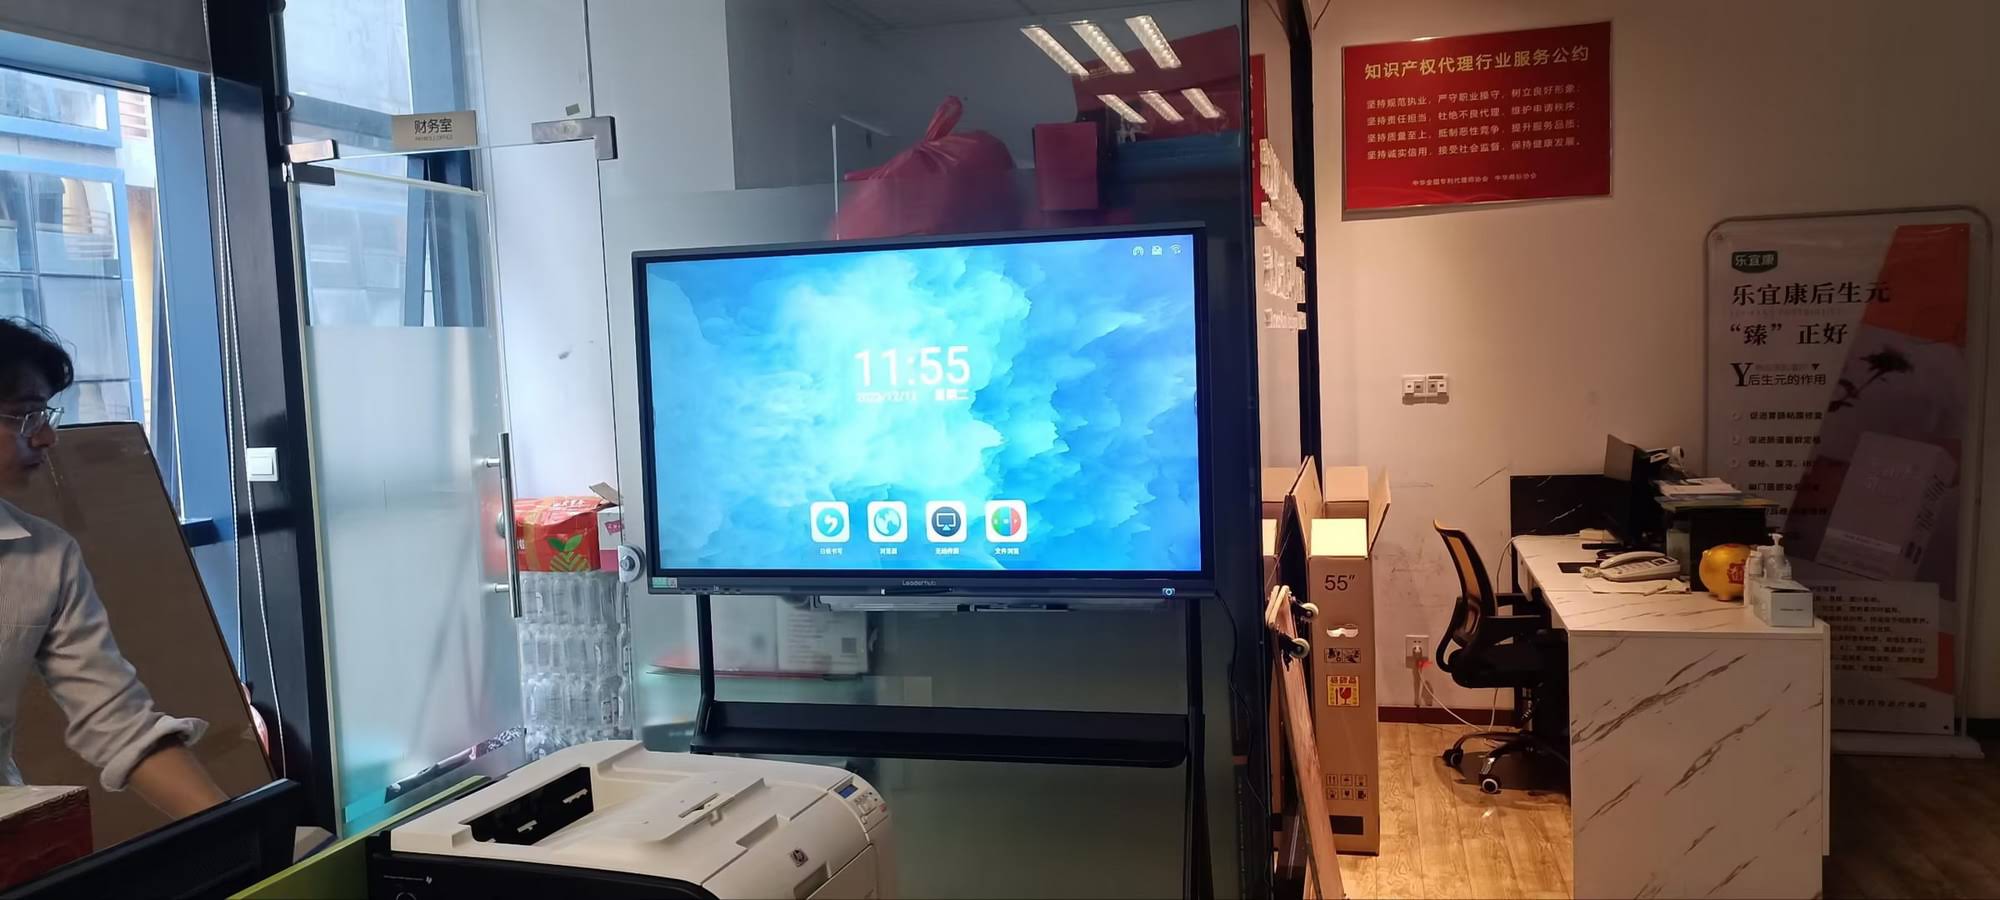
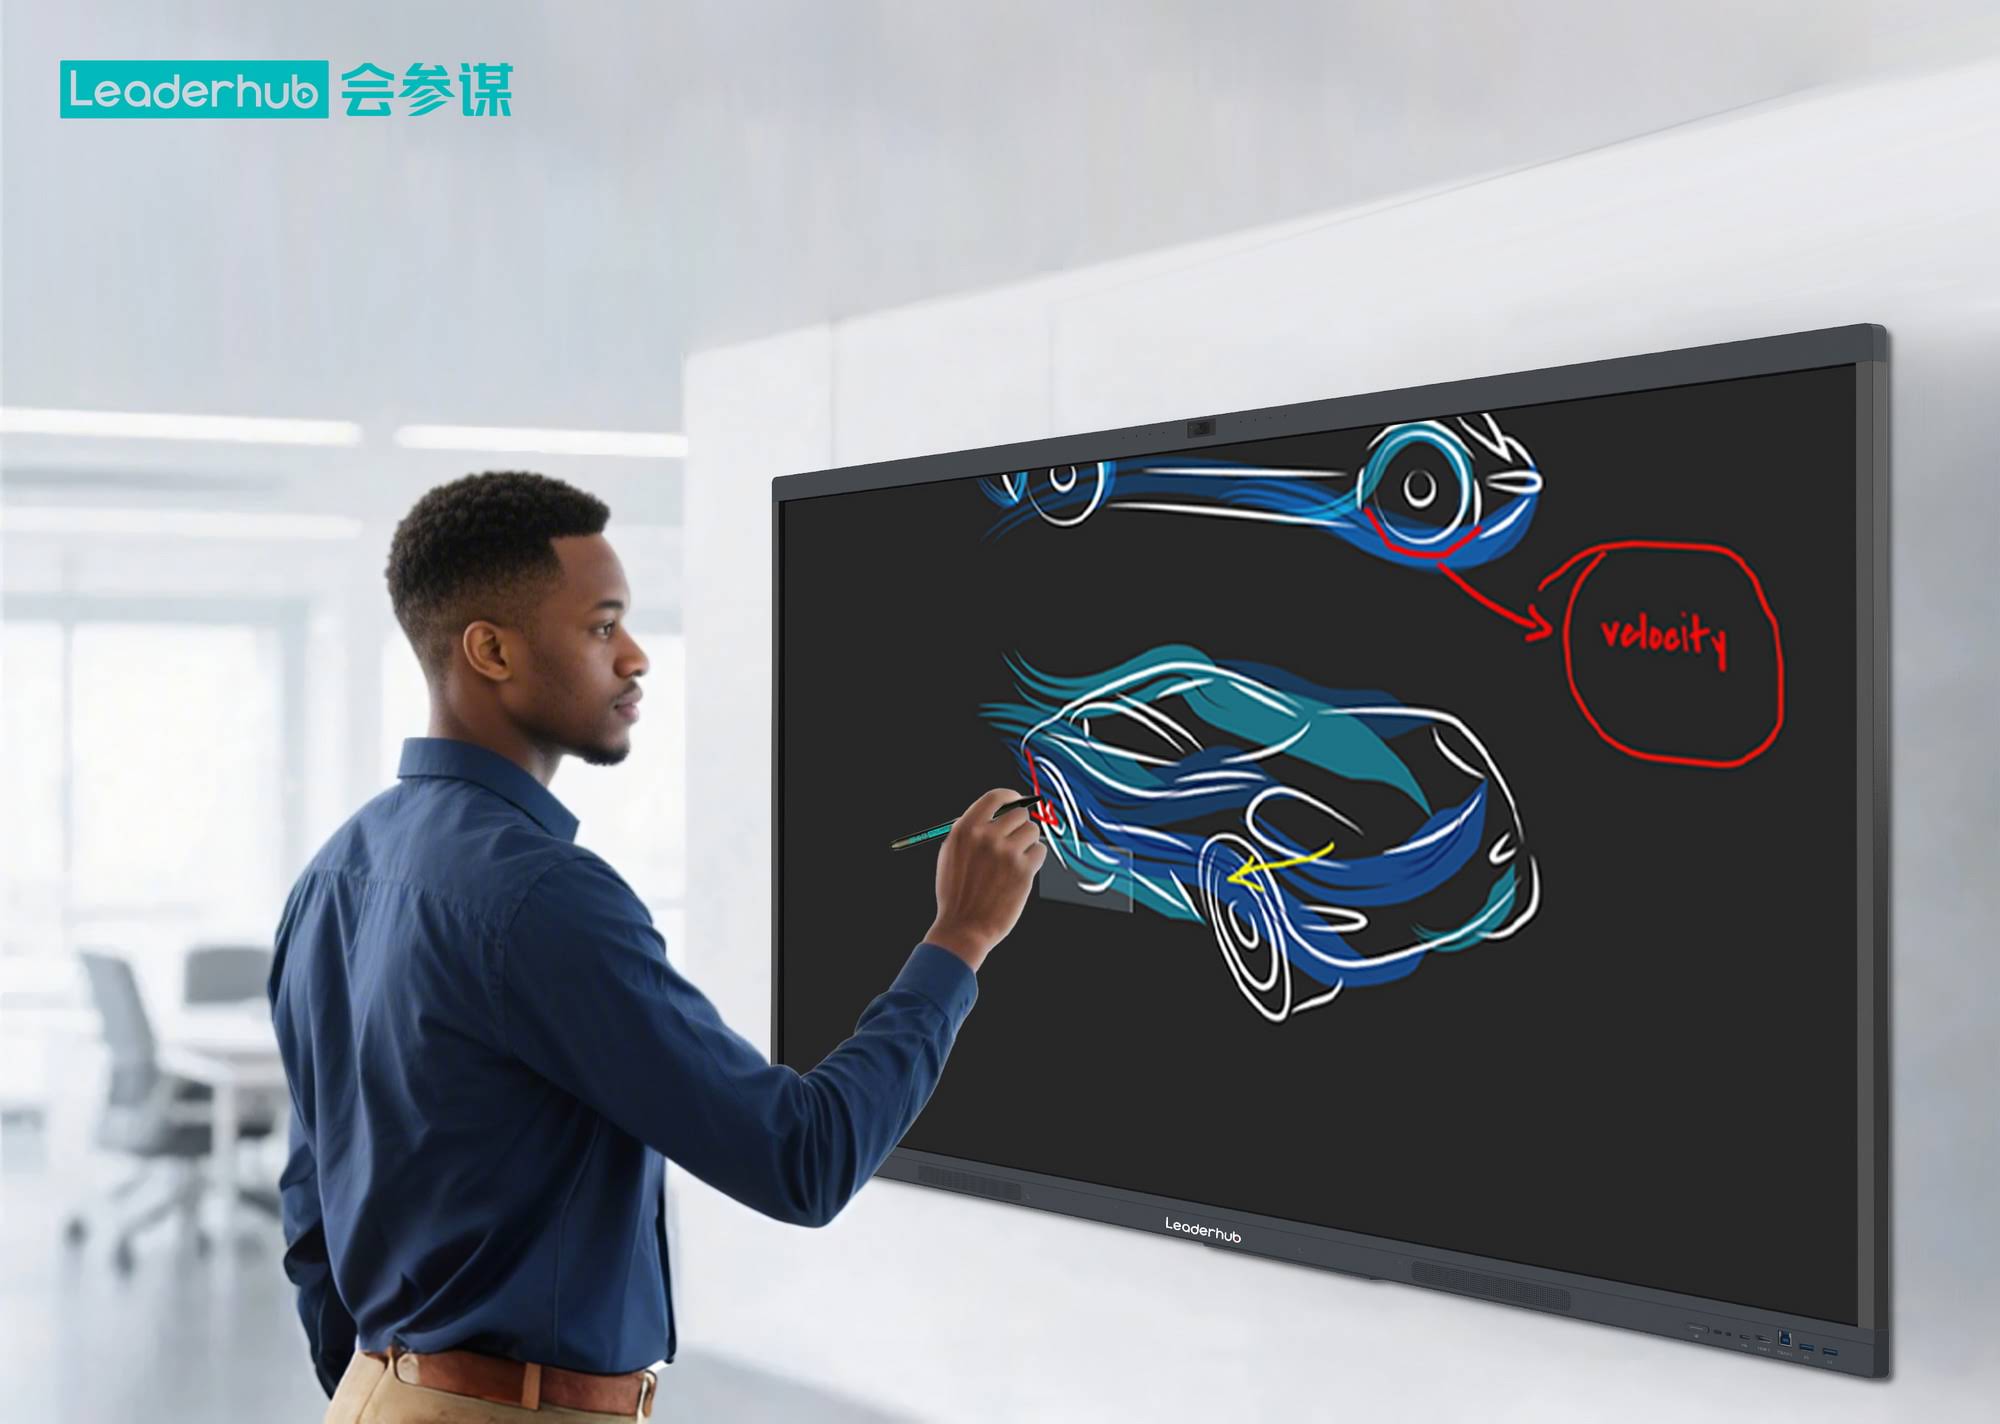
Before pressing any buttons, it’s helpful to understand what you’re working with. Smart boards, also known as interactive flat panels, combine a large touchscreen display with computing capabilities and collaboration software. Modern smart boards from manufacturers like LeaderHub integrate AI-powered features that enhance teaching and presentation experiences across more than 82 countries worldwide.
Most smart boards consist of several key components:
- The main display panel with touch-sensitive surface
- Built-in computer system or external PC connection
- Power supply unit and cables
- Control buttons (usually located on the front or side)
- Input/output ports for connecting external devices
- Built-in speakers and sometimes a camera
Understanding these components helps you identify what to check when the board doesn’t turn on as expected.
Pre-Startup Checklist: What to Verify First
Before attempting to power on your smart board, run through this essential checklist to avoid common startup issues:
| Item to Check | What to Verify | Why It Matters |
|---|---|---|
| Power Connection | Cable firmly plugged into wall outlet and board | Loose connections prevent power delivery |
| Circuit Breaker | Room’s electrical panel shows no tripped breakers | Tripped breakers cut power to the entire outlet |
| Power Outlet | Test outlet with another device to confirm it works | Faulty outlets won’t supply power regardless of board condition |
| Cable Condition | No visible damage, fraying, or bent connectors | Damaged cables create safety hazards and connection failures |
| Ambient Temperature | Room temperature between 0¡ãC and 40¡ãC (32¡ãF-104¡ãF) | Extreme temperatures trigger safety shutdowns |
Taking two minutes to verify these items can save you from unnecessary troubleshooting later and ensures safe operation of your equipment.
Step-by-Step: Turning On Your Smart Board
Step 1: Locate the Power Button
The power button location varies by manufacturer and model, but you’ll typically find it in one of these places:
- Front bezel: Most common location, usually at the bottom center or lower right corner of the screen frame
- Side panel: Often on the right side of the display, sometimes alongside other control buttons
- Bottom edge: Some models place controls along the bottom edge for easier access
- Rear panel: Less common, but some models position the main power switch on the back
Look for a circular button with the universal power symbol (?) or a button labeled “Power” or “ON/OFF”. On newer models, this button may also have a status LED that changes color to indicate different power states.
Step 2: Press and Hold the Power Button
Once you’ve located the power button, press and hold it for approximately 2-3 seconds. This duration is important¡ªa quick tap often won’t trigger the startup sequence. You should feel a slight click and may see an LED indicator change color from red to white or blue, signaling that the board is receiving the power-on command.
Different brands have slightly different startup behaviors, but most follow this pattern:
- Initial LED color change (red to blue or white)
- Brief pause (1-2 seconds)
- Screen backlight activation
- Manufacturer logo display
- Operating system boot sequence
Step 3: Wait for the Boot Sequence
Modern smart boards run sophisticated operating systems (typically Android or Windows) that require time to load. The initial boot typically takes 30-60 seconds, though first-time startups or boards that haven’t been used in a while may take up to 2 minutes.
During this time, you’ll see:
- Manufacturer logo and branding (e.g., the LeaderHub startup screen)
- Android or Windows loading animation
- System initialization messages
- Home screen or dashboard once fully loaded
Avoid pressing additional buttons during this phase, as interrupting the boot process can cause system errors or force a restart.
Initial Configuration After First Power-On
If this is your smart board’s first startup, or if the system has been reset, you’ll need to complete an initial setup wizard. This process typically includes:
Language and Region Settings
Select your preferred display language and set your geographic region. This determines default time zones, date formats, and available software features. Many smart whiteboards support dozens of languages, making them accessible to diverse educational and business environments.
Network Connection
Connecting to Wi-Fi or Ethernet enables cloud features, software updates, and content sharing capabilities. Navigate to network settings and choose your network from the available list. For enterprise environments, you may need to enter security certificates or configure proxy settings.
Date and Time Configuration
Set the correct date and time, or enable automatic synchronization via network time protocol (NTP). Accurate time settings are essential for scheduled meetings, class sessions, and proper file timestamp management.
Account Setup
Some systems require administrator account creation or connection to your organization’s directory service (like Google Workspace or Microsoft 365). This step establishes security protocols and determines access permissions for different users.
Connecting External Devices and Peripherals
After your smart board powers on successfully, you may want to connect external devices to expand functionality:
| Device Type | Connection Method | Purpose |
|---|---|---|
| Laptop/Computer | HDMI, USB-C, or wireless casting | Screen mirroring and extended display |
| Document Camera | USB or HDMI connection | Display physical documents and objects |
| External Speakers | 3.5mm audio jack or Bluetooth | Enhanced audio quality for larger rooms |
| Webcam | USB connection | Video conferencing and remote collaboration |
| Wireless Keyboard/Mouse | USB receiver or Bluetooth pairing | Alternative input methods |
Most modern smart boards automatically detect connected devices. If a device doesn’t appear, check the input source selection menu (usually accessed via a dedicated button or on-screen menu) to manually switch to the correct input.
Calibrating Touch Response for Optimal Performance
Touch calibration ensures that your smart board accurately registers touch input across the entire screen surface. While many boards perform automatic calibration during initial setup, you may need to manually calibrate if you notice:
- Touch points registering several inches away from where you touch
- Inconsistent touch response in certain screen areas
- Delayed or missing touch recognition
- Multi-touch gestures not working properly
Manual Calibration Process
Access the calibration tool through your smart board’s settings menu:
- Open the main settings or control panel
- Navigate to “Display Settings” or “Touch Settings”
- Select “Calibrate Touch” or “Touch Calibration”
- Follow the on-screen prompts to touch specific calibration points
- Touch each target precisely in the center as it appears
- Complete the full calibration sequence (typically 9-25 points)
- Test touch accuracy across different screen areas
For best results, use a stylus or your fingertip rather than a broad object, and avoid rushing through the calibration points. Proper calibration significantly improves the user experience, especially for detailed drawing or handwriting tasks.
Troubleshooting Common Startup Issues
Even with proper procedures, you may occasionally encounter startup problems. Here’s how to address the most common issues:
Smart Board Won’t Power On At All
When pressing the power button produces no response¡ªno LED changes, no sounds, no screen activity¡ªsystematically check:
- Power source: Verify the outlet works by plugging in a lamp or phone charger
- Power cable connections: Firmly reseat both ends of the power cable
- Circuit protection: Check if a surge protector or power strip has been switched off or tripped
- Alternative outlet: Try a different wall outlet to rule out electrical issues
- Internal fuse or circuit breaker: Some models have an internal breaker accessible via a small reset button
If none of these steps restore power, the issue likely involves internal hardware requiring professional service.
Smart Board Powers On But Shows No Display
This scenario¡ªwhere LED indicators show the board is receiving power but the screen remains black¡ªoften relates to:
- Brightness settings: The display brightness may be set to zero. Look for brightness control buttons on the front panel
- Input source selection: The board may be set to an inactive input (like HDMI 1) instead of the built-in computer
- Sleep or standby mode: The board entered power-saving mode and needs a touch or button press to wake
- Cable connection issues: If using an external PC, verify the video cable is properly connected
- Extended boot time: First-time startup or system updates can take several minutes longer than normal
Wait at least 3-5 minutes before concluding there’s a serious problem, as some systems perform background updates during startup that extend boot times.
Display Shows Error Messages During Startup
Error messages during boot usually indicate specific problems:
- “No Signal” or “No Input Detected”: Switch to the correct input source using the source selection button
- “Operating System Not Found”: Serious software issue requiring technical support or system reinstallation
- “System Recovery” or “Safe Mode”: Previous shutdown was improper; select normal startup when prompted
- “Temperature Warning”: Room is too hot or cold; allow the board to reach operating temperature
- Network connection errors: These usually don’t prevent basic operation; address after startup completes
Document the exact error message text and any error codes, as these help technical support diagnose issues more quickly.
Touch Function Not Working After Startup
If the display works but touch input doesn’t respond:
- Check for a “touch disabled” indicator or lock icon on the screen
- Look for a physical touch enable/disable button on the frame
- Verify the USB touch cable is connected (if using an external PC)
- Restart the board to reset the touch controller
- Run the touch calibration utility
- Check for software updates that may address touch issues
Some smart boards have separate power states for the display and touch system. The touch controller may need a few extra seconds to initialize after the display appears.
Understanding Power Management and Energy Efficiency
Modern smart boards include sophisticated power management features that reduce energy consumption during idle periods:
Sleep Mode
After a preset period of inactivity (typically 10-30 minutes), the board enters sleep mode. The display turns off, but the system remains powered and ready to wake instantly when you touch the screen or press a button. Sleep mode reduces power consumption by approximately 70-80% compared to full operation.
Deep Sleep or Hibernate
Extended inactivity (usually 2-4 hours) triggers deep sleep mode, where the system saves its state and powers down almost completely. Waking from deep sleep takes longer (15-30 seconds) but saves even more energy¡ªuseful for boards that won’t be used overnight or on weekends.
Scheduled Power On/Off
Many smart boards allow administrators to configure automatic startup and shutdown schedules aligned with school hours or business operations. This eliminates the need for manual power management while ensuring the board is ready when needed. Access these settings through the system administration panel or device management software.
Optimizing Energy Settings
To balance energy efficiency with convenience:
- Set sleep mode activation to 15-20 minutes for frequently used boards
- Enable deep sleep for boards in rooms used less than twice daily
- Configure scheduled shutdown for nights and weekends
- Reduce screen brightness by 10-20% in well-lit rooms without affecting visibility
- Disable unused features like Bluetooth when not needed
According to industry data, properly configured power management can reduce smart board energy consumption by 40-60% annually without impacting user experience.
Best Practices for Daily Startup Routines
Establishing consistent startup procedures helps ensure reliable operation and extends your smart board’s lifespan:
Morning Startup Checklist for Educational Settings
For teachers and instructors starting their day:
- Arrive 10-15 minutes before the first class to allow time for startup and troubleshooting
- Power on the smart board and wait for complete system initialization
- Test touch responsiveness by opening and closing a few applications
- Verify network connectivity if you’ll be accessing online resources
- Load presentation materials or lesson plans before students arrive
- Test any connected devices (document camera, laptop, etc.)
- Adjust brightness and volume to appropriate levels
- Have a backup plan (printed materials, alternative display method) in case of technical issues
Meeting Room Startup Checklist for Business Settings
For business professionals preparing for presentations or collaborative sessions:
- Power on the board 5-10 minutes before the meeting start time
- Connect and test your laptop or tablet connection
- Verify video conferencing setup if hosting remote participants
- Test audio output and adjust volume levels
- Open collaborative software or whiteboarding applications
- Prepare any template documents or background materials
- Familiarize yourself with the screen sharing and annotation tools
- Know who to contact for technical support if issues arise
Maintaining Your Smart Board for Reliable Startups
Preventive maintenance significantly reduces startup issues and extends equipment life:
Regular Cleaning Procedures
Clean the screen weekly using:
- Microfiber cloth designed for electronics
- Screen cleaning solution specifically formulated for interactive displays
- Gentle circular motions without excessive pressure
Avoid using paper towels, harsh chemicals, or excessive moisture, as these can damage the screen coating or seep into electrical components.
Ventilation and Temperature Control
Smart boards generate heat during operation and require proper ventilation:
- Maintain at least 6 inches of clearance around ventilation openings
- Keep the area behind the board free from obstructions
- Ensure room temperature stays within manufacturer specifications (typically 0-40¡ãC)
- Avoid installing boards in direct sunlight or near heating/cooling vents
- Regularly dust ventilation grilles using compressed air or a soft brush
Software Updates and System Maintenance
Keep your smart board’s software current:
- Enable automatic updates for operating system and security patches
- Schedule major updates for off-hours to avoid disrupting classes or meetings
- Periodically restart the board to clear memory and refresh system processes
- Remove unused applications to free storage space and reduce startup time
- Back up important settings and customizations before major updates
Advanced Startup Options and Recovery Modes
When normal startup fails, smart boards typically offer alternative boot modes:
Safe Mode Startup
Safe mode loads only essential system components, bypassing third-party applications and drivers that might cause startup problems. To enter safe mode:
- Power off the board completely
- Press and hold the power button plus volume down button (button combination varies by manufacturer)
- Continue holding until the safe mode menu appears
- Navigate to “Safe Mode” using volume buttons and confirm with power button
Once in safe mode, you can uninstall problematic applications, restore previous configurations, or access diagnostic tools.
Factory Reset
When all else fails, factory reset returns the board to original settings. This erases all data, applications, and customizations, so only use this as a last resort:
- Back up any important data if possible
- Access the system recovery menu (usually through Settings > System > Reset Options)
- Select “Factory Data Reset” or “Restore Factory Settings”
- Confirm the action and wait for the reset process to complete (10-30 minutes)
- Reconfigure the board as if it were brand new
Firmware Recovery
Corrupted firmware¡ªthe low-level software that controls hardware components¡ªsometimes prevents normal startup. Firmware recovery requires:
- Downloading the correct firmware version from the manufacturer’s website
- Copying it to a USB drive formatted as FAT32
- Inserting the USB drive into the board’s service port
- Entering recovery mode using a specific button combination
- Following on-screen prompts to reinstall firmware
Firmware recovery procedures are model-specific. Consult your manufacturer’s documentation or technical support before attempting this process.
Getting Professional Support When Needed
Despite your best efforts, some issues require professional assistance. Contact technical support when:
- The board fails to power on after verifying all power connections
- Unusual sounds (clicking, buzzing, or high-pitched whining) occur during startup
- Visible damage appears on the screen (cracks, dead pixels, burn-in)
- Repeated startup failures occur despite troubleshooting attempts
- Error codes appear that you cannot resolve through documented procedures
- Physical damage is suspected (after a fall, impact, or liquid exposure)
When contacting support, have ready:
- Smart board model number and serial number
- Purchase date and warranty status
- Detailed description of the problem and when it started
- Photos of any error messages or unusual screen displays
- List of troubleshooting steps already attempted
Conclusion
Turning on a smart board involves more than simply pressing a power button. Understanding the complete startup process¡ªfrom pre-power checks through system initialization, configuration, and troubleshooting¡ªensures you can confidently operate this essential educational and business technology. Whether you’re using products from LeaderHub or other manufacturers, the fundamental principles remain consistent across brands and models.
By following the systematic approach outlined in this guide, maintaining regular cleaning and update schedules, and knowing when to seek professional support, you’ll minimize startup issues and maximize the value your smart board provides to learners, collaborators, and audiences.
Remember that modern smart boards are sophisticated computing devices deserving of the same care and attention you’d give any professional technology investment. With proper startup procedures and preventive maintenance, your interactive display will deliver years of reliable service, enhancing communication and collaboration in educational and business environments worldwide.








