Walk into most offices at 10 a.m. on a Tuesday and you will find the same scene: a team hovering outside a conference room, unsure whether the meeting inside is running over or whether the room was simply never released. A smart board with integrated room scheduling display solves this problem at the source. By combining an interactive touchscreen with a live booking panel, the meeting room itself becomes the single source of truth for who is using it, when, and for how long.
This guide explains what an integrated scheduling display actually does, which features matter when you compare models, how to match screen size to room type, and how to budget realistically. Whether you are an IT manager equipping a new headquarters or a small business owner upgrading a single huddle room, the goal is the same: fewer wasted minutes and more productive collaboration.
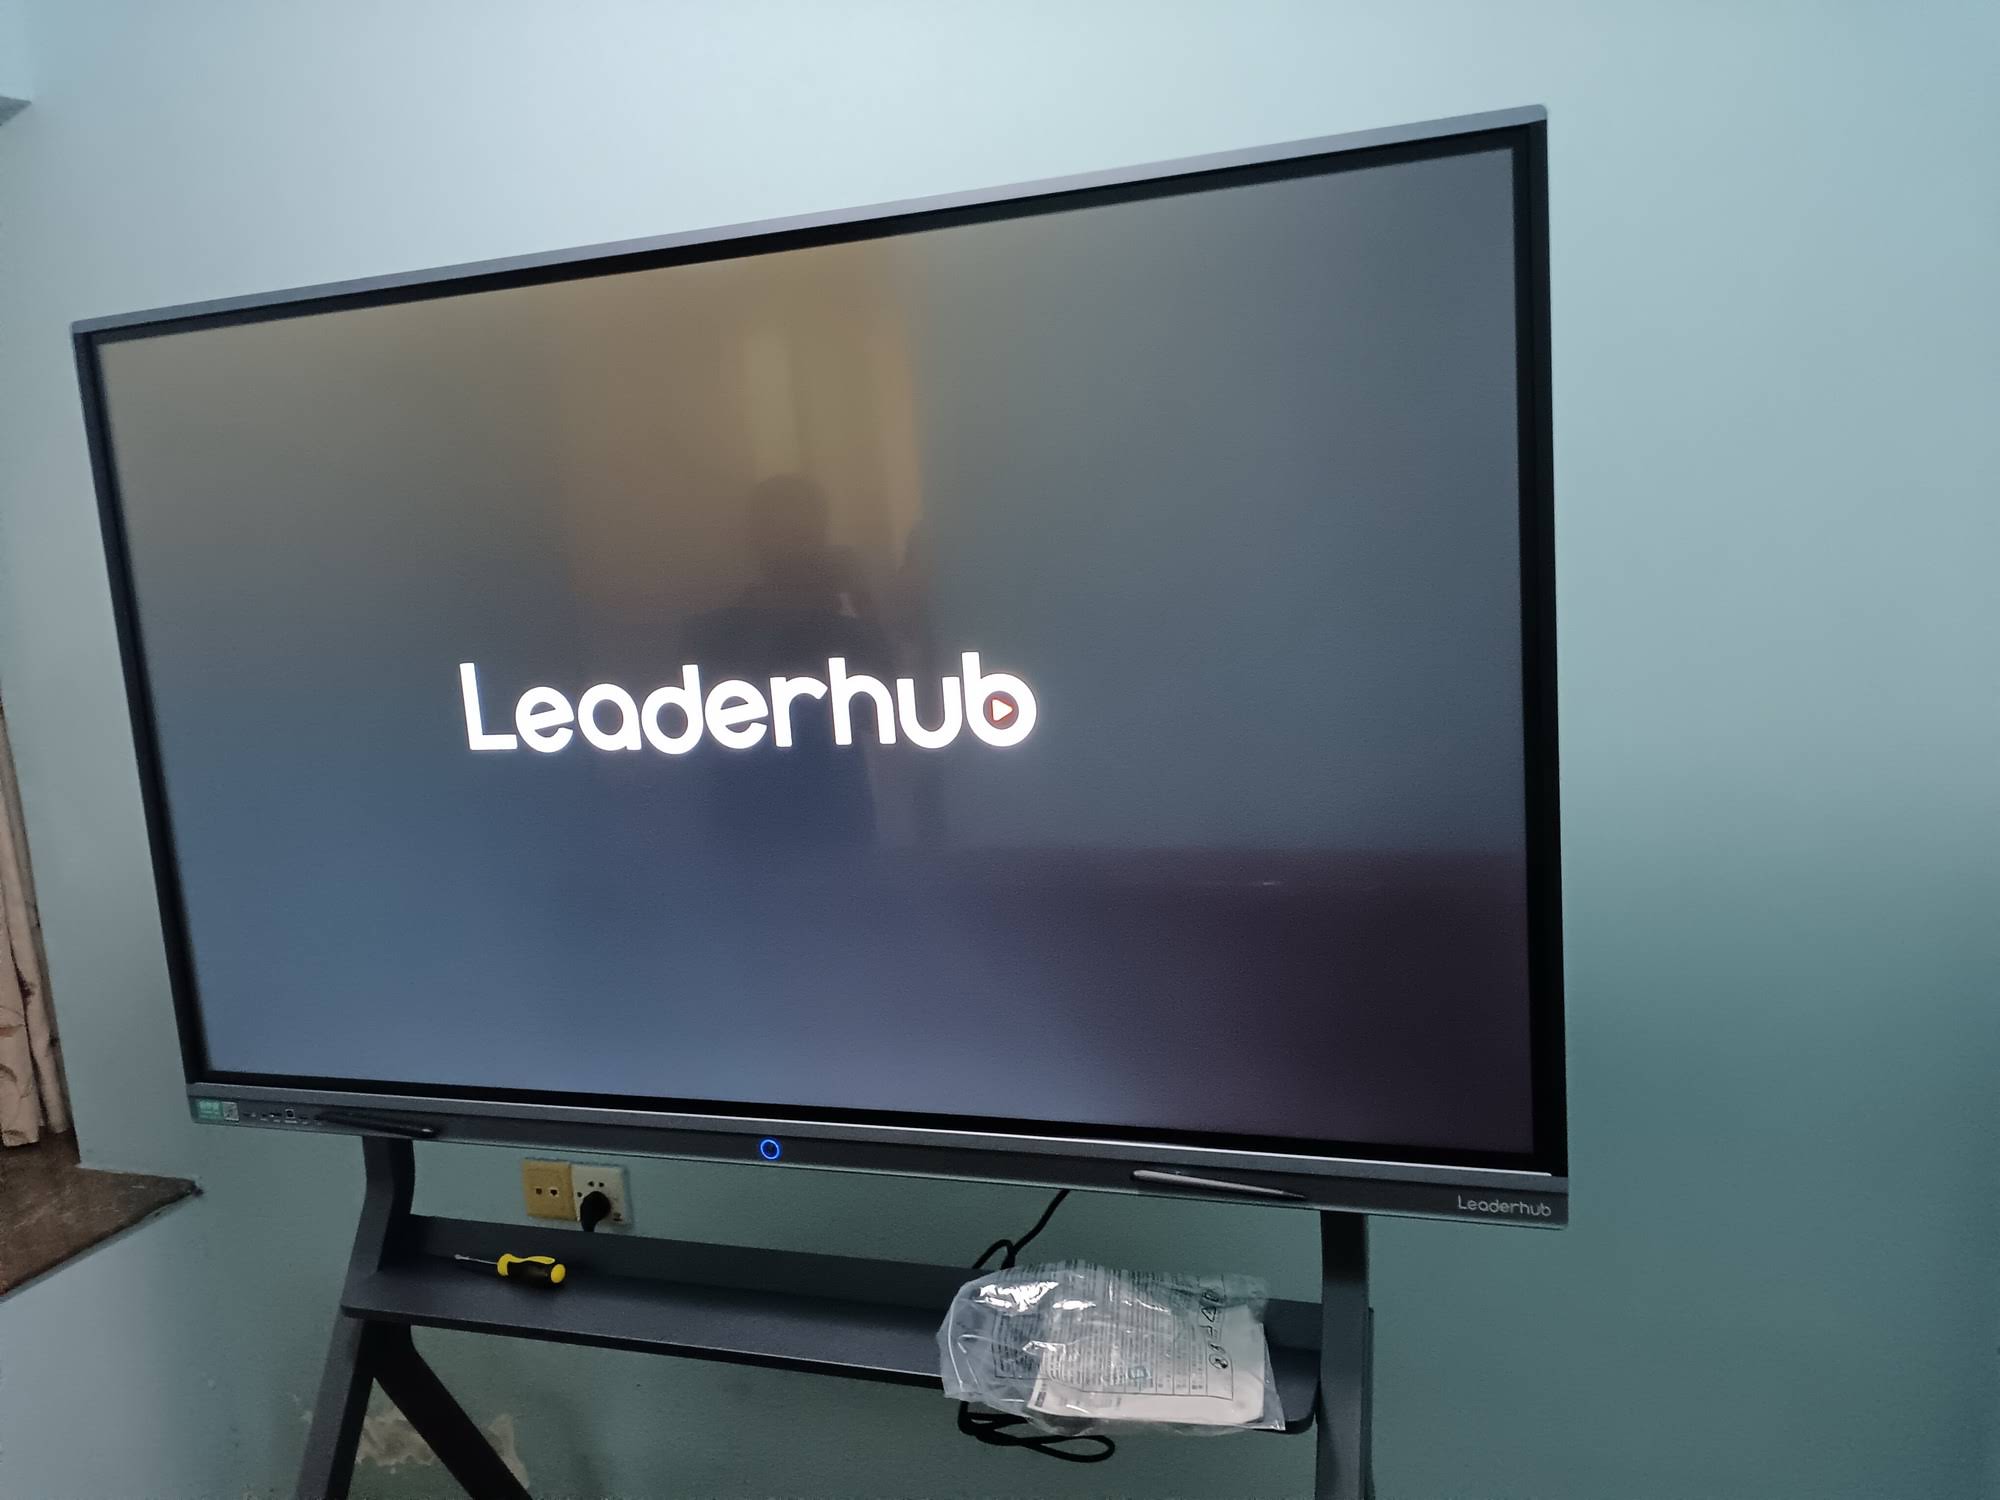
What Is a Smart Board with Integrated Room Scheduling Display?
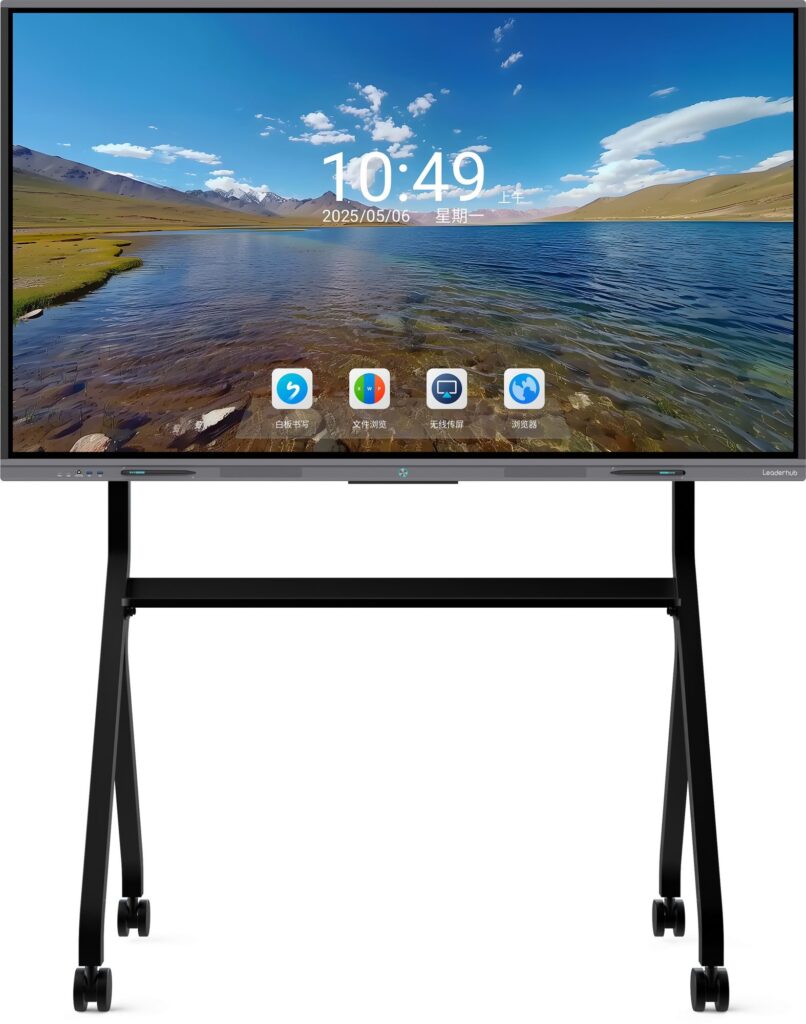
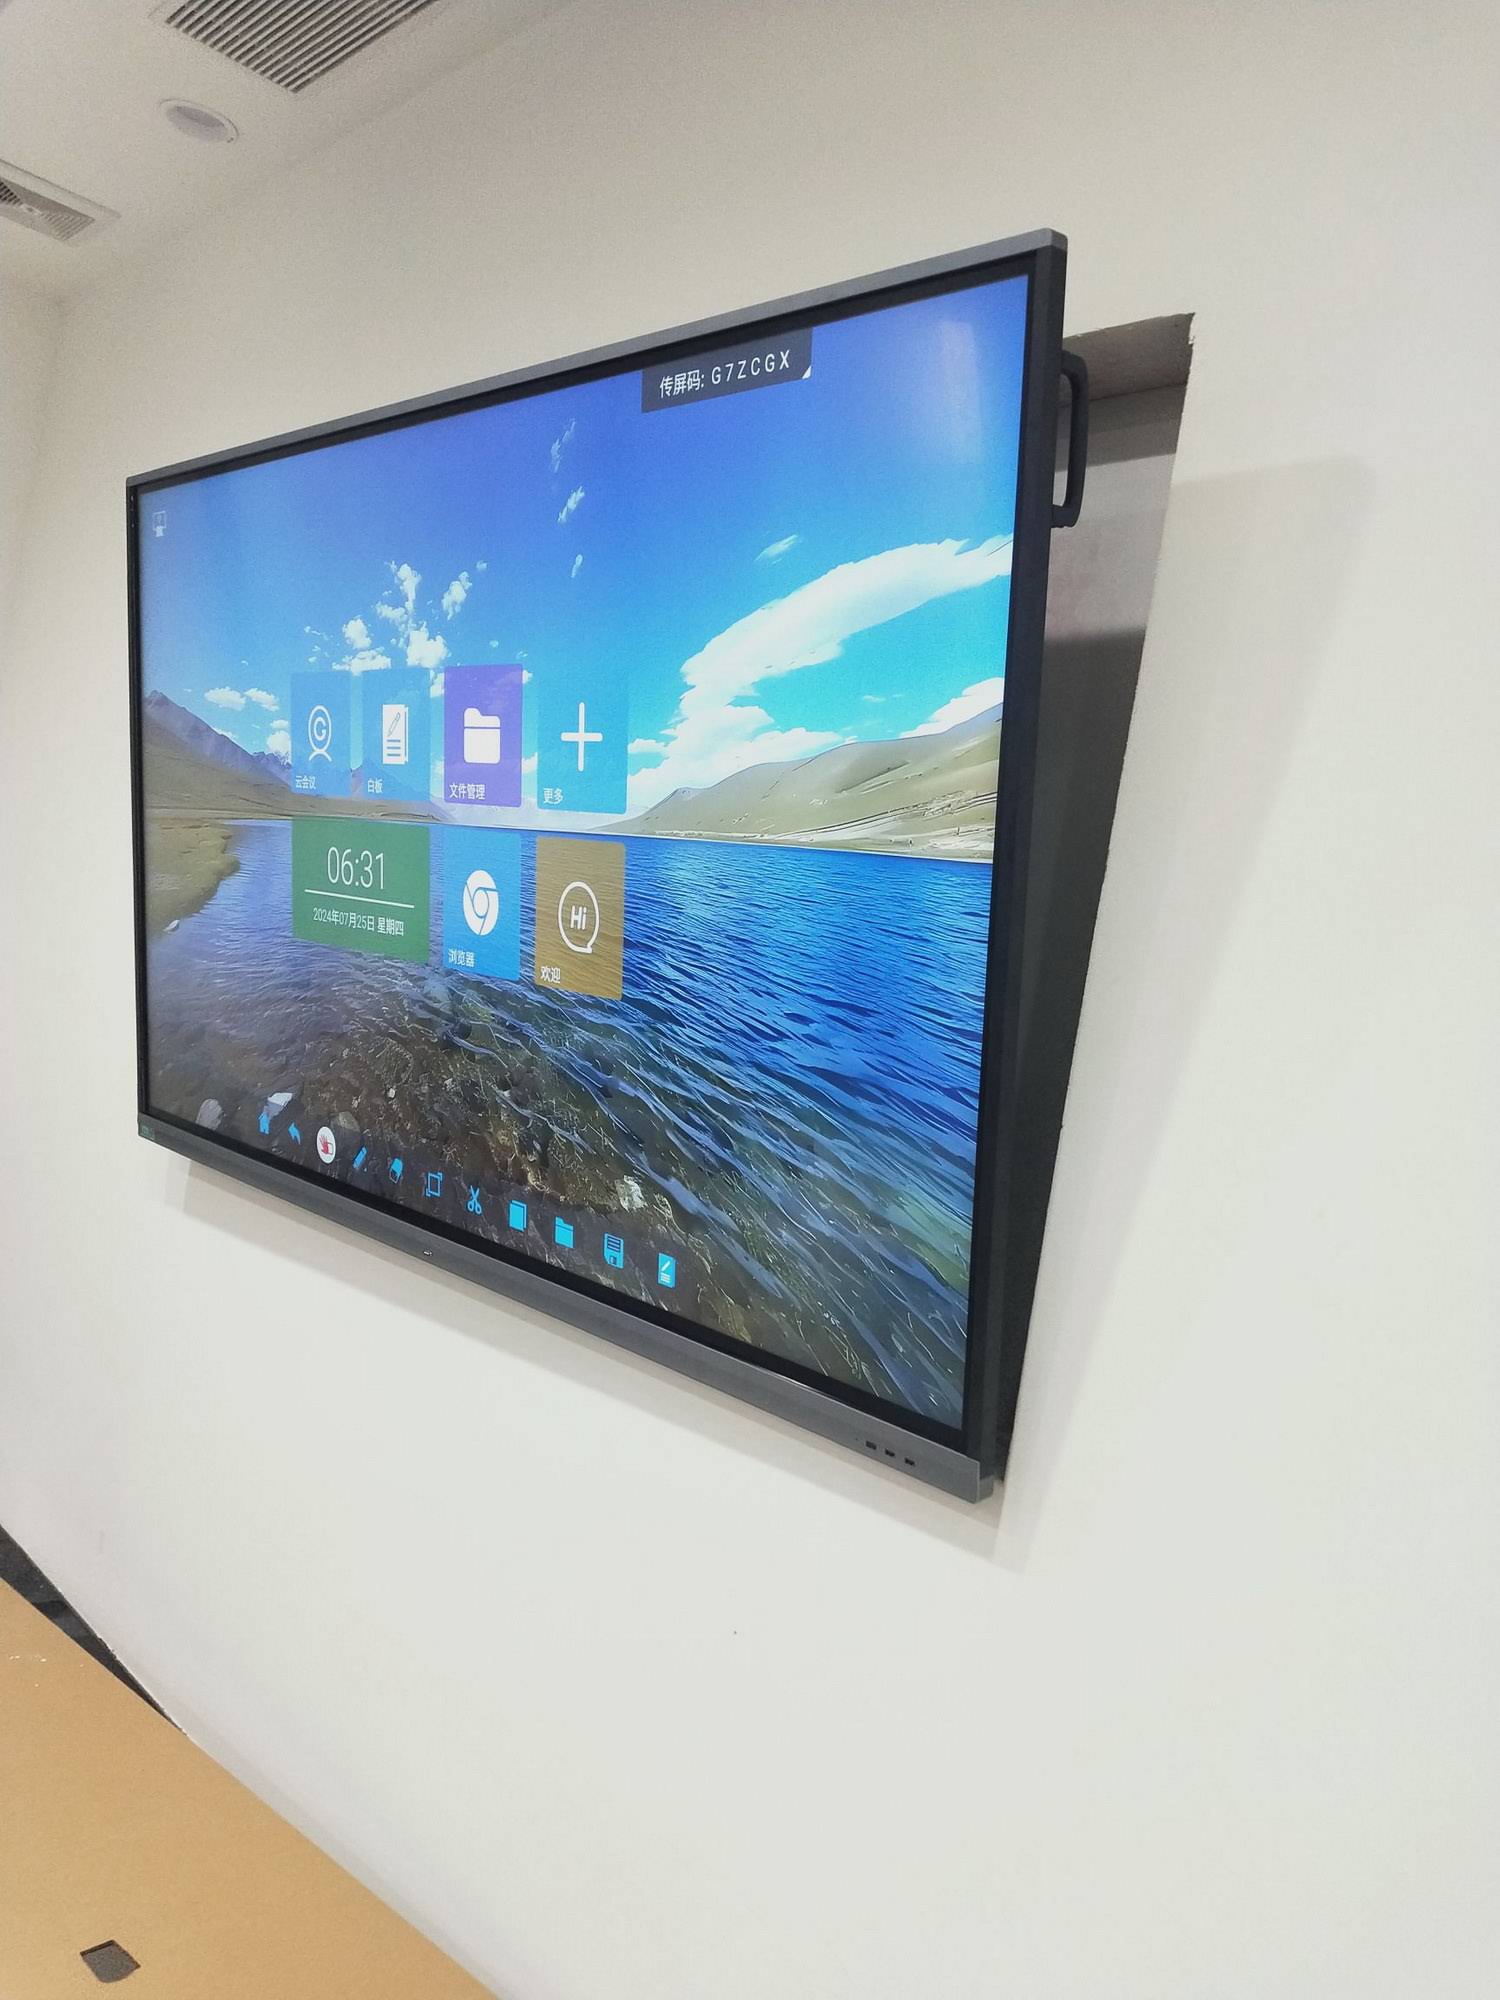
A traditional smart board is an interactive flat panel used for presenting, annotating, and video conferencing. A room scheduling display is usually a small tablet mounted outside the door that shows availability and lets people book on the spot. An integrated solution merges both functions into one ecosystem: the main panel inside the room syncs with your calendar platform, shows the current and upcoming bookings on screen, and can trigger check-in, extension, or early release directly from the touchscreen.
In practice, the system typically includes three connected layers:
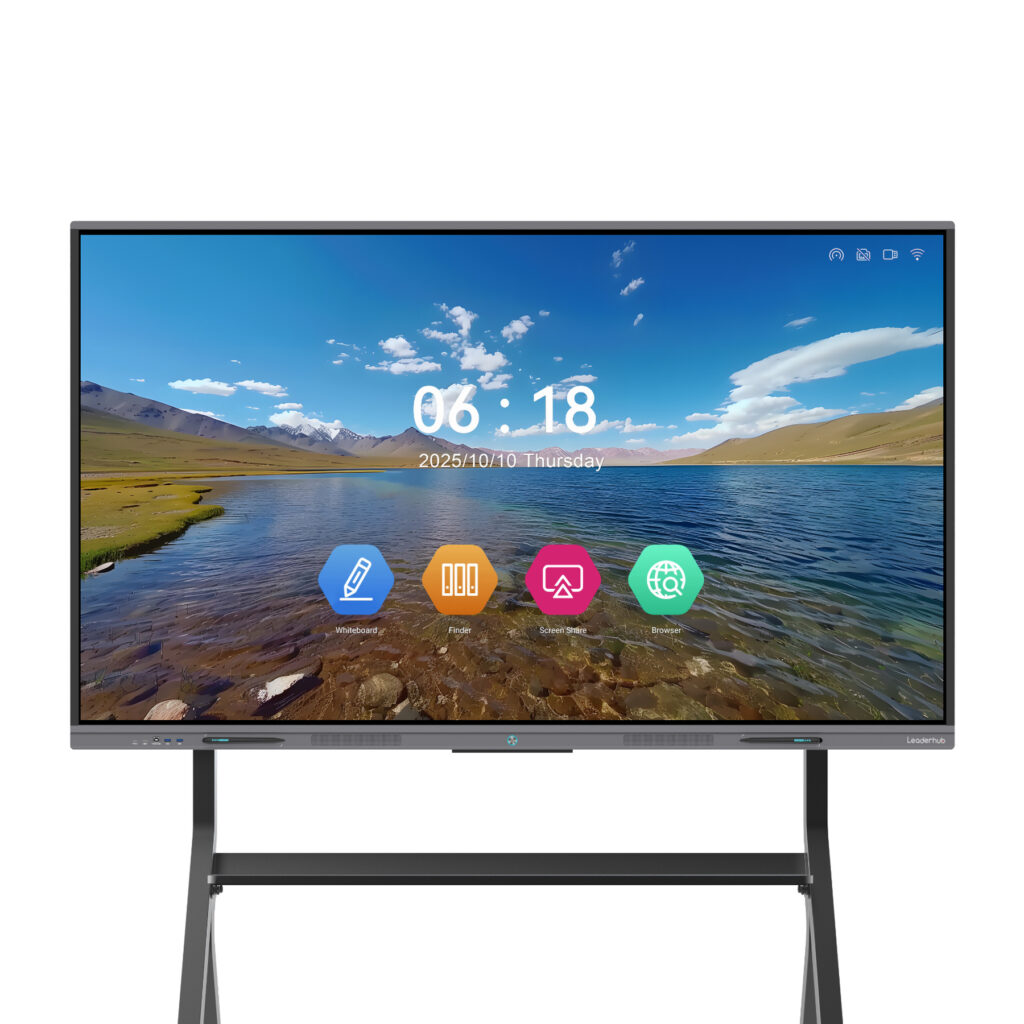
- The interactive panel – a 4K touchscreen running Android or Windows that hosts the whiteboard, wireless screen sharing, and conferencing apps.
- The scheduling software – a calendar integration (Microsoft 365, Google Workspace, Exchange, or a third-party booking app) that pushes reservation data to the panel.
- Optional door-side display – a compact screen or a portable smart screen that mirrors availability status for people walking past.
The value lies in synchronization. When a meeting ends early and the host taps “release room” on the panel, the booking disappears from everyone’s calendar and the door display turns green within seconds.
Why Integrated Scheduling Changes Meeting Culture
Organizations rarely buy a smart board just for the scheduling feature, but the scheduling feature often delivers the most measurable return. Consider the typical pain points it removes:
Ghost Meetings and No-Shows
Recurring bookings that nobody attends block rooms for weeks. Integrated panels can require a check-in tap within a set window; if nobody checks in, the room is automatically freed.
Double Booking and Overruns
A countdown shown on the main screen reminds presenters that the next group is waiting. Many teams report that simply seeing the clock keeps meetings on time.
Zero-Setup Starts
When the panel already knows which meeting is scheduled, it can surface the join link for the video call, load the shared whiteboard file, and display participants with a single touch. The first five minutes of every meeting are no longer spent hunting for cables and logins.
Facility Data for Smarter Decisions
Usage analytics reveal which rooms are overbooked, which sit empty, and what the average occupancy is. This data drives real decisions about office layout and future hardware purchases.
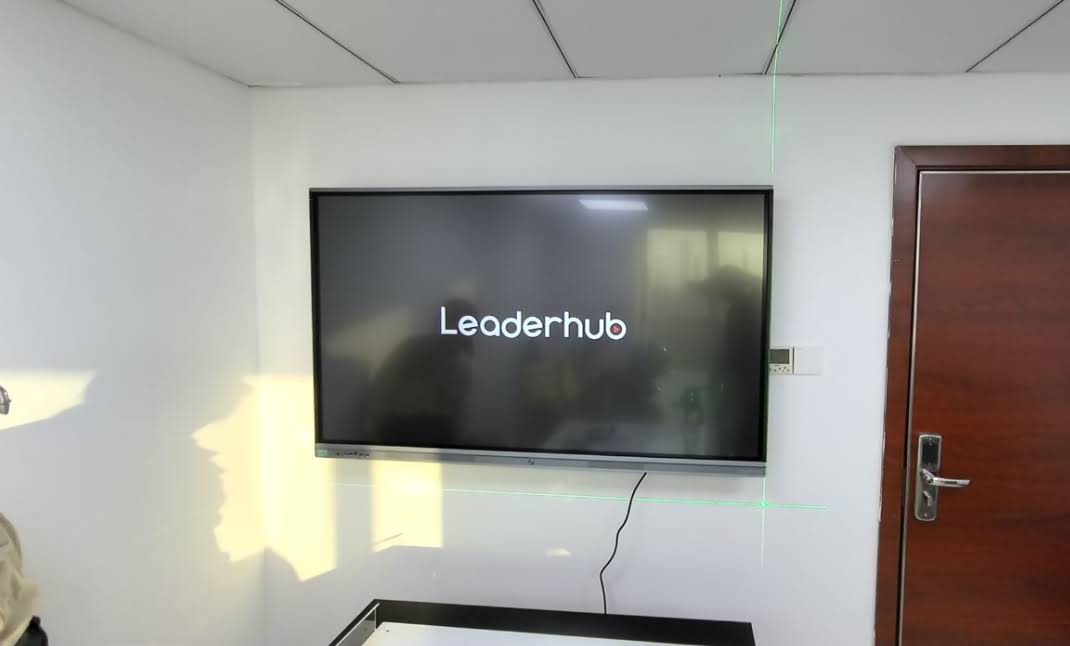
Key Features to Evaluate Before You Buy
Not all integrated solutions are built the same way. Use the following checklist to separate panels that merely display a calendar widget from systems that genuinely streamline your workflow.
1. Calendar Platform Compatibility
Confirm native support for the calendar system your organization already uses. Microsoft 365 and Google Workspace cover most businesses, but if you run on-premise Exchange or a specialized booking tool, verify the integration method (API, OAuth, or room mailbox delegation). A panel that requires a workaround will eventually fail to sync.
2. Display Quality and Touch Precision
Look for 4K UHD resolution, anti-glare glass, and at least 20-point touch with low latency. Scheduling is only one function; the panel must still deliver crisp text for annotation and spreadsheets, and comfortable brightness for rooms with large windows.
3. Operating System and Processing Power
Android panels are affordable and stable for scheduling and wireless casting. If your team needs full desktop applications or enterprise security policies, pair the panel with a dedicated mini PC or choose a model with an OPS slot for a Windows module.
4. Wireless Screen Sharing
Support for Miracast, AirPlay, Chromecast, and a dedicated casting app ensures any guest can present without adapters. Multi-user split-screen is useful for design reviews and comparison sessions.
5. Audio and Camera Readiness
Integrated microphones with echo cancellation and a 4K camera make hybrid meetings more natural. Check whether the panel ships with these or expects external peripherals.
6. Mobility and Mounting Options
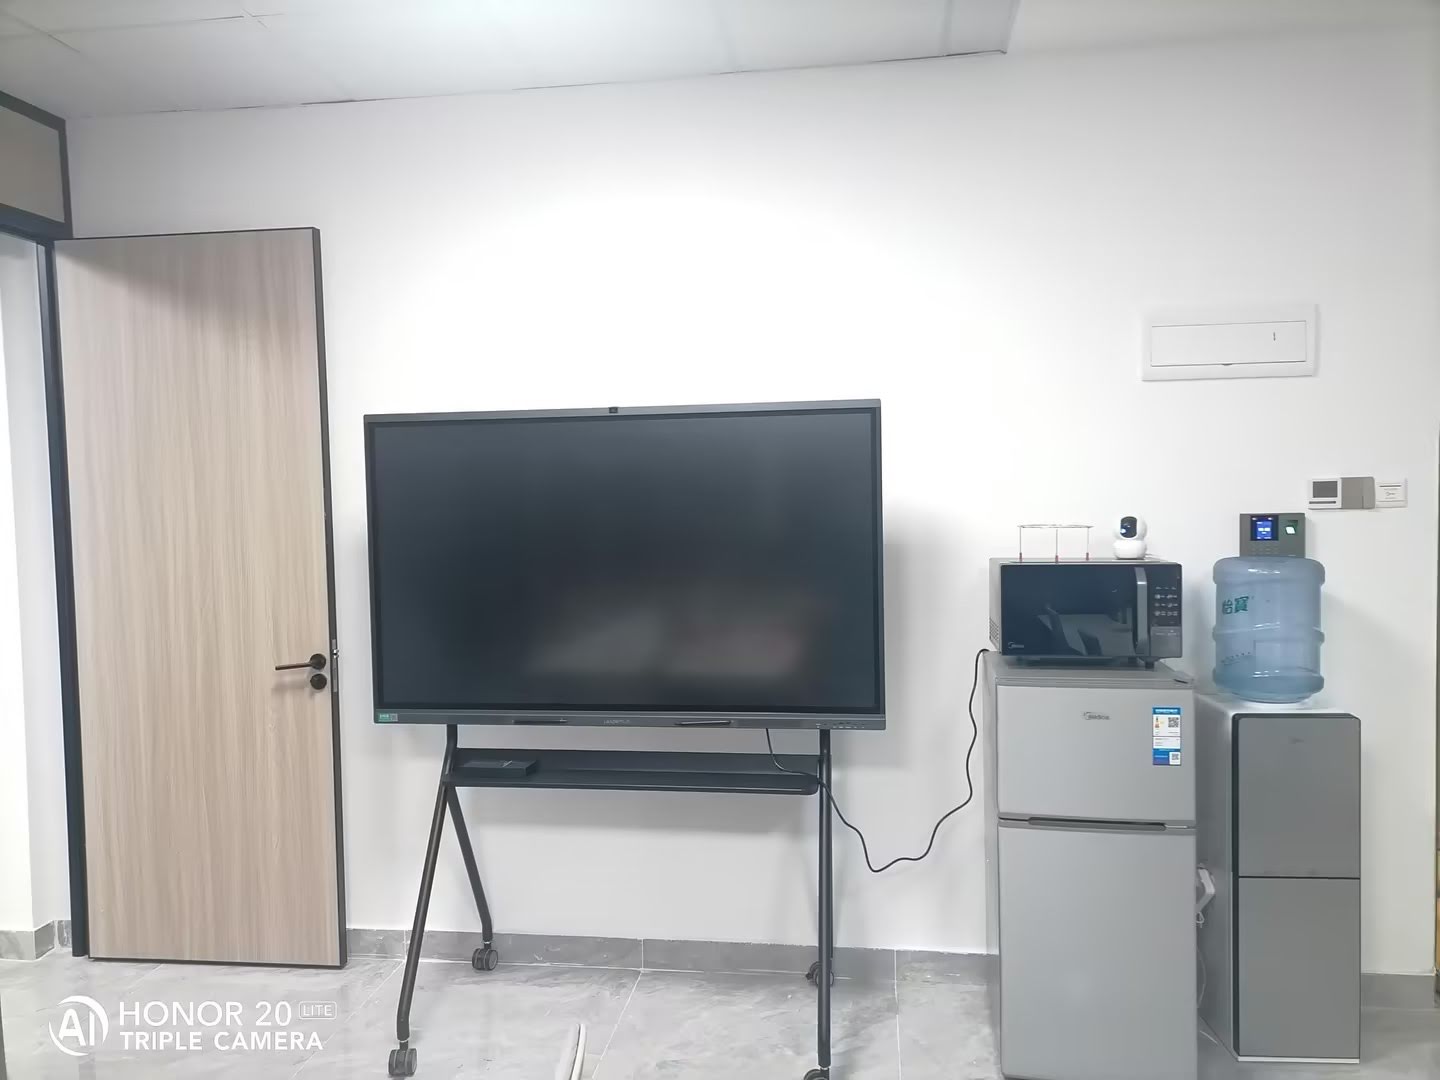
Fixed wall mounts work for dedicated boardrooms, but flexible offices increasingly favor mobile stands. A rotating stand that switches between landscape and portrait is especially helpful: portrait mode is ideal for scheduling dashboards and document review, while landscape suits presentations.
7. Security and Remote Management
IT teams should insist on centralized device management, remote firmware updates, and the ability to lock down app installation. Scheduling data exposes who meets whom and when, so encryption in transit is non-negotiable.
Matching Screen Size to Meeting Room Type
Size is the most common purchasing mistake. A panel that is too small forces people to lean forward and squint, while an oversized screen in a huddle room overwhelms the space and inflates the budget. The table below offers a practical starting point.
| Room Type | Typical Capacity | Recommended Size | Scheduling Setup |
|---|---|---|---|
| Phone booth / focus room | 1–2 people | 24″–27″ portable screen | Door-side display only |
| Huddle room | 3–6 people | 55″–65″ interactive panel | On-panel scheduling widget |
| Standard conference room | 6–12 people | 75″ interactive panel | Panel + door display |
| Boardroom / training room | 12–25 people | 86″ interactive panel | Panel + door display + analytics |
| Auditorium / town hall | 25+ people | 110″ interactive panel | Centralized booking system |
A useful rule of thumb: the farthest seated participant should be no more than roughly four times the screen height away from the display. For a 75-inch panel (about 37 inches tall), that puts the comfortable viewing limit at around 12 feet.
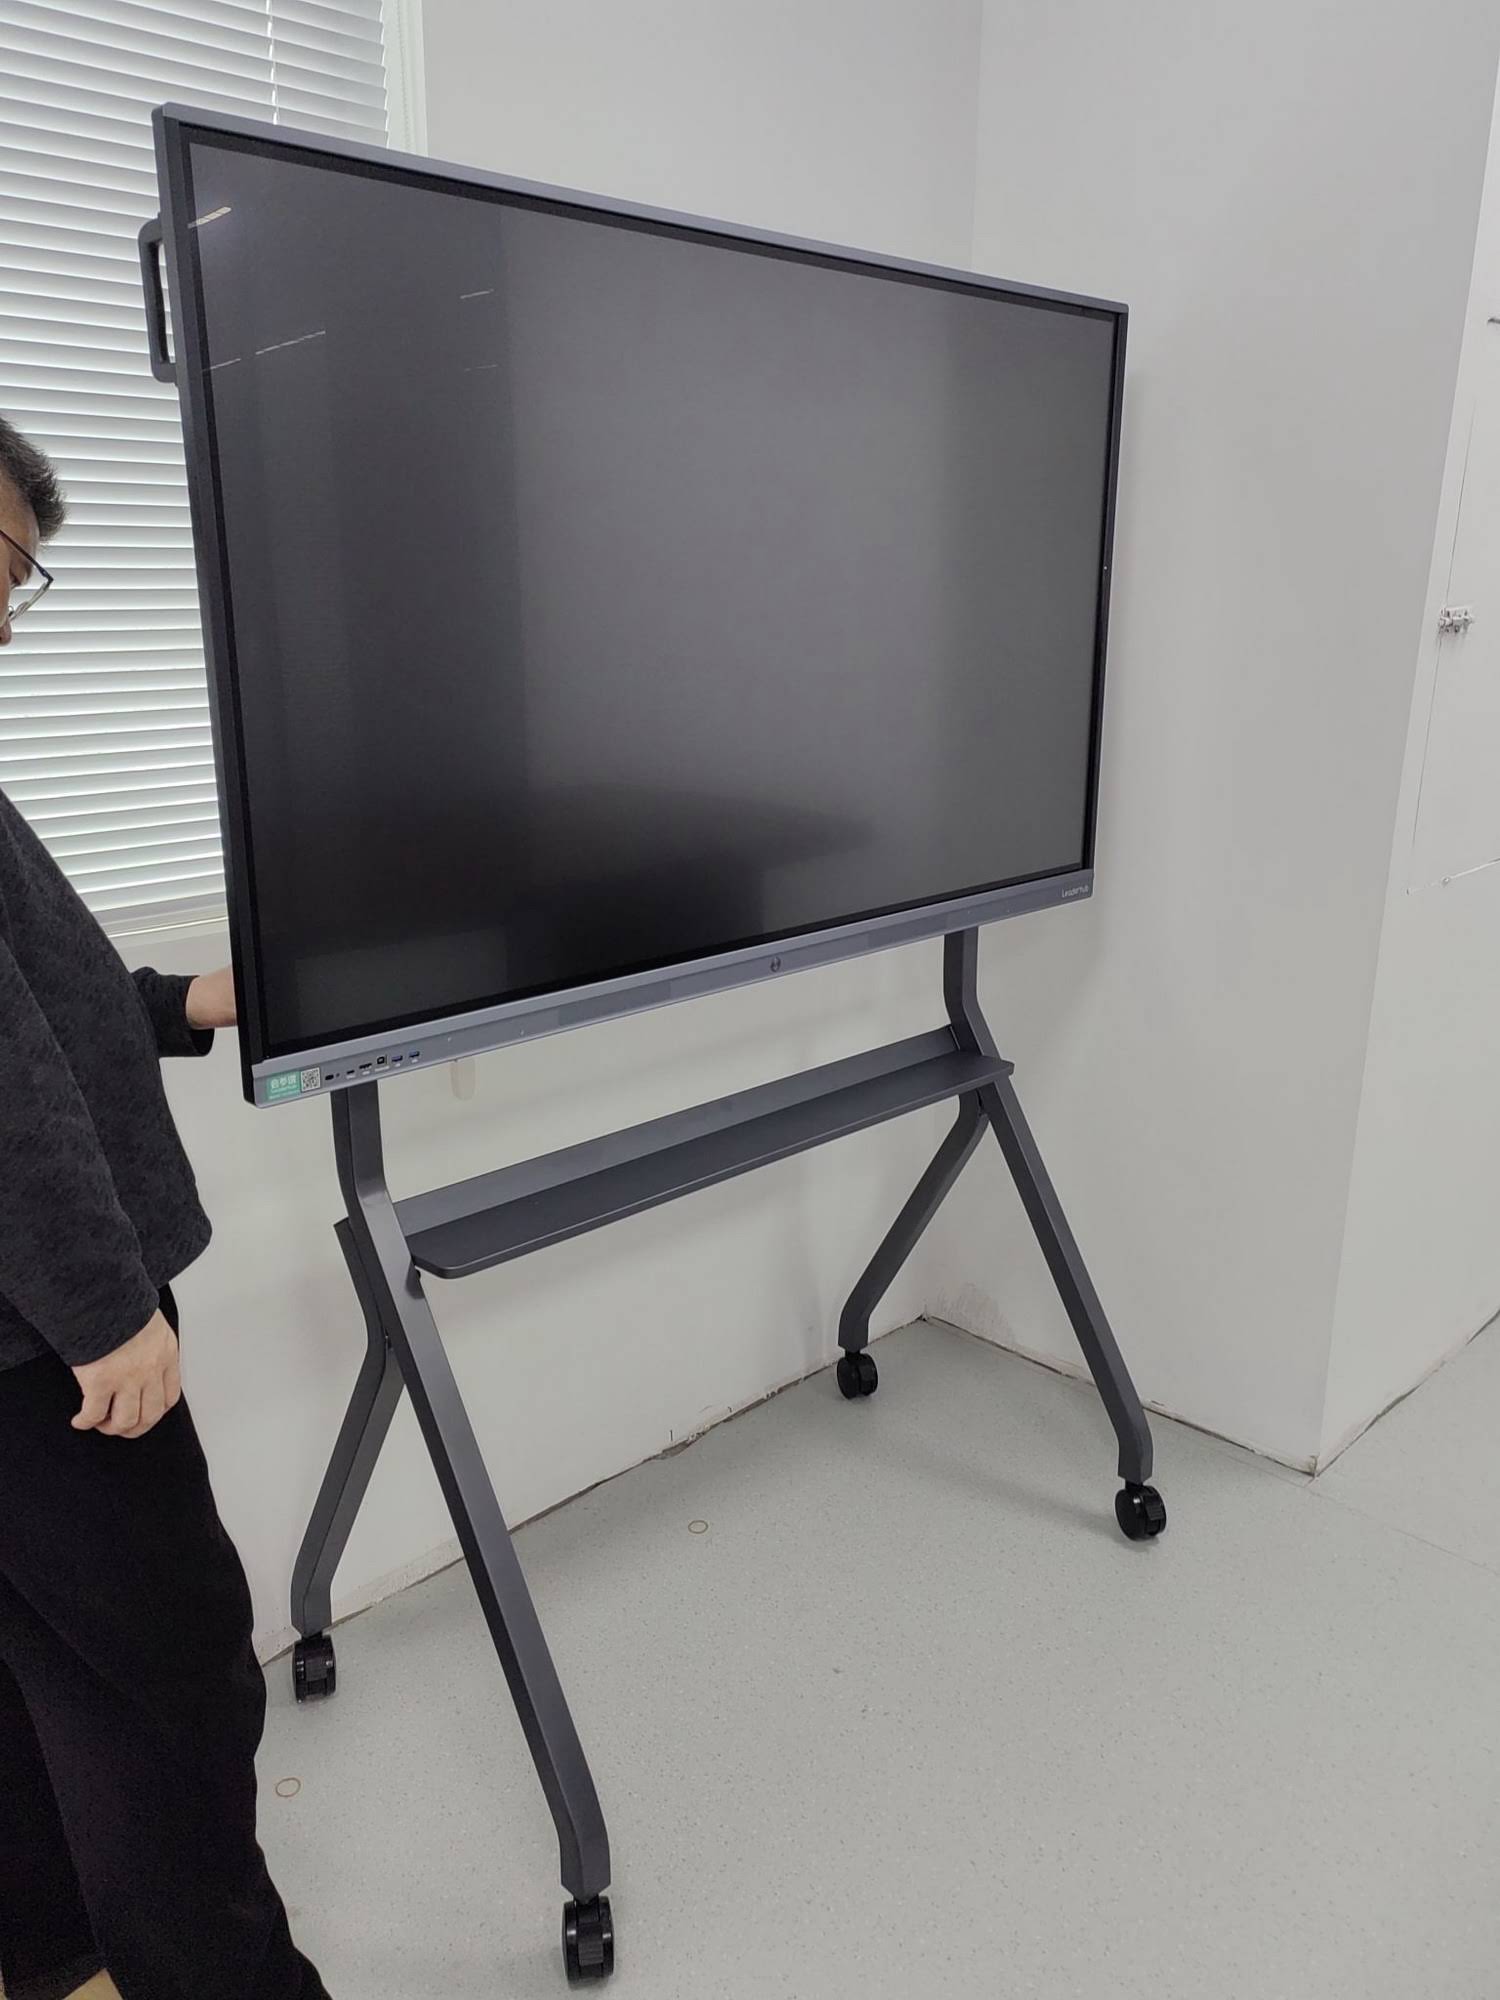
Comparing Interactive Panel Options for Scheduling-Ready Rooms
Shenzhen-based Leaderhub, with 16 years of interactive-display experience and customers in 82 countries, offers several panels that pair well with calendar-driven room management. The comparison below highlights which models suit different budgets and room sizes.
| Model | Size | Best For | Price |
|---|---|---|---|
| L65ZM Interactive Whiteboard | 65″ 4K | Budget-conscious huddle rooms | $1,099 |
| L65HM Smart Whiteboard | 65″ 4K | Rotatable panel for flexible spaces | $1,299 |
| L75HM Smart Whiteboard | 75″ 4K | Standard conference rooms | $1,599 |
| L75H Pro Interactive Flat Panel | 75″ 4K | Enterprise rooms with heavy video use | $2,399 |
| L86ZM Interactive Whiteboard | 86″ 4K | Boardrooms and training rooms | $1,699 |
| U55Pro Mobile Interactive Flat Panel | 55″ 4K | Shared rooms that move between teams | $2,499 |
| L277M Smart Rotating Screen | 27″ touch | Door-side availability display | $899 |
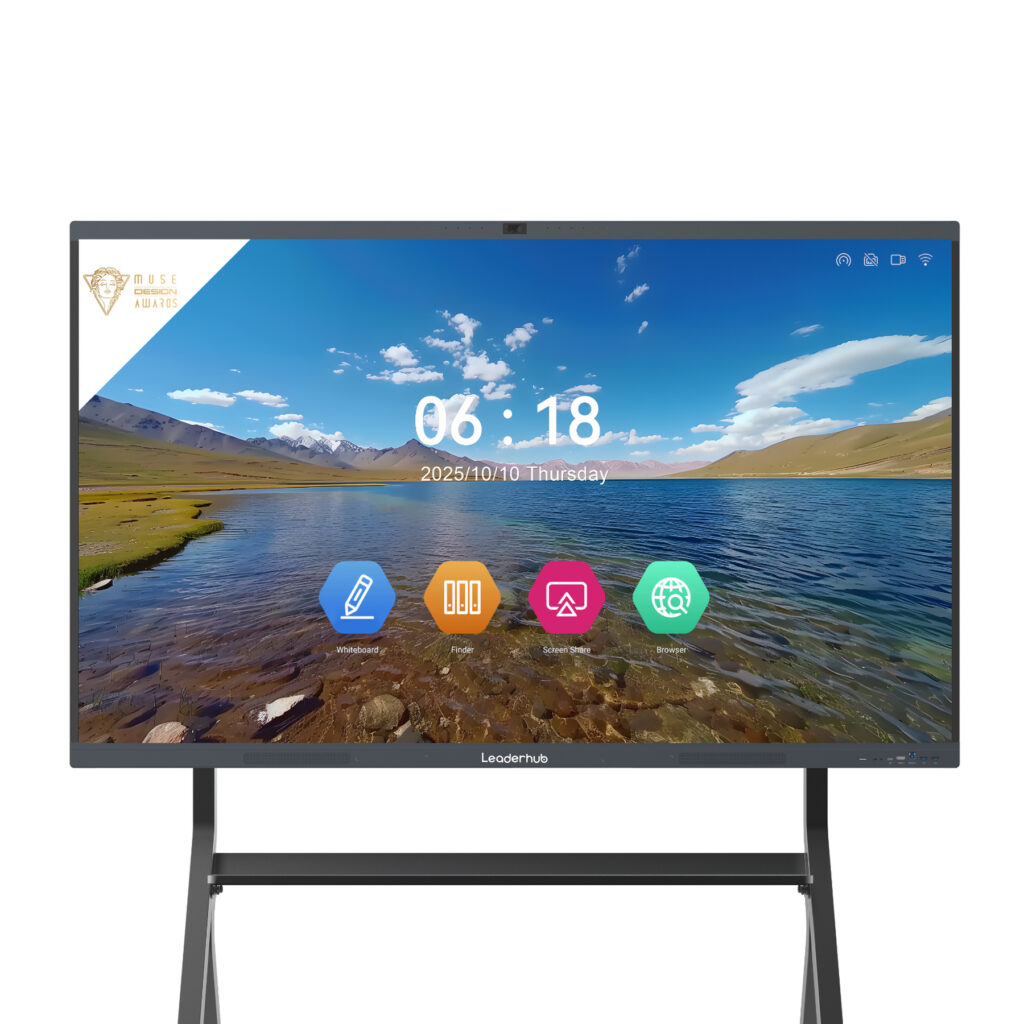
The HM series is notable for its rotatable design, recognized by the Leaderhub HM Series MUSE Design Award. Rotating into portrait mode turns the panel into a full-height scheduling and agenda board between meetings, then flips back to landscape for presentations.
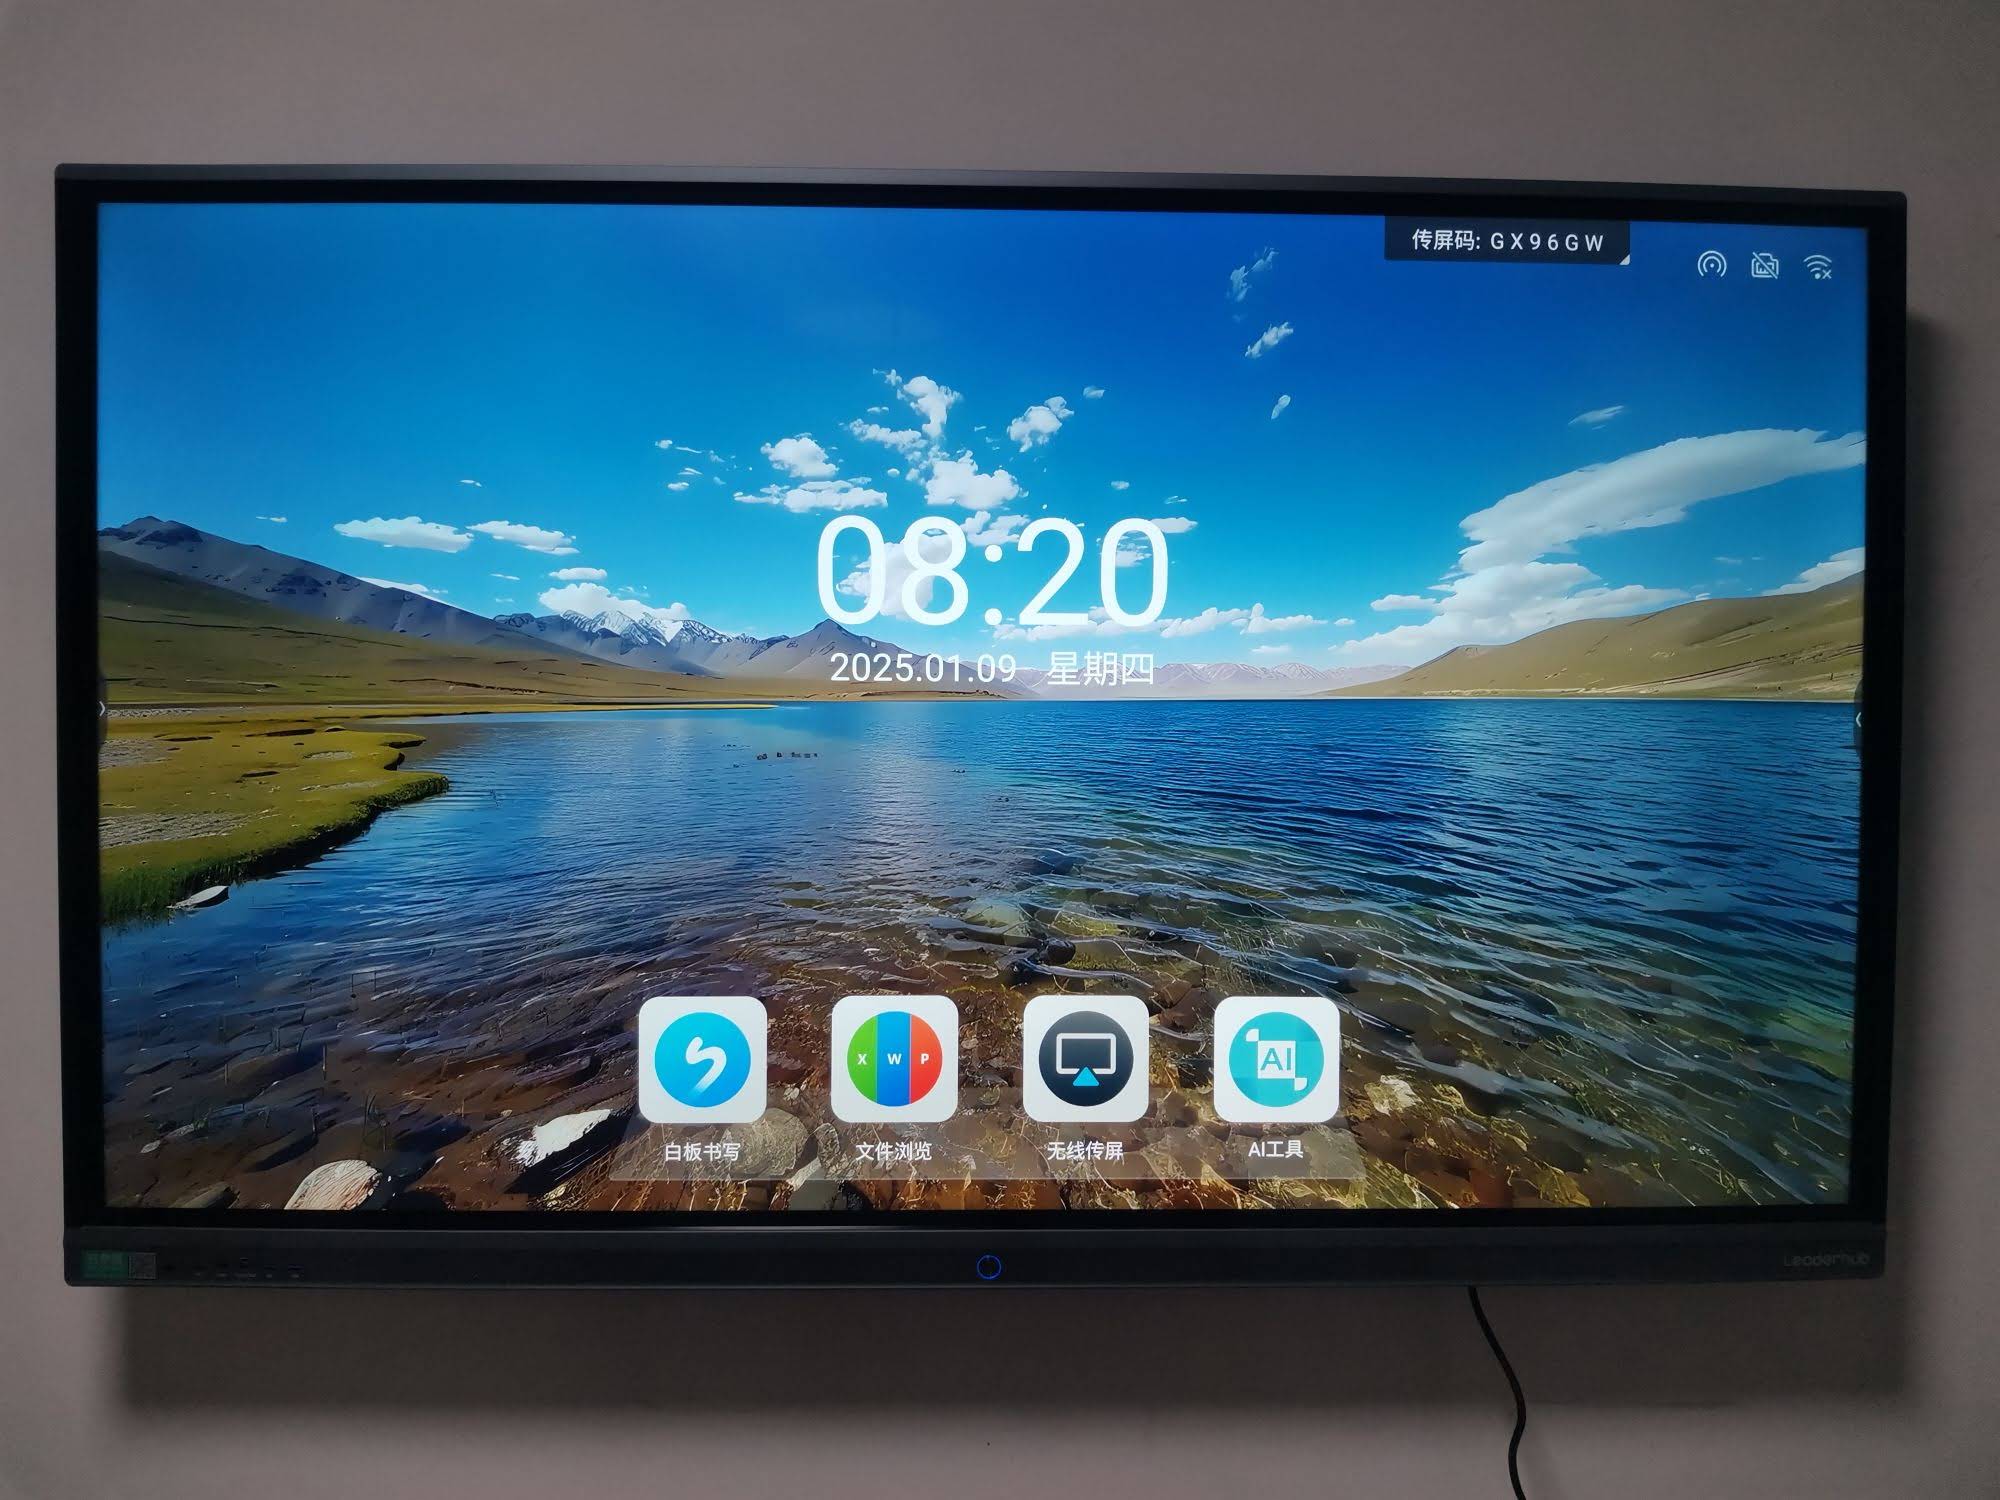
Step-by-Step Selection Process
Follow this sequence to avoid buying hardware that does not fit your workflow.
- Audit your rooms. List every meeting space, its capacity, window exposure, and current booking method. Identify which rooms have the highest conflict rates.
- Define the calendar backbone. Decide whether scheduling will run through Microsoft 365, Google Workspace, or a dedicated room management platform. This decision filters your hardware shortlist immediately.
- Choose screen size per room. Use the sizing table above and verify viewing distance on site, not from floor plans.
- Decide on mobility. Wall-mounted panels cost less to install but cannot move. Mobile stands add flexibility for growing teams or shared floors.
- Plan the door-side experience. Decide whether each room needs an external display or whether on-panel scheduling is enough for low-traffic spaces.
- Pilot one room first. Install a single integrated setup, run it for four to six weeks, and collect feedback before rolling out across the building.
- Train and document. Even intuitive systems benefit from a one-page guide on checking in, extending, and releasing rooms.
Budgeting: Total Cost Beyond the Panel
Hardware is the visible expense, but a realistic budget includes several supporting items. Planning for them upfront prevents surprises during deployment.
- Mounting hardware – wall brackets or mobile stands, typically a small percentage of panel cost.
- Compute module – an OPS module or external mini PC if Windows applications are required. The LP1C Mini PC at $399 is a cost-effective companion for scheduling dashboards and conferencing clients.
- Software licenses – some room booking platforms charge per room per month; others are included with your productivity suite.
- Network infrastructure – reliable Wi-Fi or wired Ethernet at every panel location, plus power outlets positioned correctly.
- Installation and cabling – professional installation ensures clean cable management and safe mounting for panels weighing 40–70 kg.
- Peripherals – cameras, soundbars, or ceiling microphones for larger rooms.
For a mid-sized office with five meeting rooms, a complete integrated solution built around 65–75 inch panels generally falls between $8,000 and $15,000, depending on peripherals and software choices. Compared with the cost of five people waiting ten minutes outside a room every day, the payback period is usually measured in months rather than years.
Deployment Best Practices from Real Installations
Position the Panel for Both Functions
Scheduling information must be visible from the doorway, while presentation content must be visible from every seat. In most rectangular rooms, mounting the panel on the short wall opposite the entrance satisfies both requirements.
Use Color Coding Consistently
Green for available, red for occupied, and amber for “ending soon” is a near-universal convention. Keep it consistent across door displays and on-panel widgets so nobody has to learn two systems.
Set Sensible Auto-Release Windows
A ten-minute check-in window works well for most offices. Shorter windows frustrate people arriving from other buildings; longer windows let ghost bookings persist.
Integrate with Hybrid Workflows
Remote participants benefit when the panel automatically joins the scheduled video call. Make sure your chosen platform supports one-touch join for Teams, Zoom, or Google Meet directly from the scheduling card.
Consider Standards and Interoperability
Industry bodies such as AV Industry Standards and Resources publish guidance on display sizing, viewing angles, and system design that can help validate your plan, especially for larger deployments that will be audited by facilities teams.
Beyond the Office: Education and Training Environments
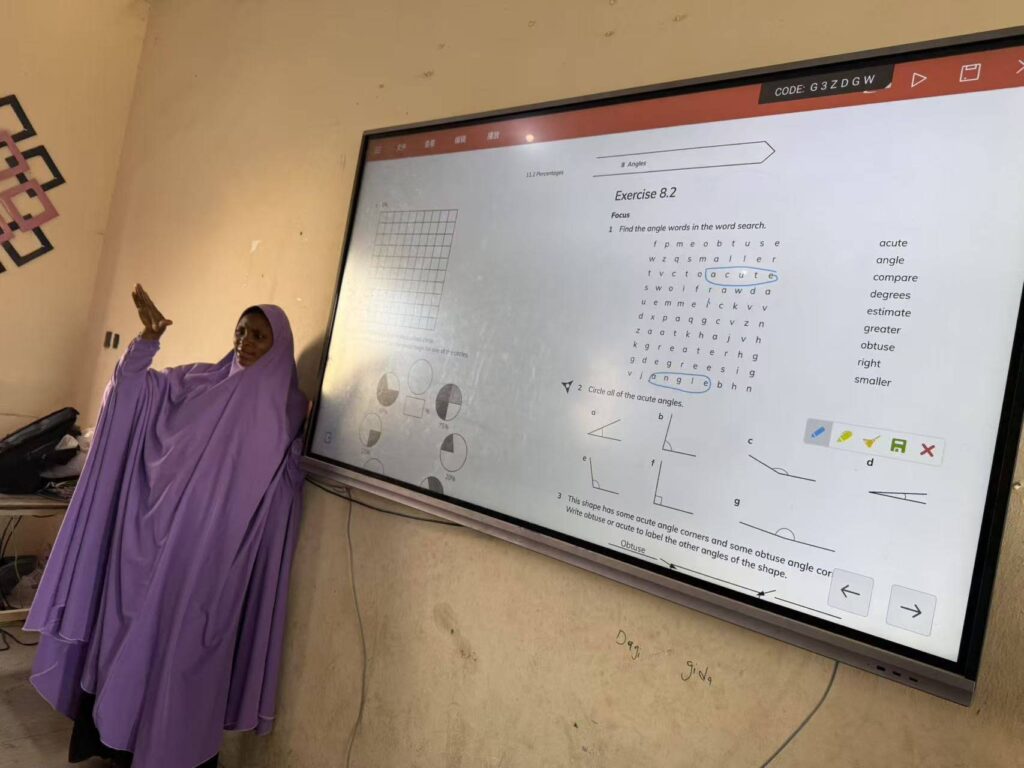
Room scheduling is not limited to corporate settings. Universities and training centers face the same challenges with lecture halls, labs, and seminar rooms. An interactive panel with integrated scheduling lets instructors see their timetable on arrival, load course materials, and release the space for student study groups when a class is cancelled. Research summarized in the UNESCO Technology in Education Report emphasizes that technology delivers the most value when it is integrated into daily routines rather than added as a standalone tool, and scheduling-aware displays are a clear example of that principle.
For institutions evaluating a broader fleet, the full range of smart whiteboards spans 65 to 110 inches, making it possible to standardize on one software environment across huddle rooms, classrooms, and auditoriums.
Frequently Asked Questions
Can I add room scheduling to a smart board I already own?
Often yes. If the panel runs Android with app installation enabled, most room booking platforms offer a compatible app. Older panels without app support can still be paired with an external door display connected to the same calendar.
Does the scheduling display work if the internet goes down?
Most platforms cache the current day’s bookings locally, so the panel continues to show accurate status for several hours. New bookings and releases sync once connectivity returns.
Is a separate door-side screen really necessary?
For high-traffic rooms, yes. People deciding whether to enter should not have to open the door to check. For small focus rooms with glass walls, the on-panel widget is frequently sufficient.
How many touch points do I need for scheduling tasks?
Scheduling itself requires only single touch. However, the same panel will be used for annotation and multi-user collaboration, so 20-point touch or higher remains the practical standard.
What about privacy of meeting titles?
Good platforms let administrators choose whether to display the meeting title, only the organizer’s name, or simply “Reserved.” Configure this per room based on sensitivity.
Final Recommendations
The best smart board with integrated room scheduling display is the one that fits your calendar platform first, your room sizes second, and your budget third. Prioritize native calendar integration and reliable sync over flashy extras, size each panel to its actual room rather than buying one model for every space, and pilot before you scale.
Teams that follow this approach typically find that meetings start on time more often, room conflicts nearly disappear, and the interactive panel becomes a natural hub for collaboration rather than another screen nobody touches. If you would like help mapping specific models to your floor plan, contact the Leaderhub team for a tailored room-by-room recommendation.