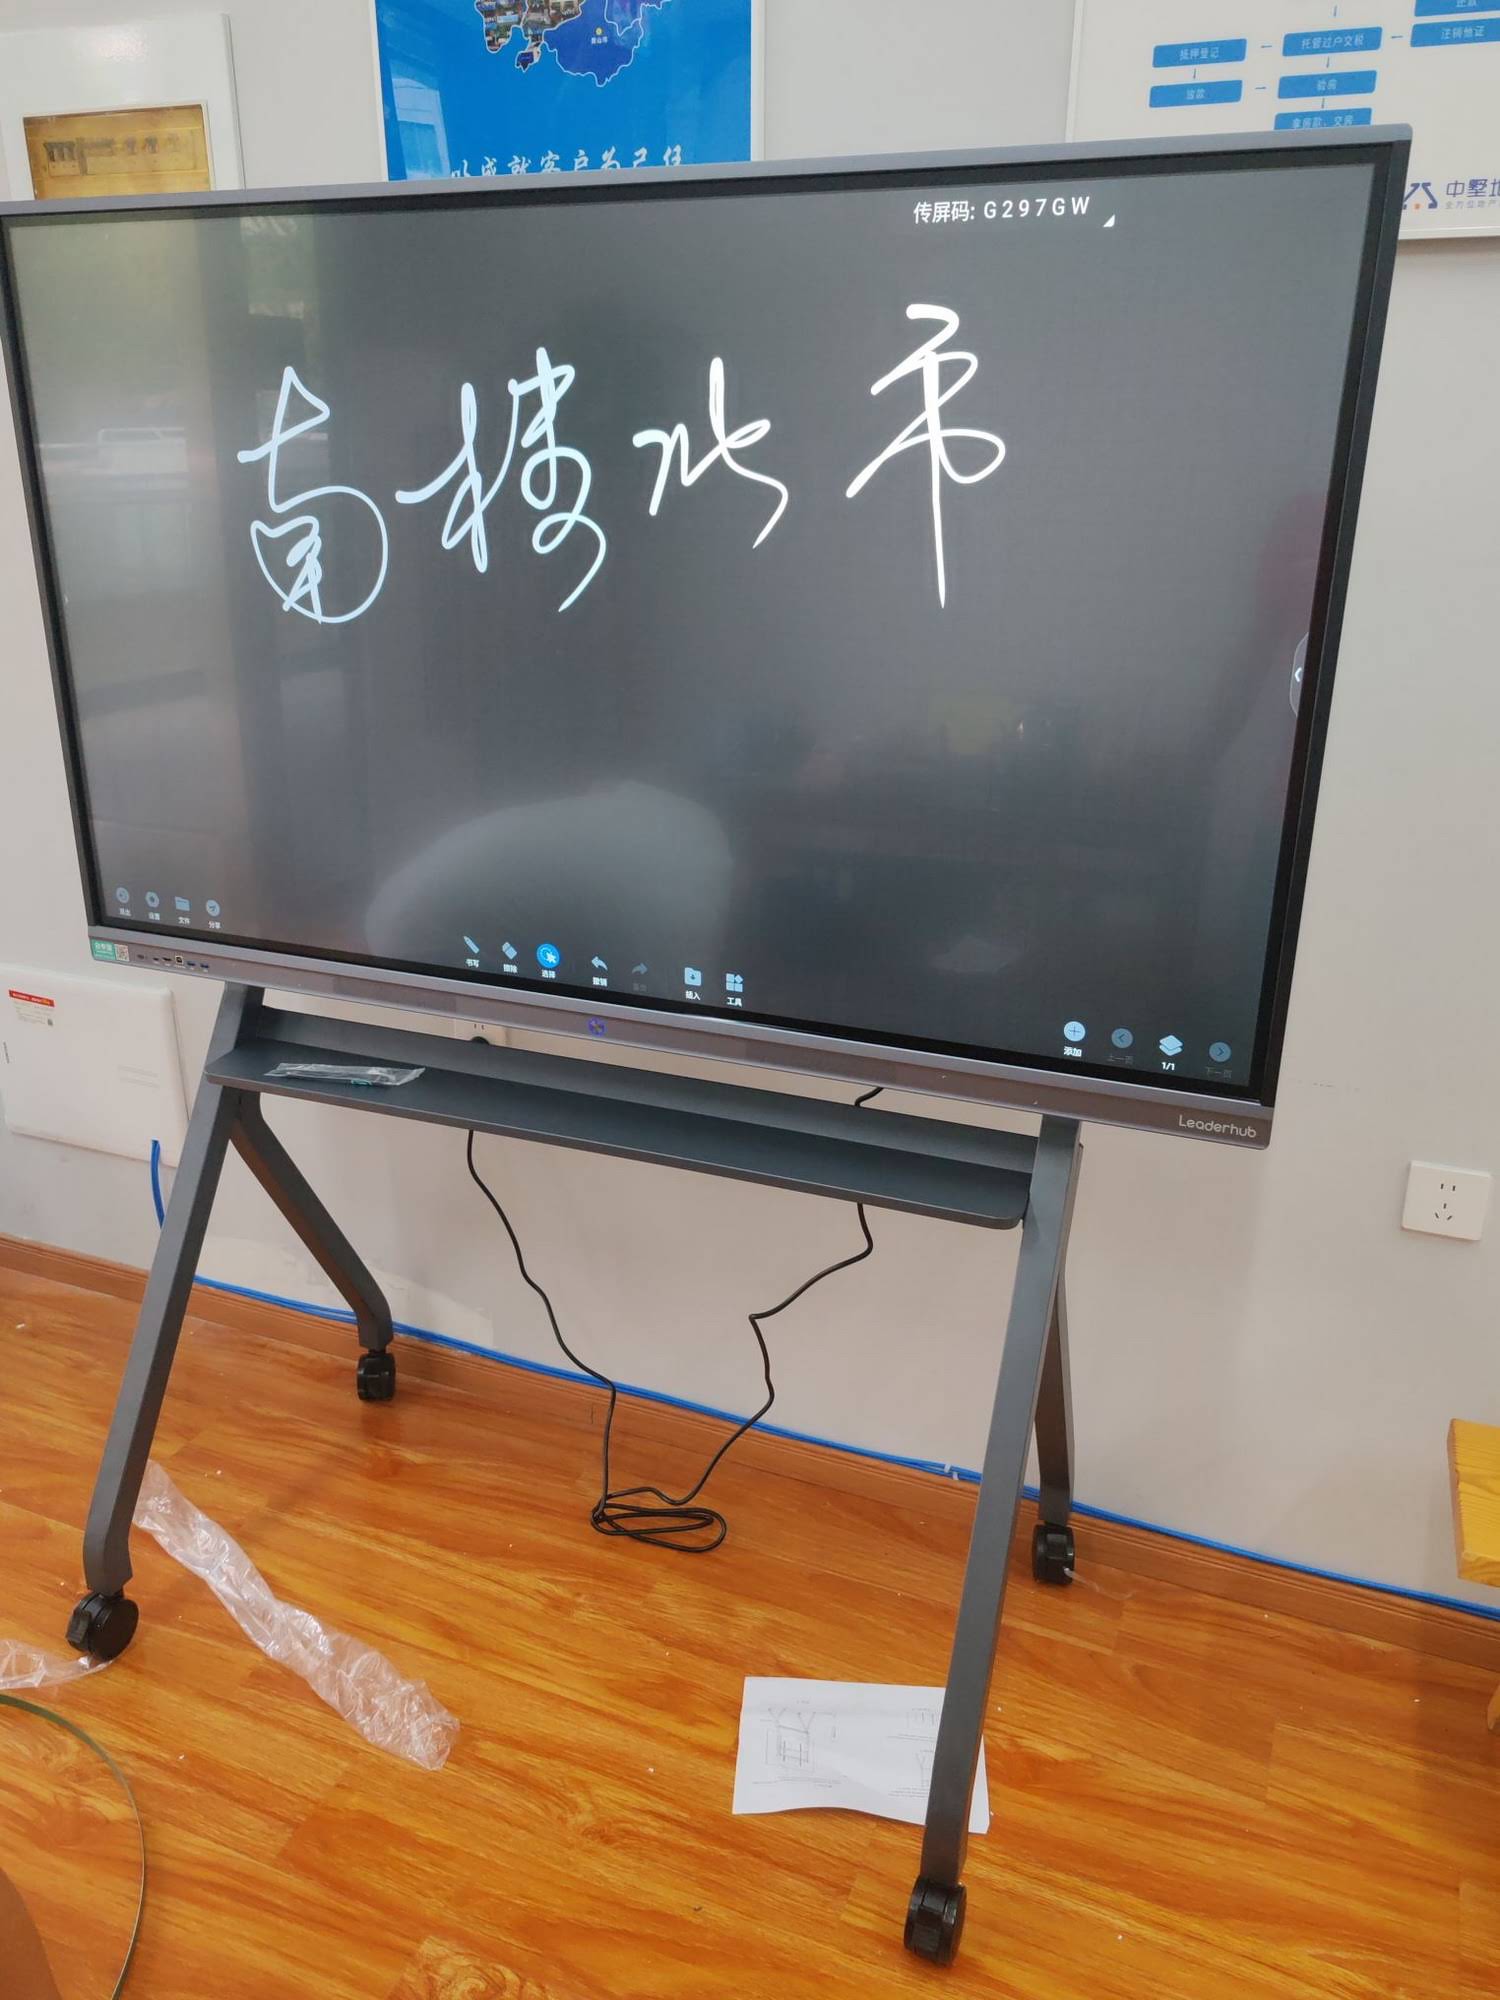
Interactive displays have moved from “nice to have” to standard classroom infrastructure, yet many teachers still use them as oversized projectors. The difference between a smart board that transforms learning and one that simply shows slides comes down to planning. The smart board lesson planning strategies below are designed to help educators in primary schools, secondary schools, universities and training centres turn touch, multimedia and real-time feedback into measurable student engagement — regardless of subject, age group or class size.
Why Lesson Planning Matters More Than the Hardware
Research consistently shows that technology alone does not raise outcomes. The UNESCO Technology in Education Report notes that digital tools improve learning only when they are tied to clear pedagogical goals, and the OECD Digital Education Outlook reaches a similar conclusion: the teacher’s design of the lesson, not the device, drives engagement.
In practice, this means a smart board lesson plan should answer three questions before any content is created:
- What should students be able to do by the end of the lesson?
- Where in the lesson will students physically or digitally interact with the board?
- How will you know, in real time, whether they understood?
With those answers in place, the following ten strategies give you a repeatable framework for every lesson you plan.
10 Smart Board Lesson Planning Strategies That Work in Any Classroom
1. Start With the Learning Objective, Not the Feature
It is tempting to build a lesson around an impressive tool — a 3D model viewer, a spinning wheel, a live poll. Flip the order. Write the learning objective first, then select the one or two interactive features that most directly serve it. A geometry lesson on angles benefits from on-screen protractors and drag-to-rotate shapes; a literature lesson benefits from annotation layers and split-screen text comparison. Matching the feature to the objective keeps the technology invisible and the learning visible.
2. Chunk the Lesson Into Short Interactive Segments
Attention spans at the front of a classroom are short, and even shorter when students are passive. Divide a 45-minute lesson into blocks of 8–12 minutes, each ending with a moment where someone other than the teacher touches the board. This rhythm — explain, interact, check — is one of the most reliable smart board lesson planning strategies for keeping energy high through the final bell.
3. Design Touch-First Activities
Multi-touch panels allow several students to work on the screen simultaneously. Plan activities that cannot be completed by clicking a mouse: sorting vocabulary into columns, assembling a timeline from scattered events, labelling a diagram, or solving a matching puzzle. Physical movement to the board, combined with immediate visual feedback, improves retention and gives quieter students a low-pressure way to participate.
4. Build In Real-Time Formative Assessment
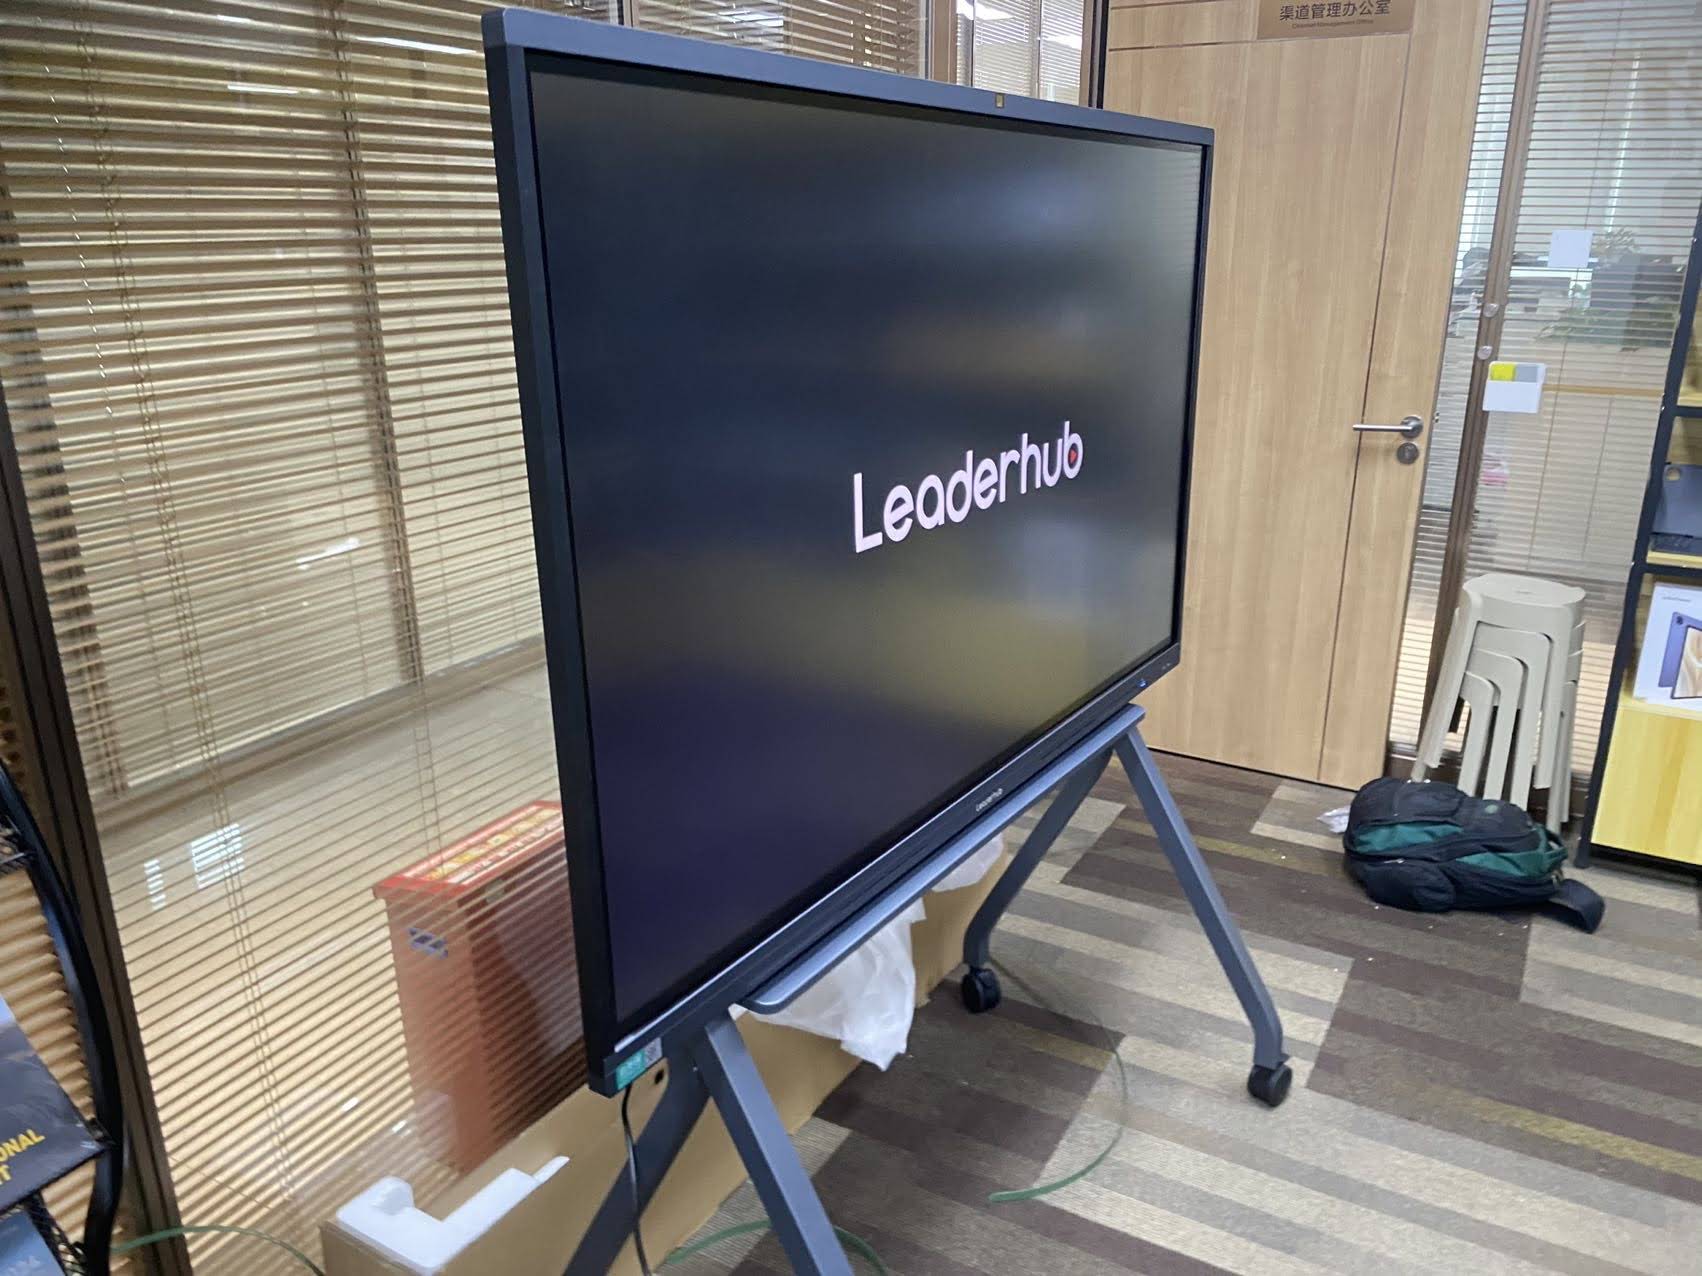
Use the board’s polling, quiz or response tools at least twice per lesson — once midway and once at the end. Display anonymised results immediately and adjust pacing on the spot. The EEF Digital Technology Guidance highlights that technology delivers the greatest gains when it accelerates feedback loops between teacher and learner, and formative checks are the simplest way to achieve that.
5. Plan Collaborative Group Work Around the Screen
Split the display into zones so two or three small groups can work side by side, or rotate groups to the board while others work on tablets that mirror to the panel. Wireless screen-sharing lets students present their own work from their seats, turning the board into a shared workspace instead of a teacher-only stage. Lessons that reserve at least 30% of board time for students consistently report higher participation.
6. Blend Multimedia With Live Annotation
Video, maps, simulations and images are powerful — but only when students are asked to do something with them. Pause a video and annotate directly over the frame. Circle a region on a map and ask the class to predict what happens next. Overlay handwritten notes on a diagram and save the result as the lesson summary. Annotation converts passive viewing into active analysis.
7. Schedule Student-Led Moments
Give students ownership of parts of the lesson: a two-minute warm-up quiz run by a rotating “board captain,” a peer explaining a solved problem, or a group presenting findings they built on the panel. Knowing they may be called to lead keeps students mentally present throughout, and the ISTE Standards for Educators specifically encourage designing learner-driven experiences with technology.
8. Save, Share and Reuse Every Lesson
Modern smart boards store annotated lessons to the cloud, export them as PDFs or images, and share them via QR code. Plan from the outset to capture the board at key moments so absent students, revision sessions and next year’s class all benefit. Over a term, you build a library of interactive resources that reduces future preparation time dramatically.
9. Prepare for Hybrid and Remote Learners
If any student may join remotely, plan the lesson so the board’s camera, microphone and screen-share are configured before class begins. Choose activities remote learners can complete through a shared digital whiteboard or chat response, and assign an in-room partner to relay their contributions to the screen. Hybrid-ready planning ensures engagement does not drop for students outside the room.
10. Reflect, Measure and Iterate
After each lesson, spend three minutes noting which interactive segment produced the most participation and which fell flat. Review poll results and exported board captures. Over a few weeks, patterns emerge that tell you exactly which smart board lesson planning strategies suit your students best — and your plans become sharper with every cycle.
Strategy Overview at a Glance
| Strategy | Engagement Goal | Smart Board Feature Used | Prep Time |
|---|---|---|---|
| Objective-first design | Focus and clarity | Any — chosen to fit the goal | Low |
| Chunked segments | Sustained attention | Timer, page navigation | Low |
| Touch-first activities | Active participation | Multi-touch, drag and drop | Medium |
| Formative assessment | Immediate feedback | Polls, quizzes, response apps | Medium |
| Collaborative group work | Peer learning | Split screen, wireless casting | Medium |
| Multimedia + annotation | Deeper analysis | Annotation layer, 4K playback | Medium |
| Student-led moments | Ownership | Whiteboard mode, device mirroring | Low |
| Save and reuse | Continuity and revision | Cloud save, QR export | Low |
| Hybrid readiness | Inclusion | Camera, mic, video conferencing | Medium |
| Reflect and iterate | Continuous improvement | Exported results, lesson history | Low |
A Sample 45-Minute Smart Board Lesson Template
The template below shows how the ten strategies combine into a single, repeatable lesson structure. Adapt the timings to your period length and subject.
| Time | Segment | Who Touches the Board | Strategies Applied |
|---|---|---|---|
| 0–5 min | Warm-up quiz on previous lesson | Student board captain | 4, 7 |
| 5–15 min | New concept with annotated video or diagram | Teacher | 1, 2, 6 |
| 15–25 min | Drag-and-drop sorting or labelling task | Small groups in rotation | 3, 5 |
| 25–30 min | Mid-lesson poll and discussion | Whole class via devices | 4, 9 |
| 30–40 min | Group problem solving and presentation | Students | 5, 7 |
| 40–45 min | Exit ticket, save board, share QR code | Teacher | 4, 8, 10 |
Choosing a Smart Board That Supports These Strategies
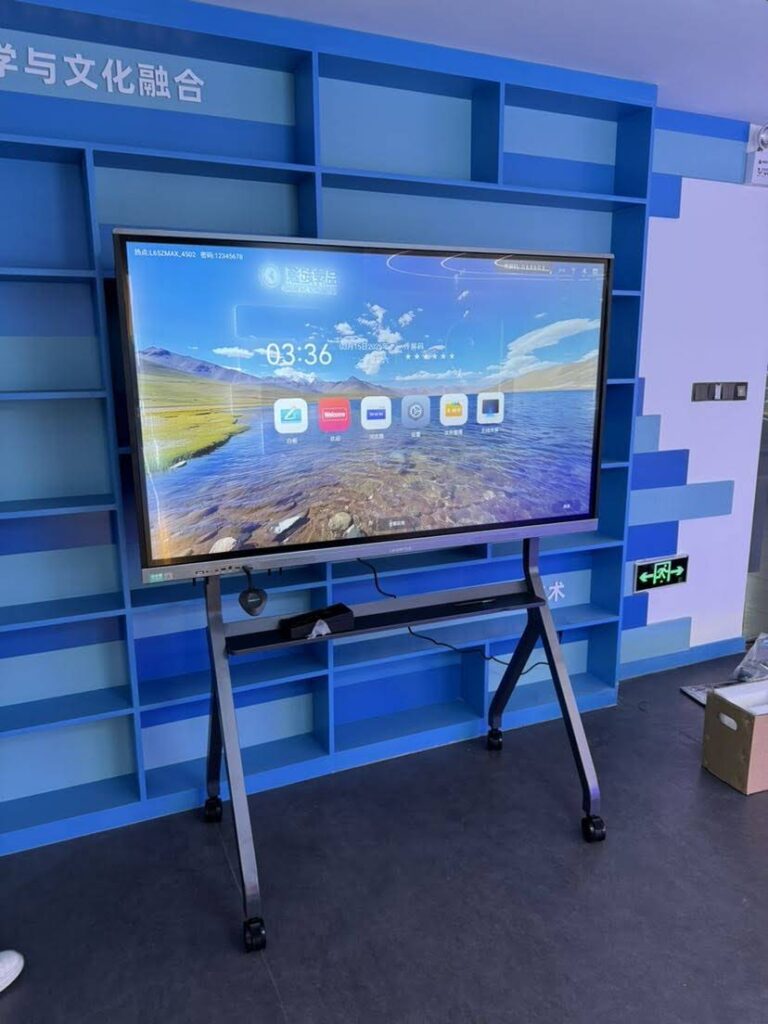
Lesson design comes first, but the panel still needs to keep up. When evaluating an interactive smart whiteboard for classroom use, prioritise the capabilities that the ten strategies rely on:
- 20-point or higher multi-touch so several students can work on the screen at once.
- 4K resolution and anti-glare glass for clear multimedia from the back row.
- Built-in whiteboard software with annotation over any source, cloud save and QR sharing.
- Wireless screen casting from phones, tablets and laptops for student presentations.
- Integrated camera and microphone for hybrid lessons.
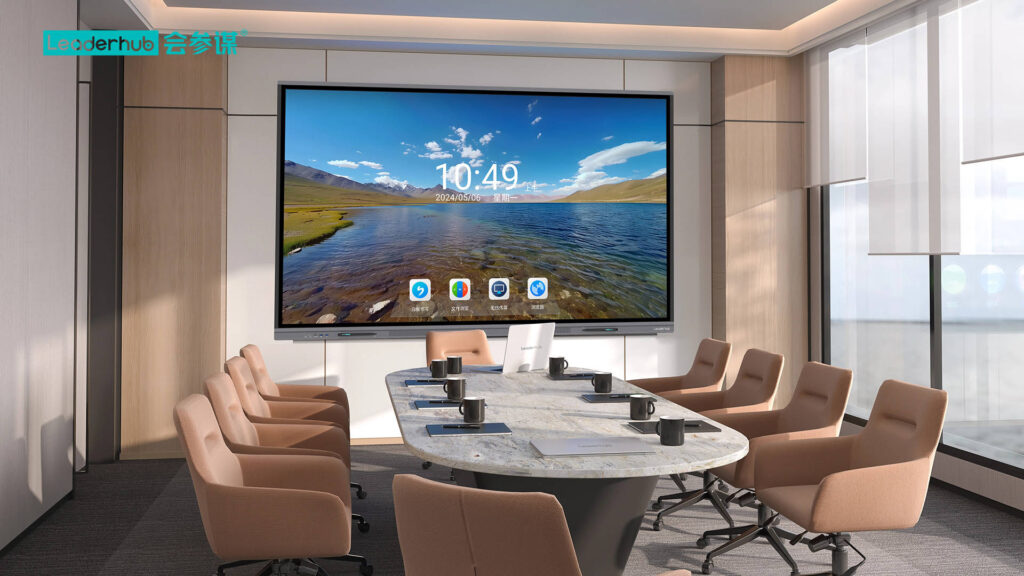
- A screen size matched to the room — 65″ for small classrooms, 75″ for standard rooms, 86″ or larger for lecture halls.
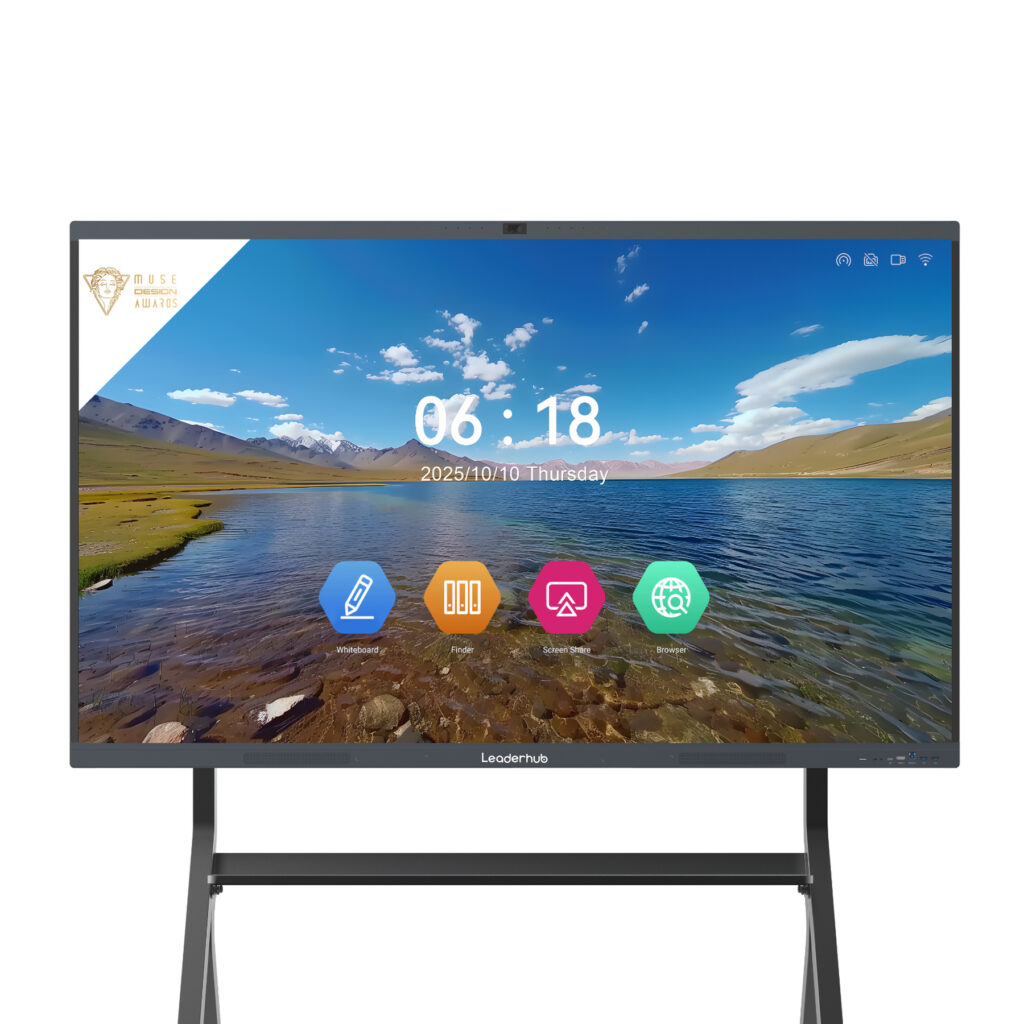
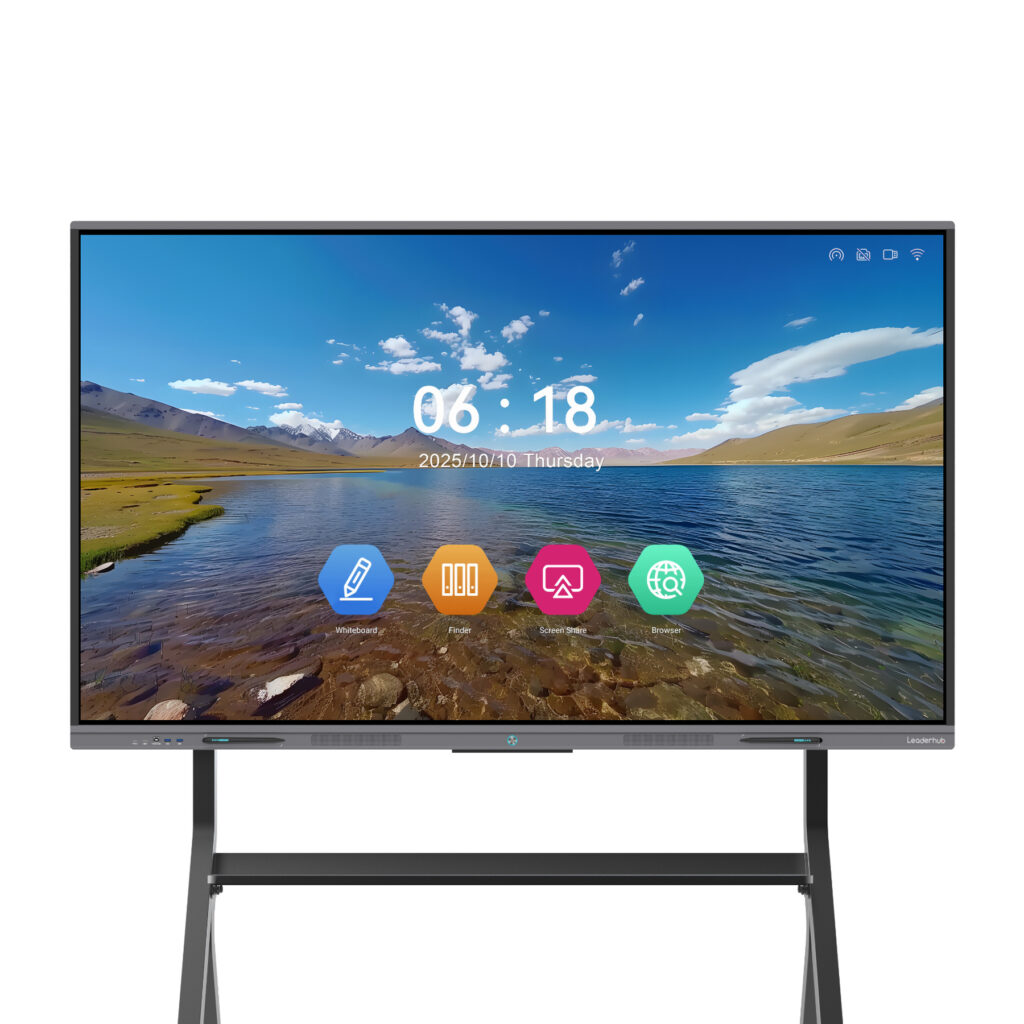
Leaderhub, a Shenzhen-based technology company with 16 years of interactive-display expertise serving education and enterprise customers in 82 countries, designs its panels around these exact requirements. The Leaderhub L75HM 75″ 4K Interactive Smart Whiteboard is a popular fit for standard classrooms, while the L65ZM 65″ 4K Smart Panel offers an accessible entry point for smaller rooms and budget-conscious schools.
| Model | Screen Size | Best For | Price |
|---|---|---|---|
| L65ZM Interactive Whiteboard | 65″ 4K | Small classrooms, tutoring rooms | $1,099.00 |
| L75HM Smart Whiteboard | 75″ 4K | Standard classrooms of 25–35 students | $1,599.00 |
| L86ZM Interactive Whiteboard | 86″ 4K | Large classrooms, lecture halls | $1,699.00 |
| U55Pro Mobile Interactive Flat Panel | 55″ 4K, mobile | Shared rooms, labs, flexible learning spaces | $2,499.00 |
Common Mistakes to Avoid When Planning Smart Board Lessons
- Using the board as a projector. If students never touch the screen, engagement gains disappear.
- Over-loading with features. Two well-chosen interactions beat six distracting ones.
- Skipping the tech check. Test casting, audio and apps five minutes before class to protect lesson flow.
- Ignoring back-row visibility. Choose fonts, contrast and screen size that work for every seat.
- Forgetting to save. Unsaved annotations are lost learning resources for both students and teachers.
Frequently Asked Questions
How long does it take to plan an interactive smart board lesson?
Initially 30–45 minutes more than a traditional lesson. Once you build a library of reusable activities and templates, planning time typically falls below that of a conventional lesson.
Do these strategies work for younger students?
Yes. Early-years and primary classrooms benefit most from touch-first activities, short segments and visual feedback. Simplify the tasks and increase the frequency of student turns at the board.
Can I use smart board lesson planning strategies without special software?
Most interactive panels include built-in whiteboard, annotation and casting tools. Combine these with free browser-based quiz and collaboration platforms and you can apply all ten strategies without additional licensing costs.
What size smart board is right for my classroom?
A common rule is that the furthest student should sit no more than six times the screen height away. For most classrooms that means 65″ for rooms under 30 m², 75″ for standard rooms, and 86″ or above for large halls.
Final Thoughts
Student engagement is not a by-product of installing a screen — it is the result of deliberate planning. By starting with objectives, chunking lessons, designing for touch, checking understanding in real time and giving students genuine ownership of the board, teachers turn interactive displays into the collaborative learning hubs they were meant to be. Apply these ten smart board lesson planning strategies consistently, review what works, and the gains in participation and understanding will compound across the school year.
Ready to equip your classrooms with panels built for interactive teaching? Explore the full range of interactive displays or contact the team for education pricing and tailored classroom solutions.