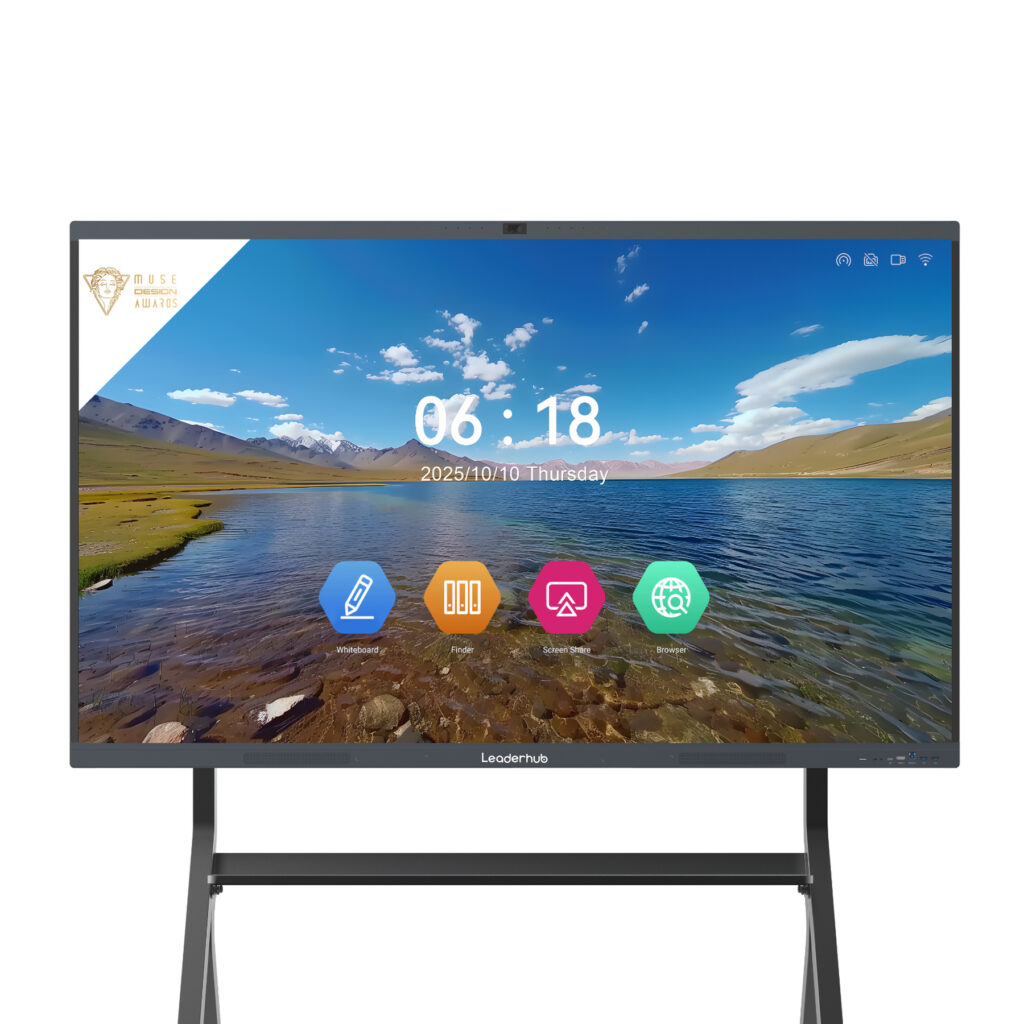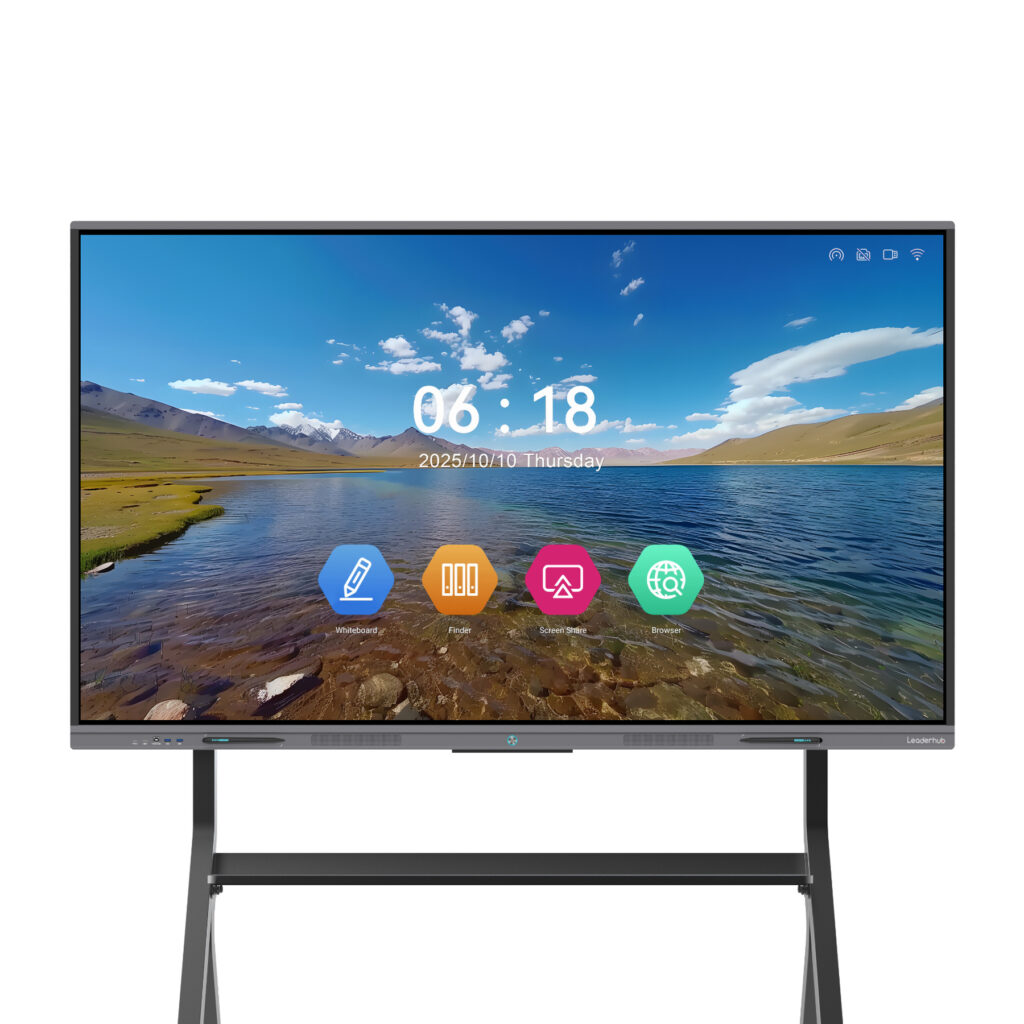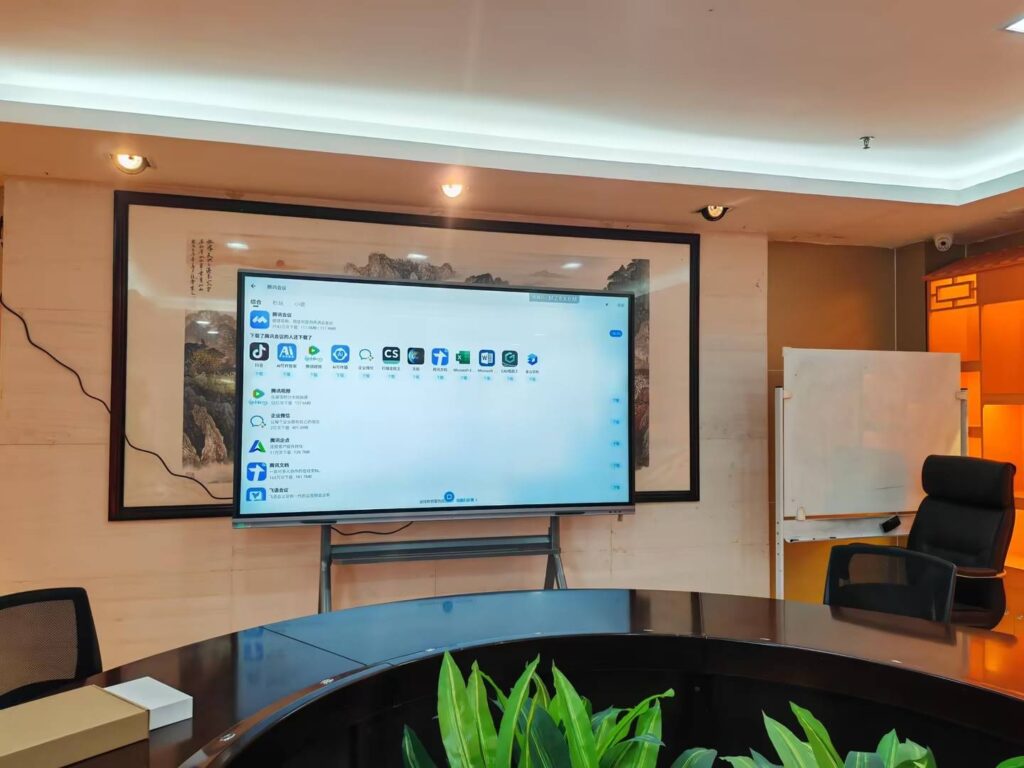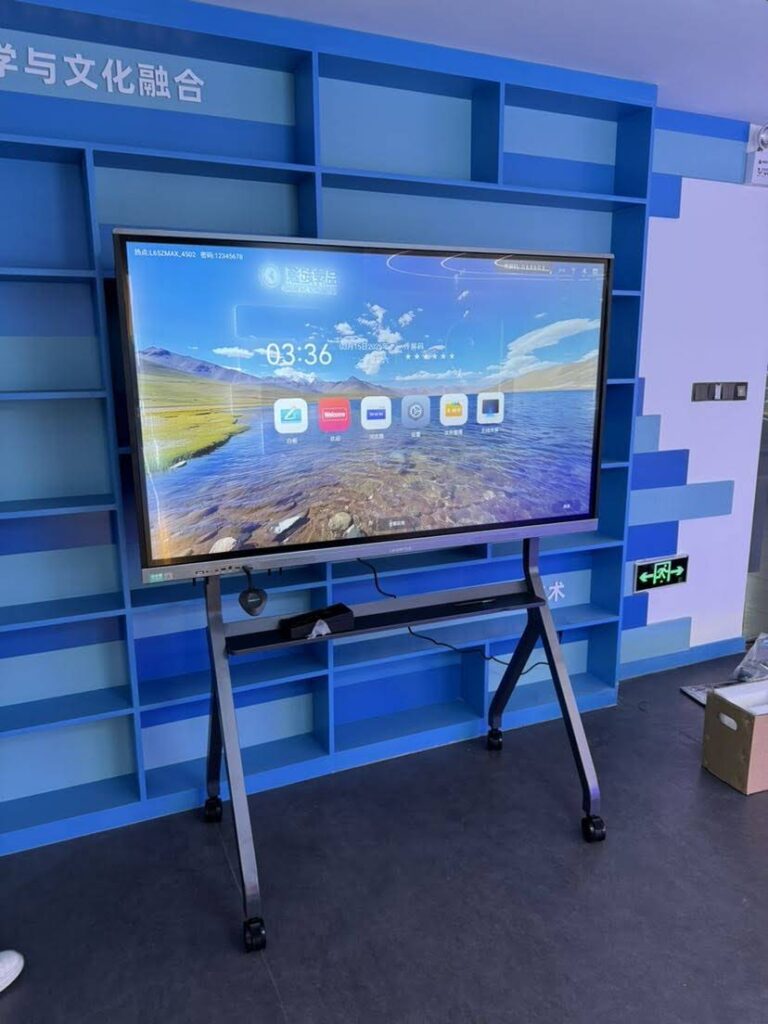
Getting a smart board online is usually a five-minute job, but the menus differ from brand to brand, and school or office networks often add a few extra hurdles. This guide walks you through how to connect a smart board to WiFi on Android-based interactive flat panels, Windows OPS modules, and portable smart screens, and then shows you how to fix the most common connection problems so your display stays online for every lesson and meeting.
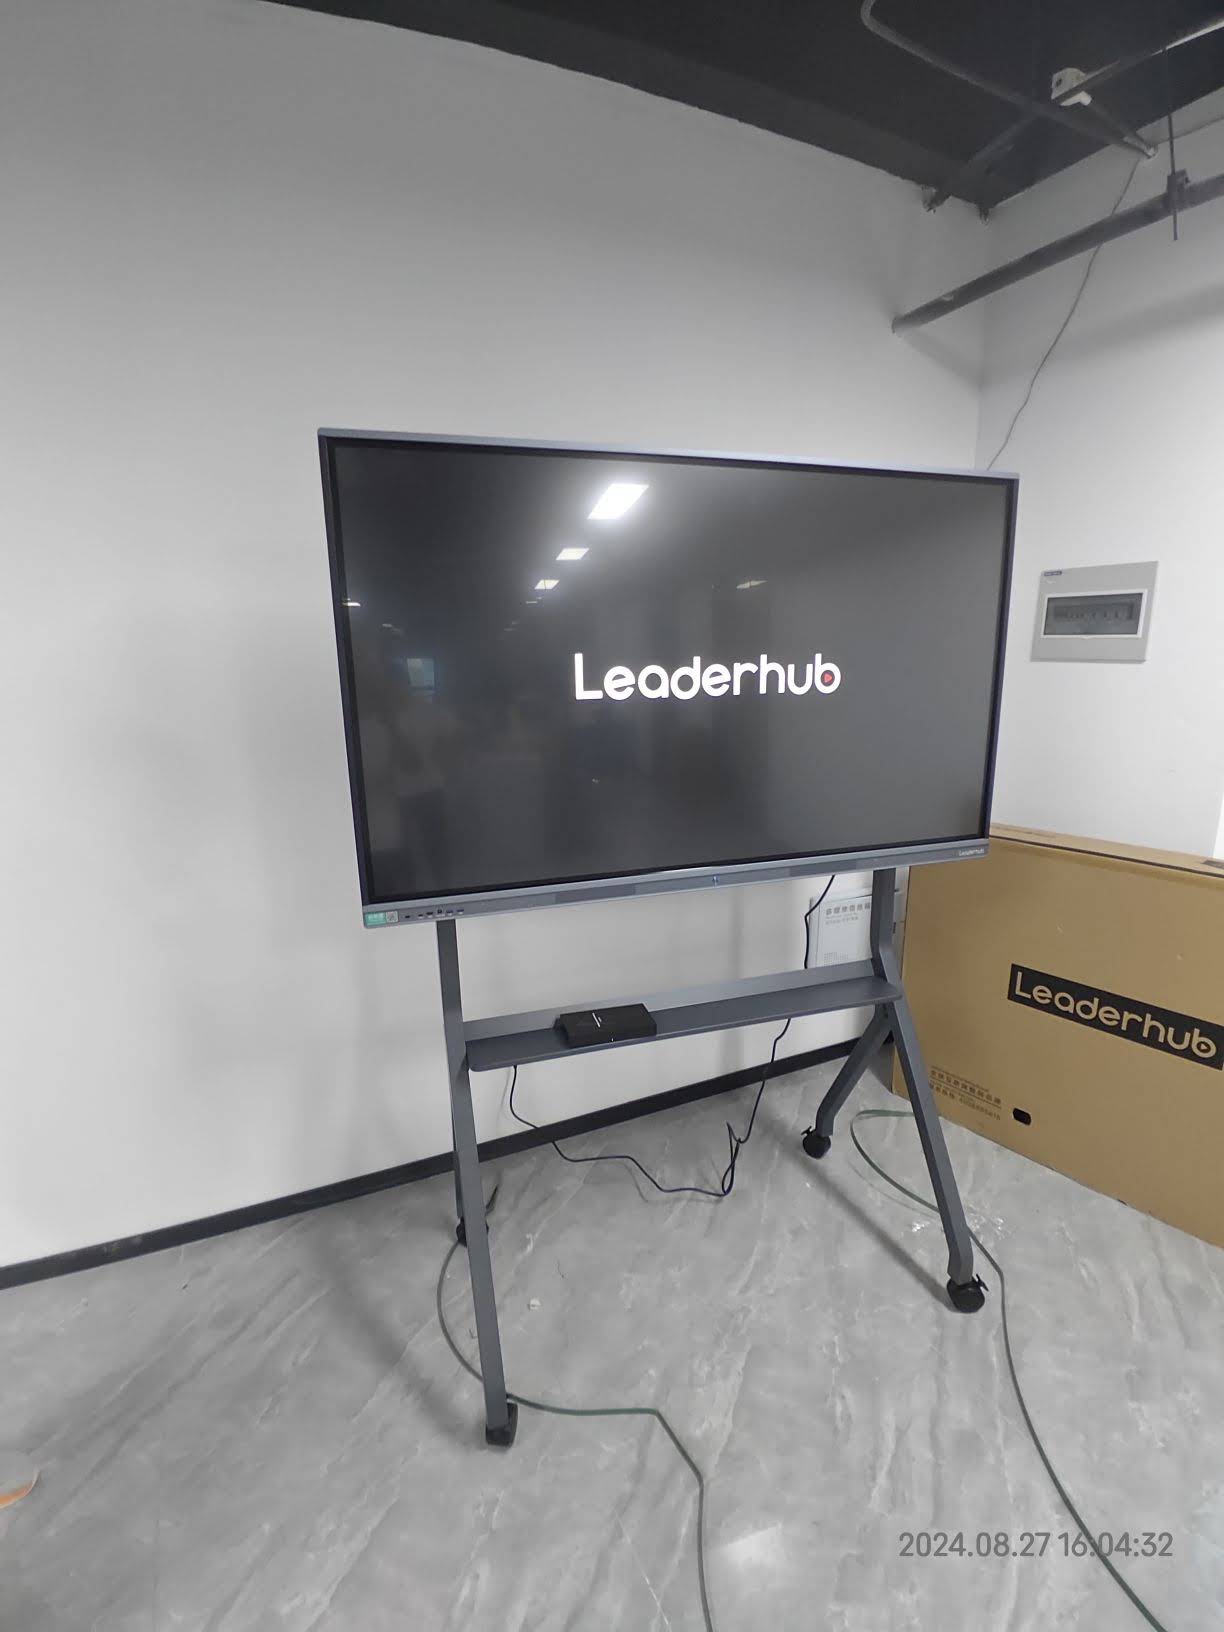
What You Need Before You Start
Before touching the settings menu, gather a few essentials. Having these ready prevents most of the frustration people run into when connecting an interactive display for the first time.
- Network name (SSID) and password – ask your IT administrator if the office or school uses a separate staff or device network.
- Admin access to the smart board – some panels lock network settings behind a PIN.
- A 2.4 GHz or 5 GHz router within range – ideally within 10–15 meters with minimal walls in between.
- The WiFi antenna attached – many interactive flat panels ship with a small screw-on antenna in the accessory box; without it the signal will be weak or absent.
- A firmware update plan – once online, the board will likely prompt for updates, so allow a few extra minutes.
Step-by-Step: How to Connect a Smart Board to WiFi
Most modern smart boards run an Android operating system, so the process is very similar to connecting a tablet or smart TV. Follow these steps on any interactive smart whiteboard or flat panel display.
Step 1: Power On and Open the Settings Menu
Turn on the board and wait for the home screen to load fully. Tap the Settings gear icon on the home launcher, or swipe up from the bottom edge to open the quick toolbar. On some models you can also press the Menu or Settings button on the remote control.
Step 2: Go to Network or Wireless Settings
Look for a section labeled Network, Wireless & Networks, or Connections. Inside you will typically see options for WiFi, Ethernet, Hotspot, and Bluetooth.
Step 3: Switch WiFi On and Select Your Network
Toggle WiFi to On. The board will scan for available networks and list them by signal strength. Tap the SSID you were given by IT. If you see both a 2.4 GHz and a 5 GHz version of the same network, choose 5 GHz for faster speeds when the router is close, or 2.4 GHz when the board is far from the access point.
Step 4: Enter the Password
Use the on-screen keyboard to type the password. Tap the eye icon to show the characters and double-check capital letters and symbols. Press Connect.
Step 5: Confirm the Connection
Within a few seconds the status should change to Connected and a WiFi icon will appear in the status bar. Open the built-in browser or a wireless-casting app to verify that the board actually has internet access, not just a local connection.

Connection Steps by Smart Board Type
Not every display works the same way. The table below summarizes where to find WiFi settings depending on the system your board runs.
| Board Type | Where WiFi Lives | Key Tip |
|---|---|---|
| Android interactive flat panel | Settings > Network > WiFi | Attach the external antenna before scanning |
| Windows OPS module / built-in PC | Windows taskbar WiFi icon or Settings > Network & Internet | Android and Windows sides may need to be connected separately |
| Smart board driven by an external mini PC | On the PC, not the board | A compact mini PC with WiFi 6 avoids extra cabling |
| Portable / battery-powered smart screen | Android quick settings panel | Save multiple networks so it reconnects as you move rooms |
| Legacy projector-based whiteboard | Connected laptop or projector menu | The board itself is usually just a touch sensor with no WiFi |
Connecting in a School or Office Network Environment
Home WiFi is simple. Institutional networks often add authentication layers, and this is where most people get stuck when learning how to connect a smart board to WiFi at work.
Enterprise WiFi (WPA2-Enterprise / 802.1X)
If the network asks for a username and password rather than just a password, it is using enterprise authentication. On Android boards, select the network, set the EAP method (commonly PEAP), choose MSCHAPV2 as Phase 2 authentication, and enter your domain credentials. IT may also need to install a certificate on the board.
Captive Portal Networks
Guest networks in hotels, co-working spaces, and some campuses redirect you to a login web page. After selecting the network, open the board’s browser to trigger the portal page, accept the terms, and sign in. Many boards will show a “Sign in to network” notification you can tap directly.
Hidden SSIDs
Some IT teams hide the device network. Scroll to the bottom of the WiFi list, tap Add network, type the exact SSID, pick the security type, and enter the password manually.
MAC Address Whitelisting
Schools frequently restrict connections to approved devices. Find the board’s WiFi MAC address under Settings > About > Status and send it to your administrator before the installation day. Guidance such as the EU Digital Equipment for Schools framework emphasizes that reliable connectivity planning is the foundation for classroom technology to deliver results.
WiFi vs. Ethernet: Which Should Your Smart Board Use?
WiFi is convenient, but a wired connection is often the better choice for a display that stays in one room permanently. Here is how the two compare.
| Factor | WiFi | Ethernet |
|---|---|---|
| Setup effort | Minutes, no cabling | Requires a network port near the wall mount |
| Stability | Depends on signal and congestion | Consistently stable |
| Video conferencing | Good on 5 GHz / WiFi 6 | Best for 4K calls and large files |
| Mobility | Essential for boards on rolling stands | Fixed location only |
| Best for | Flexible classrooms, huddle rooms, mobile carts | Boardrooms, lecture halls, permanent installs |
A practical approach: connect via Ethernet when the port is available and keep WiFi configured as a backup. For mobile displays such as a 55-inch mobile 4K interactive panel on a wheeled stand, WiFi is the only realistic option, so invest in good access point coverage.
Troubleshooting: Smart Board Won’t Connect to WiFi
If the board refuses to connect, or connects but shows no internet, work through this checklist from top to bottom.
- Restart the board and the router. This resolves a surprising share of issues, especially after firmware updates.
- Forget the network and reconnect. Tap the saved SSID, choose Forget, then re-enter the password from scratch.
- Check the antenna. Make sure it is screwed in firmly and pointed upward, not tucked behind the panel against the wall.
- Verify the band. Some older boards only support 2.4 GHz; if the network is 5 GHz only, ask IT to enable a dual-band SSID.
- Check the date and time. An incorrect clock can break secure connections and captive portals. Set the time zone to automatic.
- Look for an IP conflict. Switch between DHCP and a static IP, or ask IT to reserve an address for the board.
- Disable the Ethernet connection. If a cable is plugged in but the port is inactive, the board may prefer the dead wired link over WiFi.
- Update firmware or reset network settings. As a last step, use Settings > System > Reset network settings, then reconnect.
Common Error Messages and What They Mean
| Message | Likely Cause | Fix |
|---|---|---|
| Authentication problem | Wrong password or security type | Re-enter password, confirm WPA2/WPA3 setting |
| Obtaining IP address… | DHCP not responding or MAC blocked | Whitelist the MAC address or assign a static IP |
| Connected, no internet | Captive portal or DNS issue | Open browser to sign in, or set DNS to 8.8.8.8 |
| Saved, not connected | Weak signal or band mismatch | Move the access point closer or switch band |
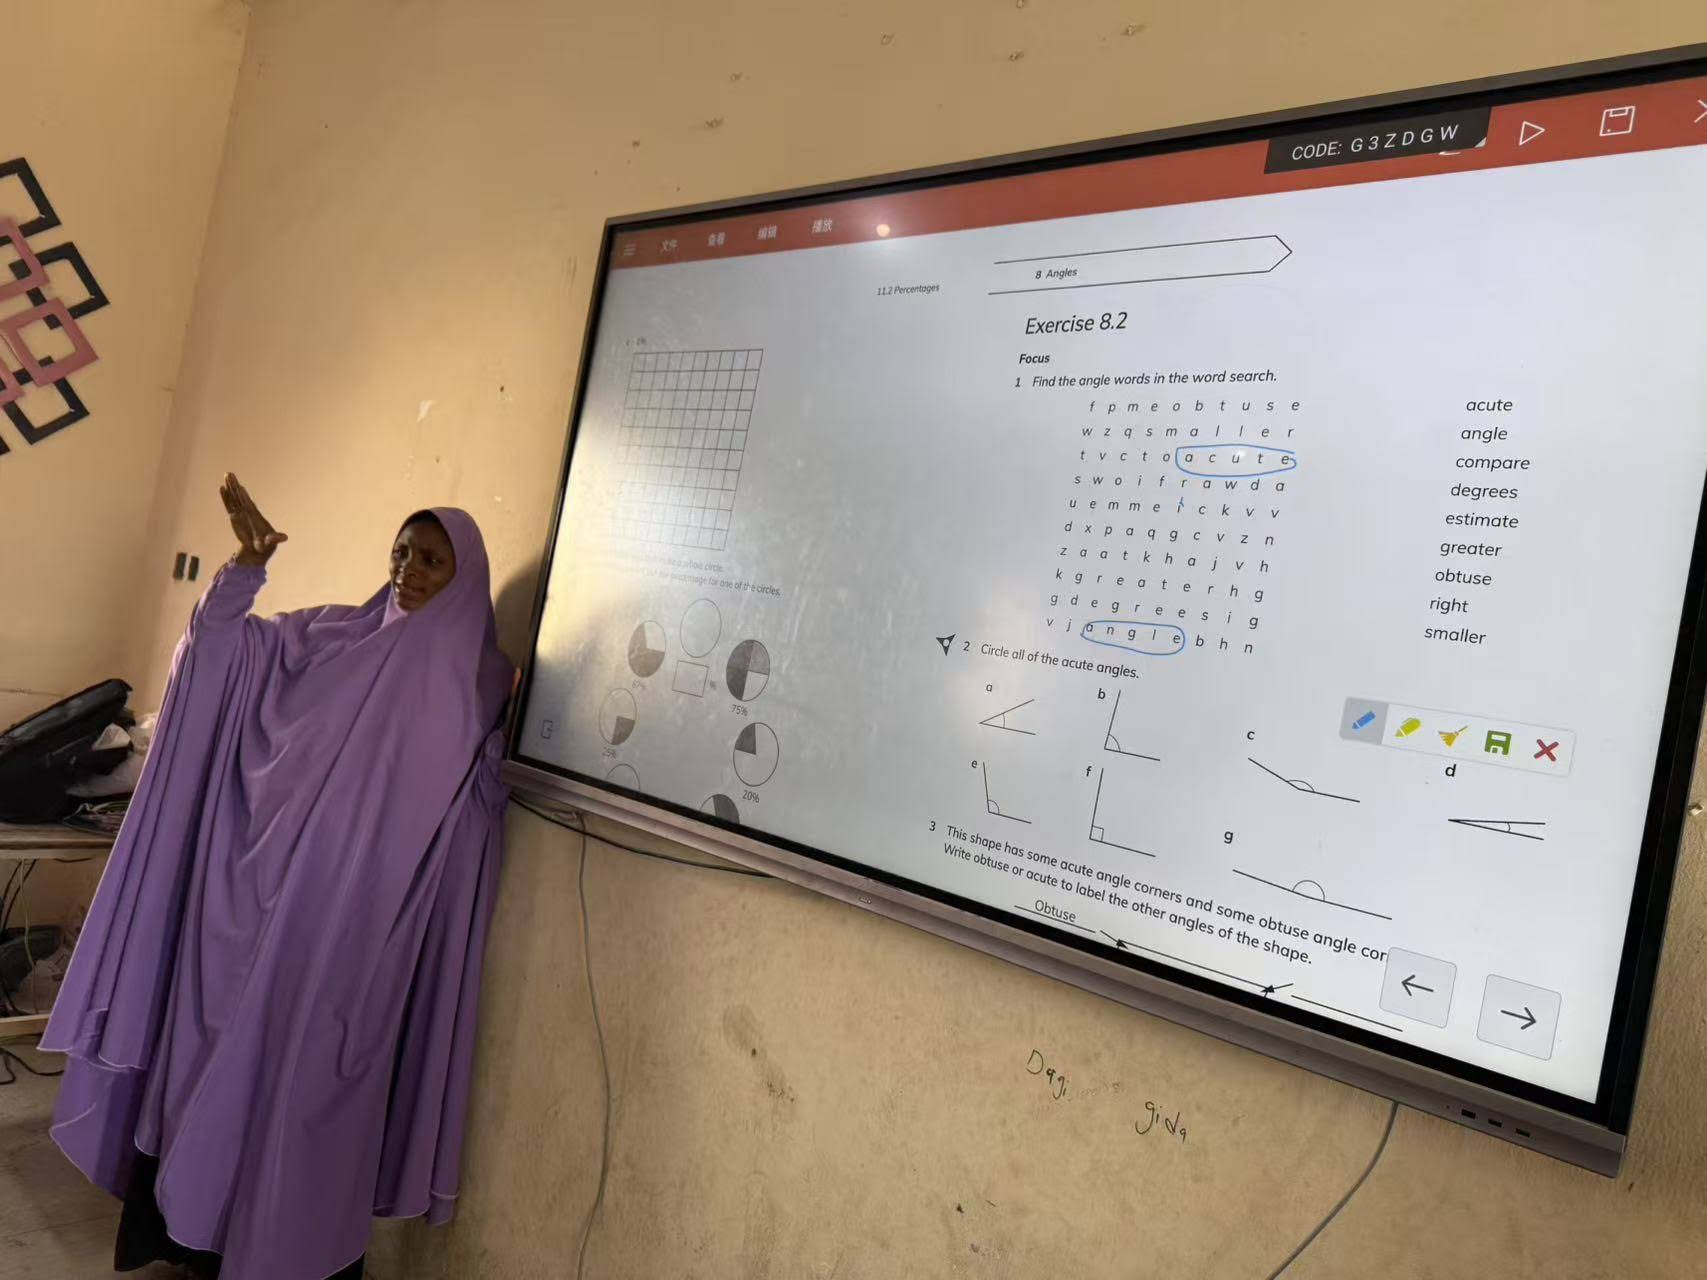
Tips for a Faster, More Reliable Smart Board Connection
- Place the access point in the same room as the board whenever possible; concrete walls and metal cabinets cut 5 GHz signal dramatically.
- Create a dedicated SSID or VLAN for displays so student and guest traffic does not compete with your video calls.
- Prefer boards with WiFi 6 and dual-band support, which handle crowded classrooms with dozens of connected devices far better than older WiFi 5 hardware.
- Enable automatic reconnection and disable aggressive sleep timers so the board is ready the moment class begins.
- Schedule firmware updates for after hours to avoid downloads interrupting a lesson or presentation.
What You Can Do Once Your Smart Board Is Online
A connected display becomes the hub of the room. After completing the steps above, you can typically:
- Wirelessly mirror laptops, tablets, and phones to the screen without an HDMI cable.
- Run video conferences directly from the board with built-in cameras and microphones.
- Save and share whiteboard notes to the cloud or email them to participants with a QR code.
- Access cloud lesson content and apps from the board’s app store.
- Receive over-the-air updates that add features and security patches.
Research summarized in the UNESCO Technology in Education Report highlights that technology delivers the most value when it is reliable and easy for teachers to use, and a stable network connection is a prerequisite for both.
Frequently Asked Questions
Can a smart board work without WiFi?
Yes. Touch, built-in whiteboarding, and HDMI input work offline. You only need a connection for screen casting, video calls, cloud saving, and updates.
Why does my smart board keep disconnecting from WiFi?
The most common causes are weak signal, a loose antenna, power-saving settings that turn off the radio, or a router that assigns the board a new IP each time. Reserving a static IP and relocating the access point usually solves it.
Do I need to connect both the Android and Windows systems?
If your board has a slot-in OPS computer, yes. The Android system and the Windows module have separate network stacks and each must be joined to WiFi or Ethernet.
Can I use my phone’s hotspot as a temporary connection?
Absolutely. A mobile hotspot is a handy fallback for demos or events, though video conferencing will depend on your mobile data speed.
Which smart board size is best for a WiFi-enabled classroom?
For standard classrooms of 25–35 students, a 75-inch panel offers the best balance of visibility and cost, while a 65-inch 4K touchscreen smart whiteboard suits smaller rooms, huddle spaces, and training offices.
Final Thoughts
Learning how to connect a smart board to WiFi comes down to three things: having the right network credentials, knowing where the settings live on your specific system, and understanding the quirks of school and office networks. Follow the steps above and you will have your display casting, calling, and saving to the cloud in minutes. If you are still choosing a board, look for dual-band WiFi 6, an external antenna, and an Ethernet port so you are covered in any room. Leaderhub, a Shenzhen-based interactive display manufacturer with 16 years of experience and customers in more than 82 countries, builds its smart whiteboards and portable screens with exactly these connectivity features in mind; feel free to contact the team for setup advice or a quote tailored to your classroom or office.