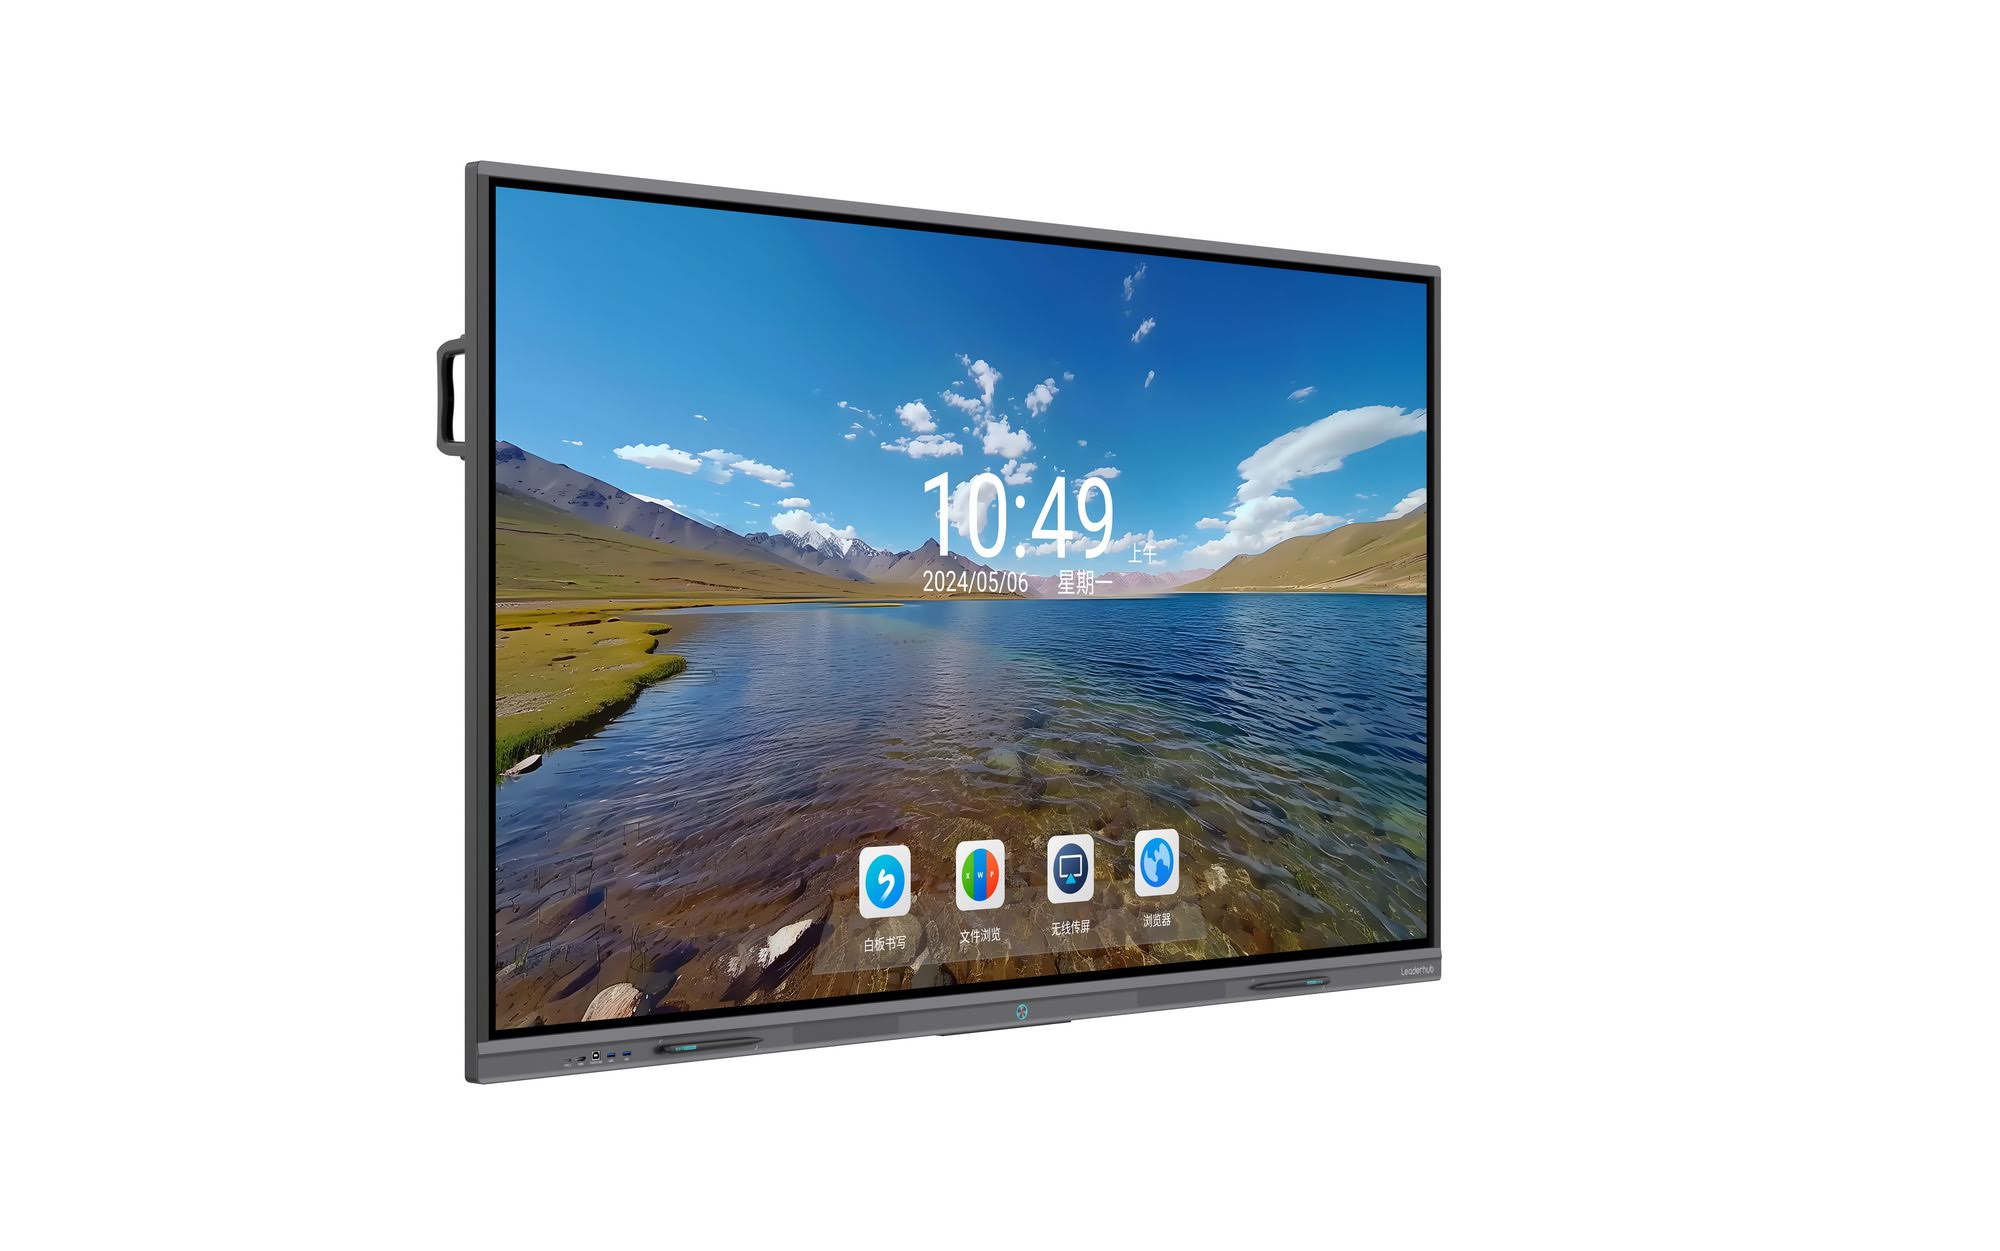
Smart board pens can turn a lesson, workshop, or sales presentation into a more interactive experience. The key is not just picking up the pen, but knowing when to annotate, when to switch tools, and how to keep your content clear for everyone in the room.
This guide explains how to use smart board pens step by step, with practical tips for teachers, trainers, and presenters. If you are comparing display options, you can also explore our smart whiteboards, check the latest models in the product shop, or see which setup fits your room before you begin.
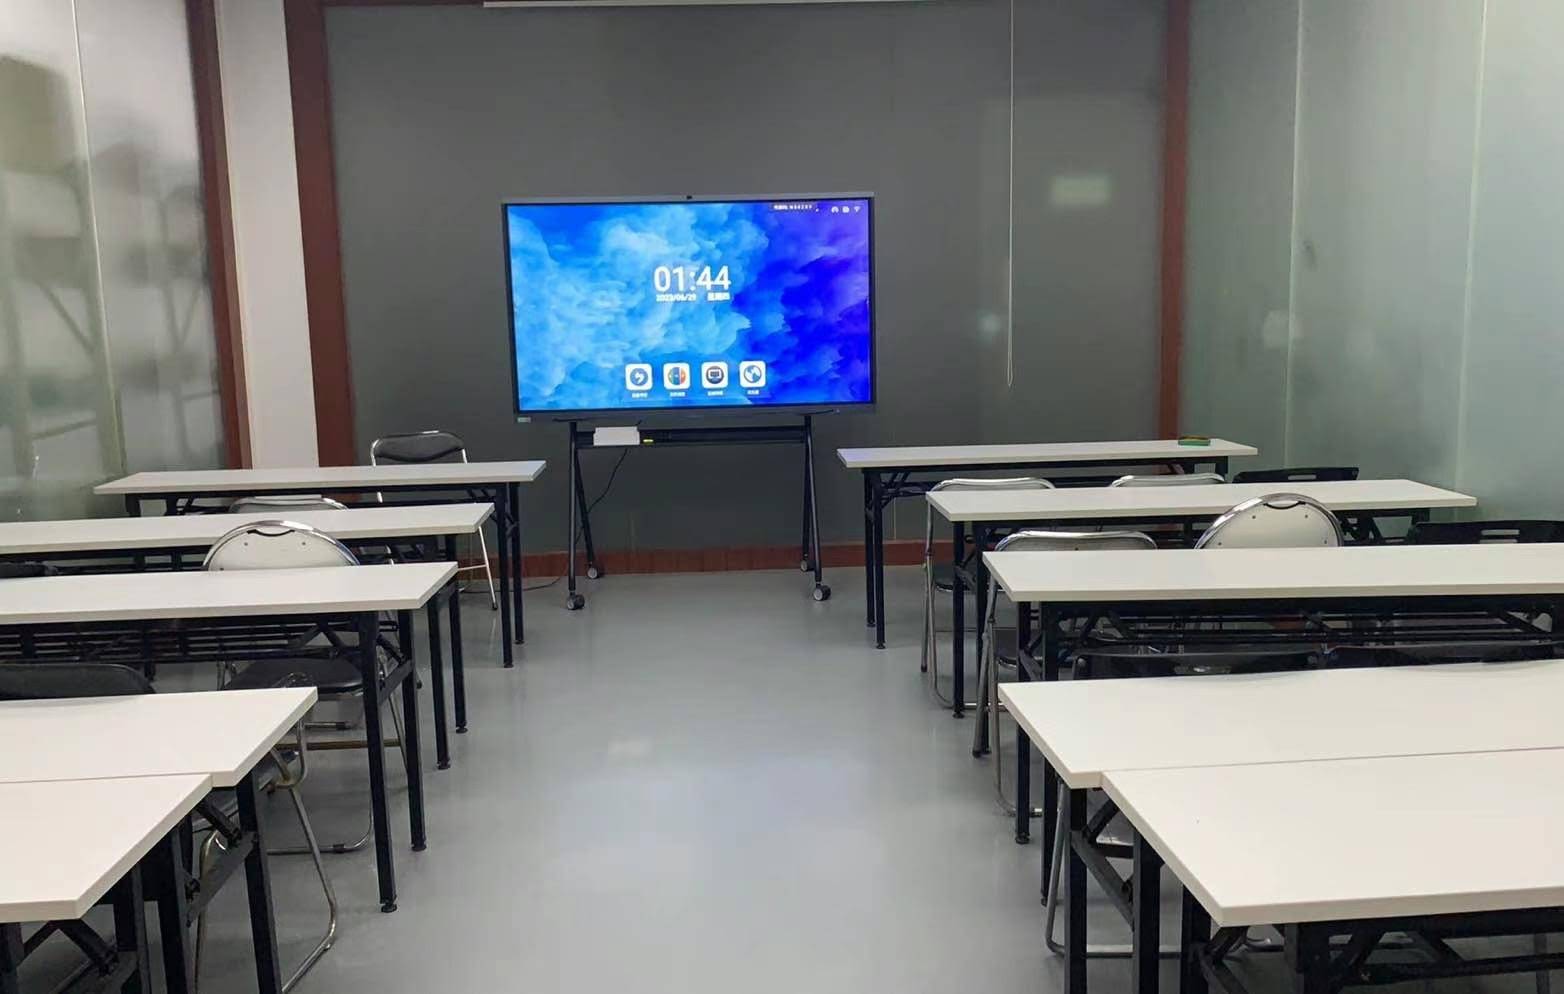
What a Smart Board Pen Actually Does
A smart board pen is not just a marker replacement. It is a touch-enabled tool that helps you write, highlight, move objects, erase, and sometimes control slides directly on the board. On many interactive displays, the pen works like a digital pointer and a writing instrument at the same time.
- Write naturally during lessons or meetings
- Annotate slides without leaving the presentation
- Highlight key points for students or audiences
- Erase or undo quickly when you need a clean screen
- Save notes for later sharing or review
Before You Start: Quick Setup Checklist
To get the best experience, make sure the board and pen are ready before your class or presentation begins.
| Setup Item | Why It Matters |
|---|---|
| Battery or charging status | Prevents pen disconnects during teaching or presenting |
| Board calibration or touch accuracy | Keeps writing aligned with your hand movement |
| Correct input mode | Ensures the board recognizes pen input instead of finger touch |
| Clean screen surface | Improves pen response and writing accuracy |
| Saved file destination | Makes it easy to export notes after the session |
How to Use Smart Board Pens: Step-by-Step
Step 1: Power on the smart board
Turn on the interactive display and wait until the operating system or whiteboard app is fully loaded. If your board uses an external device, connect it first. A stable startup helps reduce lag when you begin writing.
Step 2: Open the whiteboard or presentation app
Choose the app you will use for teaching or presenting. For note-taking lessons, open a whiteboard tool. For slides, open your deck and enable annotation mode if available.
Step 3: Pick up the pen and test the tip
Touch the board lightly with the pen tip. If nothing appears, check whether the board is in pen mode, whether the pen is charged, or whether the app requires you to activate writing tools first.
Step 4: Write with a comfortable hand angle
Hold the pen naturally, similar to a regular marker. Keep your hand steady and avoid pressing too hard. Most smart boards respond best to smooth, moderate contact.
Step 5: Use color and thickness strategically
Use different colors to separate ideas. For example, black for core content, teal for emphasis, and red for corrections or alerts. Keep the writing readable from the back of the room.
Step 6: Switch between writing and moving objects
Many boards let you move from pen to touch or selection mode. This is useful when you need to drag shapes, reorder slides, or highlight a section without drawing on it.
Step 7: Erase carefully
Use the erase feature in the app or the pen’s erase function if supported. If you are in a live lesson, erasing one word at a time is often better than clearing the entire page.
Step 8: Save or export your notes
Always save the session before leaving the board. Export to PDF, image, or cloud storage so students or attendees can review the content later. This is especially helpful in blended learning and meeting follow-ups.

Best Way to Use Smart Board Pens in Classrooms
Teachers can use smart board pens to make lessons more interactive and easier to follow. The most effective classroom use cases are simple, visual, and easy to save.
- Model step-by-step problem solving in math or science
- Underline vocabulary during language lessons
- Label diagrams in real time
- Invite students to annotate on the board one by one
- Save boards after class for revision and homework support
For educators following digital teaching standards, see the ISTE Standards for Educators and UNESCO Digital Education resources for broader guidance on technology use in learning environments.
How to Use Smart Board Pens in Presentations
In presentations, smart board pens are most effective when they support your message instead of distracting from it. Use them to point, emphasize, and clarify, not to overload every slide with writing.

- Circle important figures during sales or strategy meetings
- Annotate charts to make trends easier to understand
- Mark action items so the audience knows what happens next
- Use the pen as a laser-free pointer for a cleaner look on large screens
- Save the annotated deck for follow-up emails or shared folders
Common Mistakes to Avoid
Too much writing on one screen: Keep annotations short and clear so the audience can read them instantly.
Ignoring calibration: If the pen cursor is off, recalibrate the board before the session starts.
Using the wrong mode: Some boards need pen mode selected manually, especially after switching between touch and whiteboard functions.
Forgetting to save: Always export notes before closing the app.
Troubleshooting Smart Board Pen Problems
| Problem | Likely Cause | What to Do |
|---|---|---|
| Pen not writing | Battery low or pen not paired | Charge, reconnect, or replace the pen |
| Writing appears offset | Board calibration issue | Run touch calibration again |
| Pen and finger input conflict | Wrong input mode | Switch to the correct mode in settings |
| Ink skips or lags | Dirty screen or app slowdown | Clean the panel and close unused apps |
Recommended Smart Board Setup for Teachers and Presenters
If you want a smoother writing experience, pair your board with the right display size and a reliable system. A strong setup can improve annotation speed and help lessons or meetings flow more naturally.
- Choose a smart whiteboard with accurate touch response
- Use a stable PC or media device for presentation software
- Keep a spare pen or backup battery ready
- Store frequently used templates for lessons or meeting agendas
Helpful Links for a Better Setup
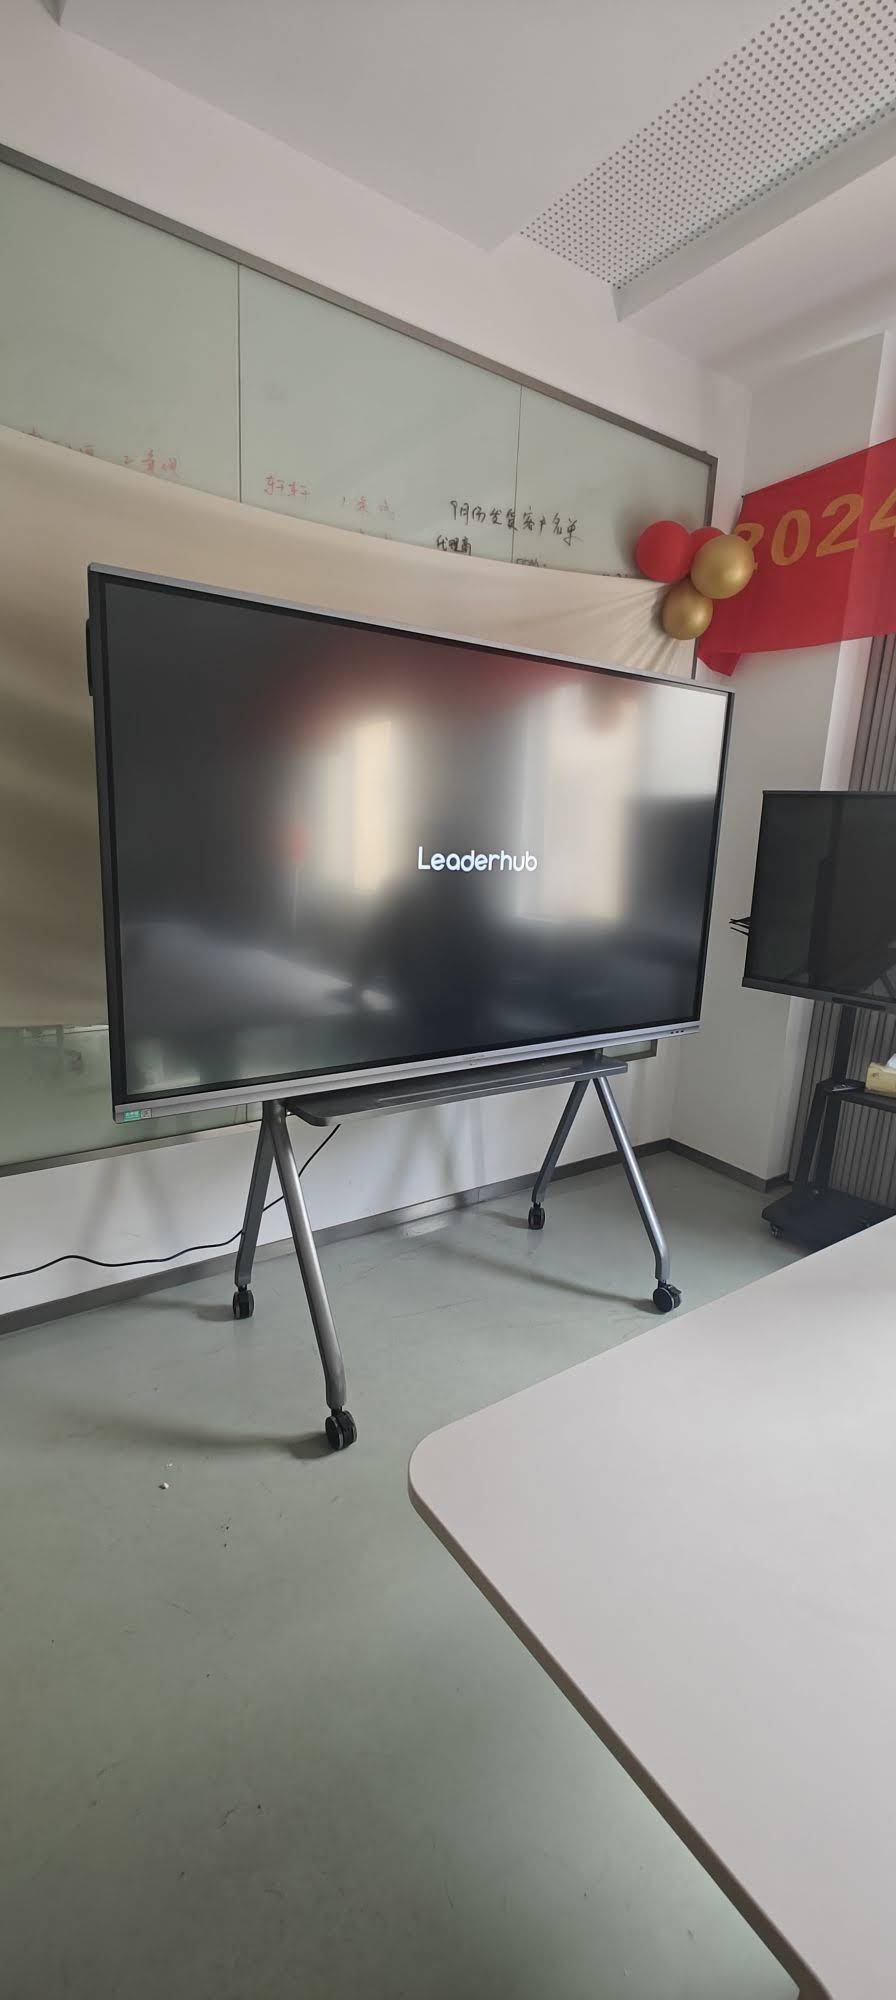
When planning an upgrade, it helps to compare devices and room needs before buying. You can review a larger teaching display like the LeaderHub L75HM Interactive Smart Whiteboard or explore compact support devices in the mini PCs category for classroom and presentation workflows.
If you need help choosing the right system, visit the contact page to discuss a setup that matches your room size, audience, and content style.
Final Practice Tips for Smooth Writing
- Practice writing in short bursts before the session starts
- Use larger handwriting for rooms with distant seating
- Keep color choices consistent across lessons or decks
- Save annotations after every major section
- Test your pen on the exact board you will use live
Bottom line: Once you understand how to use smart board pens, the board becomes more than a screen. It becomes a workspace for teaching, explaining, and collaborating in real time.