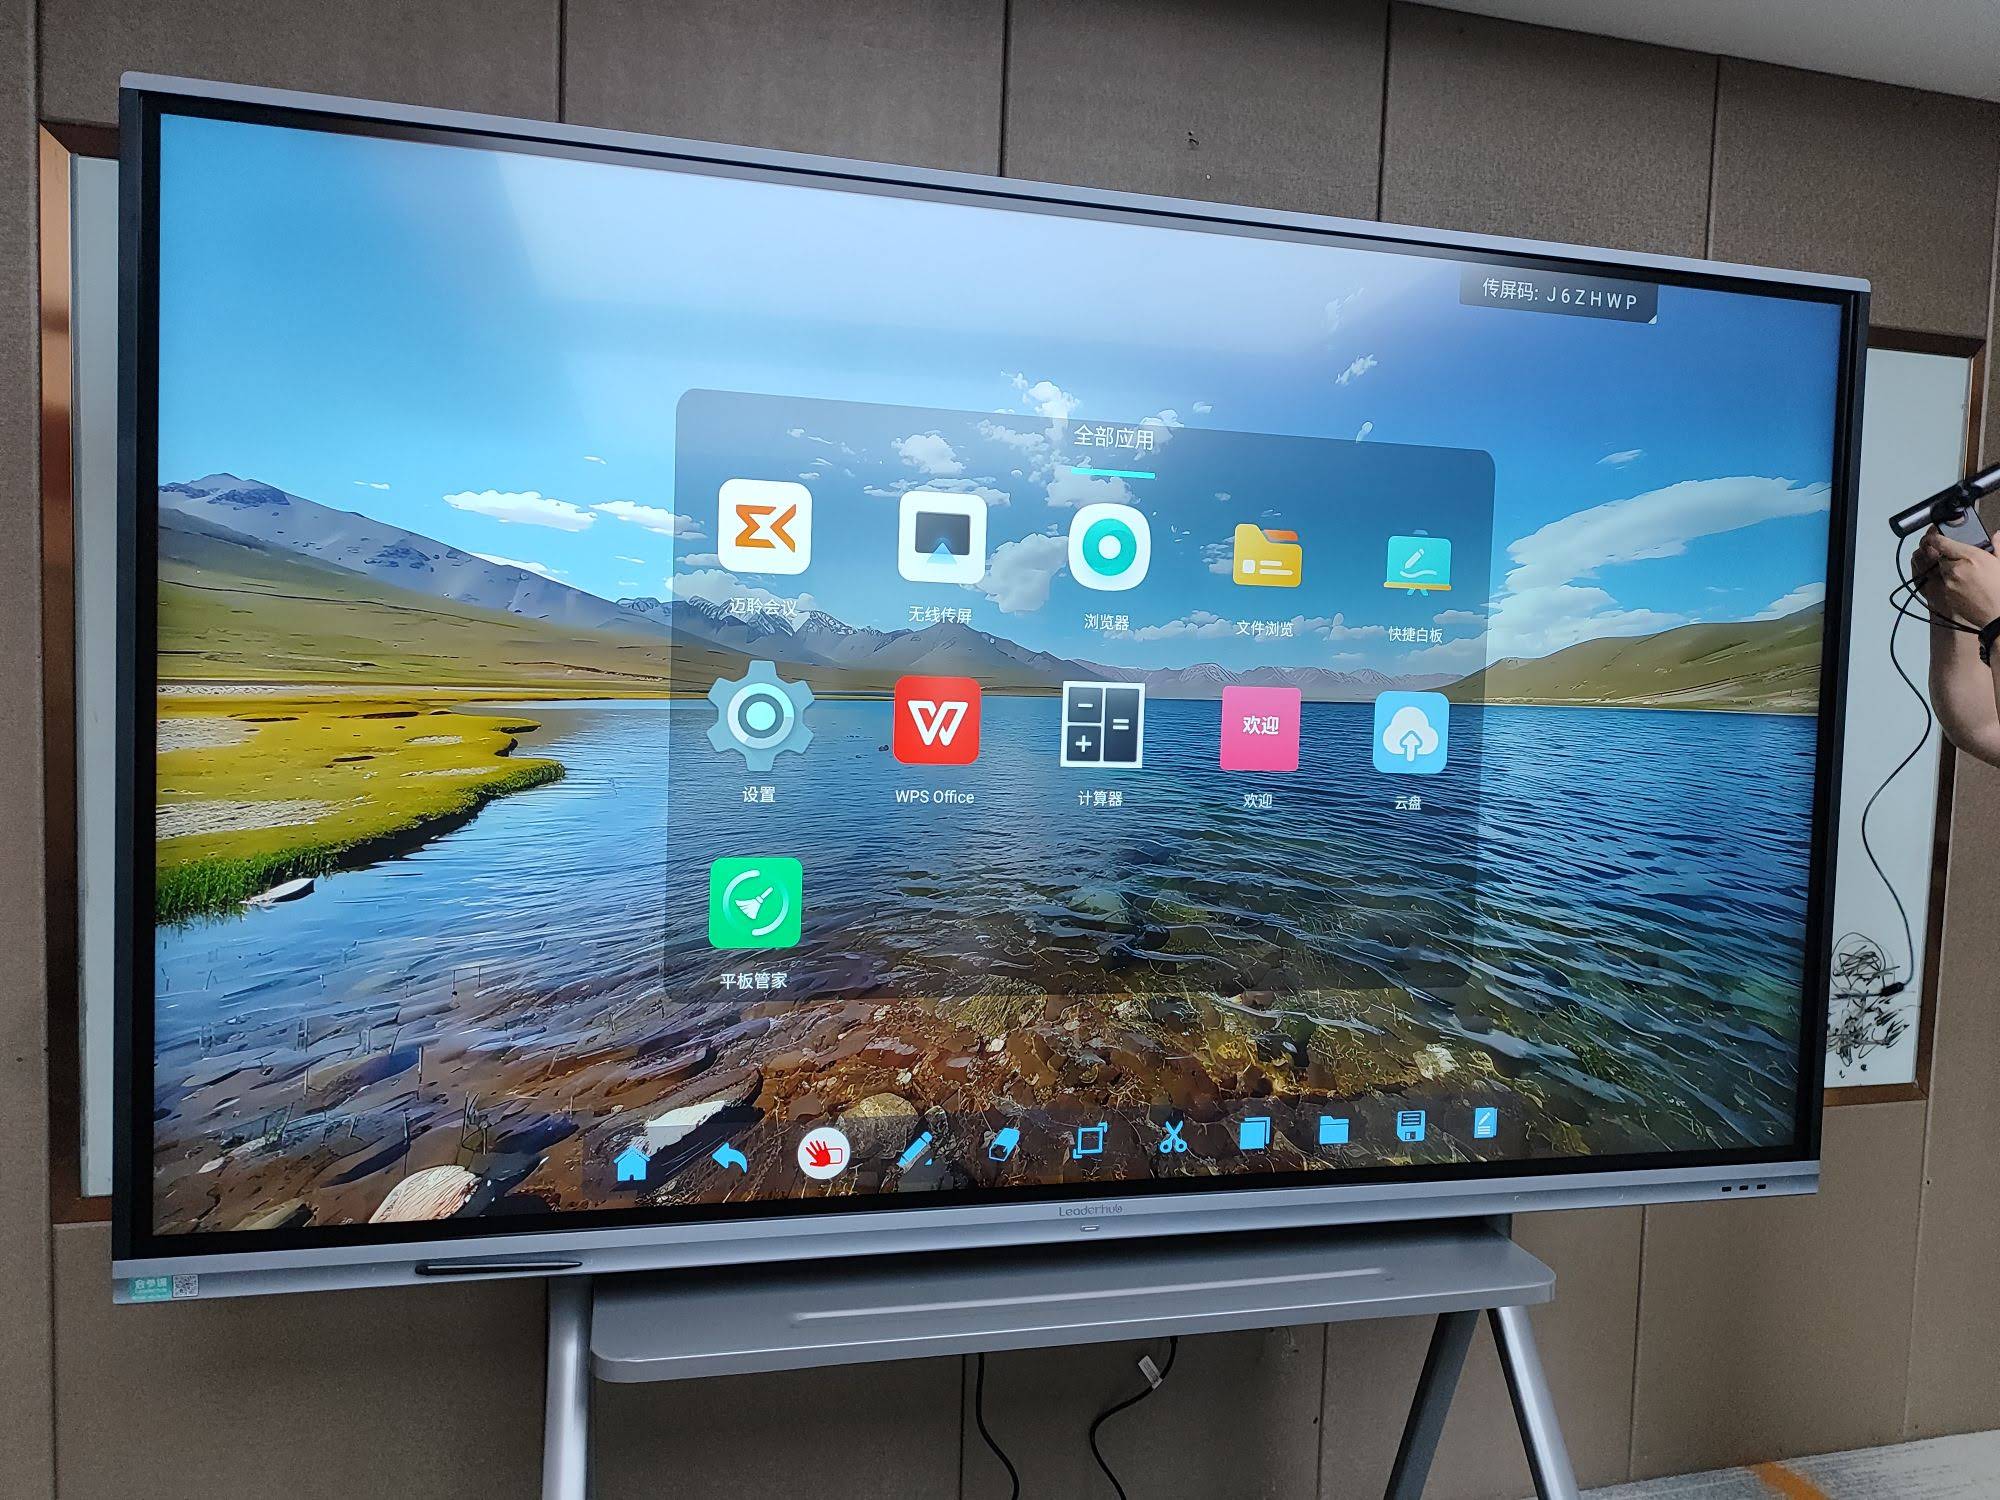
How to share screen on smart board depends on the board’s operating system, the device you are using, and whether you prefer a wired or wireless connection. In most classrooms and meeting rooms, the process is simple once you know the right input, casting app, or mirroring tool. Many teams also pair their board with solutions from smart whiteboards to make presentations faster and more reliable.
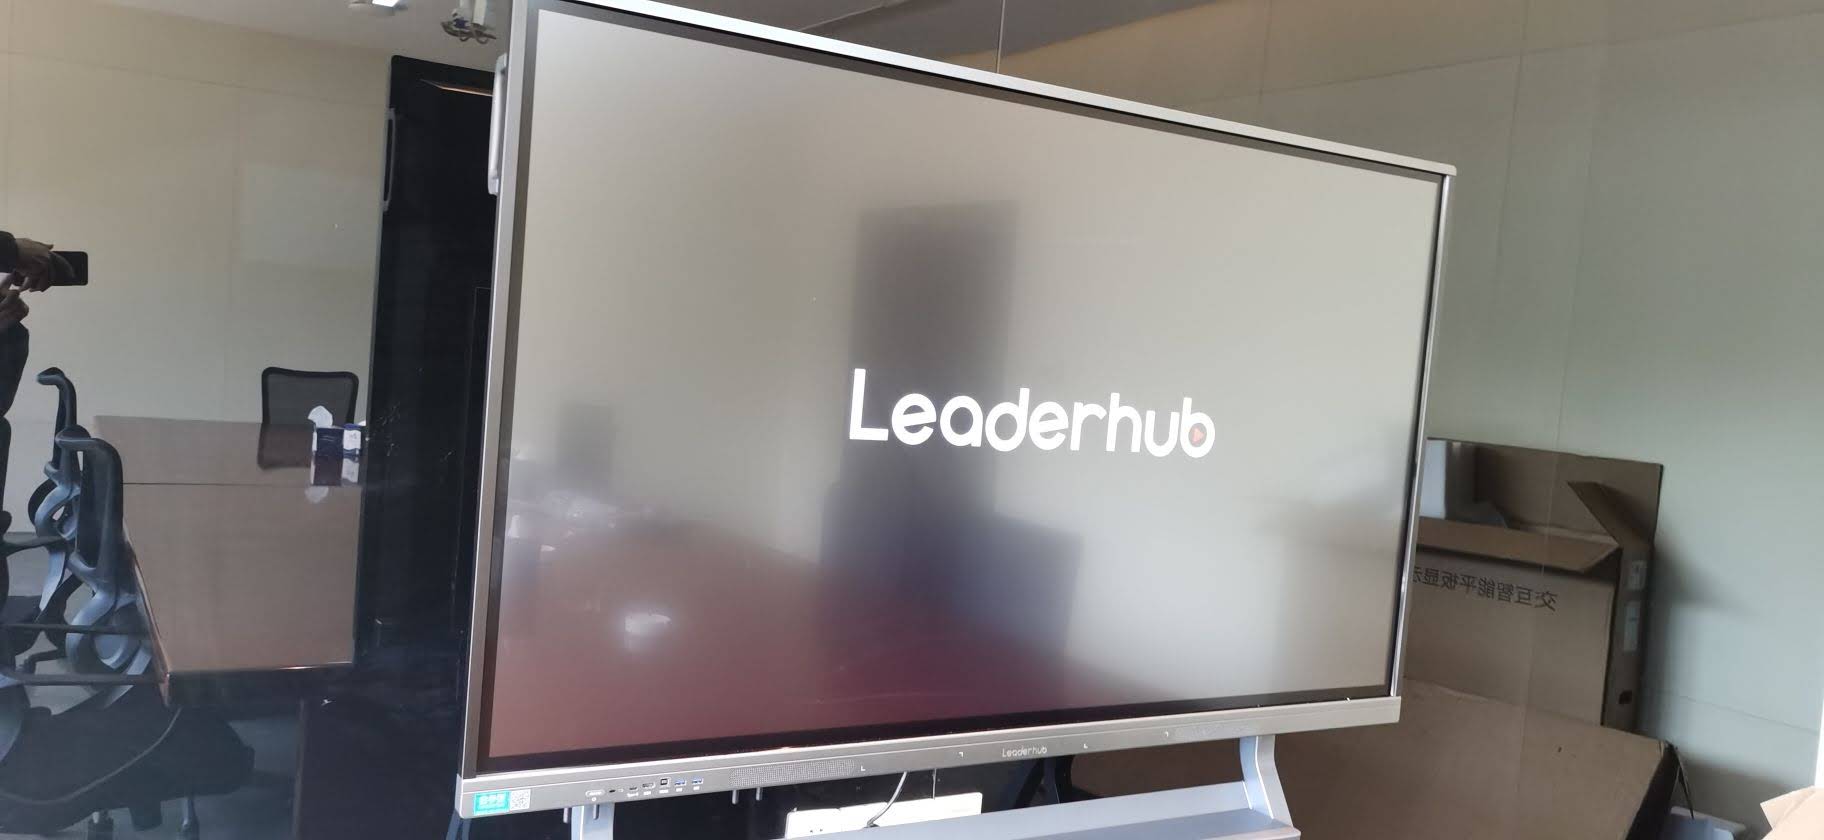
What You Need Before You Start
Before sharing your screen, check a few basics so the connection works the first time:
- A smart board that supports casting or external input
- A laptop, tablet, or phone with screen-mirroring enabled
- A stable Wi-Fi network if you plan to cast wirelessly
- An HDMI or USB-C cable if you want a wired connection
- The correct app, dongle, or receiver for your board model
How to Share Screen on a Smart Board: The Easiest Methods
Most smart boards support more than one way to display your content. Pick the method that matches your device and room setup.
1) Wireless screen sharing from a laptop
- Turn on the smart board and open the screen sharing or cast option.
- Make sure your laptop is connected to the same Wi-Fi network.
- On Windows, open the display menu and choose Connect or Cast. On Mac, use Screen Mirroring from the menu bar.
- Select the smart board from the device list.
- Confirm the connection code if your board shows one.
2) Share with an HDMI cable
- Connect your laptop to the smart board using an HDMI cable.
- Select the correct HDMI input on the board.
- If needed, connect a USB cable for touch back control.
- Set your laptop to Duplicate or Extend display mode.
3) Share from iPhone or iPad
- Open the smart board’s AirPlay-compatible receiver or mirroring app.
- Swipe down on your iPhone or iPad to open Control Center.
- Tap Screen Mirroring.
- Select the smart board and enter the code if prompted.
4) Share from Android
- Open the smart board’s cast receiver or built-in sharing app.
- On your Android device, open Cast, Smart View, or Screen Share.
- Choose the smart board from the list.
- Approve the pairing request on the board if necessary.
5) Use a collaboration app or whiteboard software
Some boards also let you open files directly from cloud tools, which is useful for teaching and hybrid meetings. If you need a room-ready device, consider checking a 4K interactive flat panel or browsing rotating screens for flexible presentations.
| Sharing Method | Best For | Main Advantage |
|---|---|---|
| Wireless casting | Meetings, classrooms, quick demos | No cable clutter |
| HDMI/USB-C | Stable presentations, long sessions | Reliable and easy to troubleshoot |
| Phone mirroring | On-the-go sharing, small teams | Fast setup from mobile devices |
| Collaboration app | Hybrid teaching and brainstorming | Interactive teamwork features |
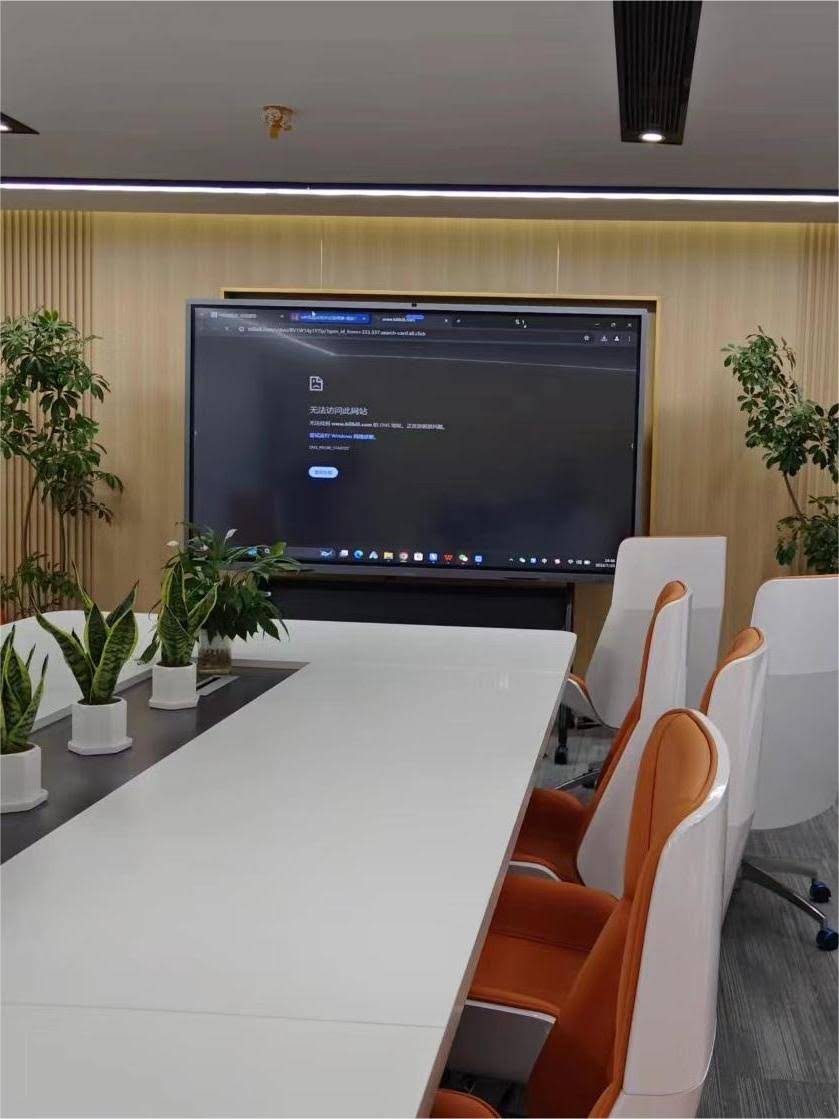
Best Settings for a Smooth Presentation
- Use the same Wi-Fi network for both devices when casting wirelessly.
- Set your laptop to the native resolution of the board for a sharper image.
- Close unnecessary apps to reduce lag and pop-up interruptions.
- Keep your device within a reasonable distance if you are using Bluetooth-based accessories.
- Turn on do-not-disturb mode on phones and laptops before presenting.
- If your board supports touch-back, enable it for easier interaction with slides and documents.
Troubleshooting Common Problems
If the screen does not appear right away, try these quick fixes:
| Problem | What to Do |
|---|---|
| The board does not show up | Check Wi-Fi, confirm the correct input, and restart the mirroring app. |
| Black screen or no signal | Reconnect HDMI/USB-C, then switch to the right source on the board. |
| Lag or audio delay | Move closer to the router or use a wired connection for smoother playback. |
| Touch control does not work | Make sure the USB touch cable is connected and the driver is installed. |
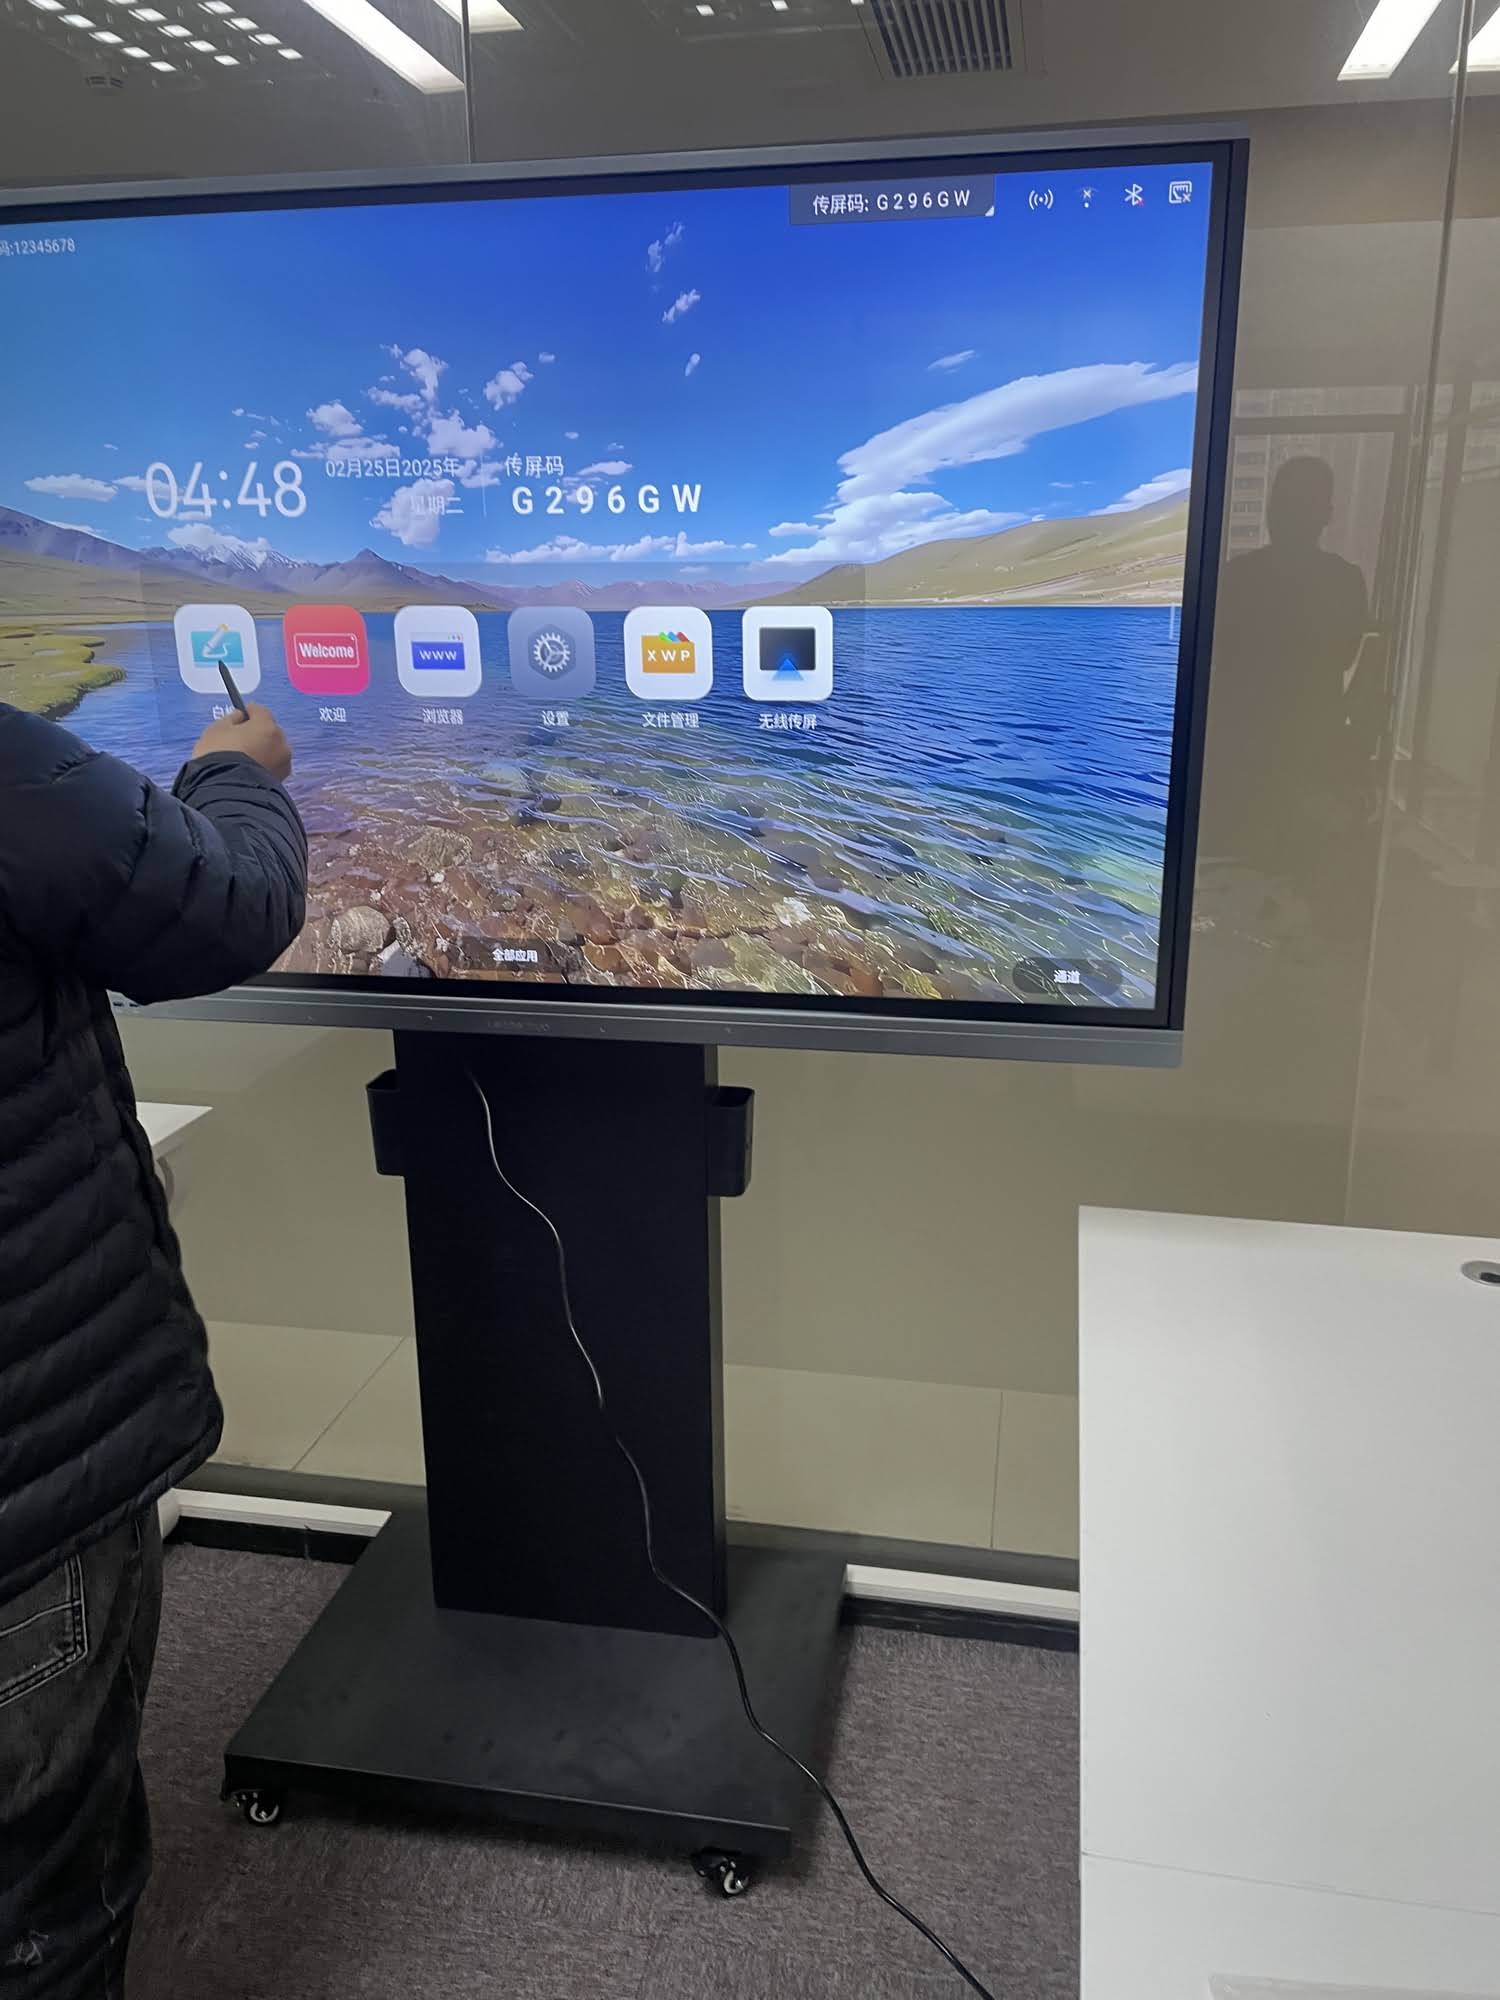
Choosing the Right Smart Board Setup
If you want better performance for conferences or classrooms, choose hardware that matches your usage pattern. For example, a larger panel is ideal for group collaboration, while a portable display works well for flexible spaces. You can also pair the board with a compact computer for faster startup and smoother switching between apps. A good place to start is mini PCs for a clean all-in-one room setup.
- For classrooms: choose a board with easy casting, annotation tools, and fast touch response.
- For meetings: prioritize wireless sharing, multi-device support, and stable audio.
- For training rooms: look for flexible input options and simple source switching.
Quick Step-by-Step Summary
- Turn on the smart board and open the share/cast menu.
- Connect your device by wireless casting or cable.
- Confirm the correct display input and approval code.
- Choose duplicate, extend, or mirror mode on your device.
- Test audio, touch control, and screen fit before presenting.
FAQ
Can I share my screen on any smart board?
Most modern boards support screen sharing, but the method may differ. Some use built-in casting, while others rely on HDMI, USB-C, or a dedicated receiver.
Why is my phone not connecting to the smart board?
Usually, the phone and board are on different networks, the app is outdated, or the mirroring permission has not been approved on the board.
Is wired sharing better than wireless sharing?
Wired sharing is often more stable, while wireless sharing is more convenient. If you need fewer interruptions, use HDMI or USB-C; if you need mobility, use wireless casting.
How do I make the image fit the smart board screen?
Set your laptop display to the board’s resolution, then use duplicate or extend mode. If the image still looks cropped, check the aspect ratio settings on both devices.
To compare models and room-ready options, browse Explore Products or contact our team for a setup that fits your space.