
Creating smart board activities is one of the fastest ways to make lessons more interactive, visual, and memorable. Whether you teach younger students, train employees, or run workshops, the right activity can turn a passive presentation into a hands-on experience. The key is not to add more technology—it is to design a simple task that lets learners touch, move, match, sort, draw, and respond in real time.
If you are learning how to make smart board activities, start with a clear lesson goal, then build an activity that supports that goal in a few easy steps. For research-based guidance on classroom technology, you can also review the
UNESCO Technology Recommendations
and
ISTE Standards for Educators.
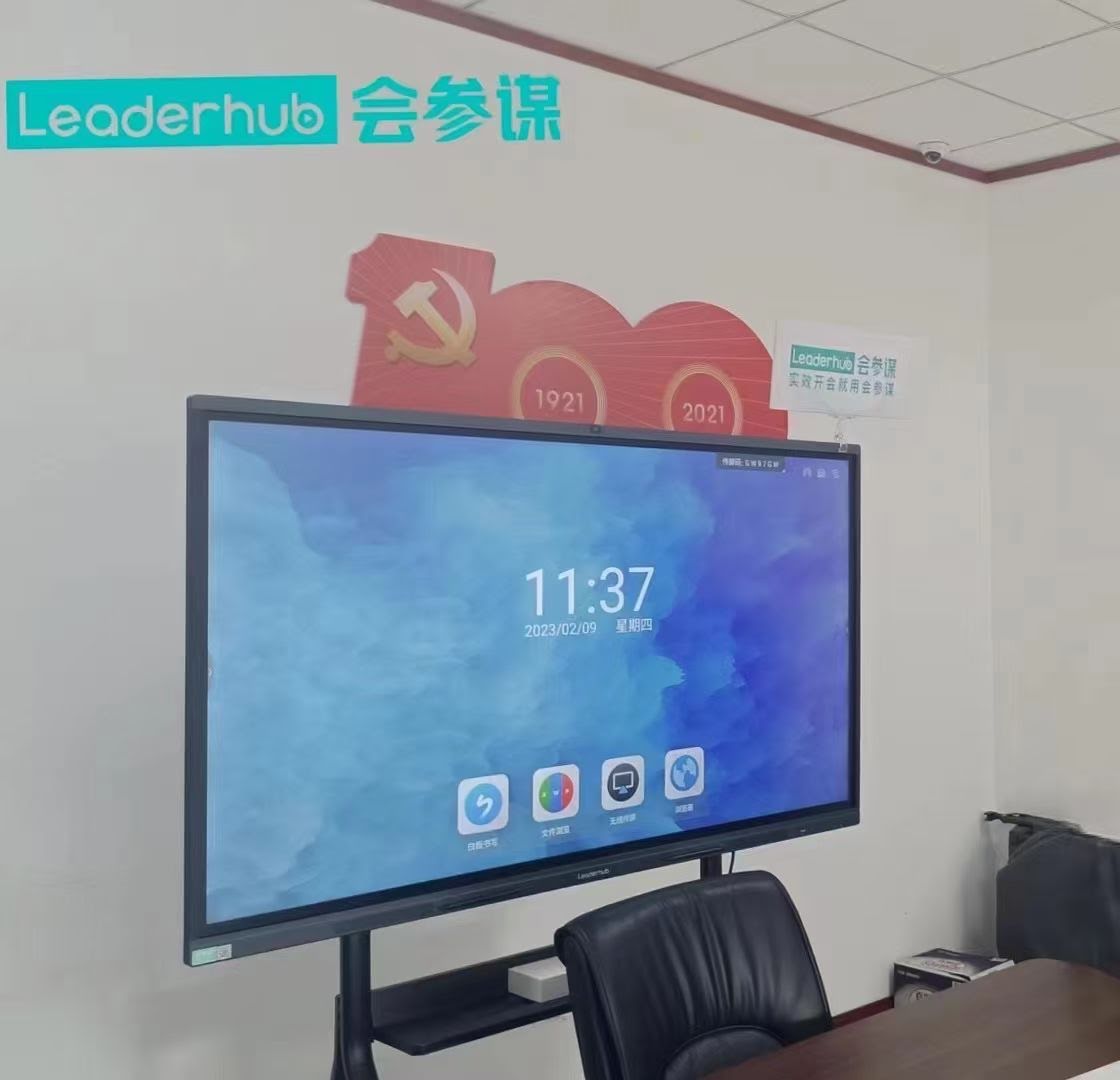
Start With the Learning Goal, Not the Tool
The best smart board lesson begins with one question: What should learners do by the end of this activity? When the goal is clear, the activity becomes easier to design and easier to assess.
- Recall: use quick quizzes, flashcards, or drag-and-drop labeling.
- Understand: use matching, sorting, or true/false prompts.
- Apply: use problem-solving steps, diagrams, or guided demonstrations.
- Create: use collaborative mind maps, annotation, or brainstorming walls.
A simple rule: if your goal is memory, keep the activity fast; if your goal is thinking, make the interaction deeper.
Choose the Right Type of Smart Board Activity
Different lesson goals need different interaction styles. Below is a practical guide for building smart board activities that work in classrooms, training rooms, and hybrid sessions.
| Goal | Best Activity Type | Why It Works |
|---|---|---|
| Review vocabulary | Matching cards | Learners connect terms with meanings quickly |
| Check understanding | Multiple-choice quiz | Instant feedback keeps attention high |
| Build discussion | Sticky-note brainstorm | Everyone can contribute ideas in one space |
| Teach a process | Step-ordering activity | Students see sequence and logic clearly |
| Encourage creativity | Draw-and-label task | Useful for diagrams, design, and concept mapping |
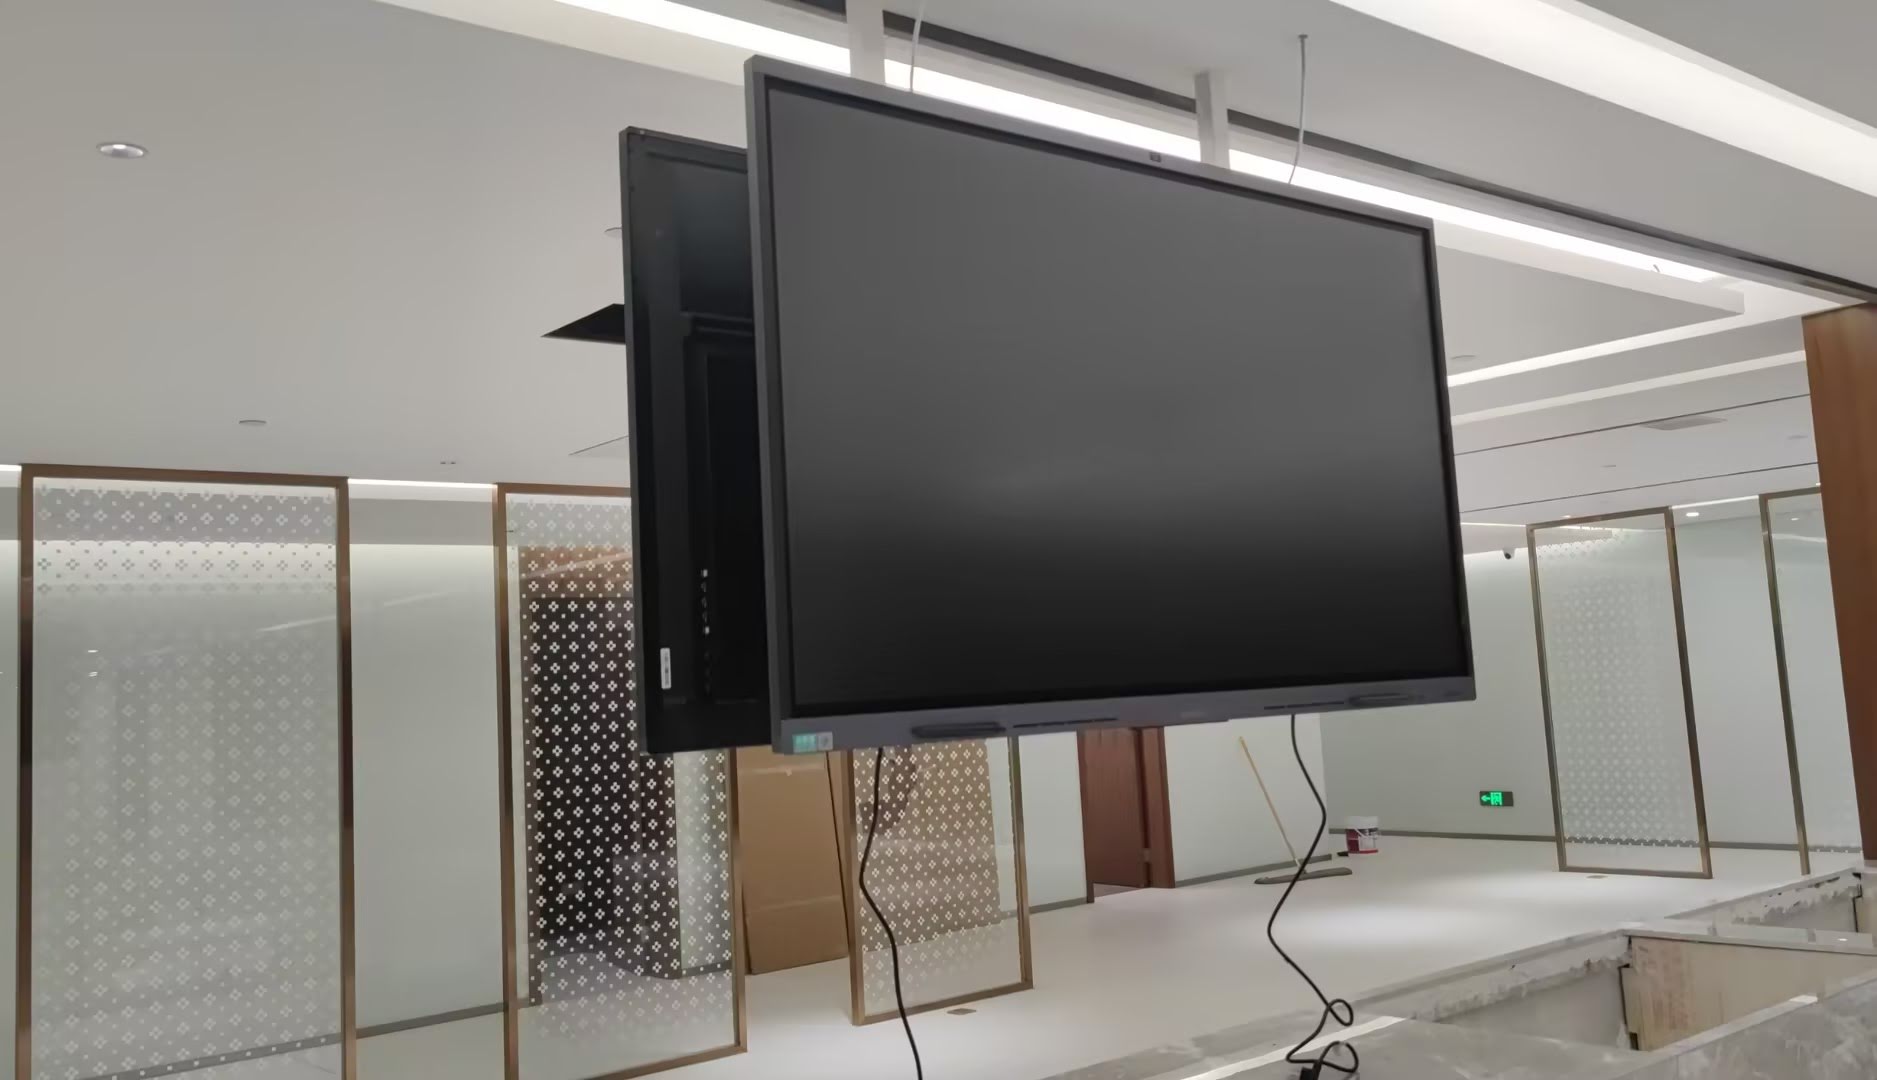
How to Make Smart Board Activities in 6 Easy Steps
- Pick one outcome. Keep it specific, such as “students can identify the main idea” or “team members can compare three options.”
- Choose one interaction. Use drag-and-drop, tap-to-reveal, annotate, sort, match, or highlight.
- Prepare short content blocks. Use brief words, images, or symbols instead of long paragraphs.
- Design for participation. Make sure students can take turns, work in pairs, or contribute from the side of the room.
- Add instant feedback. Show correct answers, model thinking, or ask a follow-up question.
- Save and reuse the activity. A good smart board activity should be easy to adapt for future lessons.
A Simple Formula You Can Reuse
Objective + Interaction + Feedback + Reflection is the easiest formula for building effective smart board activities. If one part is missing, the lesson may still be interesting, but it will not be as instructional.
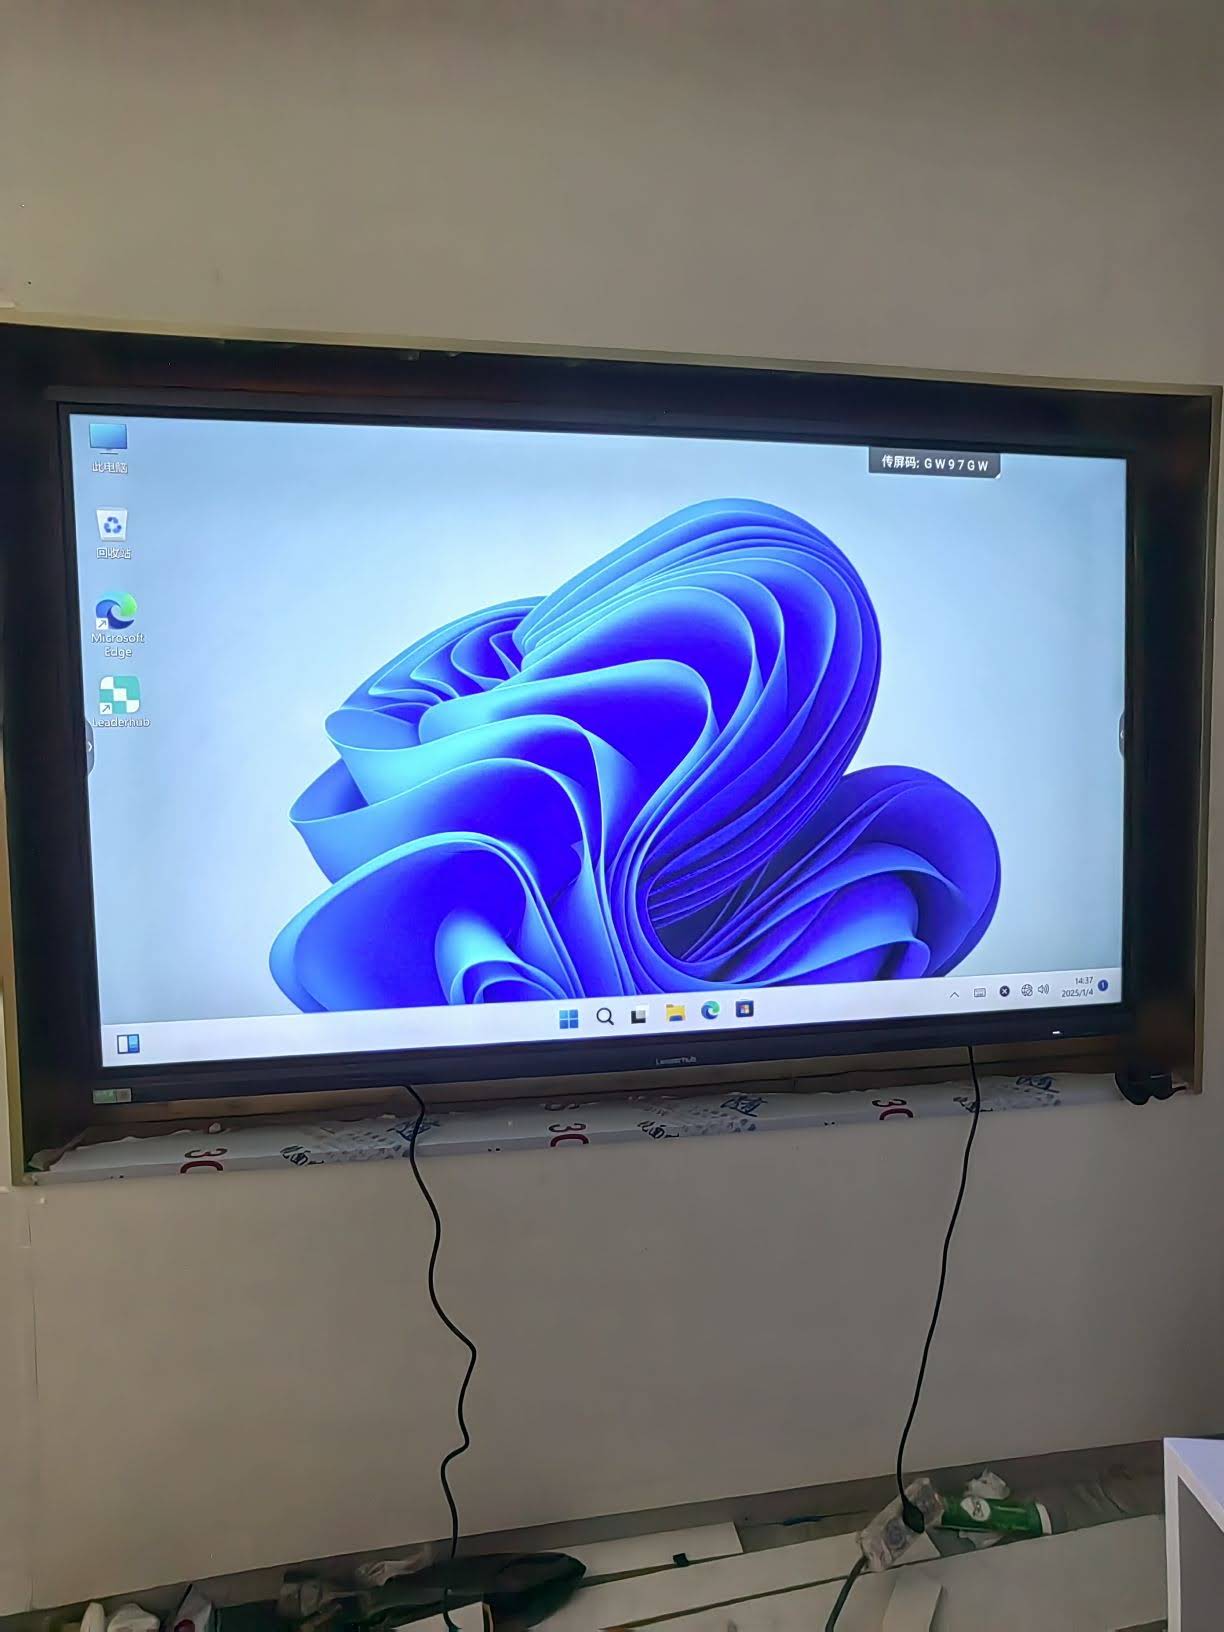
Activity Ideas That Work Across Subjects
These examples are easy to customize and work well for teachers, trainers, and facilitators who want practical smart board activities without spending hours on setup.
- Vocabulary race: learners drag words into the correct category.
- Math reveal: hide steps and uncover one at a time as students solve.
- Science labeling: label parts of a diagram by touch or pen tool.
- History timeline: arrange events in order and discuss cause and effect.
- Business brainstorming: collect ideas, vote, and group them into themes.
- Language speaking prompt: display a question, then let students annotate their answers.
Best Practices for Strong Engagement
- Use one task at a time so the screen does not feel crowded.
- Limit text and rely on visual cues whenever possible.
- Allow quick turn-taking to keep the whole group involved.
- Mix teacher-led moments with student-led interaction.
- Use color carefully to highlight key information and avoid distraction.
For hardware planning, it helps to choose devices that support fast touch response and reliable collaboration. If you are comparing options, explore
smart whiteboards,
rotating screens, and
mini PCs
for different classroom and meeting-room setups.
Common Mistakes to Avoid
- Too much content: if the board is packed, learners stop interacting.
- Too many steps: complicated instructions slow down participation.
- Weak alignment: the activity should support the lesson objective, not distract from it.
- No reflection: always end with a quick recap or question.
- One-person use only: smart board activities should invite shared engagement.
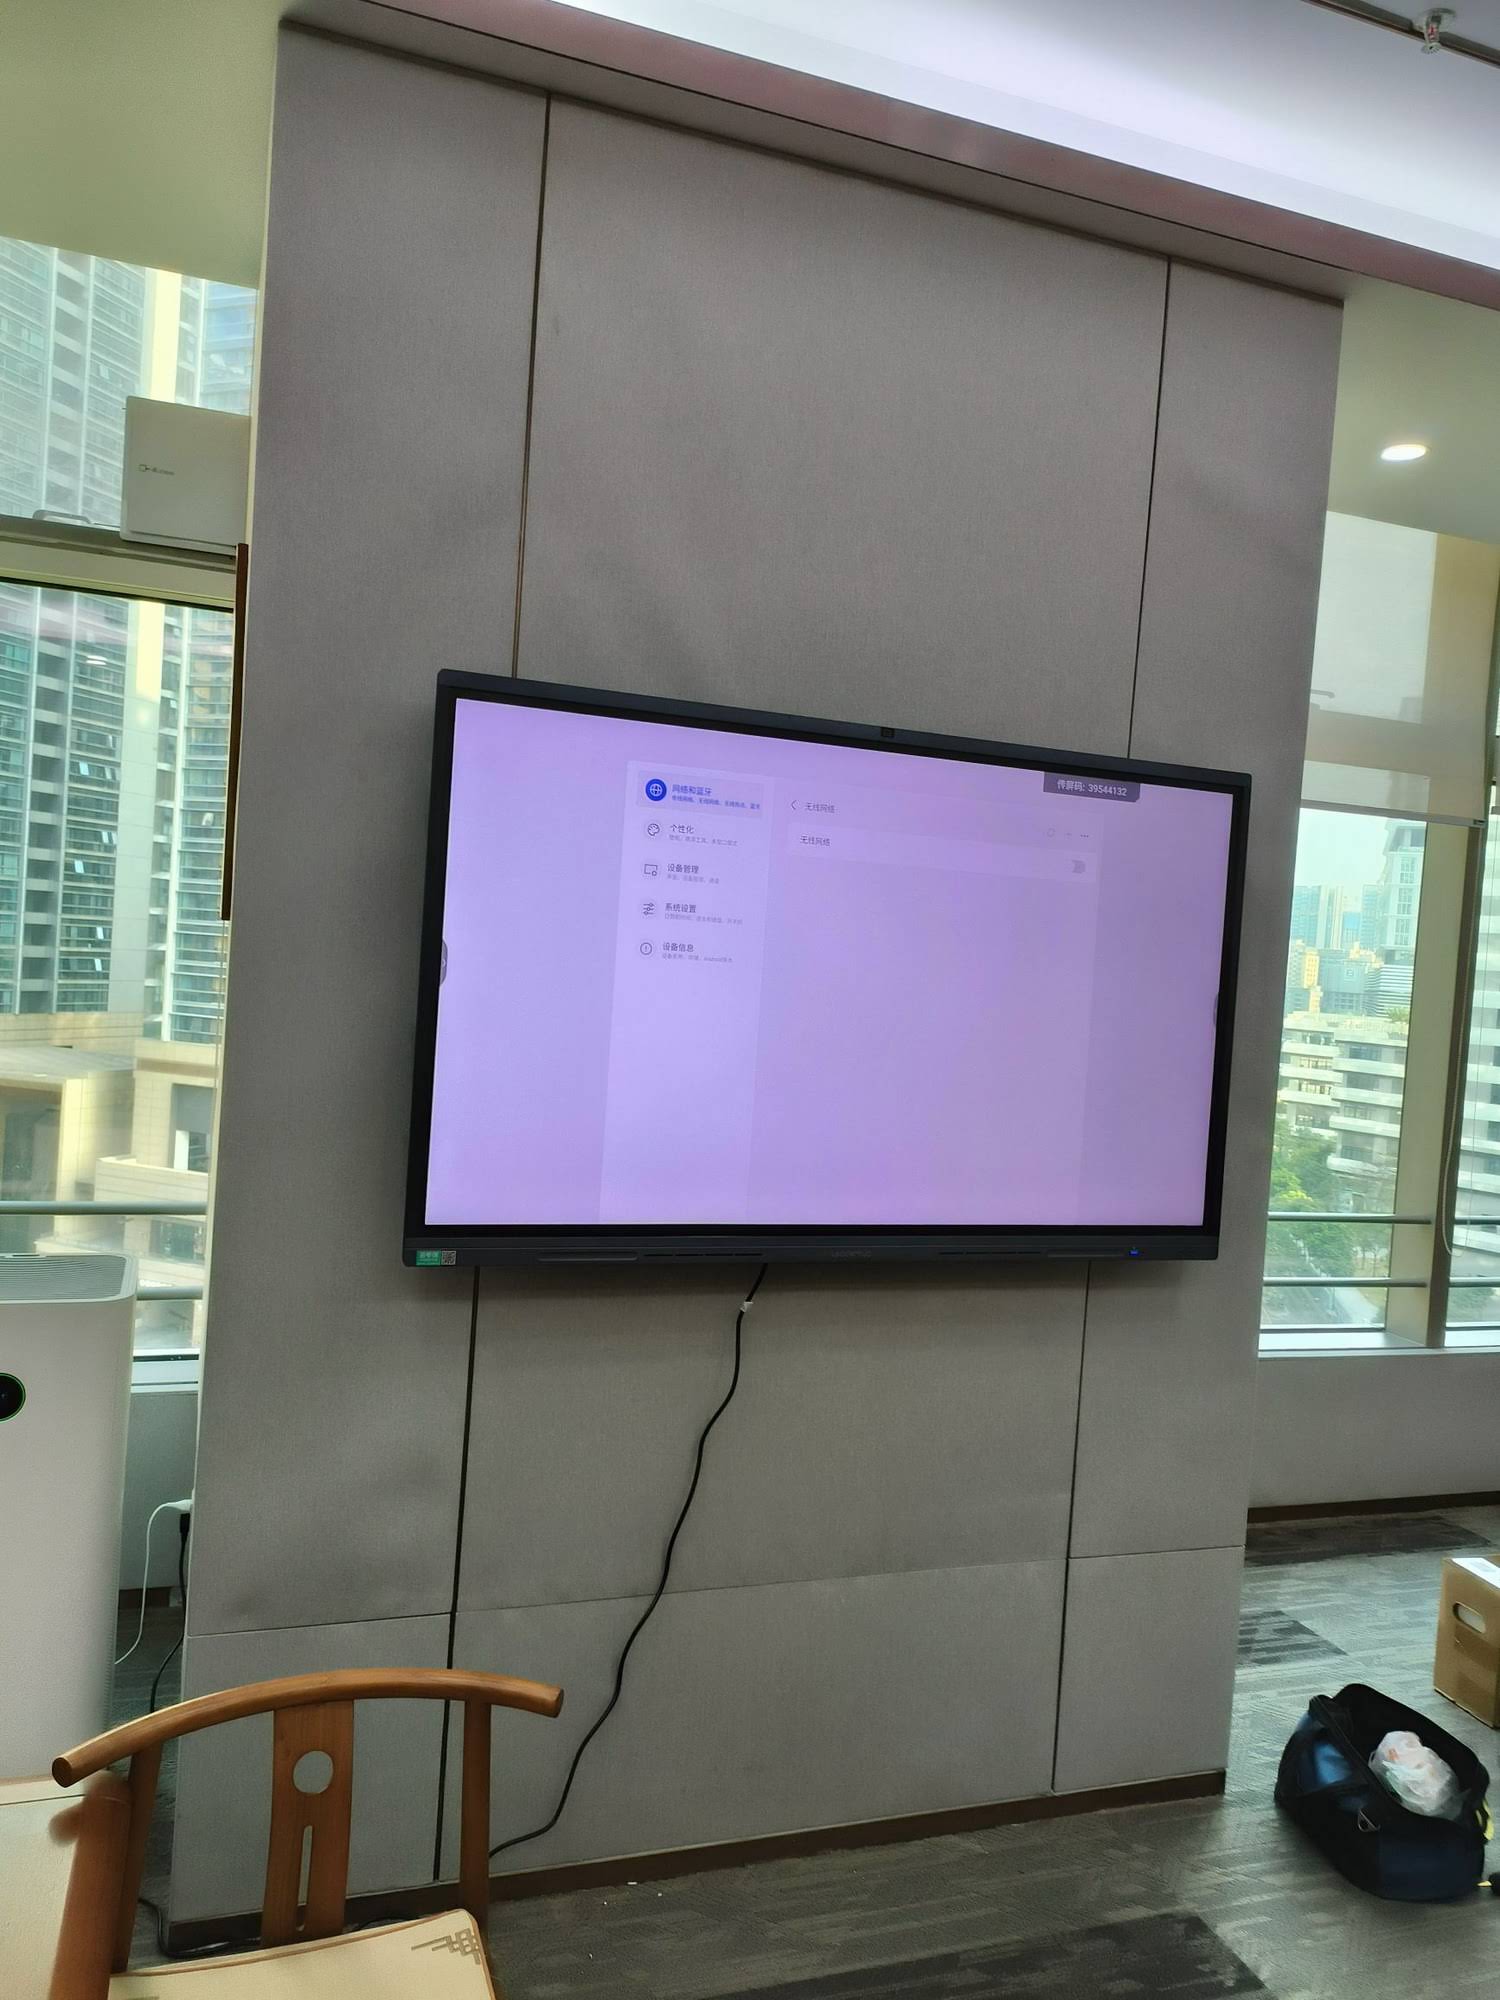
Smart Board Activity Checklist
| Goal | Can I explain the learning outcome in one sentence? |
| Interaction | Does the task require tapping, dragging, writing, or sorting? |
| Participation | Can multiple people join easily? |
| Feedback | Will learners know what is right, missing, or next? |
| Reuse | Can I save this for another class or session? |
A Quick Example Lesson Flow
- Warm-up: ask a one-question poll.
- Main task: complete a matching or sorting activity.
- Challenge: invite one learner to annotate the answer.
- Wrap-up: summarize the key idea in a single sentence.
This structure works because it keeps the lesson active from start to finish. Learners see the content, respond to it, and then reflect on it immediately.
If you want a simple way to make lessons more interactive, begin with small changes: replace one static slide with a drag-and-drop task, one lecture moment with a quick poll, or one review page with a matching game. That is often enough to turn a standard lesson into a memorable one.
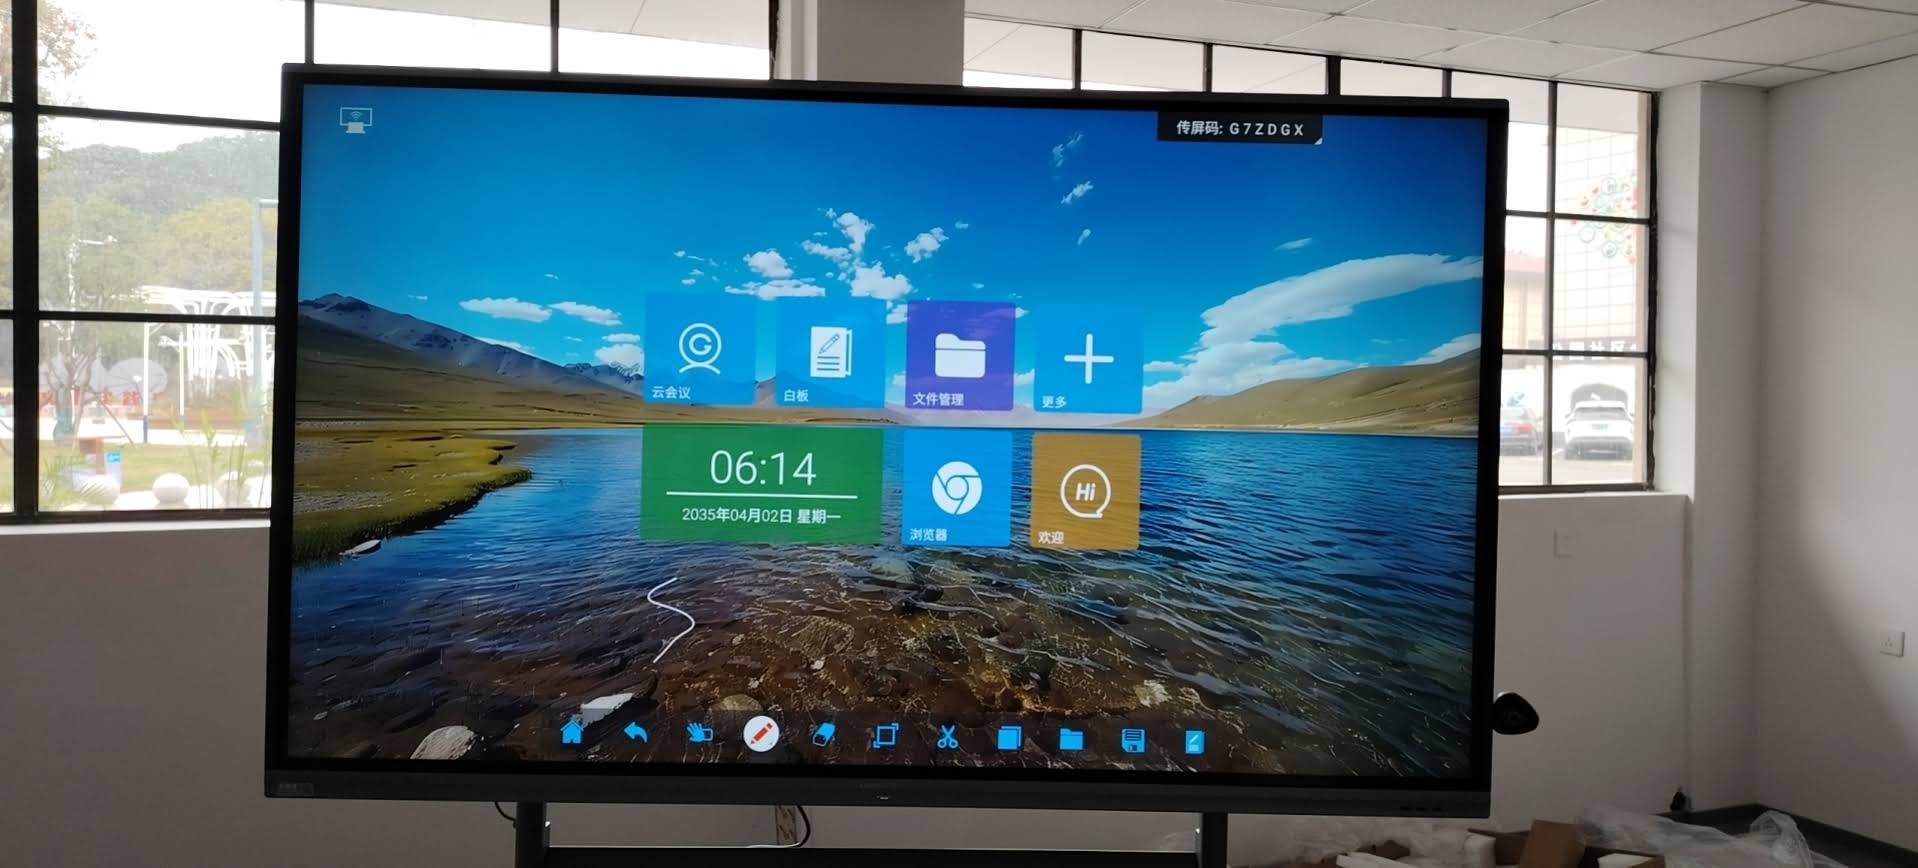
For schools and training teams seeking a dependable interactive setup, LeaderHub can support smart board planning with display solutions designed for education and collaboration.
Useful references:
UNESCO Global Education Monitoring Report,
OECD Digital Education,
World Bank EdTech,
ISTE EdTech Standards.








