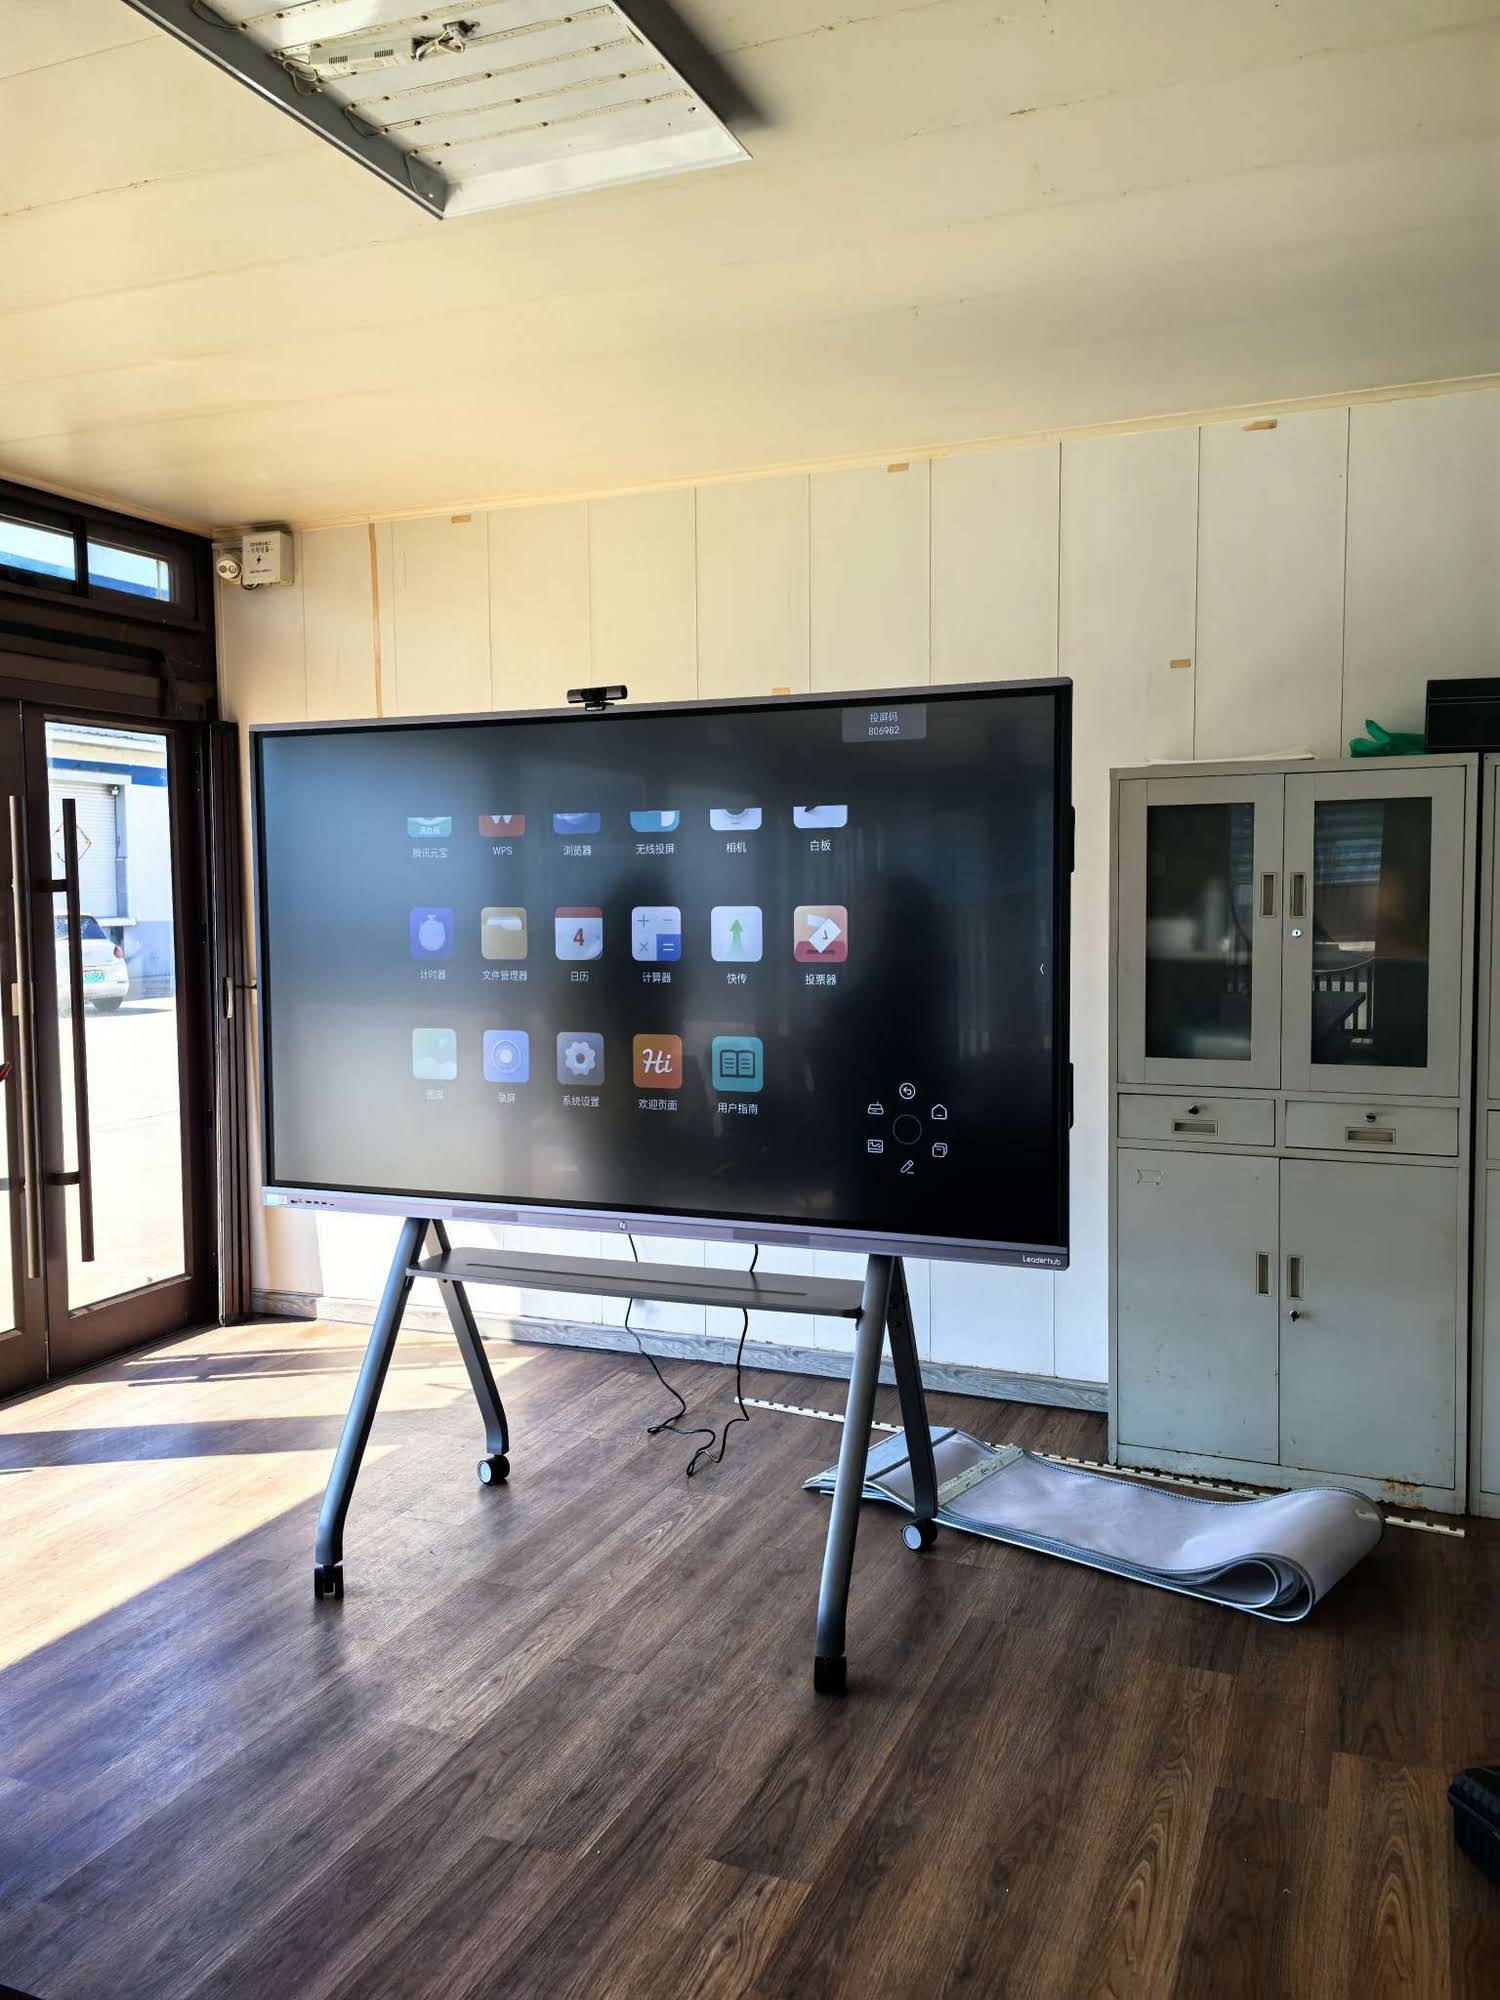
When a smart board stops responding, shows a blank screen, or refuses to connect, the fix is often simpler than it looks. In most cases, how to fix a smart board starts with power, cable, touch calibration, and input-source checks before moving on to software or hardware issues.
For schools, meeting rooms, and training spaces, a fast diagnosis matters because even one failed display can disrupt the whole session. The good news is that many smart board problems can be solved without a technician if you follow a clear troubleshooting process.
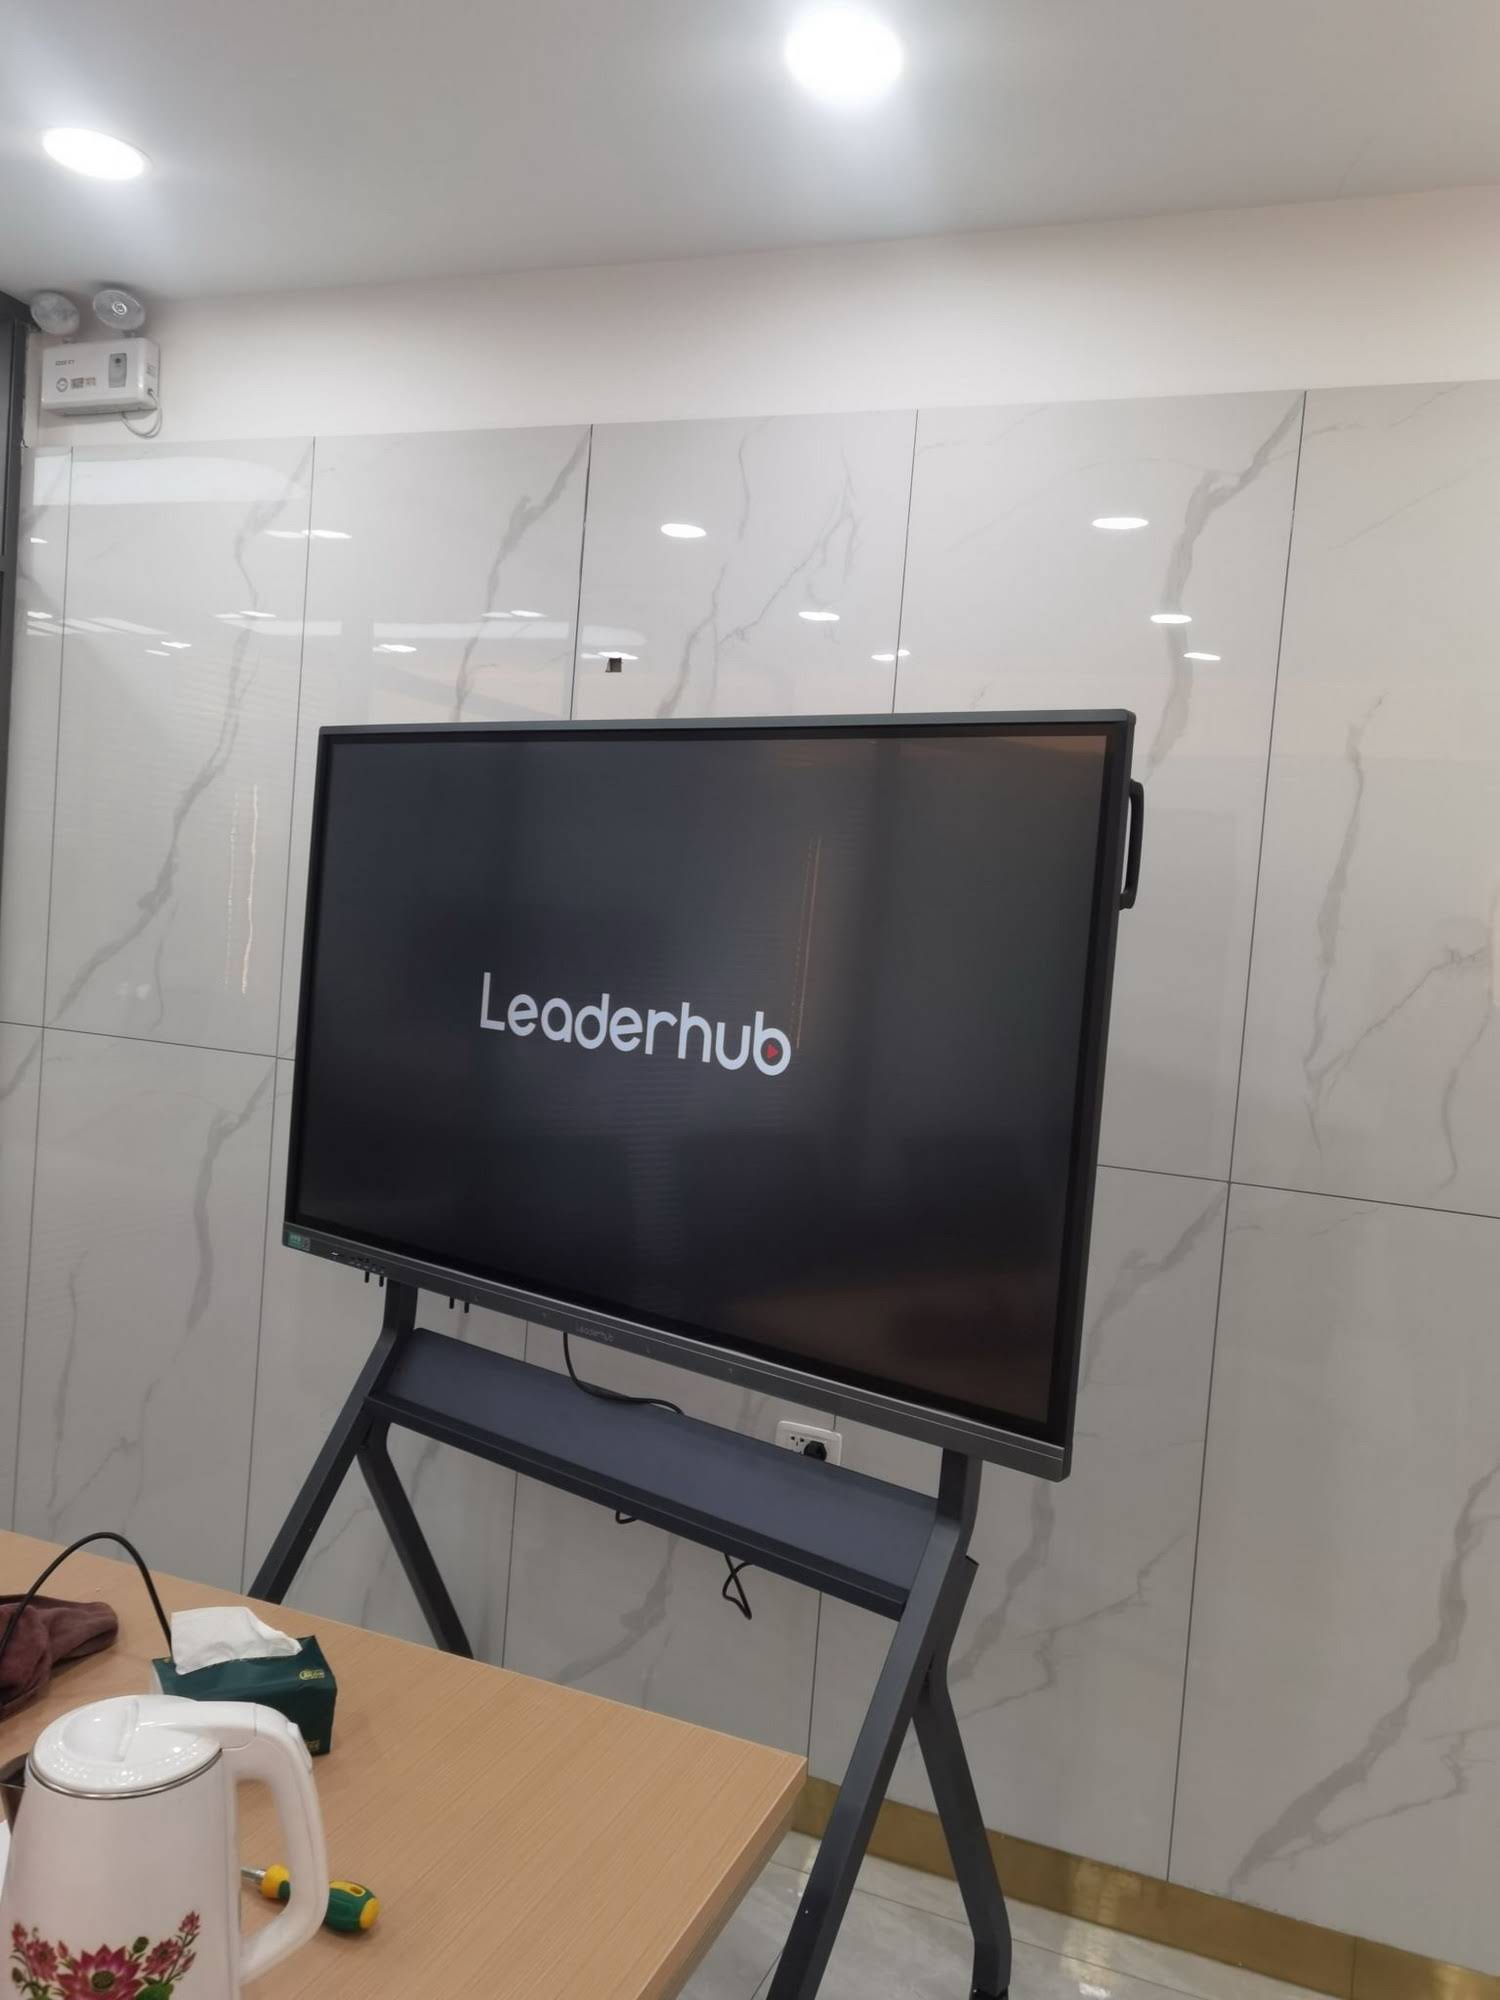
Start with the Fastest Checks First
Before opening menus or replacing parts, run these basic checks. They solve a surprisingly large number of “broken” smart board issues.
- Check the power indicator and make sure the display is actually turned on.
- Confirm the power cable, HDMI, USB, and network cables are fully seated.
- Switch to the correct input source on the board or connected PC.
- Restart the smart board, OPS/mini PC, and any connected laptop.
- Verify that the room has stable electricity and no loose wall outlet connection.
Quick Safety Tip
Always unplug the device before reseating ports, inspecting cables, or checking the rear panel. If you smell burning, see visible damage, or notice liquid exposure, stop immediately and request professional service.
Common Smart Board Problems and What They Usually Mean
| Problem | Most Likely Cause | Best First Fix |
|---|---|---|
| Blank screen | Wrong input, loose cable, or power issue | Check source, power, and HDMI/DP connection |
| No touch response | USB not connected, driver issue, or calibration error | Reconnect USB and recalibrate touch |
| Flickering display | Cable damage, refresh-rate mismatch, or unstable power | Replace cable and test a different power outlet |
| No sound | Muted audio, wrong output device, or speaker fault | Check volume, audio output, and speaker cable |
| Laggy performance | Low storage, too many apps, or weak mini PC | Close apps, free storage, or restart the system |
How to Fix a Smart Board Step by Step
1) Confirm the power path
If the board is dead or waking up slowly, inspect the full power chain:
- Wall outlet or power strip
- Power cable and adapter
- Rear-panel power connector
- Internal power switch, if your model has one
If the power indicator is off, try a different outlet before assuming the board is damaged.
2) Verify the display input
A smart board can appear “broken” when it is simply on the wrong source. Use the on-screen source menu to select the correct input for the connected laptop, OPS, or mini PC. If you are using a laptop, make sure the cable is connected to the right port and that the laptop is set to extend or duplicate the display.
3) Reseat video and USB connections
Touch functionality often depends on USB communication even when video is working. If the image appears but touch does not, reconnect the USB cable between the board and the host device. Also check for bent pins, loose ends, or worn cables.
4) Restart all connected devices
A full restart can clear temporary firmware conflicts. Power off the smart board, connected computer, and any external accessories. Wait 30 seconds, then power them back on in this order:
- Smart board
- Mini PC or OPS
- Laptop or external source
- Audio system, if used
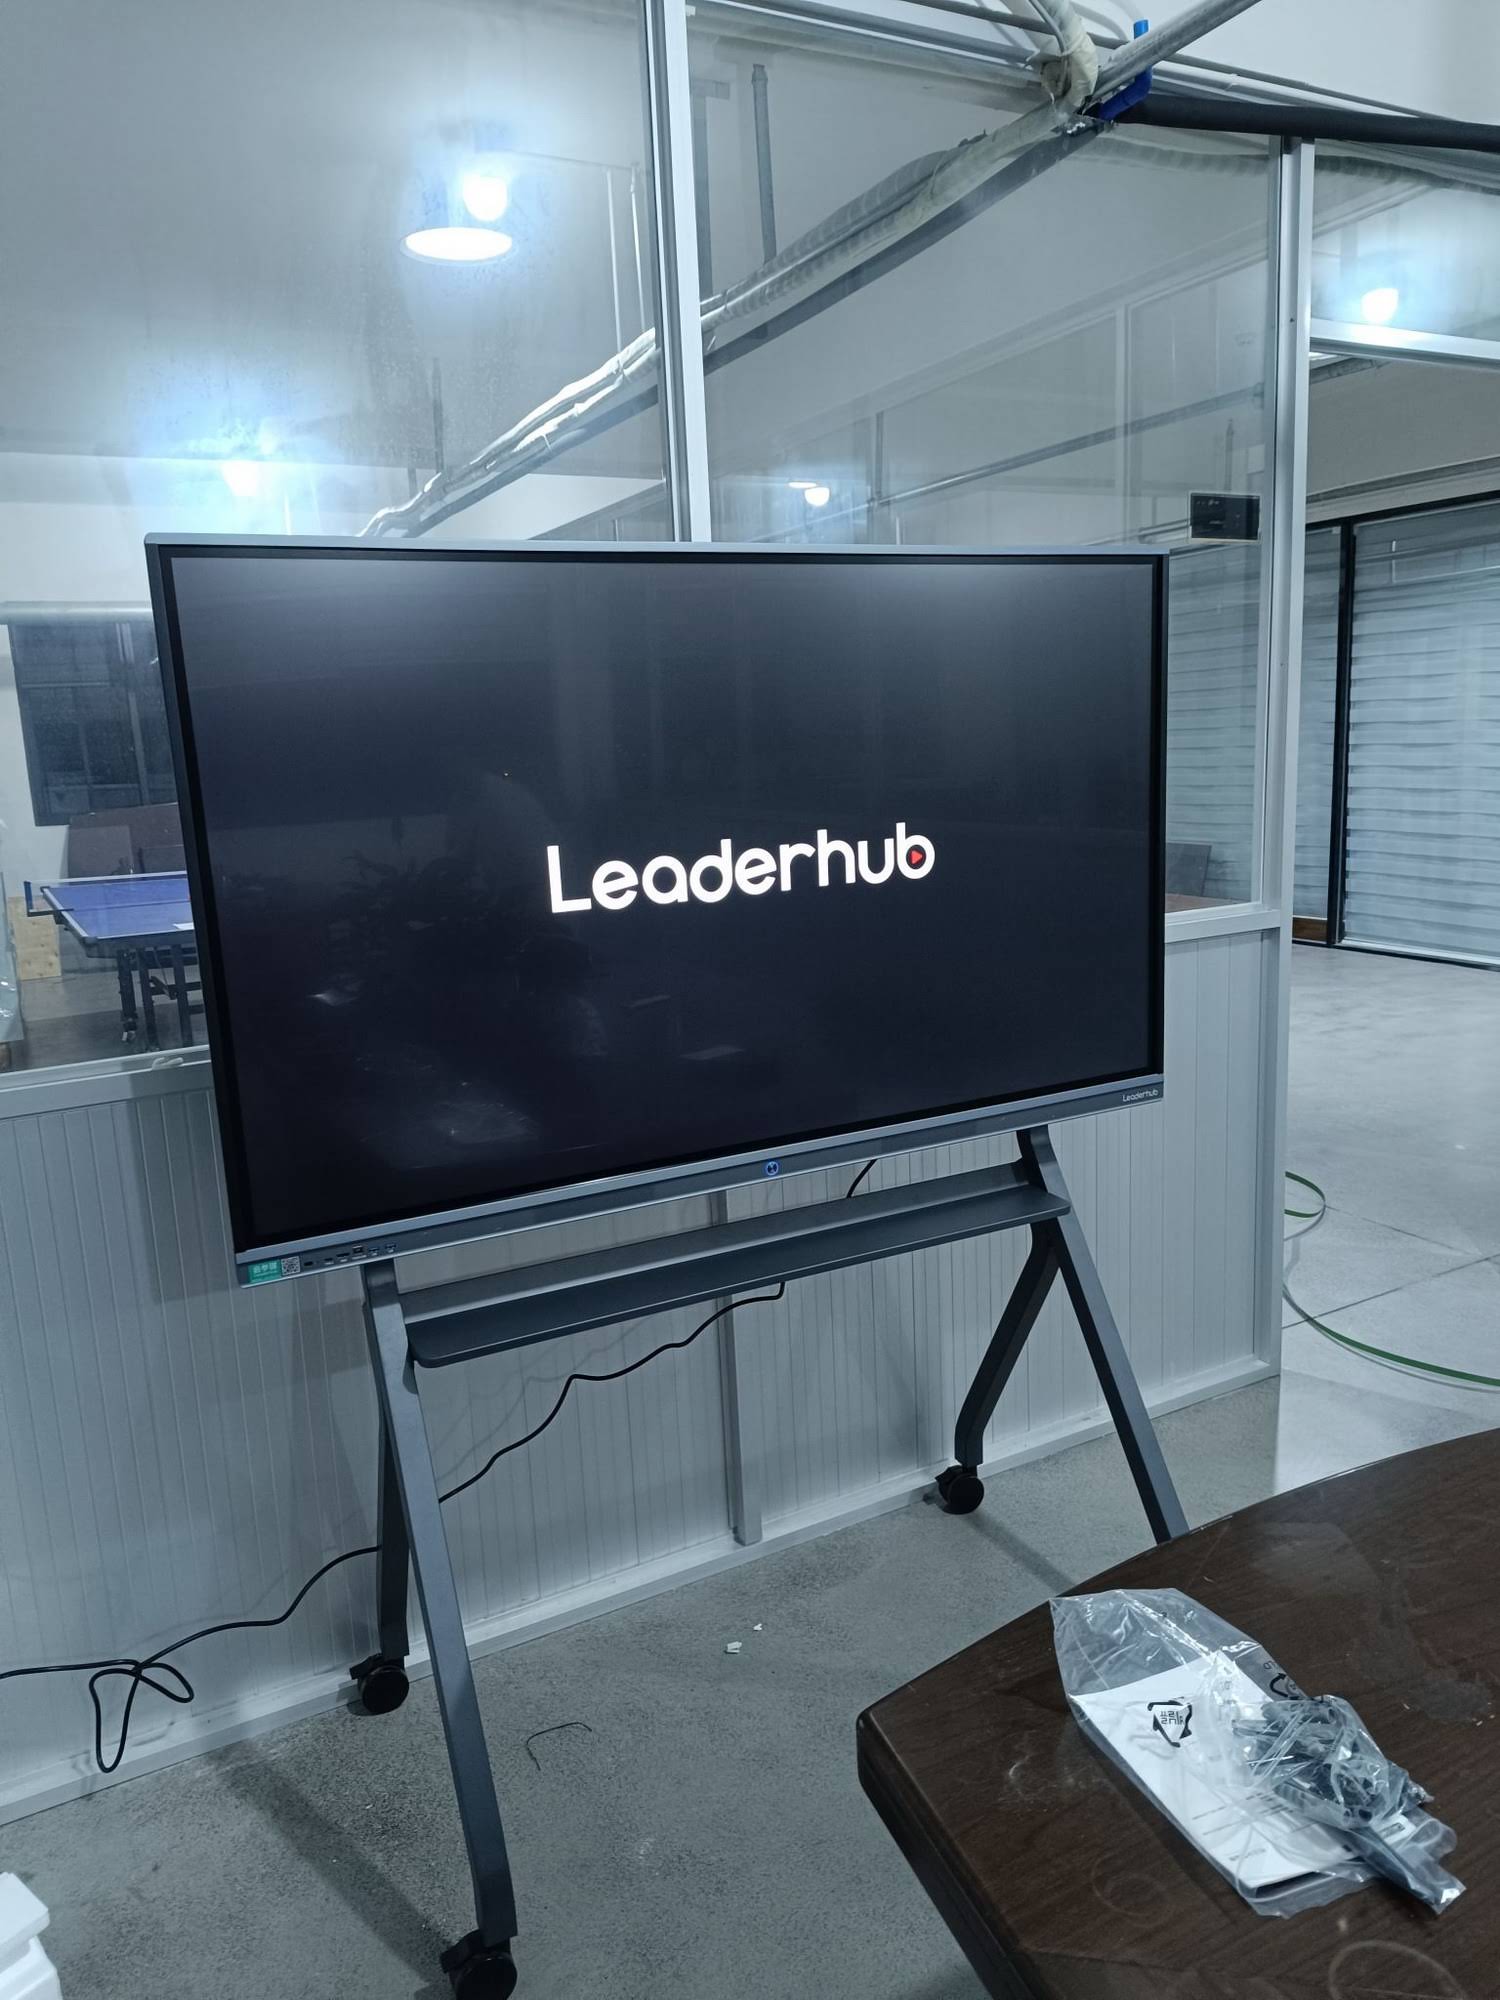
5) Recalibrate touch
If the cursor drifts, touches land in the wrong place, or the screen feels inaccurate, run the calibration tool from the board’s settings or software suite. Follow the on-screen targets carefully and avoid touching the panel edges while calibrating.
6) Update drivers and firmware
Outdated software can cause touch errors, audio issues, and random disconnects. Update:
- Touch drivers
- Graphics drivers
- Board firmware
- Operating system patches
Use the manufacturer’s official support page and avoid random driver downloads from unknown websites.
7) Test with a second device
To separate board problems from PC problems, connect a second laptop or external source. If the smart board works with another device, the issue is likely with the original computer, cable, or settings—not the panel itself.
Display Problems: Black Screen, Flicker, and Dim Image
Screen issues are usually caused by signal loss or power instability. Try the following:
- Use a different HDMI or DisplayPort cable.
- Lower the resolution to a common setting such as 1920×1080 or the panel’s native 4K mode.
- Check refresh-rate compatibility on the connected PC.
- Remove any adapters or splitters and test a direct connection.
- Try another wall outlet or power conditioner if the room has unstable electricity.
Tip: If the screen shows an image but colors look washed out, check brightness, contrast, and power-saving settings before assuming panel failure.
Touch and Pen Problems
When the touch layer or pen tools stop working, the issue is often software-related. Focus on these areas:
- USB communication between the display and the host device
- Touch service running correctly in the operating system
- Pen battery or stylus pairing, if applicable
- Calibration drift after moving the board
For better classroom and meeting-room performance, it also helps to follow guidance from resources such as the ISTE Standards and the UNESCO Technology Recommendations, especially when the board is used for teaching, collaboration, and hybrid learning.
Audio, Camera, and Microphone Fixes
If your smart board is part of a conference setup, do not forget the AV side. No sound, echo, or poor microphone pickup usually comes from settings rather than hardware.
- Confirm the correct audio output device in the system menu.
- Unmute both the board and the application being used.
- Check whether Bluetooth speakers or wireless microphones are overriding the built-in system.
- Test camera and microphone permissions in Zoom, Teams, Google Meet, or your chosen platform.
When Software Is the Real Problem
If the board freezes, runs slowly, or crashes after startup, the operating system or application layer may be the real issue. Try:
- Closing background apps
- Clearing temporary files and storage
- Removing unused apps that launch at startup
- Updating collaboration software and whiteboard apps
- Restoring the system to a stable configuration if the issue started after an update
For education teams, the UNESCO Digital Education resource is also useful when evaluating classroom technology workflows and support needs.

When to Repair and When to Replace
Some problems are worth fixing, while others are a sign the display has reached the end of its useful life. Use this simple guide:
| Situation | Repair or Replace? | Why |
|---|---|---|
| Loose cable, wrong input, calibration error | Repair | These are quick fixes with low cost |
| Outdated drivers or firmware | Repair | Usually solved with updates or reinstallations |
| Damaged touch layer or cracked panel | Replace | Structural damage is often not economical to repair |
| Repeated motherboard or power board failure | Replace | Frequent hardware faults can cost more over time |
Prevent Future Smart Board Problems
Once the board is working again, use simple maintenance habits to keep it reliable.
- Dust the panel and vents regularly to reduce heat buildup.
- Use quality certified cables instead of cheap replacements.
- Keep firmware and drivers updated on a planned schedule.
- Avoid forcing touchscreen gestures with worn styluses or sharp objects.
- Shut down the system correctly instead of cutting power abruptly.
- Train users to choose the correct source before calling for support.
Useful Internal Links for Upgrades or Replacements
If the board is beyond repair, it may be more cost-effective to upgrade a key component or replace the full setup. You can review these options:
- smart whiteboards for classroom and meeting-room collaboration
- rotating screens for flexible presentation use
- mini PCs to improve system speed and stability
- contact us for support and project guidance
For organizations evaluating a new system, LeaderHub, a Shenzhen-based technology company with 16 years of interactive-display expertise, also offers replacement-friendly display solutions for education and business teams.
Final Checklist Before You Call for Service
- Confirm power, cables, and input source.
- Restart the board and connected devices.
- Test with a second laptop or mini PC.
- Recalibrate touch and update drivers.
- Check audio, camera, and microphone settings.
- Inspect for physical damage or overheating.
If the issue persists after these steps, the fault is likely internal hardware-related and should be inspected by a qualified technician.