
how to connect laptop to smart board with hdmi is usually simple: plug in the cable, select the right input, and adjust your laptop’s display settings. The key difference between a basic monitor connection and a smart board setup is that HDMI carries the video signal, while touch control may require an additional USB connection.
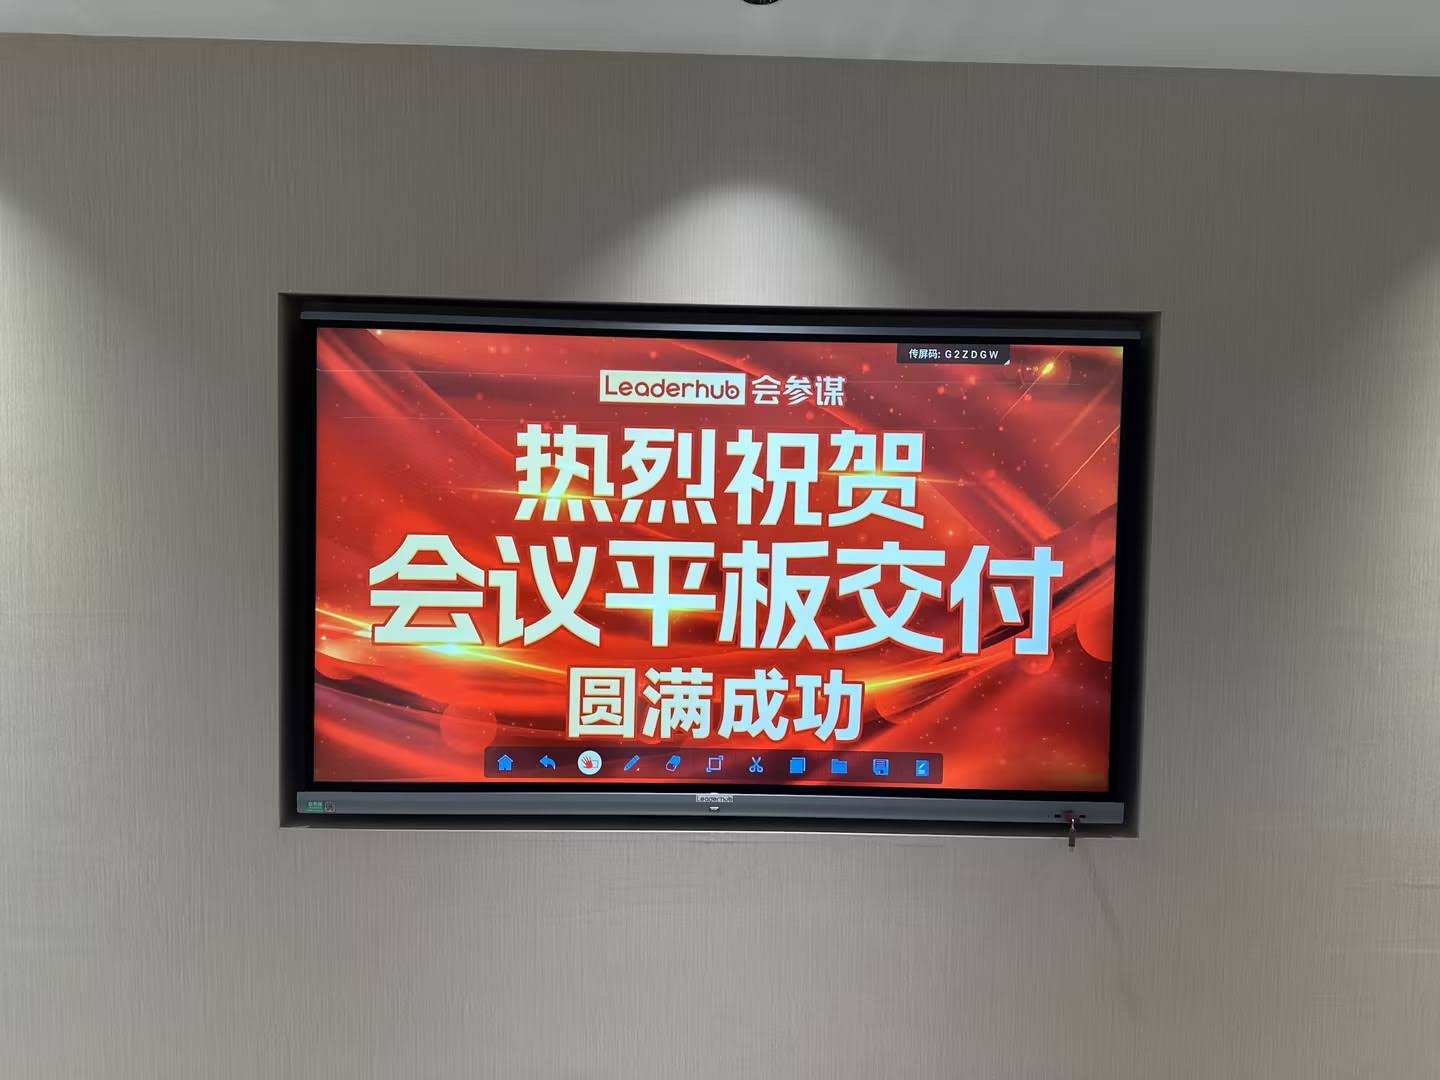
Whether you are preparing a classroom, a meeting room, or a training space, the process is similar. If you are planning a larger deployment, you can also browse smart whiteboards and compatible mini PCs for a cleaner all-in-one setup.
What You Need Before You Start
- HDMI cable long enough to reach from the laptop to the smart board
- A smart board with an HDMI input
- A laptop with HDMI output, or a compatible adapter such as USB-C to HDMI
- Optional USB cable for touch functionality
- Power on both devices before changing display settings
If your laptop only has USB-C, Thunderbolt, or Mini DisplayPort, use the correct adapter so the output remains stable. A poor adapter is one of the most common reasons a board shows “No Signal.”
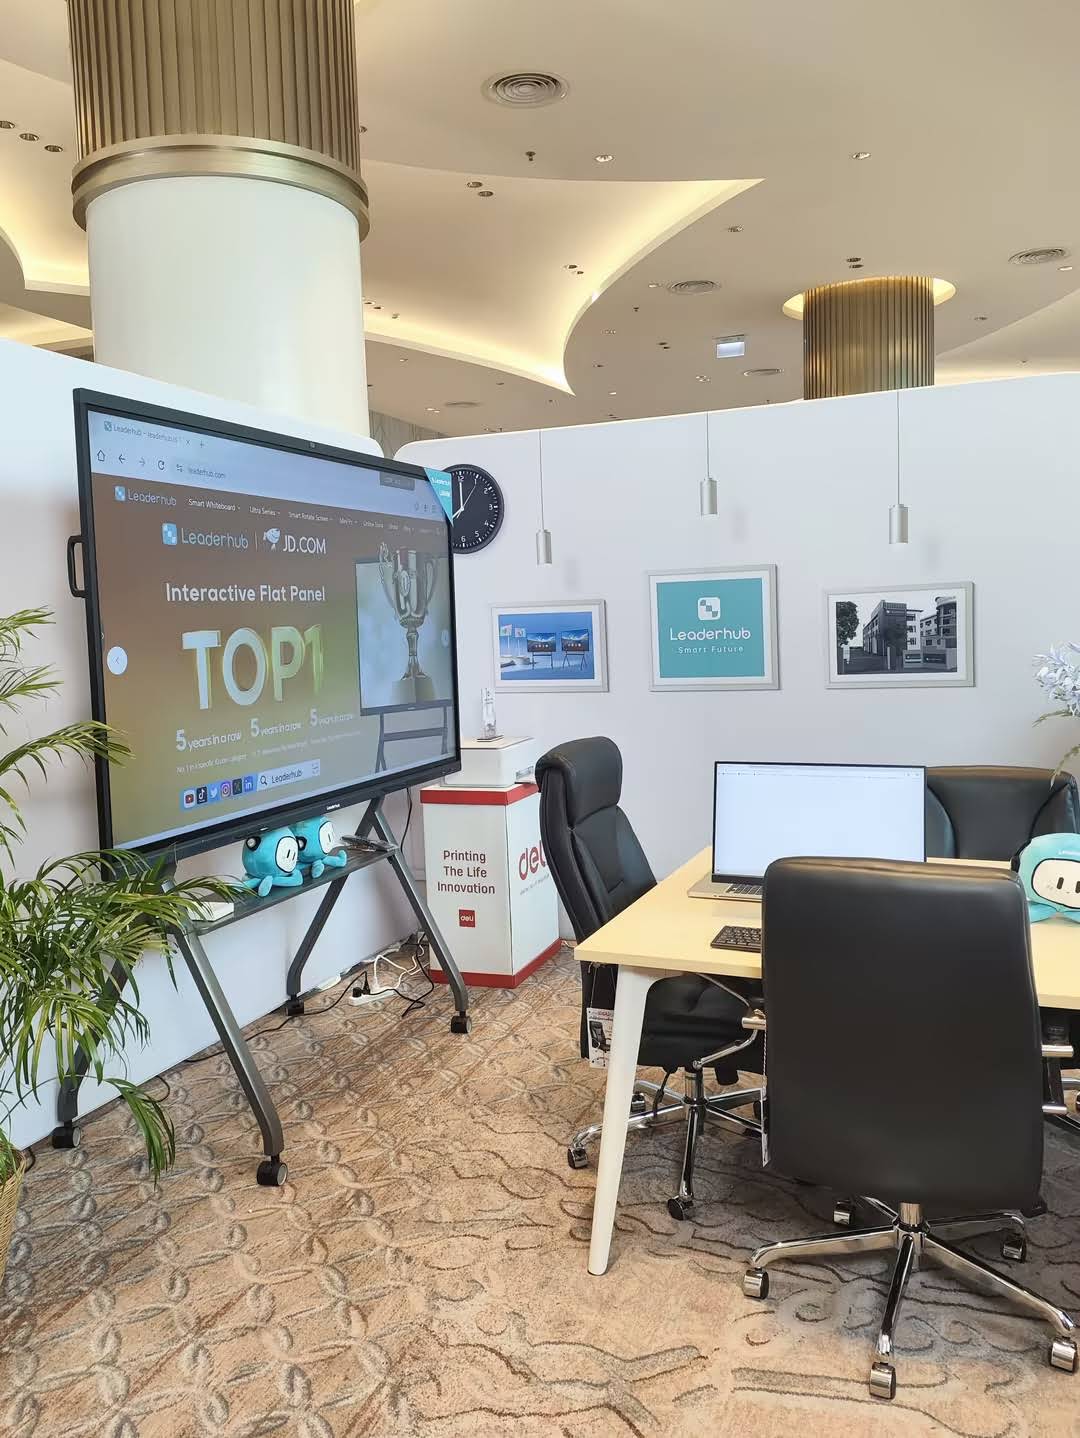
Step-by-Step: Connect the Laptop to the Smart Board with HDMI
- Turn on the smart board. Make sure the display is powered and awake before connecting anything.
- Connect the HDMI cable. Plug one end into the laptop and the other into the smart board’s HDMI input.
- Select the correct source. On the smart board, open the input menu and choose the matching HDMI port, such as HDMI 1 or HDMI 2.
- Set the laptop display mode. Choose mirror, extend, or second screen only depending on your use case.
- Check sound output. If the board has speakers, switch the audio output to HDMI in your laptop settings.
- Connect USB for touch, if needed. HDMI will not transmit touch control. Use the smart board’s USB uplink or touch cable if you want interactive control from the laptop.
Display Mode Quick Guide
| Mode | Best For | What It Does |
|---|---|---|
| Duplicate / Mirror | Presentations and teaching | Shows the same content on both screens |
| Extend | Multitasking and note-taking | Turns the board into a second desktop |
| Second Screen Only | Full-screen demos | Displays content only on the smart board |
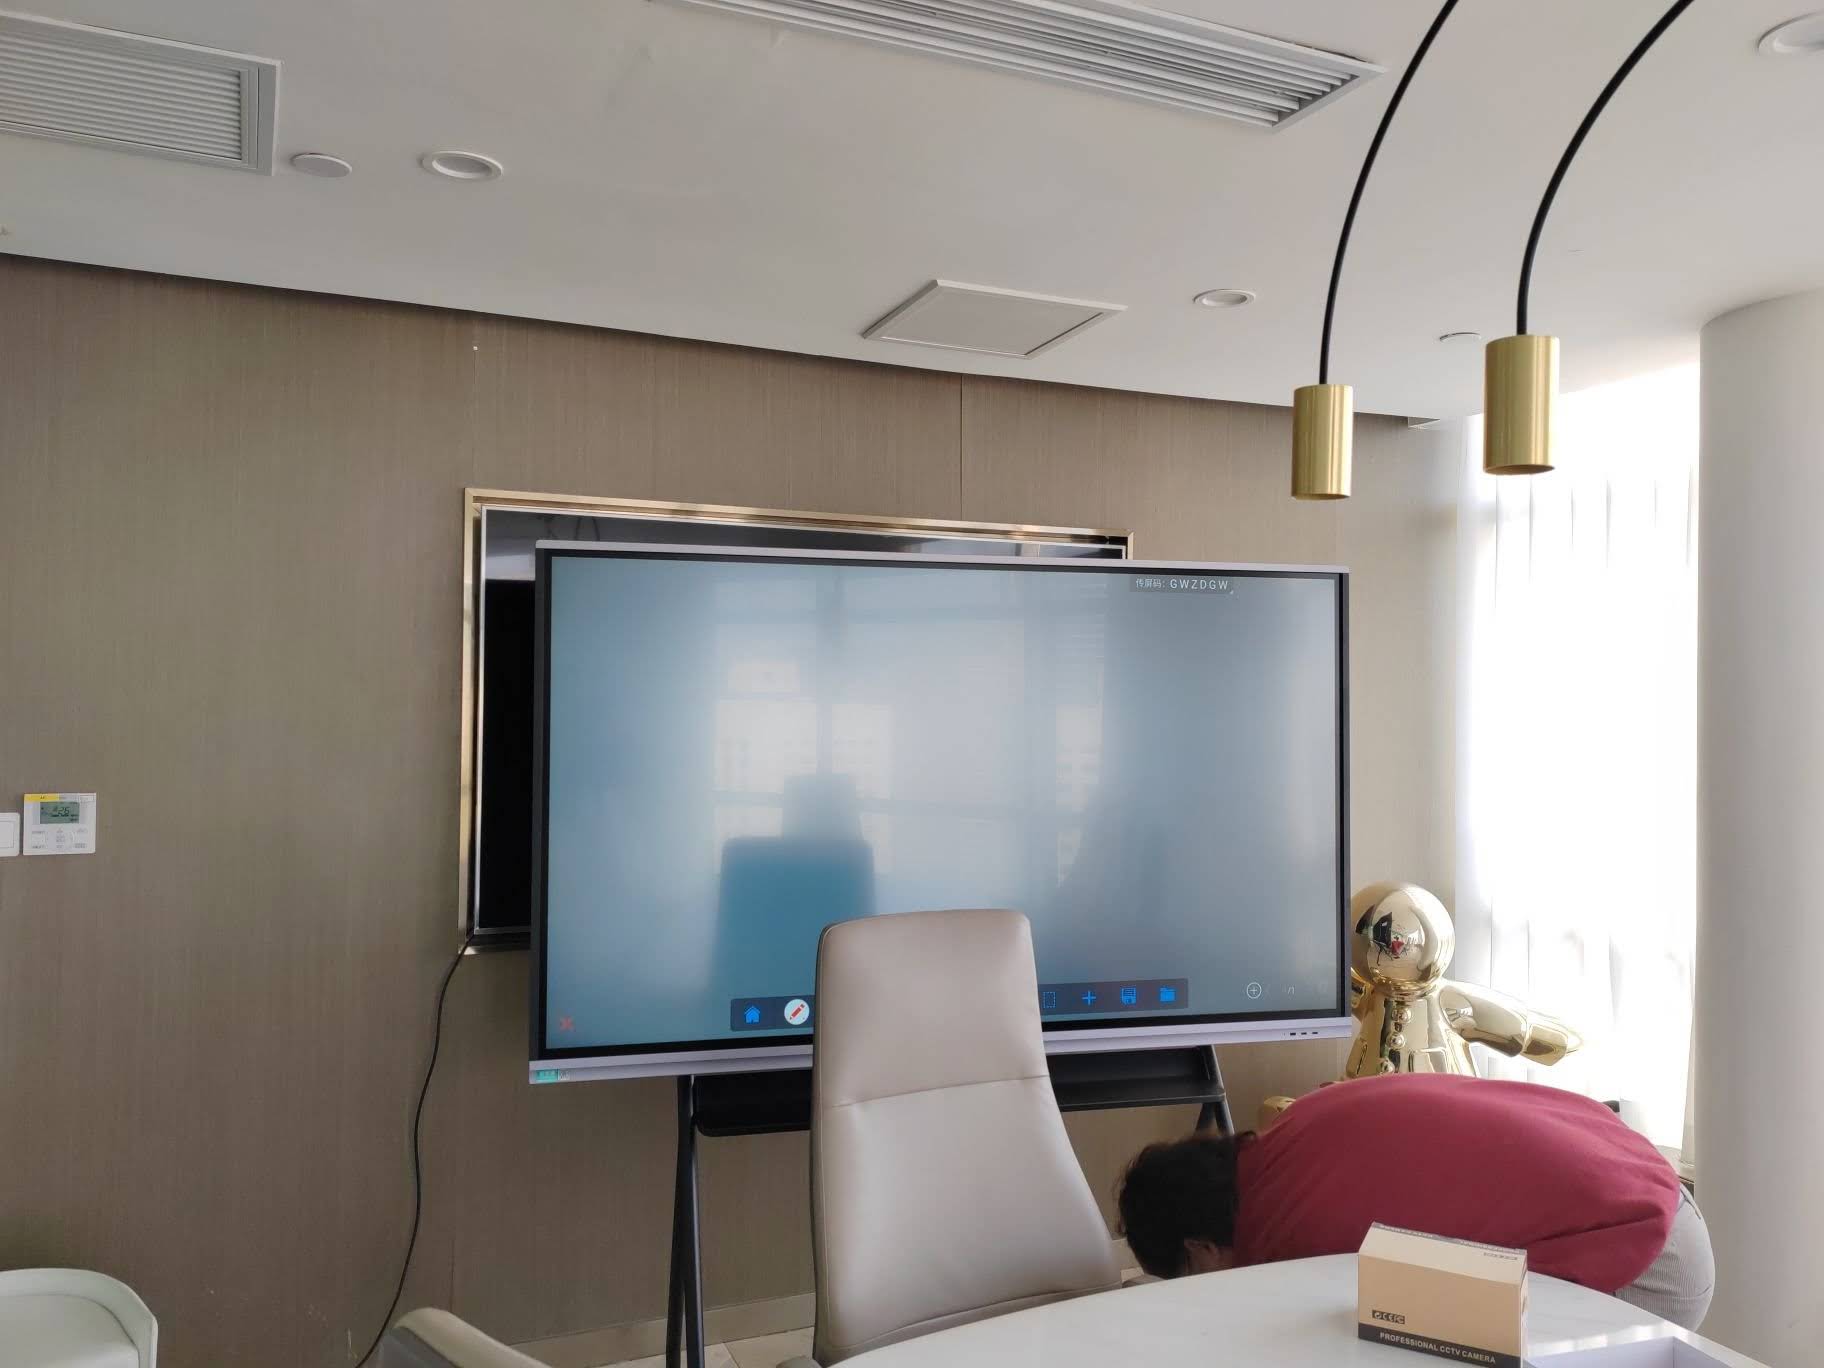
Windows, Mac, and Chromebook Tips
- Windows: Press Win + P to quickly choose Duplicate or Extend.
- Mac: Go to System Settings > Displays and arrange or mirror the screens.
- Chromebook: Open the display settings from the status tray and select mirror or extended mode.
For classroom or conference planning, many organizations also review reputable guidance such as the UNESCO Technology in Education Report and the ISTE Standards for Educators to make better technology decisions.
If the Smart Board Shows No Signal
| Problem | Likely Cause | Fast Fix |
|---|---|---|
| No image on screen | Wrong input selected | Switch the board to the correct HDMI port |
| Laptop not detected | Loose cable or bad adapter | Reconnect both ends and try another adapter |
| Image appears, but no sound | Audio output not set to HDMI | Choose HDMI as the output device on the laptop |
| Touch does not work | USB touch cable not connected | Connect the USB uplink cable from the board to the laptop |
Useful Troubleshooting Checklist
- Try a different HDMI port on the smart board
- Use a shorter, high-quality HDMI cable if the signal is unstable
- Restart the laptop after switching display modes
- Update your graphics driver if the laptop still cannot detect the board
- Check whether the smart board requires a firmware update
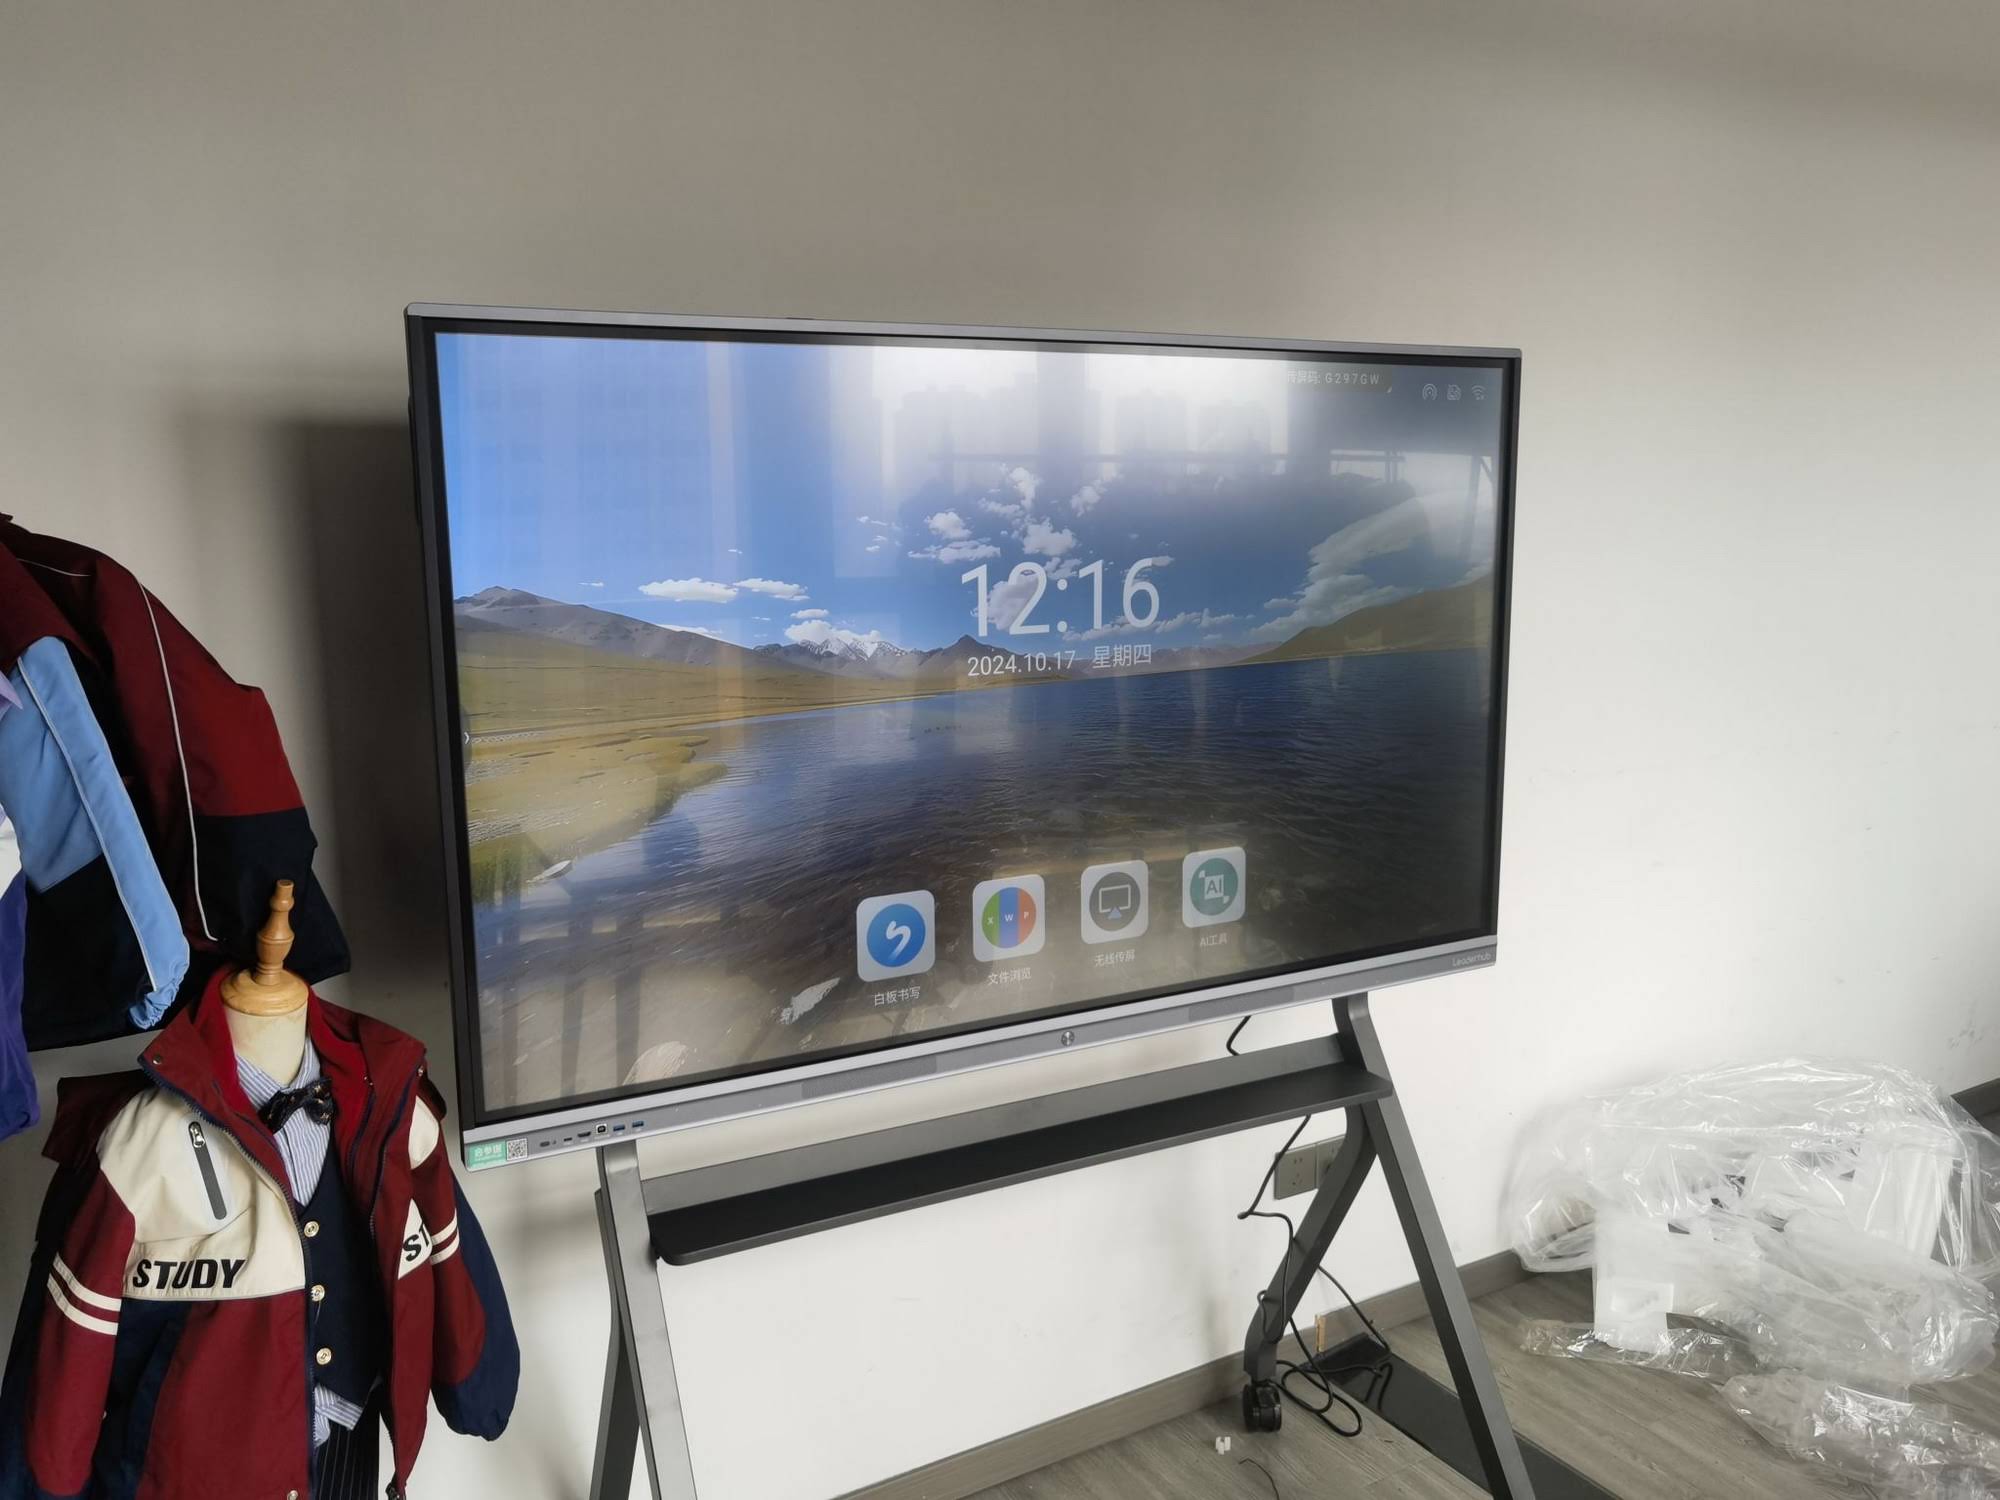
When HDMI Is Not Enough
HDMI is ideal for quick plug-and-play projection, but some setups need more than a single cable. For example, if you want touch control, wireless collaboration, or a cleaner room layout, you may need additional hardware such as:
- USB touch connection for interactive use
- Mini PC for a dedicated meeting-room computer
- USB-C hub or adapter for modern laptops
- HDMI extender for long-distance installations
If you need help choosing the right model or connection method, you can contact our team or explore the latest options in the product shop.
Best Practices for a Better Smart Board Experience
- Keep the laptop charged or connected to power during long sessions
- Use native resolution whenever possible for the sharpest image
- Enable mirroring for teaching, and extend mode for multitasking
- Test audio, touch, and presentation files before the meeting starts
- Store a spare HDMI cable in the room for emergencies
For schools and training centers, using the right display workflow can improve participation and reduce downtime. That is why many teams pair a smart board with stable video input, simple source switching, and a dedicated laptop or mini PC.
Quick Answer
To connect a laptop to a smart board with HDMI, plug in the cable, select the correct HDMI source on the board, and choose the right display mode on your laptop. If you want touch control, add a USB connection as well.








