
Creating a smart board lesson is about more than projecting slides onto a screen. The goal is to turn your board into an active learning space where students can move, think, respond, and collaborate in real time.
Research and guidance from UNESCO Technology Recommendations and ISTE Standards for Educators both point to the same idea: technology works best when it supports clear teaching goals, active participation, and thoughtful assessment.
1. Begin with one clear learning objective
Before you open the smart board software, define exactly what students should learn by the end of the lesson. A strong objective is narrow, measurable, and easy for students to understand.
- Good example: Students will identify the main idea of a paragraph.
- Better example: Students will sort evidence into “main idea” and “supporting detail.”
- Weak example: Students will learn about reading.
When the objective is clear, every board activity has a purpose. That keeps your lesson focused and prevents the lesson from becoming a slideshow with no student interaction.
2. Choose a lesson flow that fits the board
Smart board lessons work best when they follow a simple structure. For most teachers, one of these three models works well:
| Lesson Model | Best For | How the Smart Board Helps |
|---|---|---|
| I Do, We Do, You Do | Direct instruction | Model first, then invite student practice on the board |
| Hook, Practice, Exit Ticket | Short lessons | Quick visuals, touch activities, and fast assessment |
| Station Rotation | Blended learning | One group can work on the board while others complete tasks |
For most classrooms, the hook-practice-assessment model is the easiest place to start because it keeps the pace tight and gives students multiple chances to interact.
3. Build the board pages before class
Do not try to create everything live during the lesson. Prepare your pages in advance so you can teach smoothly and keep students engaged.
Include these essential pages:
- Title page with the lesson objective.
- Warm-up question to activate prior knowledge.
- Modeling page where you demonstrate the skill.
- Practice page for student touch or drag-and-drop work.
- Exit ticket to check understanding.
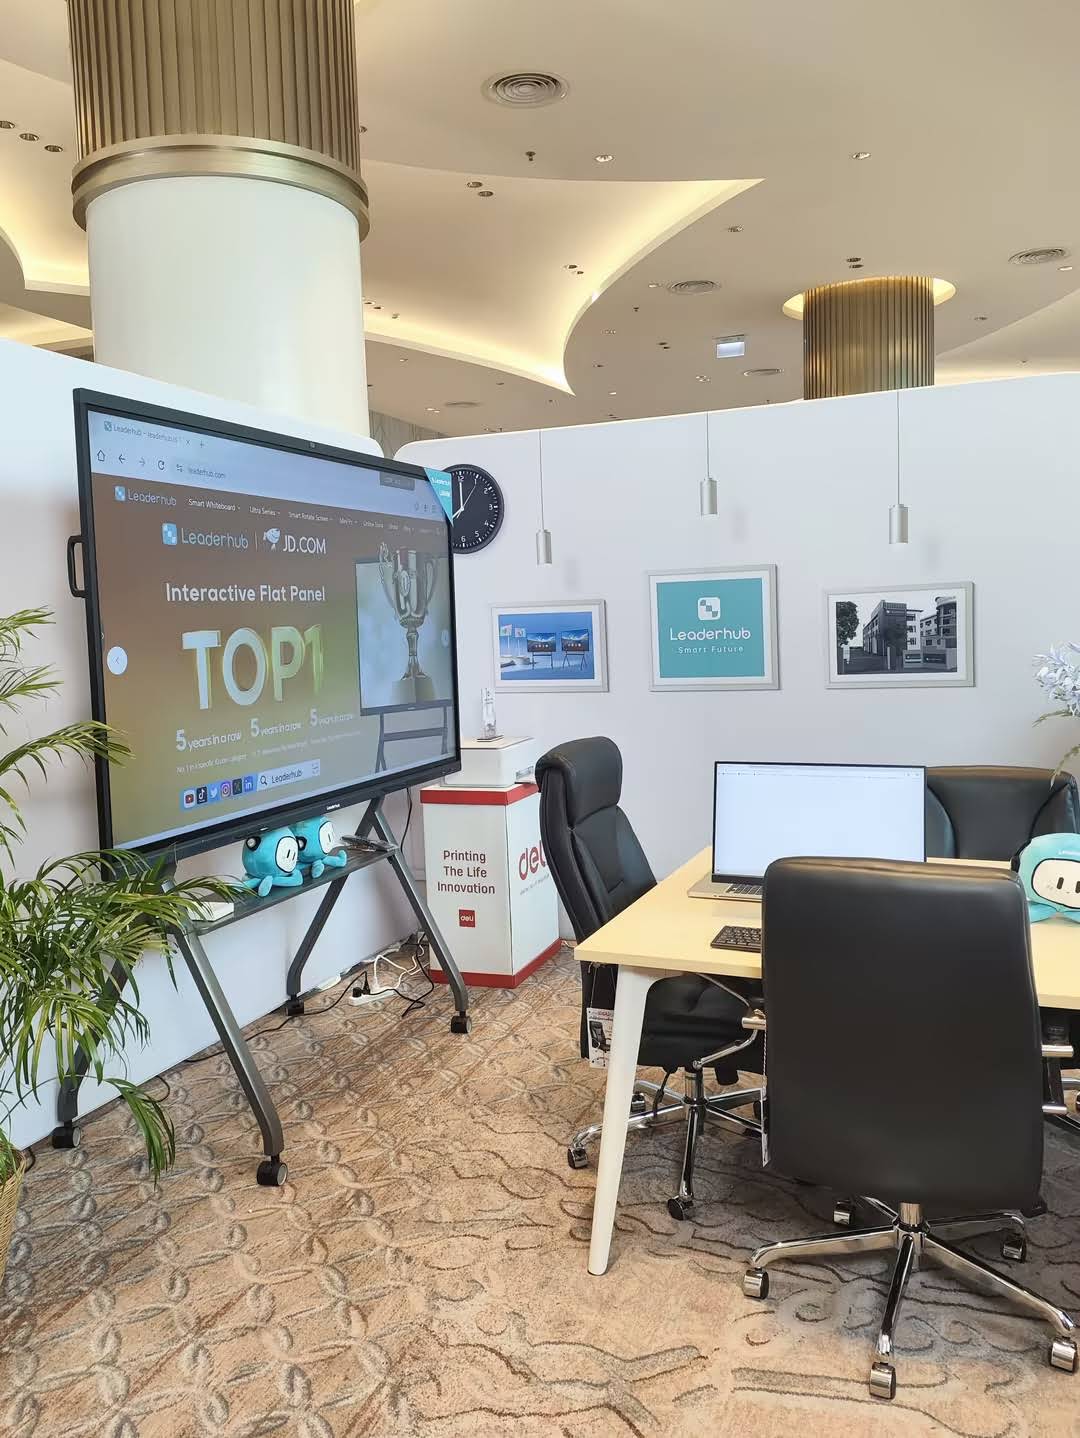
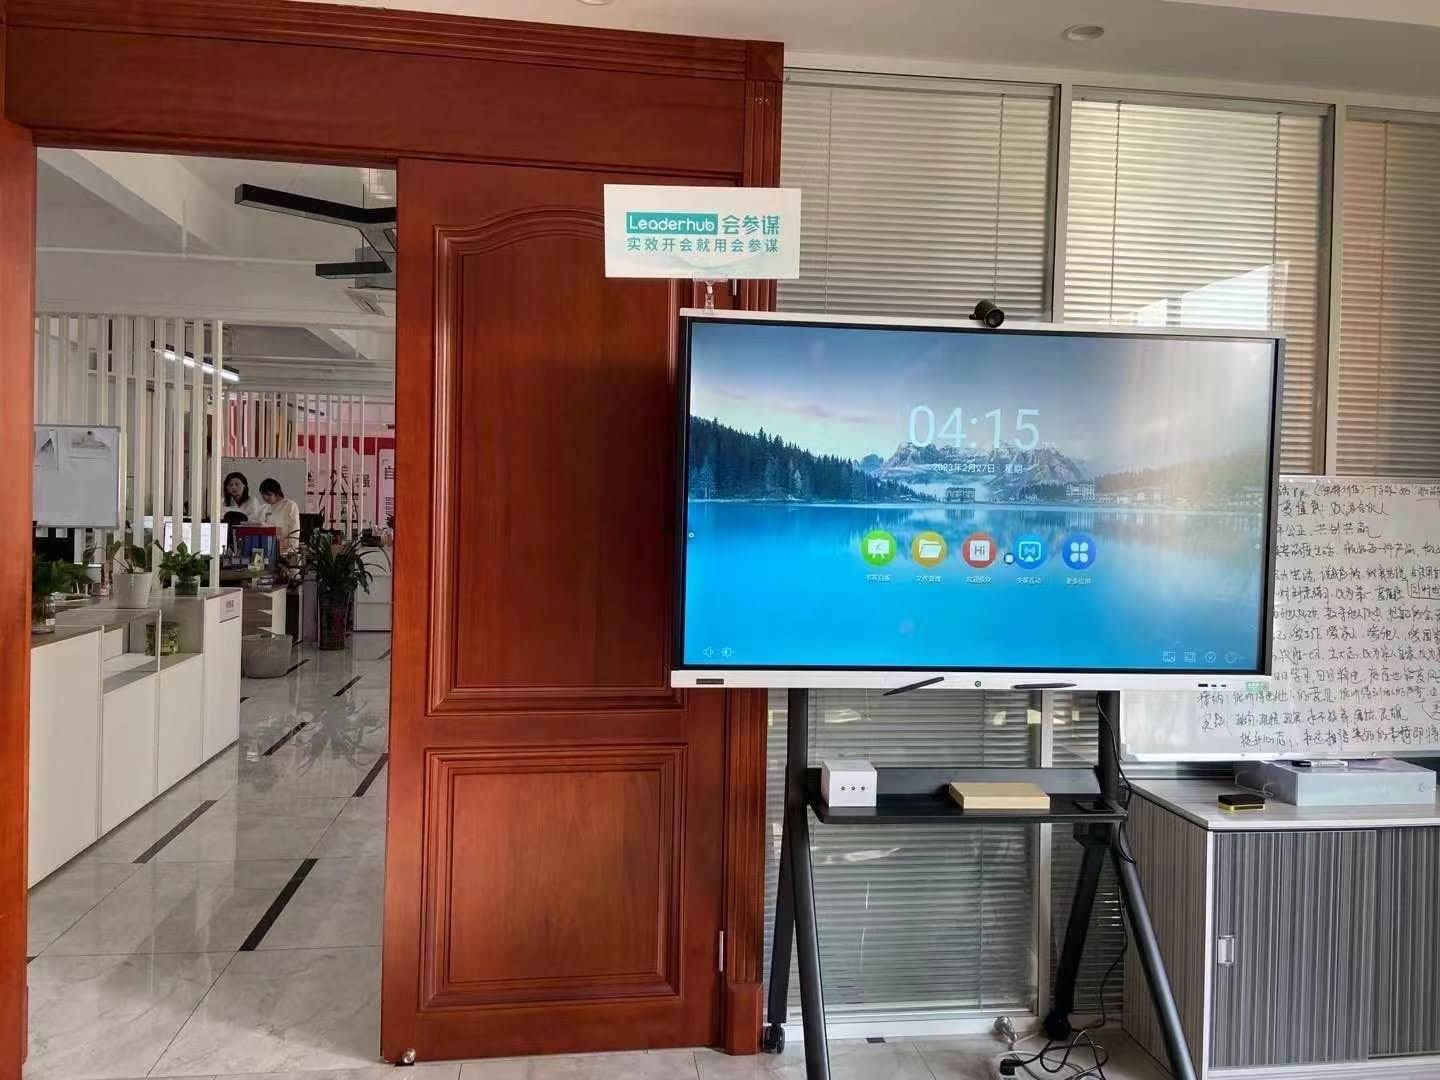
If you are selecting hardware for this workflow, explore smart whiteboards or a classroom-ready interactive flat panel that supports smooth touch interaction and easy lesson navigation. LeaderHub offers interactive display solutions that fit education teams looking for a reliable setup.
4. Add student interaction every 3 to 5 minutes
A smart board lesson should not stay on one screen for too long. Students learn more when they interact frequently, even in small ways.
High-engagement board actions
- Drag and drop labels into categories.
- Circle, highlight, or underline key ideas.
- Match terms with definitions.
- Sort images into correct groups.
- Write one-word responses using the stylus or finger.
Tip: Keep each interaction under 60 seconds. Short tasks are easier to manage and help more students participate without losing attention.
5. Design for whole-class teaching and small-group participation
A strong smart board lesson works in both teacher-led and student-led moments. Use the board for modeling, then shift responsibility to students.
- Model: Show the skill step by step.
- Guide: Ask the class to help you complete the next example.
- Release: Invite a student or pair to solve the problem on the board.
- Reflect: Ask students to explain what they noticed.
This pattern works especially well for literacy, math, science vocabulary, and language learning because students can see the thinking process as it happens.
6. Use visuals that reduce cognitive load
Too much text on a board can overwhelm students. Keep your visuals clean and purposeful.
- Use one main idea per page.
- Keep directions short and direct.
- Use icons, images, and color coding to support understanding.
- Leave space for student writing and annotations.
For best practice guidance on digital teaching, see OECD Digital Teaching Guidance and UNESCO Digital Education.
7. Add a built-in assessment moment
Every smart board lesson should include a quick way to check understanding. This can happen at the end, but it is even better when you check learning midway through the lesson.
| Assessment Type | What Students Do | Teacher Benefit |
|---|---|---|
| Thumb vote | Show understanding quickly | Instant class-wide feedback |
| Drag-and-drop quiz | Sort or match answers | Checks accuracy and thinking |
| Exit ticket | Write a final response | Shows who is ready to move on |
8. Test the lesson before you teach it
Before class starts, run through the full lesson from beginning to end. This helps you catch missing links, broken buttons, image placement issues, and timing problems.
- Open every page.
- Check that touch tools work correctly.
- Confirm all videos and audio play properly.
- Make sure text is large enough for the back of the room.
- Practice transitions so the lesson feels smooth.
A simple 10-minute smart board lesson template
You can use this structure for almost any subject:
- Minute 1: Display the learning objective and warm-up question.
- Minutes 2-3: Model the skill with a clear example.
- Minutes 4-6: Invite students to complete a guided board activity.
- Minutes 7-8: Let students solve one problem independently or in pairs.
- Minutes 9-10: Use an exit ticket or quick response check.
This template is short enough for daily use and flexible enough for literacy, math, science, or social studies.
Smart board lesson checklist for teachers
- Objective: One clear learning target is visible.
- Interaction: Students touch, drag, write, or sort at least once.
- Visual clarity: Each page stays simple and focused.
- Assessment: A quick check for understanding is included.
- Backup: A non-digital version is ready if needed.
Common mistakes to avoid
- Using the board as a passive projector only.
- Adding too much text to one page.
- Waiting until class time to build content.
- Forgetting to include student participation.
- Skipping the final check for understanding.
If you want to keep improving your classroom technology strategy, review technology integration ideas from Edutopia and compare them with your own lesson design. A smart board works best when it supports active, student-centered learning.
Recommended classroom-ready options
- LeaderHub L65HM Interactive Smart Whiteboard for compact classrooms.
- LeaderHub L75HM Interactive Smart Whiteboard for standard teaching spaces.
- LeaderHub U55Pro Interactive Flat Panel for mobile presentation use.
When you plan carefully, keep the lesson interactive, and test everything in advance, your smart board becomes more than a display. It becomes a teaching partner that helps students see, do, and remember more.








