
A blurry, misaligned, or oddly-shaped image on your smart board can turn an engaging lesson or presentation into a frustrating experience. Whether you’re a teacher setting up a classroom display, an IT administrator managing multiple conference rooms, or a training facilitator preparing for a workshop, getting your smart board projector properly adjusted is essential for clear communication.
Having supported interactive display deployments across 82+ countries, we’ve seen firsthand how proper projector alignment directly impacts user experience, engagement, and the overall return on investment for classrooms and meeting rooms alike. This guide walks you through practical, field-tested steps to adjust your smart board projector for crisp, properly aligned images every time.
Why Proper Projector Alignment Matters
A misaligned projector doesn’t just look unprofessional—it actively interferes with learning and collaboration. Studies on classroom technology usability consistently show that visual clarity affects student attention span and comprehension. In corporate settings, a poorly aligned display during a client presentation can undermine credibility.
Common issues caused by improper alignment include:
- Keystone distortion — trapezoid-shaped images instead of rectangles
- Blurry text and graphics that strain viewers’ eyes
- Uneven brightness across the display surface
- Touch calibration errors on interactive panels
- Color shifts that make content hard to read
Step 1: Position the Projector Correctly
Before touching any settings, physical placement matters most. Most alignment problems start with incorrect projector positioning relative to the screen or interactive panel.
Key Positioning Guidelines
| Factor | Recommended Setup |
|---|---|
| Distance from screen | Follow manufacturer’s throw ratio specification |
| Height alignment | Lens center should match screen center |
| Mounting angle | Perfectly perpendicular to the display surface |
| Surface stability | Secure mount to prevent drift over time |
For short-throw and ultra-short-throw projectors commonly paired with interactive whiteboards, even a few centimeters of misplacement can cause noticeable distortion. Always consult the specific throw distance chart provided with your unit.
Step 2: Adjust Keystone Correction
Keystone distortion occurs when the projector isn’t perfectly perpendicular to the screen, causing the image to appear wider at the top or bottom. Most modern projectors offer both horizontal and vertical keystone correction through the on-screen menu.
How to Fix Keystone Distortion
- Access the projector’s settings menu (usually via remote control)
- Locate “Keystone Correction” or “Geometric Correction”
- Adjust vertical keystone first, then horizontal if needed
- Use the on-screen grid pattern as a reference guide
- Fine-tune until all four corners form a perfect rectangle
Pro tip: While keystone correction fixes shape distortion, excessive digital correction can reduce image sharpness. Whenever possible, prioritize physical repositioning over digital correction for the clearest results.
Step 3: Fine-Tune Focus and Sharpness
Even a perfectly positioned projector can produce blurry images if the focus isn’t dialed in correctly. This is one of the most overlooked steps during setup.
Focus Adjustment Process
- Display a test pattern with fine text and lines
- Locate the focus ring or digital focus control
- Adjust slowly while viewing from the center of the room
- Check clarity from multiple viewing angles, not just directly in front
- Recheck focus after any zoom adjustments
For classrooms and training centers where the projector may be used by multiple staff members, consider labeling the optimal focus setting or locking the adjustment ring once calibrated.
Step 4: Calibrate Touch Interaction (For Interactive Boards)
If your projector is paired with a touch-enabled smart board, alignment isn’t just about the visual image—touch accuracy matters too. Misaligned touch calibration can cause the stylus or finger input to register in the wrong location.
| Issue | Solution |
|---|---|
| Touch point offset | Run built-in touch calibration wizard |
| Inconsistent response | Check sensor alignment and clean IR frame |
| Drift after projector moves | Re-calibrate touch after any repositioning |
Step 5: Optimize Brightness and Color Settings
Environmental lighting significantly affects how clear your projected image appears. A projector calibrated perfectly in a dark room may look washed out under classroom fluorescent lighting.
Recommended Adjustments by Environment
- Bright classrooms: Increase lumens output, use high-gain screens
- Conference rooms with windows: Install blackout shades or increase contrast ratio
- Training centers: Balance brightness with color temperature (6500K is standard for readability)
- Creative workspaces: Prioritize color accuracy over maximum brightness
Many educators and facilitators find that adjusting the “Presentation Mode” or “Standard Mode” preset—rather than manually tweaking every setting—provides a reliable starting point before fine-tuning further.
Common Alignment Mistakes to Avoid
Based on real deployment experience across schools, offices, and training centers, here are mistakes that frequently cause ongoing alignment headaches:
- Skipping the warm-up period before calibrating (lamps need 5-10 minutes to stabilize)
- Adjusting focus before finalizing keystone correction
- Ignoring seasonal temperature changes that can cause mounting brackets to shift slightly
- Failing to re-calibrate after cleaning or moving the unit
- Using non-native resolution settings, which forces unnecessary scaling
When to Consider a Built-In Solution Instead
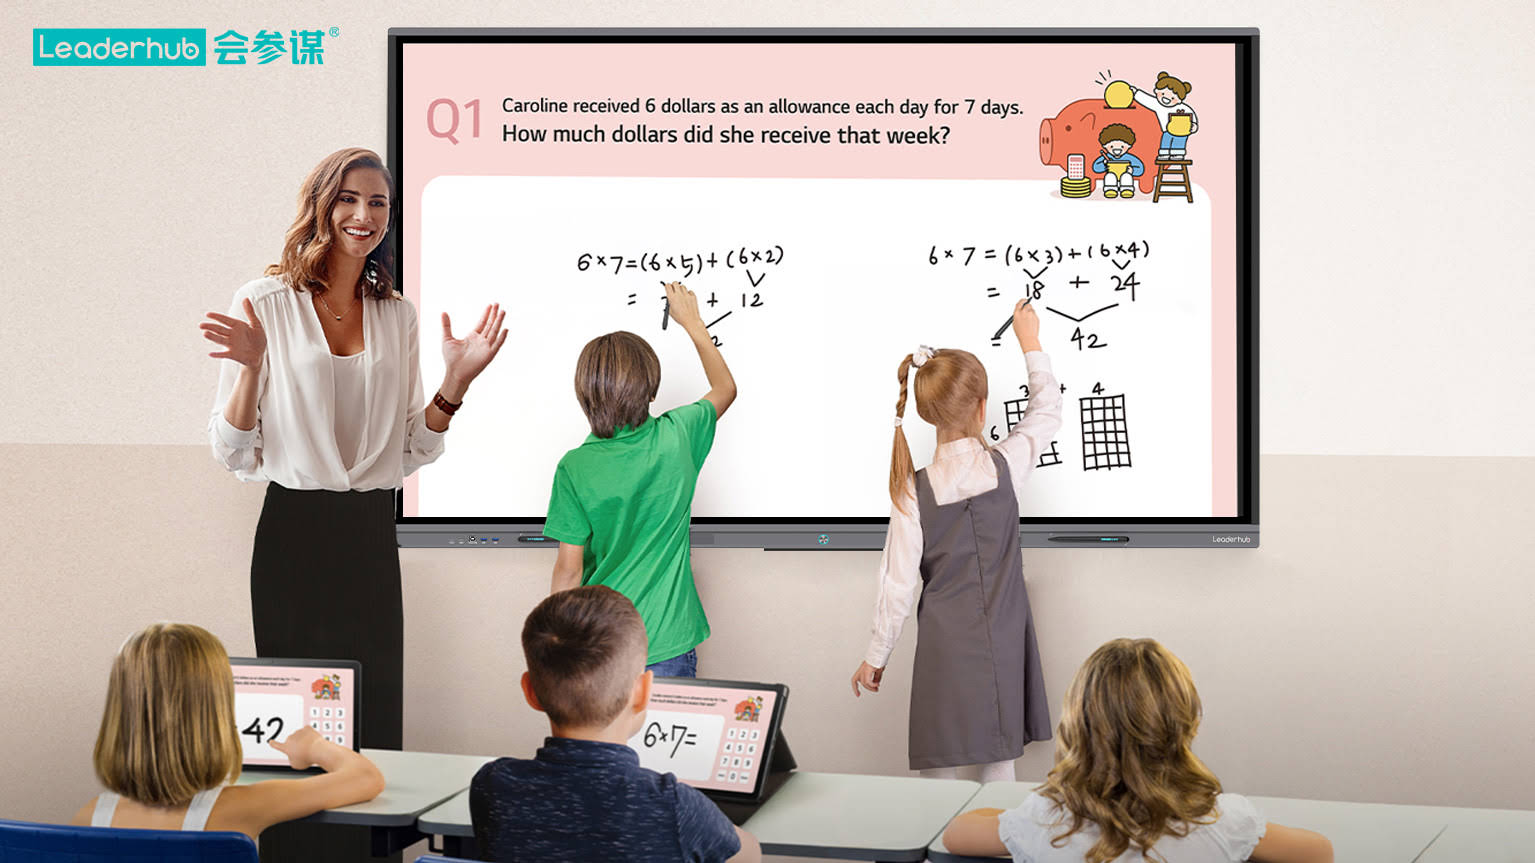
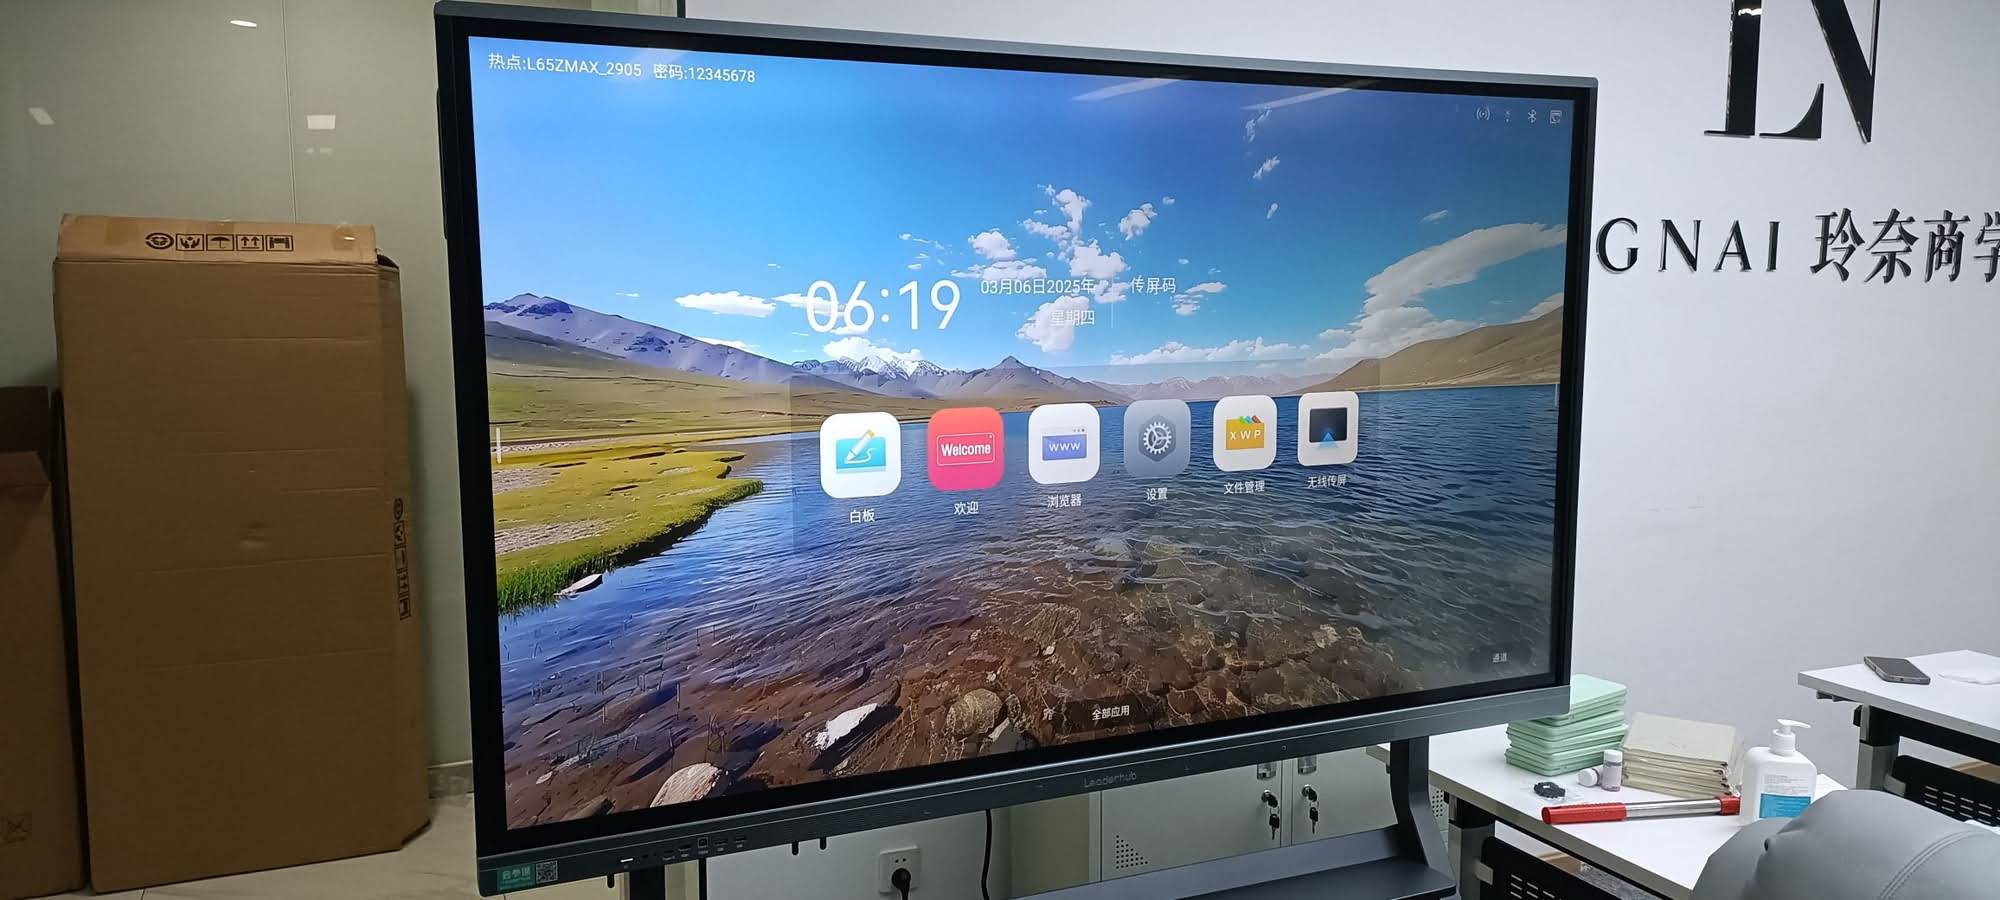
Traditional projector setups—even when perfectly calibrated—remain vulnerable to environmental factors like ambient light, dust accumulation, and mounting drift over time. This is why many schools and enterprises are transitioning to interactive flat panels with built-in displays, which eliminate projector-specific alignment issues entirely.
As a company with more than 16 years of industry experience in interactive display technology, LeaderHub has observed this shift firsthand across our global customer base. Our interactive flat panels combine the benefits of large-format displays with the reliability of LED technology, removing the need for ongoing projector calibration while still supporting the same collaborative, touch-enabled functionality educators and businesses rely on.
Maintenance Tips for Long-Term Clarity
Once your projector is properly aligned, regular maintenance helps preserve that clarity:
| Maintenance Task | Frequency |
|---|---|
| Clean projector lens | Monthly |
| Check mounting bracket stability | Quarterly |
| Inspect air filters (dust buildup) | Every 2-3 months |
| Recalibrate touch sensors | After any physical adjustment |
Troubleshooting Checklist
If you’ve followed the steps above and still experience alignment issues, work through this quick diagnostic checklist:
- Is the projector lamp at full brightness, or does it need replacement?
- Has the mounting bracket loosened due to vibration or temperature changes?
- Are you using the native resolution supported by your interactive display?
- Has the screen or panel surface been cleaned recently to remove glare-causing dust?
- Is the HDMI or VGA cable securely connected without signal interference?
Final Thoughts
Achieving a clear, properly aligned smart board projector image comes down to methodical positioning, careful keystone and focus adjustment, and ongoing maintenance. Whether you’re managing a single classroom or dozens of meeting rooms across an organization, following these steps consistently will save time, reduce technical disruptions, and create a better experience for everyone in the room.
For organizations looking to simplify this process entirely, exploring modern smart whiteboard and interactive panel solutions can eliminate many traditional projector alignment challenges while delivering sharper, more consistent visual performance for education and business collaboration alike.








