
For anyone searching for how to use interactive smart board, the fastest way to learn is to start with the basics: power, touch, writing, saving, and sharing. Once you understand these core actions, an interactive smart board becomes a simple tool for teaching, presenting, brainstorming, and hybrid collaboration.
Below is a beginner-friendly guide that works for classrooms, offices, training rooms, and meeting spaces. You will learn how to turn on the board, connect devices, use touch tools, annotate content, and avoid the most common setup mistakes.

What an Interactive Smart Board Can Do
An interactive smart board is more than a display. It combines a large touchscreen, writing tools, wireless sharing, and collaboration features in one device. Beginners usually use it for five main tasks:
- Display content from a laptop, USB drive, or built-in system.
- Write and draw directly on the screen with a finger or stylus.
- Save notes as images or files for later use.
- Share screens with students, colleagues, or remote participants.
- Collaborate live with multiple users at the same time.
Step 1: Check the Basic Setup
Before you start using the board, confirm that the hardware and cables are ready. A good setup saves time and prevents touchscreen issues.
- Make sure the board is mounted securely or placed on a stable stand.
- Connect the power cable and switch the device on.
- Check that HDMI, USB, or Type-C connections are attached if you are using an external computer.
- Confirm the audio system, Wi-Fi, and touch USB cable are working properly.
- Wait until the home screen or launch page fully loads.
If you want to compare display options, you can browse our smart whiteboards collection or view a popular model like the L75HM Interactive Smart Whiteboard.
Step 2: Learn the Main Touch Gestures
Most modern boards feel familiar, like using a giant tablet. Start with these simple touch gestures:
| Gesture | What It Does | Beginner Tip |
|---|---|---|
| Tap | Selects an item | Use a light touch, just like on a phone. |
| Swipe | Moves between pages or menus | Swipe slowly at first to avoid missing icons. |
| Pinch | Zooms in or out | Useful for maps, charts, and large documents. |
| Long press | Opens extra options | Try it when you cannot find a menu button. |
For teaching best practices, the ISTE Standards and UNESCO Global Education Monitoring Report are useful references for purposeful technology use.
Step 3: Open the Whiteboard or Annotation App
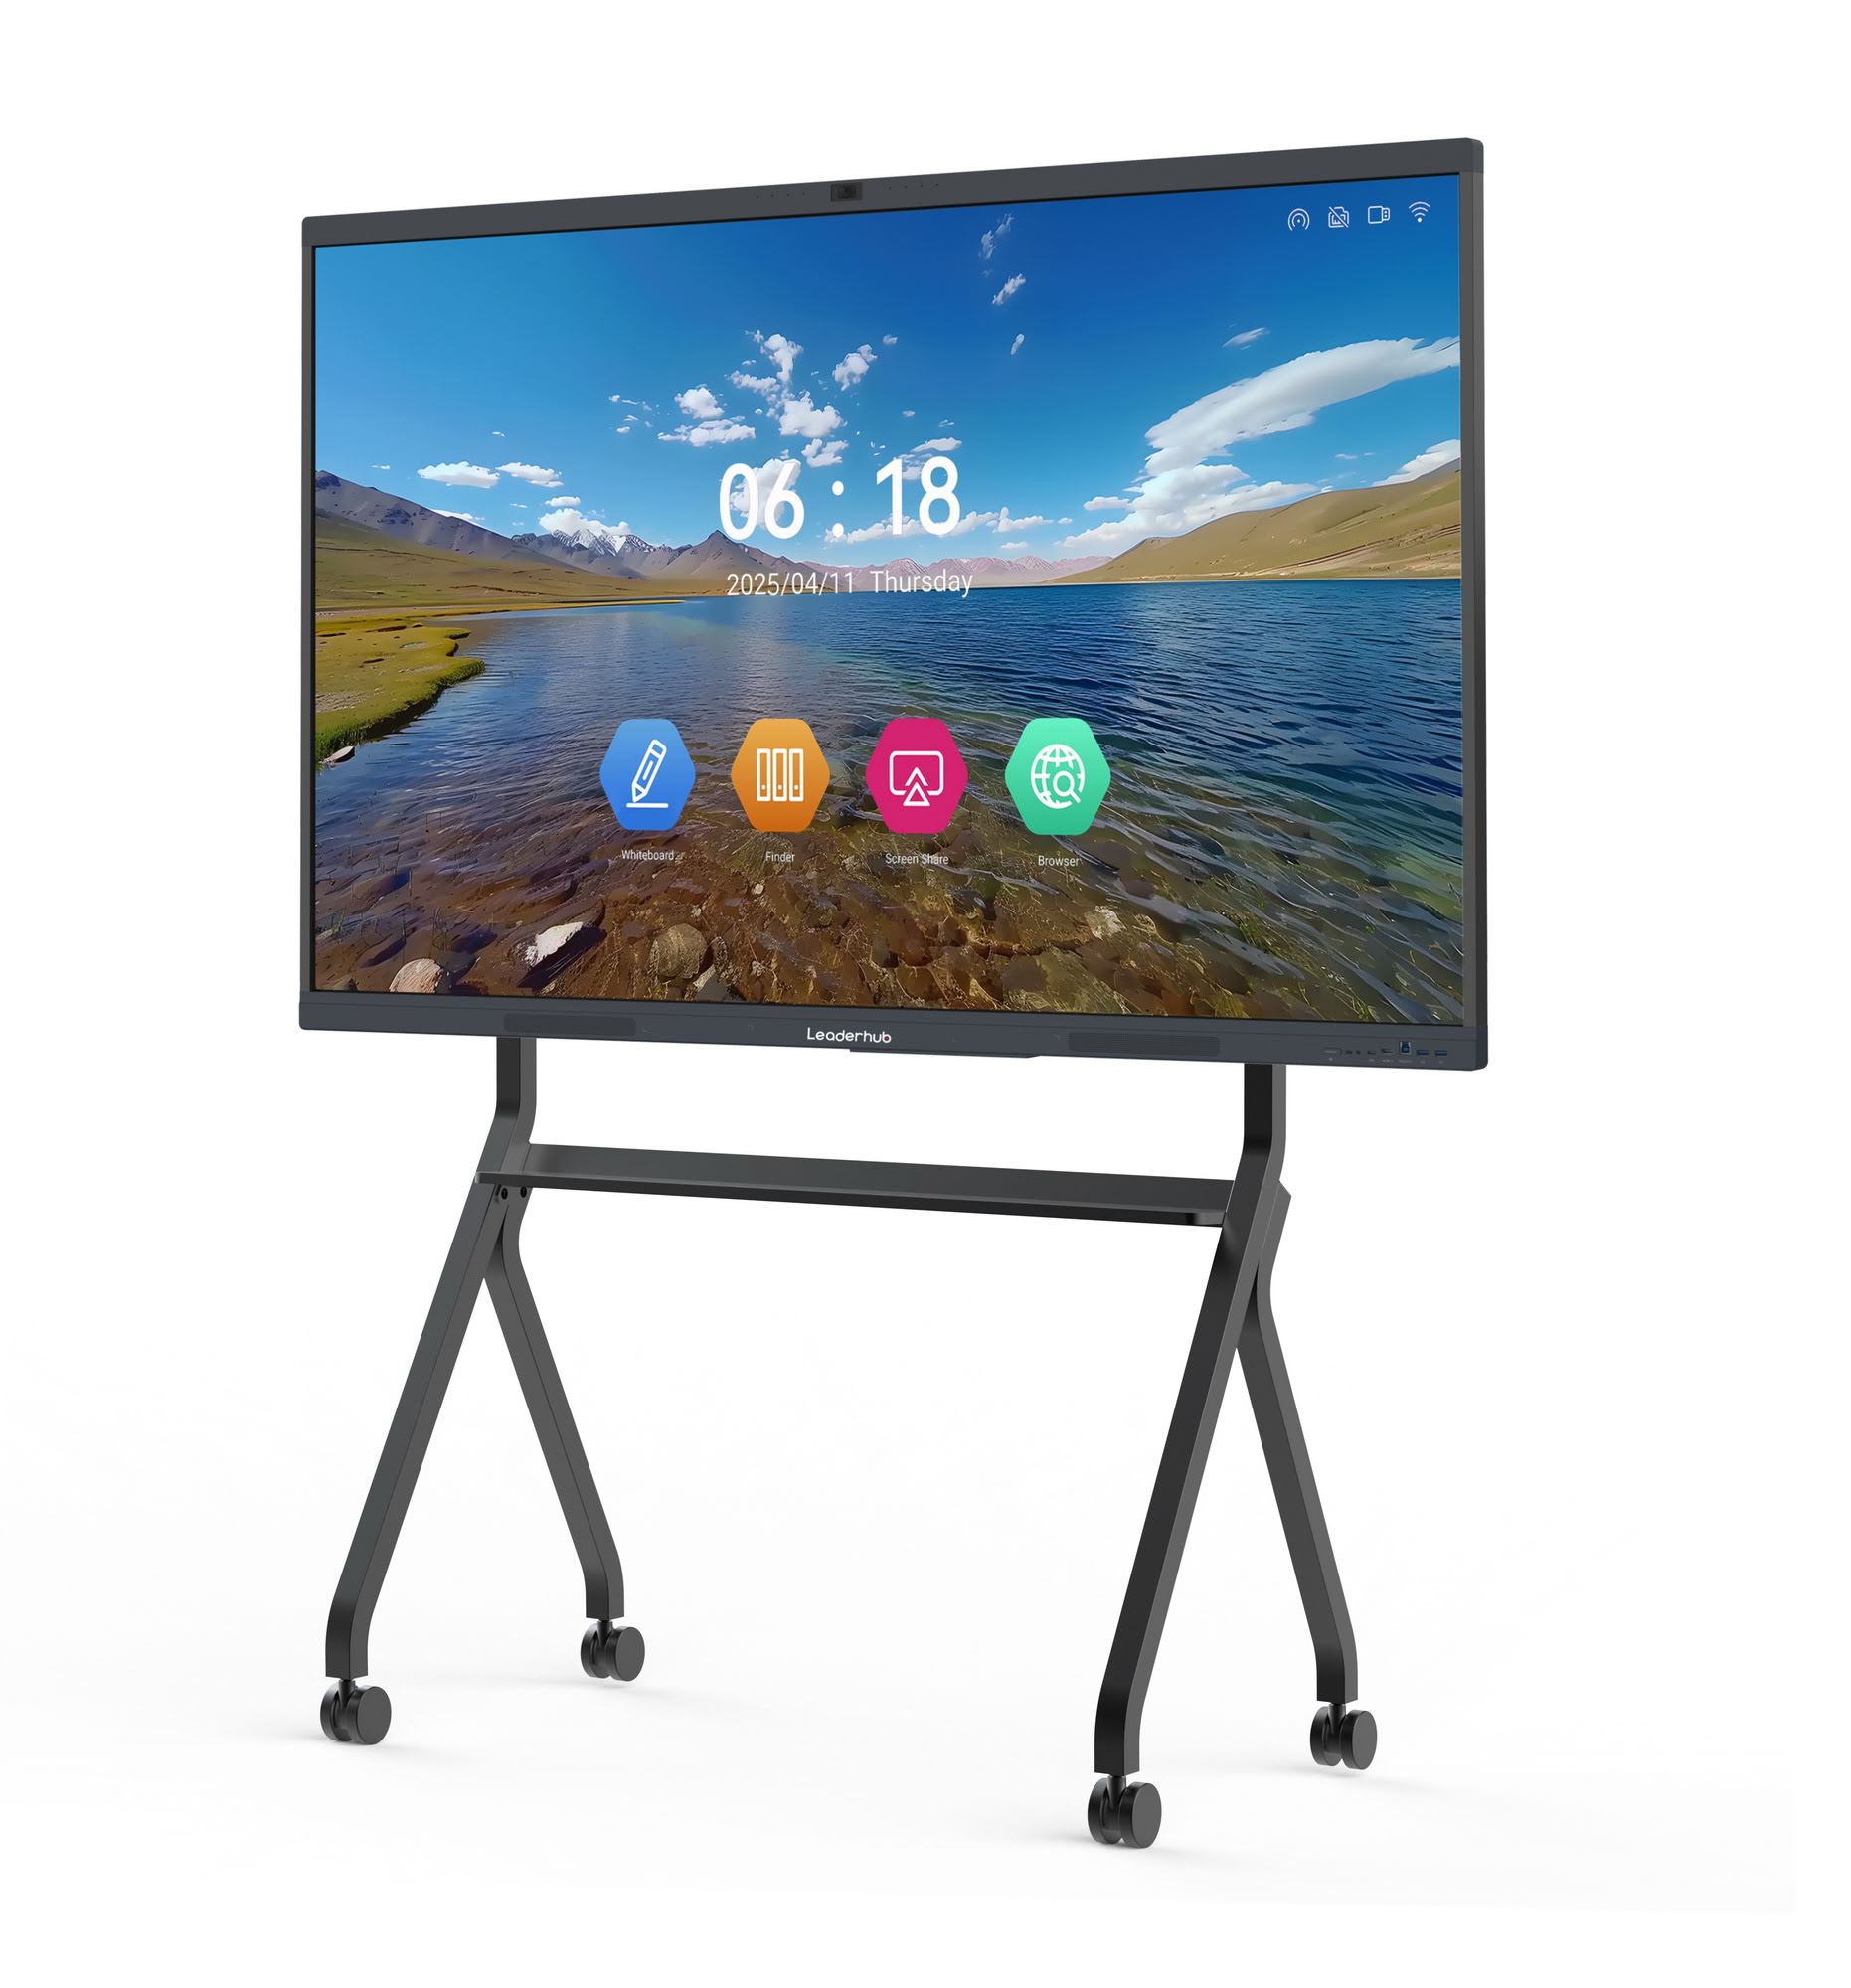
Most smart boards include a built-in whiteboard app. This is the easiest place to begin because it lets you write without opening a laptop.
- Open the home menu and tap the whiteboard icon.
- Choose a blank canvas, lined page, or grid page.
- Select a pen color and line thickness.
- Write with your finger or a stylus.
- Use eraser mode to remove mistakes quickly.
When you need more computing power, pair the board with a compact device such as a mini PC for smoother multitasking and easier app management.
Step 4: Connect a Laptop or External Device
If you want to display presentations, videos, or worksheets, connect a laptop, MacBook, or media player.
- Connect HDMI or Type-C to the board.
- If touch control is needed, connect the USB touch cable as well.
- Choose the correct source input from the menu.
- Adjust sound and display settings if needed.
- Test mouse movement and touch response before presenting.
Tip: If the image appears but touch does not work, the USB touch cable is often the missing connection.
Step 5: Annotate Directly on Slides and Videos
One of the biggest advantages of an interactive smart board is the ability to mark up content in real time. This is ideal for lesson explanations, sales reviews, and project discussions.
| Tool | Best Use | Beginner Benefit |
|---|---|---|
| Pen | Highlighting key points | Makes ideas easy to follow. |
| Highlighter | Emphasizing important text | Keeps the original slide readable. |
| Shape tool | Drawing boxes, circles, and arrows | Useful for diagrams and workflows. |
| Undo | Fixing mistakes quickly | Reduces pressure for beginners. |
Step 6: Save, Export, and Share Your Work
After writing notes or annotating a presentation, always save your work before leaving the screen.
- Save as a PDF, image, or project file depending on the app.
- Export to USB, cloud storage, or email when supported.
- Share via QR code or screen-sharing tools for quick access.
- Keep a file naming system so lessons and meetings are easy to find later.
Step 7: Use Wireless Sharing for Meetings and Classes
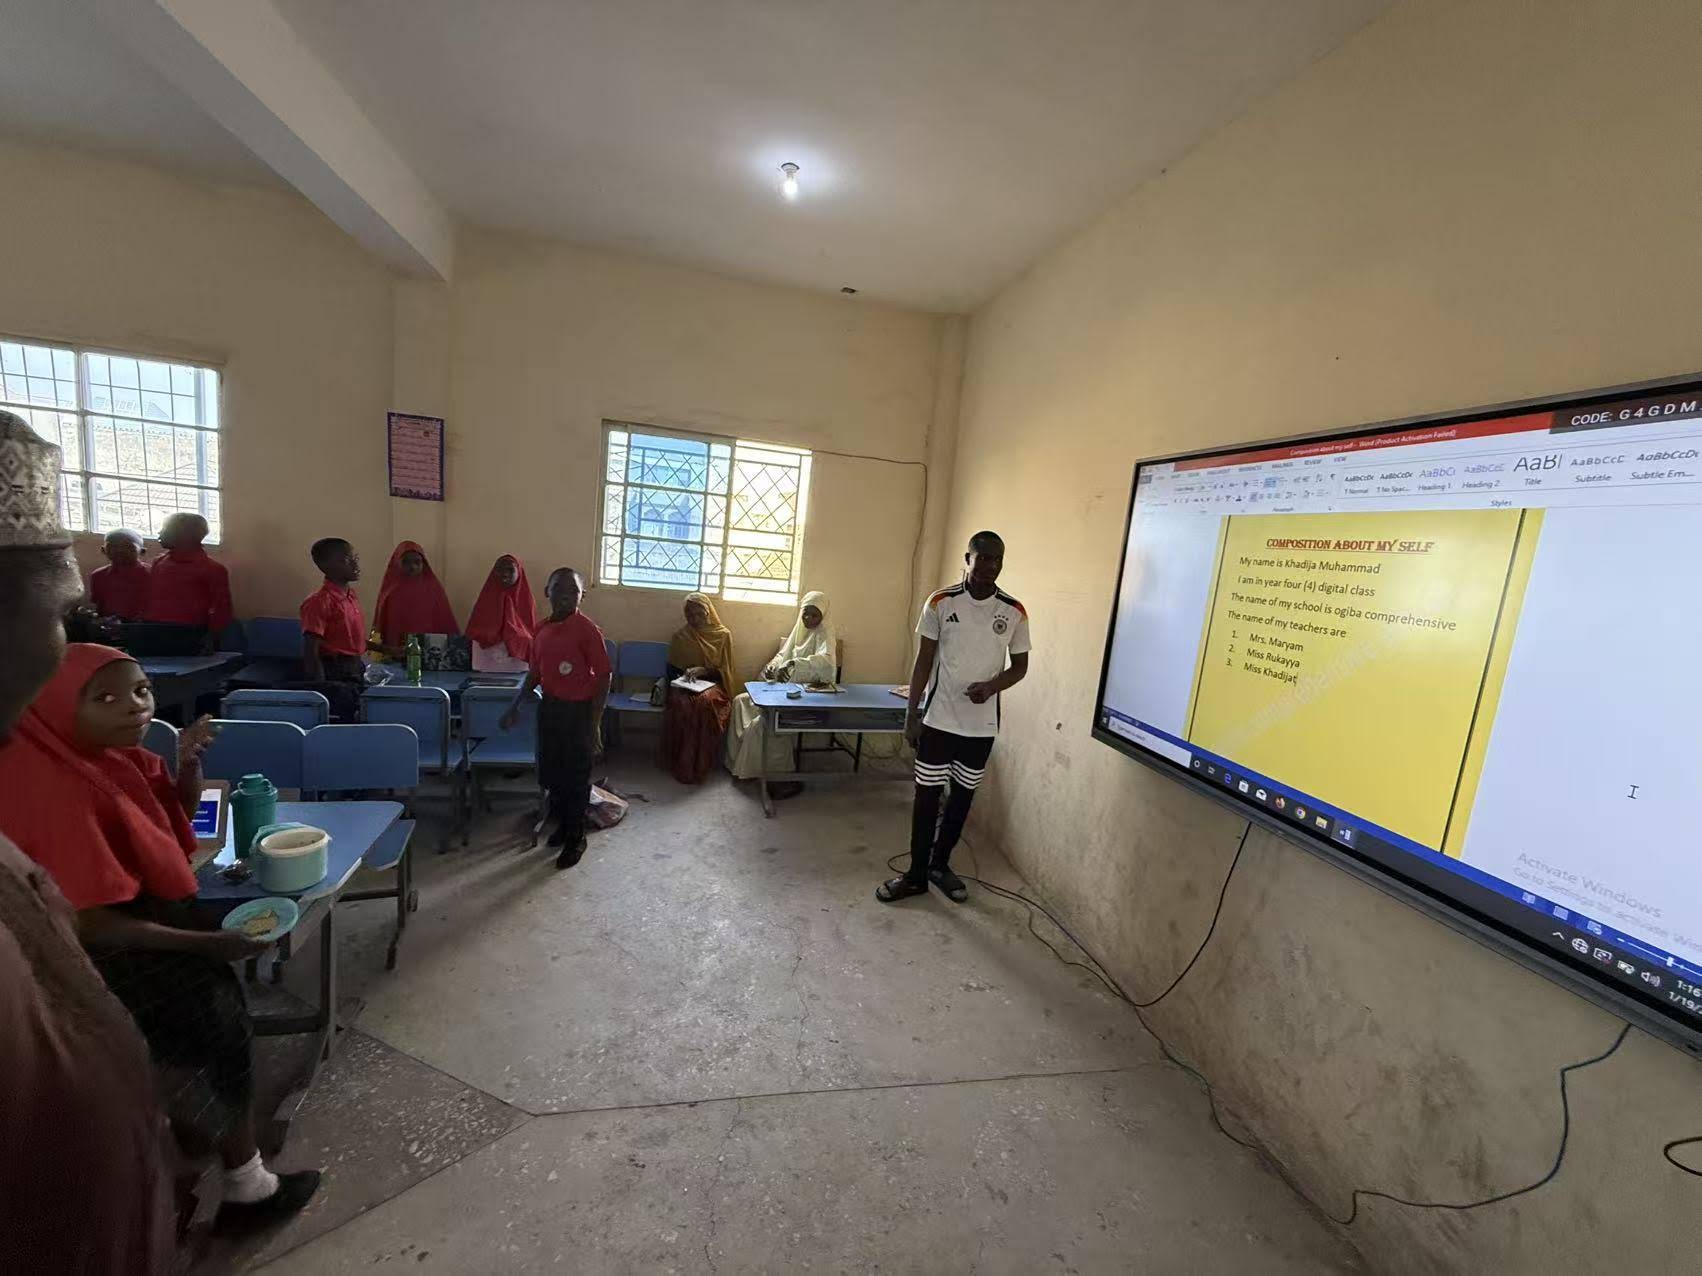
Wireless screen sharing is one of the most practical features for beginners. It helps presenters avoid cable clutter and lets multiple participants contribute.
- Open the sharing function on the board.
- Connect the laptop, tablet, or phone to the same network if required.
- Follow the pairing code or app instructions.
- Start sharing slides, images, or browser content.
- Pause sharing when you need to switch speakers or content.
For buyers comparing board sizes and pricing, take a look at the L86ZM Interactive Whiteboard or explore the full shop page.
Step 8: Keep the Board Easy to Use Every Day
A smart board becomes much easier to manage when you create a simple daily workflow. This is especially important in schools, coworking spaces, and shared meeting rooms.
- Reset the board to the home screen after each session.
- Remove temporary files and old annotations.
- Check stylus batteries and remote controls regularly.
- Update firmware and apps when new versions are available.
- Set a clear default input source for repeat users.
Common Mistakes Beginners Should Avoid
Many first-time users struggle for the same reasons. Avoid these issues to get a smoother experience:
- Skipping cable checks: touch may fail if the USB cable is not connected.
- Using too many tools at once: start with pen, eraser, and save before exploring advanced features.
- Ignoring calibration: inaccurate touch response can often be fixed in settings.
- Forgetting to save: always export notes before closing the app.
- Using dirty screens: fingerprints can reduce touch accuracy and visibility.
Quick Beginner Checklist
| Task | Done? |
|---|---|
| Power on the board and confirm the home screen loads | ☐ |
| Test touch, pen, and eraser tools | ☐ |
| Connect a laptop or use the built-in whiteboard app | ☐ |
| Save and export notes after the session | ☐ |
| Clean the screen and close unused apps | ☐ |
Recommended Use Cases for Beginners
- Education: teach lessons, solve problems, and save classroom notes.
- Business meetings: brainstorm, present slides, and annotate reports.
- Training sessions: walk teams through procedures and workflows.
- Hybrid collaboration: let in-room and remote participants work together.
- Creative planning: sketch ideas, organize content, and map project timelines.
FAQ: Interactive Smart Board Basics
Do I need a computer to use an interactive smart board?
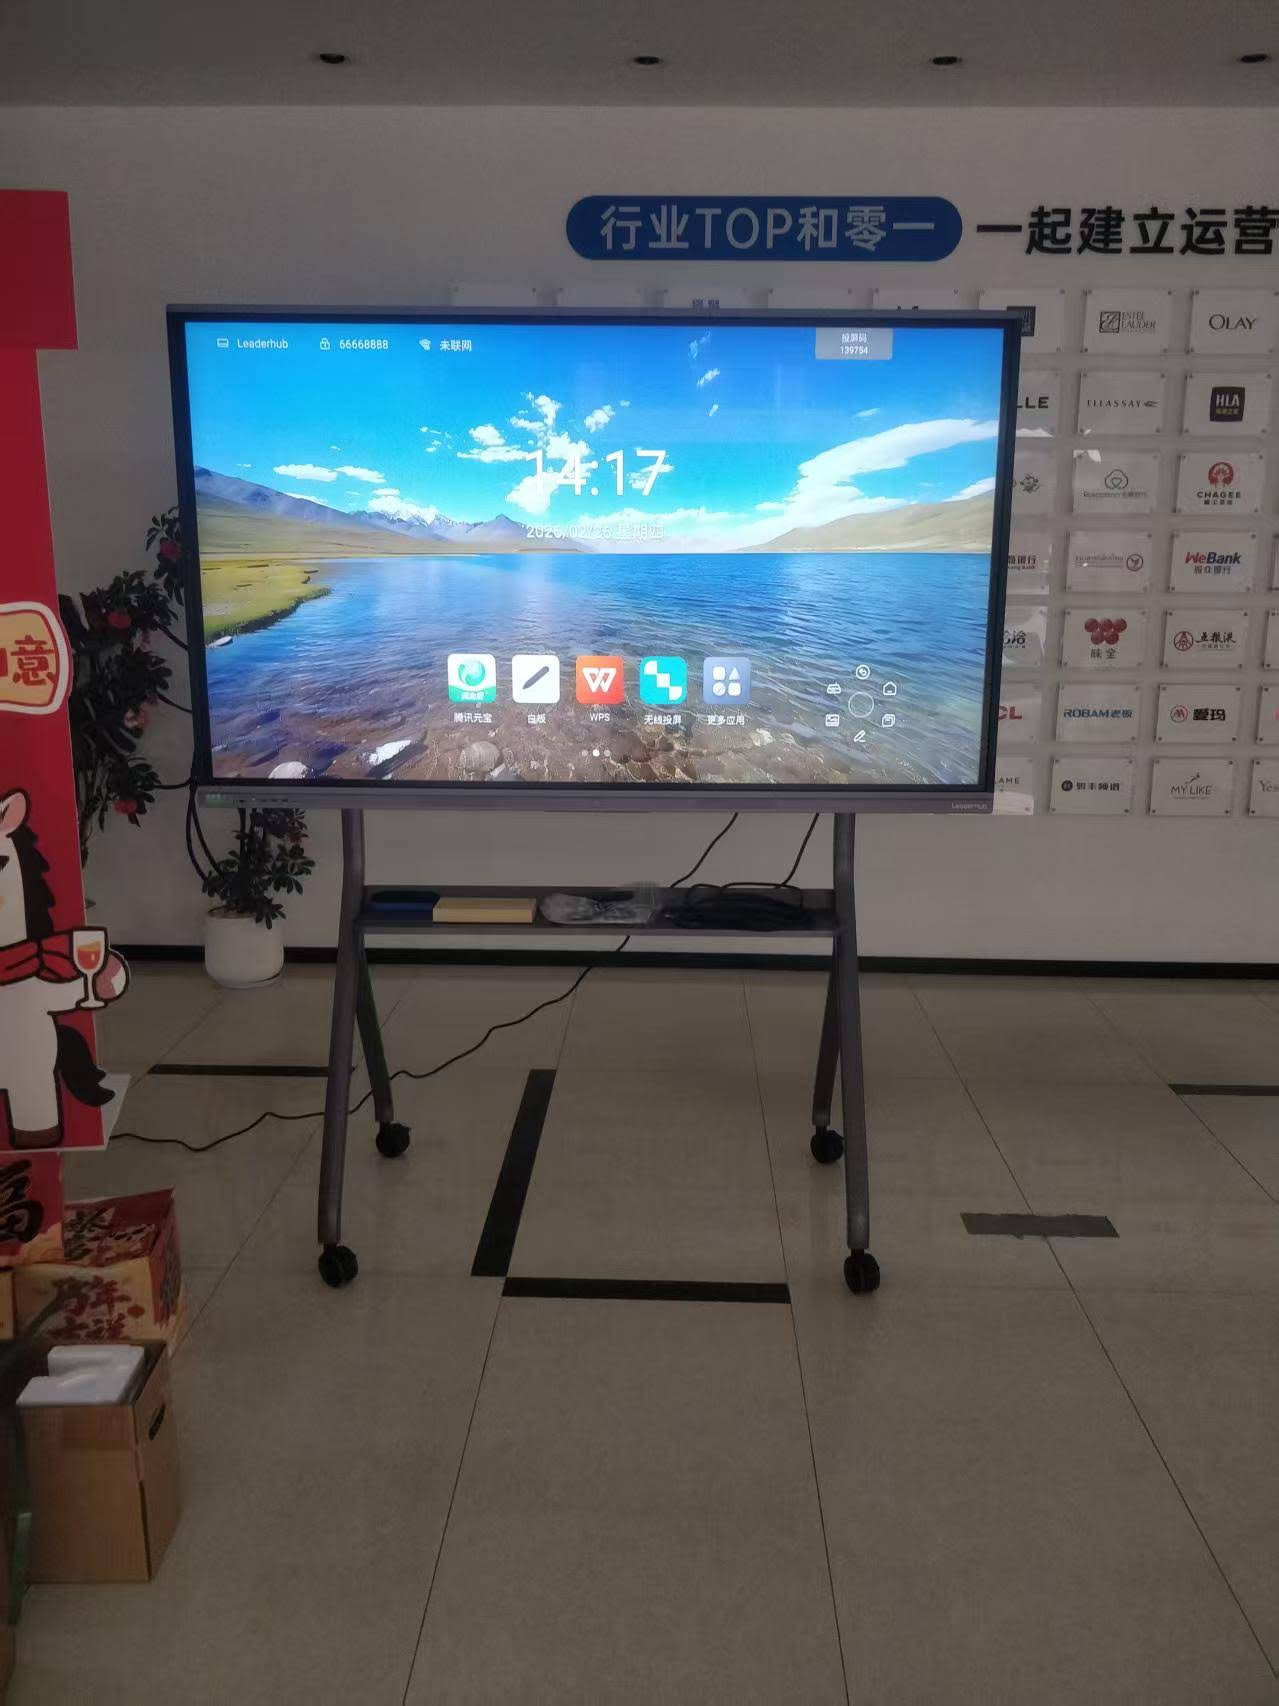
Not always. Many boards include built-in Android systems or whiteboard apps, so you can write and present without a separate computer. A PC or laptop is still helpful for advanced software and file management.
Can I use my finger instead of a stylus?
Yes, most boards support finger touch for writing, selecting, and swiping. A stylus is often better for precision note-taking and diagram work.
How do I make the board more accurate?
Check calibration settings, confirm the touch USB connection, and clean the screen. If the issue continues, restart the board and test the input source again.
What is the easiest first task for beginners?
The easiest first task is opening the whiteboard app and writing a few words. After that, practice erasing, saving, and sharing the screen.
Final Tip for First-Time Users
The best way to learn is to keep your first sessions simple. Start with writing, erasing, and saving before moving into screen sharing, multi-user collaboration, and advanced annotations. With a little practice, the board will feel natural and fast to use.
Learn more from trusted resources like the
UNESCO Digital Education
guidance and the
ISTE Standards for Educators.
If you are ready to upgrade your classroom or meeting space, explore the
contact page
for more support and product options.








