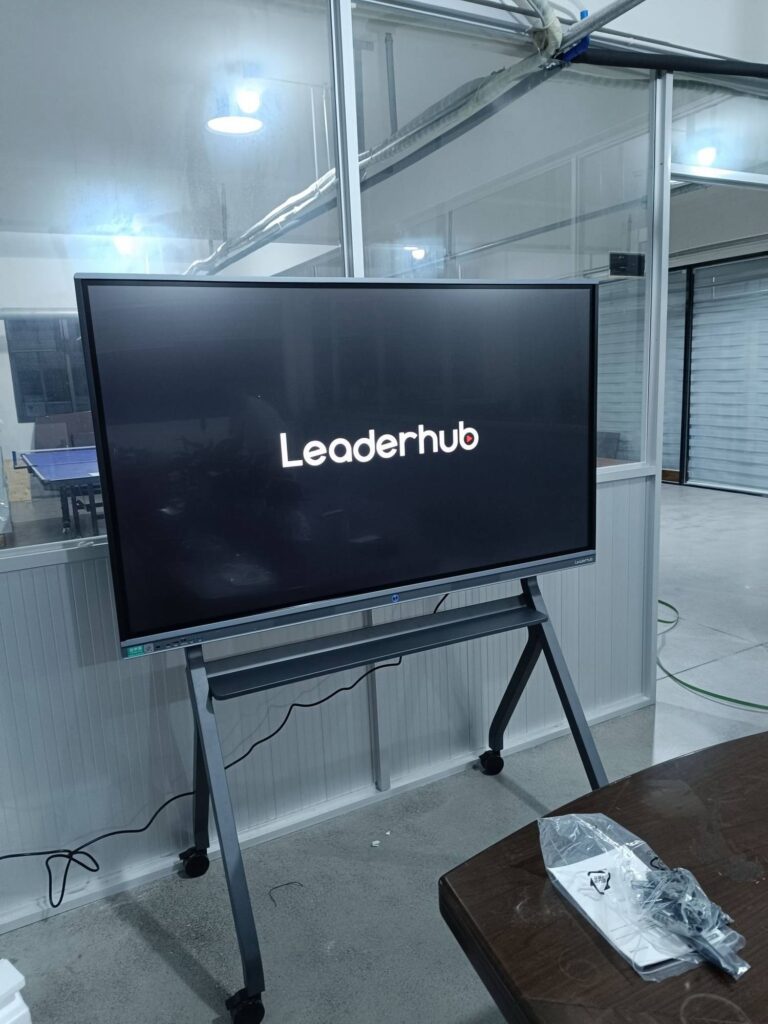
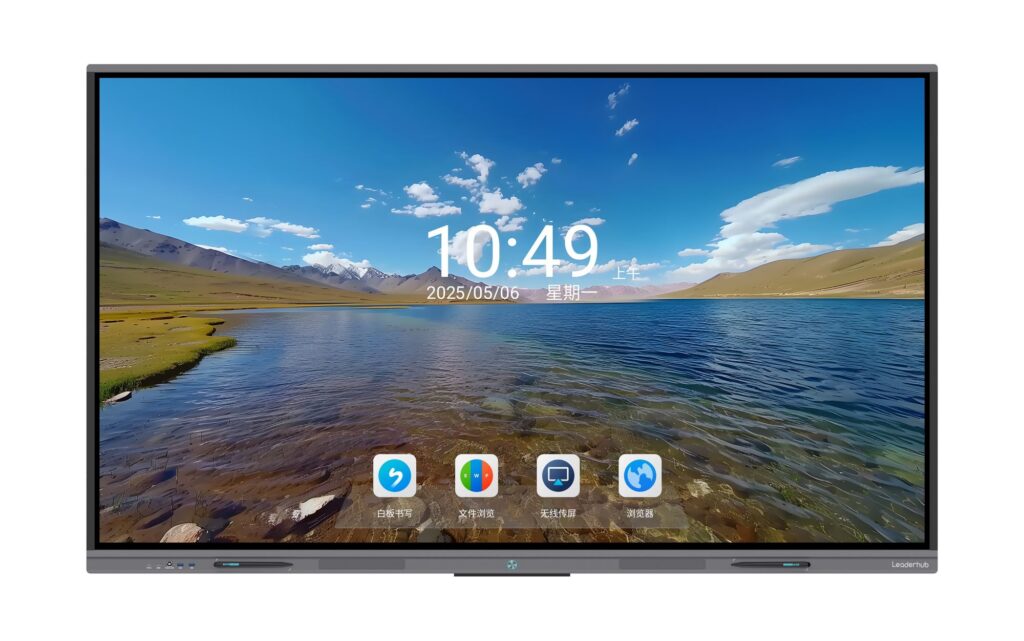
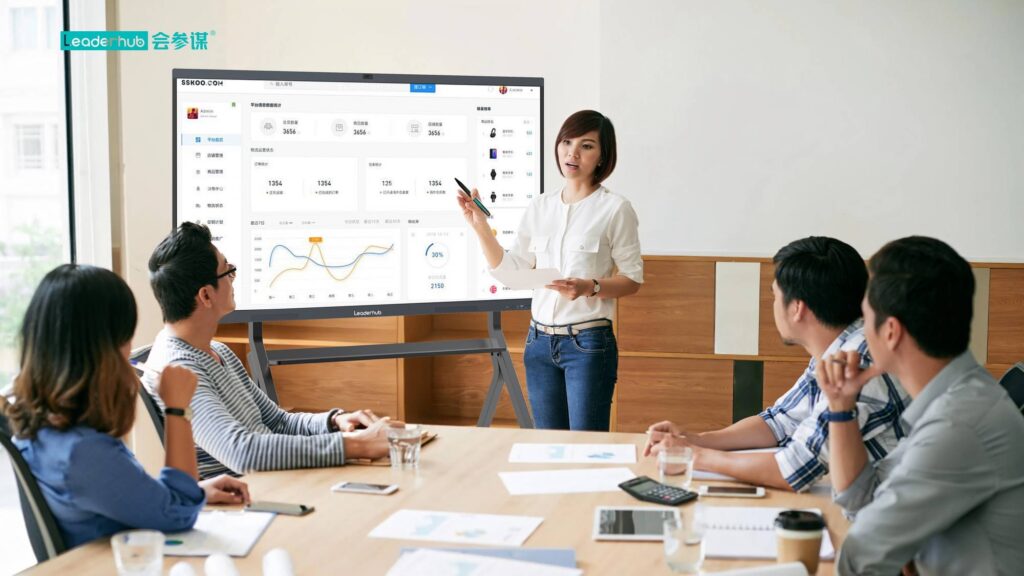
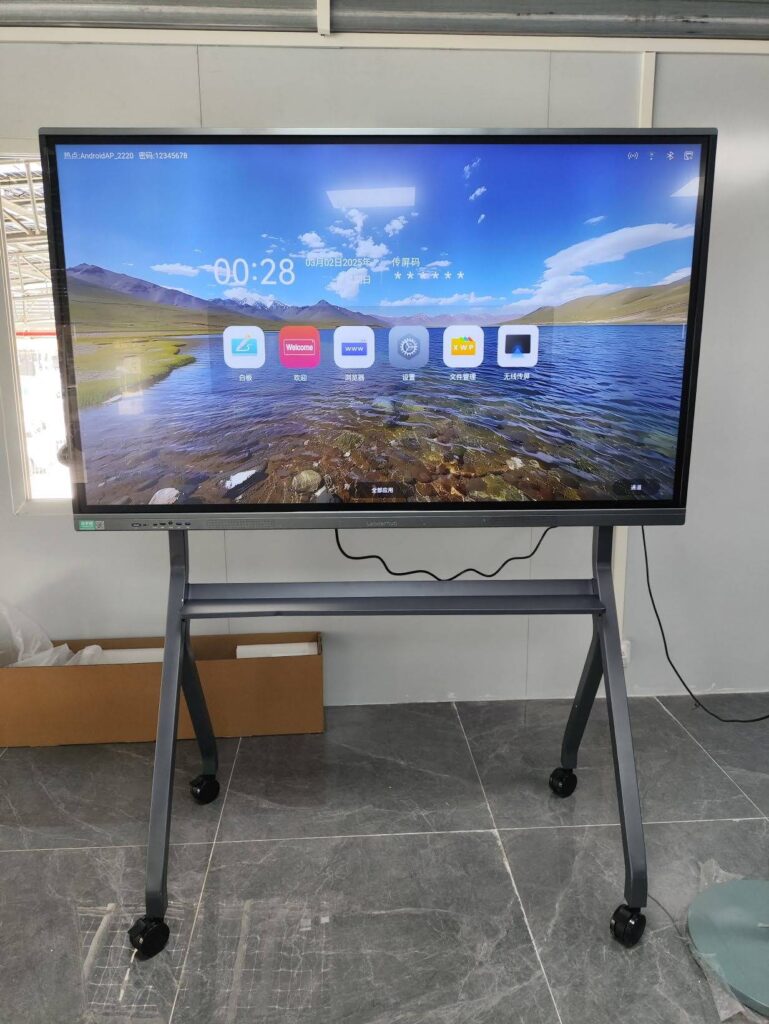
Smart boards have transformed modern teaching and presentation environments. Whether you’re an educator preparing interactive lessons or a business professional leading collaborative meetings, knowing how to operate these advanced displays efficiently can significantly enhance engagement and productivity. This comprehensive guide walks you through every aspect of smart board operation, from initial setup to advanced features that maximize your investment in this technology.
Understanding Smart Board Technology
A smart board, also known as an interactive flat panel or smart whiteboard, is a large touchscreen display that combines the functionality of a traditional whiteboard with the power of a computer. These devices detect touch input through various technologies including infrared sensors, capacitive touch, or electromagnetic resonance, allowing users to interact directly with digital content using fingers, styluses, or other pointing devices.
Modern smart boards integrate seamlessly with educational and business software, enabling real-time annotation, multimedia presentations, and collaborative work sessions. According to recent education technology research, classrooms equipped with interactive displays show a 16-34% improvement in student engagement compared to traditional teaching methods. Companies like LeaderHub, with over 16 years of experience in interactive display technology, have been instrumental in developing reliable solutions used across 82+ countries worldwide.
Pre-Setup Preparation and Safety Considerations
Before powering on your smart board, complete these essential preparatory steps to ensure safe and optimal operation:
Physical Installation Verification
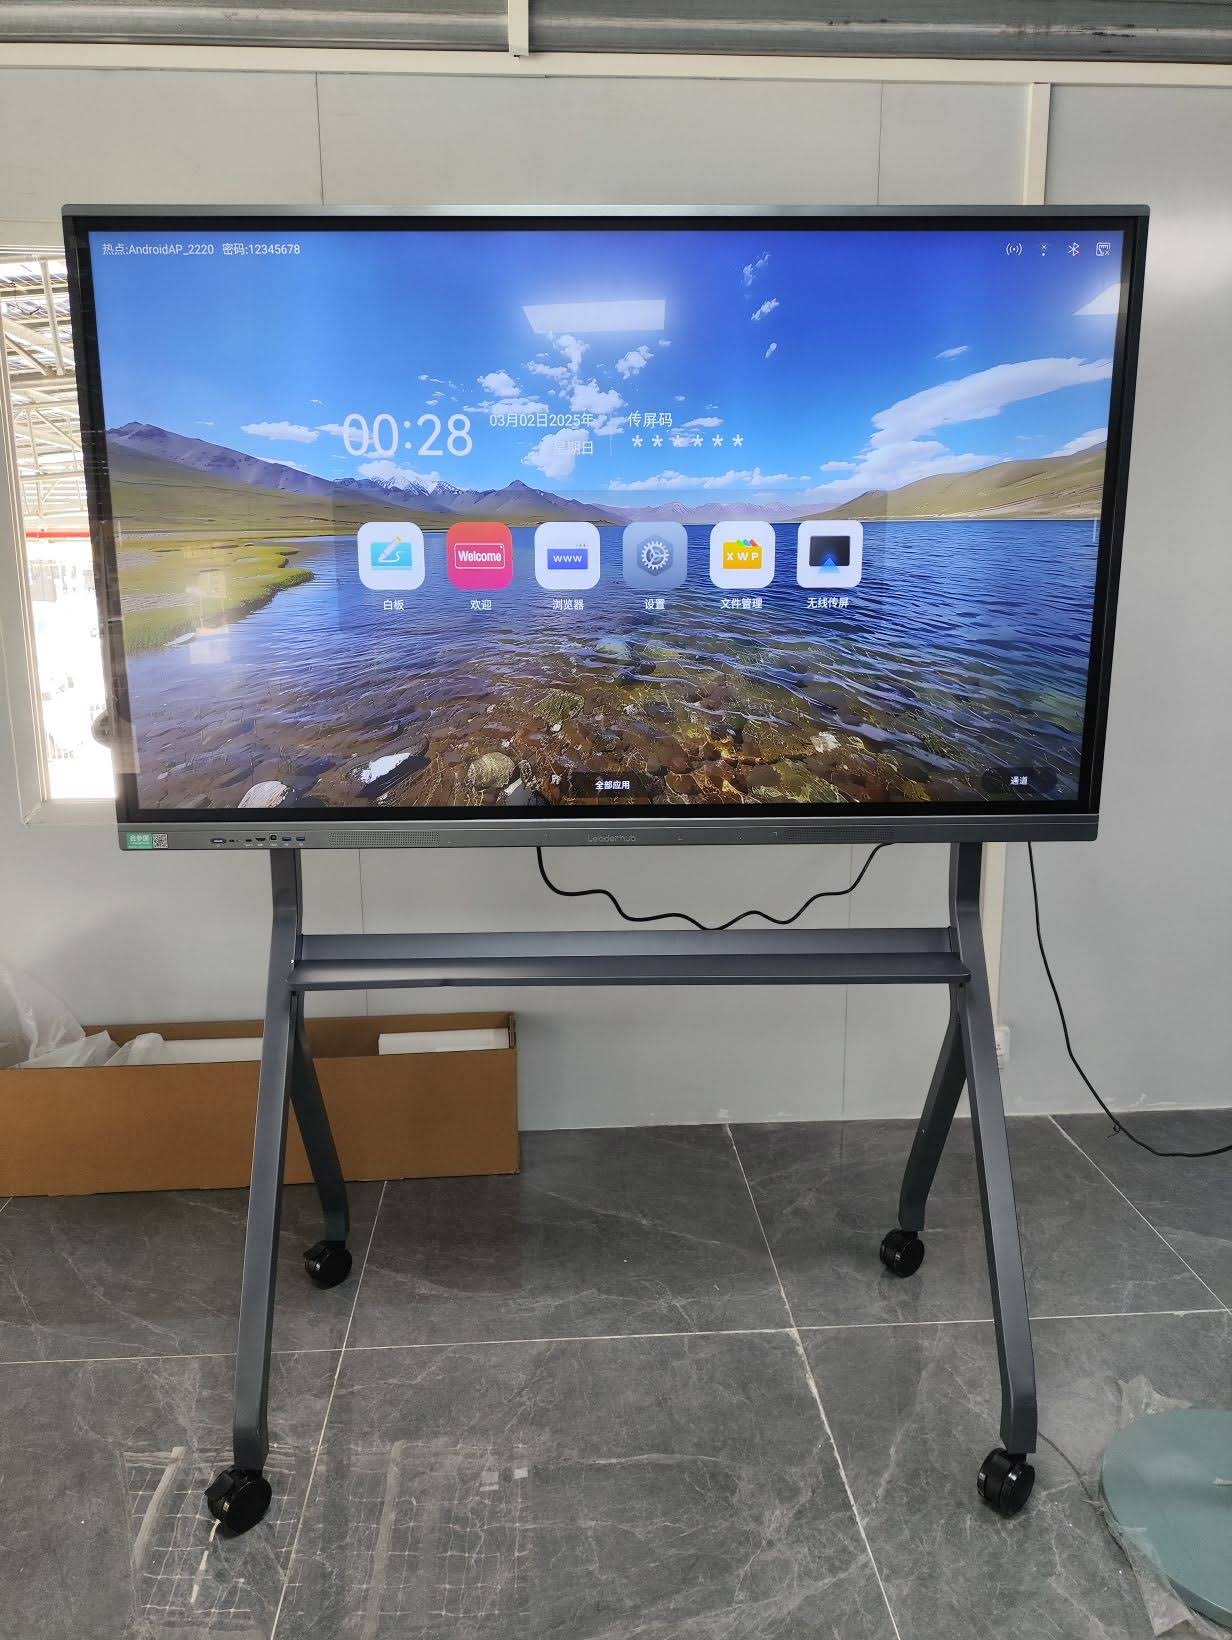
- Mounting stability: Confirm that wall mounts or floor stands are securely fastened and can support the panel’s weight (typically 40-100 kg depending on size)
- Viewing height: Position the screen center at approximately 120-150 cm from the floor for optimal accessibility in educational settings
- Ventilation clearance: Maintain at least 10 cm of space around ventilation openings to prevent overheating
- Cable management: Organize power and data cables to prevent tripping hazards and accidental disconnection
Environmental Conditions
| Factor | Recommended Range | Impact if Exceeded |
|---|---|---|
| Temperature | 0-40¡ãC (32-104¡ãF) | Reduced touch sensitivity, potential hardware damage |
| Humidity | 20-80% (non-condensing) | Moisture damage to internal components |
| Ambient Light | 300-500 lux | Screen glare, reduced visibility |
| Dust Level | Minimal (clean environment) | Touch accuracy degradation, ventilation blockage |
Powering On and Initial Configuration
First-Time Startup Sequence
- Connect power supply: Plug the device into a grounded electrical outlet. Most smart boards require 110-240V AC power and draw 200-400W during operation
- Press the power button: Located typically on the front bezel or side panel, hold for 2-3 seconds until the LED indicator illuminates
- Wait for boot completion: Modern smart boards running Android or Windows systems typically require 30-60 seconds to fully initialize
- Select system language: Choose your preferred interface language from the initial setup wizard
- Configure network settings: Connect to Wi-Fi or Ethernet for software updates and cloud-based features
Calibration and Touch Accuracy
Proper calibration ensures precise touch response across the entire display surface. Follow your specific model’s calibration procedure, which generally involves:
- Accessing the calibration tool through system settings or using a dedicated calibration button
- Touching designated points that appear sequentially across the screen
- Confirming calibration accuracy by testing touch response in all screen areas
- Recalibrating quarterly or whenever touch accuracy diminishes
Professional installation teams recommend performing initial calibration in the actual lighting conditions where the board will be used, as ambient light can affect some touch technologies.
Connecting External Devices and Sources
Smart boards function as collaborative hubs by accepting input from multiple sources simultaneously. Understanding connection options maximizes their versatility:
Wired Connectivity Options
| Connection Type | Supported Resolutions | Best Use Case |
|---|---|---|
| HDMI 2.0 | Up to 4K@60Hz | Laptops, document cameras, media players |
| USB-C with DisplayPort Alt Mode | Up to 4K@60Hz + data + power | Modern laptops (single cable solution) |
| VGA (legacy) | Up to 1920¡Á1080 | Older computers and projectors |
| USB-A/B | N/A (touch data only) | Touch interactivity with connected computers |
Wireless Screen Sharing
Wireless connectivity eliminates cable clutter and enables spontaneous collaboration. Most interactive flat panels support multiple wireless protocols:
- Miracast/WiDi: Native support in Windows 10/11 devices for screen mirroring without additional software
- AirPlay: Seamless integration with Apple devices (iPhone, iPad, Mac) for iOS/macOS users
- Google Cast: Chrome browser-based casting for cross-platform compatibility
- Proprietary apps: Manufacturer-specific solutions offering enhanced features like multi-device display and annotation tools
A 2024 workplace collaboration study found that wireless presentation capabilities reduce meeting setup time by an average of 5-7 minutes per session, significantly improving productivity in environments with frequent presenters.
Navigating the Operating System and Interface
Understanding your smart board’s operating system determines which applications and workflows are available:
Android-Based Systems
Android smart boards offer familiar smartphone-style interfaces with access to Google Play Store applications. These systems excel in education environments due to:
- Quick boot times (typically under 30 seconds)
- Extensive educational app ecosystem
- Lower power consumption compared to Windows systems
- Built-in web browsing without external computers
Windows-Based Systems
Windows-equipped smart boards provide full PC functionality, making them ideal for business environments requiring:
- Microsoft Office suite compatibility
- Domain network integration
- Specialized professional software (CAD, video editing, data analysis)
- Peripheral device support (scanners, specialized hardware)
Hybrid Systems with OPS Modules
Many professional-grade smart boards feature Open Pluggable Specification (OPS) slots that allow swapping between Android and Windows computing modules without external cables. This flexibility enables institutions to adapt to different usage scenarios without purchasing separate displays.
Using Core Annotation and Whiteboarding Features
The ability to annotate directly on displayed content represents one of the most valuable smart board capabilities:
Accessing Annotation Tools
- Launch the built-in whiteboarding application (often accessible via a dedicated physical button or home screen icon)
- Select your preferred writing tool from the floating toolbar: pen, highlighter, geometric shapes, or text
- Adjust tool properties including color (typically 8-12 preset colors), line thickness (fine, medium, bold), and opacity
- Write or draw directly on the screen using your finger, stylus, or pen
Advanced Annotation Techniques
| Feature | Function | Practical Application |
|---|---|---|
| Screen Capture | Saves current display as image | Documenting brainstorming sessions, creating lesson summaries |
| Screen Recording | Records video of board activities with audio | Creating tutorial content, absent student catch-up materials |
| Layer Management | Separates annotations from background content | Non-destructive markup of images and documents |
| Object Recognition | Converts hand-drawn shapes to perfect geometry | Mathematical diagrams, architectural sketches, flowcharts |
| Handwriting Recognition | Converts handwritten text to typed text | Creating searchable notes, exporting to word processors |
Multi-User Collaboration
Advanced smart boards support simultaneous multi-touch input from multiple users (typically 10-40 touch points depending on the model). This capability enables:
- Group problem-solving activities where students work together on the same canvas
- Split-screen presentations with two presenters working independently
- Interactive game-based learning with multiple participants
Educational research from the University of Cambridge found that collaborative whiteboard activities increased student participation rates by 47% compared to single-user demonstrations.
Integrating Multimedia Content into Presentations
Effective smart board usage extends beyond annotation to include rich multimedia elements that enhance comprehension and retention:
Embedded Web Content
Modern smart boards feature integrated web browsers that allow direct access to online resources without switching devices:
- Open the built-in browser application (Chrome, Edge, or proprietary browser)
- Navigate to educational websites, video platforms, or interactive simulations
- Use annotation tools to mark up web content in real-time
- Bookmark frequently accessed resources for one-tap access
Video and Audio Integration
Smart boards serve as powerful multimedia players capable of handling various formats:
- Supported video formats: MP4, AVI, MOV, MKV (codec support varies by model)
- Audio formats: MP3, WAV, AAC, FLAC
- Streaming services: YouTube, educational platforms, corporate training portals
- Playback controls: Pause, rewind, adjust speed (0.5x to 2x) for detailed instruction
Document and Presentation Display
View and annotate documents directly on the smart board without a connected computer:
| File Type | Access Method | Annotation Capability |
|---|---|---|
| PDF Documents | USB drive, cloud storage, email | Full annotation with save to annotated PDF |
| PowerPoint Presentations | USB drive, OneDrive, Google Drive | Real-time markup over slides |
| Word Documents | Cloud storage, network shares | Limited (view and highlight) |
| Images (JPG, PNG) | USB, cloud, direct capture | Full drawing and markup tools |
Managing Classroom or Meeting Room Workflows
Pre-Session Preparation
Efficient smart board users develop consistent preparation routines:
- Content preloading: Transfer files to the smart board’s internal storage the day before to avoid delays
- Software updates: Schedule system updates during off-hours to prevent interruptions
- Template creation: Design reusable page templates (graph paper, music staff, organizational charts) for recurring activities
- Peripheral testing: Verify document cameras, microphones, and other connected devices function properly
During-Session Best Practices
Maximize engagement and minimize technical disruptions with these operational techniques:
- Strategic tool placement: Position frequently used tools (eraser, pen color selector) within easy reach to maintain presentation flow
- Page navigation shortcuts: Learn gesture controls for rapid page flipping (typically two-finger swipe)
- Quick save intervals: Periodically save work every 10-15 minutes to prevent data loss from unexpected power interruptions
- Participant invitation: Encourage audience members to interact directly with the board, increasing engagement and ownership
Post-Session Content Management
Proper file management extends the value of smart board sessions beyond the live event:
- Cloud synchronization: Automatically upload session recordings and annotations to Google Drive, OneDrive, or institutional learning management systems
- QR code sharing: Generate QR codes that allow participants to instantly access session materials on their personal devices
- Email distribution: Send annotated content directly to participant email addresses from the board’s interface
- Archive organization: Maintain consistent file naming conventions (Date_Subject_Section format) for easy retrieval
Troubleshooting Common Smart Board Issues
Even reliable technology occasionally requires troubleshooting. Address these common problems systematically:
Touch Response Problems
Symptom: Touches not registering, inaccurate touch points, or phantom touches
Solutions:
- Clean the screen surface with microfiber cloth and approved cleaning solution (avoid ammonia-based cleaners)
- Recalibrate touch sensors through system settings
- Check for physical obstructions near the frame’s sensor arrays
- Update touch driver firmware to the latest version
- Verify proper grounding of the electrical connection
Display Quality Issues
Symptom: Flickering screen, color distortion, or dim backlight
Solutions:
- Adjust brightness and contrast settings away from maximum values (extended max brightness operation reduces backlight lifespan)
- Check cable connections for loose HDMI or power cables
- Test with different input sources to isolate the problem
- Disable energy-saving modes that automatically dim the screen
- Contact technical support if backlight uniformity issues appear (may indicate hardware failure)
Connectivity Failures
Symptom: Unable to connect wirelessly or wired devices not recognized
Solutions:
- Restart both the smart board and source device
- Verify network credentials and ensure devices are on the same subnet
- Update wireless casting software/apps to compatible versions
- Check firewall settings that may block screen sharing protocols
- Use direct cable connection as fallback during critical presentations
Software Application Crashes
Symptom: Whiteboard app closes unexpectedly or becomes unresponsive
Solutions:
- Force close the application and relaunch
- Clear application cache through system settings
- Verify sufficient storage space remains on the device (recommend maintaining 20% free space minimum)
- Uninstall and reinstall problematic applications
- Perform factory reset as last resort (backup data first)
Maintenance and Longevity Best Practices
Proper maintenance extends smart board lifespan and maintains optimal performance:
Daily Care Procedures
- Screen cleaning: Wipe the display surface with a dry microfiber cloth at the end of each day to remove fingerprints and dust
- Proper shutdown: Use the software shutdown function rather than cutting power to allow the system to close applications properly
- Stylus storage: Return pens and styluses to their holders to prevent loss and accidental damage
Weekly Maintenance Tasks
- Deep clean the screen using approved cleaning solution (typically 70% isopropyl alcohol diluted with distilled water)
- Inspect cable connections for wear or loosening
- Check for software updates and install during low-usage periods
- Verify proper ventilation by ensuring vents remain unobstructed
Quarterly Professional Service
Schedule professional maintenance every 3-4 months for institutional installations:
- Comprehensive firmware updates across all system components
- Calibration verification and adjustment
- Internal dust removal from ventilation systems
- Connection port inspection and cleaning
- Performance testing under various usage scenarios
Institutions following structured maintenance schedules report 40-50% fewer service calls and extend average smart board lifespan from 5-7 years to 8-10 years according to educational technology management data.
Advanced Features and Future-Ready Capabilities
AI-Powered Enhancements
Recent advances in interactive display technology incorporate artificial intelligence to streamline workflows:
- Auto-framing for videoconferencing: AI tracks active speakers and adjusts camera framing automatically
- Real-time translation: On-screen text translation for multilingual classrooms and international business meetings
- Voice commands: Hands-free operation for presentations requiring continuous gesture demonstration
- Content recommendations: AI suggests relevant educational resources based on detected lesson topics
Cloud Integration and Remote Capabilities
Modern smart boards function as cloud-connected collaboration hubs:
- Remote session joining: Off-site participants join and contribute to whiteboard sessions in real-time
- Cross-location synchronization: Multiple smart boards in different locations display identical content simultaneously
- Cloud storage integration: Automatic backup to institutional cloud platforms
- Administrative remote management: IT departments can deploy updates, monitor status, and troubleshoot issues remotely
Accessibility Features
Inclusive design ensures smart boards serve all users regardless of physical abilities:
| Accessibility Feature | User Benefit | Implementation |
|---|---|---|
| Height-adjustable mounting | Wheelchair users and children | Motorized or manual lift systems |
| High contrast modes | Visually impaired users | System-wide color scheme adjustments |
| Text-to-speech | Blind or low-vision users | Screen reader software integration |
| Closed captioning | Deaf or hard-of-hearing users | Automatic speech recognition with text display |
| Alternative input devices | Users with limited mobility | Switch controls, eye tracking, adaptive mice |