
Smart boards have transformed how we teach, learn, and collaborate in modern classrooms and meeting rooms. If you’ve recently acquired an interactive flat panel or smart whiteboard and aren’t sure where to start, this comprehensive guide will walk you through everything you need to know. Whether you’re an educator preparing for your first digital lesson or a business professional setting up a collaborative workspace, mastering your smart board doesn’t have to be overwhelming.
According to recent education technology research, over 78% of schools worldwide now incorporate interactive display technology into their teaching environments, with adoption rates continuing to climb year over year. This shift reflects a fundamental change in how we approach interactive learning and professional collaboration.
What Exactly Is a Smart Board?
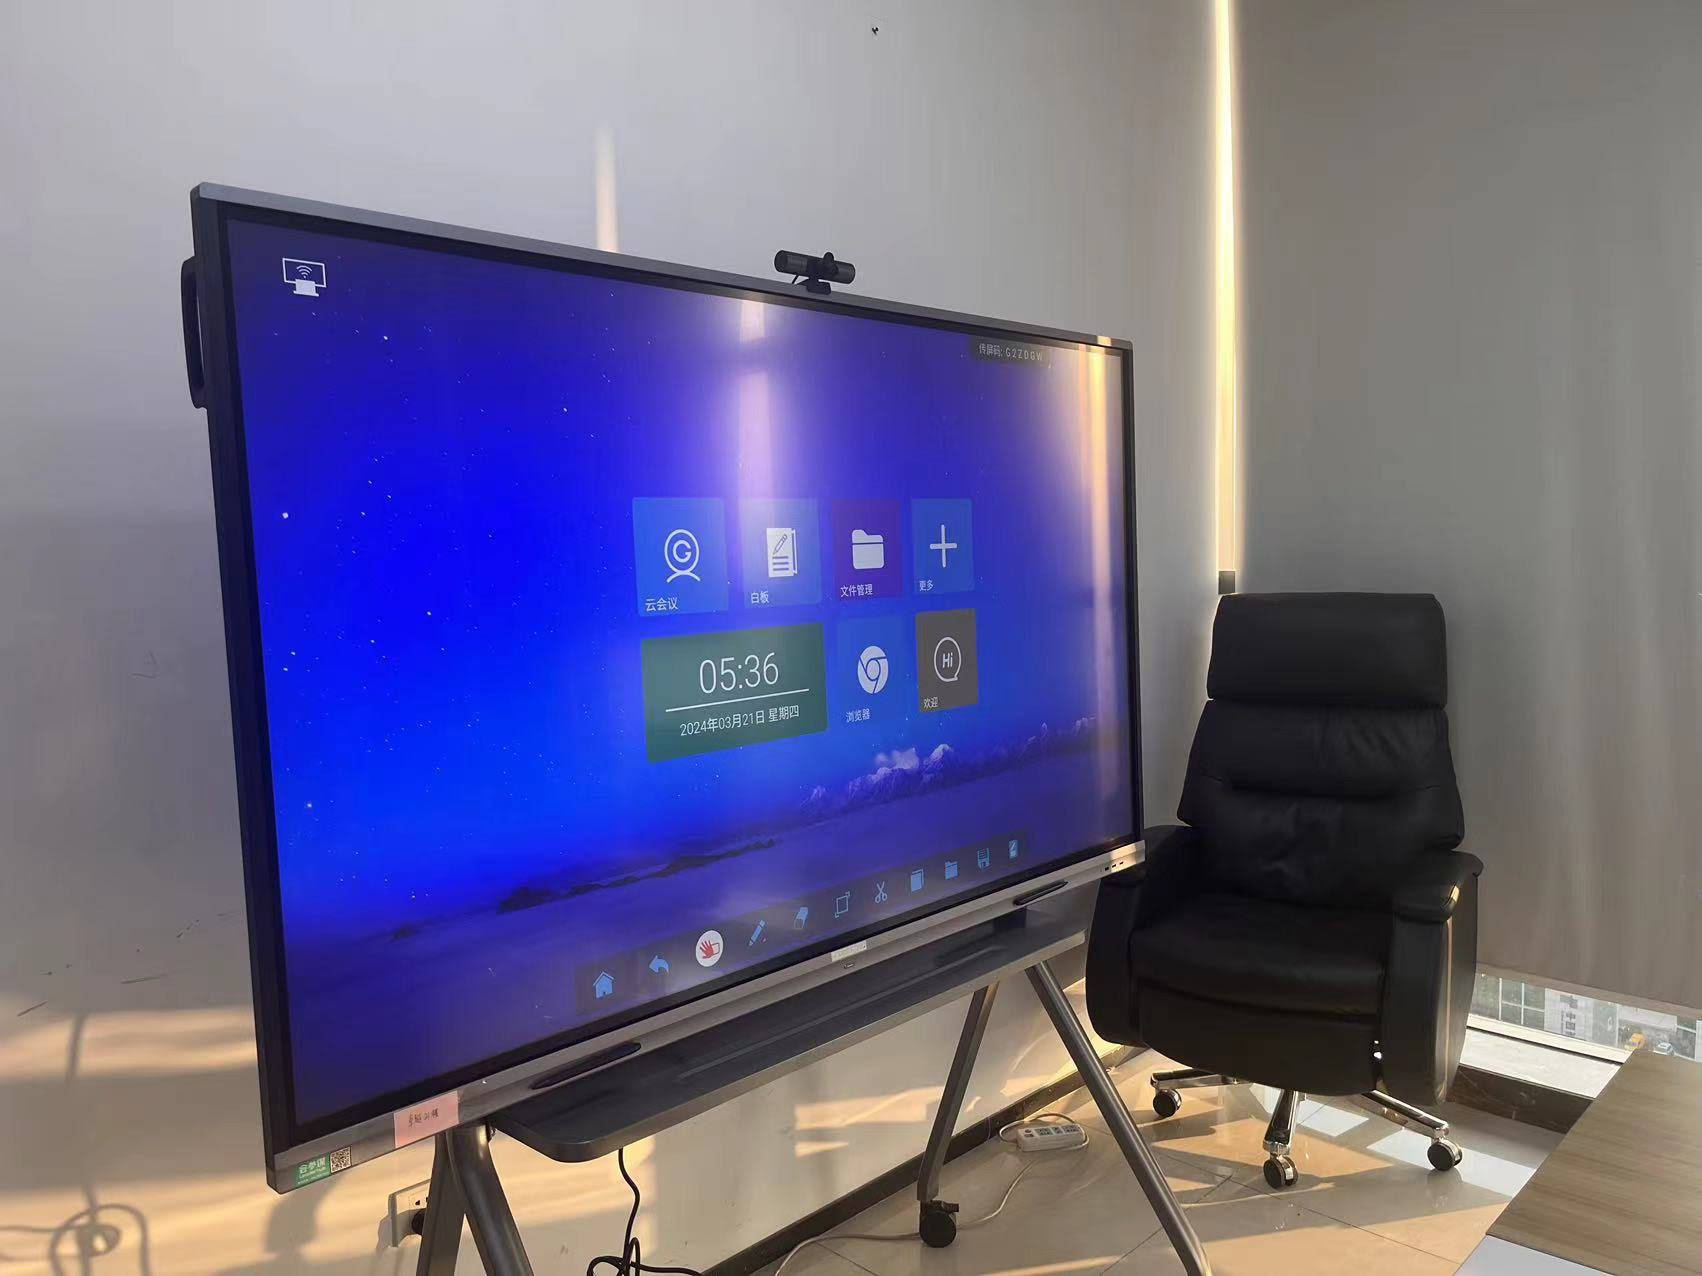
A smart board is an interactive display system that combines the functionality of a traditional whiteboard with advanced digital capabilities. Unlike conventional boards, smart boards feature touch-sensitive surfaces that respond to finger gestures, stylus input, or specialized pens, allowing users to interact directly with digital content.
Modern smart boards typically include:
- High-resolution touchscreen displays (often 4K or higher)
- Built-in computing systems running Android, Windows, or proprietary operating systems
- Wireless connectivity options including Wi-Fi, Bluetooth, and screen mirroring
- Multiple input methods supporting simultaneous users
- Integrated speakers and microphones for audio interaction
- Pre-installed collaboration software and educational applications
Companies like LeaderHub, with over 16 years of interactive display expertise and products deployed in more than 82 countries, have been at the forefront of developing reliable smart whiteboard technology that serves both education and enterprise markets.
Understanding Smart Board Components Before You Start
Before powering on your device, familiarize yourself with its physical components. This knowledge will help you troubleshoot issues and maximize the board’s potential.
Display Panel and Touch Technology
The display panel serves as both your viewing surface and primary input device. Most modern smart boards use infrared or capacitive touch technology that can detect multiple touch points simultaneously. This allows several students or team members to interact with the board at the same time¡ªa feature particularly valuable for collaborative work.
Control Panel and Physical Buttons
Located typically along the bottom or side edge, the control panel includes essential buttons:
| Button/Control | Function |
|---|---|
| Power Button | Turns the board on/off or into standby mode |
| Source/Input Selection | Switches between built-in system and external devices |
| Volume Controls | Adjusts audio output level |
| Home Button | Returns to main menu/home screen |
| Menu/Settings | Accesses system configuration options |
Connectivity Ports
Check the side or rear panel for various ports that expand your board’s functionality. Common connections include HDMI inputs (for laptops and document cameras), USB ports (for external storage and peripherals), audio jacks, and network connections. Understanding port locations saves time when connecting devices during presentations.
Step 1: Physical Setup and Installation
Proper physical installation ensures optimal viewing angles, touch accuracy, and device longevity.
Mounting Considerations
Most smart boards can be wall-mounted or placed on mobile stands. For classroom installations, position the board so that the center sits at appropriate height for your primary users. Educational research suggests the board center should be approximately 48-52 inches from the floor for elementary students and 60-65 inches for secondary students and adults.
When wall mounting:
- Verify wall structure can support the board’s weight (typically 50-100 pounds)
- Use mounting brackets specifically designed for your model
- Leave adequate ventilation space around the device
- Plan cable routing to avoid tripping hazards
- Consider accessibility requirements for all potential users
Power and Cable Management
Connect the power cable to a grounded outlet. If using a mobile stand, ensure cables are secured and won’t create safety hazards. Professional installations often include cable management solutions that hide wiring within walls or through dedicated cable trays.
Step 2: Powering On and Initial Configuration
With physical setup complete, you’re ready to power on your smart board for the first time.
First Boot Sequence
Press the power button and wait for the system to initialize. First-time startup typically takes 30-60 seconds longer than subsequent boots as the system performs initial checks. You’ll see manufacturer branding followed by a setup wizard.
Language and Regional Settings
The setup wizard guides you through basic configuration:
- Select your language from the available options
- Choose your time zone and date format
- Configure regional settings that affect keyboard layouts and content recommendations
- Accept terms of service and privacy policies
Network Connectivity Setup
Connecting to your network is essential for accessing cloud services, downloading updates, and enabling wireless screen sharing. Select your Wi-Fi network from the list, enter the password, and confirm connection. For enterprise environments, consult your IT department regarding network authentication requirements.
Wired Ethernet connections typically provide more stable performance for bandwidth-intensive applications like video conferencing and should be preferred when available.
Step 3: Touch Calibration for Accurate Input
Touch calibration ensures that the board accurately registers where you touch the screen¡ªcritical for precision work and writing.
When to Calibrate
Perform calibration:
- During initial setup
- After moving the board to a new location
- When touch inputs seem offset from actual touch points
- Following any physical impact to the screen
- Periodically (every 3-6 months) for optimal accuracy
Calibration Process
Access the calibration tool through the settings menu (often under Display or Touch Settings). The system displays a series of target points¡ªusually crosshairs or dots¡ªat various screen locations. Touch each target accurately with your finger or stylus when prompted. The system records these inputs to create a precise touch map.
Pro tip: Use the same input method for calibration that you’ll use most frequently. If you primarily use a stylus, calibrate with the stylus rather than your finger for best results.
Step 4: Exploring the User Interface
Modern smart board interfaces are designed for intuitive navigation, but understanding the layout accelerates your learning curve.
Home Screen Navigation
The home screen typically displays application icons, shortcuts, and recently used documents. Interface designs vary by manufacturer, but most follow familiar tablet or smartphone conventions. Swipe gestures often allow you to access additional screens or app drawers.
Quick Access Toolbar
Most smart boards feature a quick access toolbar¡ªeither a floating menu or edge-mounted interface¡ªproviding instant access to common tools:
| Tool | Purpose |
|---|---|
| Pen/Marker Tools | Write and draw with various colors and thickness options |
| Eraser | Remove annotations selectively or clear entire screen |
| Screenshot/Capture | Save current screen content as an image |
| Source Selection | Switch between built-in apps and external inputs |
| Settings | Adjust system preferences and configurations |
Notification Center
Similar to mobile devices, smart boards often include a notification area displaying system alerts, pending updates, and connectivity status. Accessing this area (usually by swiping from the top edge) provides quick system information without interrupting your workflow.
Step 5: Using Built-in Whiteboard Applications
The digital whiteboard application is the core tool you’ll use most frequently. Mastering it unlocks the board’s full potential.
Creating a New Whiteboard Session
Launch the whiteboard app from your home screen. Most applications open to a blank canvas where you can immediately begin writing or drawing. Many systems offer template options¡ªgrid paper, lined paper, coordinate systems, music staff, or lesson-specific templates¡ªaccessible through a menu icon.
Writing and Drawing Tools
Select pen tools from the toolbar. Customization options typically include:
- Color selection: Choose from preset colors or create custom colors
- Line thickness: Adjust from fine lines for detailed work to thick markers for emphasis
- Pen types: Standard pen, highlighter (semi-transparent), calligraphy pen, or shape recognition tools
- Texture options: Some systems offer chalk, crayon, or watercolor effects
When writing, maintain natural handwriting speed. Modern smart boards use palm rejection technology that distinguishes between intentional touch input and your hand resting on the screen, allowing comfortable writing without accidental marks.
Advanced Annotation Features
Beyond basic writing, explore advanced features that enhance your presentations:
- Shape recognition: Draw rough shapes and the system automatically converts them to perfect circles, squares, or triangles
- Text recognition: Convert handwritten notes to typed text for better legibility and searchability
- Object manipulation: Select, move, resize, and rotate written content or drawings
- Layer management: Work on multiple layers, allowing you to show or hide content selectively
- Infinite canvas: Expand your workspace beyond the visible screen by panning or adding pages
Saving and Sharing Your Work
Preserve your whiteboard sessions for future reference. Most systems offer multiple export options:
- Save as native whiteboard file for later editing
- Export as PDF for universal compatibility
- Save as image files (PNG or JPG)
- Email directly from the board
- Upload to cloud storage services
- Generate QR codes for student access on personal devices
Step 6: Connecting External Devices
Smart boards become even more powerful when connected to other devices, expanding content sources and collaboration possibilities.
Wired Connections
For the most reliable connection, use HDMI cables to connect laptops, document cameras, or other video sources. Connect the cable to an available HDMI port, then press the Source/Input button to select the corresponding input. Your external device’s display should appear on the smart board within seconds.
USB connections serve multiple purposes: connecting keyboards and mice for easier text input, reading from USB storage drives, or establishing data connections with computers for interactive software functionality.
Wireless Screen Sharing
Modern smart boards support wireless screen mirroring from laptops, tablets, and smartphones. Common protocols include:
- Miracast: Windows and Android device standard
- AirPlay: Apple device ecosystem integration
- Chromecast: Google’s wireless display protocol
- Proprietary solutions: Many manufacturers include their own screen-sharing apps
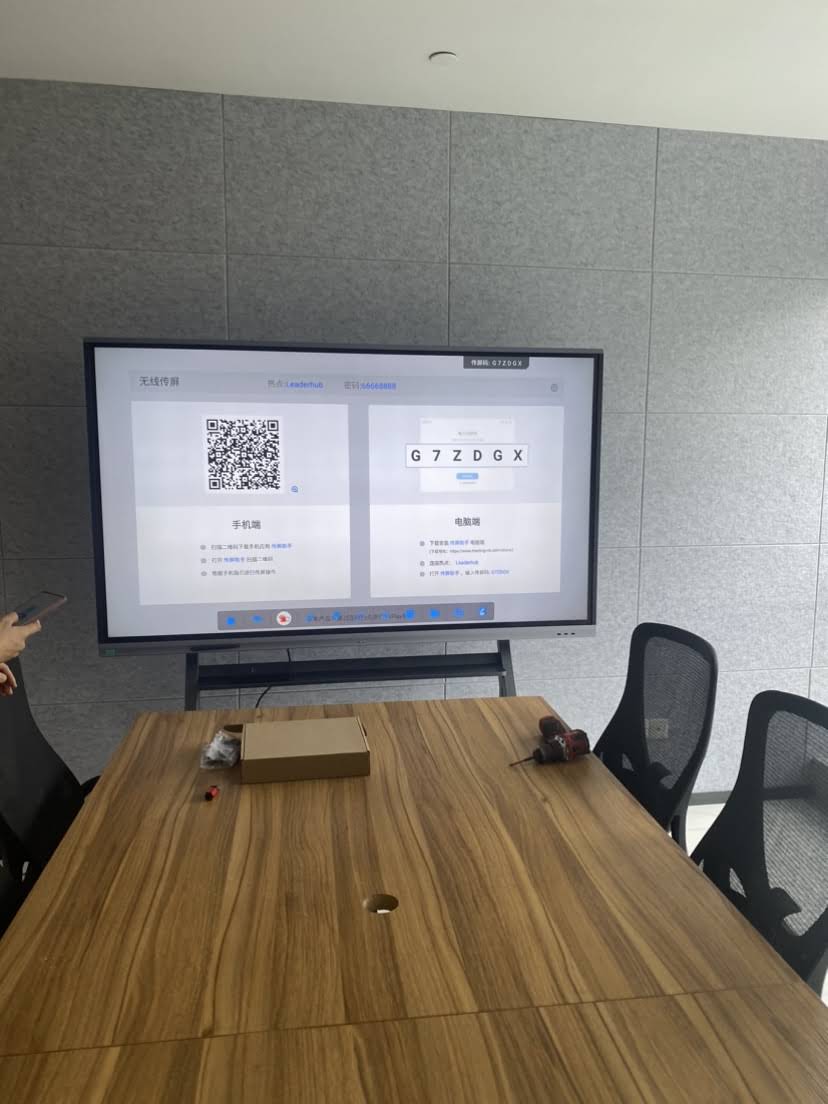
To connect wirelessly, enable screen sharing on the smart board (usually through a dedicated app or settings menu). The board displays connection instructions, typically showing a pairing code or network name. On your source device, open screen mirroring settings and select the smart board from available displays. Enter any required PIN or authentication code to establish the connection.
Troubleshooting Connection Issues
If devices won’t connect:
- Verify both devices are on the same Wi-Fi network
- Restart both the smart board and source device
- Check for software updates on both systems
- Disable VPN connections that might interfere with local network communication
- Try a wired connection as an alternative
Step 7: Installing and Using Applications
Smart boards run full operating systems capable of installing additional software to expand functionality.
Accessing App Stores
Android-based boards typically include the Google Play Store, while Windows boards can run standard Windows applications. Navigate to the app store, sign in with your account (or create one if needed), and browse available applications.
Essential Applications for Education
Educators should consider installing:
- Presentation software: PowerPoint, Google Slides, or Keynote alternatives
- Educational games: Subject-specific learning applications
- Video platforms: YouTube, educational streaming services
- Collaboration tools: Google Workspace, Microsoft Teams
- Interactive content creators: Quiz builders, flashcard applications
- Web browsers: Chrome, Firefox, or Edge for internet research
Business-Focused Applications
Corporate users benefit from:
- Video conferencing platforms (Zoom, Microsoft Teams, Google Meet)
- Project management tools (Trello, Asana, Monday.com)
- Digital whiteboarding applications (Miro, Mural, Conceptboard)
- Document viewers and editors
- Remote desktop applications for accessing office systems
Step 8: Mastering Touch Gestures and Controls
Efficient smart board use relies on understanding multi-touch gestures that speed up your workflow.
Common Gestures
| Gesture | Action | Result |
|---|---|---|
| Single tap | Touch and release quickly | Select item or execute command |
| Double tap | Two quick taps in succession | Open or execute item |
| Press and hold | Touch and maintain contact | Access context menu or drag item |
| Swipe | Drag finger across screen | Scroll content or change pages |
| Pinch/spread | Two fingers moving together/apart | Zoom in or out |
| Two-finger swipe | Drag with two fingers | Pan across large canvas |
| Three-finger swipe | Swipe with three fingers | Switch between apps or clear annotations |
Gesture Customization
Many smart boards allow gesture customization through settings menus. You can often assign specific actions to particular gestures, tailoring the board’s behavior to your workflow preferences.
Step 9: Screen Recording and Broadcasting
Capturing your smart board sessions creates valuable content for students who were absent, remote participants, or future reference.
Built-in Recording Features
Most modern smart boards include screen recording functionality. Access the recording tool (often found in the quick access toolbar or system menu), start recording, and proceed with your lesson or presentation. The system captures both screen content and audio from the built-in microphone.
Recording best practices:
- Test audio levels before important recordings
- Minimize background noise for clearer audio capture
- Speak clearly and at consistent volume
- Keep recordings focused¡ªshorter, topic-specific videos are more useful than long recordings
- Review recordings before sharing to ensure quality
Live Streaming Capabilities
For remote participants or larger audiences, many smart boards support live streaming through platforms like YouTube Live, Microsoft Teams, or Zoom. Configure streaming settings through the respective platform’s application, selecting the smart board as your video source.
Step 10: Maintenance and Care
Proper maintenance extends your smart board’s lifespan and ensures consistent performance.
Daily Cleaning Routine
Clean the touch surface daily with a soft, lint-free microfiber cloth. For stubborn marks, lightly dampen the cloth with water or a screen-safe cleaning solution¡ªnever spray liquid directly onto the screen. Avoid abrasive materials, ammonia-based cleaners, or alcohol solutions that can damage anti-glare coatings.
Software Maintenance
Keep your smart board’s software current by enabling automatic updates or checking for updates manually each month. Software updates improve security, fix bugs, add new features, and optimize performance.
Periodically review installed applications and remove unused software to free storage space and reduce system clutter. Clear cached data from web browsers and applications to maintain responsive performance.
Physical Care
- Avoid impact to the screen from hard objects
- Don’t press excessively hard when writing¡ªlight touch is sufficient
- Keep food and drinks away from the board
- Protect the screen from direct sunlight to prevent heat buildup
- Ensure proper ventilation around the device
- Check cable connections periodically for security
Common Troubleshooting Solutions
Even with careful use, you may occasionally encounter issues. Here are solutions to common problems.
Touch Response Issues
If the board isn’t responding to touch or responses seem inaccurate:
- Clean the screen surface thoroughly¡ªdirt and smudges interfere with touch detection
- Recalibrate the touch system through settings menu
- Restart the smart board
- Check for system updates that might address touch-related bugs
- If using a stylus, replace the tip if worn
Display Problems
For blank screens, distorted images, or incorrect colors:
- Verify the power cable is securely connected
- Check input source selection matches your content source
- Test with a different HDMI cable if using external devices
- Adjust brightness and contrast settings
- Power cycle the device by turning off, waiting 30 seconds, then restarting
Connectivity Problems
When Wi-Fi or wireless screen sharing isn’t working:
- Confirm Wi-Fi is enabled on the smart board
- Move closer to the Wi-Fi








