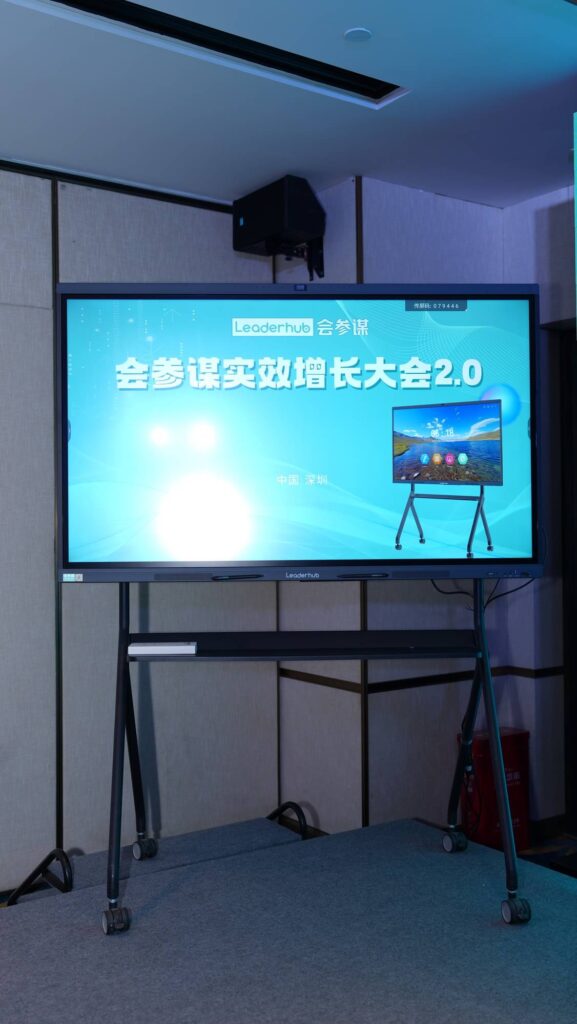
How to make your own smart board at home is easier than most people think. With a large screen, a touch layer, a computer, and the right software, you can build a practical DIY board for studying, presenting, brainstorming, or family learning sessions.
If your goal is to save money, reuse hardware, or create a flexible setup for a home office or classroom corner, this guide walks you through the simplest path. You’ll learn what to buy, how to connect everything, and how to avoid common mistakes.
What a DIY Smart Board Actually Is
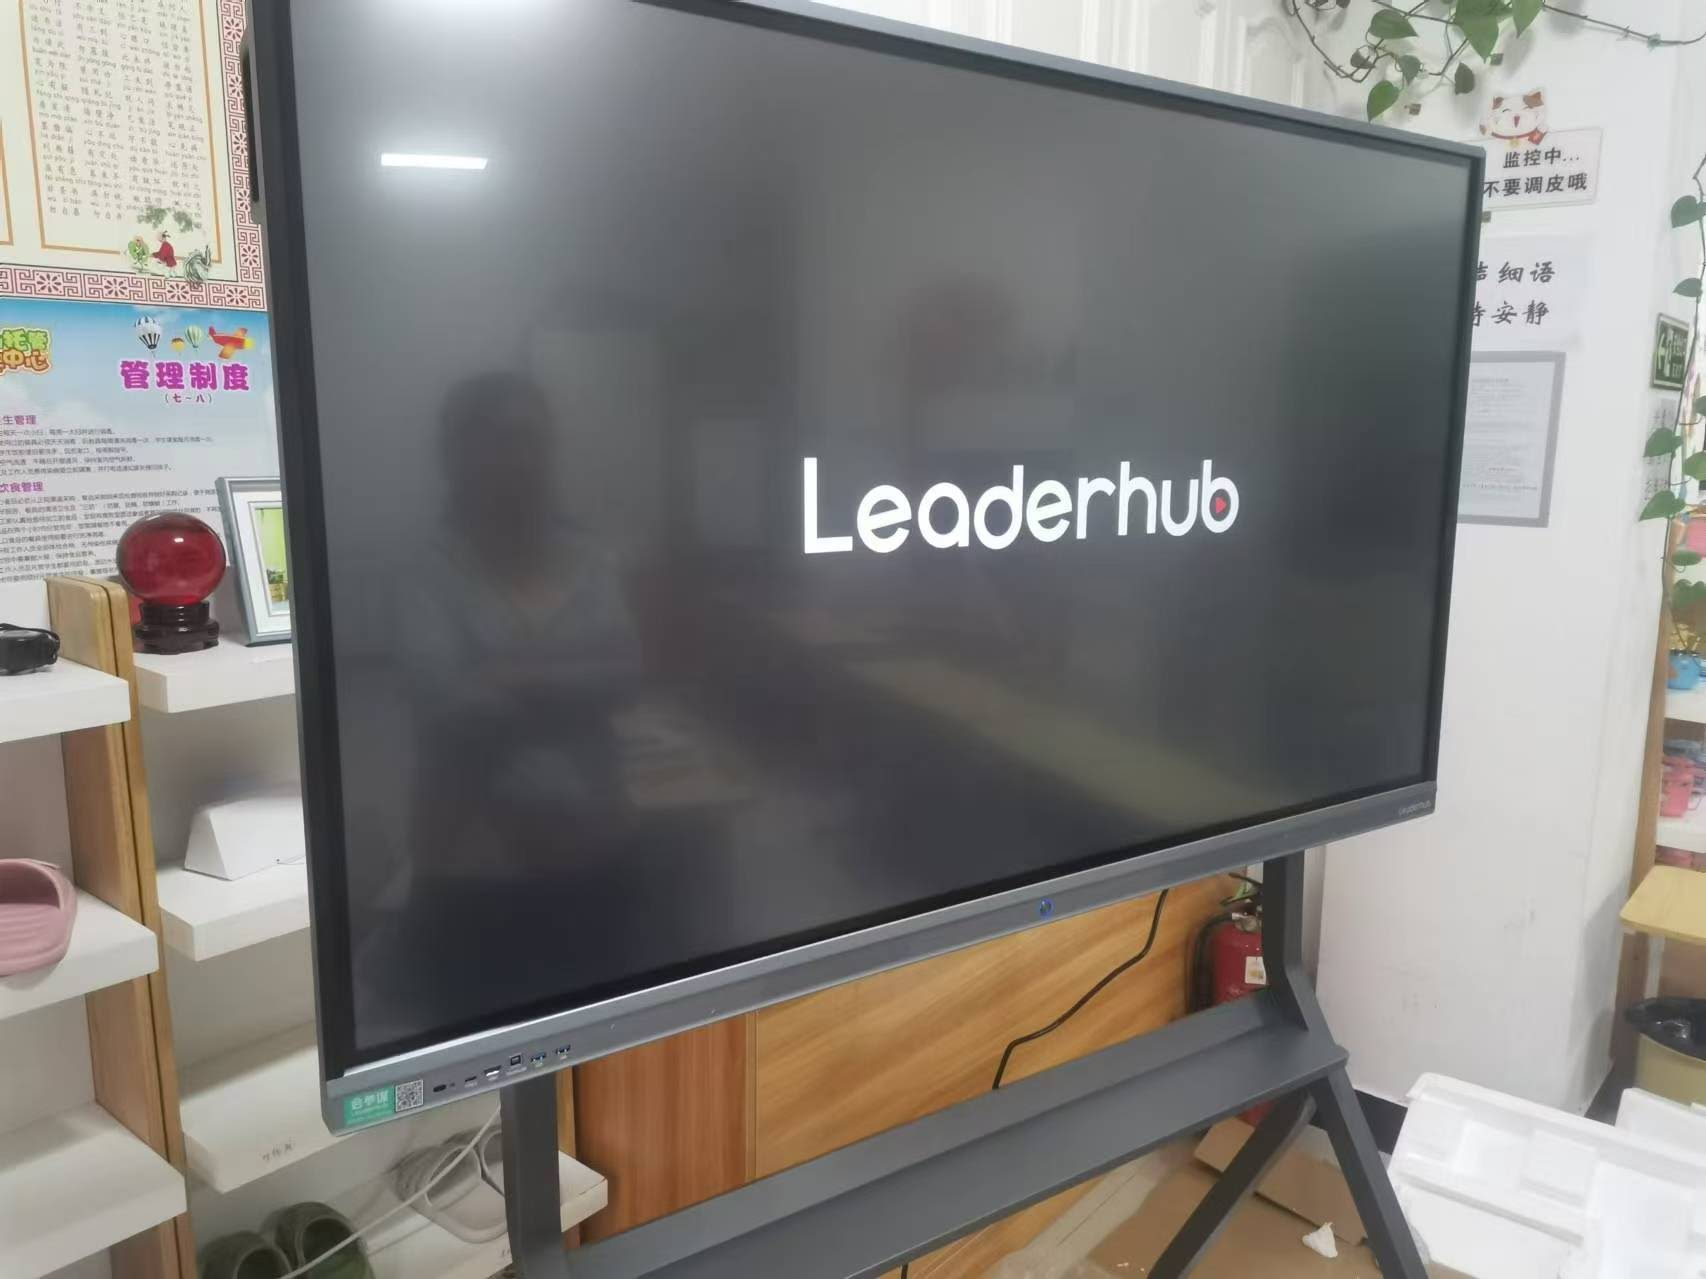
A homemade smart board is usually a normal display turned into an interactive surface. Instead of building the screen from scratch, you combine these parts:
- Display — a TV, monitor, or flat panel
- Touch input — infrared frame, touch overlay, or pen input
- Computer — laptop, mini PC, or media box
- Software — whiteboard, annotation, and presentation tools
- Mounting — stand, wall mount, or desk arm
For education-focused planning, it helps to check trusted guidance such as the UNESCO Technology in Education Report and the ISTE Education Technology Standards.
Choose the Right DIY Approach
There are several ways to build a smart board at home. The best choice depends on your budget, space, and how interactive you want the final setup to feel.
| DIY Method | Best For | Pros | Limitations |
|---|---|---|---|
| TV + external touch frame | Classroom-style use | Good touch accuracy, large screen support | More expensive than a simple setup |
| TV + wireless presentation pen | Light annotation | Easy to install, affordable | Less like a true smart board |
| Touch monitor + mini PC | Desk-based work | Compact, fast, and neat | Smaller display size |
| Projector + interactive overlay | Very low budget builds | Flexible and DIY-friendly | Usually weaker brightness and precision |
Materials You Need
Before you start, gather the parts below. This keeps the build smooth and prevents last-minute compatibility problems.
| Item | Why You Need It | Budget Tip |
|---|---|---|
| Large TV or monitor | Provides the visual surface | Use an old 4K TV if available |
| Touch frame or touch overlay | Makes the screen interactive | Choose USB models for easier setup |
| Mini PC or laptop | Runs whiteboard software and browser tools | A mini PC saves desk space |
| HDMI and USB cables | Connect video and touch signals | Buy slightly longer cables than you think you need |
| Wall mount or stand | Supports safe positioning | Check weight rating before installation |
Step-by-Step: How to Make Your Own Smart Board
1. Pick the display size first
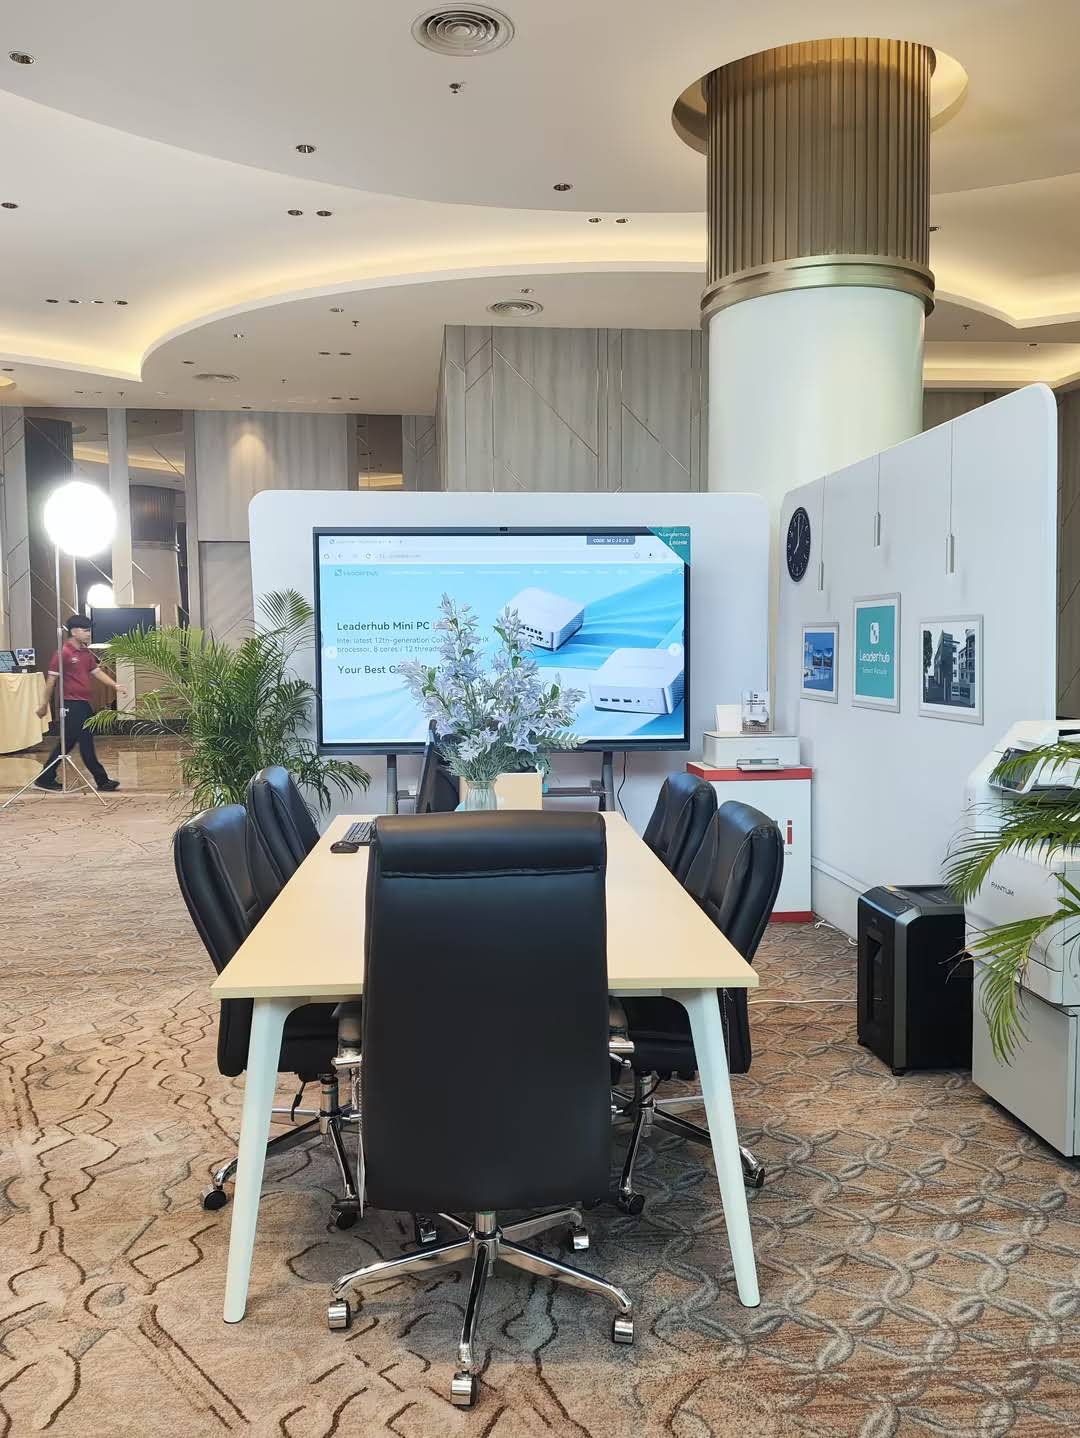
Start with the display because every other decision depends on it. For a home setup, 43 to 65 inches is often enough. If you plan to use it in a family learning room or a small training space, a larger screen can make writing easier to read.
2. Add the touch layer
To turn a normal screen into a smart board, add a touch frame or overlay that fits the screen edges. This is usually the most important step because it determines how natural writing and tapping will feel.
- Make sure the touch device matches your screen size
- Check whether it works with Windows, Android, or both
- Confirm that it supports multi-touch if you want collaborative use
3. Connect the computer
Use HDMI for display output and USB for touch input. If your computer is old, a lightweight mini PC can make the system feel faster and cleaner.
4. Install the right software
You don’t need expensive software to begin. A good DIY smart board usually works with:
- Built-in whiteboard apps
- Browser-based collaboration tools
- PDF annotation tools
- Screen sharing and meeting apps
For practical guidance on choosing education technology, the EEF Digital Technology Guidance is a useful reference.
5. Calibrate and test
After installation, calibrate the touch points. Test writing, erasing, pinch zoom, and drag actions. A smart board should feel responsive enough for note-taking without lag or constant misalignment.
6. Improve audio and cable management
For smoother meetings or lessons, add speakers or a soundbar. Then hide cables with clips or a cable sleeve. A clean setup is easier to maintain and safer for children.
Best Software Features to Look For
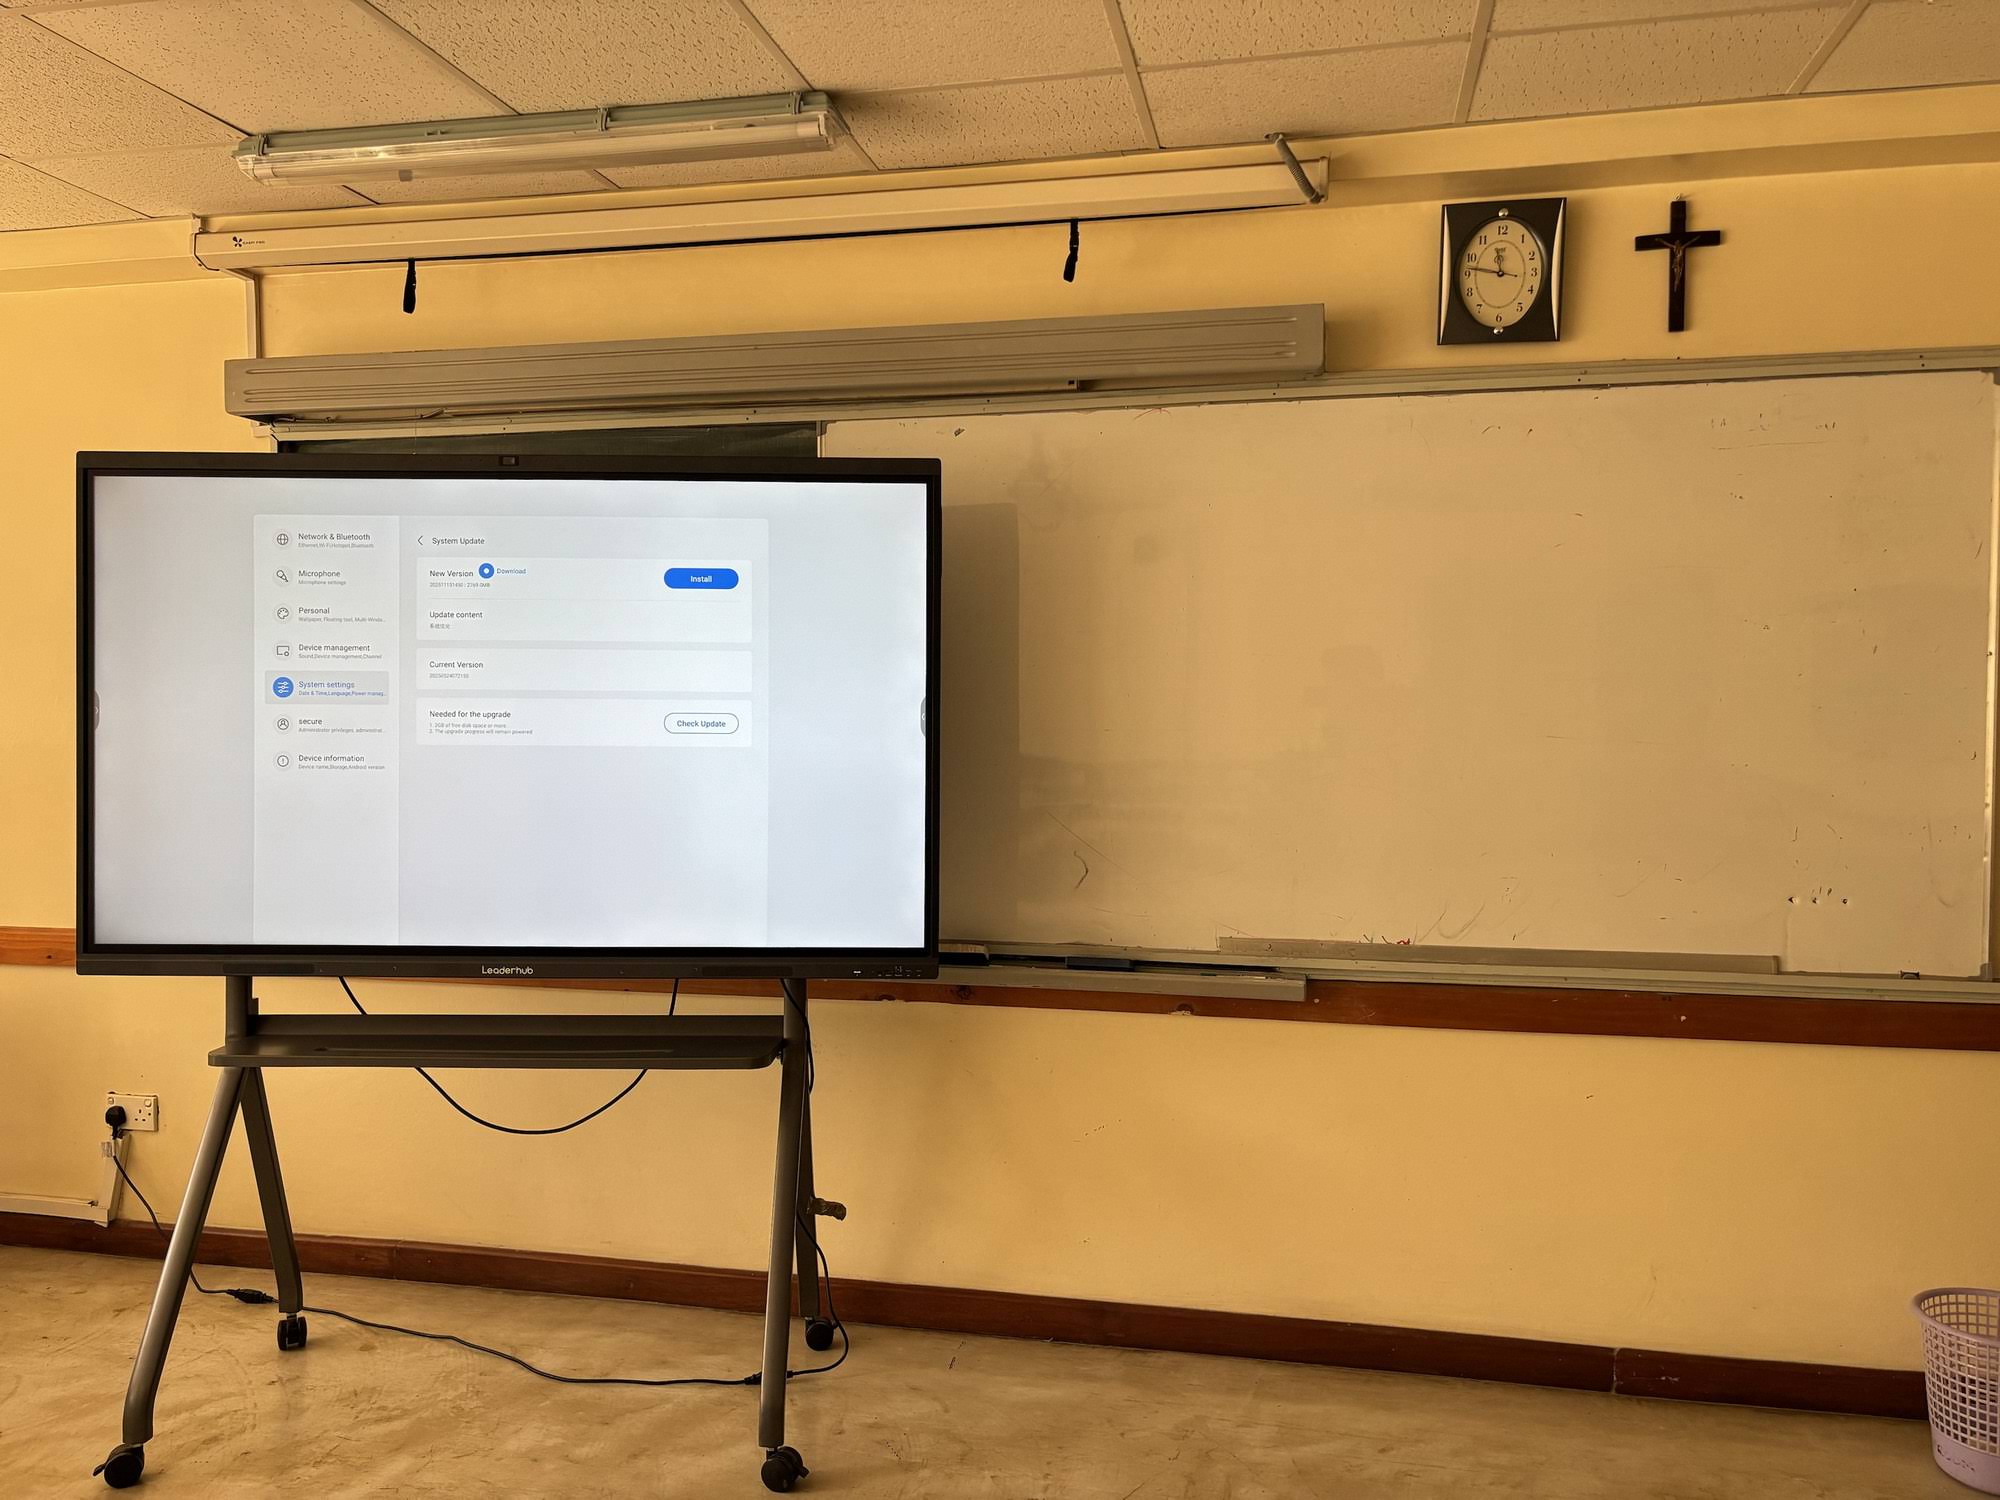
When choosing apps, focus on features that make your DIY board feel truly smart.
- Annotation tools for writing over any screen
- Shape recognition for cleaner notes and diagrams
- File import for PDFs, images, and slides
- Cloud sync so notes are not lost
- Multi-user support for group sessions
Common Problems and Fast Fixes
| Problem | Likely Cause | Quick Fix |
|---|---|---|
| Touch does not respond | USB cable issue or driver missing | Reconnect USB and reinstall drivers |
| Writing feels offset | Calibration mismatch | Run the calibration tool again |
| Slow performance | Weak computer hardware | Switch to a mini PC with better specs |
| Screen glare | Poor lighting position | Move the display away from direct light |
When DIY Makes Sense and When It Doesn’t
A homemade board is a smart choice if you want to experiment, reuse equipment, or build a low-cost collaboration space. But if you need reliable touch accuracy, polished design, and better long-term support, a ready-made interactive display can save time.
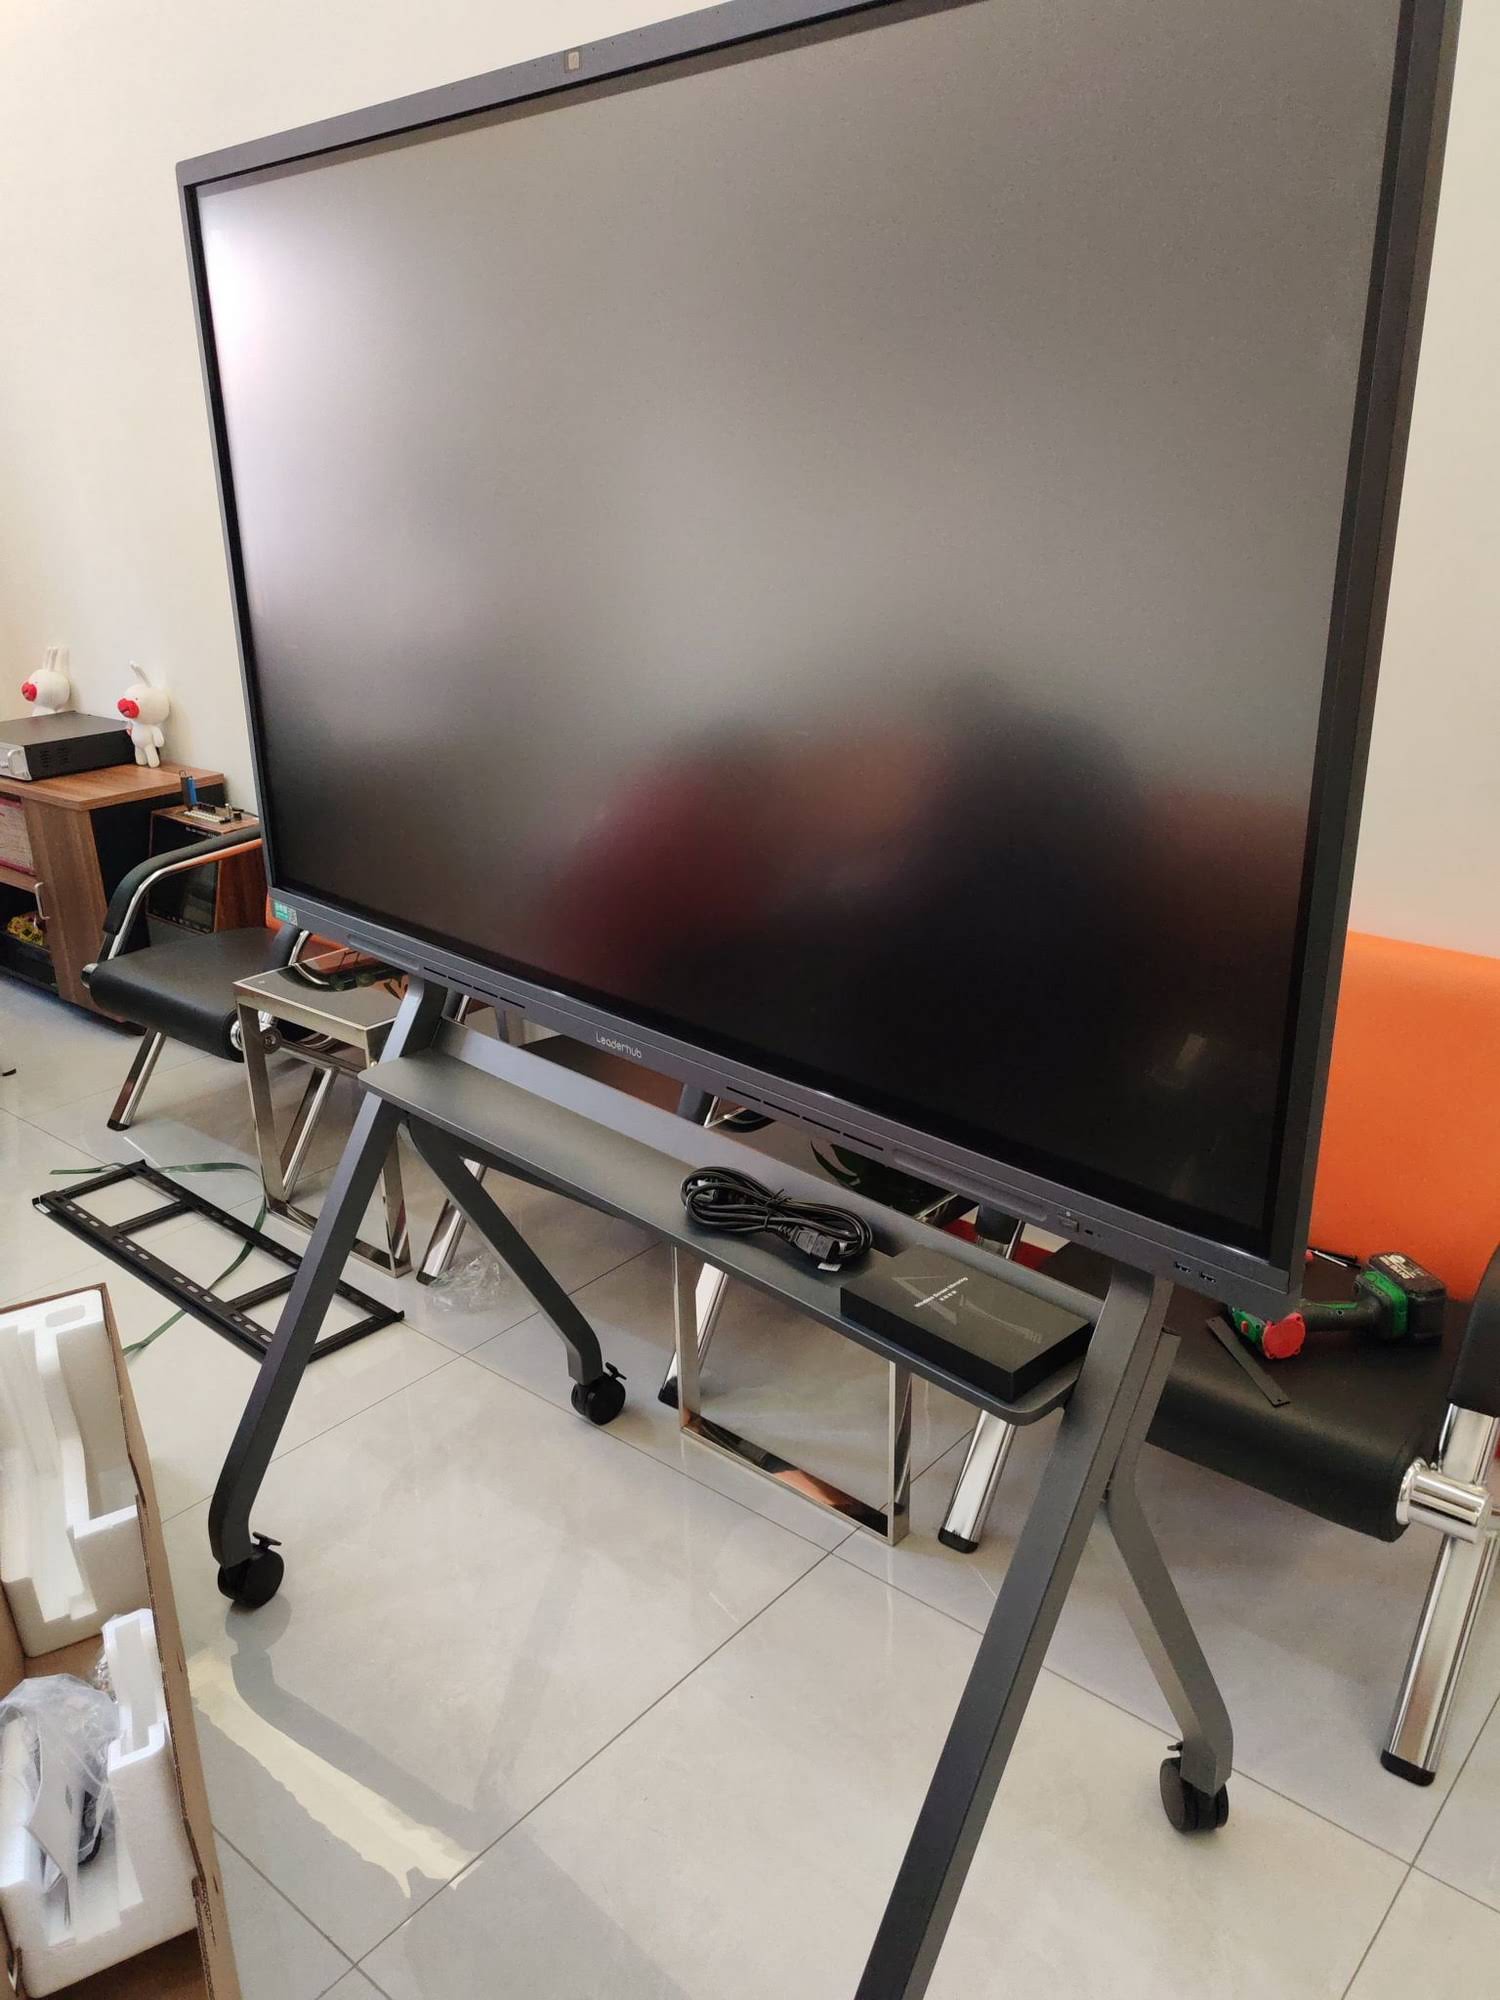
If you want a turnkey option, you can browse smart whiteboards or visit the shop for complete display solutions.
FAQ
Can I make a smart board without a touch frame?
Yes. You can use a screen plus a stylus-enabled device or a simple annotation setup, but it will feel less like a real smart board than a touch-based system.
What is the cheapest way to start?
The lowest-cost path is usually an old TV, a basic mini PC, and software for writing on screen. It is ideal for light use, note-taking, and presentations.
Is a DIY smart board good for teaching?
Yes, especially for small-group learning, tutoring, and home study. For heavier classroom use, prioritize a setup with durable touch hardware and reliable software.
If you need help choosing the right build, contact us to discuss a solution that fits your space and workflow.