
Setting up a smart board pen is usually simple once you know the pen type, how the board reads input, and which calibration step matters most. In classrooms, meeting rooms, and training spaces, the biggest setup mistakes are not the pens themselves—they are mismatched firmware, low batteries, missing Bluetooth pairing, or skipping calibration. This guide walks through the process in a practical way so you can get consistent writing, smooth annotation, and reliable touch response on the first try.
If you are using an interactive flat panel, a classic smart whiteboard, or a hybrid classroom display, the setup logic is similar: identify the pen, verify compatibility, connect it correctly, and test the writing surface. For teams that use digital teaching or collaborative presentation tools, pairing the pen with the right smart board software can make the difference between a frustrating launch and a smooth lesson or meeting.
What “Smart Board Pen” Usually Means
Before you begin, it helps to understand that “smart board pen” can refer to more than one product type. Some pens are passive and work by infrared, capacitive, or electromagnetic sensing. Others are active pens with batteries, buttons, pressure sensitivity, or Bluetooth features. A few systems use a pen only for writing while the board handles touch with its own sensor stack.
That difference matters because the setup steps change. A passive pen may only need the board powered on and calibrated. An active Bluetooth pen may need charging, firmware updates, and device pairing. In our work with schools and corporate meeting spaces, most support requests come from users expecting every pen to behave the same way across different brands. In reality, the board and pen must be treated as a matched system.
Quick Checklist Before You Start
Use this short checklist before touching the settings menu. It will save time and prevent false troubleshooting.
- Confirm compatibility: Make sure the pen model is supported by your smart board or interactive panel.
- Check battery or charge level: If the pen is active, charge it first.
- Update firmware: A board running outdated firmware can ignore new pen features.
- Clean the screen: Dust or fingerprints can affect writing accuracy.
- Restart the board: A fresh reboot fixes many temporary detection issues.
- Keep the manual nearby: Buttons, indicator lights, and pairing steps differ by model.
For larger deployments, such as multi-room training centers, it is also useful to label pens by room and store charging cables in a single location. This makes the setup repeatable and reduces support tickets later.
Step-by-Step: How to Activate Smart Board Pens
Step 1: Identify the Pen Type
Look closely at the pen body and packaging. If the pen has a battery compartment, a USB-C port, a charging dock contact, or a pairing button, it is likely active. If it has no battery and works as a simple writing tool, it may be passive. Some smart boards also ship with different pens for different colors or functions, so confirm that the pen you are holding matches the board model.
When in doubt, check the board’s device list or product page. If the manufacturer says “works with active stylus only,” the pen needs pairing. If it says “supports infrared pen input,” then the screen is probably detecting physical movement rather than a wireless connection.
Step 2: Power On the Smart Board and Wait for the System to Load
Power the board on and wait until the operating system fully loads. Many writing issues happen because the display is still initializing touch drivers or background services. If your board runs Android, Windows, or a dual-system setup, allow it to complete startup before testing the pen.
Look for indicators such as:
- Home screen appearance
- Touch response from fingers
- Confirmation that whiteboard or annotation software has opened successfully
- Bluetooth and USB device icons if your system shows them
Step 3: Charge or Insert the Battery if Required
For active smart board pens, power is the first thing to verify. If the LED light does not turn on or the device is not detected, charge it using the recommended cable or dock. If it uses AAAA, rechargeable lithium, or button-cell power, install the battery in the correct orientation.
A weak battery may still allow the pen to light up but fail during actual writing. This is one of the most common causes of “the pen is on, but it does not write” complaints.
Step 4: Pair the Pen if It Uses Bluetooth or Wireless Identification
If the pen includes Bluetooth, open the board’s device settings and search for new accessories. Press and hold the pairing button until the indicator flashes. Then select the pen from the available device list. If required, approve the pairing code or confirm the connection on screen.
In most cases, pairing is quick. According to Bluetooth SIG documentation, Bluetooth Low Energy is designed to support low-power accessories with stable device communication, which is why many modern pens rely on it. However, pairing success depends on proximity, firmware version, and whether another device has already claimed the pen.
Tips for cleaner pairing:
- Keep the pen within 1–2 meters of the board.
- Turn off nearby Bluetooth devices temporarily if interference is suspected.
- Forget the pen in the settings menu and re-pair it if the connection is unstable.
- Restart both the pen and the board if the accessory is not detected.
Step 5: Install or Open the Correct Whiteboard App
Many smart board pens work best when the correct software is open. Annotation tools, classroom whiteboards, and meeting room collaboration apps may activate color switching, pressure behavior, palm rejection, or shortcut buttons. If the board has multiple apps, test the pen in the native whiteboard app first before moving to third-party tools.
This is especially important in mixed-use environments. For example, teachers may use the pen for note-taking, while sales teams use it for live brainstorming. Each workflow benefits from a dedicated app profile and a known input mode.
Step 6: Calibrate the Screen
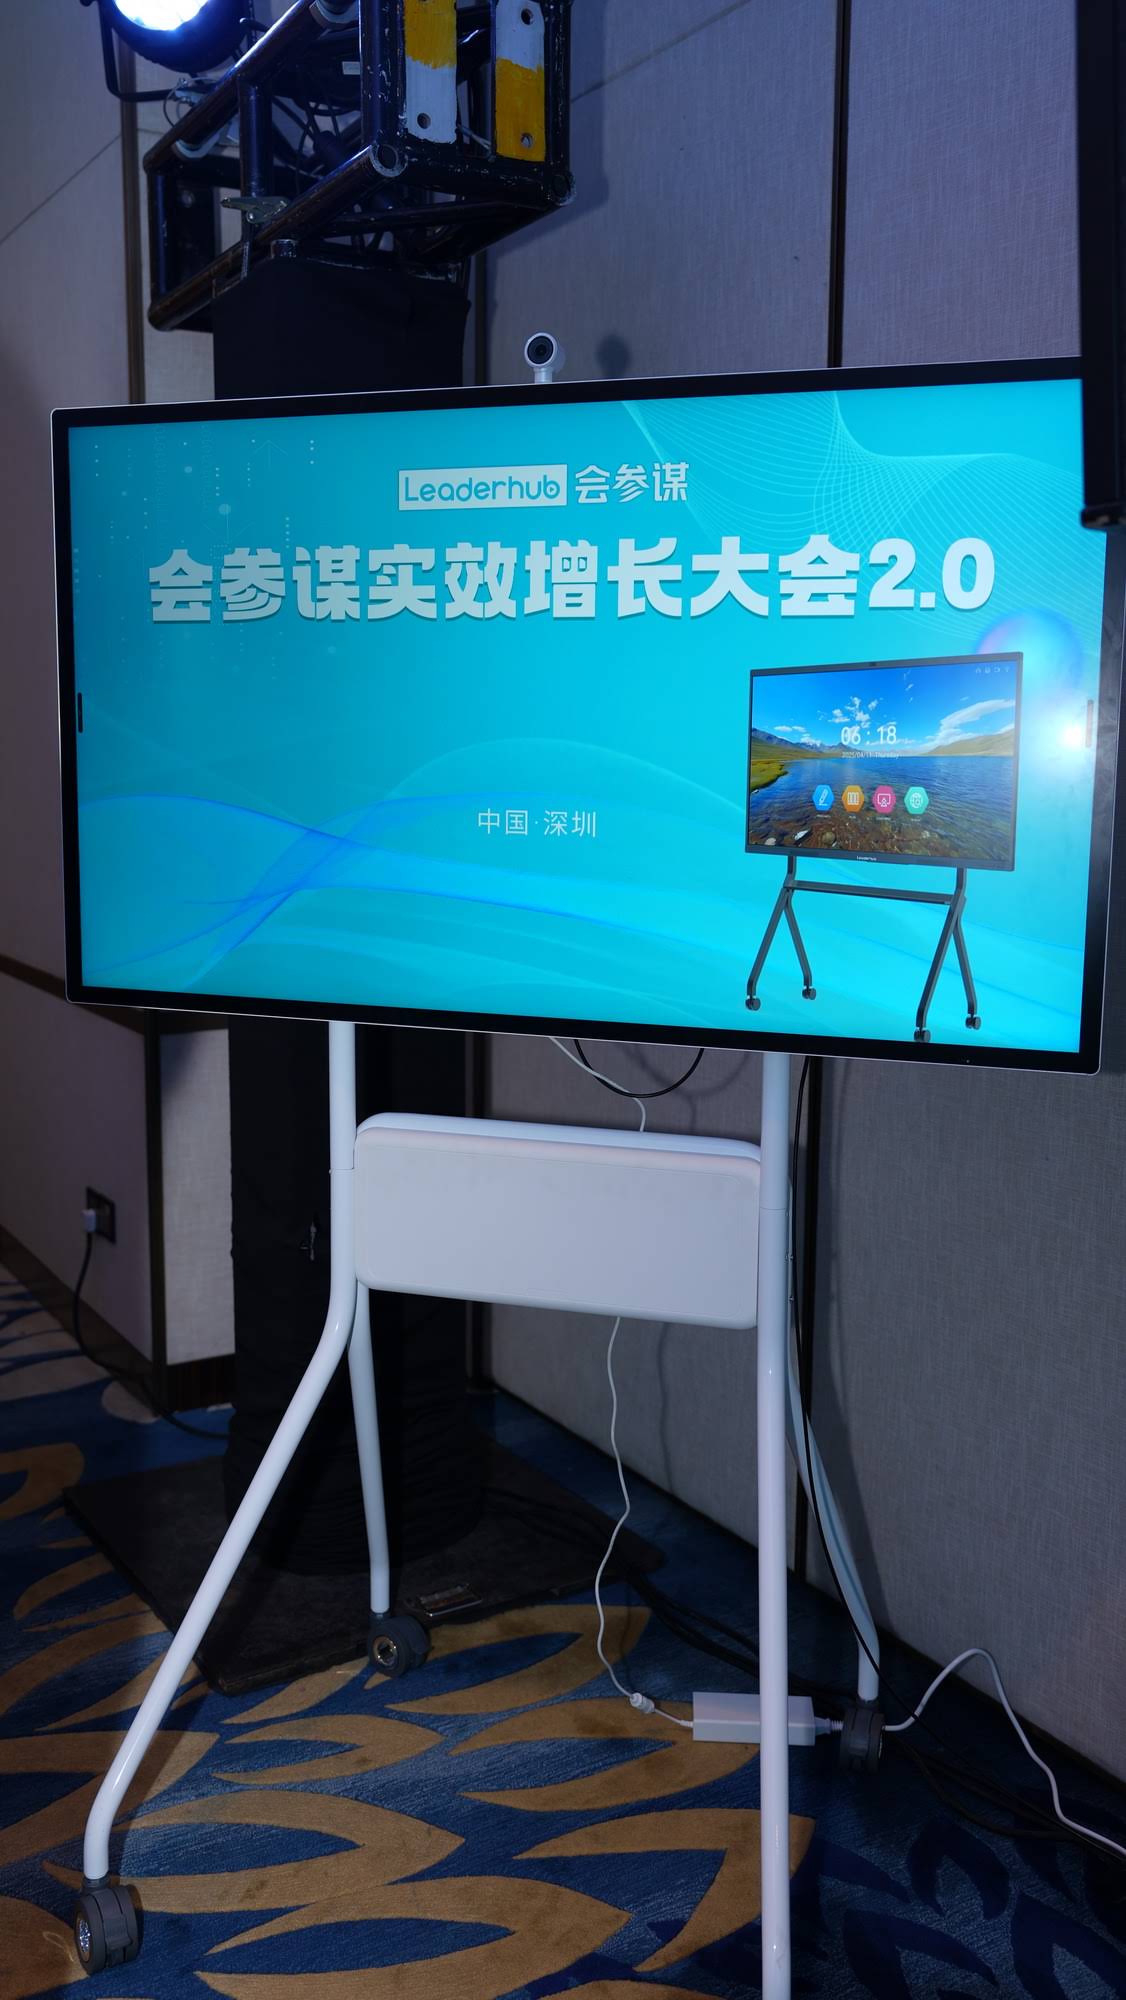
Calibration is the step many users skip, but it is often the key to precise handwriting. If your pen tip appears slightly offset from the line you are drawing, run the board’s calibration routine. Some systems ask you to tap crosshair points across the screen; others use automatic calibration.
Calibration matters most after:
- Moving the board to a new room
- Updating firmware
- Changing the panel orientation
- Replacing the pen or writing module
- Experiencing display lag or edge inaccuracy
Step 7: Test Writing, Erasing, and Shortcut Buttons
After activation, test all key functions:
- Writing: Draw slow, fast, and diagonal lines.
- Color switching: If the pen supports color modes, confirm each one.
- Erasing: Try the button, back end, or on-screen eraser.
- Hover behavior: Check whether the board tracks the pen before contact.
- Annotation over content: Write on top of a document or slide.
At this stage, the goal is not just “does it work?” but “does it work reliably across the full screen?” Corner accuracy and edge sensitivity are especially important in larger panels and in lecture settings where the board may be mounted high on the wall.
Smart Board Pen Types and Setup Actions
| Pen Type | How It Activates | Best Setup Action |
|---|---|---|
| Passive stylus | Works when the board detects touch or infrared input | Power on the board, clean the screen, and calibrate |
| Active stylus | Uses battery power and digital communication | Charge it, pair it if needed, then test buttons |
| Bluetooth pen | Connects wirelessly to the board or software | Enable Bluetooth, pair from settings, and update firmware |
| Dual-function pen | Supports writing plus shortcuts or gestures | Install the vendor app and verify shortcut mapping |
Troubleshooting When the Pen Does Not Work
If your smart board pen still fails after the basic steps, use a systematic approach. This is the same method we recommend during field support because random clicking through settings often makes the issue harder to diagnose.
| Problem | Likely Cause | Fix |
|---|---|---|
| Pen light is on, but no writing appears | Low battery, wrong mode, or unsupported app | Recharge the pen and test in the native whiteboard app |
| Ink is offset from the tip | Calibration drift | Run screen calibration again |
| Pen not found in Bluetooth list | Pairing mode not enabled or device cache issue | Reset the pen, forget the device, and re-pair |
| Writing stops near screen edges | Sensor misalignment or mounting issue | Check mounting, update firmware, and recalibrate |
| Pen works sometimes, then disconnects | Weak power or interference | Replace battery, charge fully, and reduce wireless interference |
Real-World Setup Lessons from Schools and Meeting Rooms
In practice, smart board pen setup behaves differently depending on the environment. In classrooms, the main challenge is speed: teachers need the pen ready before students lose attention. In conference rooms, the challenge is consistency: managers want smooth annotation during presentations without opening hidden menus or calling IT.
One common pattern we see is that users assume the pen is the problem when the real issue is the board profile. For example, a pen may write correctly in the whiteboard app but not on a PDF or PowerPoint overlay. In those cases, the solution is usually software permissions, input mode selection, or annotation layer settings—not the pen hardware itself.
Another recurring lesson comes from shared spaces. If one pen is moved between multiple rooms, it may be paired to a different system or drained by frequent use. The best practice is to assign pens to rooms, store backup batteries, and label charging docks clearly. Small operational habits like this reduce downtime significantly.
Best Practices for Long-Term Pen Performance
Once the pen is activated, maintenance matters. Smart board pens last longer and behave more consistently when they are handled correctly.
- Store pens horizontally or in their dock: This helps protect nibs and charging contacts.
- Avoid extreme heat: Batteries and plastics degrade faster in hot environments.
- Replace worn nibs: A flattened tip can affect precision.
- Keep firmware current: Updates often improve compatibility and latency.
- Use approved chargers: Cheap or mismatched chargers can shorten battery life.
- Clean regularly: Screen dust and residue reduce writing feel and tracking accuracy.
For educational institutions, it is a good idea to add pen checks to weekly classroom equipment routines. For businesses, include pen testing in room-prep checklists before board meetings or hybrid sessions. This keeps the experience predictable for everyone.
Choosing the Right Setup for Different Use Cases
Not every setup should be optimized the same way. A kindergarten classroom needs fast, simple, durable pen use. A university lab may need multi-user annotation and advanced calibration. A boardroom may prioritize professional presentation and minimal visual clutter. The best pen setup depends on the environment, the users, and the software stack.
If you are building a broader collaboration environment, explore these related resources:
- education solutions for classroom deployment guidance
- conference room solutions for meeting-room optimization
- training center solutions for multi-user collaboration spaces
- interactive display accessories for pens, mounts, and supporting hardware
Why Compatibility Matters More Than Brand Preference
One of the most important lessons in smart board deployment is that a pen is only as good as the system it supports. A premium pen will still fail if the board’s touch controller is outdated or if the software does not recognize the input mode. Conversely, a basic pen can perform very well when paired with a stable panel, correct calibration, and up-to-date firmware.
This is why professional manufacturers focus on full-stack reliability rather than isolated accessory performance. LeaderHub, for example, has spent more than 16 years developing interactive display solutions for education and business environments, with products deployed in over 82 countries. That kind of deployment experience matters because real-world usage exposes issues that lab testing often misses, such as classroom dust, frequent transport, mixed software environments, and high-traffic meeting room schedules.
Frequently Asked Questions
Do I need Bluetooth to activate a smart board pen?
Not always. Many smart board pens are passive and do not use Bluetooth at all. Bluetooth is usually required only for active pens with wireless features, shortcuts, or extra functionality.
Why does my pen work on one app but not another?
That usually means the app permissions, annotation layer, or input mode is different. Test the pen in the native whiteboard app first, then check the settings for third-party software.
How often should I recalibrate the board?
Recalibrate whenever the screen is moved, after major updates, or whenever pen tip alignment begins to drift. In active environments, a monthly check is a smart habit.
What should I do if the pen disconnects randomly?
Check battery level, remove Bluetooth interference, reboot the board, and re-pair the pen. If the issue continues, update firmware or test the pen on another compatible board.
A Simple Activation Workflow You Can Reuse Anywhere
- Identify the pen type.
- Charge or install power if needed.
- Turn on the board and wait for full startup.
- Pair the pen if it supports Bluetooth.
- Open the correct whiteboard or annotation app.
- Calibrate the screen.
- Test writing, erasing, and shortcut functions.
- Document the setup so it can be repeated later.
This workflow works well because it follows the actual order that affects pen recognition: power, communication, software, alignment, and validation. In the field, that order prevents many of the repeated mistakes that slow down classroom setup or meeting room deployment.
For organizations planning a larger rollout, the most reliable approach is to standardize on a compatible pen model, maintain a shared setup checklist, and choose hardware from a vendor with long-term support. That is also why buyers often prefer established manufacturers with real deployment history, quality control, and OEM/ODM capability rather than low-cost accessories with unclear compatibility.
Final Setup Advice from the Field
If your smart board pen is not working, avoid assuming the pen is defective right away. More often, the issue is a small setup step: a dead battery, a missed pairing mode, an outdated firmware version, or calibration that was never completed. When you troubleshoot in a structured way, the solution usually appears quickly.
For schools, the best results come from consistent classroom routines. For businesses, the best results come from room standardization and quick pre-meeting checks. For both, the ideal setup is one that feels invisible to the user: the pen simply works, the ink tracks accurately, and the board becomes a dependable tool for communication.








