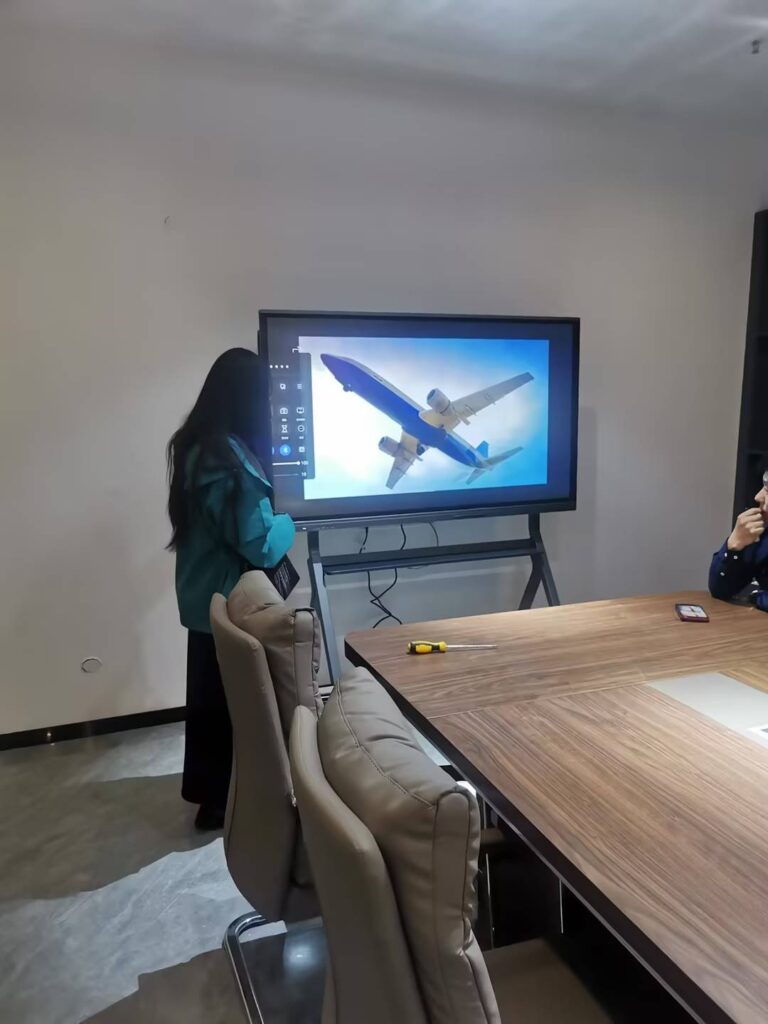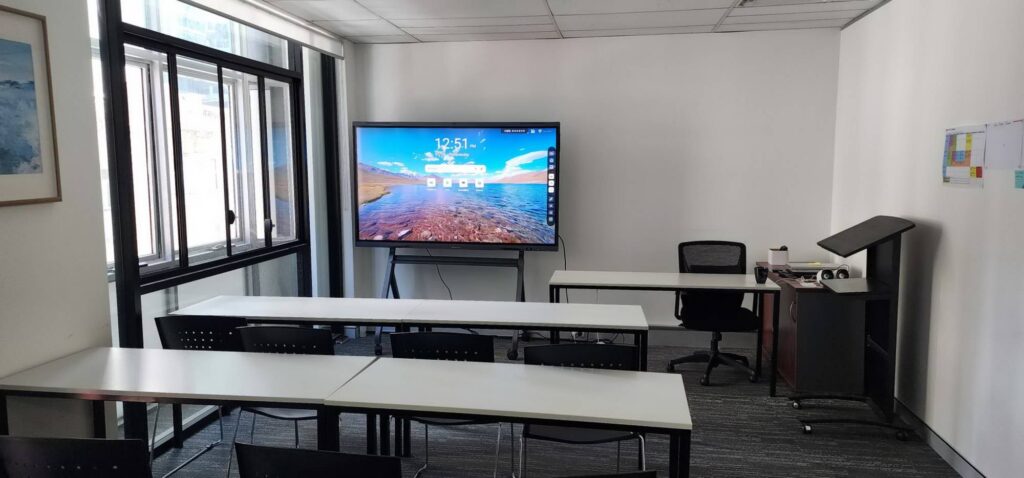
SMART Notebook is one of the most widely used lesson-creation programs for interactive whiteboards, and learning how to use SMART Board Notebook is often the first hurdle for a teacher stepping in front of a touchscreen for the first time. The good news is that the software was designed for educators, not IT specialists. Once you understand the layout, the pen tools and the page structure, building an interactive lesson takes about as long as preparing a slide deck. This guide walks you through everything from installation to classroom delivery, with practical tips for beginners and experienced teachers alike.
What Is SMART Notebook and Why Do Teachers Use It?
SMART Notebook is interactive whiteboard software created by SMART Technologies. It lets you build multi-page lessons that combine handwriting, typed text, images, video, shapes and ready-made activities on a single canvas. Unlike a presentation program, every object on the page remains live and movable during the lesson, so students can come to the board, drag answers into place, reveal hidden content or annotate a diagram in real time.
Teachers favour it for three main reasons:
- Pedagogy first: the toolset was built around classroom routines such as matching, sorting, labelling and quizzing.
- Low learning curve: the toolbar mirrors familiar drawing and office applications.
- Resource ecosystem: thousands of lesson files and the SMART Exchange library are available to download and adapt.
Research from the EEF Digital Technology Guidance is clear that technology improves outcomes only when it supports good teaching rather than replacing it, and SMART Notebook works best when you treat it as a lesson-design tool rather than a display gimmick.
Before You Start: System Requirements and Setup Checklist
SMART Notebook is a desktop application that runs on Windows and macOS. It is installed on the computer that drives the interactive display, not on the panel itself. The following table summarises what you need before opening the program for the first time.
| Requirement | Minimum Recommendation | Why It Matters |
|---|---|---|
| Operating system | Windows 10/11 or macOS 12 and later | Older versions lose access to updates and activity templates |
| Processor and memory | Quad-core CPU, 8 GB RAM | Smooth ink rendering and video playback |
| Interactive display | Touch-enabled panel connected via HDMI + USB touch cable | Touch input must be recognised by the computer as a pointing device |
| Software licence | Active SMART Learning Suite subscription or product key | Unlocks premium tools such as SMART Lab and response |
| Internet connection | Required for activation and SMART Exchange downloads | Lessons can be delivered offline once saved locally |
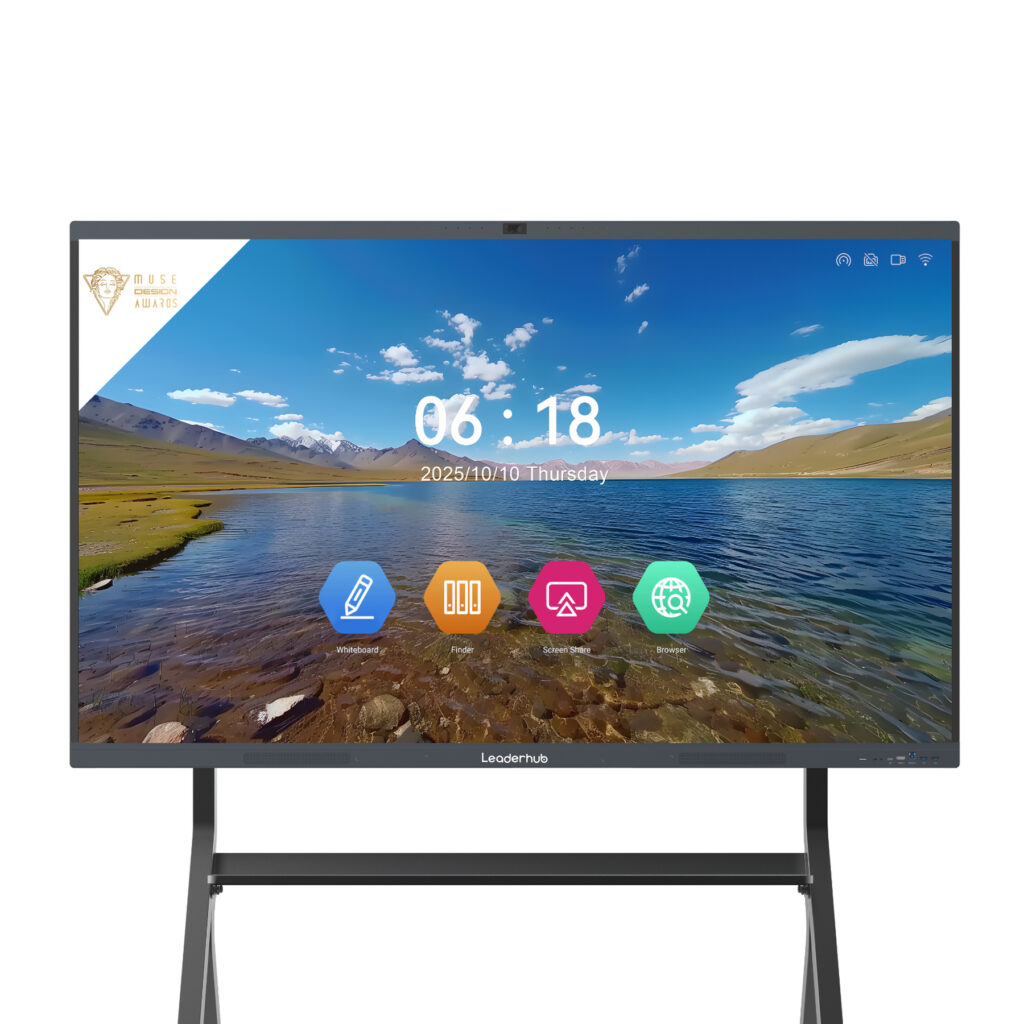
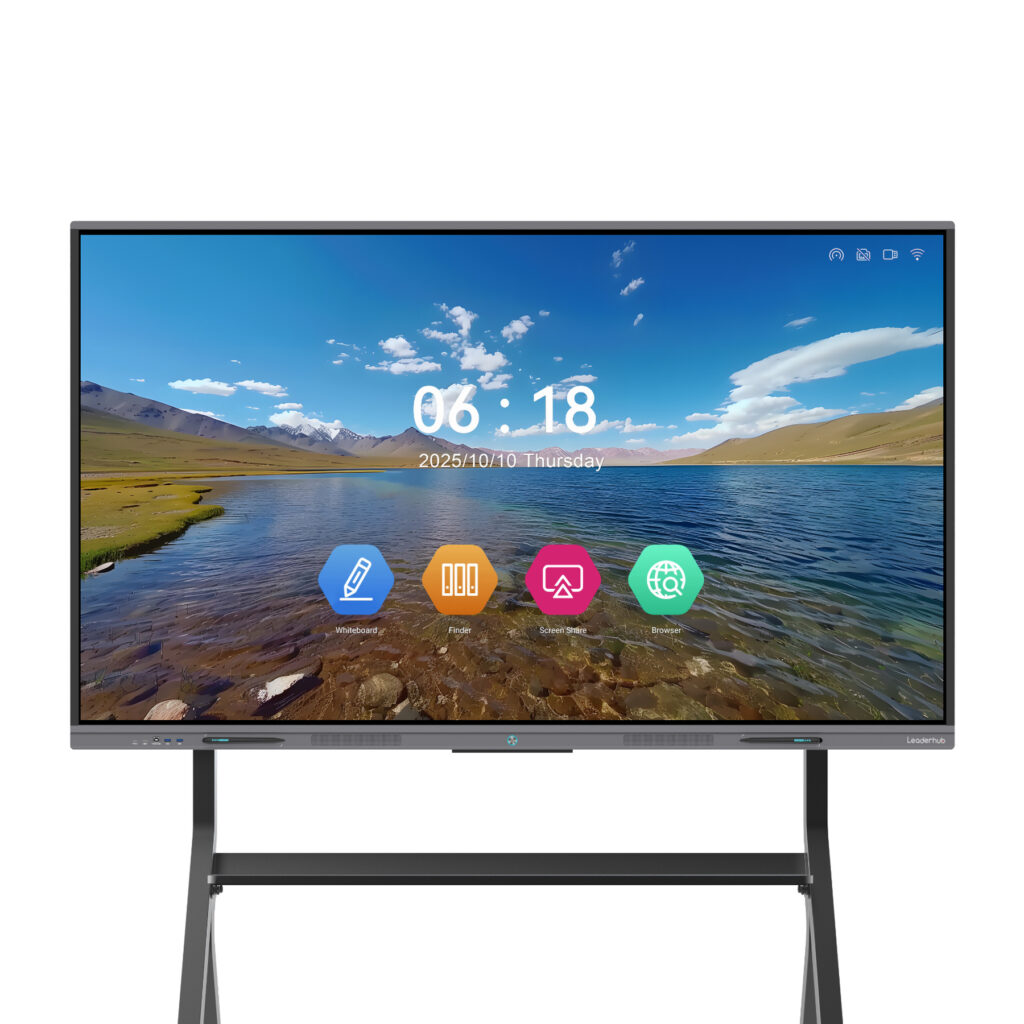
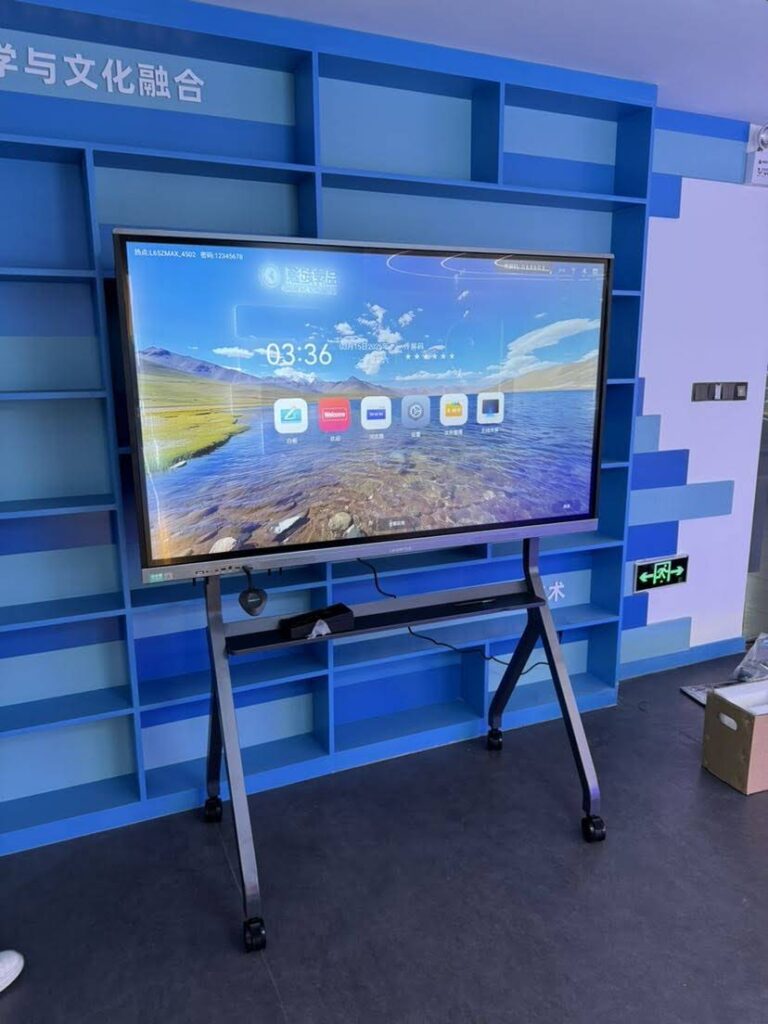
If you teach on a third-party 4K panel rather than a SMART-branded board, the software still functions as long as the display sends standard touch input to the computer. Many schools pair SMART Notebook with a cost-effective interactive smart whiteboard and a compact mini PC mounted behind the screen, which keeps the installation tidy and removes the need for a laptop at the front of the room.
Step 1: Download, Install and Activate SMART Notebook
- Visit the official SMART Technologies download page and choose the installer for your operating system.
- Run the installer and keep the default options unless your school IT team has specified otherwise. The package also installs SMART Ink and SMART Product Drivers, which handle pen recognition and annotation over other applications.
- Open SMART Notebook. On the first launch you will be prompted to sign in with a SMART Account or enter a product key.
- Check the status in Help > Software Activation. A green indicator confirms that all premium features are available.
- Connect your interactive display, then run the orientation (calibration) routine from the SMART Board settings so that the pen lands exactly where you touch.
Orientation is the single most overlooked step. If ink appears a centimetre away from the pen tip, repeat the calibration with the display at its final mounted position.
Step 2: Understand the SMART Notebook Interface
The workspace has four main areas: the toolbar across the top, the page area in the centre, the side tabs on the left or right, and the properties panel that appears when an object is selected. Spend ten minutes exploring these before building a lesson.
| Interface Element | Function | Beginner Tip |
|---|---|---|
| Toolbar | Pens, shapes, text, select, erase, undo, screen shade, add page | Right-click the toolbar to customise which icons appear |
| Page Sorter tab | Thumbnail view of every page in the file | Drag thumbnails to reorder the lesson flow |
| Gallery tab | Clip art, backgrounds, interactive widgets, Lesson Activity Toolkit | Use the search box rather than browsing folders |
| Attachments tab | Embed PDFs, worksheets and links inside the .notebook file | Keeps everything in one portable file for substitute teachers |
| Properties tab | Line style, fill, animation and object recording | Set properties before drawing to avoid reformatting later |
| Add-ons tab | SMART Lab, Activity Builder, Response, GeoGebra and more | This is where most interactive activities are created |
Step 3: Create Your First Lesson Page by Page
A SMART Notebook file is a sequence of pages, much like a slide deck but with every element remaining editable at the board. Follow this workflow for a clean, reusable lesson.
Set Up the File
- Choose File > New and immediately save with a descriptive name such as Y7-Fractions-Lesson3.notebook.
- Open the Gallery and apply a simple background. Plain or lightly lined backgrounds are easier to read from the back of the room than busy themes.
- Add a title page with the learning objective. Students and observers will see it the moment the lesson opens.
Build Content Pages
- Press the Add Page button for each new concept. Keep one idea per page.
- Use the Text tool for headings and the Shapes tool for diagrams. Objects snap to alignment guides when you drag them.
- Insert images with Insert > Picture or by dragging a file directly from your desktop onto the page.
- Group related objects (select, right-click, Group) so they move together during the lesson.
Lock What Should Not Move
Right-click any object and choose Lock > Lock in Place. This prevents students accidentally dragging a diagram when they only meant to write on it. You can also set Allow Move so an object can be dragged but not resized or deleted, which is ideal for sorting activities.
Step 4: Master the Pen, Shape and Text Tools
Writing on the board is where most teachers spend their time, so understanding the pen options pays off quickly.
Pen Types
- Standard pen: everyday handwriting with adjustable colour and thickness.
- Calligraphic pen: variable stroke width that looks closer to a real marker.
- Crayon and highlighter: semi-transparent for emphasising text without hiding it.
- Magic pen: ink fades after a few seconds, draws a circle to create a spotlight, or draws a rectangle to create a magnifier.
- Shape recognition pen: converts hand-drawn circles, squares and triangles into perfect shapes.
- Text pen: converts handwriting into typed text on the fly, with gesture editing for inserting or deleting words.
Shapes and Lines
The Shapes menu includes geometric forms, arrows, callouts and polygon tools. Drag a shape onto the page, then use the Properties tab to change fill transparency. A semi-transparent rectangle placed over an answer creates an instant reveal activity: students tap and drag it away to check their work.
Text Formatting
Double-tap any text box to edit it. The floating text toolbar lets you change colour, bullet style and alignment. For maths and science teachers, the Insert menu includes an equation editor and a measurement toolkit with rulers, protractors and compasses that work directly with the pen.
Step 5: Add Multimedia and Web Content
Rich media turns a static page into a lesson students remember. SMART Notebook supports the following content types natively.
- Video: insert MP4 files or paste a YouTube link via the Insert menu. Videos play inside the page, so you never leave the lesson.
- Audio: attach a sound file to any object. Tap the object to play pronunciation clips, instructions or music cues.
- Web browser: embed a live browser window on a page for dictionary look-ups or data sites.
- Screen capture: the camera icon captures any region of the screen and drops it onto the current page.
- Documents: import PowerPoint or PDF files and SMART Notebook converts each slide or page into an editable Notebook page.
Keep video files short and compressed. A two-minute 1080p clip is more than enough to introduce a concept and will not slow down the file.
Step 6: Build Interactive Activities with SMART Lab and Activity Builder
This is the feature that separates SMART Notebook from a simple annotation app. Under the Add-ons tab you will find a set of templates that generate game-style activities in minutes.
| Activity Template | Best For | Setup Time |
|---|---|---|
| Super Sort | Classifying items into two categories | 3 minutes |
| Match ‘Em Up | Vocabulary, formulas, dates and definitions | 3 minutes |
| Rank Order | Sequencing events or ordering numbers | 2 minutes |
| Fill in the Blanks | Cloze passages and sentence completion | 4 minutes |
| Flip Out | Flashcards and quick recall | 3 minutes |
| Monster Quiz / Game Show | Team competitions using student devices | 5 minutes |
| Shout It Out | Brainstorming with contributions from phones or tablets | 1 minute |
To create any of these, open Add-ons > SMART Lab, choose a template, type your content into the fields and press Finish. The activity is placed on the current page and works immediately at the board. For custom logic, use Activity Builder: select an object, define which other objects it should accept or reject, and choose an animation for correct and incorrect drops.
The ISTE Standards for Educators encourage teachers to design learner-driven activities rather than lecture-style delivery, and these templates are a fast way to put that principle into practice.
Step 7: Deliver the Lesson at the Board
Preparation is only half of learning how to use SMART Board Notebook; the other half is confident delivery. These classroom techniques help lessons run smoothly.
Navigation Tricks
- Swipe left or right across the page to move between pages, or use the arrow buttons on the toolbar.
- Pinch to zoom into detail on a map or diagram, then double-tap to return to full view.
- Use the Screen Shade to cover part of the page and reveal information gradually.
- Switch to Full Screen mode to hide the toolbar and maximise board space.
Managing Student Participation
- Enable Dual Page view and Pinned Page to keep instructions visible while students work on the other half.
- Use the dual-pen capability of modern panels so two students can write simultaneously in different colours.
- Pre-write model answers in white ink on a white background, then change the colour at the board to reveal them.
Annotating Over Other Programs
SMART Ink lets you write over any application, including web browsers and spreadsheets. Tap the floating SMART Ink toolbar, choose a pen, and annotate. A screenshot of the annotated view can be captured straight into your Notebook file for later review.
Step 8: Save, Export and Share Your Lessons
The native file format is .notebook, which preserves every interactive element. For sharing beyond the classroom, use File > Export As to produce the following formats.
- PDF: ideal for printing handouts or posting to a learning platform.
- PowerPoint: useful for colleagues who do not have SMART Notebook installed.
- Image files: export individual pages as PNG or JPEG for revision cards.
- HTML: a web page version that students can open on any device.
- Lumio: upload the file to SMART’s cloud platform so students can interact from their own devices and you can co-edit with other teachers.
Build a shared folder structure by subject and year group. Reusable lesson files are one of the biggest long-term time savers an interactive display offers, a point echoed in the OECD Digital Teaching Guidance, which stresses that teacher workload benefits appear only when digital resources are organised and shared across a school.
Practical Tips for Teachers New to SMART Notebook
- Start with one activity per lesson. Add complexity only after your routines feel natural.
- Download before you design. Search SMART Exchange for your topic; adapting an existing file is faster than starting blank.
- Use the Lesson Activity Toolkit. Found in the Gallery, it contains drag-and-drop widgets such as timers, dice, random word choosers and vortex sorters.
- Keep a blank “scratch” page at the end of every file for spontaneous working out.
- Test on the actual board. Fonts, colours and object sizes that look fine on a laptop can be too small on a 75-inch panel viewed from the back row.
- Back up weekly. Cloud sync or a school server protects months of lesson design.
Troubleshooting Common SMART Notebook Problems
| Problem | Likely Cause | Fix |
|---|---|---|
| Ink appears offset from pen tip | Display not oriented or resolution changed | Run orientation again from SMART settings |
| Touch not recognised at all | USB touch cable disconnected or driver missing | Reseat USB cable; reinstall SMART Product Drivers |
| Premium tools greyed out | Subscription expired or not activated | Sign in again under Help > Software Activation |
| Video will not play | Unsupported codec or blocked network | Convert to MP4 (H.264); check school firewall |
| File opens slowly | Oversized images or embedded media | Compress images; link rather than embed large videos |
| Objects move when writing | Objects not locked | Right-click > Lock > Lock in Place |
SMART Notebook vs. Built-In Whiteboard Apps: Which Should You Use?
Most modern interactive flat panels ship with their own Android-based whiteboard app. Understanding when to use each tool helps schools avoid paying for features they already have, or missing features they genuinely need.
| Feature | SMART Notebook (PC software) | Built-In Panel Whiteboard |
|---|---|---|
| Lesson planning in advance | Excellent, multi-page structured files | Basic, mainly for live notes |
| Game-style activities | Extensive templates | Limited or none |
| Instant start-up | Requires connected PC | Opens in seconds without a computer |
| Wireless screen sharing | Via separate software | Usually built in |
| Cost | Annual subscription for premium features | Included with hardware |
| Best use | Structured, reusable lessons | Quick notes, meetings, spontaneous teaching |
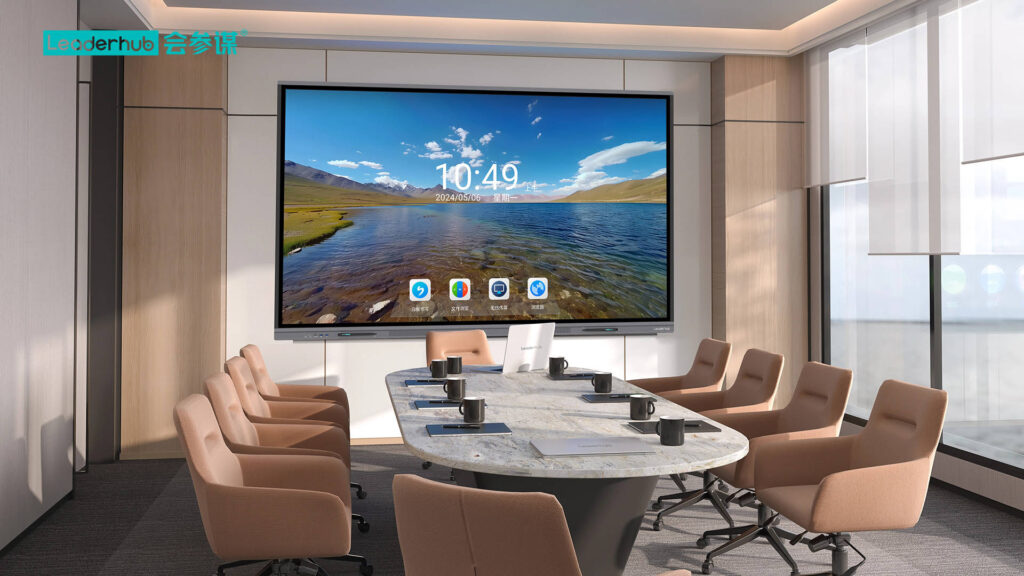
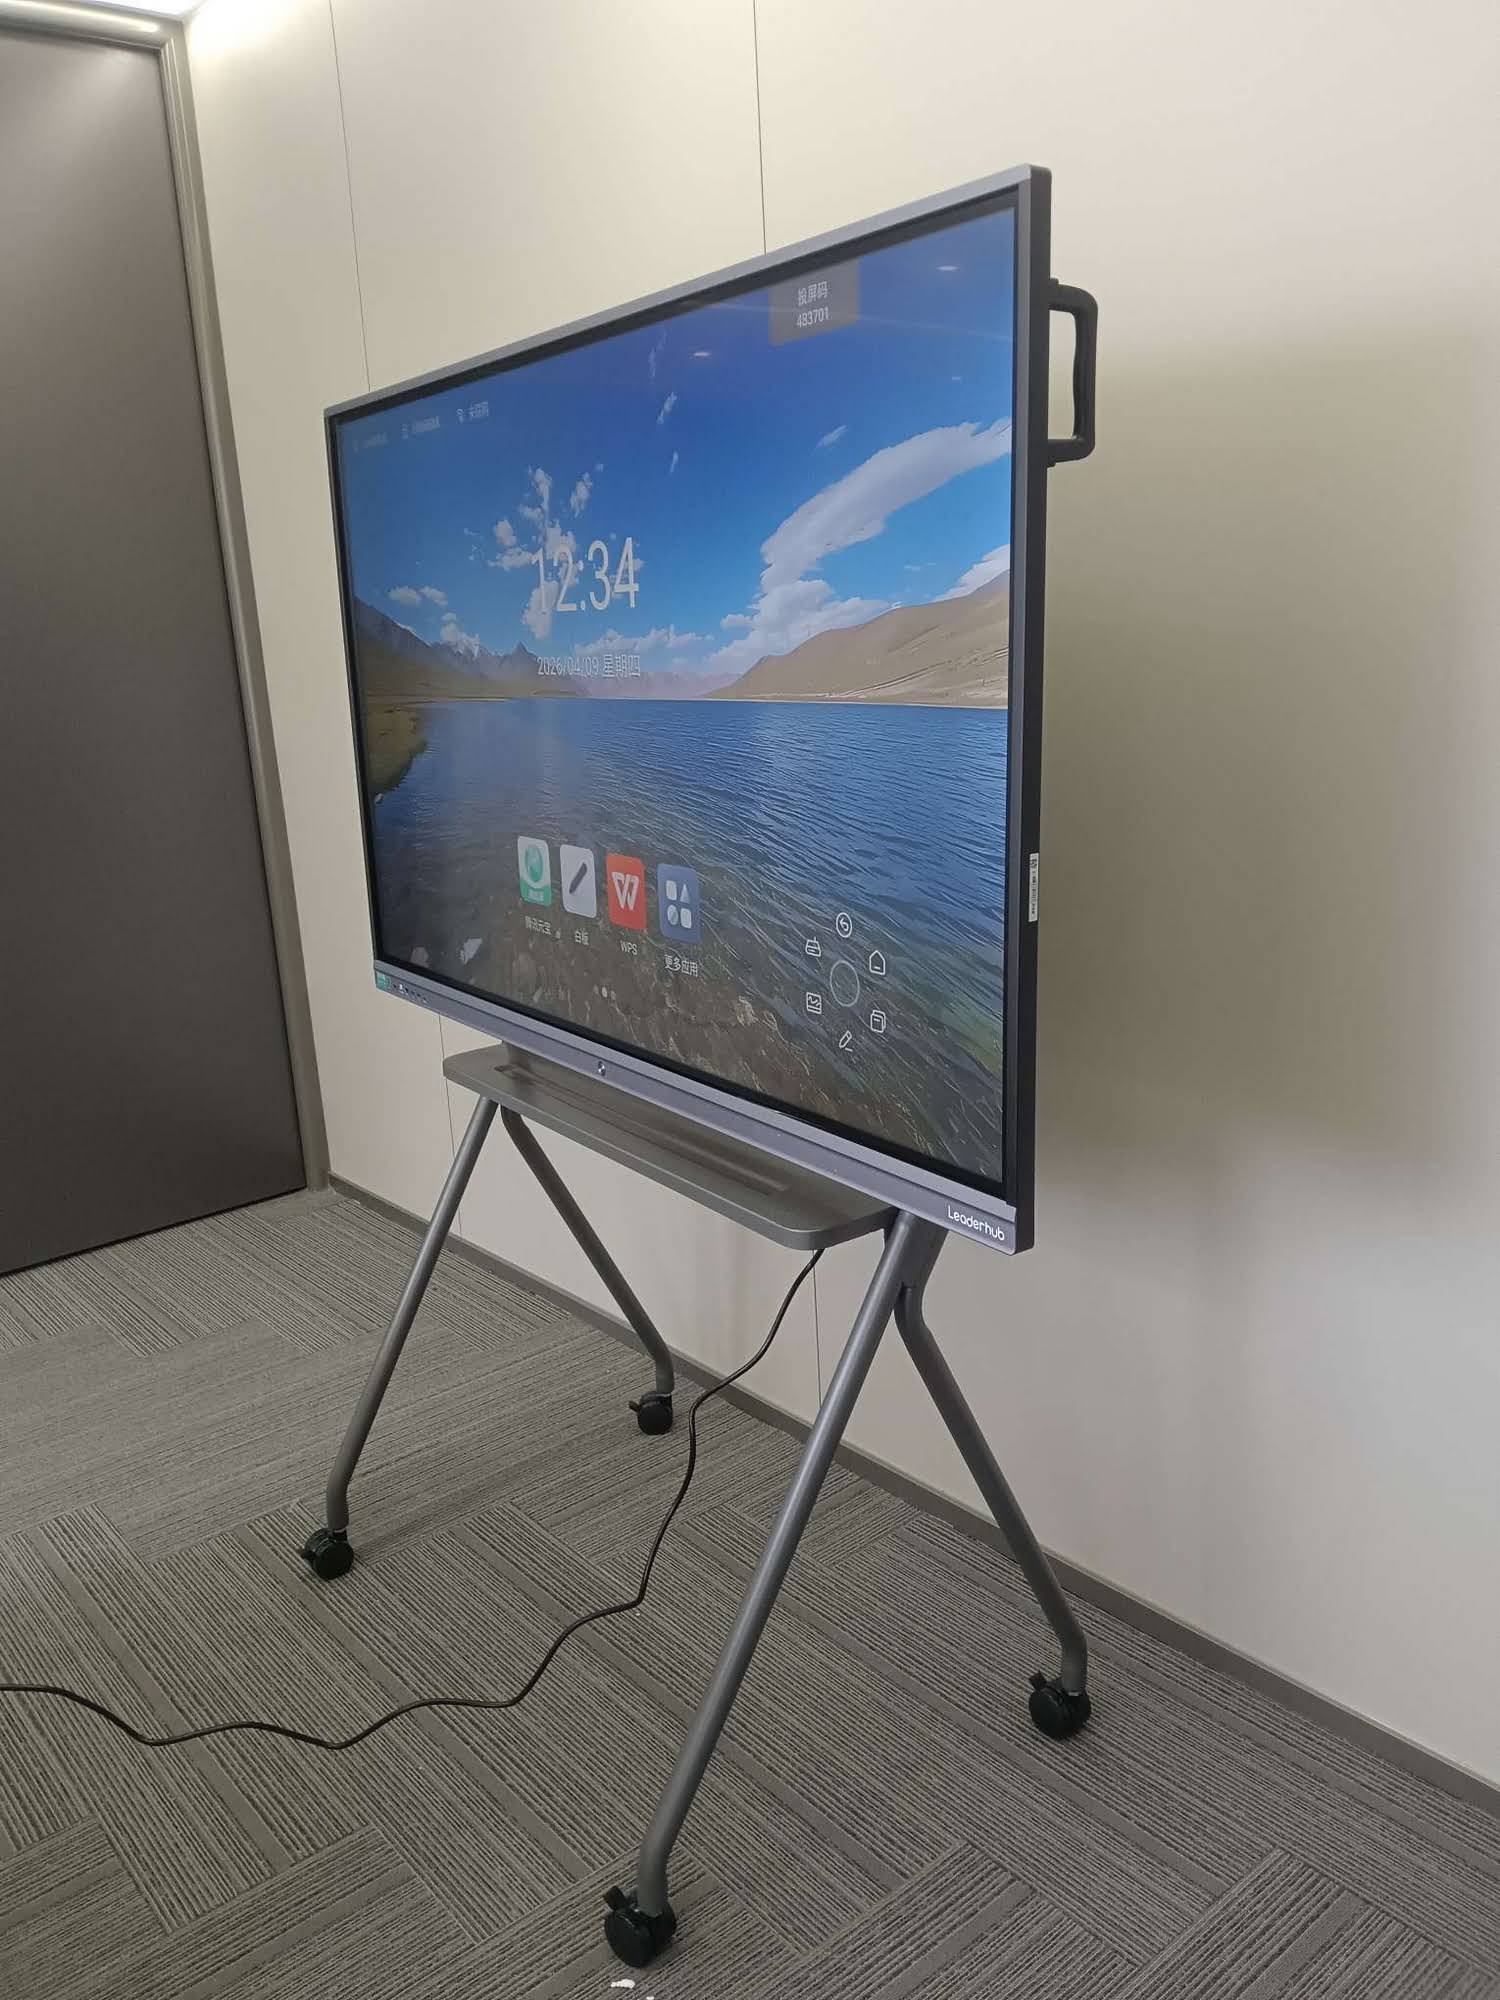
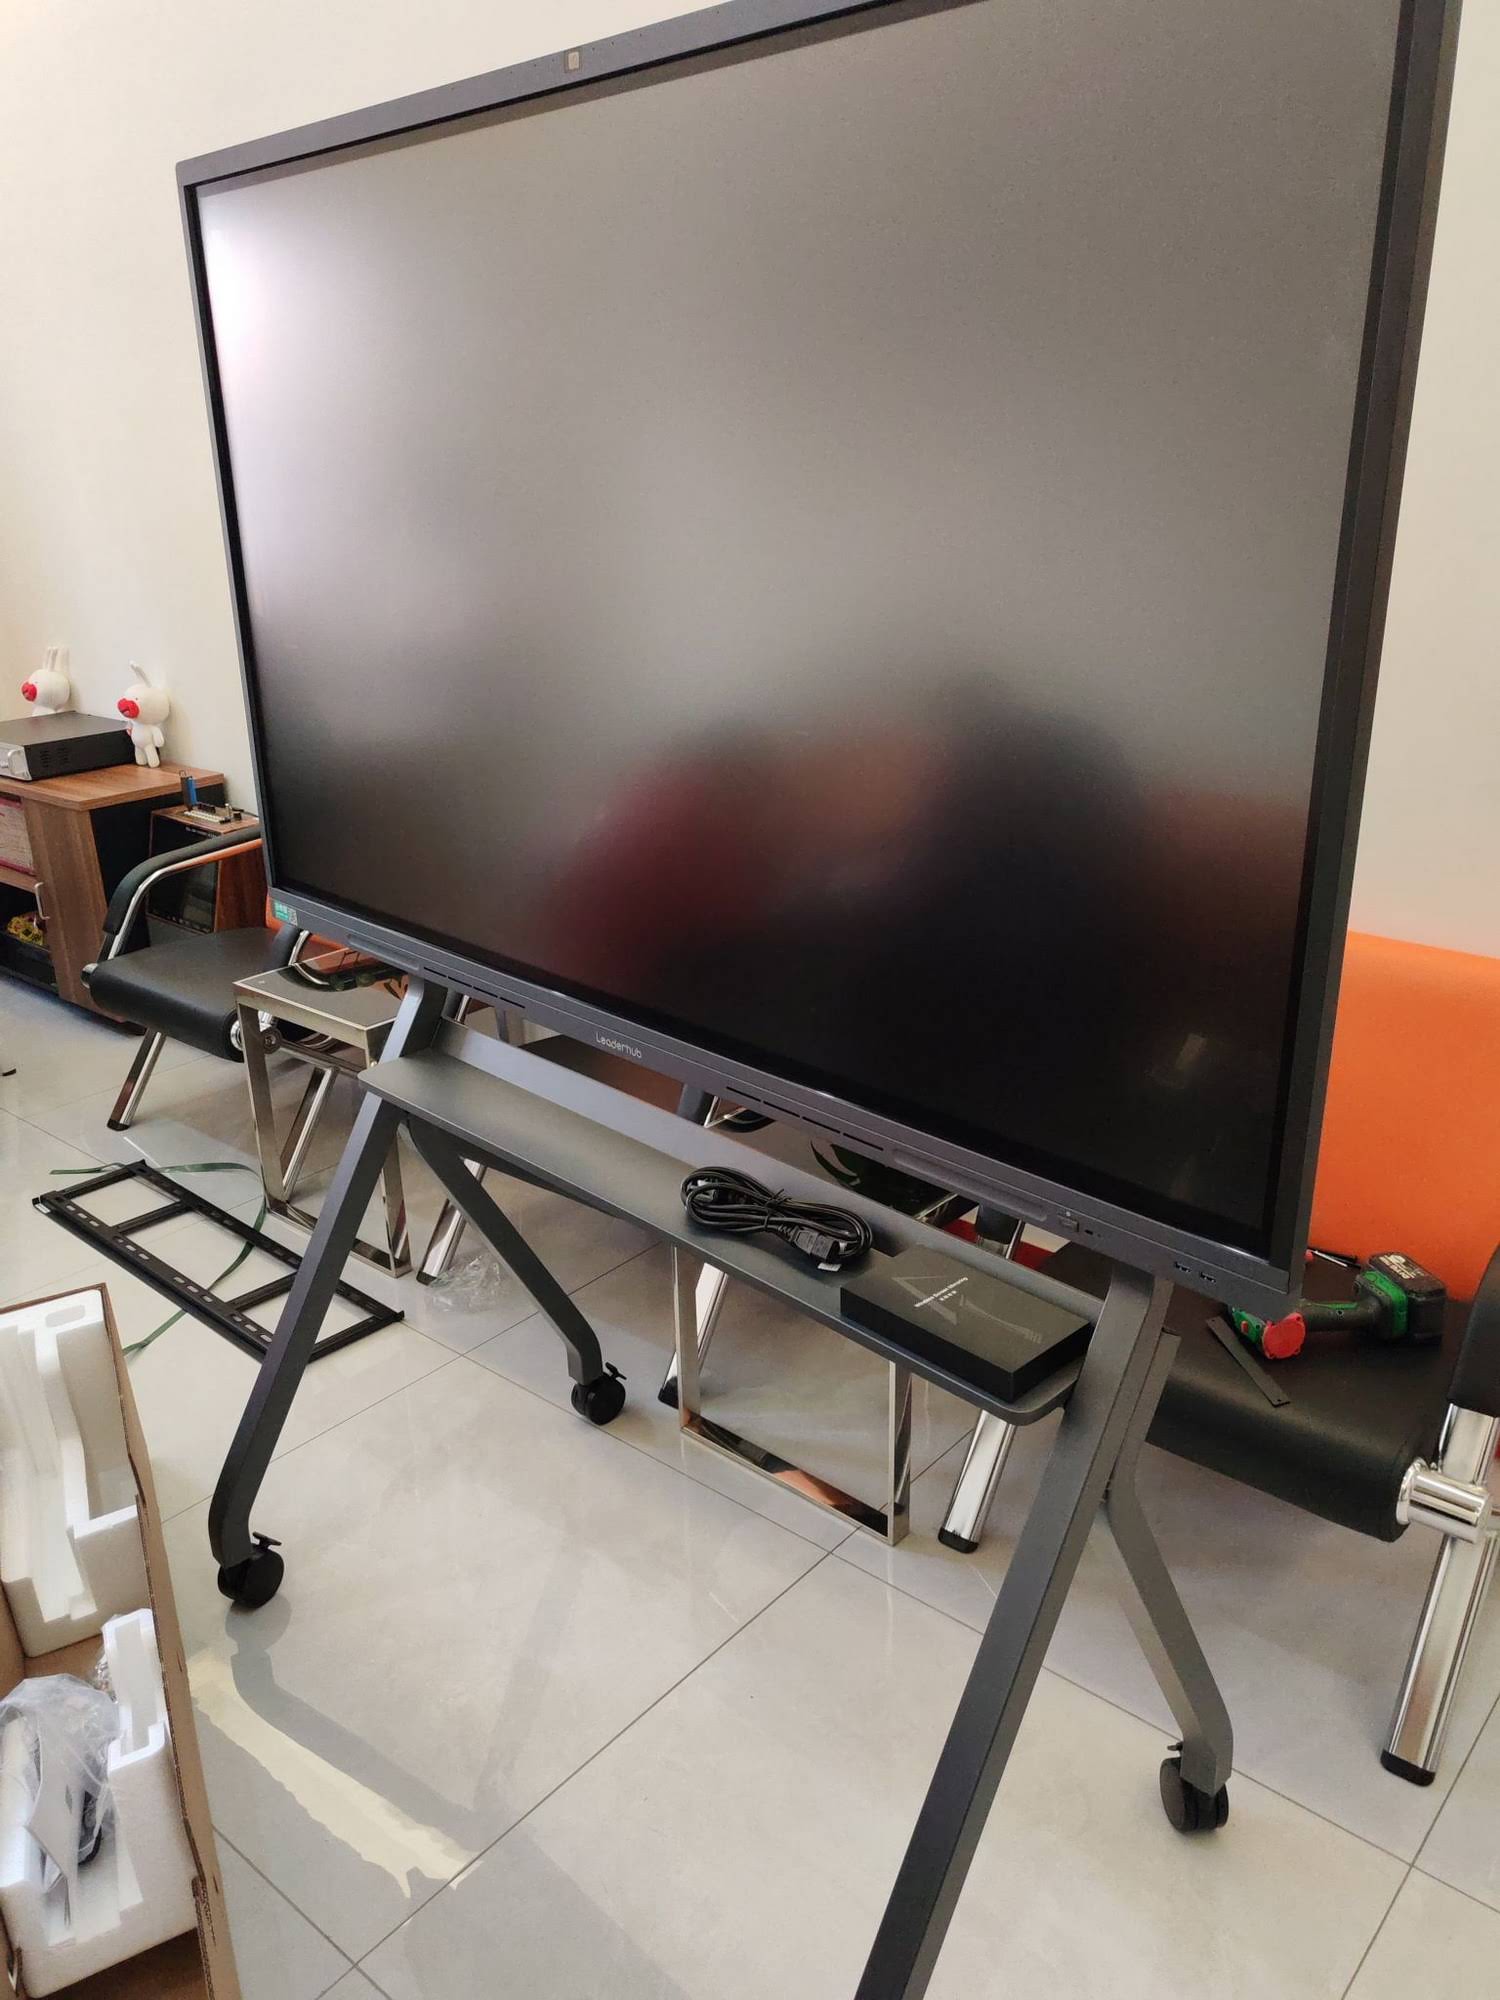
In practice, many schools use both. A hardware platform that boots to a native whiteboard in seconds while also supporting a Windows PC for SMART Notebook gives teachers maximum flexibility. Leaderhub, a Shenzhen-based manufacturer with 16 years of interactive-display experience and customers in 82 countries, designs its panels around exactly this dual-mode approach, offering 4K touch displays such as the 75-inch 4K interactive smart whiteboard that pair with a mounted mini PC for lesson software while retaining a built-in Android whiteboard for everyday use. The UNESCO Technology in Education Report recommends that schools select tools based on clear learning goals and total cost of ownership, and a flexible display setup makes that evaluation far easier.
Frequently Asked Questions
Can I use SMART Notebook without a SMART Board?
Yes. The software runs on any Windows or Mac computer. For touch interaction, connect a touch-enabled display via HDMI and USB. Some licence tiers and features are tied to SMART hardware, so check the current licensing terms for your region.
Is there a free version of SMART Notebook?
SMART periodically offers a basic version with core pen, shape and page tools. Interactive activity templates, response tools and cloud sharing generally require a SMART Learning Suite subscription.
How do I open a .notebook file without the software?
Ask the author to export to PDF or PowerPoint, or upload the file to Lumio, which opens Notebook lessons in a web browser.
What is the difference between SMART Notebook and Lumio?
SMART Notebook is desktop software focused on front-of-class teaching. Lumio is the browser-based successor that lets students join lessons from their own devices and supports real-time collaboration. Notebook files import directly into Lumio.
How large a display do I need for SMART Notebook lessons?
For a standard classroom of 25 to 30 students, a 75-inch panel is the most common choice. Smaller rooms work well with 65 inches, while lecture spaces benefit from 86 inches or larger. Resolution should be 4K so that text remains sharp when you zoom into detail.
Final Thoughts
Learning how to use SMART Board Notebook follows a predictable path: install and calibrate, learn the toolbar, build a simple multi-page lesson, add one interactive activity, then deliver it with confidence. Within a few weeks the software becomes an extension of your teaching style rather than a separate task. Pair it with a responsive 4K interactive display and a tidy, reliable computer setup, and your lessons gain the kind of engagement that whiteboard markers never could. If you are planning a classroom upgrade or want advice on matching lesson software to hardware, speak with a display specialist or browse interactive panel options to find the right fit for your school.