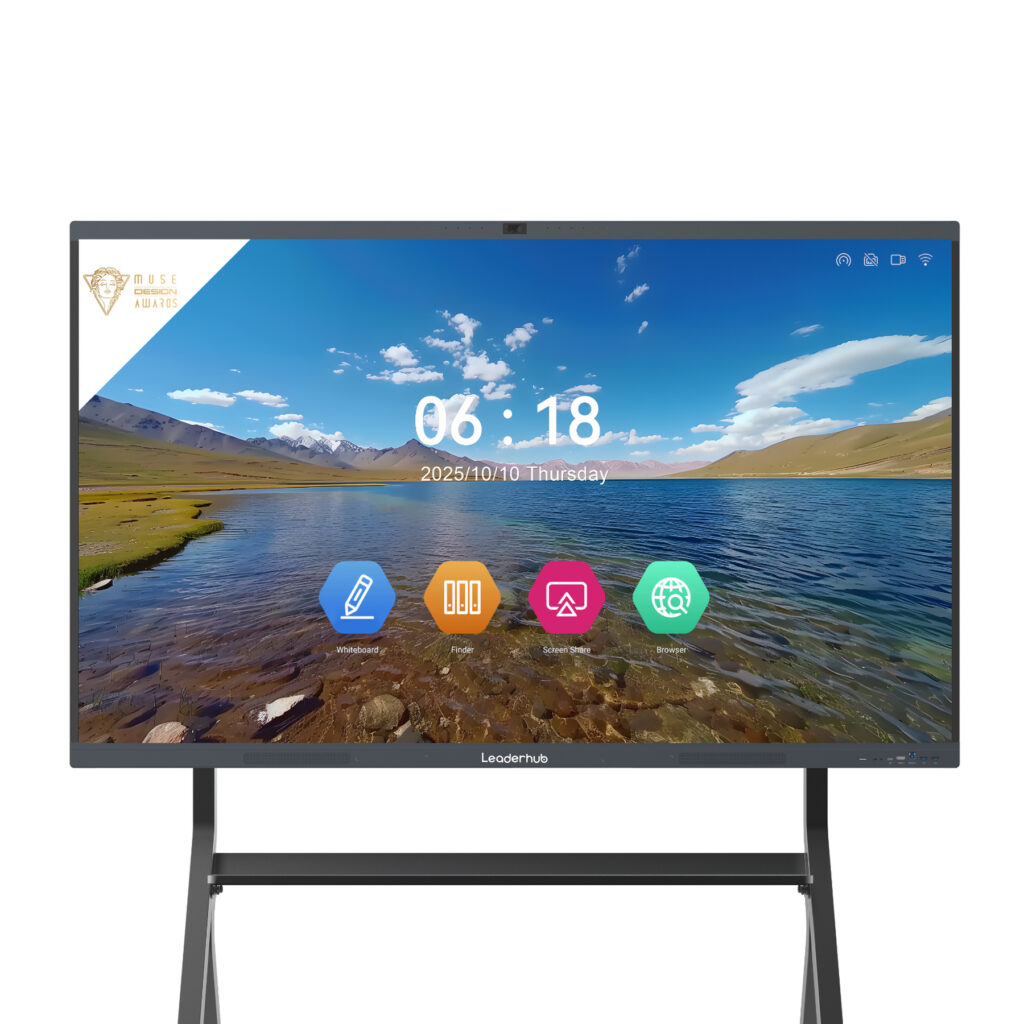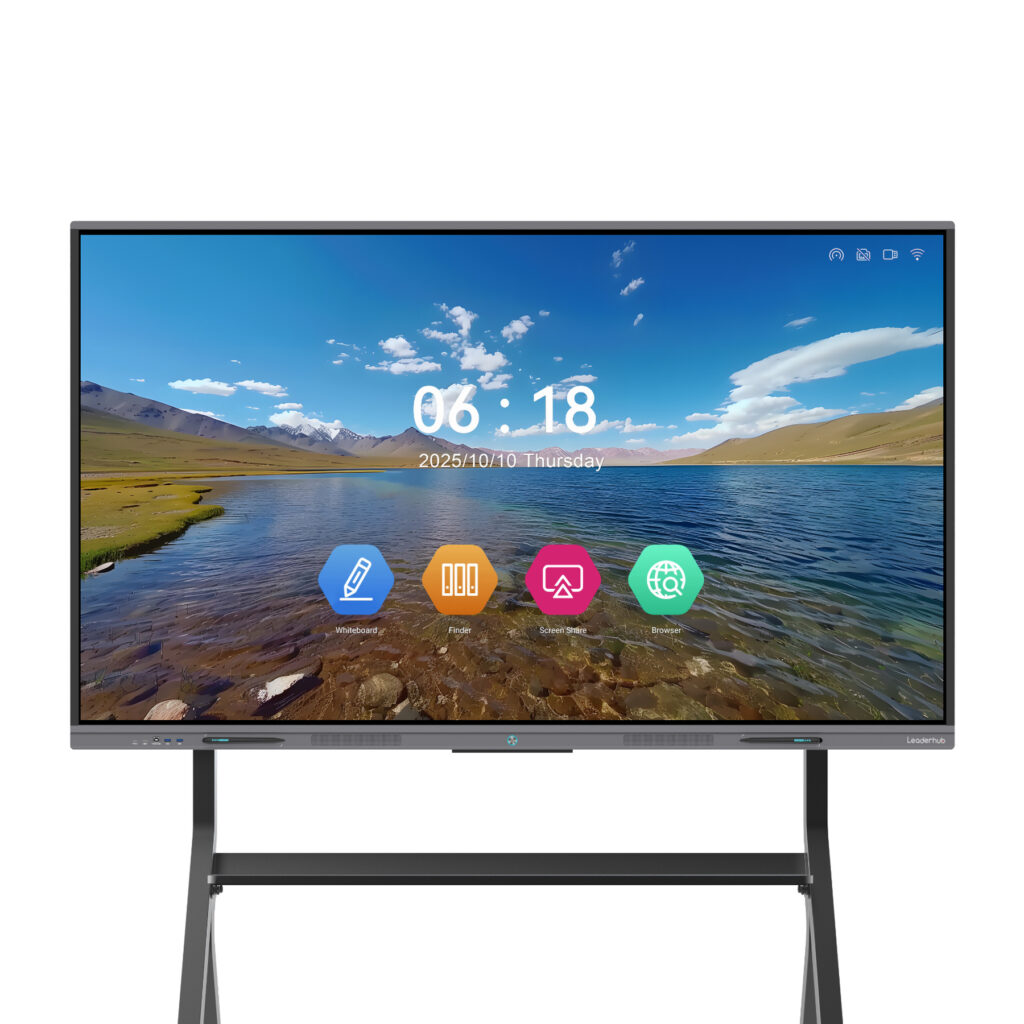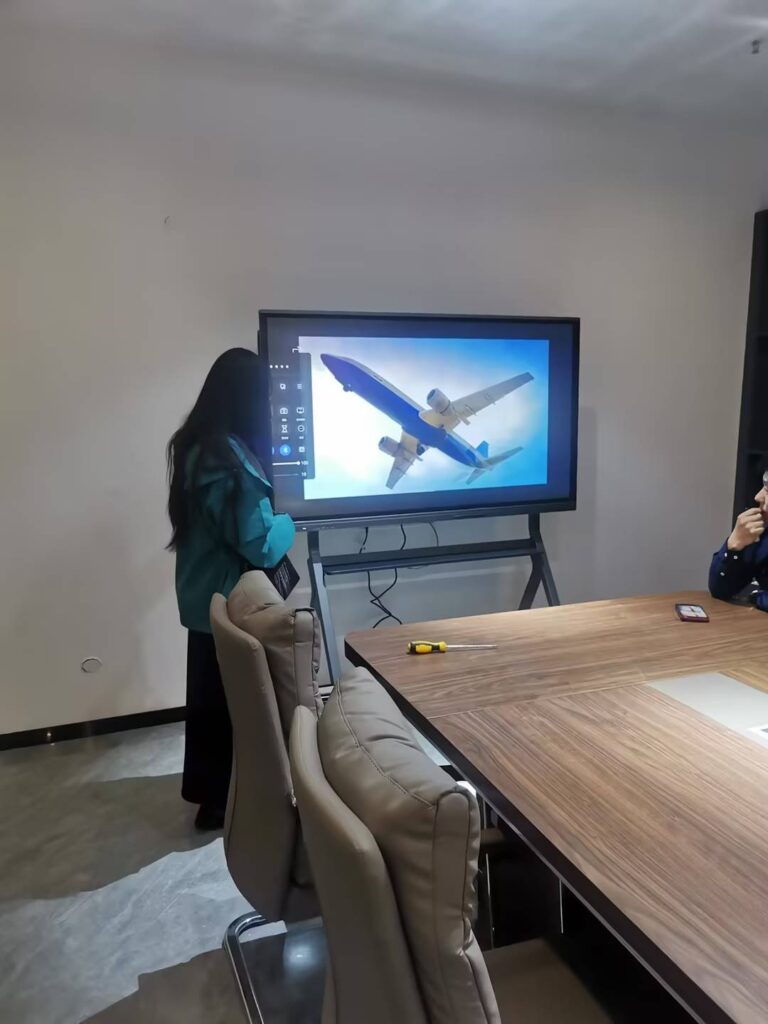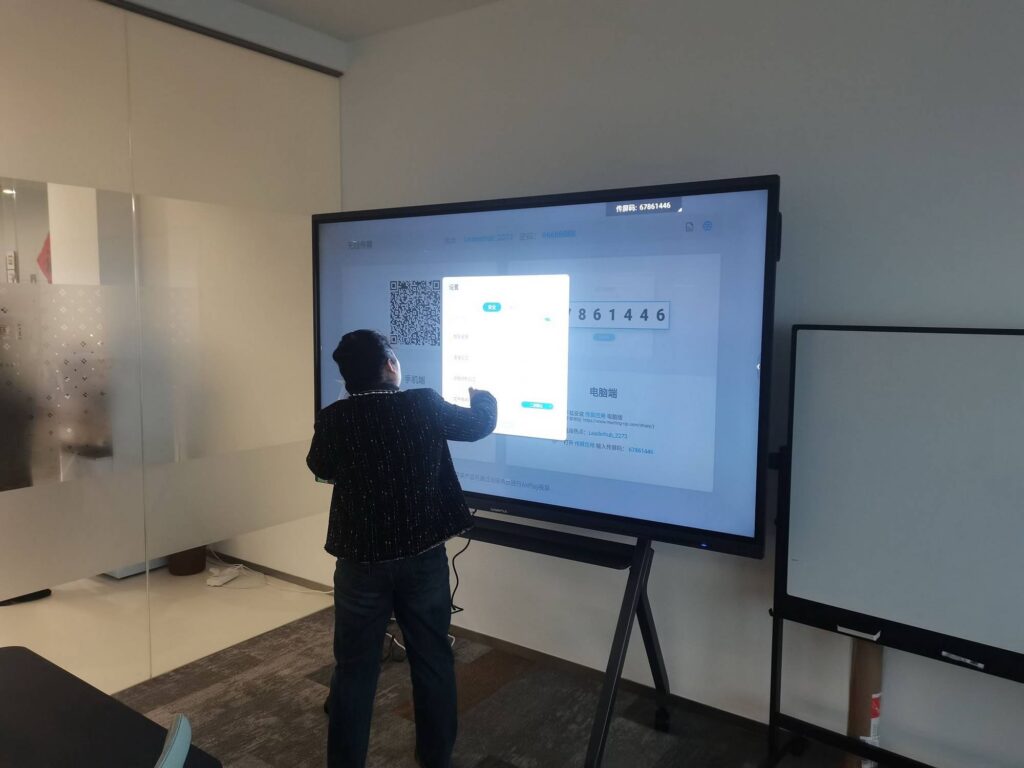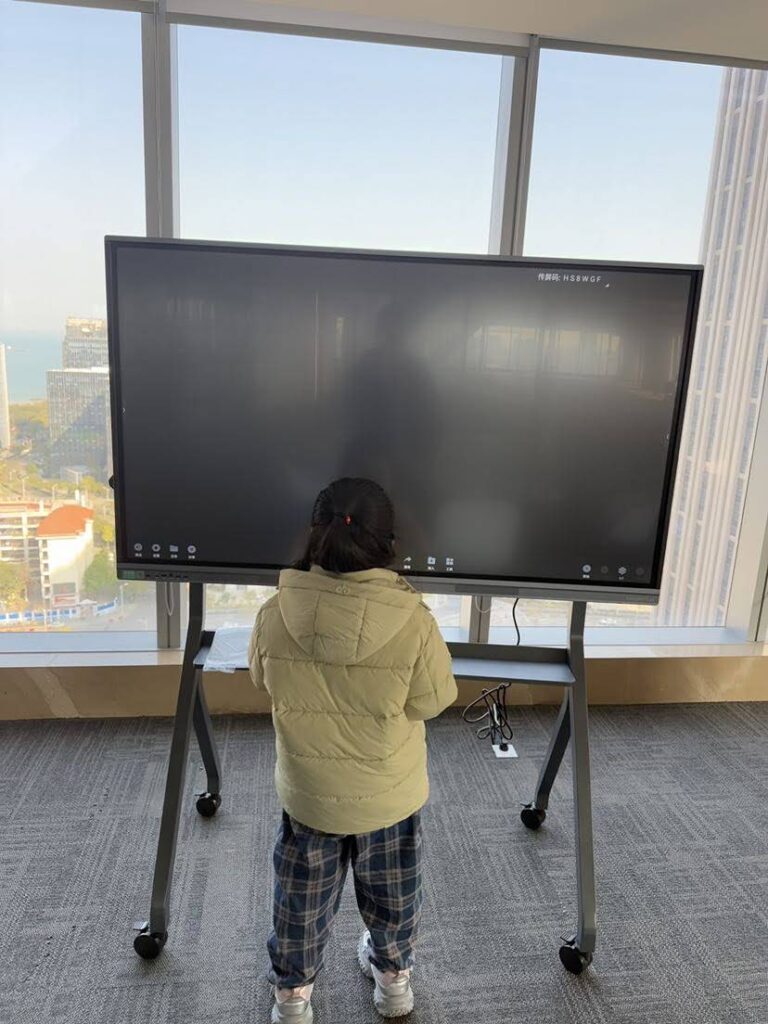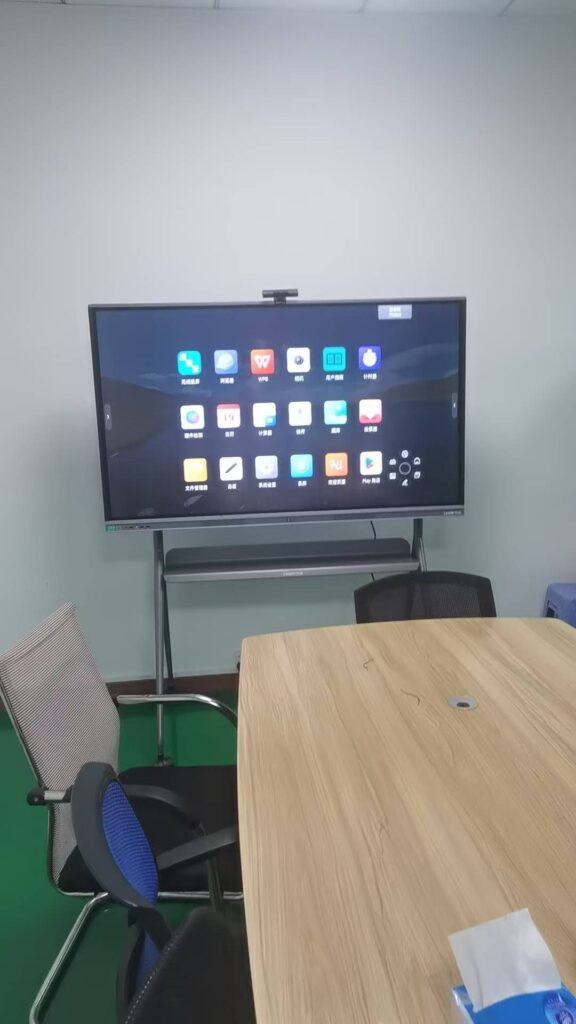
You walk into a classroom or meeting room, see a large touchscreen on the wall, and someone asks: “What smart board do I have?” It sounds like a simple question, but with dozens of brands, hundreds of model numbers and several generations of interactive flat panels on the market, the answer isn’t always obvious. Whether you need the right driver, a replacement stylus, a firmware update, or a warranty claim, identifying your exact smart board model is the first step. This guide walks you through every reliable method — by brand, by serial number, and by physical features — so you can pinpoint your model in minutes.
Why Knowing Your Smart Board Model Matters
Interactive displays look alike from across the room, but internally they vary dramatically. Two 75-inch panels from the same brand can run different operating systems, support different touch technologies, and use incompatible accessories. Knowing your exact model helps you:
- Download the correct firmware and drivers — the wrong package can brick the panel or disable touch.
- Order compatible accessories — styluses, wall mounts, mobile stands, OPS computers and camera modules are model-specific.
- Check warranty status and service eligibility with the manufacturer.
- Plan upgrades — for example, confirming whether your unit can run modern screen-sharing or AI meeting tools.
- Resell or audit equipment accurately for school districts and IT departments.
Method 1: Identify Your Smart Board by Brand
Start with the easiest clue — the brand logo. Manufacturers almost always print their name on the front bezel, usually bottom-center or bottom-left. If the bezel logo has worn off or been covered by a school asset sticker, check these other locations:
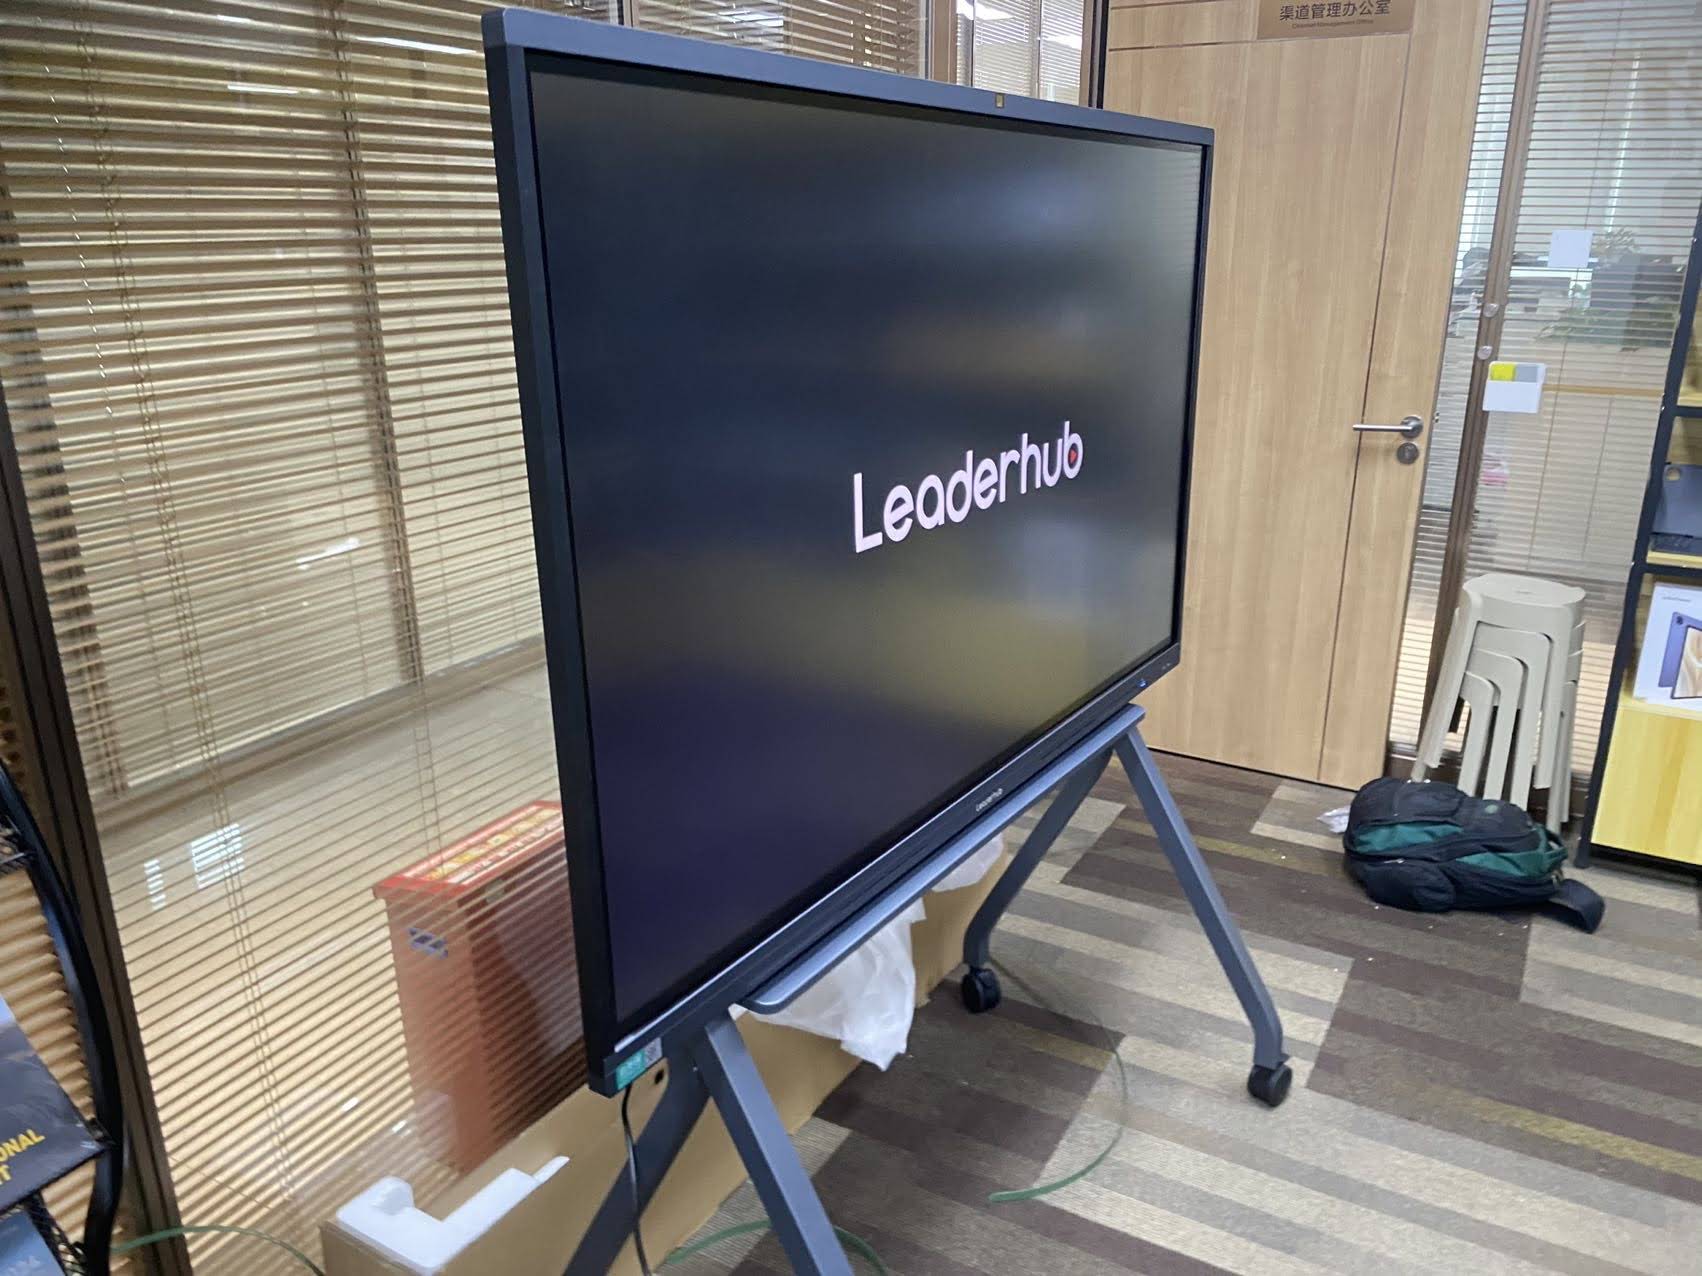
- The boot screen — power-cycle the panel and watch the first splash image.
- The remote control — most branded remotes carry the same logo.
- The stylus or pen tray — many brands engrave their name on the pen.
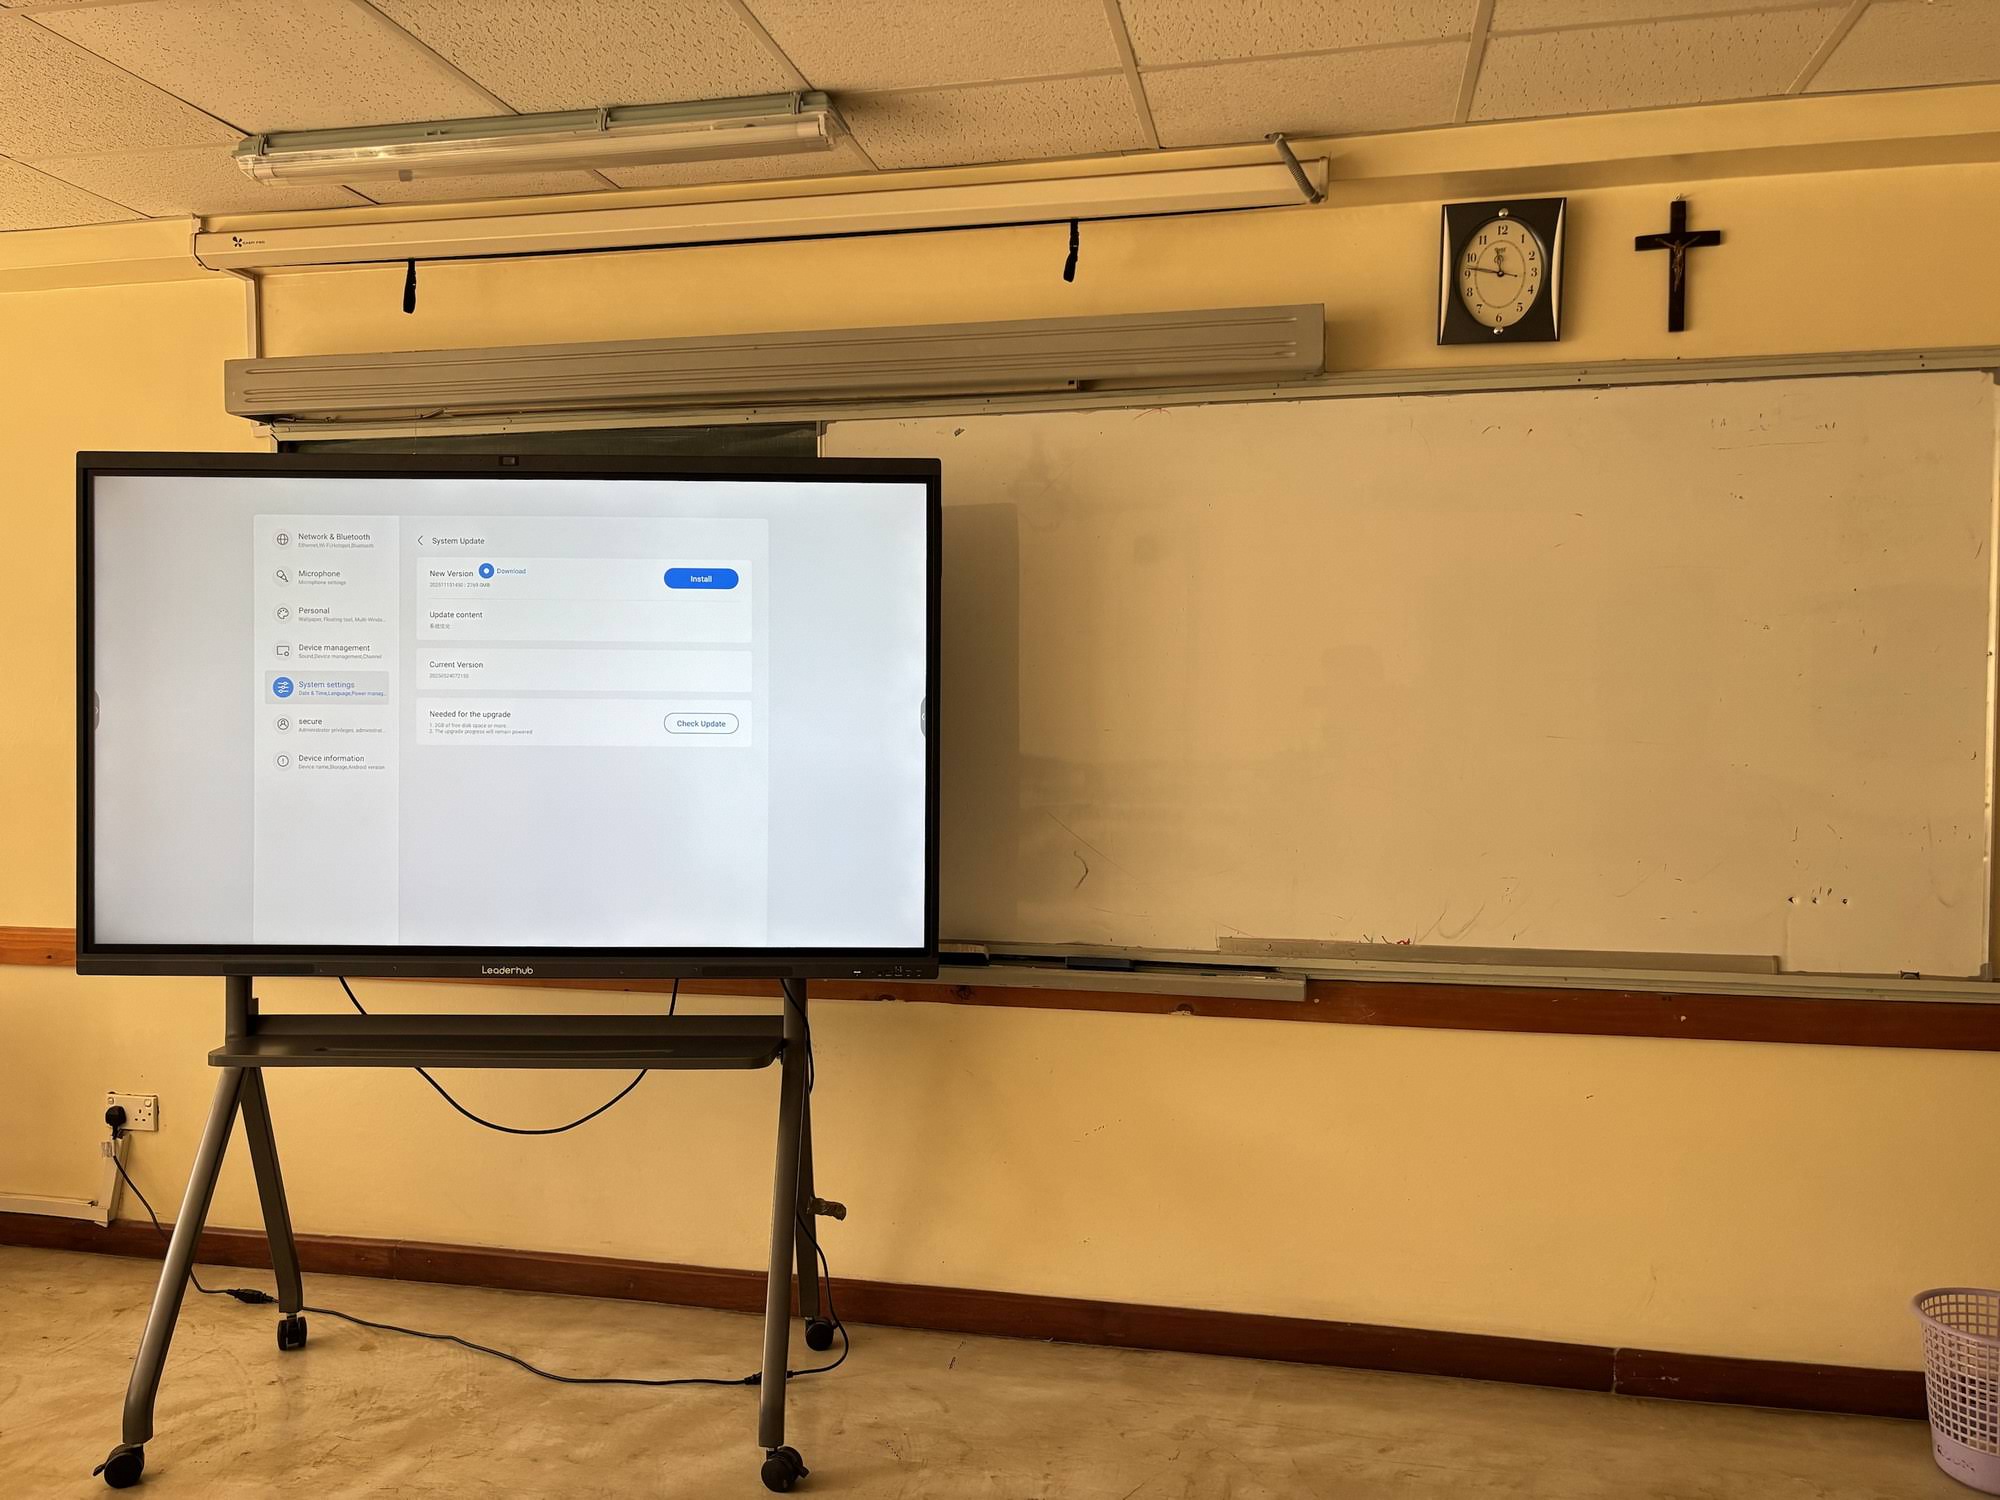
- The home screen / launcher — Android-based panels usually display the brand in the UI or in Settings > About.
- The rear label — the compliance sticker lists the legal manufacturer name, even for white-label units.
Common Smart Board Brands and Their Model Naming Patterns
| Brand | Typical Model Format | Where to Look |
|---|---|---|
| Leaderhub | L + size + series (e.g., L75HM, L86ZM, L75H Pro) | Rear label, Settings > About, product box |
| SMART Technologies | SBID-MX / 6000S / 7000R + size | Bottom-right bezel, rear sticker |
| Promethean | ActivPanel + generation (e.g., Titanium, 9) | Front bezel, Settings menu |
| ViewSonic | IFP + size + series (e.g., IFP7550) | Rear label, OSD menu |
| BenQ | RM / RP + size + generation (e.g., RP7503) | Rear label, Settings > About |
| Samsung | Flip WM + size + letter (e.g., WM75B) | Rear sticker, Settings > Support |
| Newline / Clevertouch | Series name + size (e.g., Q+ 75, IMPACT Plus 86) | Rear label, boot screen |
If you see no logo at all, you may own an OEM or white-label panel. In that case, the serial number label (Method 2) becomes essential, because it reveals the original factory and panel family even when the front branding is generic.
Method 2: Find the Serial Number and Model Label
The serial number is the single most reliable identifier. It ties your unit to a specific production batch, hardware revision, and warranty record. Here is where to find it.
Physical Label Locations
- Rear compliance sticker — usually on the lower-right or lower-left of the back panel. It lists Model No., S/N, input voltage, and certification marks (CE, FCC, RoHS).
- Side or bottom edge — slim-bezel panels sometimes move the label to the frame edge so it can be read without removing the display from the wall.
- Behind the OPS slot cover — some manufacturers place a secondary label inside the pluggable PC bay.
- Original packaging — the shipping carton always carries a barcode label with both model and serial number.
- Purchase invoice or delivery note — distributors record serial numbers for warranty registration.
Finding the Model in the On-Screen Menu
If the panel is mounted flush to the wall and the label is unreachable, don’t pull it down. Almost every modern interactive flat panel reports its own identity in software:
- Android panels: Settings > About Device (or System > About) shows Model, Serial Number, Android version, and firmware build.
- Windows OPS panels: open System Information (msinfo32) on the built-in PC; the panel itself still has a separate OSD “About” page.
- OSD / Input menu: press the Menu or Settings button on the remote and look for “Information” or “System Info”.
- Connected laptop: on Windows, open Device Manager > Human Interface Devices and look at the touch controller name; on macOS, check System Report > USB. The controller string often includes the panel family.
How to Decode a Smart Board Model Number
Most model numbers follow a logical structure. Once you understand the pattern, you can read a great deal from a single code. Using the Leaderhub smart whiteboard lineup as an example:
| Code Segment | Example | Meaning |
|---|---|---|
| Prefix letter | L / U | Product family (L = wall or stand-mounted panel, U = mobile / battery-powered) |
| Two or three digits | 65 / 75 / 86 / 110 | Diagonal screen size in inches |
| Series suffix | HM / ZM / H / Pro | Feature tier — HM denotes the rotatable conference hub, ZM the value education panel, Pro the flagship spec |
| Serial number | Alphanumeric string | Production date, factory line and unique unit ID used for warranty lookup |
Other brands use the same logic with different letters: the digits almost always indicate size, while suffix letters indicate the generation or feature tier. When in doubt, enter the full code into the manufacturer’s support search.
Method 3: Identify Your Smart Board by Physical Features
When the label is gone and the panel won’t power on, you can still narrow down the model by examining its hardware. Work through this checklist.
1. Measure the Screen Size
Measure the diagonal of the active display area (not the outer frame) from one corner to the opposite corner. Common sizes are 55″, 65″, 75″, 86″, 98″ and 110″. The measurement in inches is almost always embedded in the model number.
2. Check the Touch Technology
- Infrared (IR) touch: a slightly raised frame around the glass with tiny sensor windows along the edges. Works with any finger or opaque object. Found on most education panels.
- Capacitive touch: glass runs flush to the bezel with no raised lip; typically supports finer pen precision and palm rejection. Common on premium conference panels.
- Electromagnetic (EMR) pen: requires a specific powered or passive stylus; finger touch may be limited.
3. Inspect the Ports
Port layout changes between generations. Note the presence of USB-C with power delivery, the number of HDMI inputs, whether there is a front-facing USB hub, and if an OPS slot is present for a pluggable PC. Older boards rarely have USB-C; newer ones usually do.
4. Look for Built-In Hardware
- Integrated camera and microphone array (conference models)
- Rotating or motorized stand (hub-style panels such as the L75HM)
- Built-in battery and wheels (mobile panels like the U55Pro)
- NFC reader, fingerprint sensor or ambient light sensor
5. Identify the Operating System
Power on the panel if possible. The launcher design, Android version and pre-installed whiteboard app are strong generation clues. A panel running Android 11 or newer with a 4K UI is likely from the last few years; Android 5–8 with a 1080p interface points to an older unit.
Feature Identification Checklist
| Feature | What It Tells You | How to Check |
|---|---|---|
| Resolution | 4K UHD = current generation; 1080p = older or budget | Display settings or connect a laptop and read the detected resolution |
| Touch points | 20–40 points indicates a modern IR or capacitive panel | Open the whiteboard app and draw with multiple fingers |
| Glass type | Anti-glare tempered glass = education/conference grade | Look for a matte finish and reduced reflection under ceiling lights |
| Speaker layout | Front-firing soundbar = newer design | Inspect the lower bezel for grille openings |
| Mount pattern | VESA spacing varies by size and generation | Measure the distance between rear mounting holes |
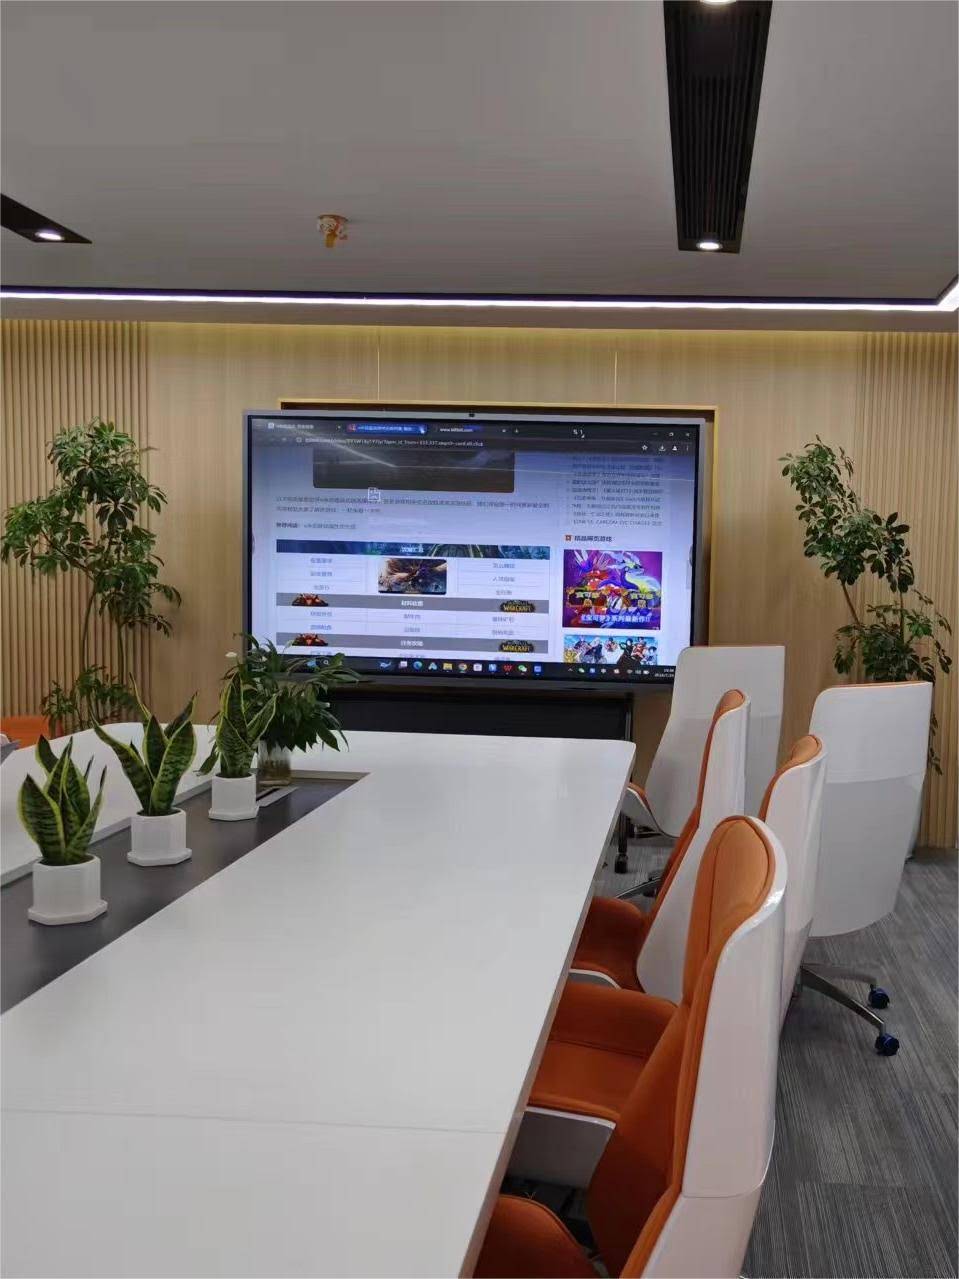
Identifying a Leaderhub Smart Board
If your panel carries the Leaderhub logo, identification is straightforward. Leaderhub is a Shenzhen-based technology company with 16 years of interactive-display expertise, shipping smart whiteboards, interactive flat panels, mini PCs and portable smart screens to more than 82 countries, and its model codes follow one consistent system. Match your rear label or Settings > About screen against the table below:
| Model | Size | Key Identifying Feature | Series |
|---|---|---|---|
| L65HM | 65″ | Rotatable conference hub, 4K touchscreen | HM |
| L75HM | 75″ | Rotatable conference hub, 4K touchscreen | HM |
| L86HM | 86″ | Large-room rotatable hub, 4K | HM |
| L65ZM / L75ZM / L86ZM | 65″ / 75″ / 86″ | Fixed 4K smart panel for classrooms and SMEs | ZM |
| L75H Pro | 75″ | Flagship interactive flat panel, 4K | H Pro |
| U55Pro | 55″ | Mobile 4K display with battery and wheels | U |
| L110H | 110″ | Extra-large auditorium interactive flat panel | H |
Smaller touch devices such as the 24.5″ U24M handheld screen or the 27″ L277M rotating screen belong to the separate rotating screens category and should not be confused with wall-size smart boards.
What If the Label Is Missing or Unreadable?
Older classroom boards frequently lose their stickers to cleaning chemicals or asset tags. Try these fallback options in order:
- Photograph the panel from the front and rear, including the port cluster, and send the images to the manufacturer’s support team. Experienced technicians can usually identify the model visually.
- Check your IT asset register or the original procurement contract — schools and companies typically log model and serial numbers at installation.
- Read the touch controller ID from a connected computer. The USB vendor and product ID (VID/PID) map directly to a controller family.
- Inspect the mainboard label if the rear cover is removable — only do this if the unit is out of warranty and powered off.
- Compare with published spec sheets; resources such as this guide on choosing an interactive display for K-12 explain how feature sets differ across generations.
Record Your Model Information for the Future
Once you’ve confirmed your smart board model, save yourself the trouble next time. Create a simple record that includes:
- Brand and full model number
- Serial number
- Firmware / Android version at the time of recording
- Installation date and location (room number)
- Photos of the rear label and port panel
Education authorities increasingly recommend this kind of structured device management; the UK Technology in Schools Survey highlights that schools with clear hardware inventories maintain and upgrade their displays far more efficiently than those without.
Frequently Asked Questions
Is the model number the same as the serial number?
No. The model number identifies the product type (e.g., L75HM) and is shared by every unit of that design. The serial number is unique to your specific panel and is used for warranty and service tracking. You usually need both when contacting support.
Can I identify a smart board from the stylus alone?
Sometimes. Active styluses carry their own model codes that map to specific panel generations. Passive IR pens, however, are generic and won’t help much.
My board shows a different brand on the boot screen than on the bezel. Which is correct?
This usually means a rebranded or OEM unit. The boot screen typically reflects the original factory firmware, while the bezel shows the reseller brand. Use the rear label and serial number as the authoritative source, and contact the reseller first for support.
Does the screen size in the model number refer to the frame or the display?
It refers to the active display diagonal. The outer frame will be several inches larger, so always measure the glass area where the image appears.
Where can I check whether my smart board is still under warranty?
Locate the serial number, then visit the manufacturer’s support portal or contact them directly. For Leaderhub panels, you can reach the support team here with your model and serial number for a fast warranty check.
Final Thoughts
Answering “what smart board do I have?” comes down to three dependable clues: the brand logo, the serial and model label, and the panel’s physical features. Start with the rear sticker or the Settings > About screen — nine times out of ten that’s all you need. If those are unavailable, screen size, touch technology, port layout and operating system will narrow the field quickly. Once identified, record the details so drivers, accessories and warranty support are never more than a quick search away. And if your current board turns out to be an aging model that no longer meets your classroom or meeting-room needs, you can explore the latest 4K interactive panels built for modern collaboration.