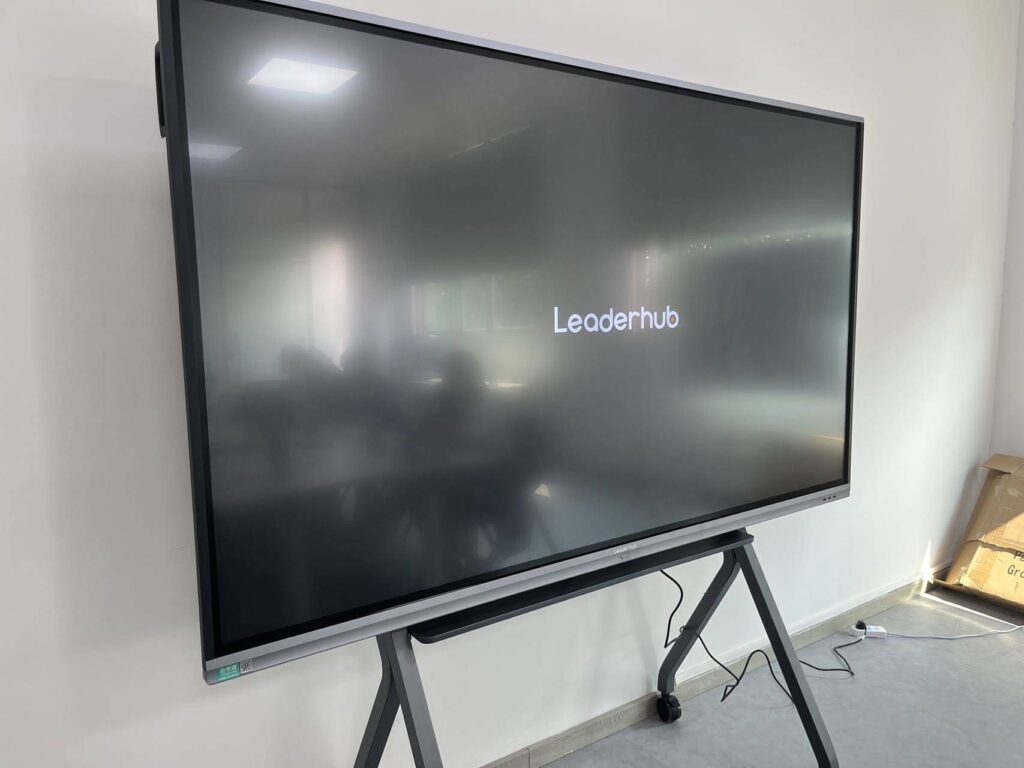
A smart board projector is the heart of many interactive classrooms and meeting rooms, so when the image turns fuzzy, the screen says “No Signal,” or your pen taps land an inch away from where you touched, the whole lesson or presentation grinds to a halt. The good news is that most of these faults are not hardware failures. Learning how to fix a smart board projector usually comes down to a logical sequence of checks on the lens, cables, source device, and orientation software. This guide walks you through each problem step by step, from the simplest fix to the more advanced, and explains when it is finally time to stop repairing and start upgrading.
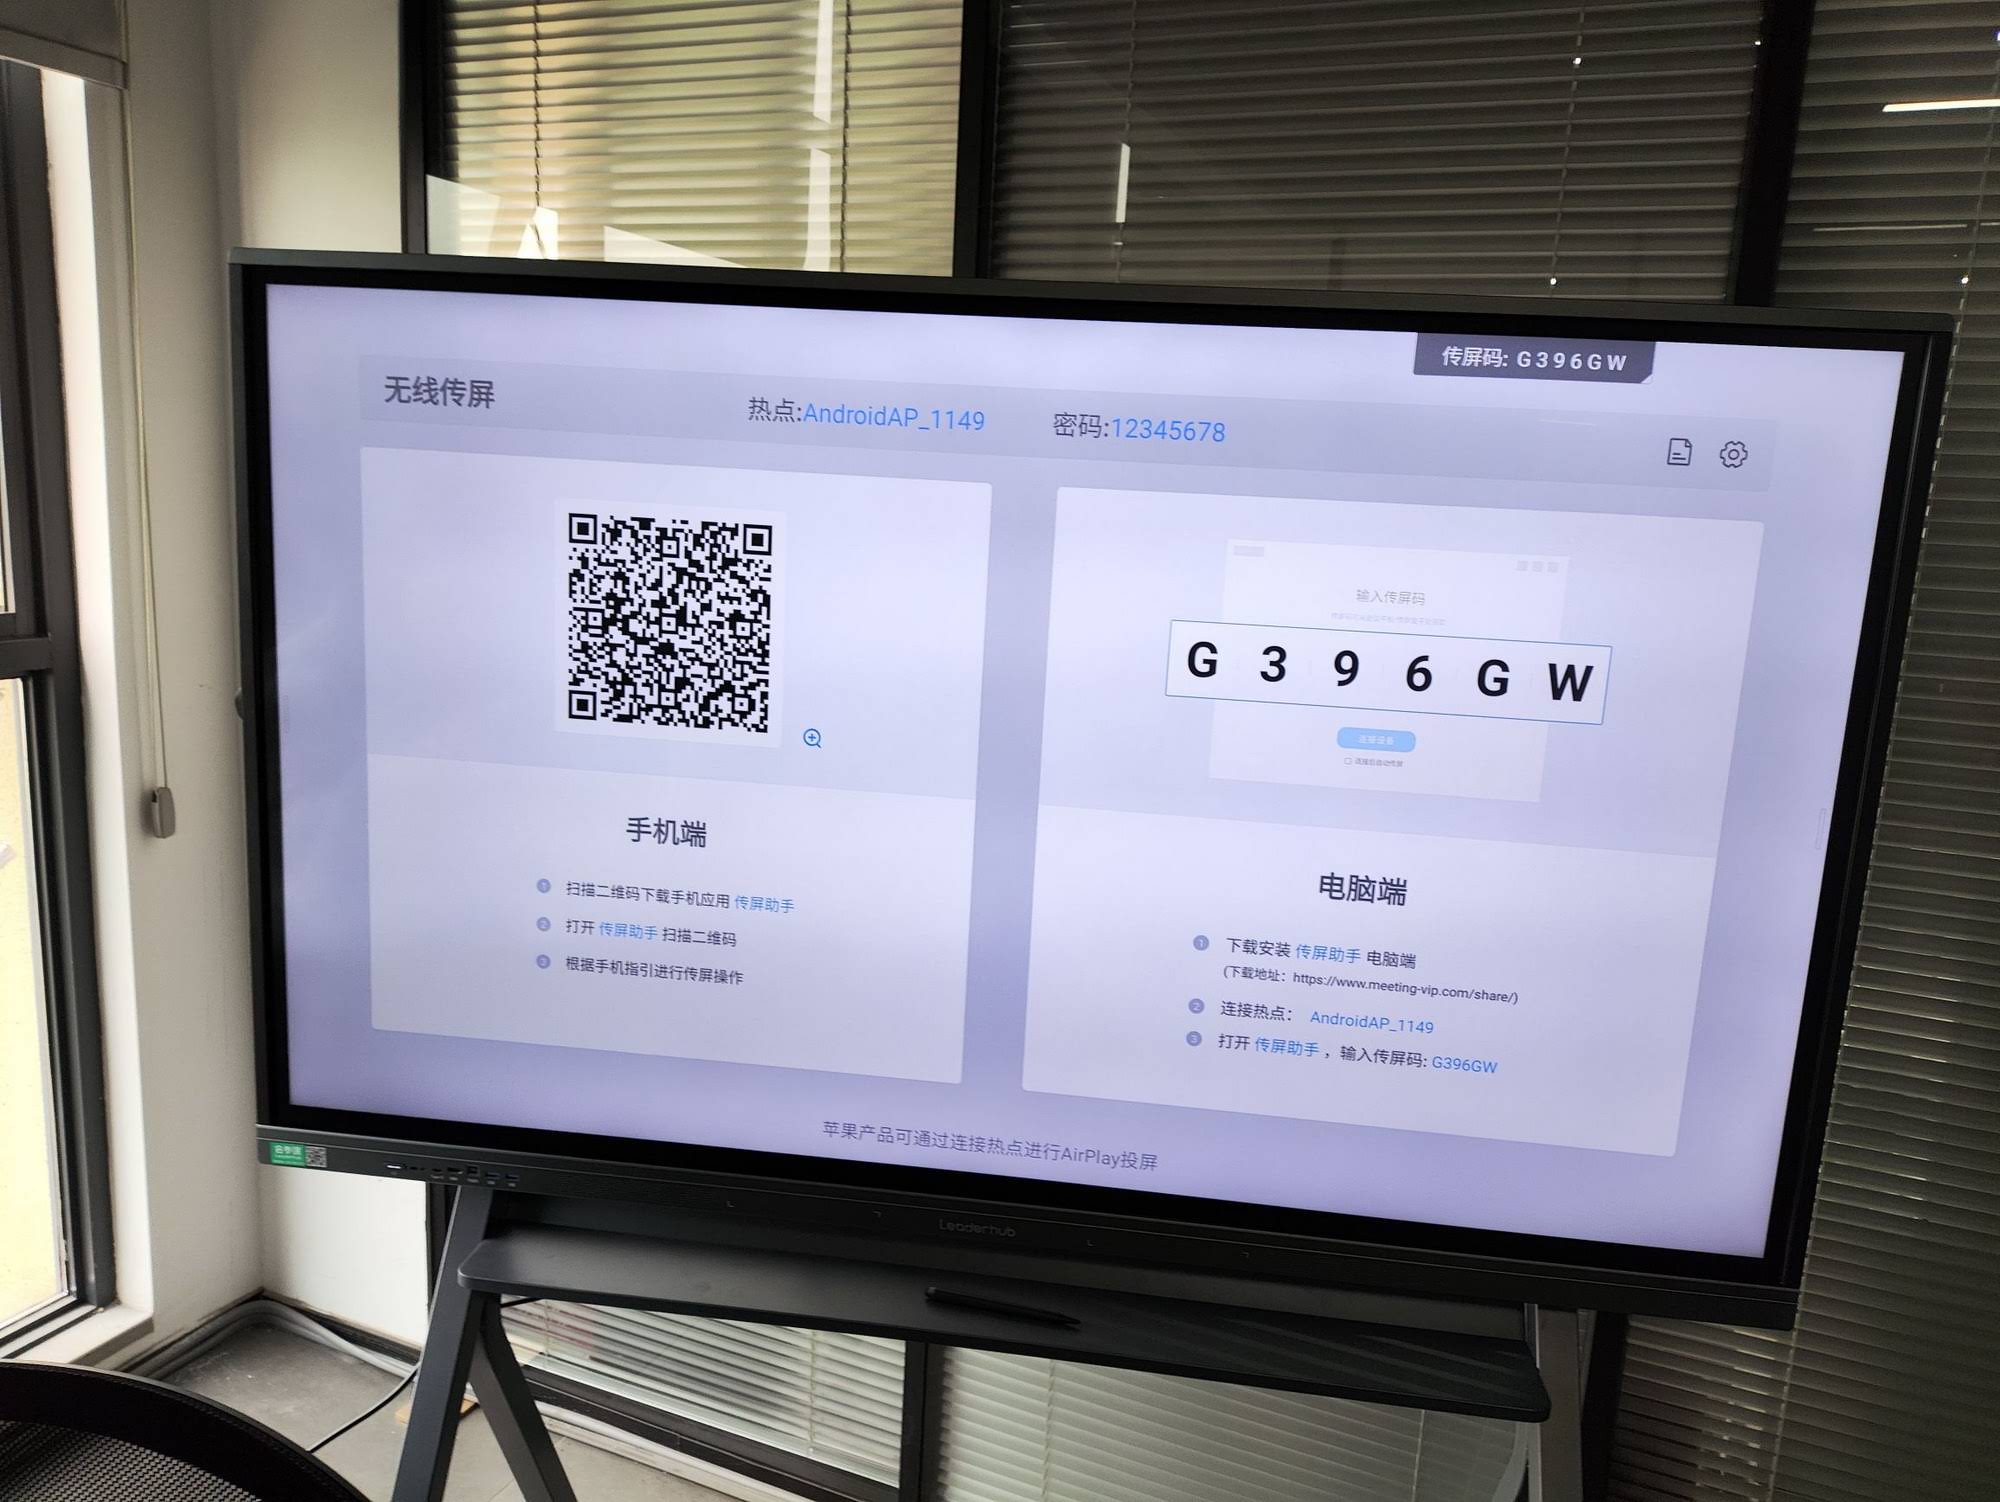
Before You Start: A 2-Minute Diagnostic Checklist
Before opening menus or unplugging anything, run through this quick list. In our experience, roughly half of all “broken projector” calls are resolved right here.
- Power: Is the projector lamp actually on? Look for a solid (not blinking) power LED. A blinking red or orange light usually indicates overheating or a lamp fault.
- Source: Is the connected computer awake and not in sleep mode? A sleeping laptop is the number-one cause of a “No Signal” message.
- Cables: Are the HDMI/VGA and USB touch cables firmly seated at both ends? Wall-plate connections behind the board are notorious for working loose.
- Input: Is the projector set to the input you are actually using (HDMI 1, HDMI 2, VGA, etc.)?
- Lens cap and shutter: It sounds obvious, but a half-closed lens shutter or AV Mute button will produce a black or dim image.
Problem 1: How to Fix a Blurry Smart Board Projector Image
A soft or blurry image makes text unreadable from the back of the room and is one of the most common complaints with short-throw and ultra-short-throw projectors. Work through these steps in order.
Step 1: Clean the Lens and Mirror
Dust, chalk particles, and fingerprints on the lens or the ultra-short-throw mirror scatter light and reduce sharpness. Power the projector off, let it cool for at least 10 minutes, and gently wipe the glass with a dry microfiber cloth or lens-cleaning tissue. Never use household glass cleaner, which can strip anti-reflective coatings.
Step 2: Adjust the Focus Ring or Focus Lever
Project a test pattern or a page of small text and slowly rotate the focus ring (or slide the focus lever on ultra-short-throw models) until the edges are crisp. Focus on the center of the board first, then check the corners. If the center is sharp but the corners stay soft, the projector is not perfectly perpendicular to the board — move to Step 4.
Step 3: Match the Source Resolution to the Projector’s Native Resolution
If your laptop is sending 1920×1080 to a projector whose native resolution is 1280×800 (WXGA), the projector has to scale the image, and scaling always introduces softness. Check the native resolution in the projector manual, then set your computer’s display output to match it exactly.
Step 4: Reset Keystone Correction
Digital keystone correction fixes a trapezoid-shaped image by stretching pixels, which inevitably blurs text. Set keystone to 0 and instead correct the geometry physically by adjusting the mount arm or projector feet so the lens sits squarely in front of the board.
Step 5: Check Lamp Hours and the Air Filter
An aging lamp loses brightness and contrast, which the eye perceives as blur. Look in the projector’s information menu for lamp hours; most lamps are rated for 3,000–5,000 hours in normal mode. A clogged air filter causes heat haze inside the optical path and can also soften the image, so clean or replace the filter every 3–6 months.
| Blurry Image Symptom | Most Likely Cause | Fix |
|---|---|---|
| Whole image soft | Focus drift or dirty lens | Clean lens, re-focus on center text |
| Center sharp, corners blurry | Projector not perpendicular / heavy keystone | Reset keystone to 0, realign mount arm |
| Text has jagged or doubled edges | Resolution mismatch | Set PC output to projector’s native resolution |
| Dim, washed-out, low contrast | Lamp near end of life or dirty filter | Clean filter, replace lamp, reset lamp timer |
| Blur appears after 20–30 minutes | Thermal expansion / overheating | Clear vents, improve room airflow, clean filter |
Problem 2: How to Fix a Smart Board Projector With No Signal
“No Signal,” “No Input,” or a blank blue screen means the projector is powered on but is not receiving a video stream it can recognize. Follow this chain from source to screen.
Step 1: Cycle Through Input Sources
Press the Source or Input button on the remote or projector body and wait 3–5 seconds on each option. Many rooms have the wall plate wired to HDMI 2 while the projector defaults to HDMI 1 after a power cut.
Step 2: Force the Computer to Output Video
- Windows: Press Windows + P and choose “Duplicate” or “Extend.” If nothing appears, open Display Settings and click “Detect.”
- macOS: Go to System Settings → Displays and hold the Option key to reveal “Detect Displays.” Enable mirroring if needed.
- Chromebook: Open Settings → Device → Displays and confirm the external display is listed.
Step 3: Inspect and Swap Cables
Long HDMI runs (over 10 m / 33 ft) through walls are prone to signal loss, especially at 4K. Test with a known-good short HDMI cable connected directly from laptop to projector. If this works, the problem is in the wall cabling, the wall plate, or an HDMI extender. For VGA connections, check for bent pins in the connector.
Step 4: Check HDCP and Adapter Compatibility
USB-C to HDMI dongles and cheap adapters frequently fail to negotiate HDCP (copy protection), which produces a blank screen when playing streaming video or DVDs. Try a different adapter, or lower the output resolution to 1080p, which many older projectors handle more reliably.
Step 5: Full Power Cycle
Turn off the projector, wait for the cooling fan to stop, then unplug it from the wall for a full 60 seconds. Restart the computer at the same time. This clears stuck EDID handshake data that commonly causes a projector to stop recognizing a source it previously worked with.
| Projector Status Light | Meaning | Action |
|---|---|---|
| Solid green / blue | Normal operation, no source detected | Check input selection, cables, and PC output |
| Blinking green | Warming up or cooling down | Wait 60–90 seconds before pressing any button |
| Blinking orange / amber | Lamp warning or filter warning | Clean filter; prepare to replace lamp |
| Solid or blinking red | Overheating, lamp failure, or fan error | Power off, cool down, clear vents, check lamp seating |
Problem 3: How to Fix Smart Board Calibration (Orientation) Issues
When your touch or pen input appears offset from where you actually pressed, the board has lost its orientation. This happens because the touch surface and the projected image are two separate systems that must be mapped to each other — and anything that moves the image, even by a few millimeters, breaks that mapping.
Step 1: Run the Orientation / Calibration Routine
On most interactive whiteboards, press and hold both pen-tray buttons (or the Orient button) until the calibration grid appears. Use a pen rather than your finger and press firmly and precisely in the center of each target. Choose the 9-point or 12-point option for better accuracy in daily use; use the 20-point option after a full re-installation.
Step 2: Secure the Projector Before Calibrating
Calibration is pointless if the projector arm is loose. Check the mount bolts and the arm joint. A ceiling or wall-arm projector that is bumped by a door, a tall cart, or even vibration from HVAC equipment will drift repeatedly. Fix the physical alignment first, then calibrate.
Step 3: Clean the Board Surface and Camera Windows
Boards that use optical (camera-based) touch rely on small camera windows in the corners of the frame. Dust, sticky tape residue, or a magnet placed in the corner will block them and cause phantom touches or dead zones. Wipe the entire surface and the inside edge of the frame.
Step 4: Reinstall or Update the Board Drivers
If orientation looks correct for a moment and then jumps, or if the board is detected as a plain mouse rather than a touch device, uninstall the board’s product drivers, restart, and install the latest version from the manufacturer. Also confirm the USB cable is connected to the computer — on many boards the touch signal travels via USB while the picture travels via HDMI, and a missing USB link means no touch at all.
Step 5: Reduce Infrared and Light Interference
Direct sunlight, halogen lamps, and some LED stage lights emit infrared that confuses optical touch sensors. Close blinds or reposition lighting and test again. Also remove any stray objects from the pen tray; a pen tray that thinks a tool is lifted will change the input mode.
Quick calibration tips for teachers and IT staff
- Calibrate at the start of each term and after any projector or lamp service.
- Keep a laminated card near the board explaining how to launch orientation so teachers can fix it in 30 seconds without a support ticket.
- If the image is still drifting weekly, the projector mount — not the software — is the real problem.
Other Common Smart Board Projector Faults and Fast Fixes
| Issue | Quick Fix |
|---|---|
| Projector shuts off after a few minutes | Overheating — clean filter and vents, check fan noise, disable “Auto Power Off” if idle timer is too short |
| Image has a green, pink, or yellow tint | Reseat VGA cable (bent pin) or reset color mode to “Presentation”/”Standard”; a persistent tint can indicate a failing color wheel or lamp |
| Colored spots or shadows on screen | Dust on internal LCD panels or DLP chip — requires professional cleaning |
| No sound | Select the projector as the audio output device on the PC; check projector volume and mute |
| Remote not responding | Replace batteries, remove IR interference, check the remote’s ID setting matches the projector |
| Pen writes but ink does not appear | Reopen whiteboard software, confirm “Ink Layer” or annotation mode is enabled, reinstall drivers |
Preventive Maintenance Schedule
Most projector faults are predictable and preventable. A simple schedule keeps the image sharp, the lamp alive longer, and the calibration stable.
| Frequency | Task |
|---|---|
| Weekly | Wipe board surface, check cable connections, confirm orientation accuracy |
| Monthly | Clean lens/mirror, vacuum air intake, check lamp-hour counter |
| Every 3–6 months | Clean or replace air filter, tighten mount bolts, update drivers and firmware |
| Every 3,000–5,000 lamp hours | Replace lamp, reset lamp timer, run full 20-point calibration |
Repair or Replace? Projector Smart Boards vs. Interactive Flat Panels
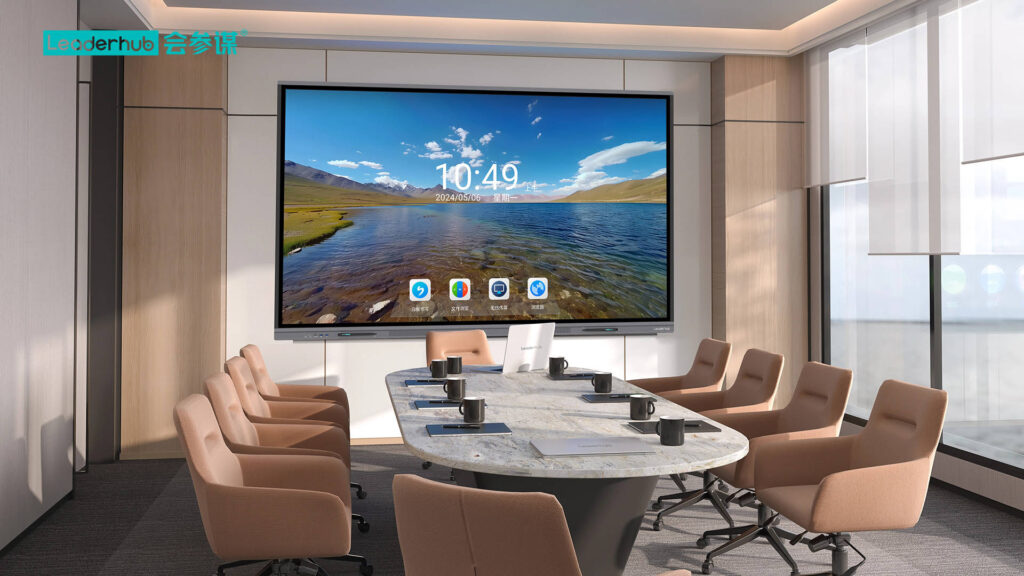
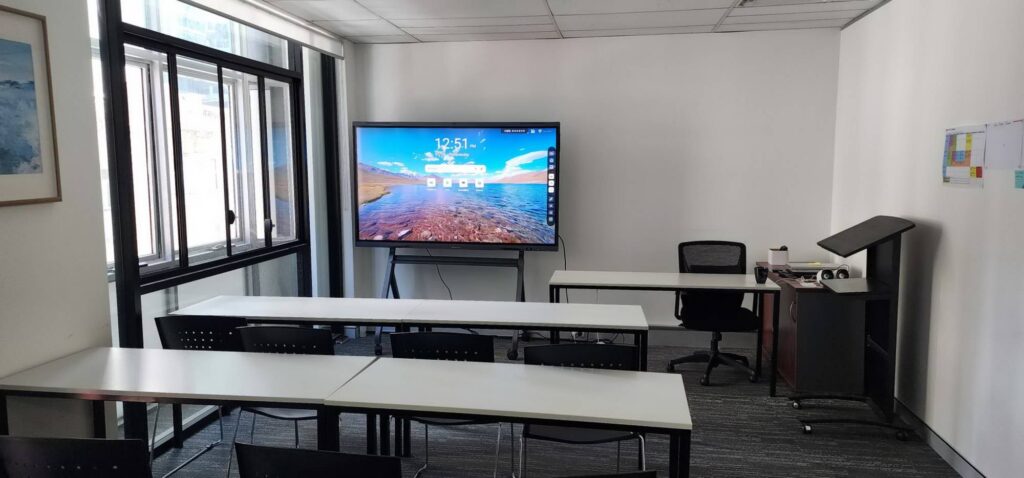
If you are replacing lamps every year, fighting daily calibration drift, and losing lesson time to “No Signal” errors, the cost of keeping an aging projector system alive can quickly exceed the cost of a modern alternative. Research summarized in the UNESCO Technology in Education Report stresses that classroom technology only delivers value when it is reliable and simple for teachers to use — exactly where projector-based boards struggle. Interactive flat panels (IFPs) remove the projector entirely: there is no lamp, no shadow from the presenter, no keystone, and the touch layer is bonded to the display, so calibration never drifts.
| Factor | Projector Smart Board | Interactive Flat Panel |
|---|---|---|
| Image sharpness | Depends on focus, lamp age, ambient light | Native 4K, consistent in bright rooms |
| Calibration | Needs regular re-orientation | Factory-aligned, no drift |
| Consumables | Lamps, filters, bulbs | None; 50,000-hour LED backlight |
| Shadows and glare | Presenter blocks the beam | No shadows, anti-glare glass |
| Signal / connectivity | Separate HDMI + USB, extenders, wall plates | Built-in Android, wireless screen sharing, single USB-C |
| 5-year total cost | Hardware + 2–4 lamps + service calls | Hardware only |
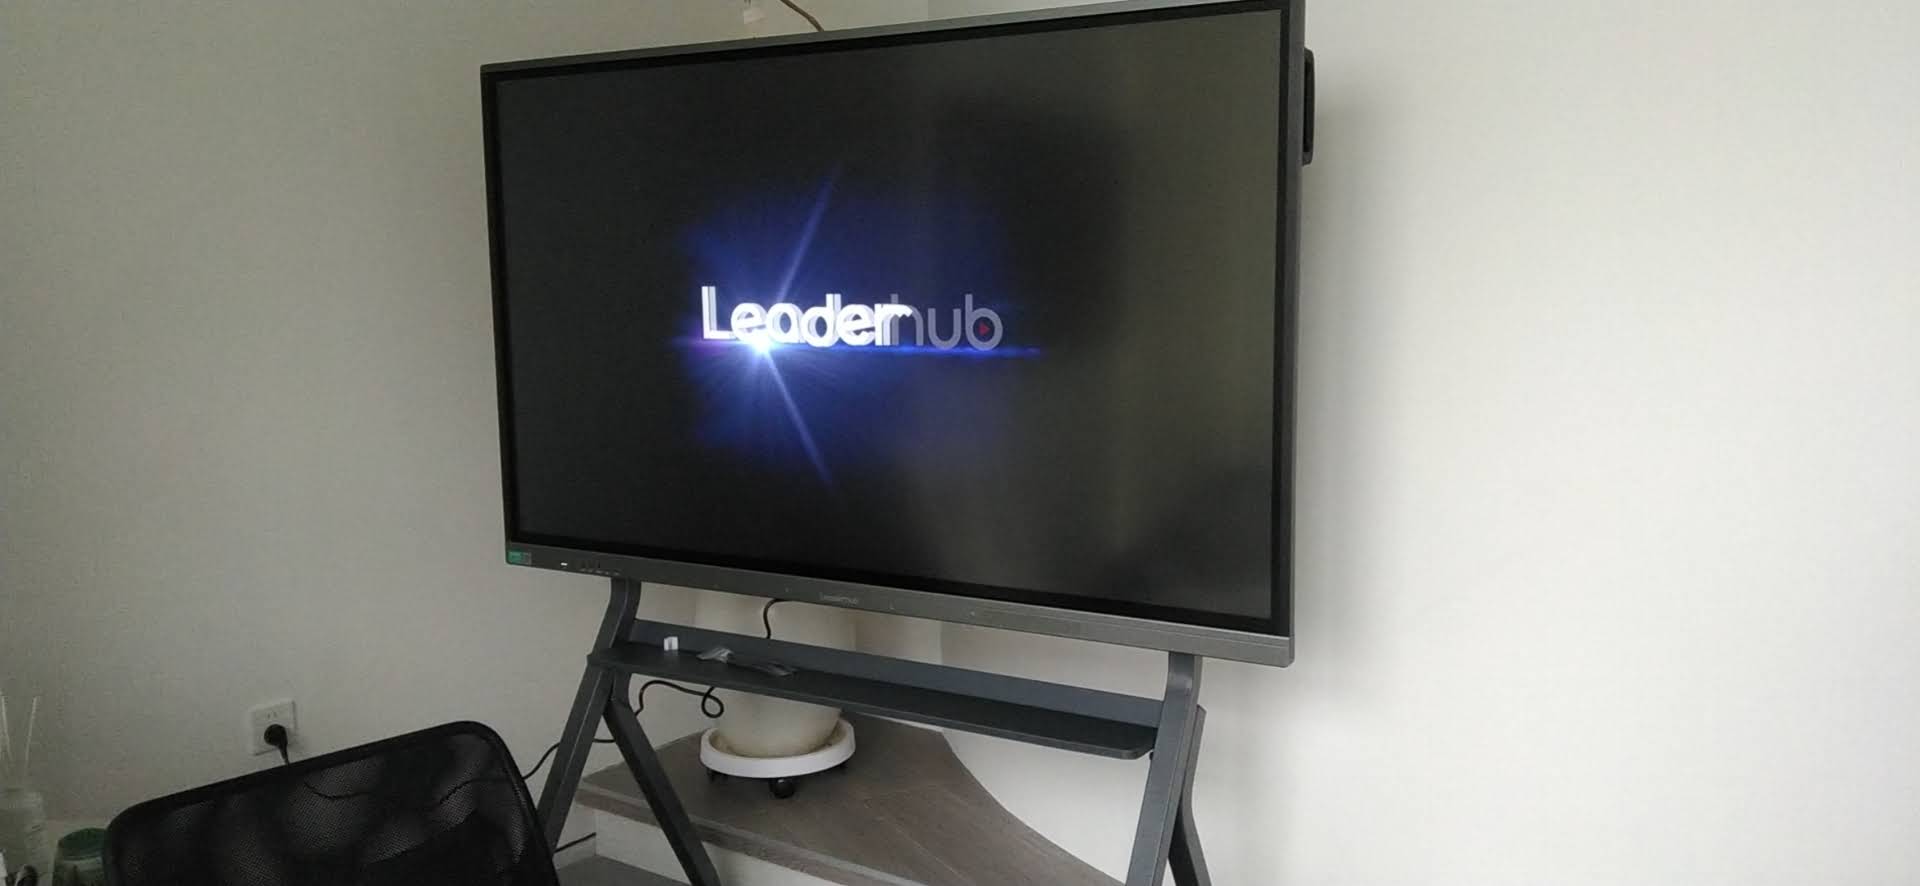
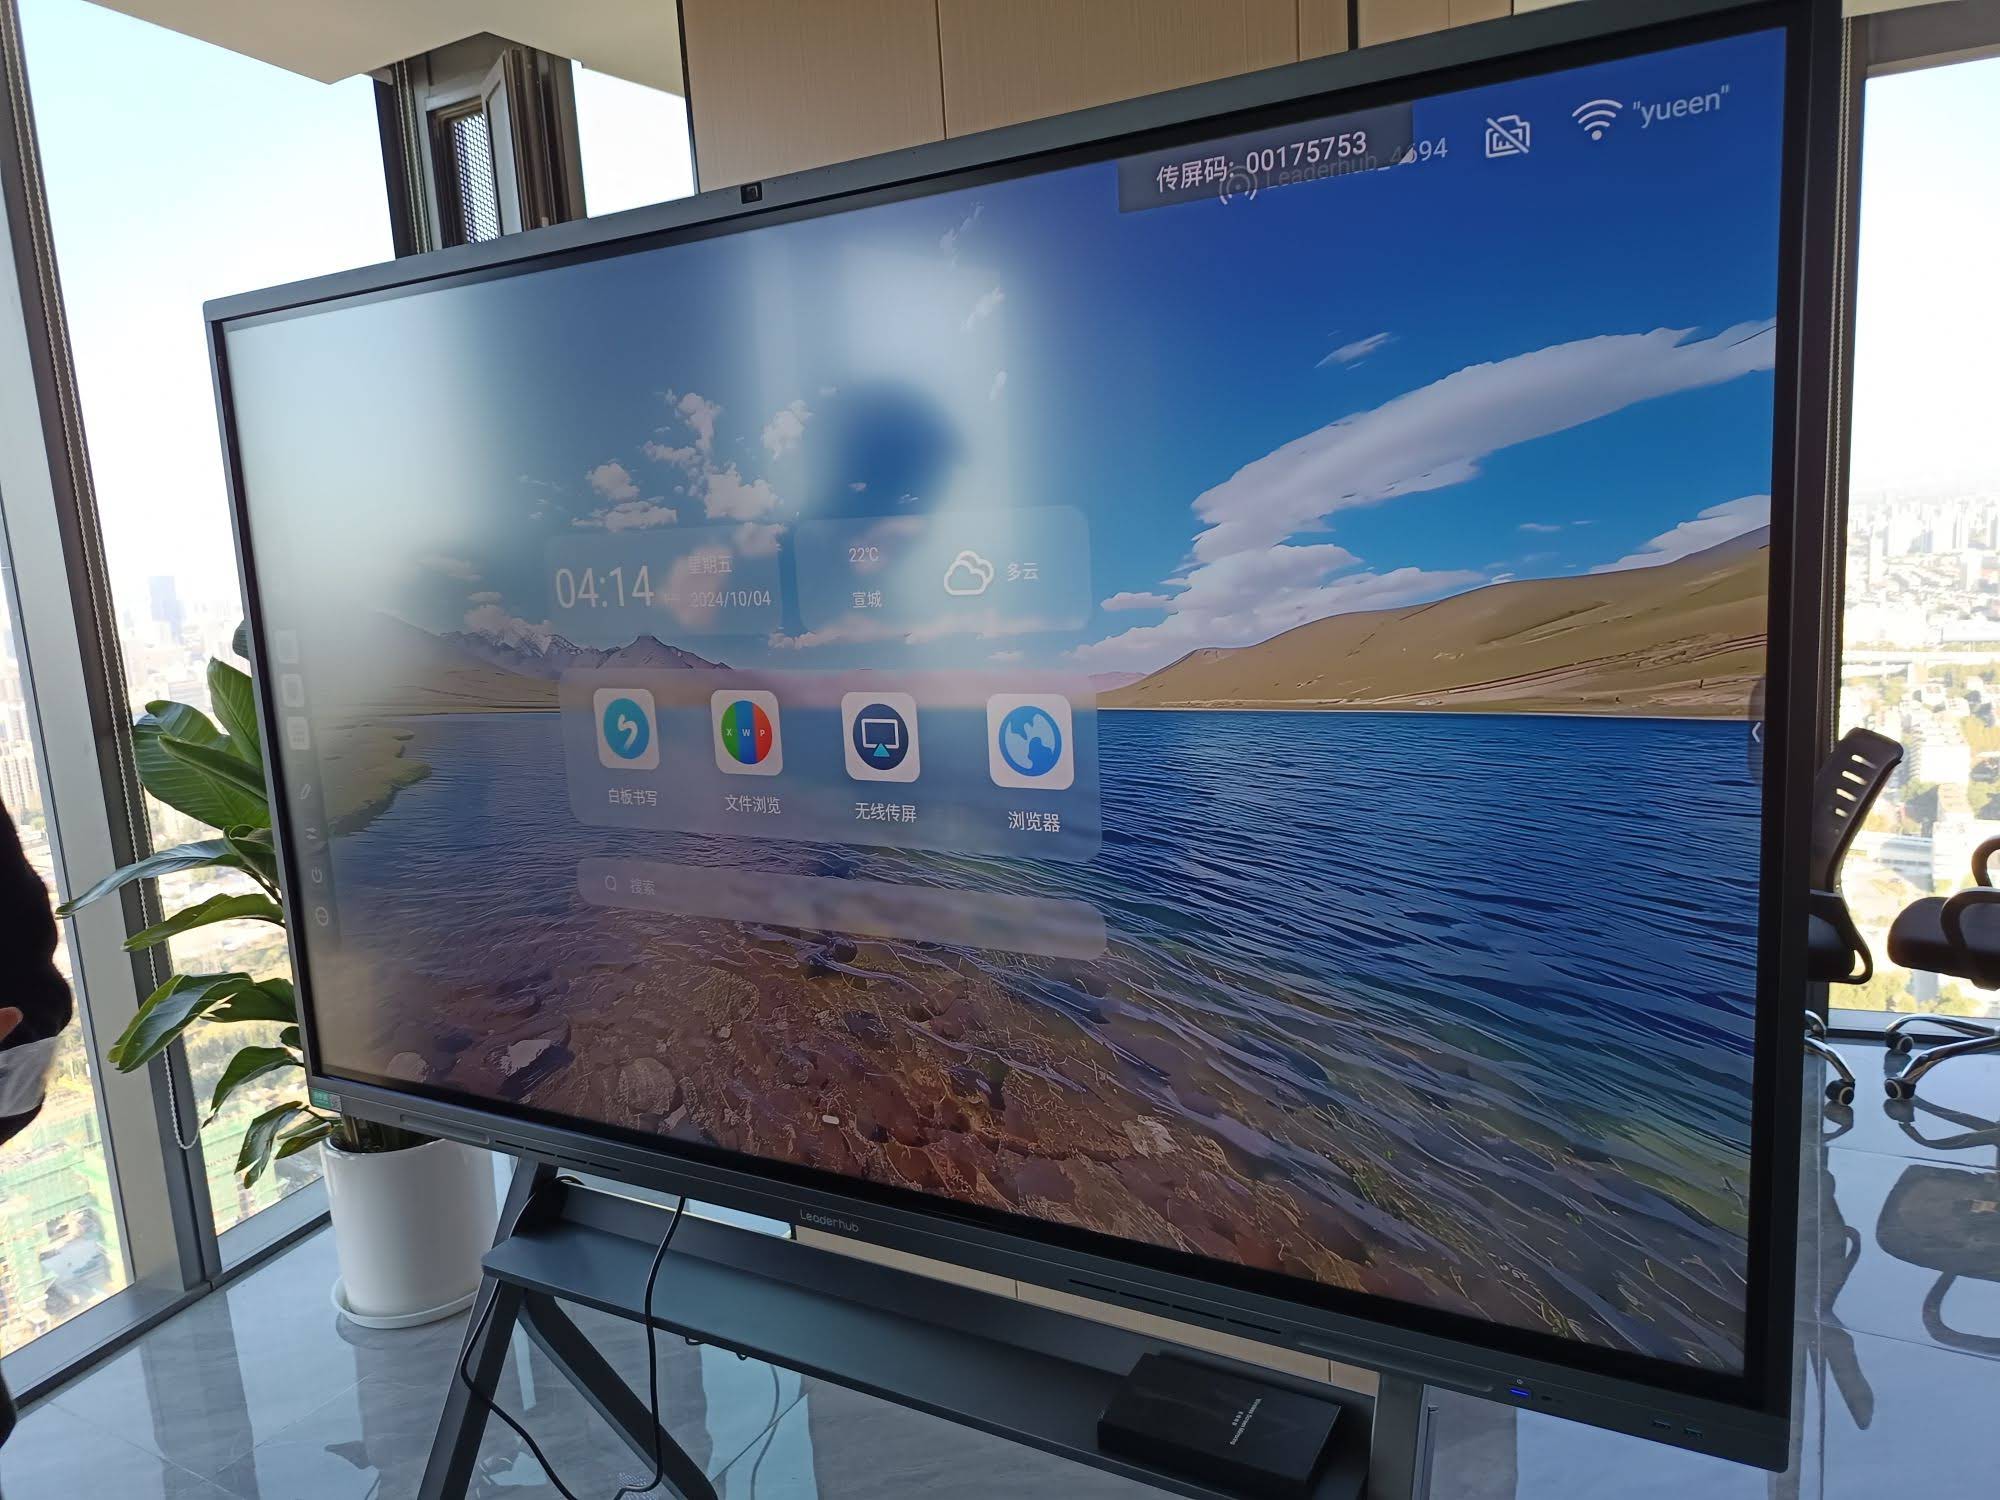
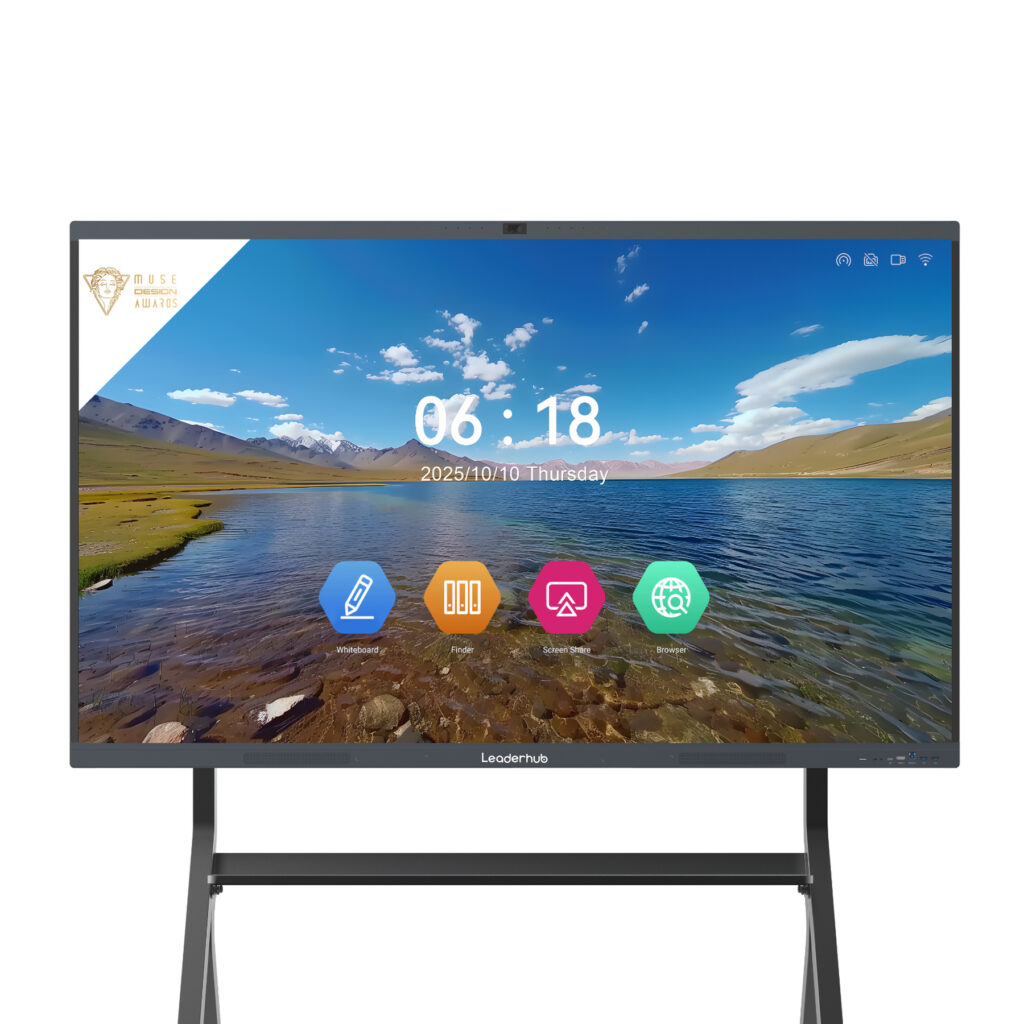
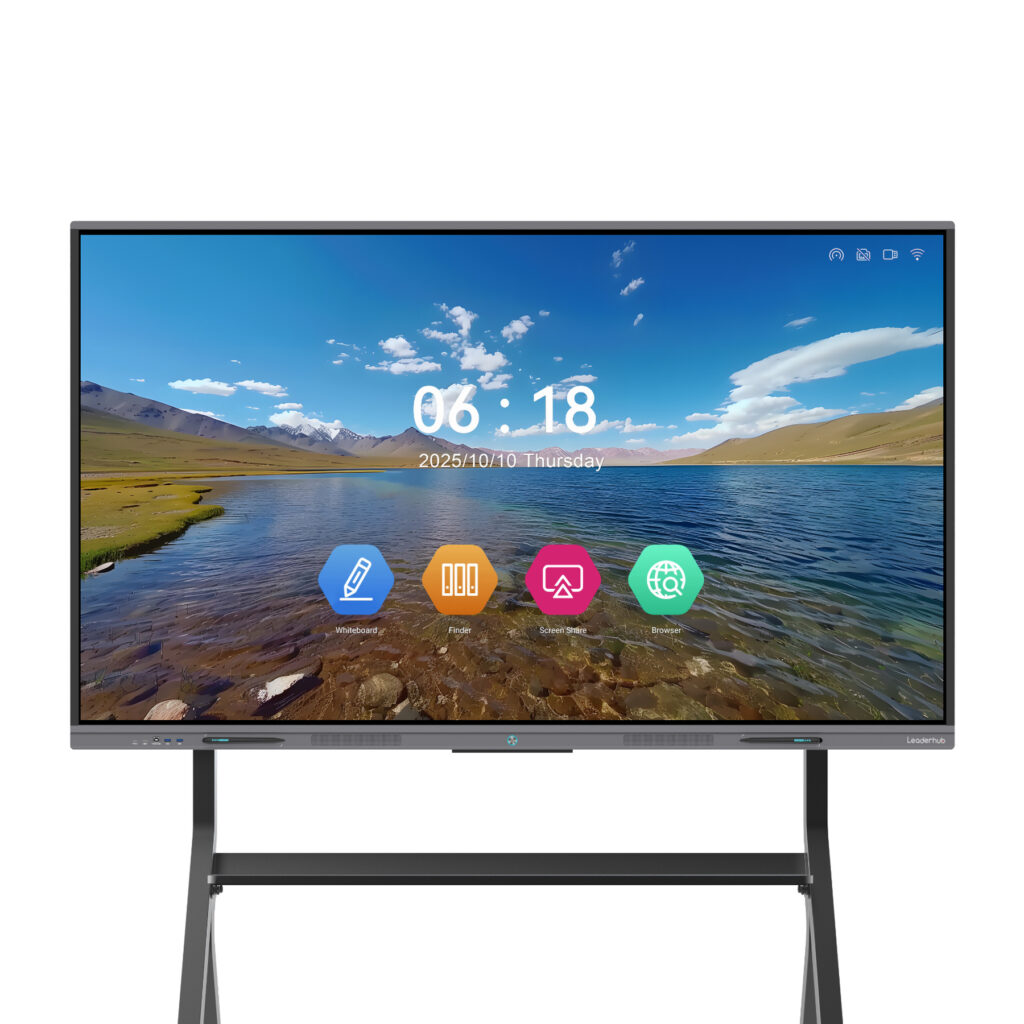
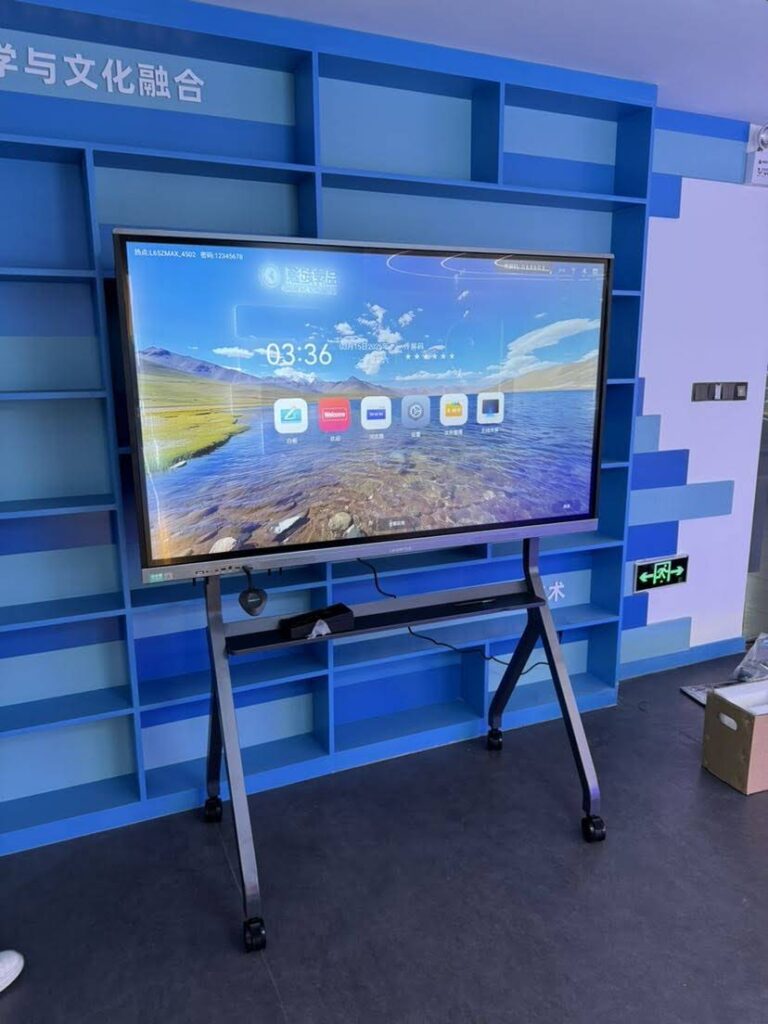
For a typical classroom or mid-size meeting room, a 75-inch 4K interactive smart whiteboard gives roughly the same viewing area as an 80-inch projected image but with far higher brightness and zero maintenance. Budget-conscious schools often start with a 65-inch interactive whiteboard for smaller rooms, while lecture halls and boardrooms move up to an 86-inch 4K smart panel. You can compare the full range of sizes and series on the smart whiteboards collection page.
Guidance from the EEF Digital Technology Guidance also reminds decision-makers that technology should reduce teacher workload rather than add to it. If your staff are spending more time troubleshooting than teaching, that is a strong signal that the hardware, not the people, needs to change.
Frequently Asked Questions
Why does my smart board projector image keep going blurry after I focus it?
Recurring blur usually points to heat. As the projector warms up, internal components expand slightly and shift the focal point. Clean the air filter, make sure the vents have at least 30 cm of clearance, and re-focus after the projector has been running for 15 minutes rather than immediately after power-on.
The projector says “No Signal” but my laptop shows the second display. What now?
The laptop is sending a signal, but the projector cannot decode it. Lower the output resolution and refresh rate (try 1280×800 at 60 Hz), replace the HDMI cable, and bypass any extenders or switchers to isolate the faulty link.
How often should I calibrate my smart board?
Calibrate whenever the touch point is visibly off, after moving the projector or changing resolution, and at least once per term as routine. If you need to calibrate more than once a week, inspect the projector mount for looseness.
Can I use a smart board without the projector?
A projector-based board is only a touch sensor; without the projected image there is nothing to interact with. If the projector has failed permanently, pairing the room with an interactive flat panel is typically more cost-effective than buying a replacement projector plus a new lamp.
Is it worth replacing the lamp on an old projector?
If the projector is under five years old and the lamp is the only issue, yes. If it also suffers from color spots, fan noise, or frequent calibration drift, a replacement lamp is often money spent on a system that will need replacing soon anyway.
Final Thoughts
Knowing how to fix a smart board projector means approaching the problem methodically: clean and focus for blur, trace the signal chain for “No Signal,” and secure the mount before you calibrate. These steps resolve the vast majority of classroom and meeting-room issues in minutes. When the fixes stop lasting, however, the smarter investment is a lamp-free interactive display that eliminates these problems at the source.
Leaderhub is a Shenzhen-based interactive display manufacturer with 16 years of experience, delivering smart whiteboards, interactive flat panels, mini PCs, and portable smart screens to education and enterprise customers in more than 82 countries. If you are weighing a repair against an upgrade, contact the Leaderhub team for a room-by-room recommendation, or explore the full product range to find a display that fits your space and budget.