
how to configure a smart board is easier than it looks when you follow the right setup order. Whether you’re preparing a board for a classroom, meeting room, or training space, the goal is the same: connect the hardware, calibrate touch, sign in to essential apps, and make the display ready for daily use.
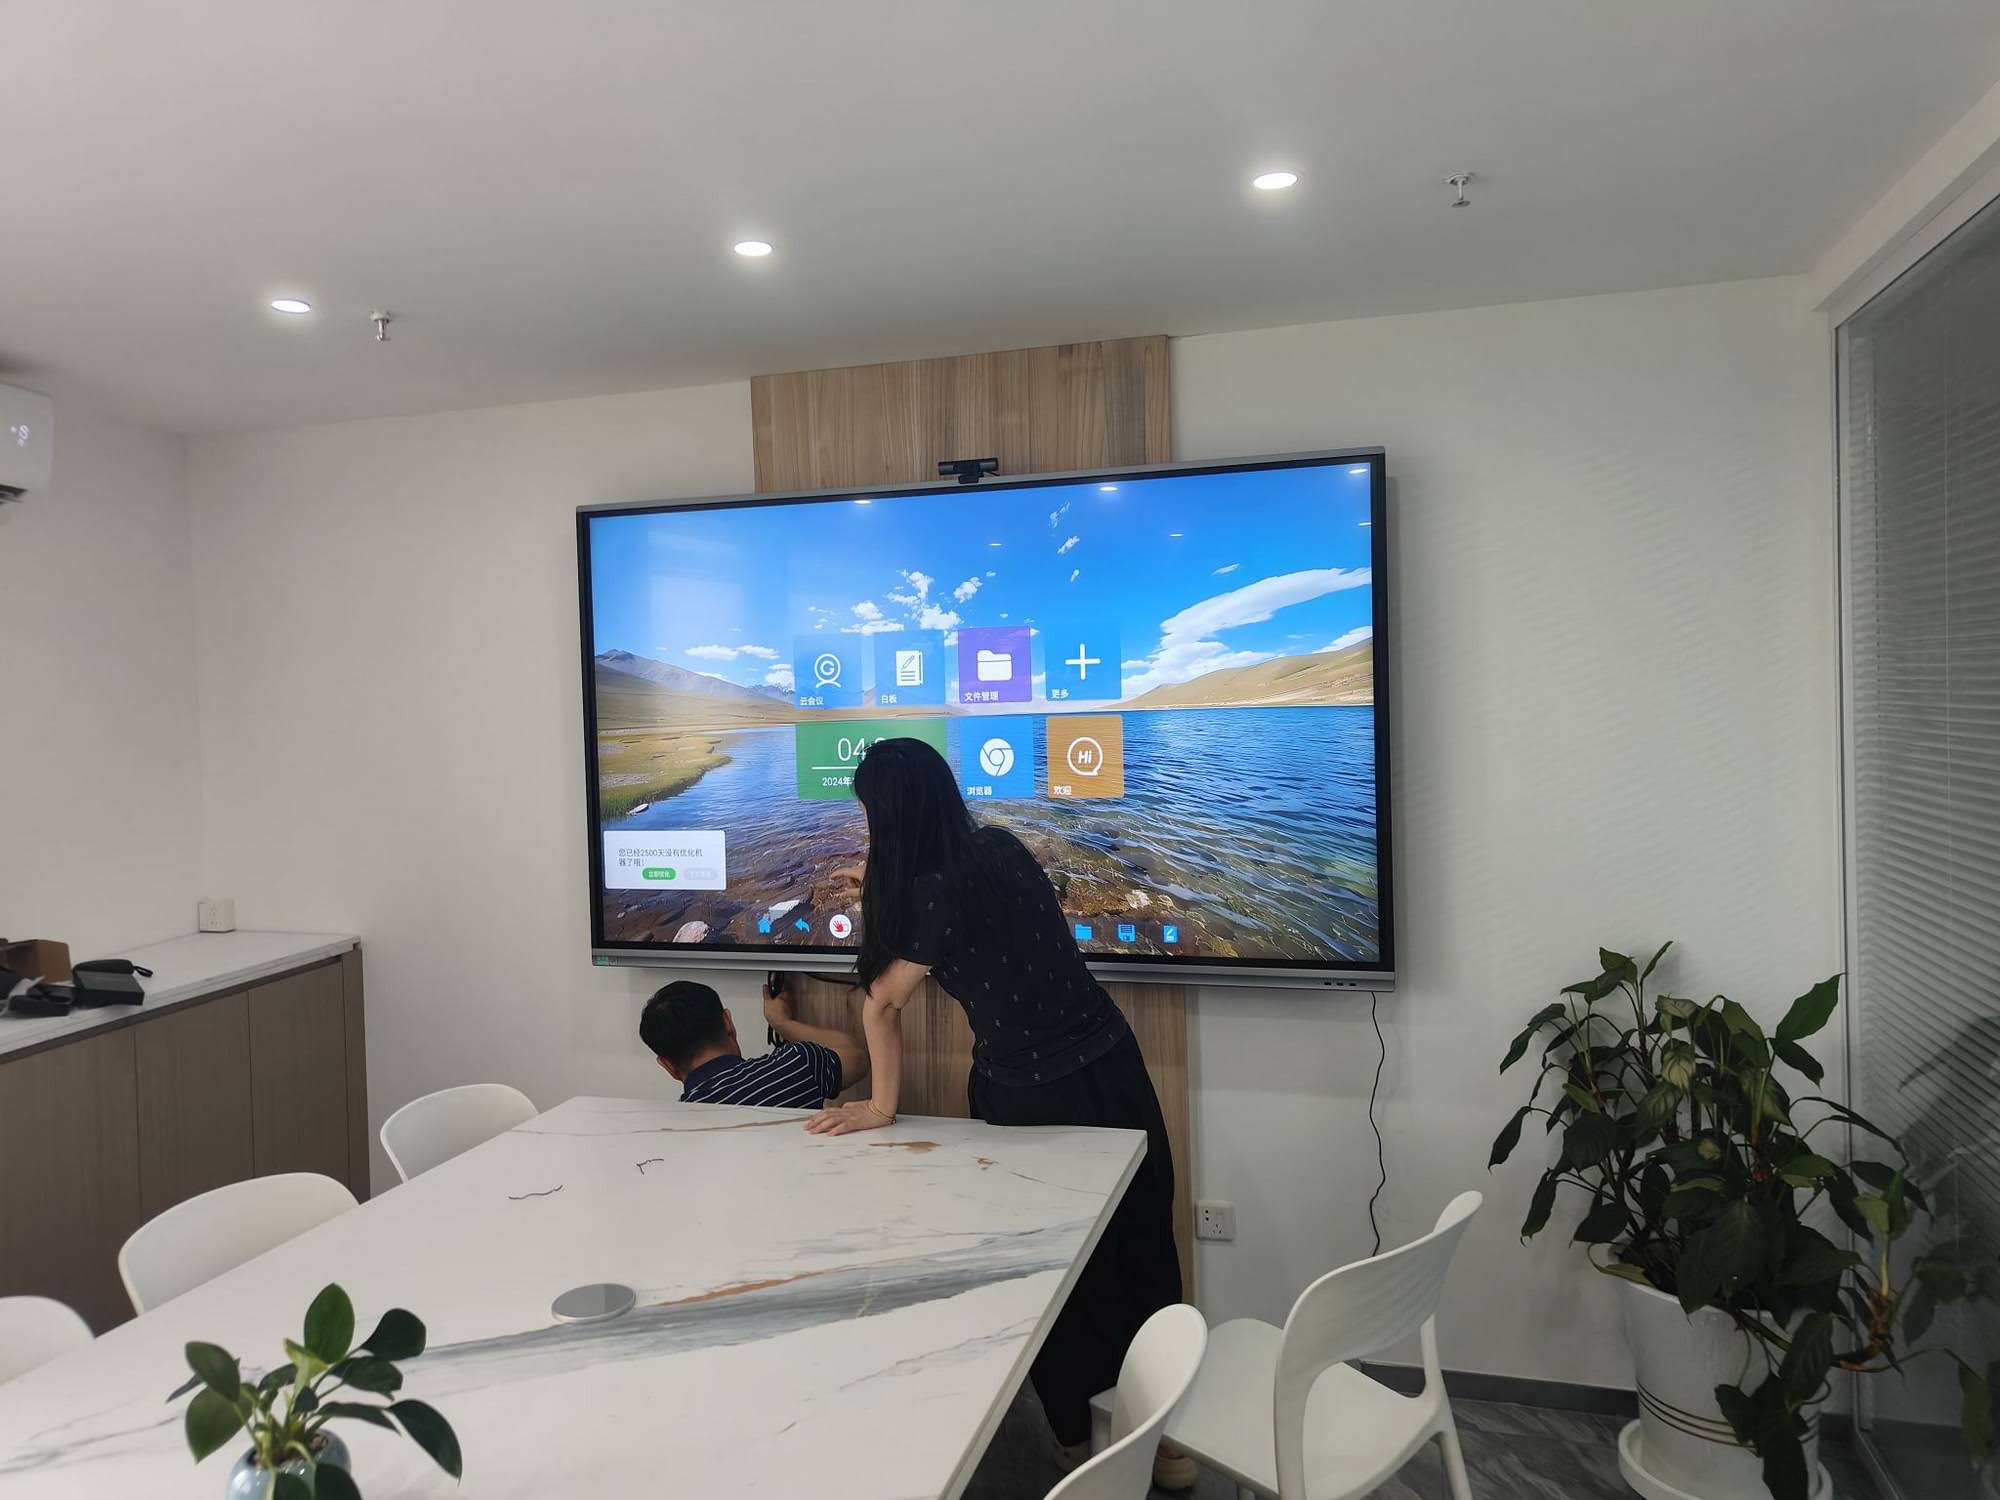
In this guide, you’ll learn a beginner-friendly setup flow that helps you avoid common mistakes like poor cable connections, incorrect input selection, and touch misalignment. If you’re comparing hardware options, smart whiteboards, rotating screens, and mini PCs can each play a different role in building a reliable interactive setup.
What You Need Before Setup
- The smart board or interactive display
- Power cable and power outlet
- HDMI cable or USB-C cable for video
- USB cable for touch control, if required
- Wi-Fi credentials or Ethernet connection
- A laptop, mini PC, or built-in Android/Windows system
- Stylus or touch pen, if your model includes one
Tip: Keep your source device nearby during setup so you can test video, audio, and touch control in one session.
Step 1: Unbox and Inspect the Display
Start by checking the panel, accessories, and ports. Look for any shipping damage and confirm that the display stand or wall mount matches the screen size. Before powering on, make sure the back panel is accessible so you can connect cables without strain.
Step 2: Position the Smart Board Correctly
Place the board at eye level for the main users. In classrooms, ensure students can see all corners of the screen. In meeting rooms, leave enough clearance for cable access and ventilation. A stable placement reduces touch errors and protects the unit from accidental knocks.
Step 3: Connect Power and Video Input
Plug in the power cable first, then connect your video source. Most setups use one of these input methods:
- HDMI: the most common option for laptops and PCs
- USB-C: simple all-in-one connection on newer devices
- DisplayPort or adapter: useful for specific computers or docking stations
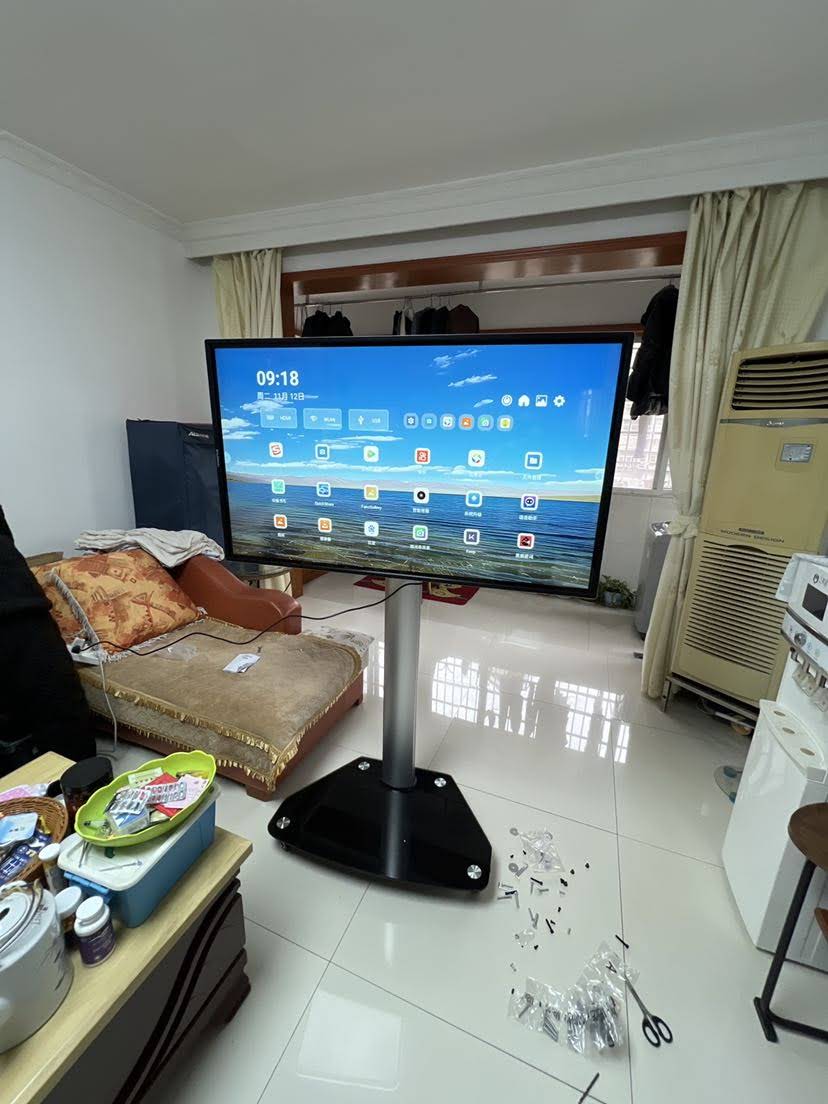
After connecting, turn on the display and select the correct input source from the menu.
Step 4: Enable Touch Control
If your board supports touch through USB, connect the USB cable from the display to the computer or mini PC. This allows the screen to recognize taps, swipes, and writing input. Once connected, test a few simple gestures:
- Tap an icon
- Drag a window across the screen
- Write with a finger or stylus
- Erase and check responsiveness
Touch not working?
- Confirm the USB cable is plugged into the correct port
- Restart the computer and the display
- Try another USB cable if the response is delayed
- Check whether the device needs a driver or firmware update
Step 5: Calibrate the Screen
Calibration aligns your touch point with what appears on the display. This is essential after installation, especially if the board has been moved or mounted at a slight angle. Open the calibration tool from the system menu and follow the on-screen instructions carefully.
Best practice: Use a stylus or your fingertip for more accurate calibration, and make sure the screen surface is clean before you start.
Step 6: Connect to Wi-Fi or Ethernet
Internet access lets you update the system, use cloud apps, and share files quickly. If possible, use Ethernet for the most stable connection. Otherwise, connect to a strong Wi-Fi network and save the login details for future use.
| Setup Task | Why It Matters | Beginner Tip |
|---|---|---|
| Power connection | Provides stable startup | Use a surge-protected outlet |
| Video input | Shows the correct device screen | Match the cable to your source port |
| USB touch link | Enables interactive control | Test touch after plugging in |
| Calibration | Improves touch accuracy | Recalibrate after moving the board |
| Network setup | Supports updates and apps | Save credentials securely |
Step 7: Sign In and Install Essential Apps
Once the board is connected and calibrated, install the tools you need most often. For teaching, that may include whiteboarding, file sharing, and video conferencing apps. For meetings, focus on presentation software, annotation tools, and cloud storage access.
- Whiteboard and annotation app
- Meeting platform like Zoom, Teams, or Google Meet
- Browser bookmarks for key websites
- Cloud drive access for shared materials
Step 8: Adjust Display and Sound Settings
Set the screen brightness, volume, and sleep timer according to the room. In bright classrooms, increase brightness slightly. In conference rooms, keep audio clear but not too loud. A well-tuned display improves visibility and helps users adopt the board faster.
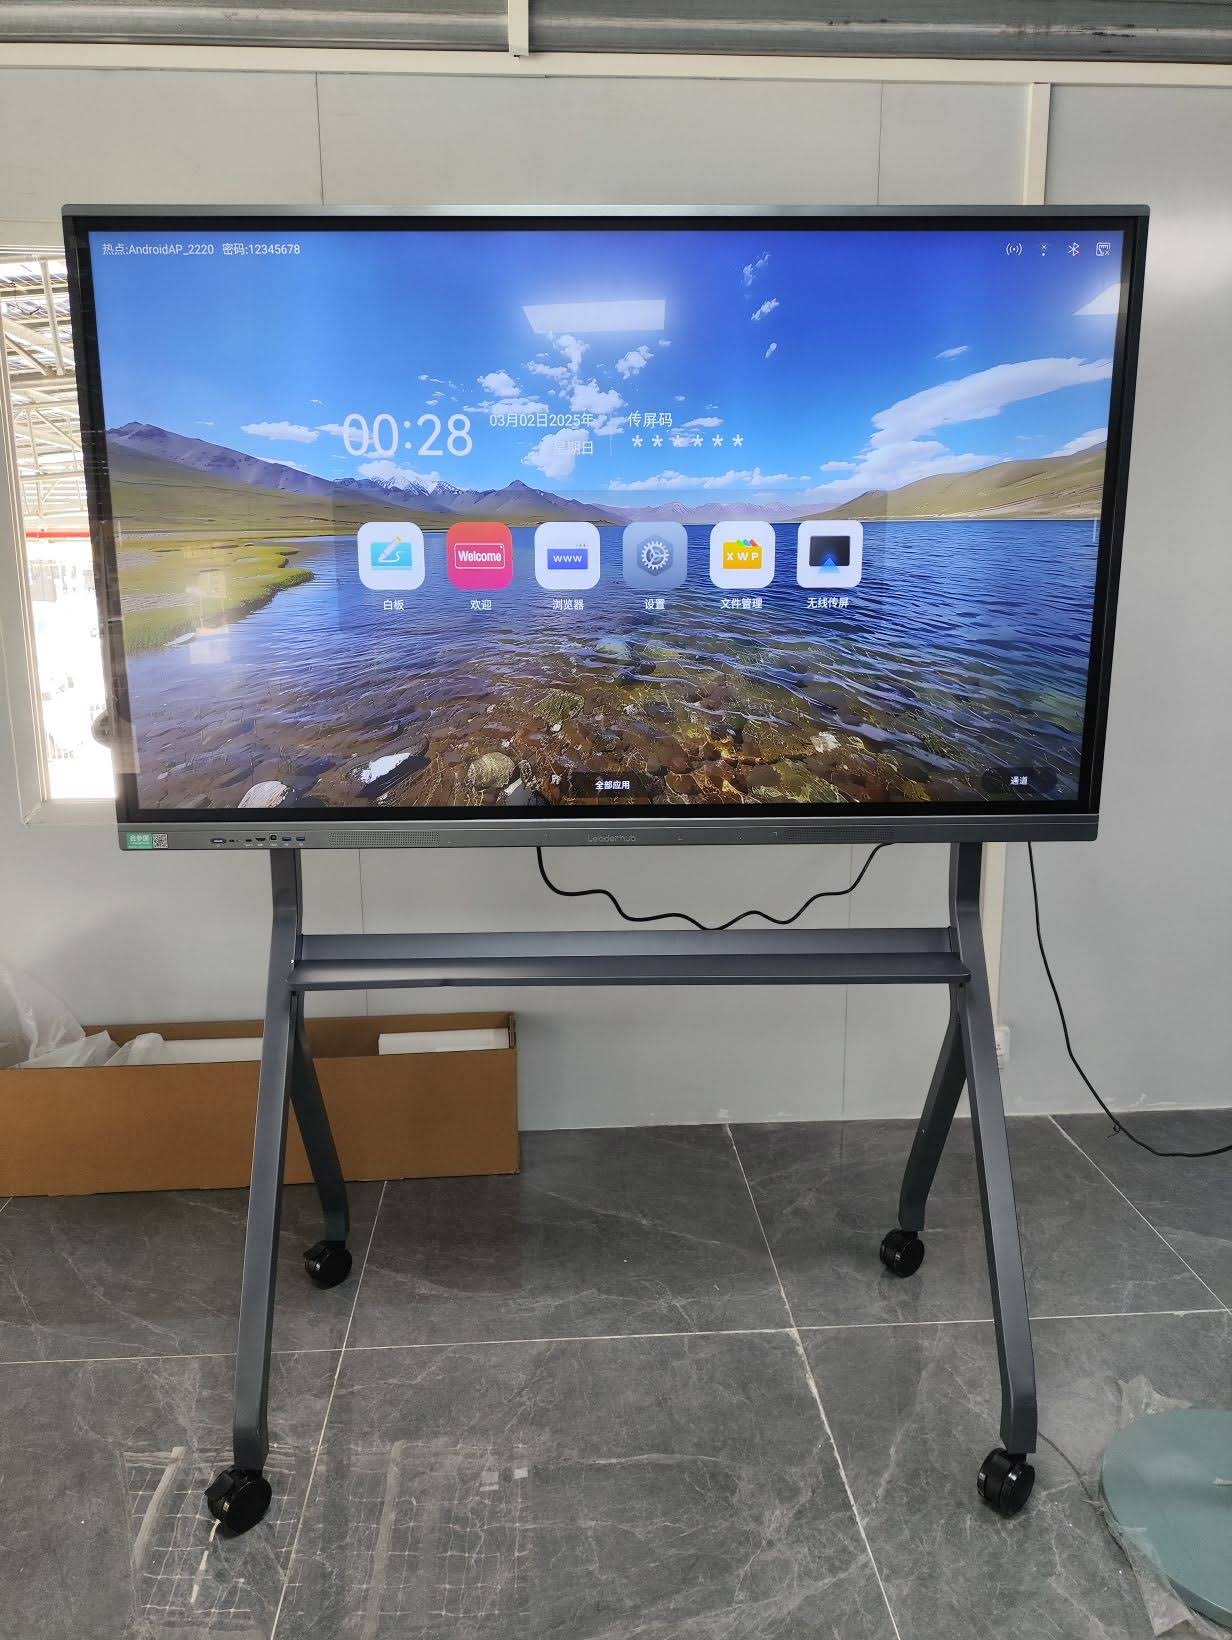
Recommended Setup Order for Beginners
- Mount or place the display
- Connect power
- Connect HDMI or USB-C
- Connect USB for touch
- Turn on the screen and select input
- Calibrate touch
- Connect to the internet
- Install apps and test workflows
Common Problems and Quick Fixes
| Problem | Possible Cause | Quick Fix |
|---|---|---|
| No signal | Wrong input selected | Switch to the correct HDMI/USB-C source |
| Touch lag | Loose USB connection | Reconnect the cable and restart devices |
| Misaligned touch | Calibration issue | Run calibration again |
| Weak Wi-Fi | Poor signal strength | Move closer to the router or use Ethernet |
| Poor image quality | Resolution mismatch | Set the source device to the native resolution |
Best Practices for Classroom and Meeting Room Use
For effective interactive learning and collaboration, keep the workflow simple. Avoid overloading the board with too many apps at once, and create a standard startup routine so everyone uses the same settings each time. This approach supports the broader recommendations found in the UNESCO Technology Recommendations and ISTE Education Technology Standards.
- Use one primary whiteboarding app
- Create a shared folder for lesson or meeting files
- Keep cables labeled for easy troubleshooting
- Update firmware on a regular schedule
- Recheck calibration after transport or mounting changes
Where to Go Next
If you want to expand your setup, browse the product catalog or contact our team for help choosing the right display and accessories for your room size and usage scenario.
FAQ
Can I configure a smart board without technical experience?
Yes. If you follow the setup order step by step, even a beginner can connect the display, enable touch, and get started quickly.
Do I need a computer to use a smart board?
Not always. Some smart boards run their own operating system, while others work best with a laptop or mini PC connected through HDMI or USB-C.
How often should I recalibrate the screen?
Recalibrate whenever the board is moved, mounted again, or when touch points start to drift.








