
Connecting a laptop to a smart board transforms any presentation space into an interactive digital workspace. Whether you’re teaching a classroom, leading a business meeting, or conducting a training session, understanding the proper connection process ensures smooth operation and maximizes the potential of your interactive display technology.
This comprehensive guide walks you through everything you need to know about connecting your laptop to a smart board, from checking compatibility to troubleshooting common issues. Based on real-world deployment experience across educational institutions and corporate environments, these methods have been tested and proven effective across various smart board models and laptop configurations.
Understanding Smart Board Connection Types
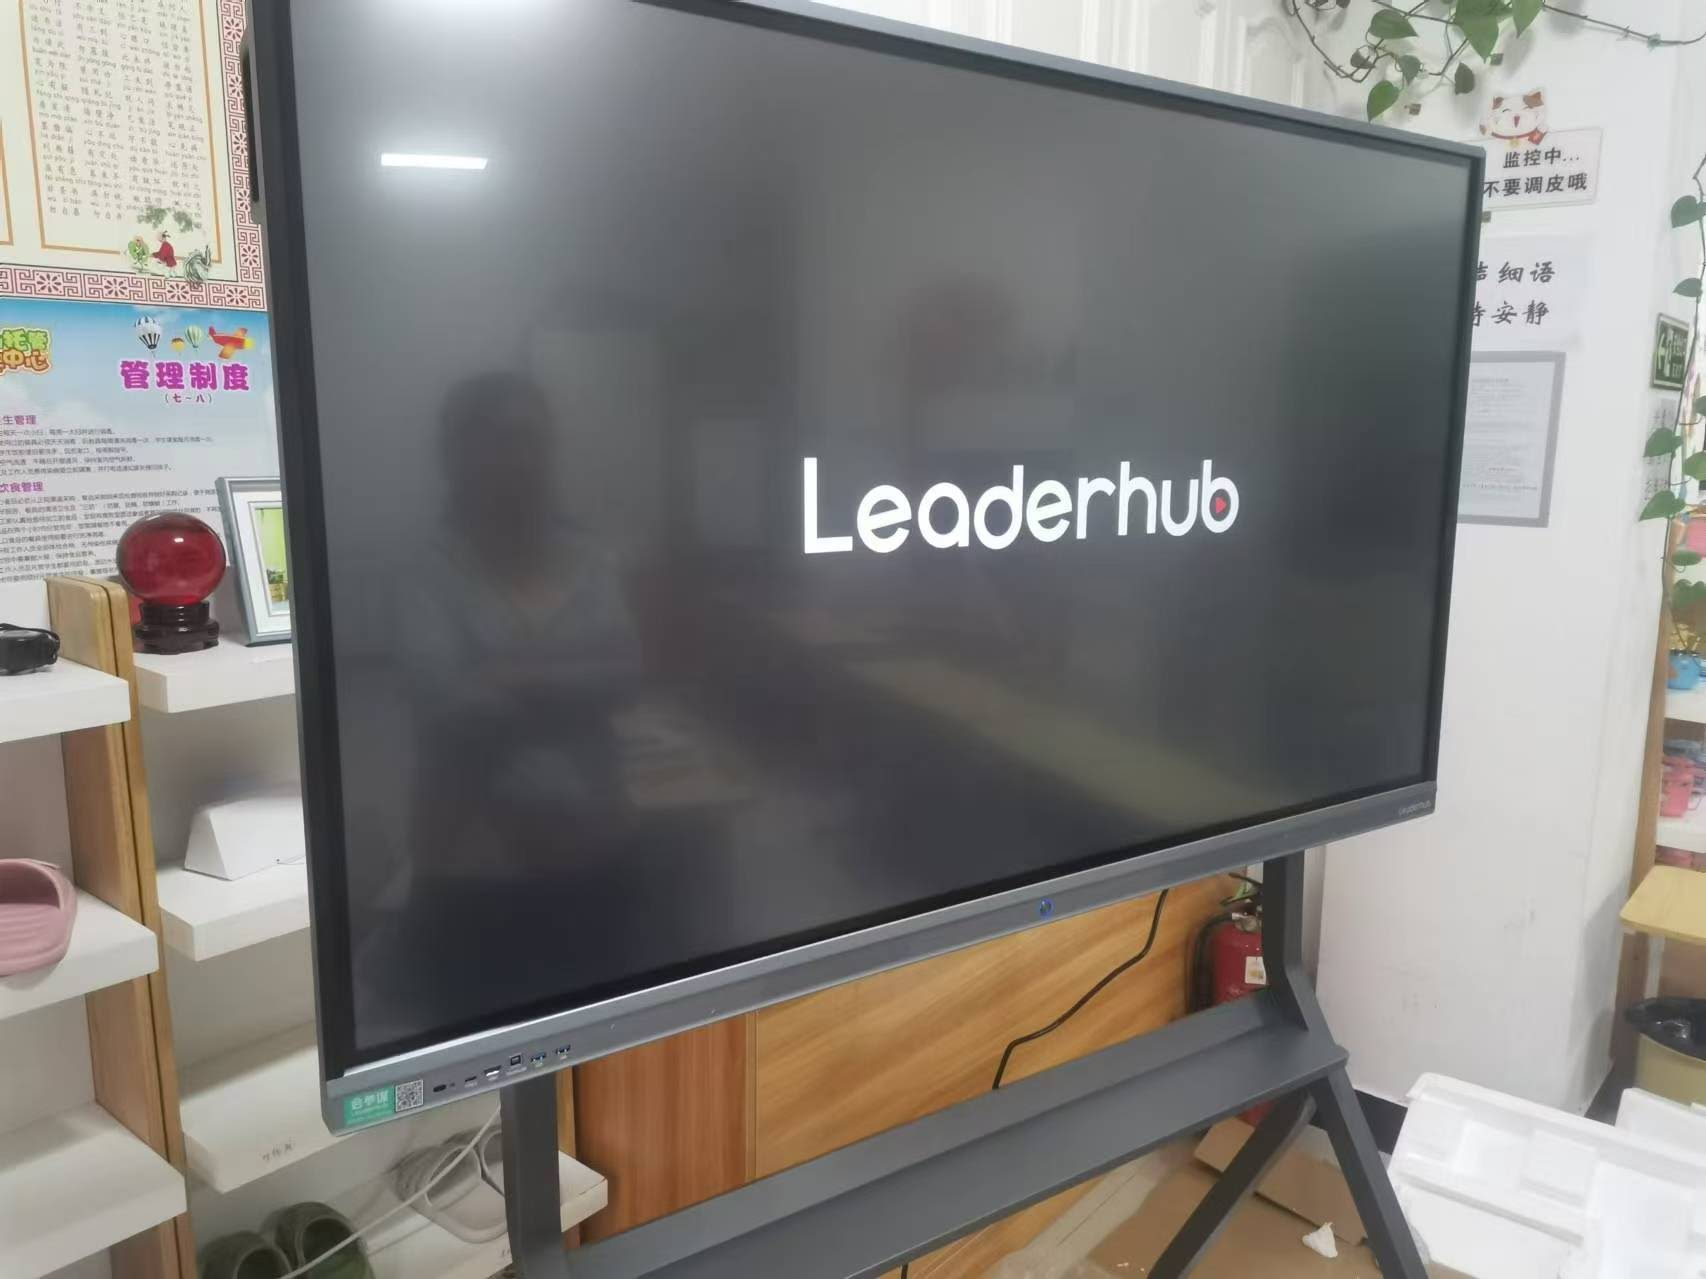
Before connecting your laptop, identify which connection options your smart board supports. Modern interactive displays typically offer multiple connectivity methods, each with distinct advantages depending on your setup requirements and available equipment.
HDMI Connection
HDMI represents the most common and reliable connection method for smart boards. This digital interface transmits both high-definition video and audio through a single cable, eliminating the need for separate audio connections. Most laptops manufactured after 2010 include at least one HDMI port, making this the preferred choice for consistent performance.
HDMI connections support resolutions up to 4K, ensuring crisp text and vibrant colors on large interactive displays. The connection is plug-and-play on most systems, requiring minimal configuration once physically connected.
USB-C and Thunderbolt Connections
Newer laptops, particularly ultrabooks and modern MacBooks, have transitioned to USB-C ports that support video output. These versatile ports can transmit video, audio, data, and even power through a single cable. Smart boards with USB-C compatibility offer the cleanest setup with minimal cable clutter.
When using USB-C for display connection, verify that your laptop’s USB-C port supports DisplayPort Alternate Mode or Thunderbolt. Not all USB-C ports include video output capability¡ªsome are limited to data transfer and charging only.
VGA and DVI Legacy Connections
Older smart boards and laptops may rely on VGA or DVI connections. While these analog and early digital standards still function, they offer lower resolution capabilities and VGA requires a separate audio cable. If your equipment uses these legacy ports, consider using adapters to connect to more modern display inputs when possible.
Wireless Connection Options
Many contemporary smart boards support wireless screen mirroring through protocols like Miracast, AirPlay, or proprietary wireless systems. Wireless connections eliminate cable management concerns and allow presenters to move freely around the room while maintaining screen control.
However, wireless connections may introduce slight latency and depend on network stability. For presentations requiring real-time interaction or video playback, wired connections typically provide more reliable performance.
Essential Equipment and Cables You’ll Need
Gathering the right equipment before beginning the connection process prevents interruptions and ensures a smooth setup. Here’s what you’ll typically need:
- Video cable: HDMI, USB-C, DisplayPort, or VGA cable matching your laptop and smart board ports
- Adapters: If your laptop and smart board use different port types, you’ll need appropriate adapters (USB-C to HDMI, Mini DisplayPort to HDMI, etc.)
- USB cable: Many smart boards require a USB connection from the laptop to enable touch functionality
- Power adapter: Keep your laptop charger handy for extended presentation sessions
- Audio cable: Only necessary if using VGA connection or if HDMI audio isn’t working properly
Quality cables make a measurable difference in connection reliability. Invest in certified cables rather than budget alternatives, especially for HDMI and USB-C connections. Certified cables undergo testing to ensure they meet performance specifications and reduce the likelihood of signal degradation or connection failures.
Step-by-Step Connection Process
Physical Connection Setup
Start by powering on the smart board and allowing it to complete its startup sequence. Most interactive flat panels take 30-60 seconds to fully boot and become ready for input.
Locate the input ports on your smart board¡ªthese are typically found on the side panel or rear of the display. Connect your chosen video cable (HDMI recommended) from your laptop to the smart board’s corresponding input port. Ensure the connection is secure by pushing the connector in firmly until you hear or feel a click.
If your smart board requires touch functionality, connect a USB cable from your laptop to the smart board’s USB upstream port, usually labeled “USB-B” or “PC.” This connection enables the interactive touch features that distinguish smart boards from standard displays.
Selecting the Correct Input Source
Using the smart board’s remote control or on-screen menu, select the input source matching your connection. If you connected via HDMI port 1, select “HDMI 1” as the input. The smart board should display your laptop screen within a few seconds.
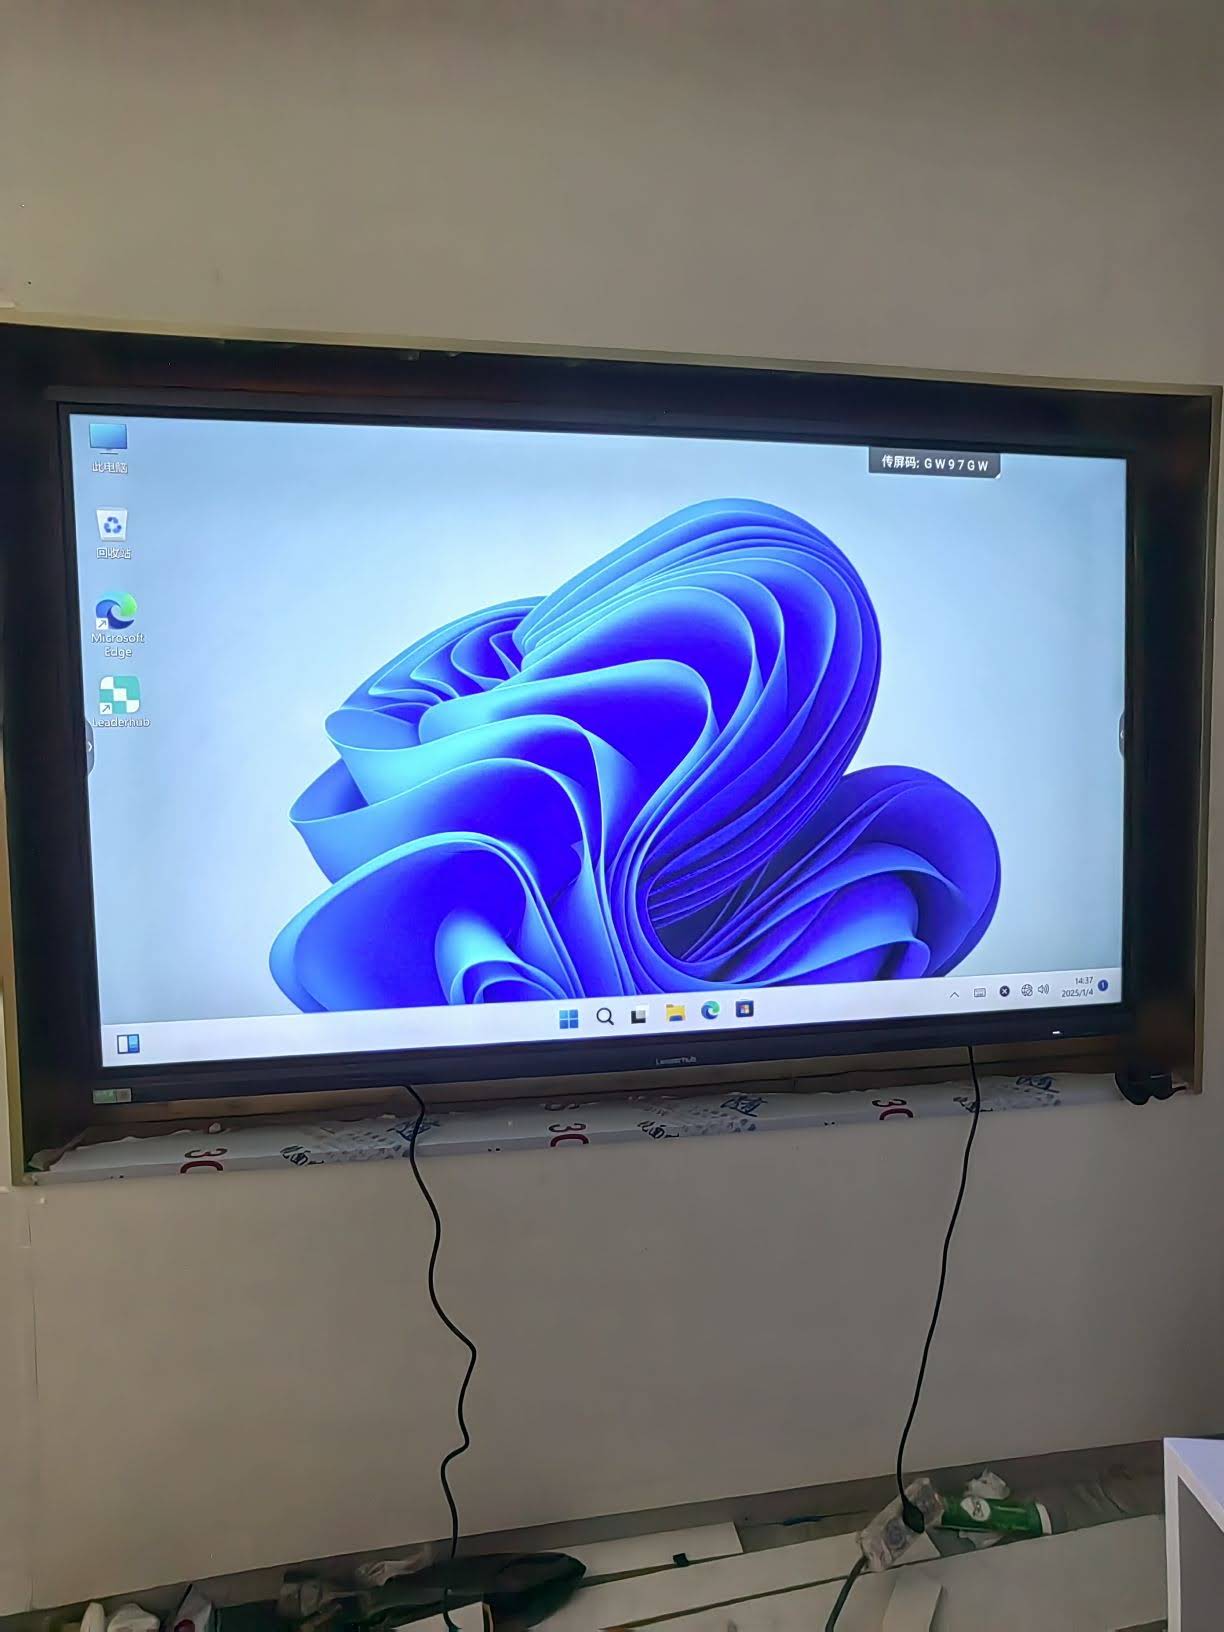
If you don’t see your laptop display immediately, try pressing the Windows key + P on Windows laptops, or Command + F1 on MacBooks, to activate the external display output.
Configuring Display Settings on Windows
Once physically connected, Windows users should configure display settings for optimal presentation:
- Right-click on the desktop and select “Display settings”
- Scroll to “Multiple displays” section
- Choose your preferred display mode: Duplicate (same content on laptop and smart board), Extend (smart board acts as second monitor), or Second screen only (laptop screen off, smart board only)
- Adjust resolution to match the smart board’s native resolution for clearest image quality
- Click “Apply” to save changes
For presentations, “Duplicate” mode is typically most practical, allowing you to see the same content on both your laptop and the smart board. “Extend” mode works well when you need additional workspace¡ªfor example, keeping speaker notes on your laptop while displaying presentation slides on the smart board.
Configuring Display Settings on macOS
Mac users follow a similar process with slight interface differences:
- Click the Apple menu and select “System Preferences” (or “System Settings” on newer macOS versions)
- Choose “Displays”
- Click the “Arrangement” tab
- Check or uncheck “Mirror Displays” depending on whether you want duplicate or extended mode
- Drag display icons to match the physical arrangement of your screens if using extended mode
macOS typically auto-detects connected displays and applies appropriate settings automatically. However, manual adjustment ensures the configuration matches your specific presentation needs.
Enabling Touch Functionality
After establishing video output, the next step involves activating the smart board’s interactive touch capabilities. This feature is what transforms a simple display into a truly interactive workspace.
Touch Driver Installation
Most smart boards require specific touch drivers to enable full interactive functionality. These drivers translate touch inputs from the smart board into commands your laptop understands.
Visit the manufacturer’s support page and download the latest touch drivers for your smart board model and operating system. Run the installer and follow the on-screen instructions. A system restart is typically required after driver installation.
For example, LeaderHub smart whiteboards come with comprehensive driver packages that support both Windows and macOS, ensuring compatibility across different laptop platforms. After over 16 years of interactive display development, companies like LeaderHub have refined their driver software to provide reliable touch recognition and minimal setup complexity.
Calibrating Touch Accuracy
Once drivers are installed, calibration ensures that where you touch the screen matches where the system registers input. This process is crucial for precise interaction, especially when using the smart board for detailed work like annotations or drawing.
Access the calibration utility through the smart board’s settings menu or the driver software on your laptop. Follow the on-screen instructions, typically requiring you to touch specific points around the screen perimeter. The system uses these input points to map the touch surface accurately.
Recalibrate periodically, especially if you notice touch accuracy drifting over time or after moving the smart board to a new location.
Wireless Connection Methods
Wireless connectivity offers flexibility and convenience, particularly in environments where multiple presenters share the same smart board throughout the day.
Setting Up Screen Mirroring
Windows 10 and 11 include native Miracast support for wireless display. To connect wirelessly:
- Ensure your laptop and smart board are connected to the same Wi-Fi network (or the smart board is in wireless display mode)
- Press Windows key + K to open the “Connect” sidebar
- Select your smart board from the list of available wireless displays
- Wait for the connection to establish (this may take 15-30 seconds)
Mac users with compatible smart boards can use AirPlay by clicking the AirPlay icon in the menu bar and selecting the target display.
Using Dedicated Screen Sharing Software
Many smart whiteboards include proprietary screen sharing applications that offer enhanced features beyond basic mirroring. These applications often provide better compression, lower latency, and additional collaboration tools like annotation and file sharing.
Install the manufacturer’s screen sharing software on your laptop, launch the application, and follow the pairing instructions to connect to the smart board. These dedicated solutions typically offer more stable connections than generic wireless display protocols, especially on congested networks.
Optimizing Audio Output
Proper audio configuration ensures that presentation videos, webinars, and other multimedia content plays through the smart board’s speakers rather than your laptop’s smaller, quieter speakers.
Configuring Audio on Windows
When connected via HDMI or USB-C, audio typically transfers automatically. To verify or adjust:
- Right-click the speaker icon in the Windows taskbar
- Select “Open Sound settings”
- Under “Choose your output device,” select the smart board or display name
- Test audio by playing a video or system sound
If you don’t see the smart board listed as an audio output option, check that your HDMI or USB-C cable supports audio transmission and that the smart board’s volume isn’t muted.
Configuring Audio on macOS
Mac users can adjust audio output through:
- Open “System Preferences” and select “Sound”
- Click the “Output” tab
- Select your smart board from the list of available audio devices
- Adjust the output volume as needed
Alternatively, hold the Option key while clicking the volume icon in the menu bar for quick access to output device selection.
Troubleshooting Common Connection Issues
Even with proper setup, occasional connection problems can occur. Here are solutions to the most frequently encountered issues:
| Problem | Possible Cause | Solution |
|---|---|---|
| No display on smart board | Wrong input source selected or cable not fully connected | Verify cable connections and cycle through input sources on the smart board |
| Display appears but touch doesn’t work | USB cable not connected or drivers not installed | Connect USB cable between laptop and smart board; install or update touch drivers |
| Image is blurry or pixelated | Resolution mismatch between laptop and smart board | Adjust laptop display settings to match smart board’s native resolution |
| No audio from smart board | Audio output not set to smart board or cable doesn’t support audio | Change audio output device in system settings; verify cable supports audio transmission |
| Touch accuracy is off | Calibration needed or display resolution changed | Run calibration utility through smart board settings or driver software |
| Intermittent display dropouts | Faulty cable or loose connection | Replace cable with certified alternative; secure all connections |
Display Detection Issues
If your laptop doesn’t detect the smart board after connection, try these steps in sequence:
- Disconnect and reconnect all cables, ensuring firm connections
- Try a different input port on the smart board if multiple are available
- Test with a different cable to rule out cable defects
- Update your laptop’s graphics drivers
- Restart both the laptop and smart board
In rare cases, BIOS or UEFI settings on the laptop may disable external displays. Access your laptop’s BIOS during startup (typically by pressing F2, F10, or Delete) and verify that external display support is enabled.
Resolution and Scaling Problems
When text appears too small or interface elements seem oversized on the smart board, adjust display scaling settings:
Windows: In Display settings, locate “Scale and layout” and select an appropriate scaling percentage. 100% shows the most content but may make text smaller on large displays, while 125% or 150% improves readability.
macOS: In Displays preferences, choose “Scaled” and select a resolution that balances clarity with workspace size. macOS automatically adjusts scaling based on the display’s pixel density.
Advanced Configuration Tips
Creating Custom Display Profiles
If you regularly present in multiple locations with different smart boards, create display profiles that save your preferred settings for each configuration. Windows and macOS both allow you to save display arrangements, making it quicker to connect in familiar environments.
Some graphics control panels (NVIDIA, AMD, Intel) offer even more granular control, allowing you to save color profiles, refresh rates, and other advanced settings tied to specific displays.
Optimizing for Different Content Types
Different presentation scenarios benefit from different display configurations:
- Slide presentations: Use duplicate mode with native resolution for consistent appearance across both screens
- Software demonstrations: Consider extended mode to keep instruction notes on your laptop while demonstrating on the smart board
- Video playback: Ensure refresh rate is set to 60Hz for smooth motion; verify audio is routed to smart board speakers
- Interactive whiteboarding: Calibrate touch accuracy carefully and disable laptop screen blanking to maintain awareness of system notifications
Power Management Considerations
Presentations can drain laptop batteries quickly, especially when driving large displays. Configure power settings to prevent automatic sleep during presentations:
Windows: Open Power Options, select your current power plan, and adjust “Turn off display” and “Put computer to sleep” to “Never” when plugged in.
macOS: In Energy Saver preferences (or Battery on newer versions), disable “Put hard disks to sleep when possible” and adjust “Turn display off after” to a longer duration or never.
Security and Privacy Considerations
When connecting to shared smart boards in public or semi-public spaces, take precautions to protect sensitive information:
- Close confidential documents or applications before connecting to the smart board
- Disable automatic cloud sync notifications that might display private information
- Use extended display mode to keep private content on your laptop screen rather than the shared smart board
- Clear the smart board’s internal memory after your session if it has content storage capabilities
- Disconnect immediately after your presentation to prevent accidental information disclosure
In corporate environments, verify that wireless screen mirroring uses encrypted connections. Some smart boards support secure wireless protocols that require authentication before allowing connections, preventing unauthorized users from hijacking the display.
Maintaining Reliable Connections Over Time
Consistent performance requires periodic maintenance of both equipment and connections:
Cable and Connector Care
Inspect cables regularly for signs of wear, particularly near connectors where stress is highest. Replace cables that show fraying, exposed wiring, or bent pins. Store cables properly by loosely coiling them rather than tightly wrapping, which can damage internal conductors over time.
Clean connector pins and ports occasionally using compressed air to remove dust and debris that can interfere with signal transmission. Avoid using cleaning solutions on connectors, as moisture can cause corrosion.
Software and Driver Updates
Keep your laptop’s operating system, graphics drivers, and smart board drivers updated. Manufacturers regularly release updates that improve compatibility, fix bugs, and add new features. Set a reminder to check for driver updates quarterly, or enable automatic updates if available.
Before major presentations or events, verify that all software is current and perform a test connection to ensure everything works as expected. This proactive approach prevents last-minute technical difficulties.
Physical Environment Considerations
Environmental factors affect connection reliability more than many realize. Keep cables away from sources of electromagnetic interference such as power supplies, motors, and radio transmitters. In permanent installations, use cable conduits to protect connections from physical damage and maintain organized cable routing.
Temperature and humidity extremes can affect both cables and electronics. If storing equipment in varying conditions, allow devices to acclimate to room temperature before use to prevent condensation-related issues.
Choosing the Right Smart Board for Your Needs
If you’re in the process of selecting a smart board, prioritize models with versatile connectivity options. Look for displays that offer HDMI, USB-C, and wireless connectivity, ensuring compatibility with various laptop types and future-proofing your investment.
Consider the typical use case for your environment. Educational settings benefit from robust touch capabilities and built-in collaboration software. Corporate meeting rooms prioritize quick connection methods and calendar integration. Training centers need reliable screencasting and annotation tools.
Based on deployment data across 82+ countries, interactive displays from experienced manufacturers like LeaderHub demonstrate higher long-term reliability due to comprehensive quality control throughout production and proven manufacturing processes refined over 16+ years of interactive display development.
Real-World Application Scenarios
Educational Settings
In classroom environments, teachers typically connect their laptops at the beginning of the day and maintain the connection throughout multiple class periods. Duplicate display mode allows teachers to monitor the smart board content while circulating around the classroom, maintaining awareness of what students see.
Educational deployments frequently use interactive features for student participation, requiring reliable touch functionality. Schools often standardize on specific laptop models and smart board brands to simplify technical support and ensure consistent user experience across classrooms.
Corporate Meeting Rooms
Business meetings demand quick, reliable connections that don’t interrupt presentation flow. Meeting rooms benefit from permanently installed cables at conference tables, allowing participants to connect without searching for adapters. USB-C connections are increasingly popular in corporate settings due to their single-cable convenience.
Wireless connectivity shines in collaborative sessions where multiple participants need to share content sequentially. Modern smart boards support seamless transitions between presenters, often through companion mobile apps that simplify the connection process.
Training and Development Centers
Training facilities require flexible setups that accommodate various training styles. Extended display mode proves valuable for trainers who need to reference instructor notes while displaying content to trainees. Screen annotation capabilities transform static presentations into interactive learning experiences.
Recording capabilities available on some smart boards allow organizations to capture training sessions for future reference, requiring consideration of audio and video routing during initial setup.
Future-Proofing Your Setup
Technology evolves rapidly, and connection standards change over time. When planning smart board installations or purchasing new equipment, consider these forward-looking factors:
- Prioritize USB-C and Thunderbolt connections for newer laptops
- Ensure smart boards support modern wireless standards like Wi-Fi 6
- Choose displays with firmware update capability to add features and improve compatibility
- Verify support for 4K resolution even if not immediately necessary
- Consider models with multiple input ports to accommodate diverse devices
Investing in quality equipment from manufacturers with proven track records reduces the need for premature replacement. Smart boards from established interactive display companies typically receive longer software support and maintain compatibility with evolving laptop standards.
Maximizing Interactive Display Investment
Successfully connecting your laptop to a smart board opens up possibilities for enhanced collaboration, more engaging presentations, and efficient information sharing. Whether you’re a teacher transforming classroom instruction, a business professional leading productive meetings, or a trainer delivering impactful education, mastering smart board connectivity is essential.
The connection process, while initially seeming complex, becomes routine with practice. Most users find that after connecting successfully a few times, the process takes only minutes even in unfamiliar environments. The key lies in understanding the fundamentals outlined in this guide: identifying correct ports, selecting appropriate display modes, enabling touch functionality, and troubleshooting systematically when issues arise.
As interactive display technology continues advancing, the connection process becomes increasingly streamlined. Manufacturers focus on reducing setup complexity while expanding capabilities, making smart boards more accessible to users of all technical backgrounds. This democratization of advanced presentation technology empowers more people to create engaging, interactive experiences in education, business, and beyond.
By following these guidelines and maintaining your equipment properly, you’ll ensure reliable connections that support your presentation goals without technical distractions. The time invested in understanding proper connection techniques pays dividends in smoother presentations, fewer disruptions, and more confident use of interactive display technology.








