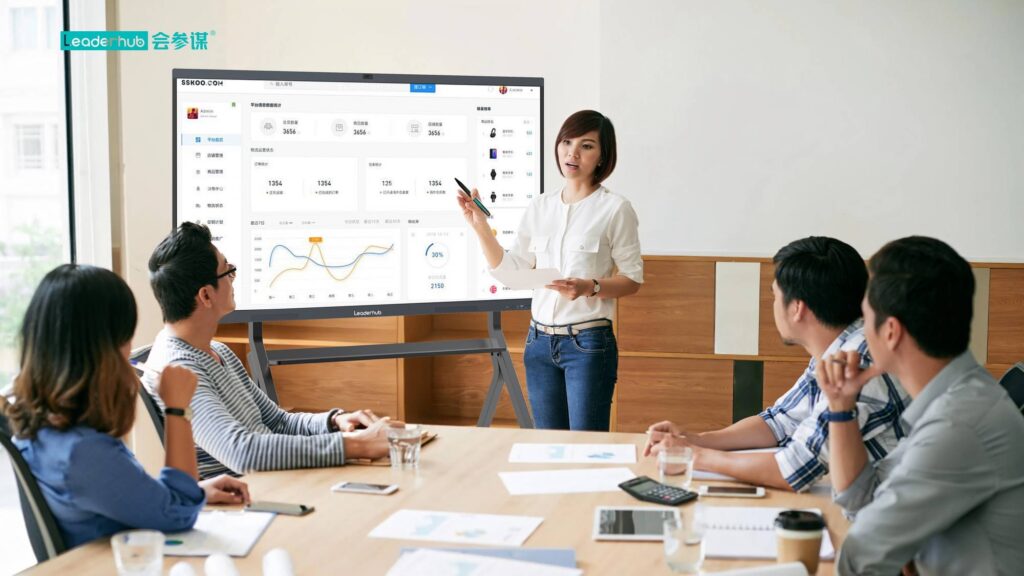
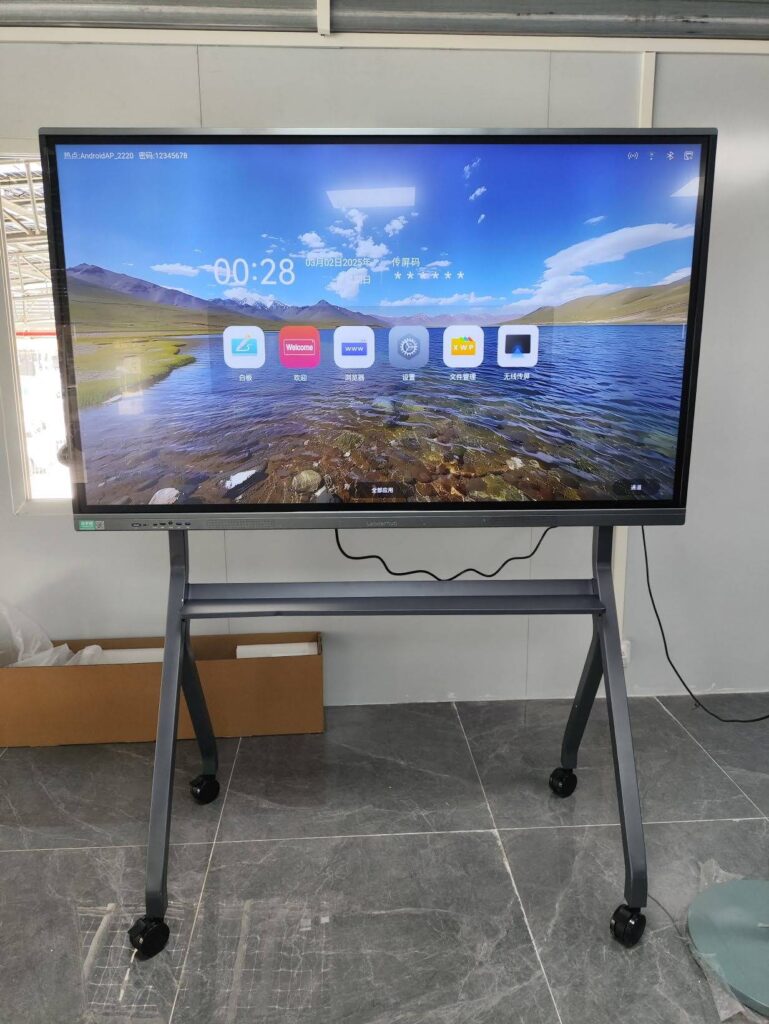
Connecting a computer to a smart board transforms any workspace into an interactive collaboration hub. Whether you’re setting up a classroom, conference room, or training center, establishing a reliable connection between your computer and smart board is essential for delivering presentations, conducting lessons, and facilitating group discussions. This comprehensive guide walks you through every connection method, troubleshooting common issues, and optimizing your setup for the best performance.
Understanding Smart Board Technology
Before diving into connection methods, it’s important to understand what a smart board actually is. A smart board, also known as an interactive flat panel or interactive whiteboard, is a large touch-sensitive display that combines the functionality of a traditional whiteboard with advanced computing capabilities. These devices allow users to interact directly with digital content using touch gestures, styluses, or other input methods.
Modern smart boards integrate multiple technologies including touch recognition, high-resolution displays, built-in computing systems, wireless connectivity, and collaboration software. Leading manufacturers like LeaderHub, with over 16 years of interactive display expertise and products deployed in more than 82 countries, have developed smart boards that seamlessly integrate with existing technology infrastructure while providing intuitive user experiences.
Connection Methods: Wired vs Wireless
There are two primary approaches to connecting your computer to a smart board: wired connections and wireless connections. Each method has distinct advantages and use cases.
Wired Connection Options
Wired connections provide the most stable and reliable performance, making them ideal for professional environments where consistent quality is critical.
| Connection Type | Maximum Resolution | Audio Support | Best For |
|---|---|---|---|
| HDMI | 4K (3840¡Á2160) | Yes | Most common, versatile use |
| DisplayPort | 8K (7680¡Á4320) | Yes | High-end graphics work |
| USB-C | 4K (3840¡Á2160) | Yes | Modern laptops, single-cable solution |
| VGA | 1920¡Á1200 | No (separate cable needed) | Legacy systems |
Wireless Connection Technologies
Wireless connections offer flexibility and eliminate cable clutter, making them increasingly popular in modern collaborative spaces. Common wireless connection methods include:
- Screen Mirroring: Technologies like Miracast, AirPlay, and Chromecast allow direct wireless display from your computer to the smart board
- Dedicated Apps: Many manufacturers provide proprietary software for seamless wireless connectivity
- Network-Based Sharing: Connect both devices to the same network and use built-in sharing protocols
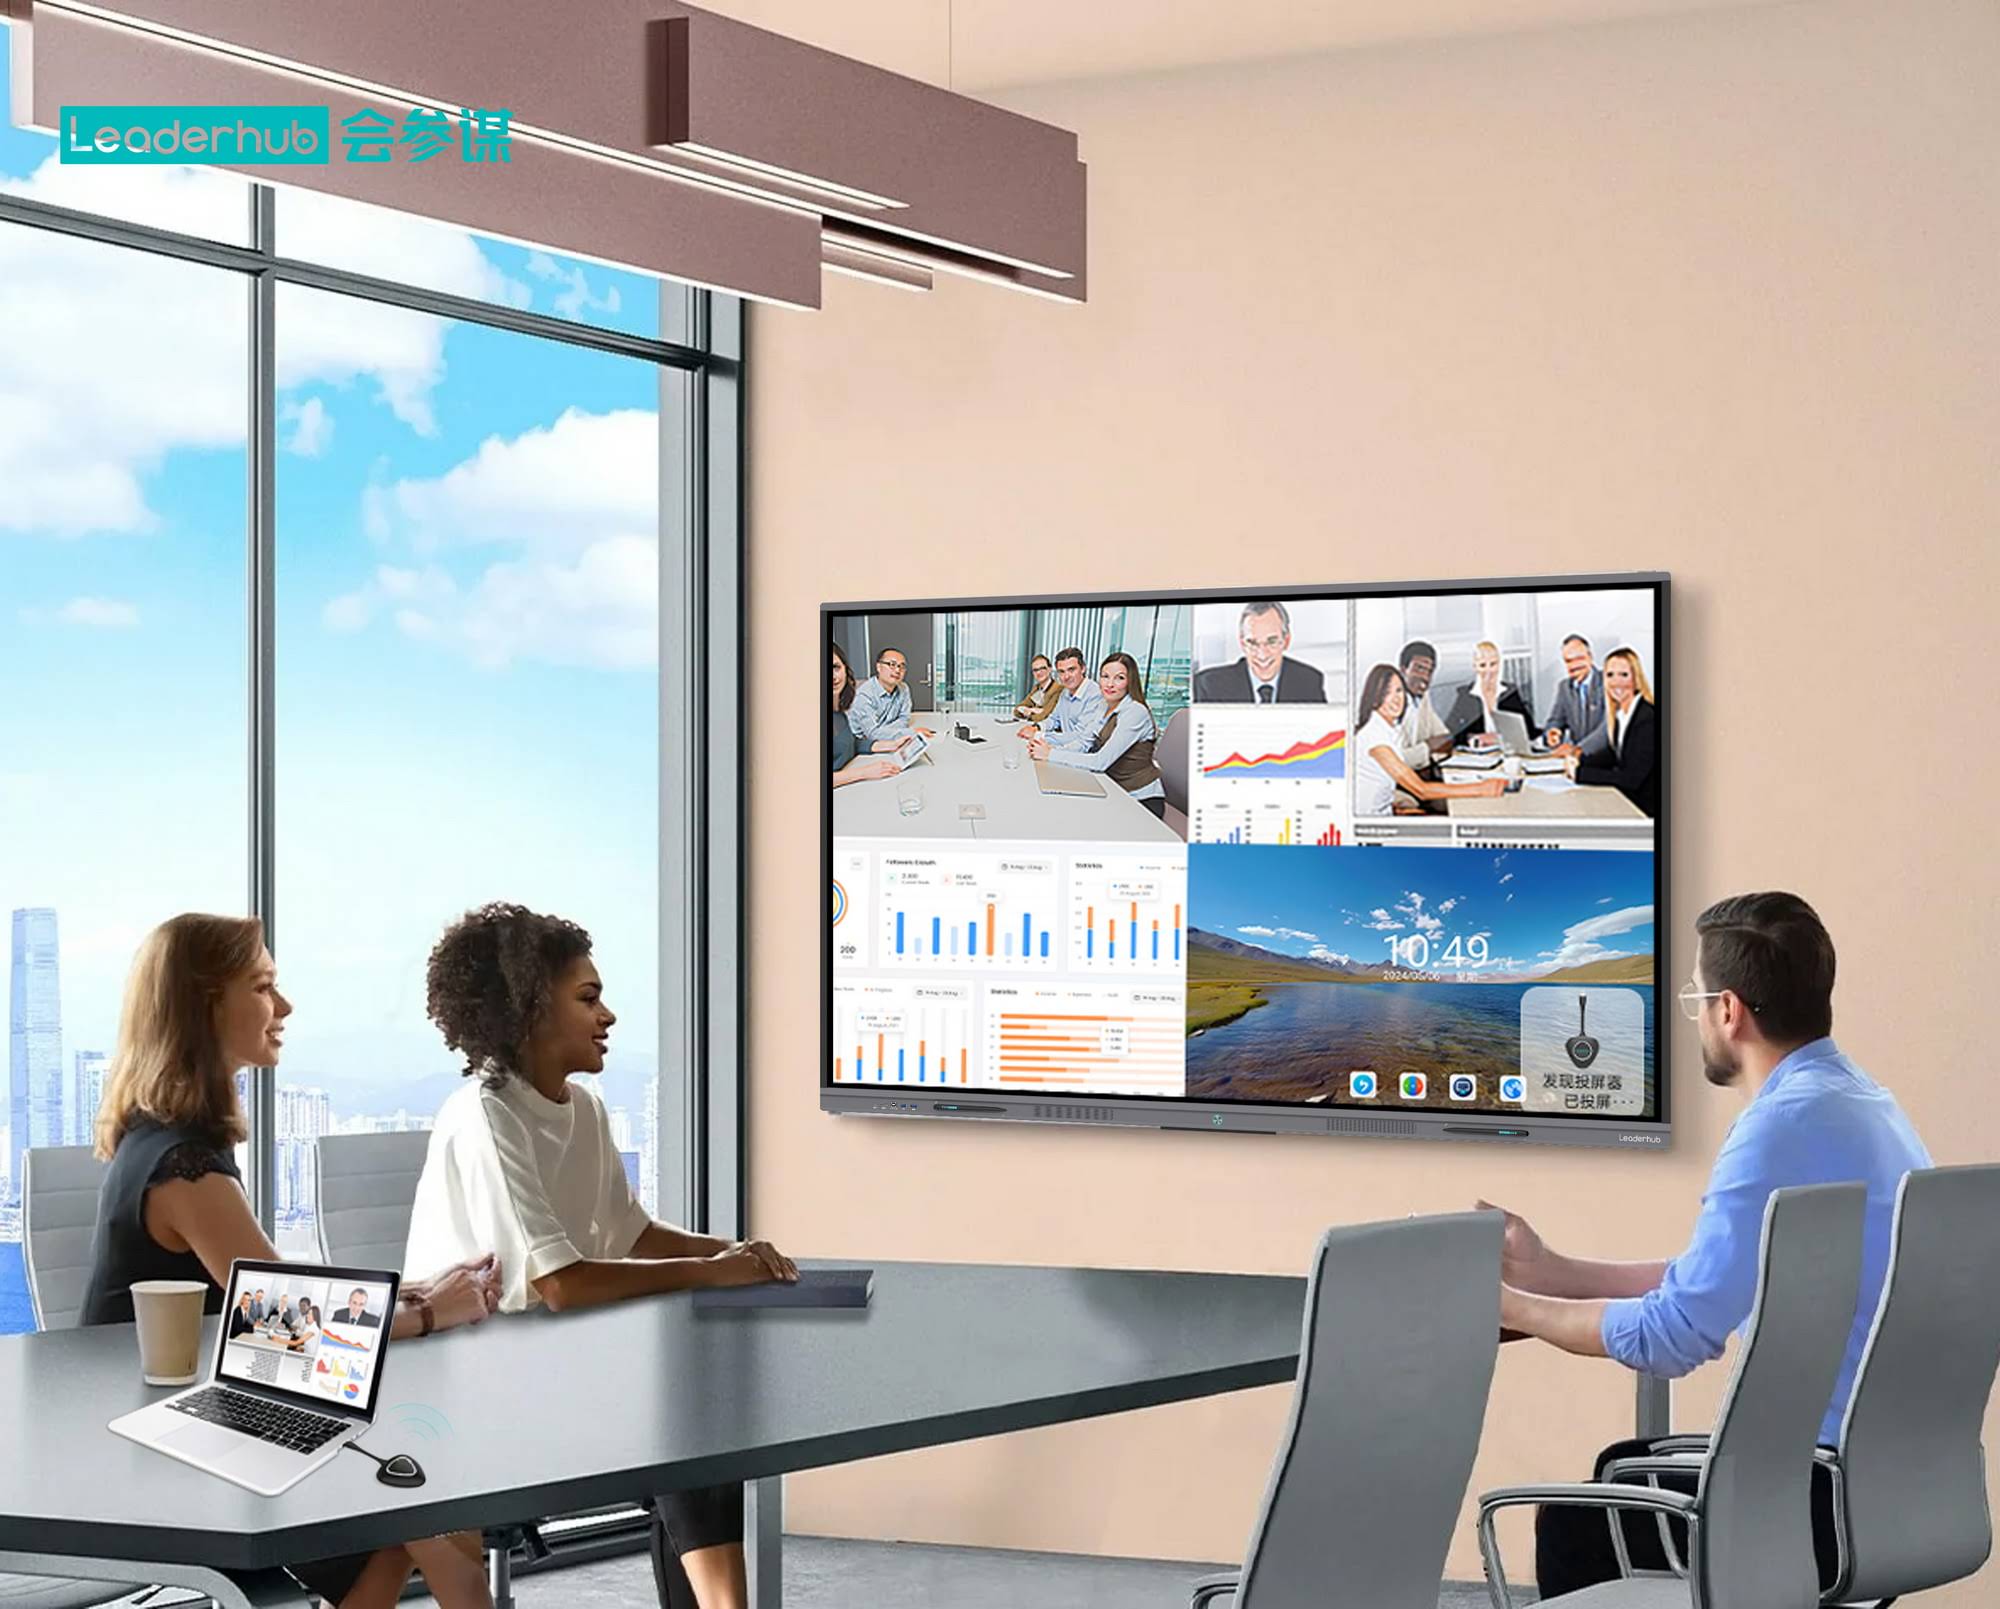
- Wireless Presentation Systems: Hardware dongles that plug into the smart board and enable wireless connections
Step-by-Step: HDMI Connection (Most Common Method)
HDMI remains the most widely used connection method due to its universal compatibility and reliable performance. Here’s how to establish an HDMI connection:
What You’ll Need
- Computer with HDMI output port (or appropriate adapter)
- HDMI cable (length appropriate for your setup)
- Smart board with HDMI input port
- Optional: USB cable for touch functionality
Connection Process
Step 1: Power Down Both Devices
While hot-plugging HDMI is generally safe, powering down both the computer and smart board before connection reduces the risk of connection issues or hardware damage.
Step 2: Locate the HDMI Ports
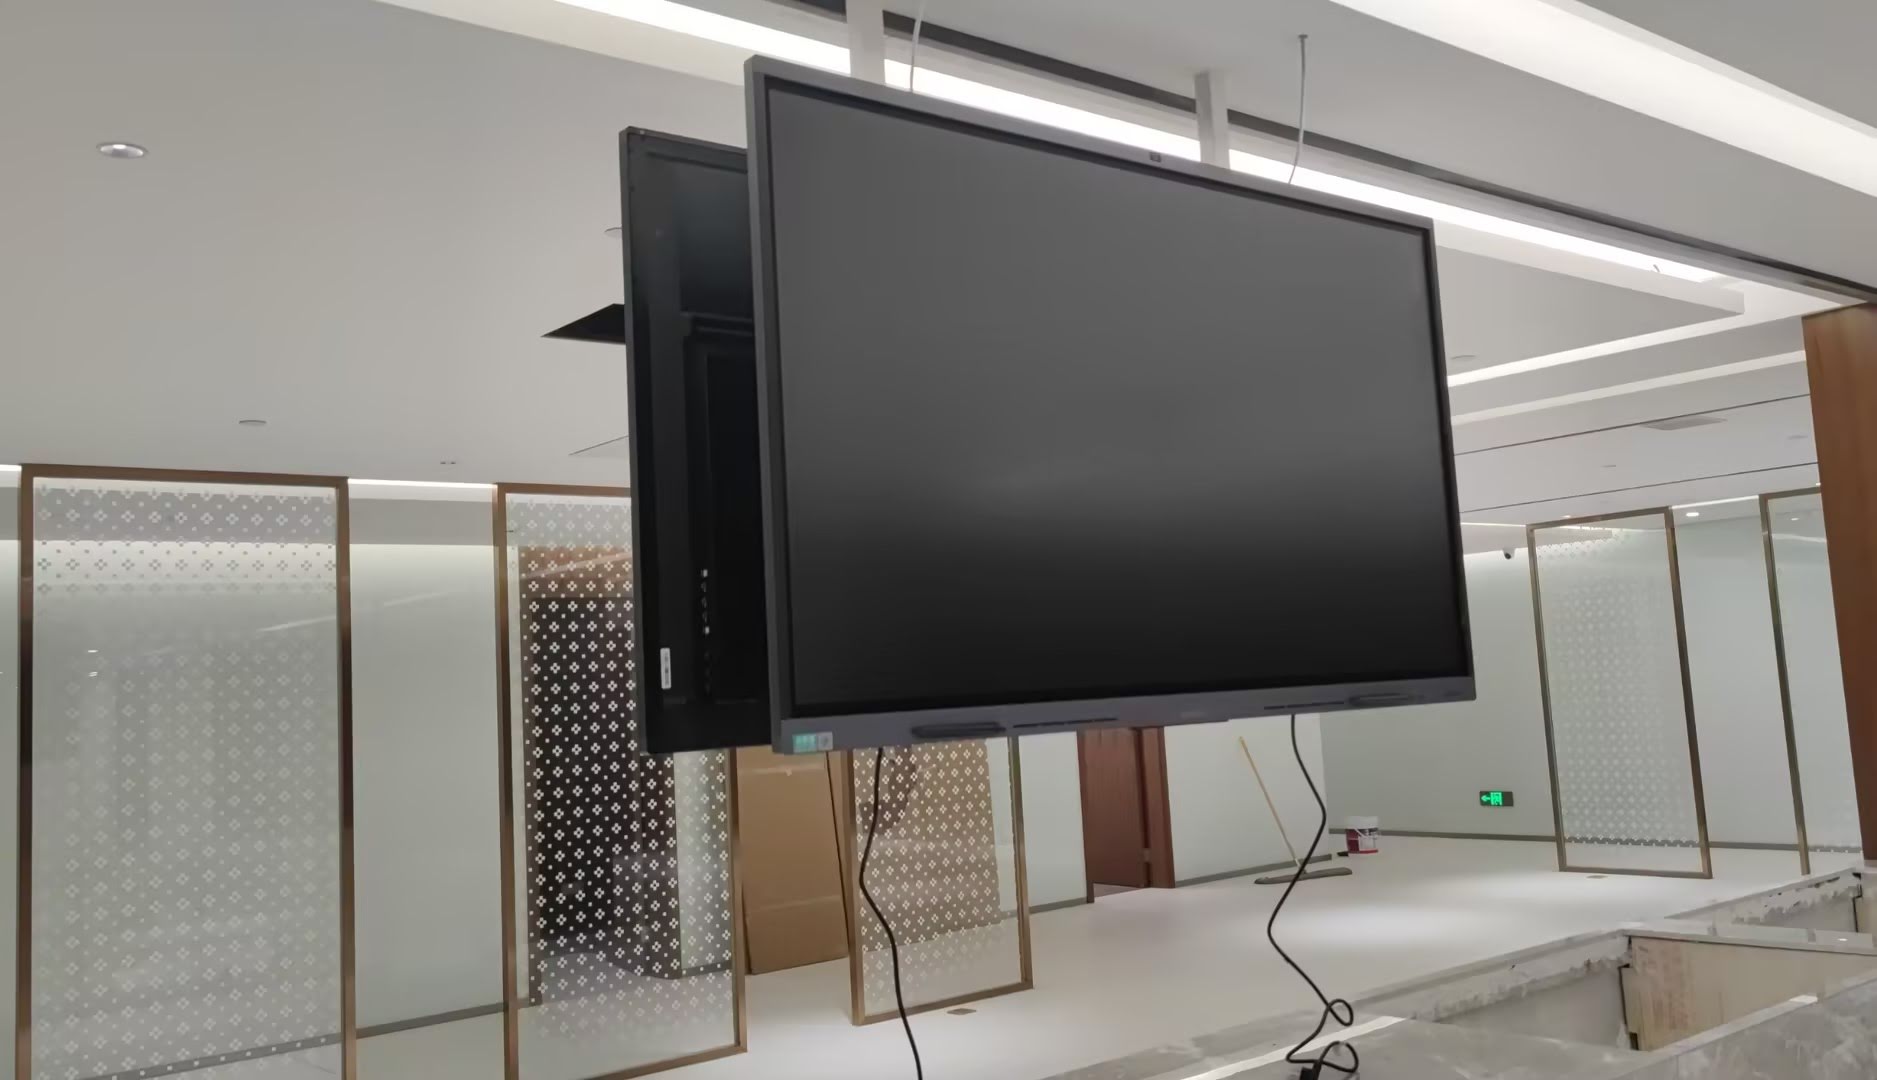
On your computer, find the HDMI output port¡ªtypically located on the side of laptops or the back of desktop computers. On the smart board, HDMI input ports are usually found on the bottom edge or side panel, often clearly labeled.
Step 3: Connect the HDMI Cable
Insert one end of the HDMI cable firmly into your computer’s HDMI port. Connect the other end to one of the smart board’s HDMI input ports. Note which HDMI port number you’re using (HDMI 1, HDMI 2, etc.) as you’ll need this information later.
Step 4: Connect USB for Touch Control (If Required)
Many smart boards require a USB connection to enable touch functionality. Connect a USB cable from your computer to the designated USB port on the smart board. This allows the smart board to send touch input data back to your computer.
Step 5: Power On and Select Input Source
Turn on both the smart board and your computer. Using the smart board’s remote control or on-screen menu, select the appropriate HDMI input source that matches the port you connected to.
Step 6: Configure Display Settings
Once connected, your computer should automatically detect the smart board as an external display. Configure your display settings based on your needs:
- Duplicate/Mirror Mode: Shows identical content on both your computer screen and smart board
- Extend Mode: Treats the smart board as a second monitor, expanding your workspace
- Second Screen Only: Displays content only on the smart board
Windows Display Configuration
- Right-click on your desktop and select “Display Settings”
- Scroll to “Multiple Displays” section
- Choose your preferred display mode from the dropdown menu
- Click “Apply” to confirm changes
- Adjust resolution and orientation if needed
macOS Display Configuration
- Click the Apple menu and select “System Preferences”
- Choose “Displays”
- Click the “Arrangement” tab
- Enable or disable “Mirror Displays” based on your preference
- Drag display icons to arrange their position
Step-by-Step: USB-C Connection
USB-C connections are becoming increasingly common, especially with newer laptops. This single-cable solution can carry video, audio, and power simultaneously.
Connection Steps
Step 1: Verify USB-C Compatibility
Ensure your computer’s USB-C port supports video output (look for DisplayPort Alt Mode or Thunderbolt 3/4 compatibility). Not all USB-C ports support video transmission.
Step 2: Use the Correct Cable
Use a USB-C cable that supports video and data transmission. Basic USB-C cables designed only for charging won’t work for display connections.
Step 3: Make the Connection
Connect the USB-C cable from your computer to the smart board’s USB-C port. Modern smart boards may automatically detect the connection and switch to the appropriate input source.
Step 4: Configure Display Settings
Follow the same display configuration steps as outlined in the HDMI section above to set your preferred display mode.
Step-by-Step: Wireless Connection
Wireless connections eliminate cables and allow for greater flexibility in room layouts. Here’s how to establish a wireless connection using common methods:
Using Built-in Wireless Capabilities
Windows (Miracast):
- Ensure both your computer and smart board are connected to the same Wi-Fi network
- On your Windows computer, press Windows Key + K to open the Connect panel
- Wait for your smart board to appear in the list of available devices
- Click on the smart board name to initiate connection
- Follow any on-screen prompts to complete pairing
macOS (AirPlay):
- Click the Control Center icon in the menu bar
- Select “Screen Mirroring”
- Choose your smart board from the list of available AirPlay devices
- Enter the AirPlay code if prompted
- Your screen should now mirror to the smart board
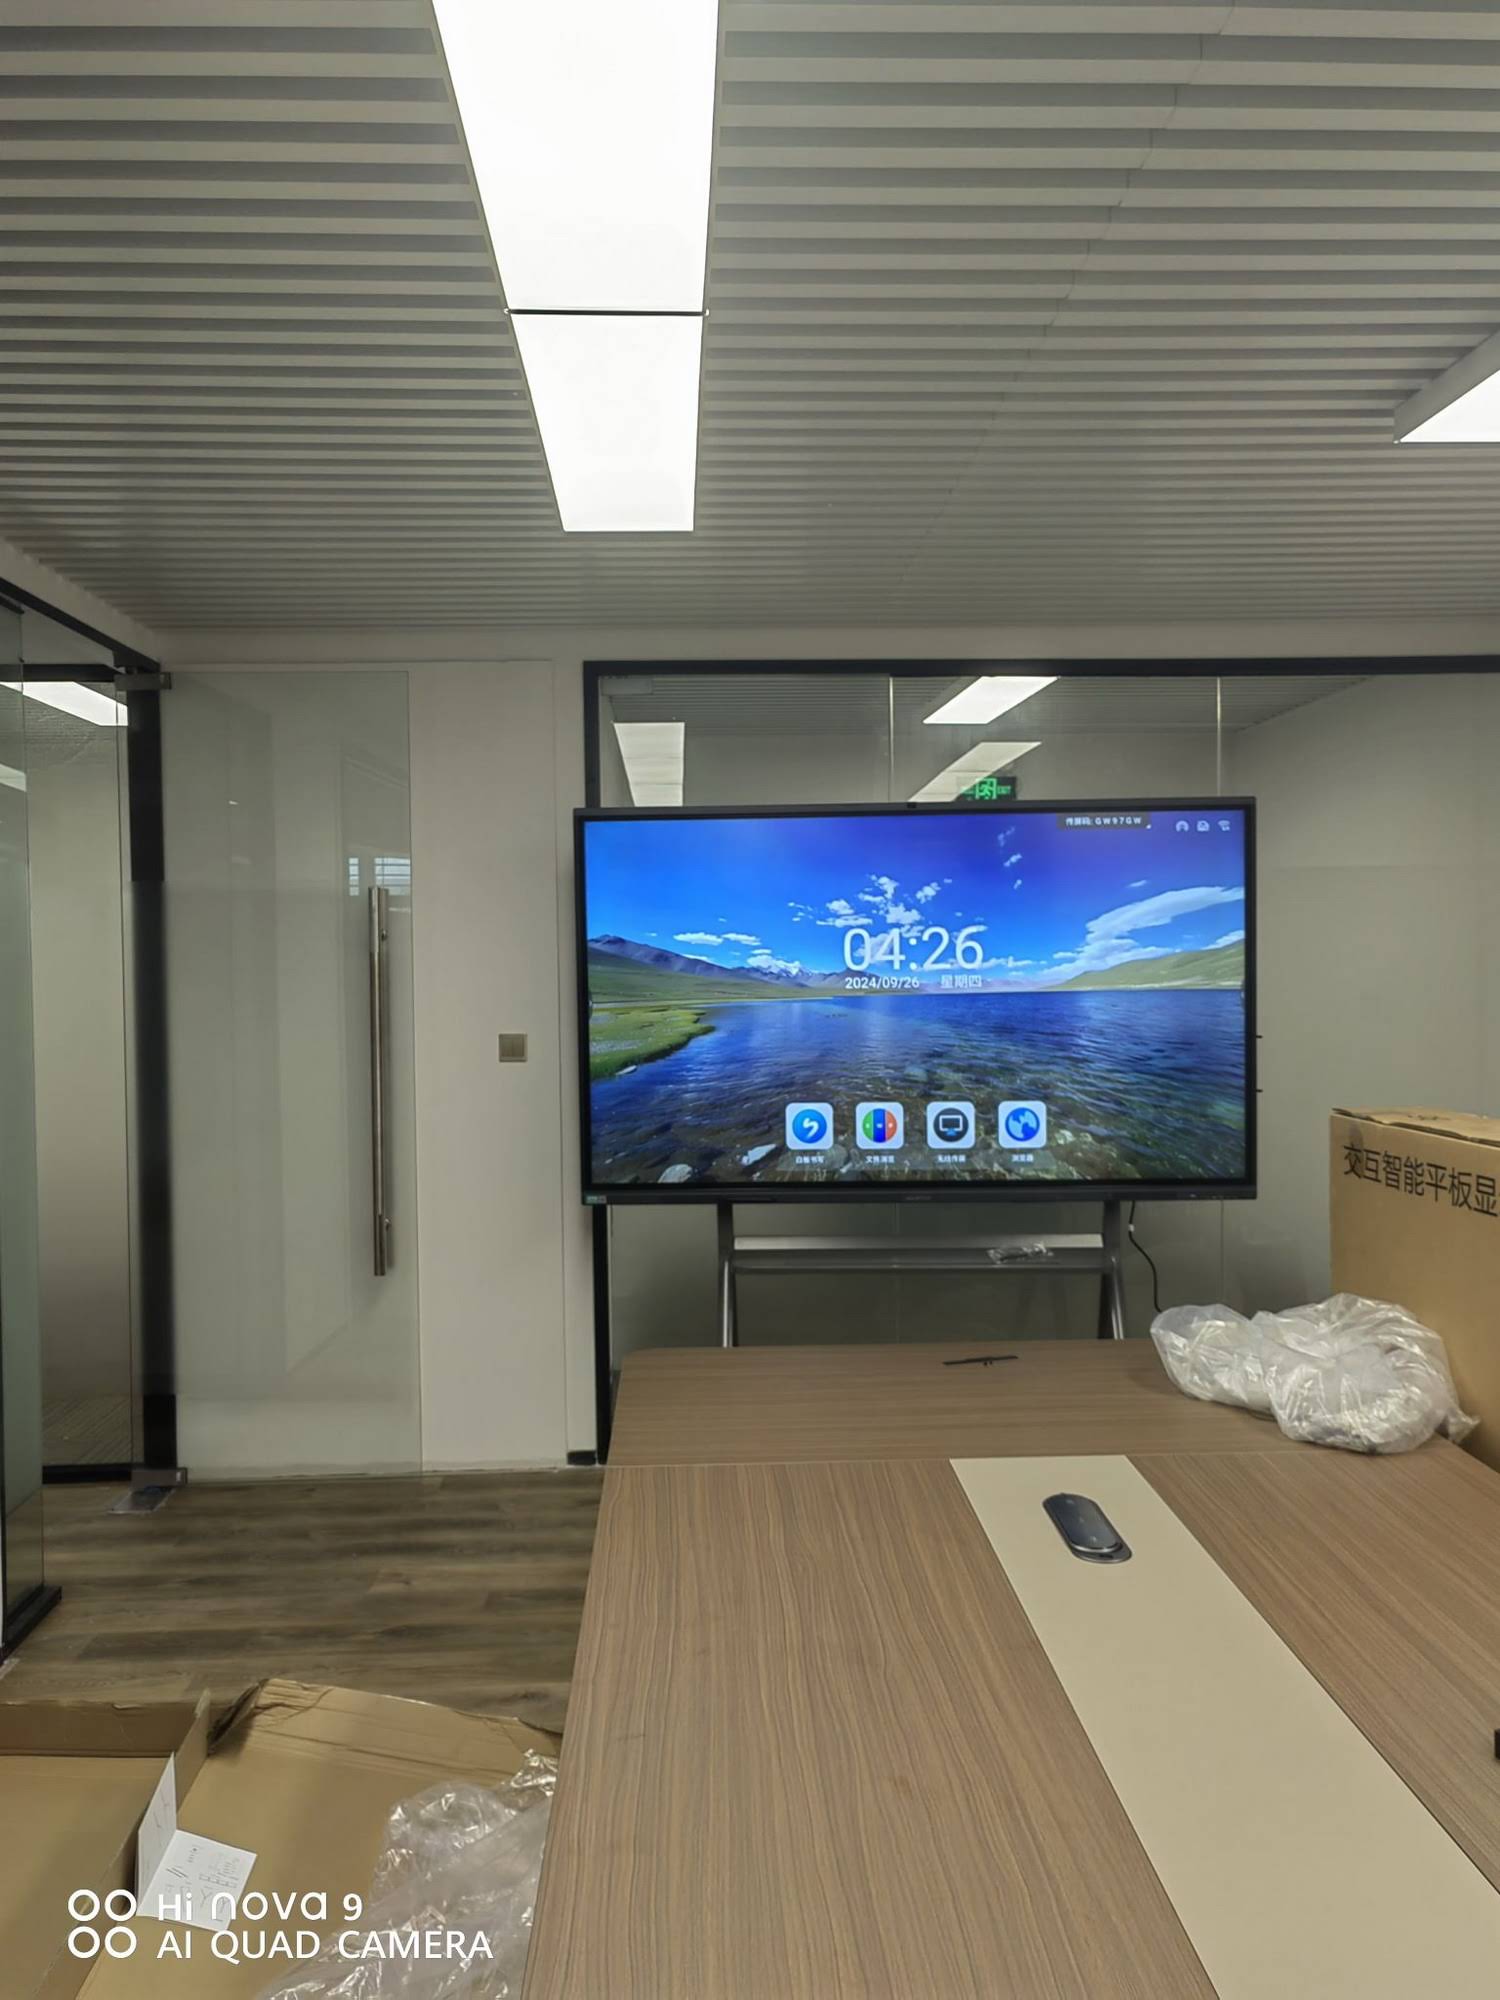
Using Manufacturer Software
Many smart board manufacturers provide dedicated software applications that facilitate wireless connections. For example, companies like LeaderHub include proprietary software with their smart whiteboards that simplifies the wireless connection process:
- Download and install the manufacturer’s connection software on your computer
- Launch the application
- Ensure your computer and smart board are on the same network
- Select your smart board from the list of detected devices
- Click “Connect” and follow any authentication prompts
Troubleshooting Common Connection Issues
Even with proper setup procedures, you may encounter connection problems. Here are solutions to the most common issues:
No Display Signal
Symptoms: The smart board shows “No Signal” or a blank screen despite being connected.
Solutions:
- Verify the smart board is set to the correct input source
- Check that both ends of the cable are securely connected
- Try a different HDMI/DisplayPort/USB-C cable to rule out cable failure
- Test with a different port on both the computer and smart board
- Update your computer’s graphics drivers
- Restart both devices after checking all connections
Touch Functionality Not Working
Symptoms: Display works but touching the smart board doesn’t control the computer.
Solutions:
- Ensure the USB touch cable is properly connected
- Install or update the smart board’s touch drivers on your computer
- Check Device Manager (Windows) or System Information (macOS) to verify the touch device is recognized
- Recalibrate the touch screen using the manufacturer’s calibration tool
- Restart the computer after driver installation
Poor Image Quality or Resolution
Symptoms: Display appears blurry, pixelated, or doesn’t fill the entire screen.
Solutions:
- Adjust display resolution to match the smart board’s native resolution (typically found in the product specifications)
- Disable any display scaling that might affect clarity
- For wired connections, ensure you’re using a high-quality cable capable of carrying the required bandwidth
- Check that your graphics card supports the smart board’s resolution
- Update graphics drivers to the latest version
Wireless Connection Drops or Lag
Symptoms: Wireless display is unstable, frequently disconnects, or has noticeable delay.
Solutions:
- Move closer to the wireless access point or smart board
- Reduce interference by switching to a less congested Wi-Fi channel
- Connect both devices to a 5GHz network instead of 2.4GHz for better bandwidth
- Close bandwidth-intensive applications running in the background
- Consider using a wired connection for presentations requiring real-time interaction
- Update wireless drivers and firmware on both devices
Advanced Configuration Options
Once basic connectivity is established, you can optimize your setup with advanced configuration options:
Multi-Display Management
When using extend mode, proper arrangement of displays ensures smooth cursor movement between screens. In your display settings, drag the display icons to match their physical arrangement. This prevents the frustrating experience of moving your cursor to the wrong edge of the screen.
Audio Routing
Smart boards typically include built-in speakers. To route audio through the smart board:
Windows:
- Right-click the volume icon in the system tray
- Select “Open Sound Settings”
- Under “Choose your output device,” select the smart board
macOS:
- Click the Control Center icon
- Click “Sound”
- Select the smart board from the output device list
Power Management Settings
To prevent your computer from entering sleep mode during presentations, adjust power settings:
- Extend or disable display sleep timers
- Prevent hard drive sleep during active use
- Configure lid-closed behavior for laptops (if applicable)
- Adjust screen saver settings to avoid interruptions
Best Practices for Optimal Performance
Following these best practices ensures reliable, high-quality connections between your computer and smart board:
Cable Management
- Use cable management systems to organize wires and prevent trip hazards
- Avoid sharp bends or kinks in cables
- Keep cables away from power sources to minimize electromagnetic interference
- Use cables of appropriate length¡ªexcess cable can create clutter and potential signal degradation
- Label cables clearly for easy troubleshooting and maintenance
Driver and Firmware Maintenance
Regular updates ensure compatibility and access to new features:
- Check for graphics driver updates quarterly or after major OS updates
- Update smart board firmware through the manufacturer’s support portal
- Keep operating system updates current
- Maintain updated versions of connection software and apps
Network Optimization for Wireless Connections
- Place wireless access points strategically for optimal coverage
- Use dedicated networks for presentation and collaboration devices
- Implement Quality of Service (QoS) rules to prioritize presentation traffic
- Regularly monitor network performance and address congestion issues
Environmental Considerations
- Position the smart board away from direct sunlight to prevent screen glare
- Maintain appropriate room temperature (typically 15-30¡ãC) for optimal device performance
- Ensure adequate ventilation around both the computer and smart board
- Keep the touch surface clean for accurate touch response
Security Considerations
When connecting computers to smart boards, especially in shared or public spaces, security should be a priority:
Network Security
- Use WPA3 encryption for wireless connections
- Implement network segmentation to isolate presentation devices
- Require authentication for wireless screen sharing
- Regularly update passwords and access credentials
- Monitor connected devices and disconnect unauthorized users
Data Protection
- Enable screen lock when stepping away from the computer
- Use privacy screens for sensitive content presentations
- Clear any cached data on shared smart boards after use
- Disable automatic connection to unknown devices
- Review and configure smart board privacy settings appropriately
Platform-Specific Tips
Windows Computers
Windows offers several keyboard shortcuts that streamline smart board connectivity:
| Keyboard Shortcut | Function |
|---|---|
| Windows + P | Quick access to projection modes |
| Windows + K | Open Connect panel for wireless displays |
| Windows + Ctrl + Shift + B | Reset graphics driver (useful for connection issues) |
macOS Computers
macOS provides native AirPlay support, making wireless connections particularly seamless with compatible smart boards. Key features include:
- Built-in AirPlay controls in the menu bar for quick connection
- Sidecar support for using iPads as secondary displays (can extend to smart boards)
- Mission Control for easy management of multiple display spaces
- Display menu for quick resolution and arrangement changes
Chromebook Computers
Chromebooks offer straightforward connection options through Chrome OS:
- Native Chromecast support for wireless connections
- HDMI output via USB-C adapters for wired connections
- Google Cast extension for browser-based presentation sharing
- Cloud-based collaboration tools integrate seamlessly with smart board apps
Educational and Business Applications
Understanding how to properly connect computers to smart boards enables numerous valuable applications across different sectors:
Educational Settings
In classrooms, proper computer-to-smart board connectivity supports:
- Interactive Lessons: Teachers can display educational content and annotate directly on the screen
- Student Engagement: Students can connect their devices to present projects and collaborate
- Remote Learning: Teachers can share their smart board screen with remote students through video conferencing
- Multimedia Integration: Seamless display of videos, interactive simulations, and educational software
Corporate Environments
In business settings, reliable connections enable:
- Professional Presentations: Display slides, reports, and data visualizations to teams and clients
- Collaborative Brainstorming: Multiple team members can connect and contribute to shared whiteboard sessions
- Video Conferencing Integration: Display remote participants on the smart board during hybrid meetings
- Design Reviews: Share CAD drawings, prototypes, and design mockups for team feedback
Training and Development
Training environments benefit from:
- Interactive Training Materials: Instructors can walk through complex procedures with annotated demonstrations
- Skill Assessments: Trainees can demonstrate competency by connecting their devices to complete exercises
- Recording Capabilities: Capture training sessions for future reference and asynchronous learning
Future-Proofing Your Setup
Technology continues to evolve rapidly. Consider these factors to ensure your setup remains relevant:
Emerging Connection Standards
New connectivity standards are being developed that offer improved performance:
- HDMI 2.1: Supports 8K resolution and higher refresh rates
- USB4: Combines data, video, and power delivery with increased bandwidth
- Wi-Fi 6E and Wi-Fi 7: Provide faster, more reliable wireless connectivity
- Thunderbolt 5: Offers unprecedented bandwidth for professional applications
AI-Powered Features
Modern smart boards increasingly incorporate artificial intelligence capabilities. When selecting equipment and planning connections, consider how AI features integrate with your computer:
- Automatic content recognition and organization
- Real-time language translation during presentations
- Intelligent noise cancellation for audio
- Gesture recognition for enhanced interaction
- Automatic meeting summaries and action item extraction
Scalability Considerations
Whether outfitting a single room or an entire facility, plan for scalability:
- Choose infrastructure that supports multiple simultaneous connections
- Implement centralized management systems for device monitoring
- Select standardized equipment to simplify support and training
- Budget for regular technology refresh cycles
Conclusion
Successfully connecting a computer to a smart board requires understanding both the available connection methods and the specific requirements of your environment. Whether you choose wired connections for maximum stability or wireless solutions for flexibility, following proper setup procedures and best practices ensures reliable performance.
From basic HDMI connections to advanced wireless collaboration setups, the key to success lies in careful planning, proper configuration, and regular maintenance. As technology continues advancing, staying informed about new connection standards and capabilities will help you maximize the value of your interactive display investment.
By implementing the techniques outlined in this guide, you’ll be well-equipped to establish and maintain robust connections between computers and smart boards, enabling effective collaboration, engaging presentations, and productive learning environments across any setting.
Remember that quality hardware matters¡ªcompanies like LeaderHub, with extensive experience in interactive display manufacturing and global deployment across more than 82 countries, provide reliable smart boards designed to work seamlessly with modern computer systems. Whether for education, business, or training applications, choosing proven technology from established manufacturers ensures your connectivity infrastructure will perform consistently for years to come.