Smart boards have become essential tools in modern classrooms, conference rooms, and training centers worldwide. These interactive displays enable dynamic presentations, collaborative brainstorming, and engaging lessons. However, keeping your smart board clean is crucial for maintaining optimal touch sensitivity, visual clarity, and long-term performance. Improper cleaning techniques can permanently damage the sensitive screen surface, leading to costly repairs or replacement. This comprehensive guide will show you exactly how to clean a smart board safely and effectively without risking damage to your investment.
Why Proper Smart Board Cleaning Matters
Smart boards represent significant investments for educational institutions and businesses. According to industry data, the average interactive flat panel costs between $2,000 and $8,000 depending on size and features. Beyond the financial aspect, these devices serve as central communication hubs that facilitate learning and collaboration daily.
The touch-sensitive surface of a smart board consists of multiple layers including protective glass, capacitive sensors, and display components. Using incorrect cleaning methods or harsh chemicals can compromise these layers, resulting in reduced touch accuracy, permanent scratches, or chemical damage to anti-glare coatings. Regular proper maintenance extends equipment lifespan and ensures consistent performance throughout its operational life.
Understanding Your Smart Board Surface
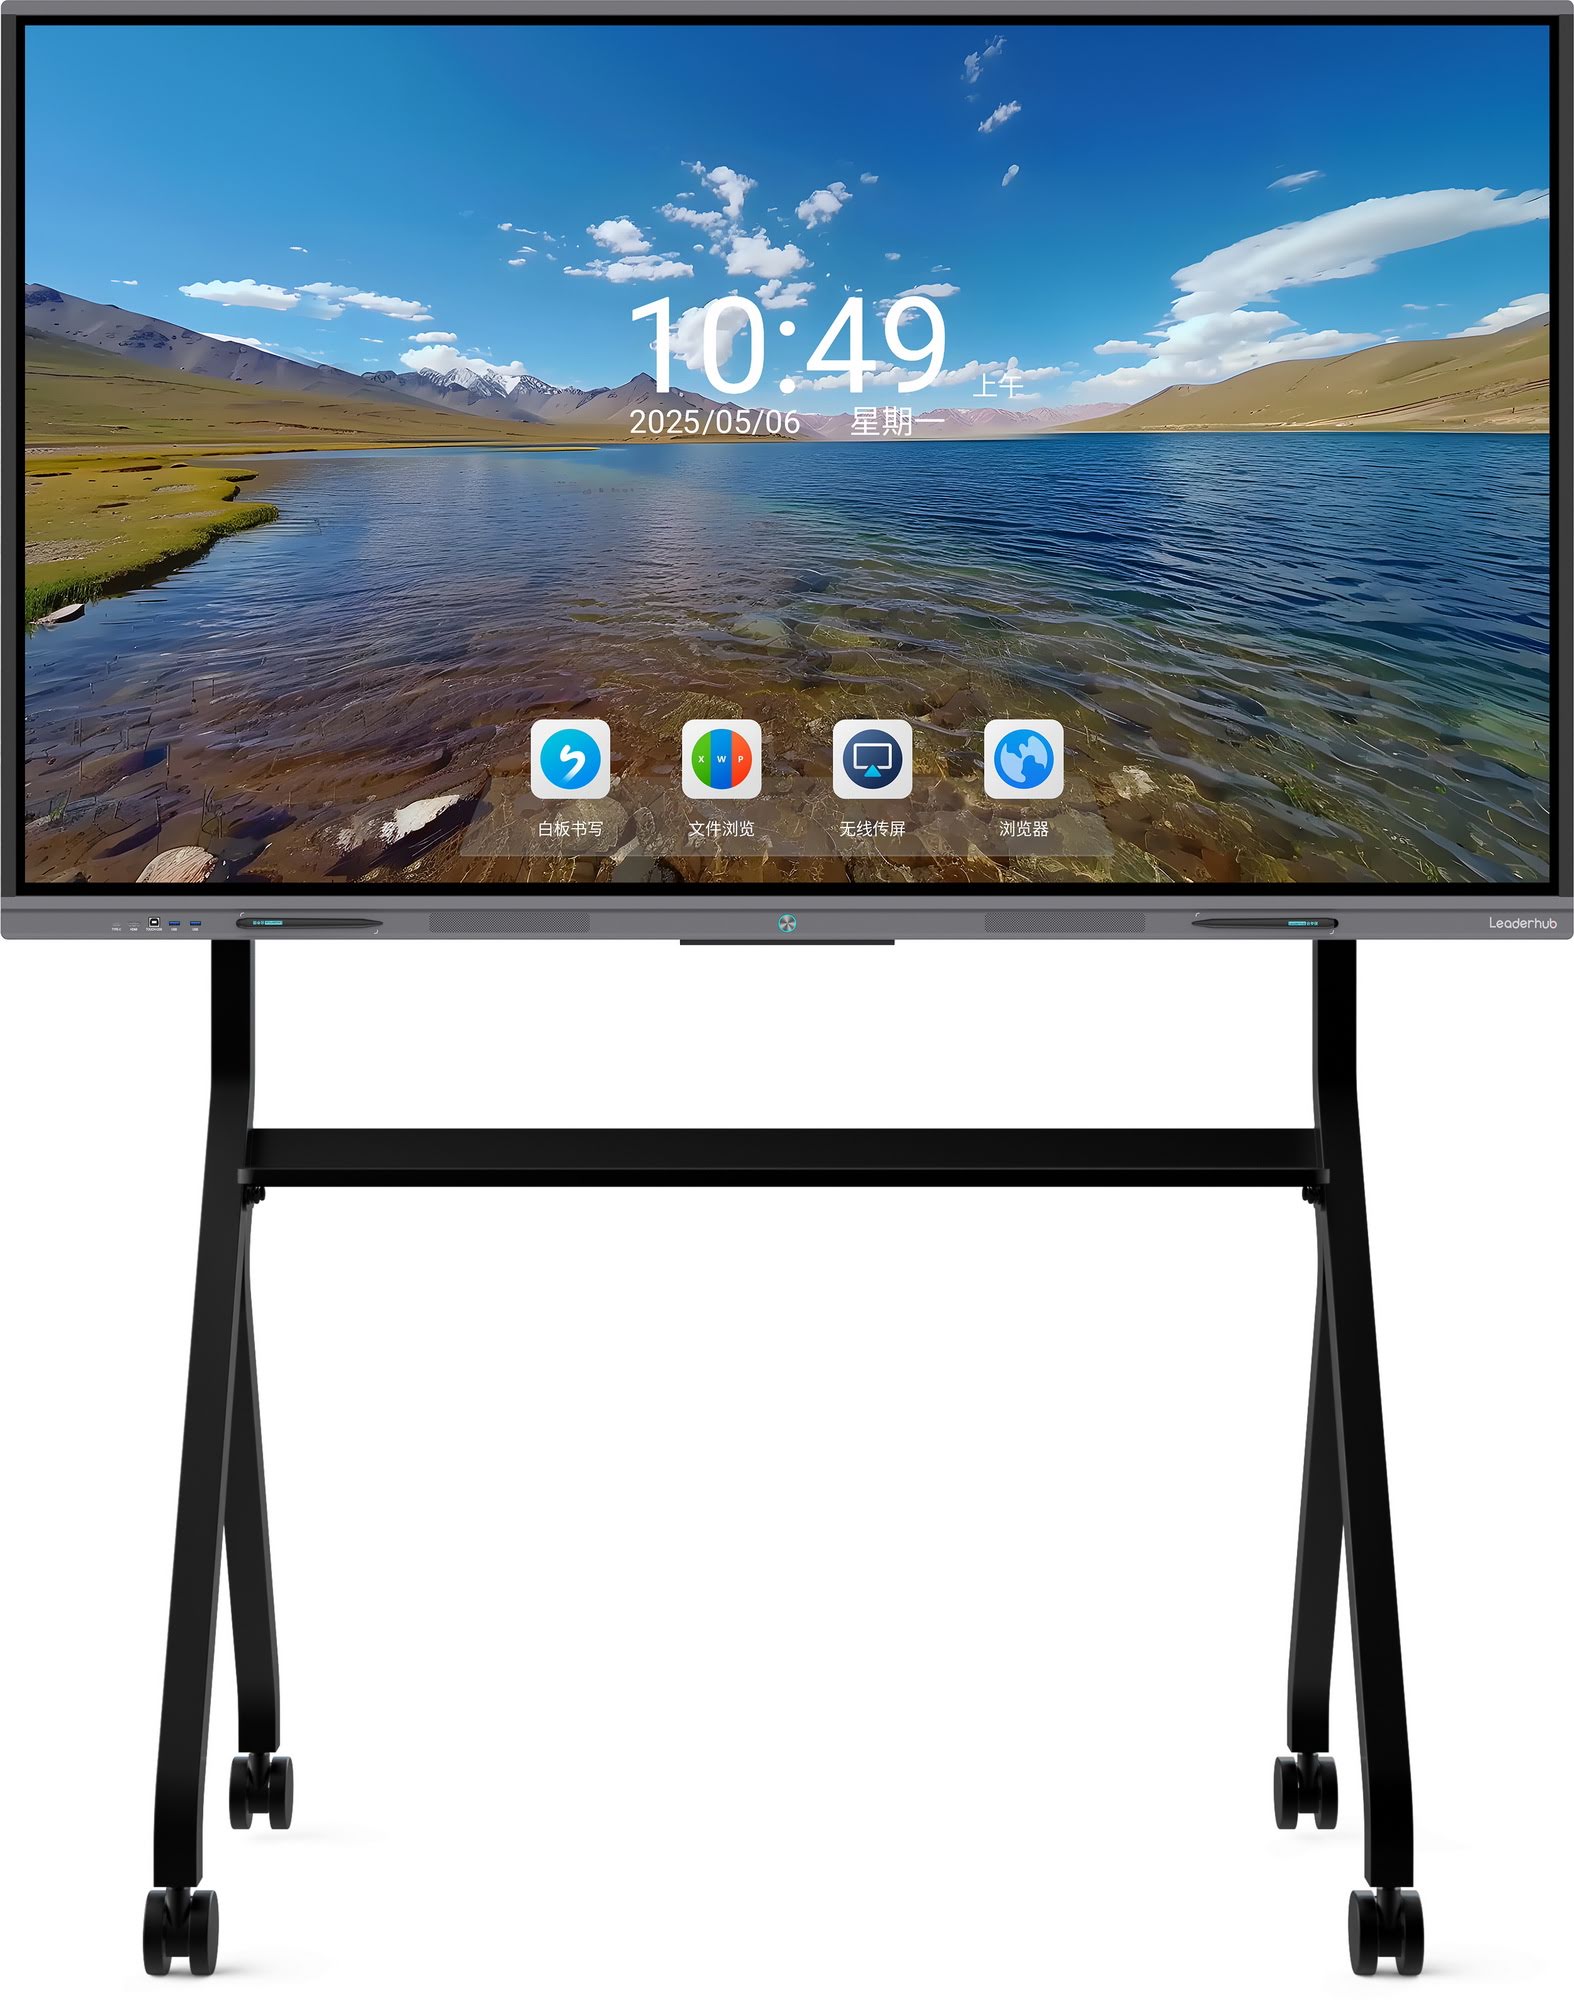
Before cleaning, it’s important to understand what type of surface your smart board has. Most modern interactive flat panels feature one of these surface types:
| Surface Type | Characteristics | Cleaning Considerations |
|---|---|---|
| Tempered Glass | Smooth, durable, scratch-resistant | Most forgiving, can handle gentle pressure |
| Anti-Glare Coating | Matte finish, reduces reflections | Sensitive to abrasive materials and alcohol |
| Hardened Surface | Enhanced durability rating (Mohs 7+) | Requires specific cleaning solutions |
| Hybrid Touch Layer | Multi-touch capacitive technology | Avoid excessive moisture near edges |
Companies like LeaderHub, with over 16 years of experience manufacturing interactive display solutions for more than 82 countries, design smart boards with protective surface treatments that require gentle but effective cleaning approaches to maintain warranty coverage and optimal functionality.
Essential Cleaning Supplies You’ll Need
Gathering the right materials before you begin ensures safe and effective cleaning. Never use supplies not specifically approved for electronic displays. Here’s what you should have on hand:
Recommended Supplies
- Microfiber cloths ¨C Soft, lint-free, specifically designed for screens (at least 2-3 cloths)
- Distilled water ¨C Prevents mineral deposits that tap water leaves behind
- Screen-safe cleaning solution ¨C Alcohol-free, ammonia-free formula designed for electronics
- Spray bottle ¨C For controlled application of cleaning solution
- Soft-bristled brush ¨C For removing dust from edges and vents (optional)
- Compressed air canister ¨C For cleaning ports and speaker grills (optional)
Items to Absolutely Avoid
- Paper towels or tissues ¨C Can scratch the surface
- Household glass cleaners ¨C Often contain ammonia or alcohol
- Abrasive sponges or scouring pads ¨C Will permanently damage coatings
- Acetone or paint thinners ¨C Extremely harmful to all screen components
- Bleach or chlorine-based cleaners ¨C Can discolor and damage surfaces
- Excessive water or soaking wet cloths ¨C Liquid can seep into components
Step-by-Step Smart Board Cleaning Process
Follow this proven method used by professional IT departments and facility management teams to safely clean smart whiteboards and interactive displays:
Step 1: Power Down and Prepare
Always turn off your smart board and unplug it from the power source before cleaning. This critical safety step prevents electrical shock, allows you to see dirt and smudges more clearly on a dark screen, and protects internal components from potential moisture damage. Wait 5-10 minutes after powering down to let the screen cool completely, as warm screens can cause cleaning solutions to evaporate too quickly, leaving streaks.
Step 2: Remove Loose Dust and Debris
Using a clean, dry microfiber cloth, gently wipe the entire screen surface using straight horizontal or vertical strokes. This removes loose dust, chalk residue, and dry-erase marker particles without grinding them into the screen. For stubborn dust accumulation around bezels and edges, use a soft-bristled brush or compressed air, directing air flow away from ventilation openings to avoid pushing debris inside the unit.
Step 3: Prepare Your Cleaning Solution
If using a commercial screen cleaner, check that it’s specifically labeled as safe for LCD, LED, and touch screens and contains no alcohol or ammonia. For a DIY solution, mix distilled water with white vinegar in a 50:50 ratio¡ªthis natural combination effectively removes fingerprints and smudges without harsh chemicals. Never spray liquid directly onto the screen surface. Instead, lightly dampen your microfiber cloth with the solution until it’s barely moist, not dripping.
Step 4: Clean the Screen Surface
Starting from the top corner, use gentle circular motions with your dampened microfiber cloth, working in small sections across the screen. Apply minimal pressure¡ªlet the cloth do the work. For particularly stubborn marks or dried residue, hold the damp cloth against the spot for 5-10 seconds to soften it before wiping. Avoid scrubbing vigorously, which can damage anti-glare coatings or create micro-scratches in the surface.
Step 5: Dry and Buff the Surface
Immediately follow cleaning with a separate dry microfiber cloth to remove any remaining moisture and prevent streaking. Use the same gentle circular motions, buffing the surface until completely dry and streak-free. Inspect the screen from different angles under ambient lighting to ensure no moisture remains, particularly around edges and corners where liquid can accumulate.
Step 6: Clean Bezels and Frame
Don’t neglect the frame and bezels surrounding your smart board screen. These areas collect dust and fingerprints but require less delicate treatment than the screen itself. Use a slightly more dampened cloth to wipe down plastic or metal frames, control buttons, and mounting hardware. Ensure no moisture drips down onto the screen or into device openings.
Step 7: Final Inspection and Power-Up
Before reconnecting power, perform a final visual inspection in good lighting. Look for remaining streaks, spots, or moisture. Once satisfied, wait an additional 5 minutes to ensure complete drying, then reconnect power and turn on your interactive display. Test touch functionality across the entire screen surface to confirm proper operation.
Recommended Cleaning Frequency
Establishing a consistent cleaning schedule prevents buildup and reduces the need for intensive cleaning sessions that might require more aggressive techniques. Here’s a practical maintenance timeline based on real-world usage patterns:
| Usage Environment | Light Cleaning | Deep Cleaning |
|---|---|---|
| Elementary School Classroom | Daily | Weekly |
| Corporate Conference Room | After each use | Bi-weekly |
| Training Center | 2-3 times weekly | Weekly |
| Higher Education Lecture Hall | 2-3 times weekly | Bi-weekly |
| Home Office | Weekly | Monthly |
Light cleaning involves quick dust removal and spot cleaning visible marks. Deep cleaning includes full-surface treatment, bezel cleaning, and port maintenance. High-traffic educational environments require more frequent attention due to constant touching and potential marker residue.
Dealing with Specific Types of Stains and Marks
Different contaminants require tailored approaches. Here’s how to handle common smart board challenges without causing damage:
Dry-Erase Marker Residue
Although smart boards aren’t designed for traditional markers, accidents happen. For fresh dry-erase marker, wipe immediately with a dry microfiber cloth¡ªmost will come off easily. For dried marker residue, dampen your cloth slightly with screen-safe cleaner or distilled water and hold it against the mark for 15-20 seconds before gently wiping in circular motions. Never use marker board cleaner or erasers designed for whiteboards, as these often contain alcohol that damages smart board coatings.
Fingerprints and Smudges
Fingerprints are the most common issue with touch-enabled displays. A barely damp microfiber cloth with screen cleaner removes them effectively. For heavily used screens with persistent fingerprint buildup, the 50:50 distilled water and white vinegar solution works exceptionally well. Buff immediately with a dry cloth to prevent streaking.
Sticky Residue (Tape, Stickers, Adhesive)
When students or staff apply tape or stickers directly to the screen, removal requires patience. First, try to gently peel off as much material as possible using your fingernail or a plastic card edge¡ªnever metal tools. For remaining adhesive, apply a small amount of screen cleaner to a cloth and hold it against the residue for 30 seconds to soften the adhesive. Wipe gently, repeating as needed. Avoid oil-based adhesive removers like Goo Gone, which can leave oily films that attract more dirt.
Dust and Lint Buildup
Regular dry dusting prevents accumulation, but established buildup may require slightly dampened cleaning. Always start dry, then progress to minimal moisture only if necessary. For textured or anti-glare surfaces, dust can settle into microscopic surface patterns¡ªuse very light pressure and let the moisture lift particles rather than grinding them across the surface.
Water Spots and Mineral Deposits
Hard water spray or improper cleaning can leave mineral deposits. The vinegar solution mentioned earlier specifically targets these alkaline deposits. For stubborn spots, you may need to repeat the treatment 2-3 times, allowing the acidic vinegar to dissolve minerals gradually. Always use distilled water for final rinsing to prevent new deposits.
Common Cleaning Mistakes That Damage Smart Boards
Learning from others’ expensive mistakes helps you avoid them. These are the most frequent errors reported by facility managers and IT departments:
Using Excessive Liquid
Overly wet cloths allow liquid to run down the screen and seep into bezels, reaching internal electronics. A 2022 survey of 300 school districts found that moisture damage accounted for 23% of smart board warranty claims. Your cloth should be damp enough to clean effectively but dry enough that you could wipe your smartphone with it comfortably.
Applying Too Much Pressure
Touch screens are designed for finger pressure, not cleaning pressure. Pressing hard while cleaning can damage capacitive sensors, create dead spots, or even crack protective glass layers in extreme cases. If a mark doesn’t come off with gentle pressure and proper cleaning solution, additional force won’t help¡ªit needs more dwell time or a different approach.
Cleaning While Powered On
Besides the obvious electrical safety concerns, cleaning an active screen creates several problems: the device may interpret your cloth as touch input, triggering unintended actions; warm screens cause solutions to evaporate too quickly, leaving streaks; and you cannot see the surface clearly to evaluate your cleaning effectiveness.
Using Household Cleaners
Window cleaners containing ammonia, kitchen degreasers, furniture polish, and similar products may work on traditional glass but can permanently damage smart board anti-reflective and anti-glare coatings. These coatings are microscopically thin and easily compromised by harsh chemicals. Once damaged, they cannot be repaired¡ªonly replaced at significant cost.
Ignoring Manufacturer Guidelines
Every smart board manufacturer provides specific cleaning instructions in their documentation. Ignoring these guidelines can void warranties. Manufacturers test their products with specific cleaning methods and know which chemicals are compatible with their materials. Always consult your user manual or manufacturer’s website before trying new cleaning products or techniques.
Preventive Maintenance Tips
Prevention reduces the need for intensive cleaning and extends equipment lifespan. Implement these strategies in your environment:
Establish Usage Guidelines
Create and communicate clear rules for smart board interaction. Post visible signs reminding users to:
- Touch the screen with clean, dry hands
- Never use traditional markers, pens, or sharp objects on the surface
- Avoid pressing unnecessarily hard during interaction
- Report spills or damage immediately
- Keep food and drinks at least 3 feet away from the display
Implement Daily Quick-Maintenance
A 60-second daily wipe-down with a dry microfiber cloth prevents buildup that requires more aggressive cleaning later. Assign this task to a specific person or role so accountability is clear. Many organizations keep a dedicated smart board maintenance kit in each room with appropriate supplies and quick-reference cleaning instructions.
Control Environmental Factors
Environmental conditions affect how quickly screens accumulate dirt and how difficult it becomes to remove. Consider these factors:
- Humidity: Maintain 40-60% relative humidity to minimize dust attraction and static
- Air quality: HVAC filters should be changed regularly to reduce airborne particles
- Positioning: Avoid placing smart boards near windows where direct sunlight increases dust visibility and heat buildup
- Traffic flow: Position displays away from doors where dust and debris enter
Schedule Professional Maintenance
Even with excellent daily care, schedule annual professional maintenance inspections. Technicians can deep-clean internal components, verify calibration, update firmware, and identify potential problems before they cause failures. Many manufacturers and dealers offer maintenance contracts that include periodic service visits.
When to Seek Professional Help
Some situations require professional attention rather than DIY cleaning:
- Liquid spills inside the unit: If liquid has entered through vents or gaps, power down immediately and contact a technician
- Visible damage to screen surface: Cracks, deep scratches, or coating delamination
- Touch functionality problems: Dead spots, ghost touches, or calibration issues
- Persistent stains after multiple proper cleaning attempts: May indicate permanent damage or chemical residue requiring specialized treatment
- Warranty concerns: If your device is under warranty and you’re unsure about cleaning methods
Budget-Friendly vs. Premium Cleaning Products
You don’t necessarily need expensive products to clean effectively, but understanding the differences helps you make informed choices:
Budget-Friendly Options
Distilled water (around $1-2 per gallon) combined with white vinegar (approximately $3-5 per gallon) provides an extremely economical cleaning solution that costs less than $0.10 per cleaning session. Quality microfiber cloths can be purchased in bulk for $1-3 each and last for hundreds of cleaning cycles when properly maintained. This DIY approach works excellently for regular maintenance and costs a fraction of commercial products.
Premium Commercial Products
Specialized screen cleaning solutions from brands like iCloth, WHOOSH!, or Screen Mom typically cost $10-20 for 8-16 oz bottles. These products offer convenience, precise formulation for electronics, and often include anti-static properties or fingerprint-resistant additives. For high-value equipment or warranty considerations, these products provide peace of mind and are worth the investment. A single bottle typically provides 50-100 cleanings depending on screen size.
The practical middle ground for most organizations is maintaining both options: using the economical distilled water solution for regular maintenance while keeping a premium product on hand for difficult situations or when working with particularly sensitive equipment.
Maintaining Your Cleaning Supplies
Your cleaning tools require care too. Dirty supplies can scratch screens or redeposit grime you’re trying to remove:
Microfiber Cloth Care
Wash microfiber cloths separately from other laundry in warm water (not hot, which damages fibers) with mild detergent. Never use fabric softener or dryer sheets, as these coat fibers with chemicals that reduce absorbency and leave residue on screens. Air dry or tumble dry on low heat. Inspect cloths before each use for embedded debris, and replace them when they lose softness or show wear.
Storage Best Practices
Store cleaning supplies in a clean, dry location away from dust and contaminants. Keep microfiber cloths in a sealed bag or container when not in use. Label spray bottles clearly with contents and mixing date. Replace cleaning solutions every 6-12 months, as homemade mixtures can degrade or develop bacterial growth over time.
Troubleshooting Post-Cleaning Issues
Occasionally, you might notice problems after cleaning. Here’s how to address them:
Streaks or Haze
Usually caused by using too much cleaning solution or not buffing thoroughly. Re-clean the affected area with a cloth barely dampened with distilled water, then immediately buff dry with a clean, dry microfiber cloth. Multiple light passes work better than one heavy cleaning.
Touch Sensitivity Changes
If the screen seems less responsive after cleaning, residue from cleaning products may be interfering with capacitive touch sensing. Clean again with only distilled water to remove any product buildup, then recalibrate the touch screen through your device settings menu if the problem persists.
Rainbow or Oil-Slick Appearance
This indicates coating damage from incompatible cleaning chemicals. Unfortunately, this type of damage is usually permanent and affects the anti-glare properties of the screen. Prevention through proper product selection is critical, as repair requires professional coating reapplication or screen replacement.
Long-Term Care and Equipment Lifespan
Proper cleaning is one component of comprehensive smart board care that maximizes return on investment. Interactive displays typically last 5-8 years with good maintenance, but poor care can reduce this to 3-4 years. Beyond cleaning, consider:
- Firmware updates: Manufacturers release updates that improve performance and fix issues
- Power management: Use sleep modes rather than leaving displays on 24/7
- Physical protection: Install protective frames or barriers in high-traffic areas
- User training: Educated users cause less accidental damage
- Documentation: Keep cleaning logs to track issues and demonstrate proper care for warranty purposes
Organizations that implement systematic care programs report 40-60% longer equipment lifespan compared to those with ad-hoc maintenance approaches, according to educational technology lifecycle studies.
Conclusion
Cleaning a smart board properly requires the right knowledge, materials, and techniques, but the process itself is straightforward once you understand the principles. By following manufacturer guidelines, using appropriate cleaning solutions, employing gentle methods, and establishing regular maintenance schedules, you can keep your interactive display looking clear, functioning properly, and serving your organization reliably for years.
Remember that prevention through daily light maintenance proves far more effective than periodic intensive cleaning. Invest in quality microfiber cloths, use screen-safe products, educate users on proper interaction, and never compromise on technique to save time. Your smart board represents a significant investment in communication and collaboration technology¡ªprotecting that investment through proper care delivers returns through extended lifespan, maintained functionality, and professional appearance.
Whether you’re managing a single device in a home office or hundreds of interactive panels across multiple facilities, these evidence-based cleaning practices will help you maintain optimal performance while avoiding costly damage. Clean screens enhance visual clarity, ensure accurate touch response, and project the professional image your organization deserves.