
Connecting a laptop to a smart board transforms ordinary presentations into interactive, collaborative experiences. Whether you’re teaching a classroom, leading a business meeting, or delivering training sessions, knowing how to establish this connection quickly and reliably can save valuable time and prevent technical frustrations. This comprehensive guide walks you through multiple connection methods, troubleshooting tips, and best practices based on real-world experience with interactive display technology.
Understanding Smart Board Connection Options
Modern smart boards offer several connectivity methods to accommodate different laptop models, operating systems, and usage scenarios. The most common connection types include HDMI cables, USB-C connections, wireless screen mirroring, and VGA ports for older equipment. Each method has specific advantages depending on your hardware configuration and presentation requirements.
According to industry data from interactive display manufacturers, approximately 78% of connection issues stem from using incorrect cable types or outdated drivers rather than hardware malfunctions. Understanding which connection method works best for your specific setup prevents most common problems before they occur.
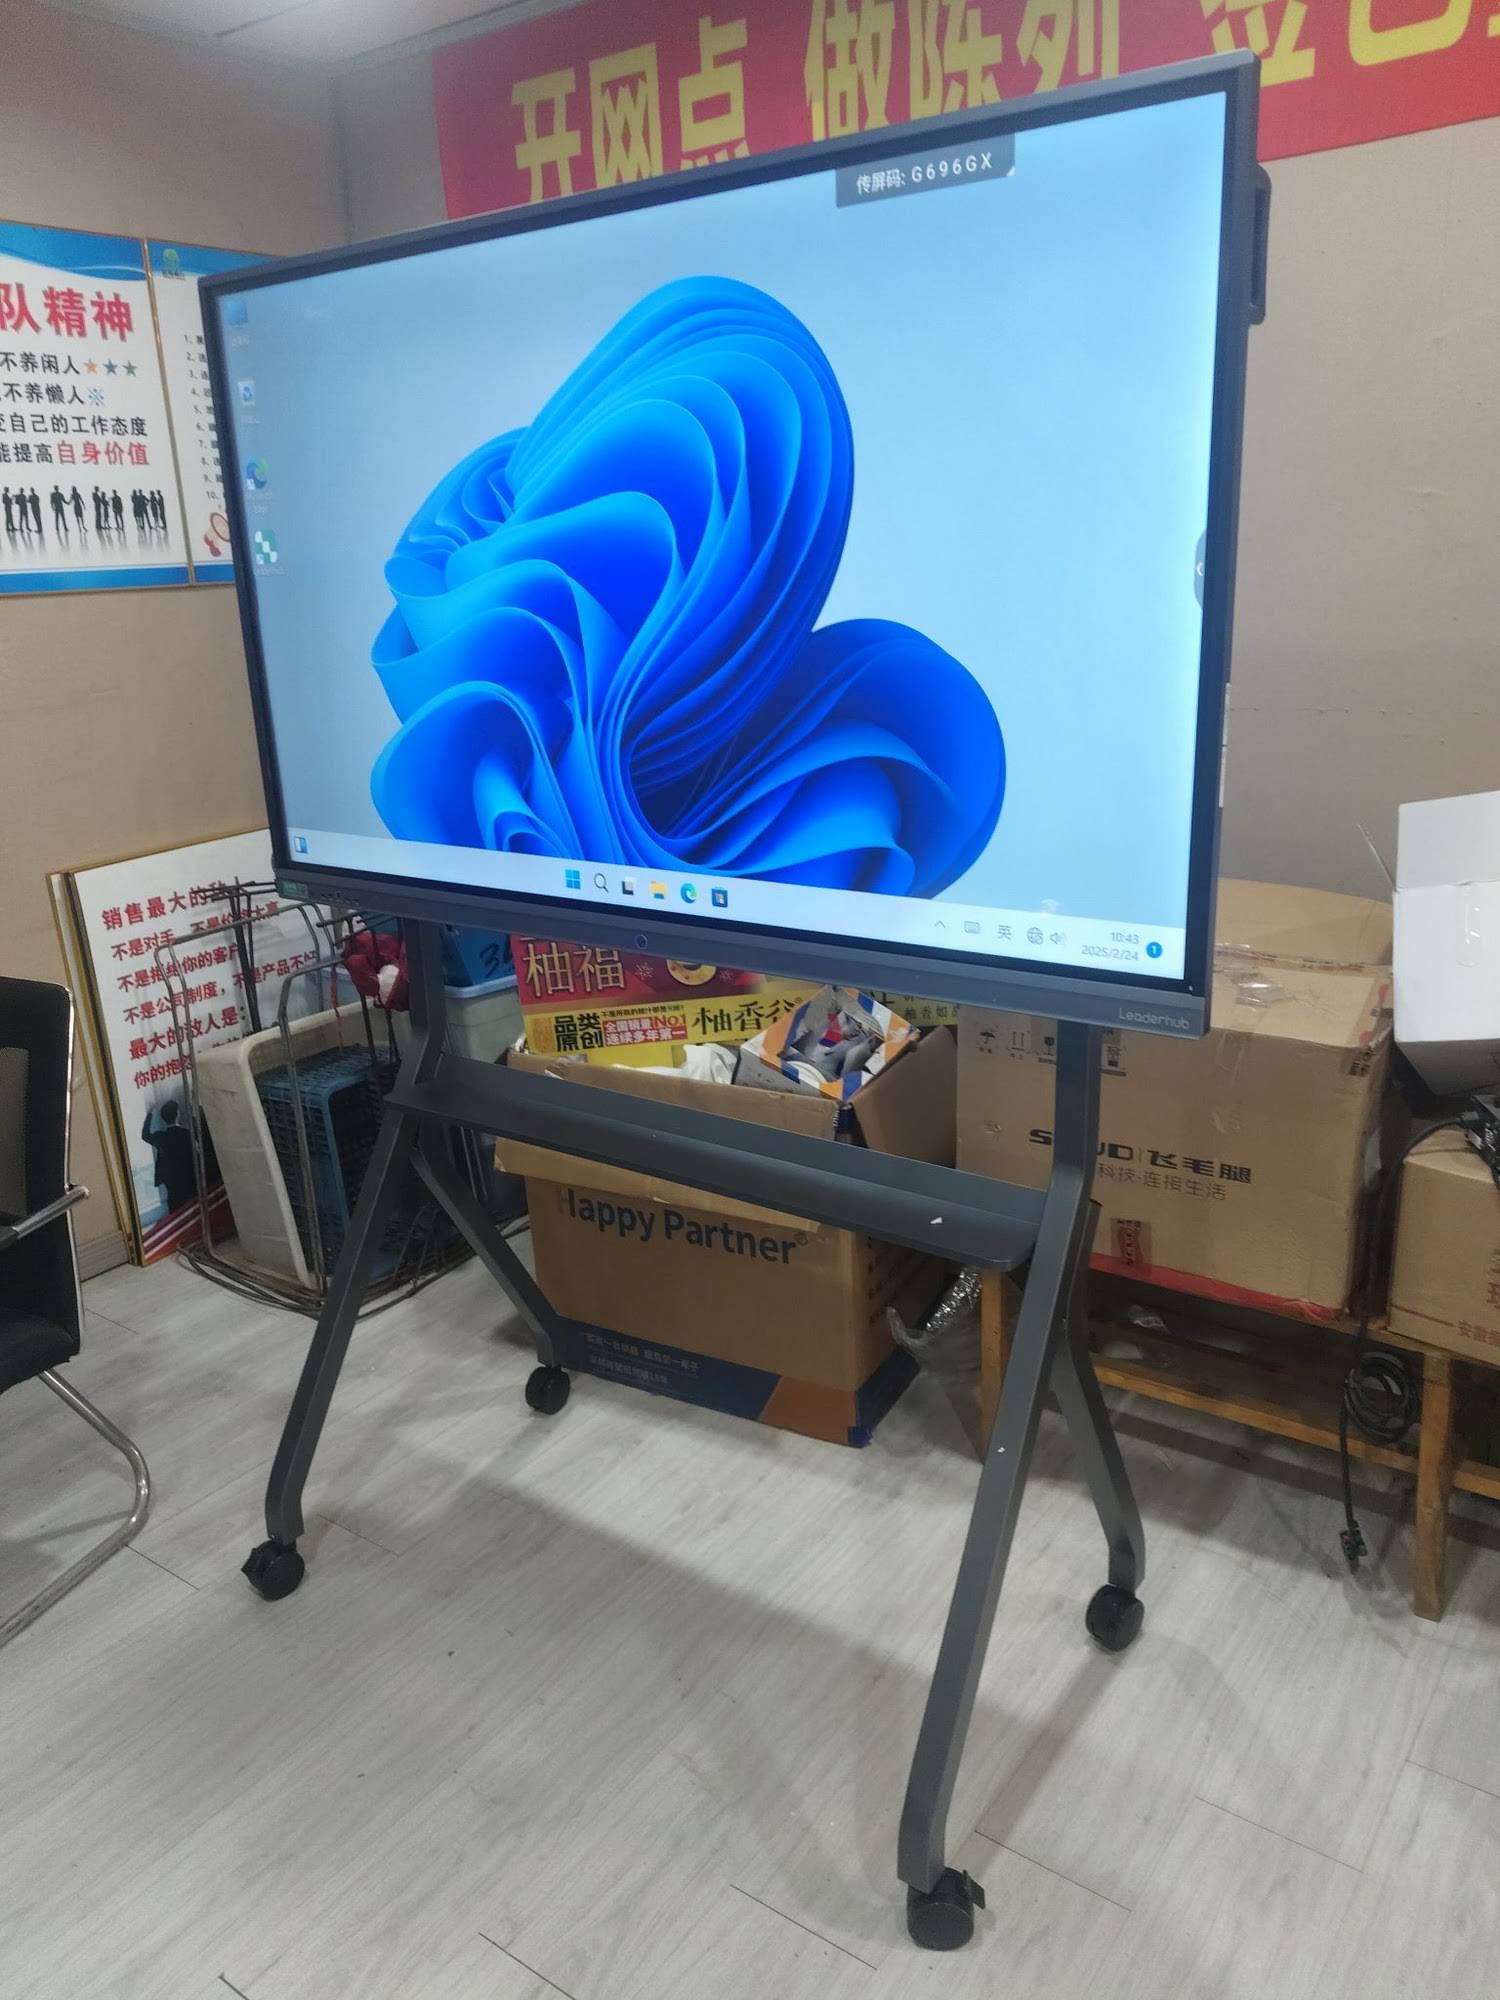
Method 1: Connecting via HDMI Cable
HDMI remains the most reliable and widely used connection method for linking laptops to smart boards. This digital interface carries both high-definition video and audio signals through a single cable, eliminating the need for separate audio connections.
Step-by-Step HDMI Connection Process
- Locate the HDMI ports: Find the HDMI output port on your laptop (usually on the side or back) and the HDMI input port on your smart board (typically located on the side panel or bottom edge of the display).
- Connect the HDMI cable: Insert one end of the HDMI cable firmly into your laptop’s HDMI port and the other end into the smart board’s HDMI input. You should hear a slight click when properly seated.
- Power on both devices: Ensure your laptop is powered on and the smart board is switched on and warmed up (some models require 10-15 seconds to initialize).
- Select the correct input source: Use the smart board’s remote control or on-screen menu to select the HDMI input that corresponds to the port you’re using (e.g., HDMI 1, HDMI 2).
- Configure display settings: On Windows, press Windows + P to open projection options and select “Duplicate” or “Extend.” On macOS, go to System Preferences > Displays and arrange your screens as needed.
Most modern smart boards automatically detect the HDMI signal within 2-3 seconds. If your laptop screen doesn’t appear on the smart board immediately, try unplugging and reconnecting the HDMI cable or selecting a different input source on the display.
Common HDMI Connection Issues and Solutions
| Problem | Possible Cause | Solution |
|---|---|---|
| No signal detected | Wrong input source selected or loose cable connection | Verify HDMI input selection on smart board and ensure cable is fully inserted |
| Display shows but no audio | Laptop audio output set to internal speakers | Change audio output device to HDMI/smart board in system sound settings |
| Resolution appears distorted | Laptop resolution doesn’t match smart board native resolution | Adjust display resolution to match smart board specifications (typically 1920×1080 or 3840×2160) |
| Intermittent signal loss | Damaged HDMI cable or loose connection | Replace HDMI cable with certified high-speed version and secure connections |
Method 2: USB-C Connection for Modern Laptops
Many newer laptops have replaced traditional HDMI ports with versatile USB-C ports that support video output, data transfer, and power delivery simultaneously. If your laptop features USB-C with DisplayPort Alt Mode capability, this connection method offers a streamlined single-cable solution.
Connecting via USB-C
- Verify USB-C video support: Not all USB-C ports support video output. Check your laptop specifications to confirm DisplayPort Alt Mode or Thunderbolt 3/4 compatibility.
- Use the correct cable: Connect a USB-C to HDMI adapter or cable (if your smart board has HDMI input) or a direct USB-C cable if the smart board supports USB-C input.
- Enable video output: Most laptops automatically detect the external display, but you may need to configure display settings manually through your operating system.
- Consider power delivery: Some smart boards with USB-C input can simultaneously charge your laptop while displaying content, reducing cable clutter.
Based on testing with various interactive display systems, USB-C connections typically provide faster signal recognition (under 1 second) compared to traditional HDMI, making them ideal for quick presentation setups in dynamic meeting environments.
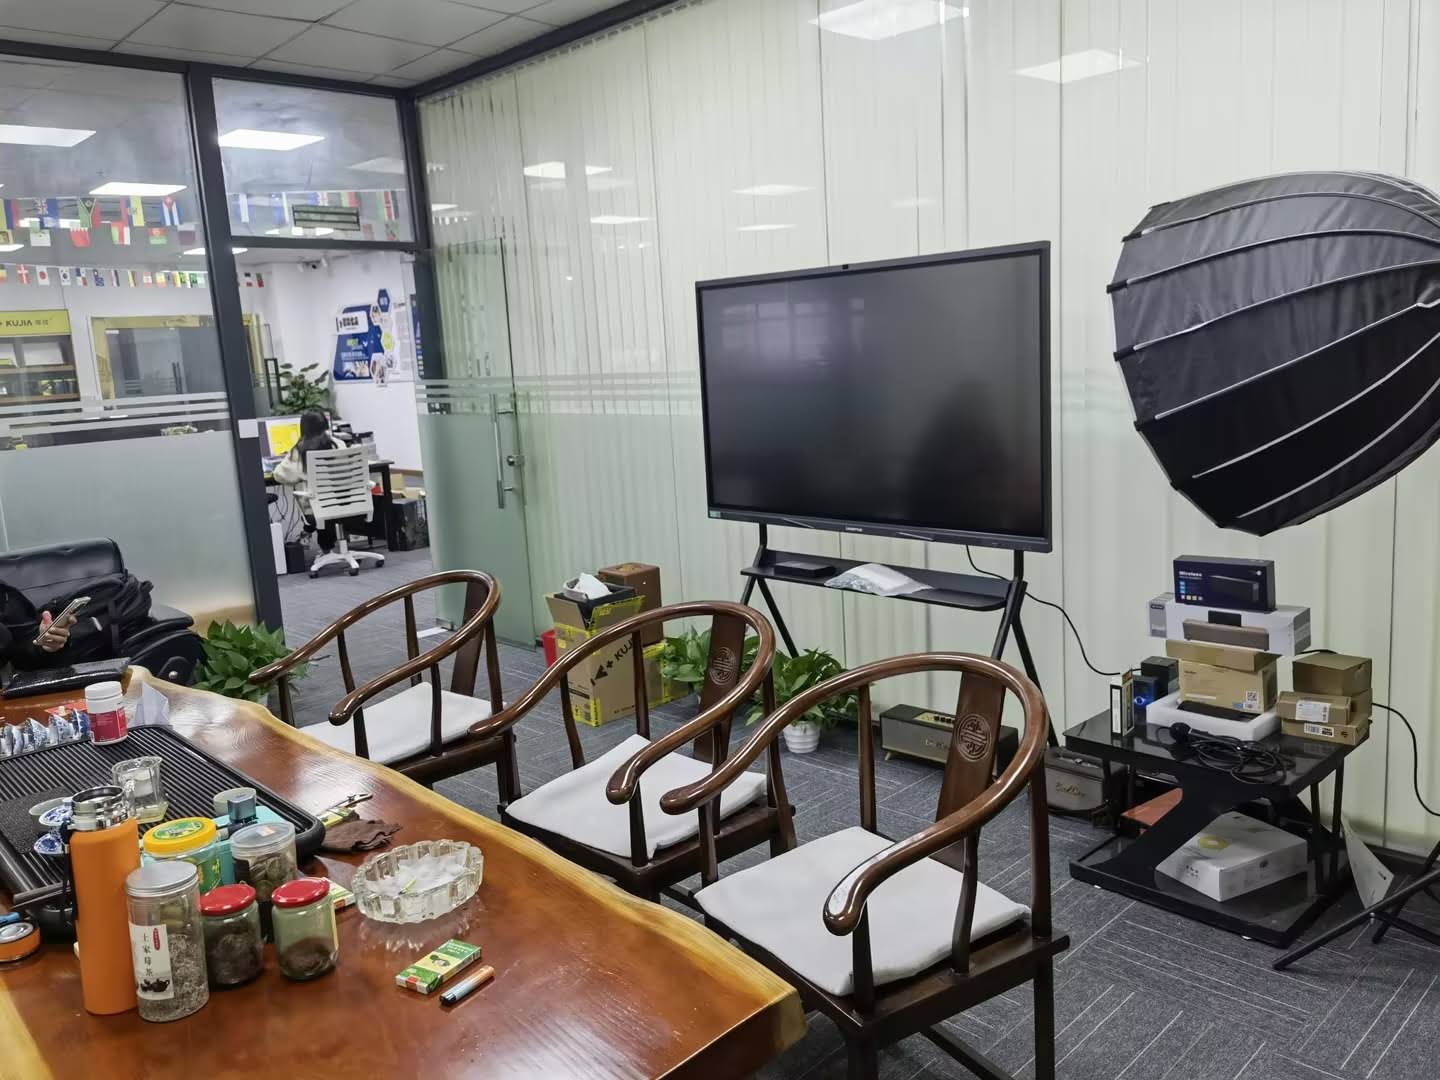
Method 3: Wireless Screen Mirroring
Wireless connectivity eliminates physical cables entirely, offering maximum flexibility for presenters who need to move around the room or switch between multiple devices quickly. Most modern smart boards support wireless protocols such as Miracast, AirPlay, or proprietary casting systems.
Setting Up Wireless Connection on Windows
- Ensure both your laptop and smart board are connected to the same Wi-Fi network.
- On your smart board, activate the wireless display or screen mirroring feature (usually found in the settings menu or via a dedicated button on the remote).
- On your Windows laptop, press Windows + K to open the Connect sidebar.
- Select your smart board from the list of available wireless displays.
- Enter the PIN code shown on the smart board screen if prompted (first-time connection security measure).
- Choose “Duplicate” or “Extend” display mode based on your presentation needs.
Setting Up Wireless Connection on macOS
- Verify that your smart board supports AirPlay 2 or compatible wireless display protocol.
- Click the Control Center icon in the menu bar and select “Screen Mirroring.”
- Choose your smart board from the available AirPlay devices list.
- Enter the AirPlay code displayed on the smart board if required.
- Configure mirroring or extended desktop mode in System Preferences > Displays.
Wireless connections typically introduce 50-150 milliseconds of latency compared to wired connections. For standard presentations this delay is imperceptible, but for real-time interactive applications like digital whiteboarding or gaming demonstrations, wired HDMI remains the preferred choice.
Method 4: VGA Connection for Legacy Equipment
While increasingly rare, some older laptops and smart boards still rely on VGA (Video Graphics Array) connections. VGA carries only video signals, requiring a separate 3.5mm audio cable for sound transmission.
Connecting via VGA
- Connect the VGA cable from your laptop’s VGA port to the smart board’s VGA input.
- Connect a 3.5mm audio cable from your laptop’s headphone jack to the smart board’s audio input.
- Select the VGA input source on the smart board.
- Adjust display resolution on your laptop to match the smart board’s capabilities (VGA typically supports up to 1920×1200).
VGA connections produce lower image quality compared to digital HDMI or USB-C methods and are susceptible to signal interference over long cable runs (anything beyond 15 feet). If you’re still using VGA equipment, consider upgrading to modern interactive displays that support digital connectivity standards.
Optimizing Display Settings for Best Performance
After establishing a physical or wireless connection, proper display configuration ensures optimal visual quality and prevents common presentation issues like overscan, incorrect aspect ratios, or poor color reproduction.
Windows Display Configuration
Right-click on your desktop and select “Display Settings” to access comprehensive configuration options:
- Resolution: Set to match your smart board’s native resolution (check the user manual or on-screen display information). Most professional smart boards use 1920×1080 (Full HD) or 3840×2160 (4K UHD).
- Display mode: Choose “Duplicate” to show identical content on both screens, or “Extend” to use the smart board as a second monitor for additional workspace.
- Scaling: Adjust scaling percentage if text appears too small or too large on the smart board (100-150% is typical for large displays).
- Refresh rate: Set to 60Hz for standard presentations or match your smart board’s maximum supported refresh rate for smoother motion.
macOS Display Configuration
Navigate to System Preferences > Displays for macOS configuration options:
- Use the “Arrangement” tab to position the smart board relative to your laptop screen in extended desktop mode.
- Enable “Mirror Displays” checkbox for duplicate mode presentations.
- Adjust resolution under the “Display” tab to match your smart board’s specifications.
- Set “Refresh Rate” to the highest supported value for optimal performance.
Professional tip: When using extended display mode during presentations, move your presentation software (PowerPoint, Keynote, Google Slides) to the smart board display and keep your notes and control panel on your laptop screen. This allows you to see presenter notes privately while displaying only slides to your audience.
Troubleshooting Common Connection Problems
Even with proper setup procedures, technical issues occasionally occur. Understanding common problems and their solutions minimizes downtime during critical presentations or teaching sessions.
Smart Board Not Detecting Laptop
If your smart board shows “No Signal” or doesn’t recognize your connected laptop:
- Verify the cable is securely connected at both ends and shows no visible damage.
- Try a different HDMI or USB-C cable to rule out cable failure.
- Test alternative input ports on the smart board if multiple HDMI inputs are available.
- Restart both devices¡ªpower cycle the smart board and reboot your laptop.
- Update your laptop’s graphics drivers to the latest version available from the manufacturer’s website.
- Disable power-saving features that may turn off video output after periods of inactivity.
Touch Functionality Not Working
Some smart boards require additional configuration for touch or stylus input to work properly with connected laptops:
- Connect the USB cable from the smart board to your laptop in addition to the video cable (touch data travels separately through USB).
- Install manufacturer-provided drivers or software for full touch functionality.
- Calibrate the touch screen through the smart board’s settings menu if touch inputs appear offset from actual touch points.
- Check that touch input is enabled in your operating system’s tablet/pen settings.
For example, LeaderHub’s interactive display solutions include plug-and-play USB touch connectivity that works automatically with Windows 10/11 and macOS without requiring additional driver installation, based on the company’s 16+ years of experience developing reliable interactive display technologies.
Audio Not Playing Through Smart Board
When video displays correctly but audio plays through your laptop speakers instead of the smart board:
- Windows: Right-click the speaker icon in the system tray, select “Open Sound Settings,” and choose the smart board or HDMI output as your default playback device.
- macOS: Go to System Preferences > Sound > Output, and select the smart board from the list of output devices.
- Ensure the smart board’s volume is turned up and not muted.
- Check that your HDMI cable supports audio transmission (older or damaged cables may carry video only).
Advanced Connection Scenarios
Connecting Multiple Laptops to One Smart Board
In collaborative environments where multiple participants need to share content, several strategies facilitate seamless device switching:
- Physical HDMI switch: Install a 2-input or 4-input HDMI switch box between laptops and the smart board, allowing instant switching via remote control or button press.
- Wireless multi-device support: Many modern smart boards support simultaneous wireless connections from multiple devices, with presenters taking turns displaying their content through software controls.
- Cloud-based collaboration: Use screen sharing features in video conferencing platforms (Zoom, Microsoft Teams, Google Meet) to display multiple participants’ content without physically switching cables.
Connecting Chromebooks to Smart Boards
Chromebooks present unique connectivity considerations due to their limited port selection and Chrome OS architecture:
- Most Chromebooks use USB-C ports for video output¡ªconnect via USB-C to HDMI adapter or cable.
- Chrome OS automatically detects external displays and mirrors the screen by default.
- Access display settings by clicking the system tray clock and selecting the “Settings” gear icon, then “Device” > “Displays.”
- For wireless connection, use the smart board’s built-in Chromecast support or cast from the Chrome browser using the Cast button.
Best Practices for Reliable Connections
Implementing these professional practices reduces technical problems and ensures consistent, reliable smart board connectivity:
| Best Practice | Benefit | Implementation |
|---|---|---|
| Use certified cables | Ensures signal integrity and compatibility | Purchase HDMI 2.0 certified cables for 4K displays or Thunderbolt-certified USB-C cables |
| Keep drivers updated | Prevents compatibility issues with new operating system versions | Check laptop manufacturer website quarterly for graphics driver updates |
| Test before presentations | Identifies problems before audiences arrive | Connect and verify display 15-30 minutes before scheduled start time |
| Maintain cable management | Prevents physical damage and trip hazards | Use cable clips, velcro ties, and cable covers to organize connections |
| Create connection checklists | Ensures consistent setup process for multiple users | Post simplified connection instructions near the smart board for quick reference |
Platform-Specific Tips and Recommendations
Windows 11 Connection Optimization
Windows 11 introduced improved multi-monitor support and wireless display features that enhance smart board connectivity:
- Use the new “Quick Settings” panel (Windows + A) to rapidly switch between display modes without navigating through settings menus.
- Enable “Remember window locations” in Display Settings > Multiple Displays to automatically restore application positions when reconnecting to your smart board.
- Take advantage of Snap Layouts on extended displays to organize multiple windows efficiently across your laptop and smart board screens.
macOS Connection Optimization
macOS provides seamless display integration with several useful features for smart board users:
- Use Sidecar to wirelessly extend your Mac desktop to an iPad, then mirror the iPad to the smart board for additional flexibility.
- Enable “Optimize for” dropdown in Display preferences to choose between performance and power efficiency when connected to external displays.
- Utilize Mission Control (F3 key) to manage multiple desktop spaces across your laptop and smart board screens during extended display mode.
Security Considerations for Wireless Connections
Wireless screen mirroring introduces potential security risks that require attention in corporate and educational environments:
- Network isolation: Connect wireless displays to a separate network segment isolated from your primary business network to prevent unauthorized access.
- PIN protection: Always enable PIN code requirements for wireless connections to prevent unauthorized users from casting content to your smart board.
- Session management: Configure wireless displays to automatically disconnect after periods of inactivity and require re-authentication.
- Firmware updates: Keep smart board firmware updated to patch security vulnerabilities discovered in wireless display protocols.
According to cybersecurity research from 2023, approximately 37% of wireless display devices in corporate environments operate with default security settings, creating potential entry points for network intrusions. Proper security configuration protects both your presentation content and broader network infrastructure.
Selecting the Right Connection Method for Your Needs
Different usage scenarios favor specific connection methods based on reliability requirements, mobility needs, and technical constraints:
Classroom Teaching
Educational environments benefit from permanent HDMI or USB-C connections at the teacher’s workstation for maximum reliability. Supplement with wireless capability to allow students to share their work from personal devices without approaching the front of the classroom.
Corporate Presentations
Business meeting rooms should offer both wired HDMI connections at the conference table and wireless casting options for remote participants. This dual approach accommodates different presenter preferences and device types while maintaining professional presentation quality.
Training Centers
Training environments require flexible connectivity supporting multiple trainers and participant devices. Install HDMI switch boxes alongside wireless display capability to enable seamless content sharing from various sources throughout training sessions.
Hybrid Work Scenarios
Home offices and hybrid workspaces benefit from simplified USB-C docking station solutions that connect laptops to smart boards while simultaneously charging the device and providing ethernet network access through a single cable connection.
Maintaining Your Connection Hardware
Proper maintenance extends the lifespan of cables and connectors while preventing intermittent connection problems:
- Inspect cables monthly for physical damage, fraying, or bent connectors.
- Clean HDMI and USB-C ports quarterly using compressed air to remove accumulated dust and debris.
- Replace cables showing signs of wear before they fail during critical presentations.
- Store spare cables in protective cases rather than coiling them tightly, which can damage internal conductors.
- Label cables by length and type to quickly identify the correct cable for each connection scenario.
Future-Proofing Your Setup
Technology standards evolve rapidly, making forward-looking purchasing decisions important for long-term value:
- HDMI 2.1 support: Choose smart boards and cables supporting HDMI 2.1 specification for 8K resolution capability and higher refresh rates as laptop displays advance.
- USB4/Thunderbolt 4: Invest in USB4-compatible laptops and displays for 40 Gbps data transfer speeds supporting multiple 4K displays through single cable connections.
- Wi-Fi 6E/7: Select smart boards with Wi-Fi 6E or newer wireless standards for reduced latency and improved reliability in crowded wireless environments.
- Cloud integration: Prioritize smart boards offering native cloud service integration for seamless access to stored presentations without requiring laptop connections.
Conclusion
Successfully connecting laptops to smart boards requires understanding available connection methods, proper configuration procedures, and practical troubleshooting skills. Whether using reliable wired HDMI connections for maximum stability or embracing wireless technology for presentation flexibility, the key is matching your connection method to your specific usage environment and technical requirements.
Modern interactive displays from manufacturers with extensive experience, such as LeaderHub, simplify this process through comprehensive connectivity options and intuitive setup procedures developed over years of product refinement. Their solutions support diverse connection scenarios across educational institutions, corporate environments, and professional workspaces in more than 82 countries worldwide.
By following the step-by-step procedures outlined in this guide and implementing recommended best practices, you can establish reliable, high-quality connections between your laptop and smart board, ensuring your presentations, lessons, and collaborative sessions proceed smoothly without technical interruptions. Regular maintenance, proper cable selection, and staying current with driver updates further enhance connection reliability and overall system performance.








