Building your own interactive display is one of the most rewarding weekend tech projects you can take on. If you have been searching for how to make a smart board at home, the good news is that you do not need a huge budget or an engineering degree. With a projector, a spare TV, a Nintendo Wii Remote, or a small PC, you can create a touch-style board for teaching your kids, hosting study groups, running home-office brainstorms, or simply having fun with digital drawing.
This guide walks you through three proven DIY methods, lists the exact parts you need, explains calibration step by step, and compares the real-world cost and performance of each approach so you can choose the one that fits your space and skills.
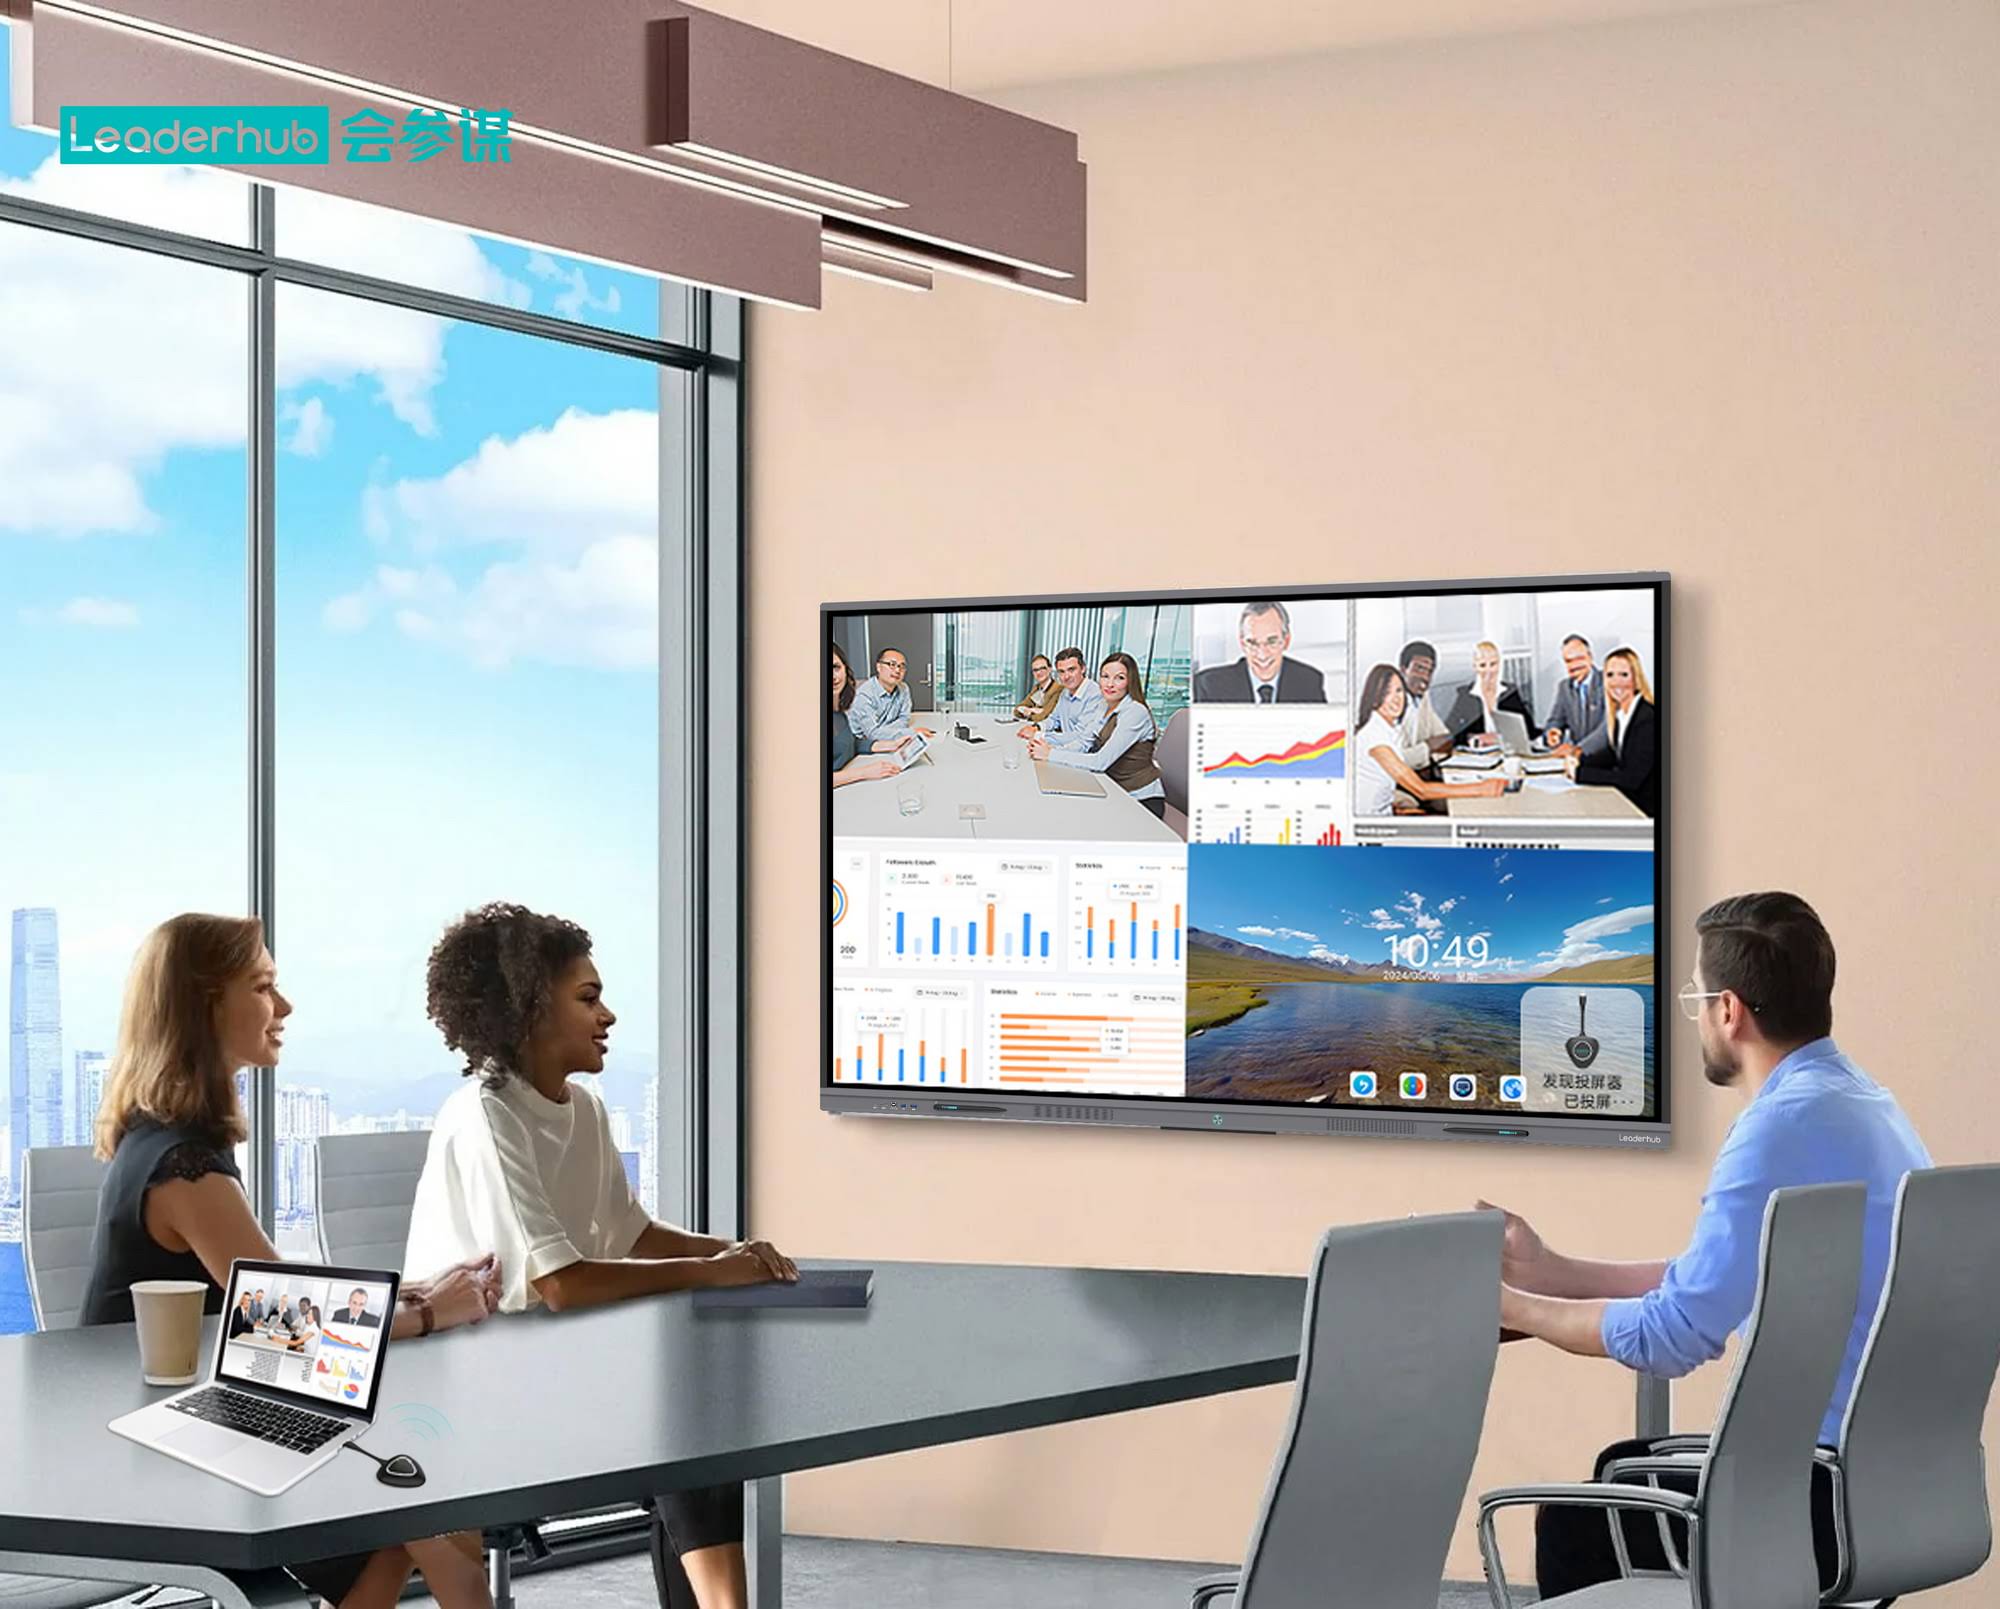
Why Build a Smart Board at Home?
Interactive boards used to be reserved for classrooms and corporate boardrooms. Today, remote work, homeschooling, online tutoring, and hybrid learning have made a large touch surface genuinely useful at home. Research summarized in the UNESCO Technology in Education Report highlights that technology delivers the most value when it supports active, hands-on participation rather than passive viewing — exactly what a smart board enables.
- Homeschooling and tutoring: annotate PDFs, solve math problems, and save every page digitally.
- Home office: sketch workflows, run virtual whiteboard sessions, and share your screen in video calls.
- Creative projects: digital painting, storyboarding, and game design with a large canvas.
- Family use: shared calendars, chore charts, recipe walls, and interactive games for kids.
Three Ways to Make a Smart Board at Home
Each method below produces a working interactive surface, but they differ in cost, accuracy, and how much tinkering is involved. Here is a quick overview before we dive into the details.
| Method | Core Hardware | Difficulty | Typical Cost (excl. projector/TV) | Best For |
|---|---|---|---|---|
| 1. Projector + Wiimote | Projector, Wii Remote, IR pen, Bluetooth PC | Medium | $30 – $60 | Hobbyists, tight budgets |
| 2. Projector + Mini PC + Tablet | Projector, mini PC, tablet or phone as touch input | Easy | $400 – $500 | Teachers, remote workers |
| 3. TV + IR Touch Frame | Flat-screen TV, IR touch overlay, mini PC | Medium | $550 – $800 | True finger-touch experience |
Method 1: The Classic Wiimote Smart Board with a Projector
The Wiimote whiteboard is the original DIY smart board hack and remains the cheapest route to an interactive wall. The concept is simple: a Nintendo Wii Remote contains an infrared camera that can track up to four IR light sources. Point it at your projected image, use a pen with an IR LED in the tip, and free software converts the pen position into mouse movements.
What You Need
- A projector (any resolution, though 1080p gives crisper handwriting)
- A white wall, whiteboard, or projection screen
- One Nintendo Wii Remote (original model, not the Wii U gamepad)
- A computer with Bluetooth (Windows, macOS, or Linux)
- An IR pen — buy a ready-made one or build one with a 940nm IR LED, a momentary push button, and an AA battery in a marker shell
- Wiimote whiteboard software such as Smoothboard, WiimoteWhiteboard, or similar open-source utilities
Step-by-Step Setup
- Mount the projector so the image fills your chosen wall area. Keep the image rectangular using keystone correction.
- Position the Wiimote at a 45-degree angle to the screen, ideally above and to the side, about 1.5–2.5 metres away. The entire projected image must be visible to the Wiimote camera.
- Pair the Wiimote via Bluetooth by pressing buttons 1 and 2 simultaneously while your PC searches for devices.
- Launch the whiteboard software and start calibration. Touch the four crosshairs that appear on screen with your IR pen.
- Test tracking utilization. Most apps show a percentage — aim for above 60%; anything lower means the Wiimote is too far away or poorly angled.
- Open a whiteboard app (Microsoft Whiteboard, OpenBoard, Jamboard alternatives, or a drawing program) and start writing.
Pro Tips for Better Accuracy
- Dim overhead lights and avoid direct sunlight; the Wiimote can mistake sunlight or incandescent bulbs for your pen.
- Use a tripod or clamp so the Wiimote never moves after calibration.
- Add a second Wiimote from the opposite side to eliminate shadow dead zones created by your body.
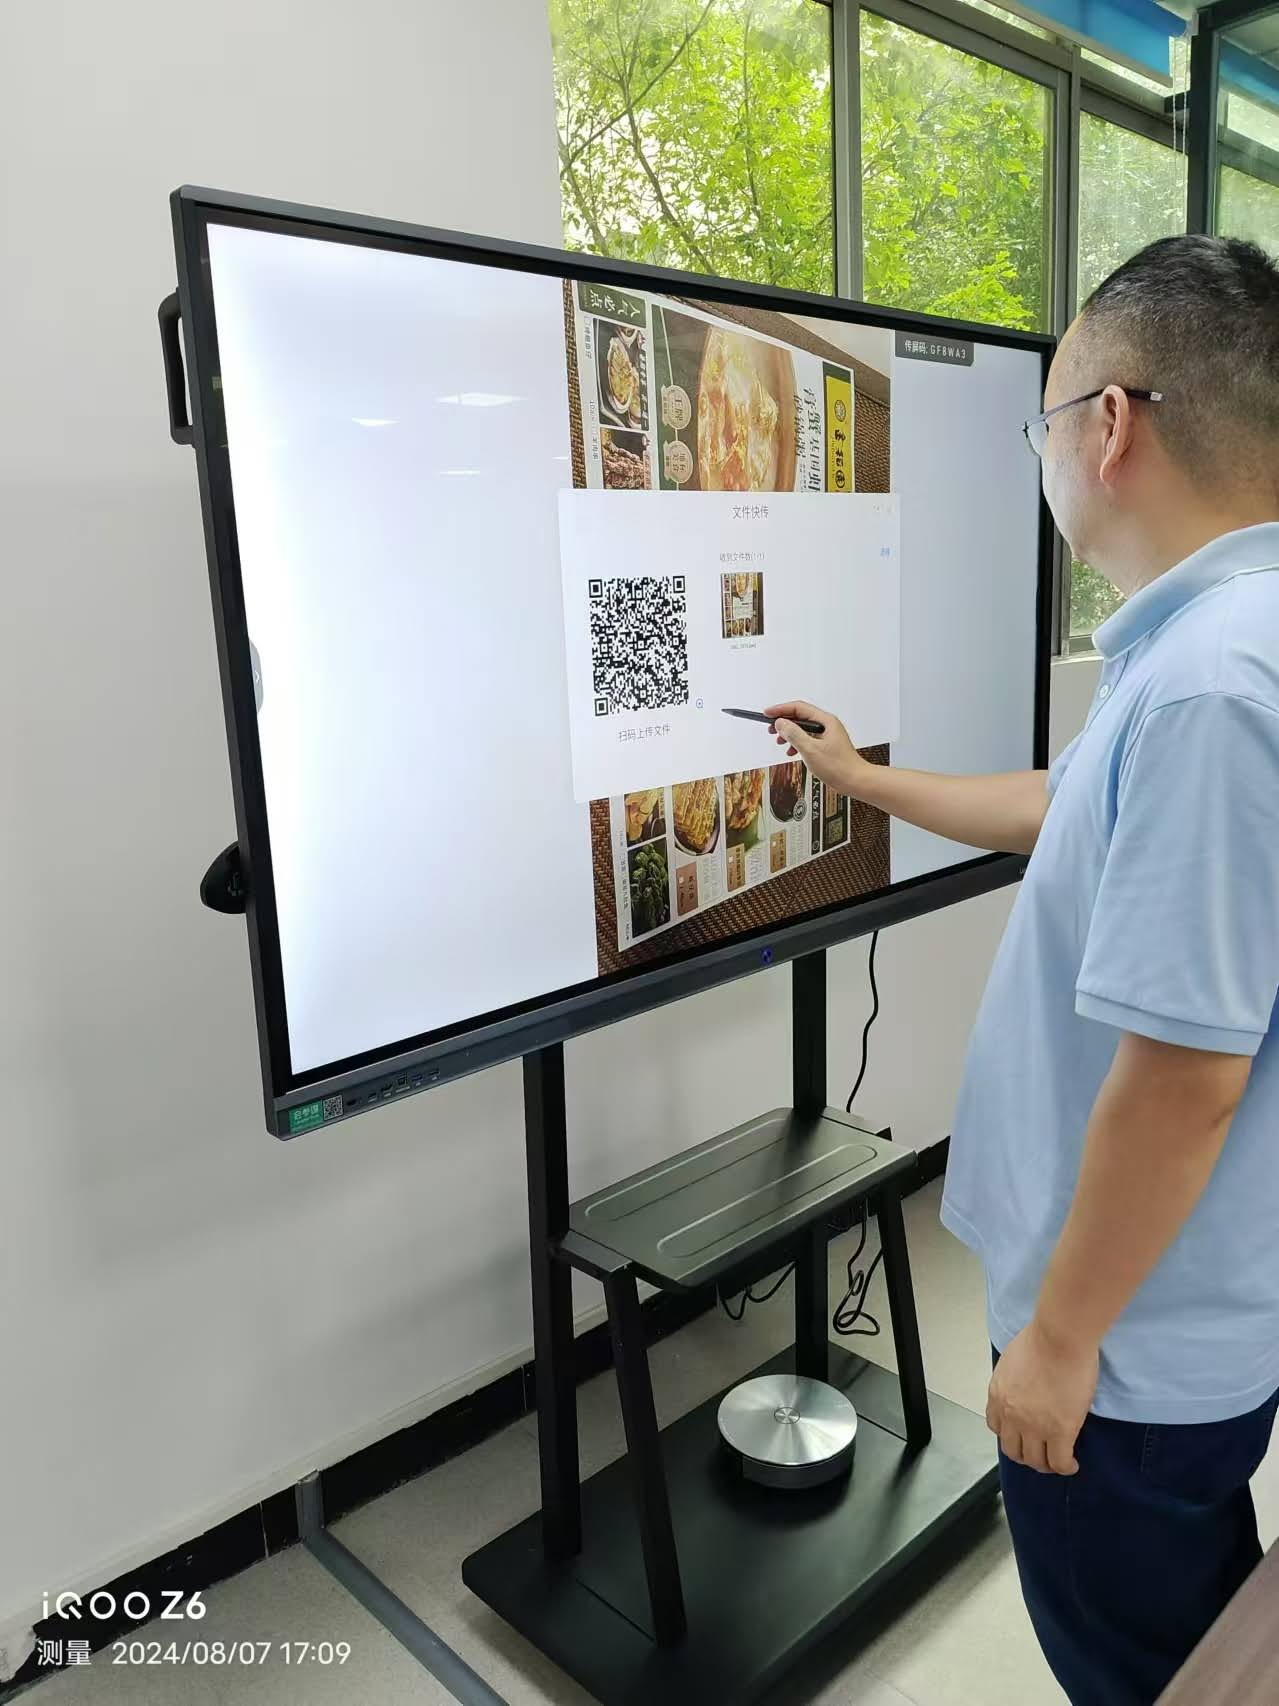
Method 2: Projector + Mini PC + Tablet as a Touch Controller
If you would rather skip IR pens and calibration headaches, this approach turns a tablet into the “touch” layer while a projector handles the big-screen display. It is the fastest to set up and works brilliantly for teaching, presenting, and video calls.
How It Works
A compact computer drives the projector and runs your whiteboard or presentation software. Your tablet or phone connects to the same Wi-Fi network and mirrors or remotely controls the desktop. Every stroke you draw on the tablet appears instantly on the wall. Because the computer sits permanently beside the projector, you never need to plug in a laptop again.
Recommended Parts
- Any 1080p or 4K projector with HDMI input
- A fanless or low-noise mini PC — an entry model such as the LP1C with Intel N100, 8GB RAM and 512GB SSD is more than enough for whiteboard apps, browsers, and Zoom or Teams
- An iPad, Android tablet, or large phone with a stylus
- Remote-desktop or mirroring software (built-in options exist on both Windows and macOS)
- Optional: a USB webcam and speaker for hybrid classes
Setup in Under 30 Minutes
- Connect the mini PC to the projector via HDMI and mount both on a shelf or ceiling bracket.
- Join the mini PC and tablet to the same Wi-Fi network (5GHz reduces lag).
- Install a remote-control or second-screen app on the tablet and pair it with the PC.
- Open your whiteboard software on the PC, set the canvas to full screen, and draw from the tablet.
- Save sessions to the cloud so students or colleagues receive notes immediately.
The trade-off is obvious: you are not touching the wall itself. For many households, though, that is a feature — kids can draw from the sofa, and the teacher can face the audience instead of the board.
Method 3: Turn a Flat-Screen TV into a Touch Smart Board
If you want the true finger-touch feel of a commercial interactive panel, an infrared touch frame mounted over a regular TV is the most satisfying DIY solution. IR frames come in standard sizes (43″, 55″, 65″, 75″) and use a grid of invisible light beams around the bezel to detect fingers or any opaque stylus. Most support 10- or 20-point multi-touch and connect to a computer by a single USB cable with no drivers required.
Shopping List
| Component | What to Look For | Approx. Price |
|---|---|---|
| LED/LCD TV | 55″–75″, 4K, matte finish preferred, flat (not curved) screen | Reuse existing or $350+ |
| IR touch frame | Matches TV diagonal exactly, 10+ touch points, USB plug-and-play, tempered glass optional | $150 – $400 |
| Mini PC | Windows or Android, VESA-mountable, at least 8GB RAM | $399 – $799 |
| Wall mount or mobile stand | Rated for combined TV + frame weight, height-adjustable if children will use it | $40 – $200 |
| Cables and adhesive | HDMI 2.0, USB-A extension, 3M VHB tape supplied with most frames | $15 – $30 |
Assembly and Calibration
- Measure the TV’s active display area — not the outer bezel — and order a frame built for that exact size.
- Clean the bezel with alcohol, then align the frame so its inner edge sits flush with the picture. Press the adhesive strips firmly.
- Mount the mini PC on the TV’s VESA holes or a nearby shelf, then connect HDMI and USB.
- Power on; Windows will recognise the frame as a touch digitizer automatically. Run the built-in tablet calibration tool once.
- Install a whiteboard application, enable palm rejection if available, and you are ready to write with a finger or any plastic stylus.
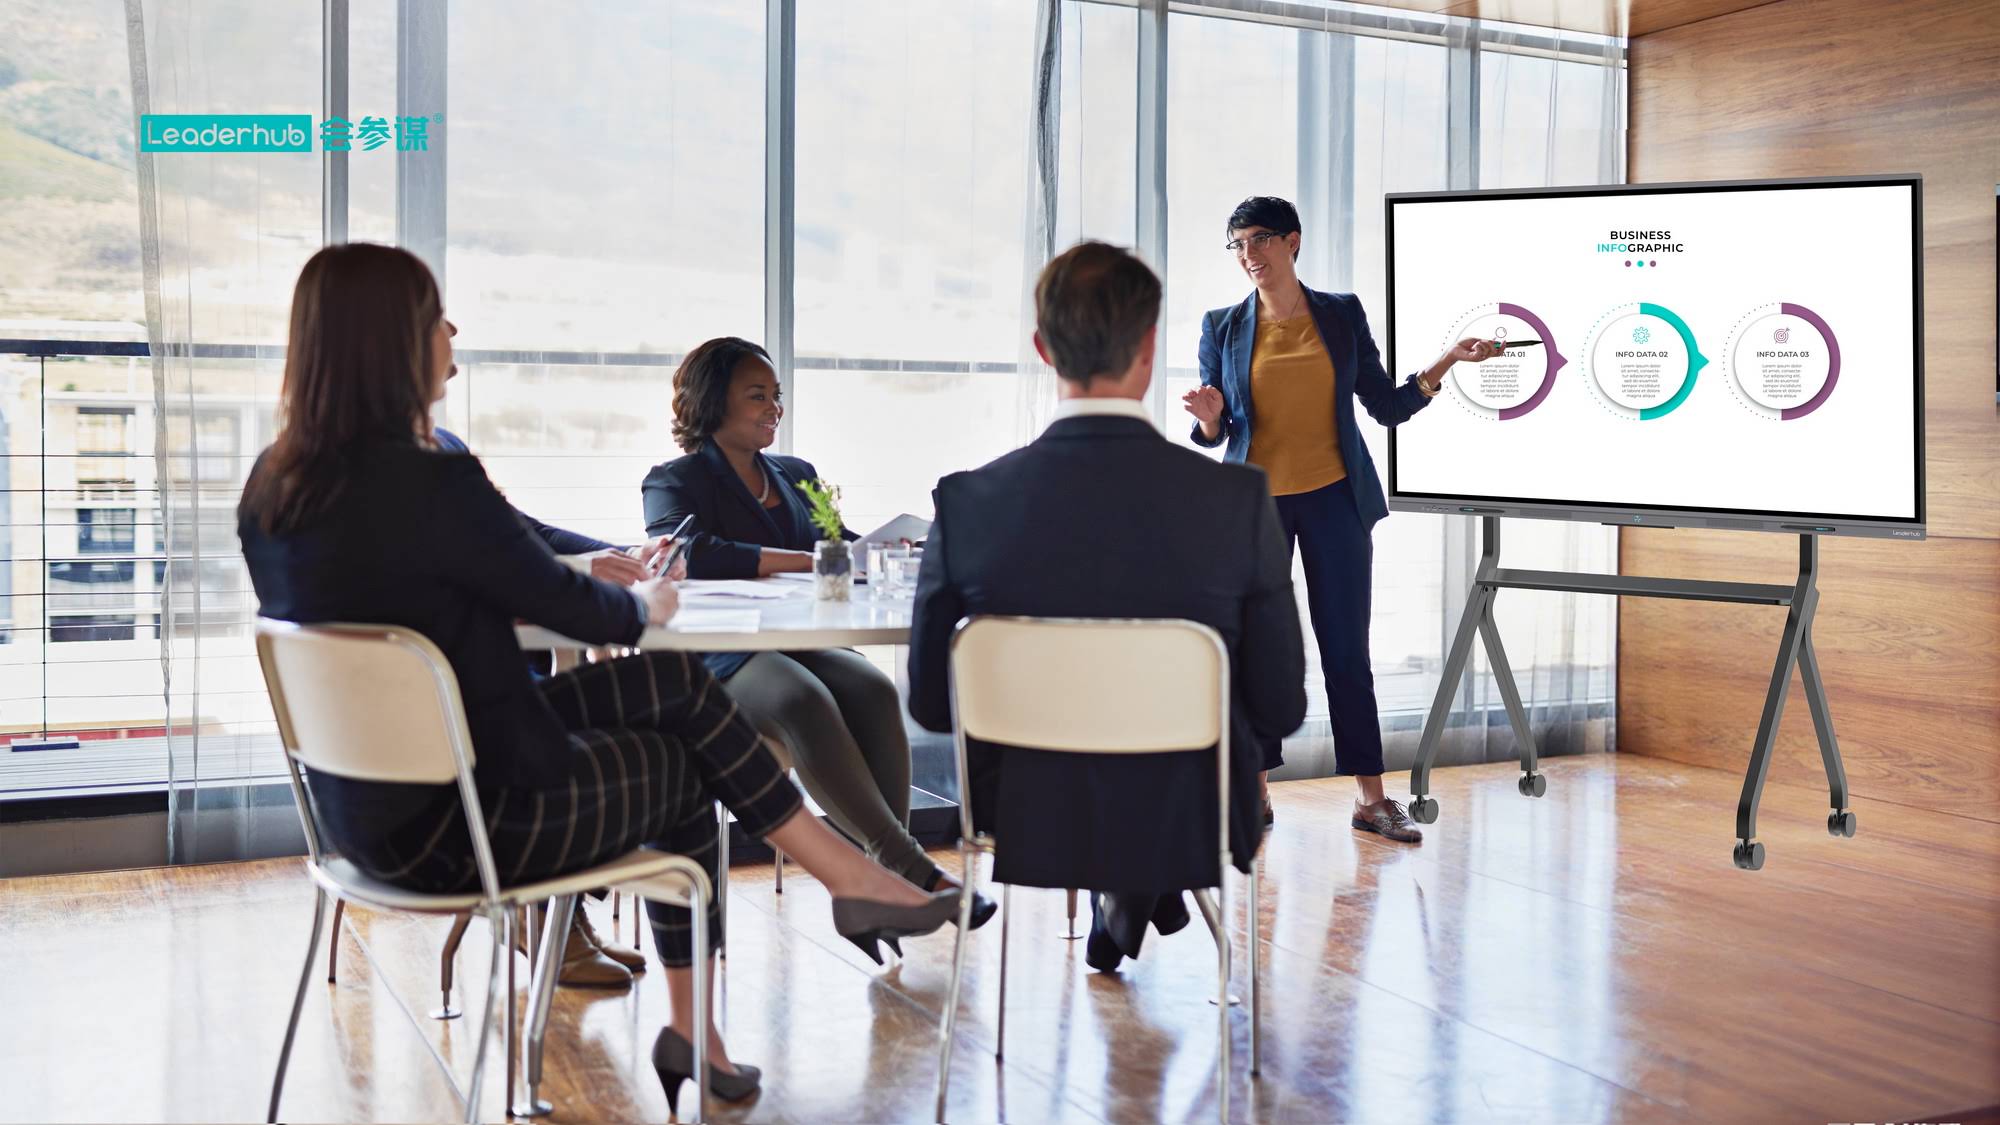
Best Free and Low-Cost Whiteboard Software
Hardware is only half the story. The right software decides whether your homemade board feels professional or clunky.
- OpenBoard — open-source, built for teachers, with page management and PDF import.
- Microsoft Whiteboard — free, cloud-synced, excellent with touch frames and Teams.
- Miro / FigJam — infinite canvases for remote collaboration and sticky-note brainstorming.
- Krita or Inkscape — free creative tools for drawing and vector design.
- Epic Pen — annotate over any window or video, perfect for Wiimote setups.
Troubleshooting Common DIY Smart Board Problems
| Problem | Likely Cause | Fix |
|---|---|---|
| Cursor jumps or jitters (Wiimote) | Ambient IR interference or weak pen LED | Close blinds, swap to LED room lighting, replace pen battery |
| Dead zones on one side | Your body blocks the Wiimote’s line of sight | Raise the Wiimote higher or add a second unit |
| Touch frame registers phantom touches | Dust on the IR sensors or frame mounted unevenly | Wipe the inner edge with a microfiber cloth, re-seat the frame |
| Noticeable lag from tablet to projector | Congested 2.4GHz Wi-Fi | Switch to 5GHz or connect the mini PC by Ethernet |
| Handwriting looks blurry | Projector resolution below 1080p or poor focus | Refocus, reduce image size, or upgrade to a 4K source |
Safety and Healthy Screen Habits
Because a smart board is a large, bright surface, a few precautions go a long way, especially with children. Mount TVs and frames securely with anchors rated for the full weight, route cables out of walking paths, and never look directly into a projector lens. The OECD Screen Time Research also reminds parents and educators that interactive, creative screen use is far more beneficial than passive viewing — so plan activities that involve drawing, problem-solving, and discussion rather than just watching.
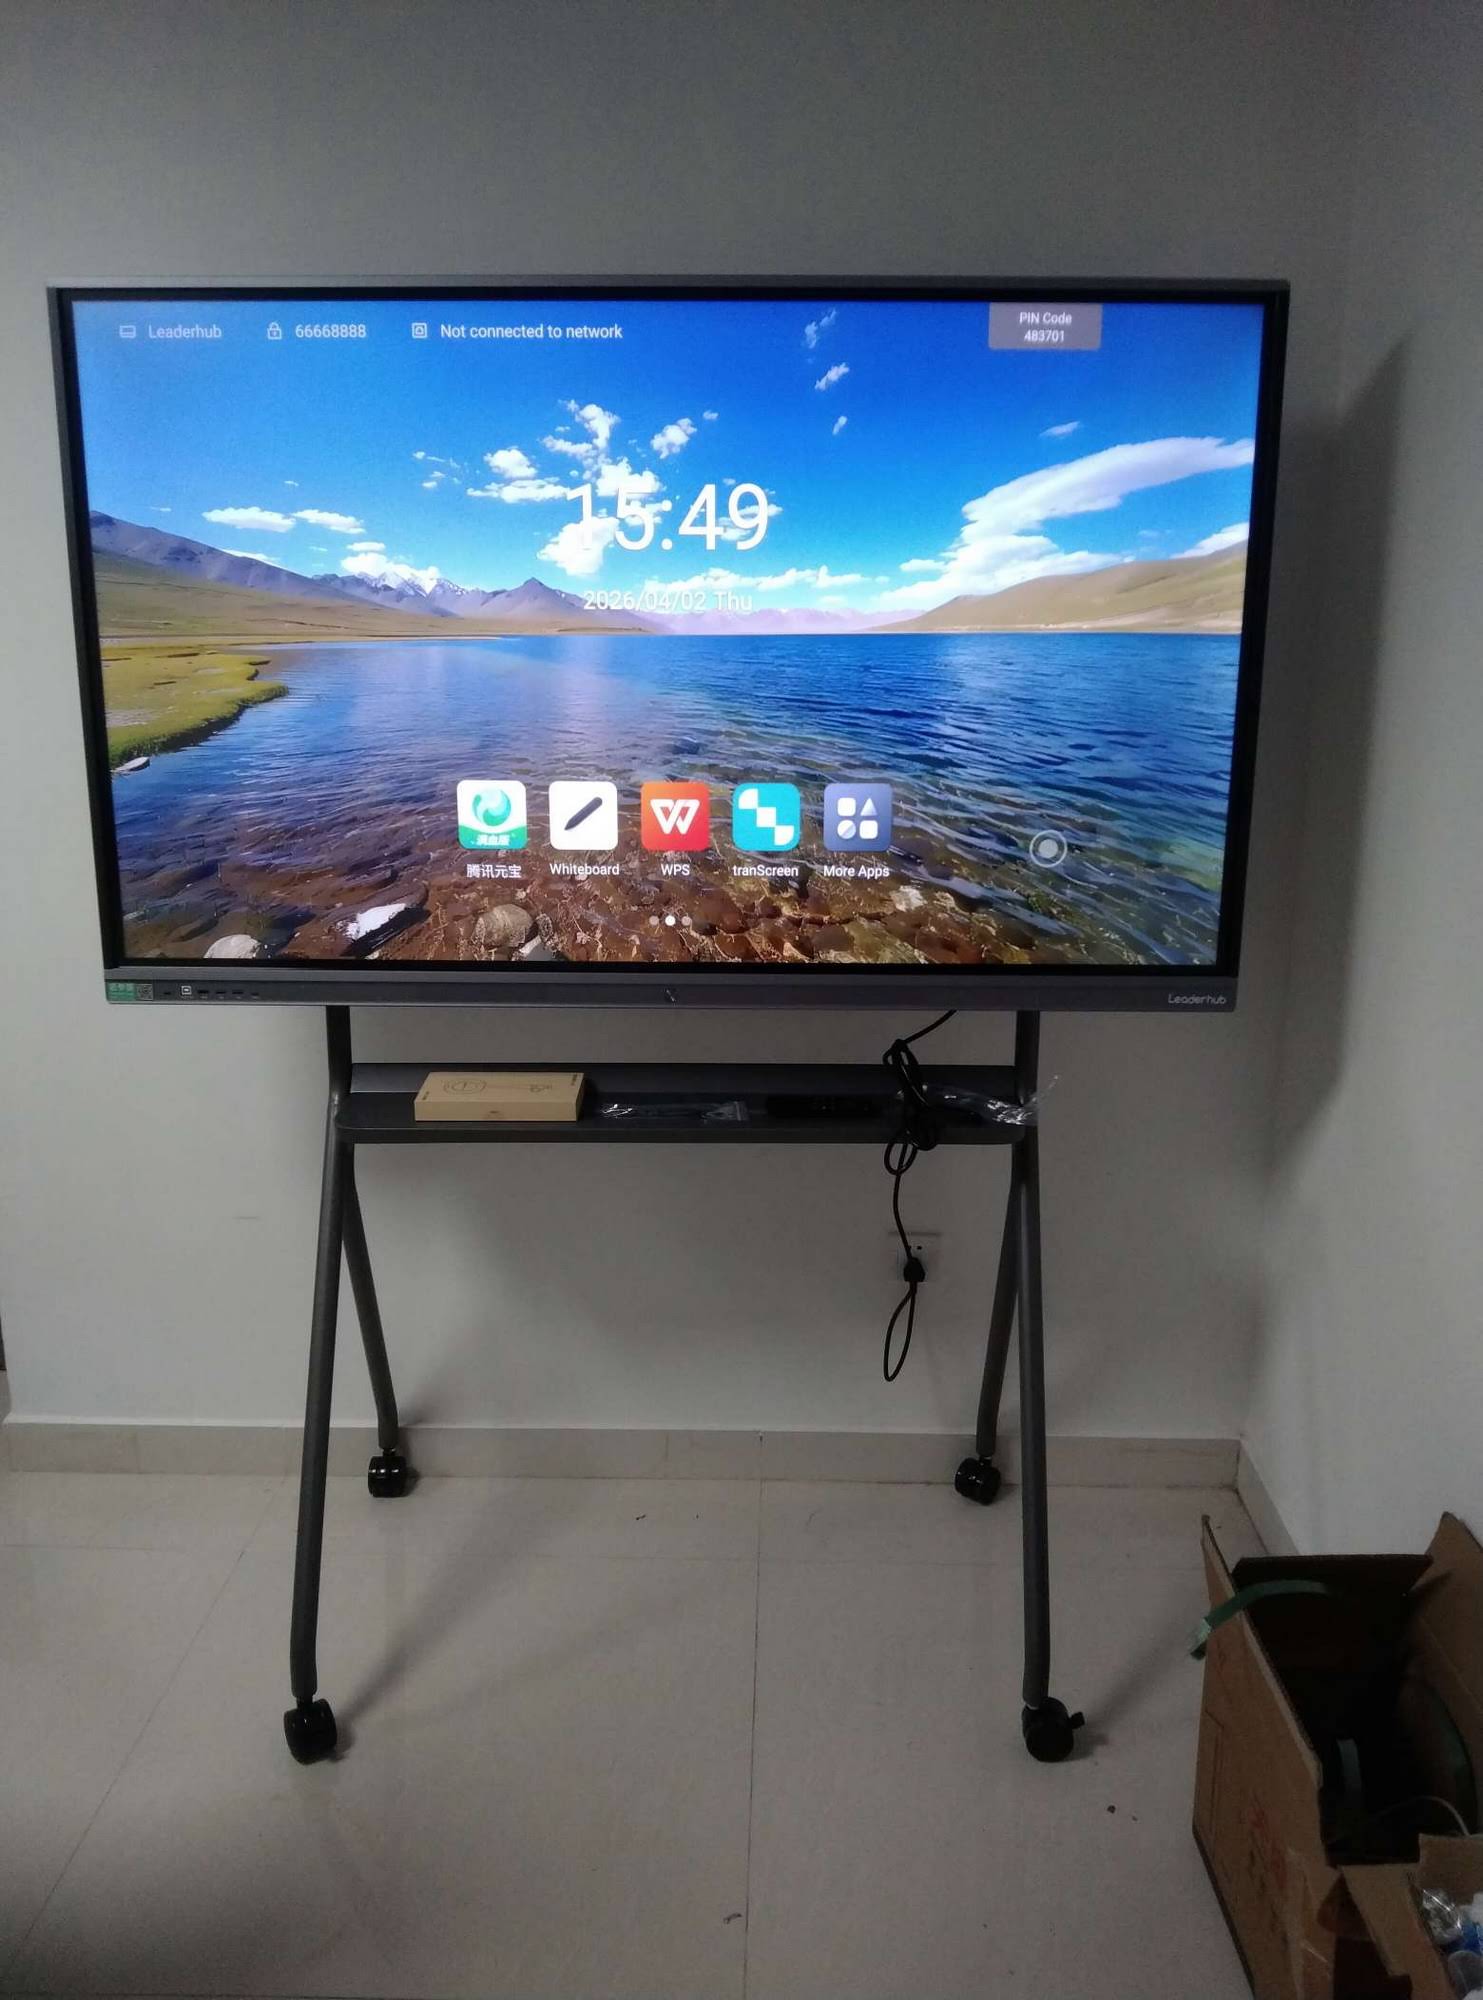
DIY Smart Board vs. Ready-Made Interactive Whiteboard
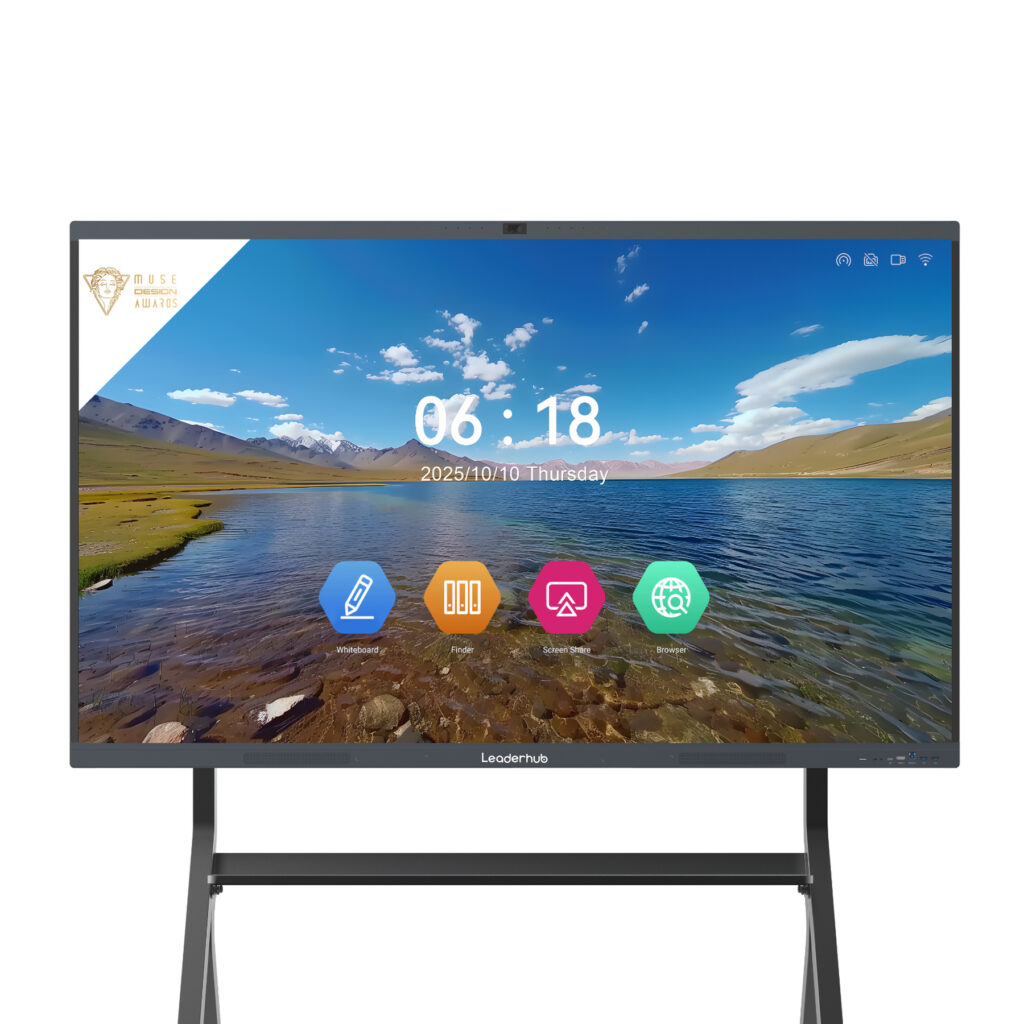
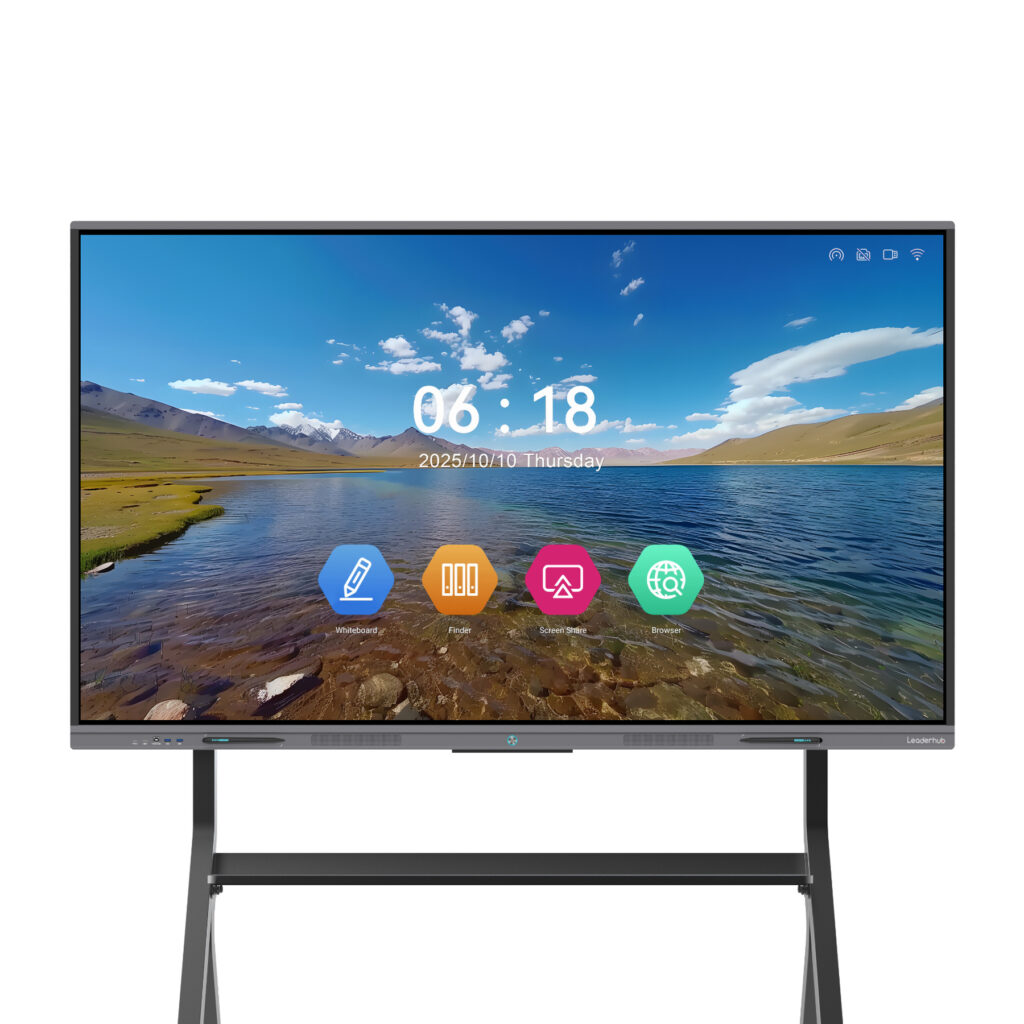
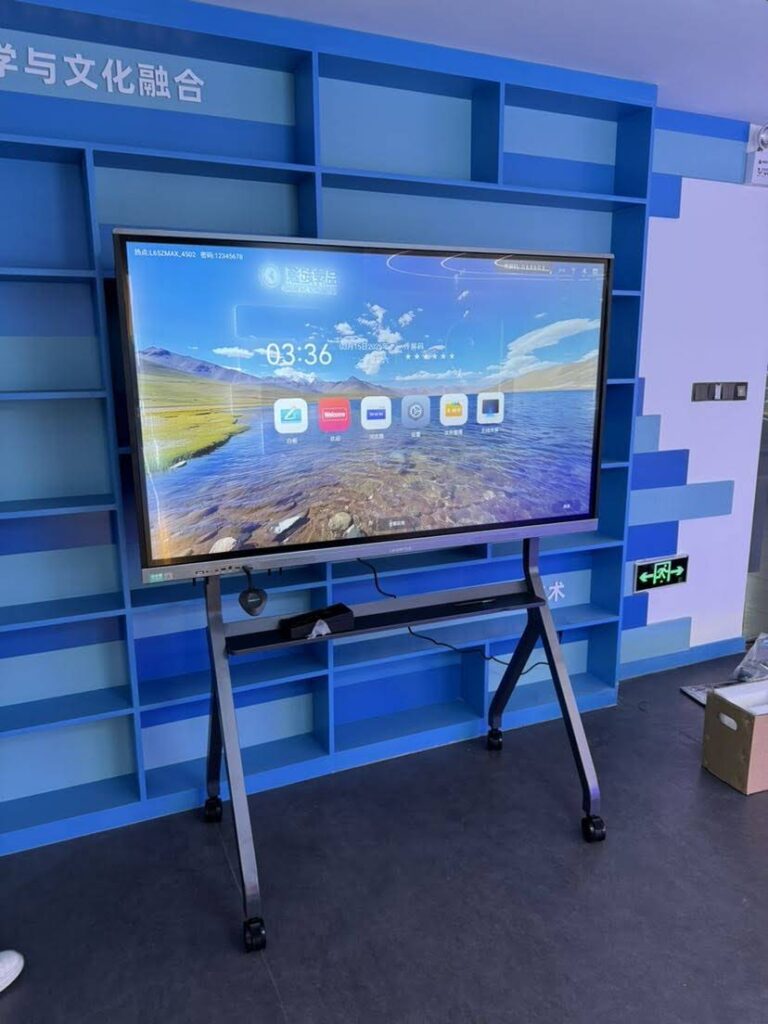
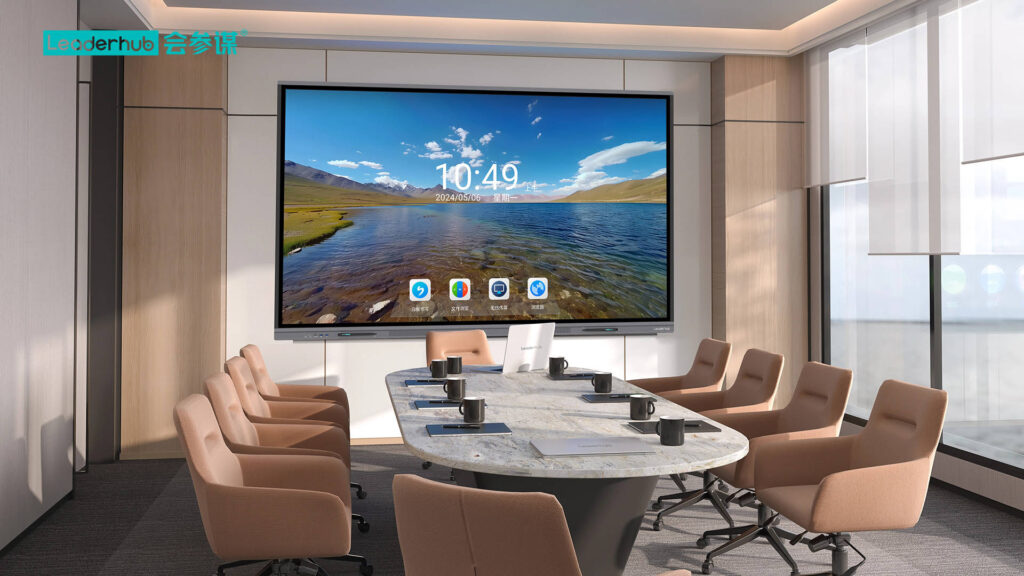
A homemade board is a fantastic learning experience, but it is worth knowing where it falls short. Commercial interactive flat panels bundle a 4K anti-glare display, 20- to 40-point touch, built-in Android and whiteboard software, speakers, cameras, and wireless screen sharing into one unit — and prices have dropped sharply in recent years.
| Feature | Wiimote + Projector | TV + IR Frame | All-in-One Smart Whiteboard |
|---|---|---|---|
| Touch points | 1–2 (pen only) | 10–20 | 20–40 with palm rejection |
| Setup time | 1–2 hours, recalibrate often | 2–3 hours, one-time | 15 minutes |
| Works in bright rooms | No | Yes | Yes, anti-glare glass |
| Built-in OS and apps | No | Via separate mini PC | Yes, Android + optional Windows |
| Total cost (65″ class) | $350 – $700 | $900 – $1,500 | From $1,099 |
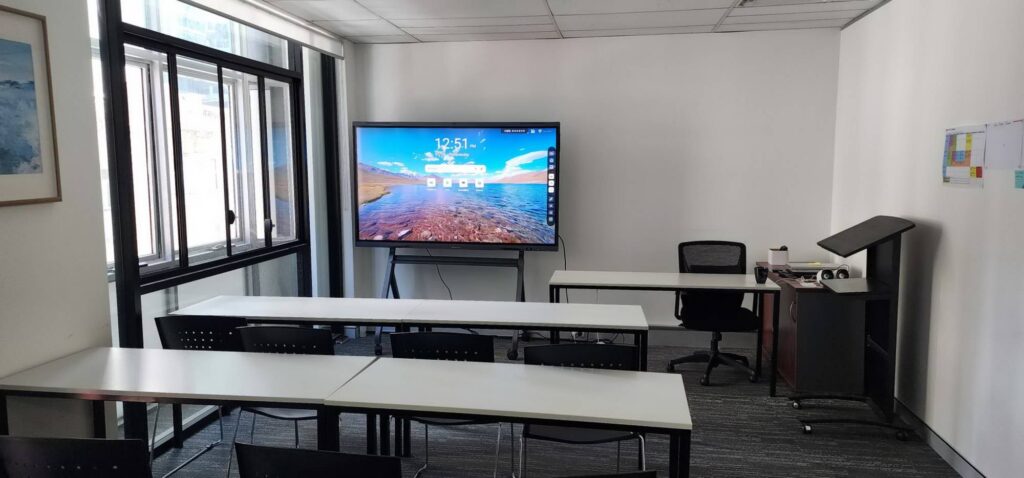
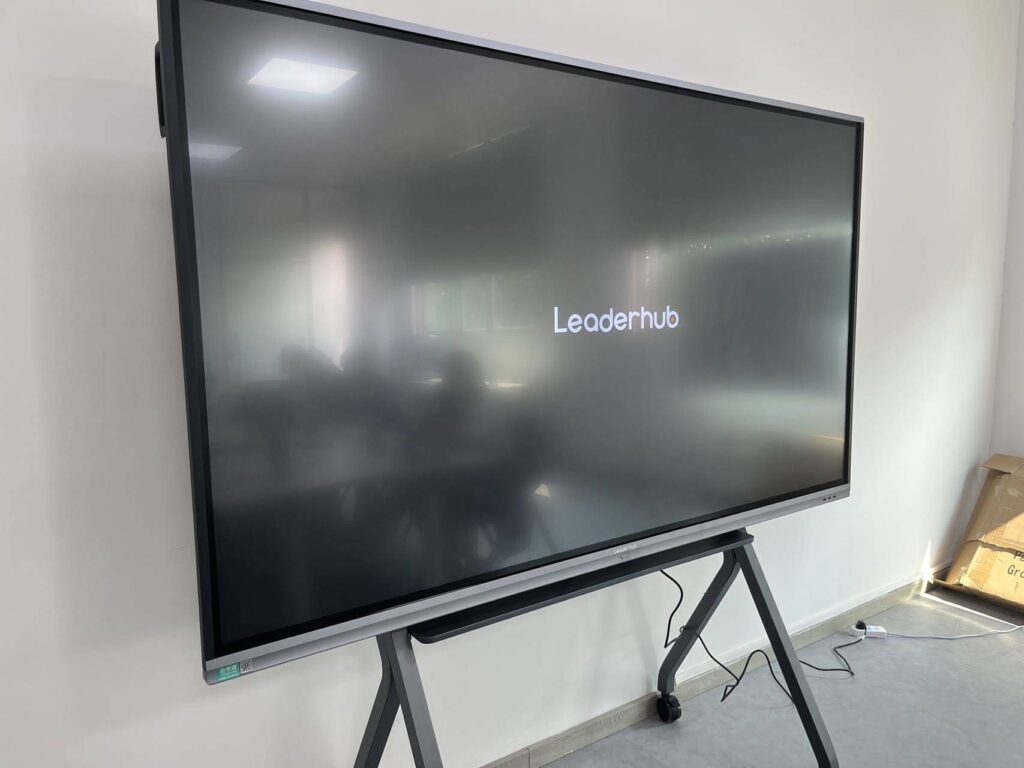
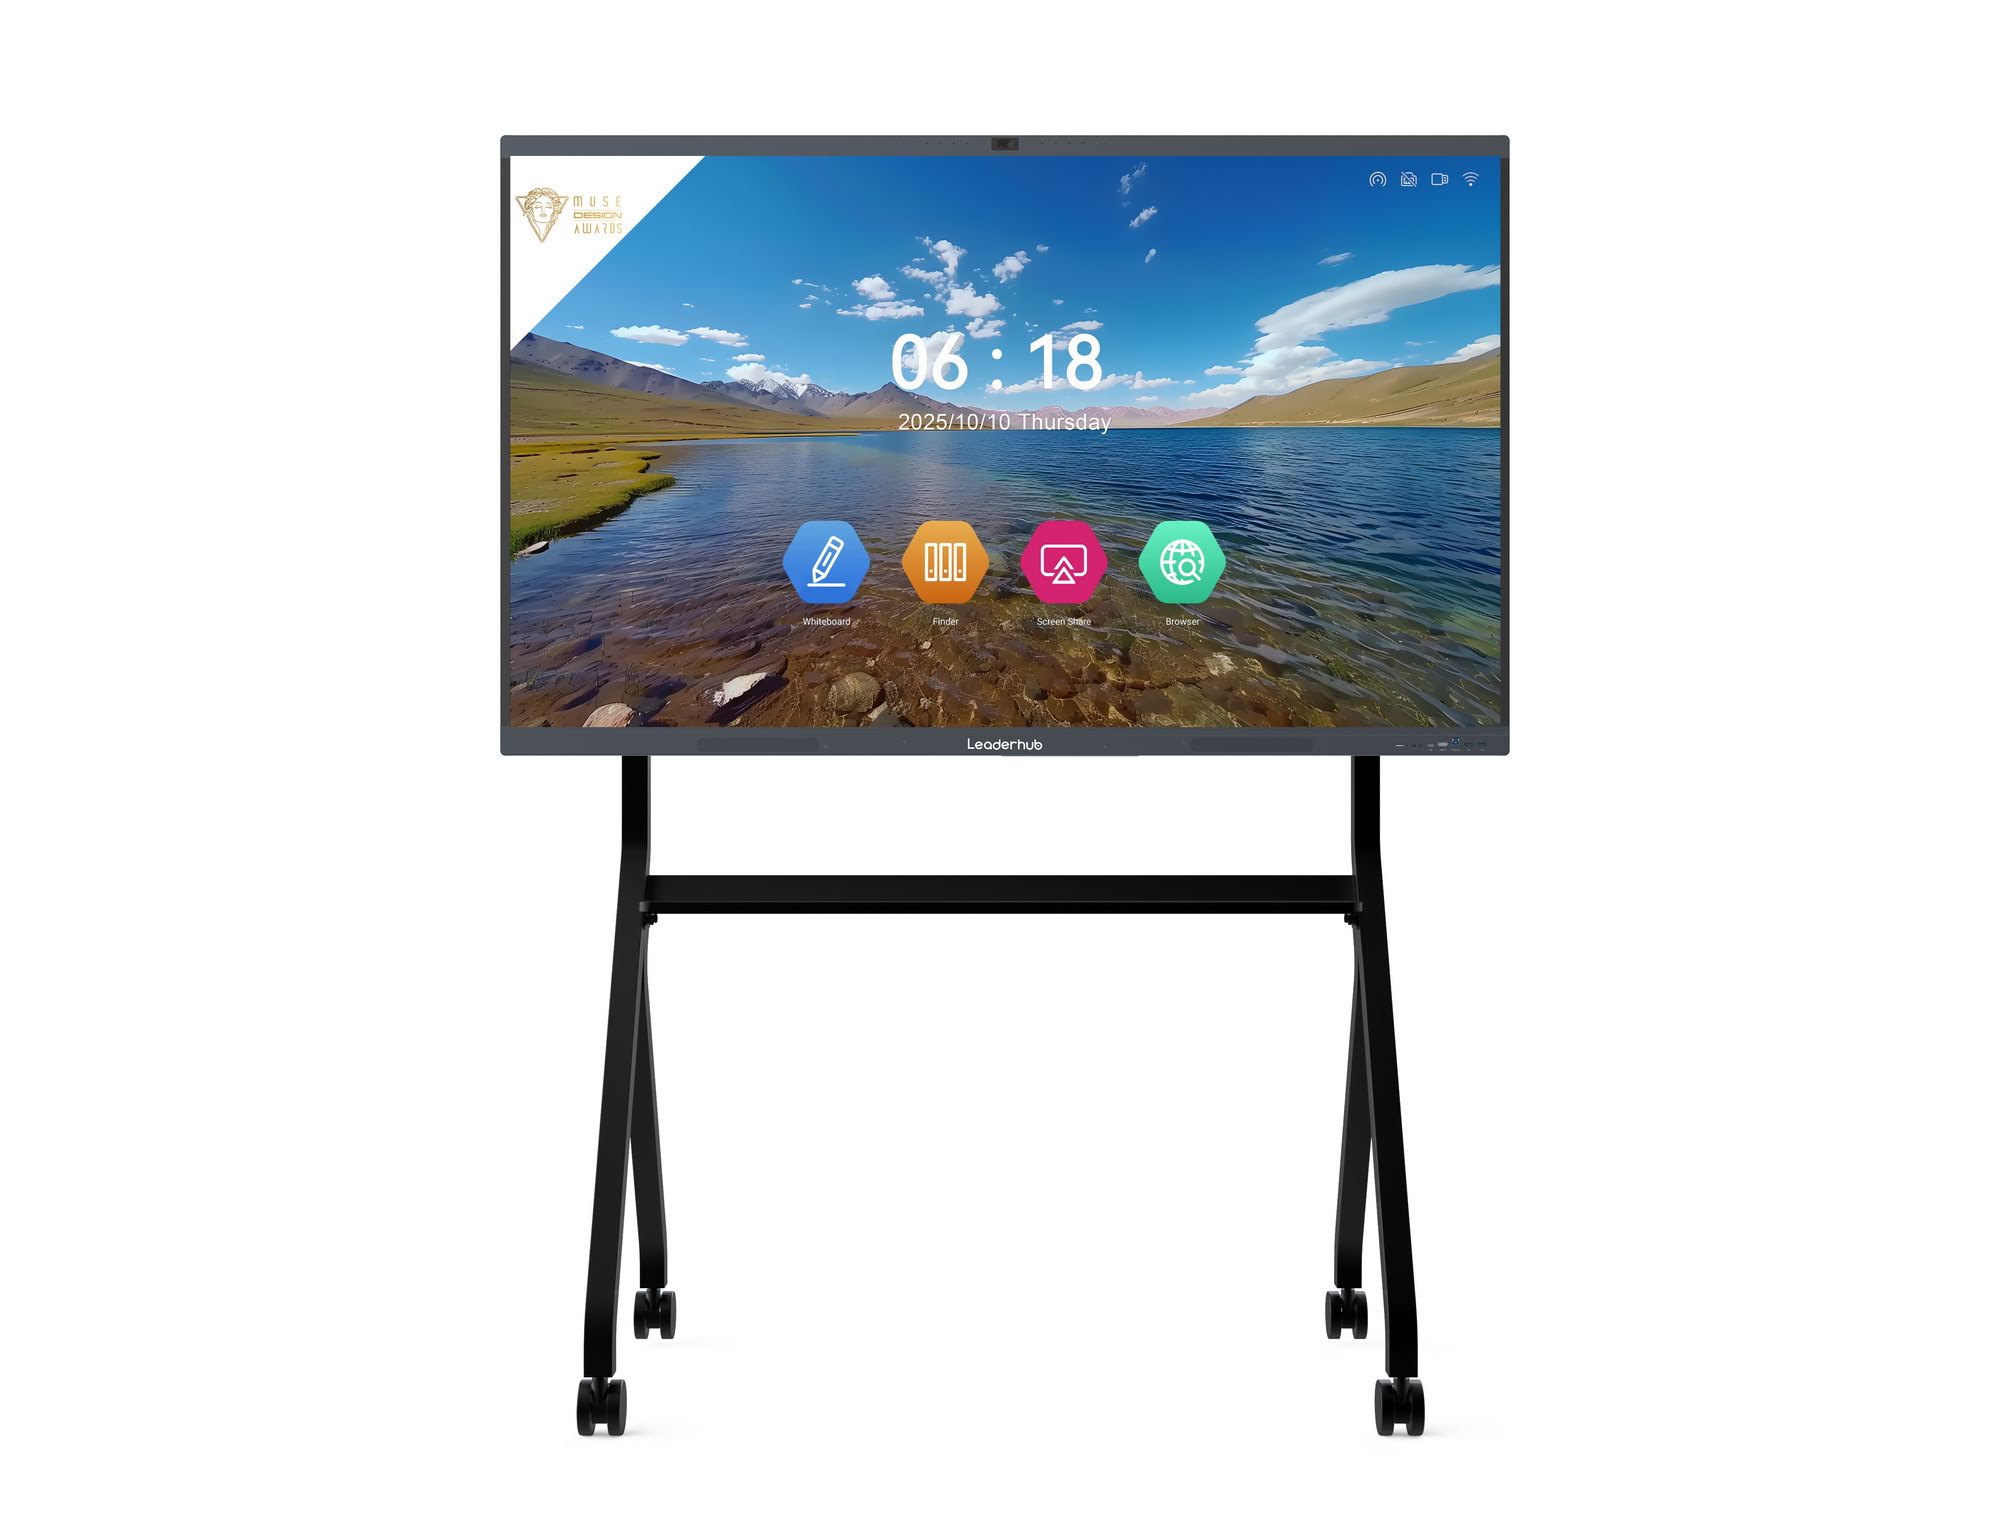
Once you add a decent TV, touch frame, mini PC and stand, a DIY build lands in the same price range as an entry-level all-in-one panel such as the L65ZM 65″ 4K interactive whiteboard, while a larger household or home classroom may prefer the L75HM 75″ 4K rotating smart whiteboard. Our team at Leaderhub, a Shenzhen-based manufacturer with 16 years of interactive-display experience serving customers in 82 countries, designs these panels specifically so that families, tutors and small businesses can enjoy classroom-grade touch technology without enterprise pricing.
Frequently Asked Questions
Can I make a smart board at home without a projector?
Yes. Method 3 uses a standard flat-screen TV with an IR touch frame, which is actually brighter and sharper than most home projectors and works in daylight.
Does the Wiimote method still work with modern computers?
It does, although Bluetooth pairing can be finicky on newer operating systems. Open-source Wiimote whiteboard projects remain available, and an inexpensive USB Bluetooth dongle often solves compatibility problems.
Can I write with my finger on a Wiimote smart board?
No. The Wiimote tracks infrared light, so you must use an IR pen. For finger touch you need a touch frame or a built-in touchscreen.
How big should a home smart board be?
For a desk or small study, 55″ is comfortable. For a living-room classroom or shared workspace, 65″–75″ gives enough room for two people to write side by side.
Is a DIY smart board good enough for online teaching?
Absolutely for occasional use. If you teach daily, the time saved by instant-on hardware, reliable multi-touch and built-in screen sharing usually justifies a purpose-built smart whiteboard.
Final Thoughts
Learning how to make a smart board at home is a fun, affordable way to bring interactive learning and collaboration into your living room or home office. Start with the Wiimote method if you love tinkering, choose the projector-plus-tablet route for the quickest results, or build a TV with a touch frame when you want genuine finger touch. And if you decide you would rather skip the soldering iron, you can always contact our team for advice on choosing a ready-made interactive panel that fits your space and budget.