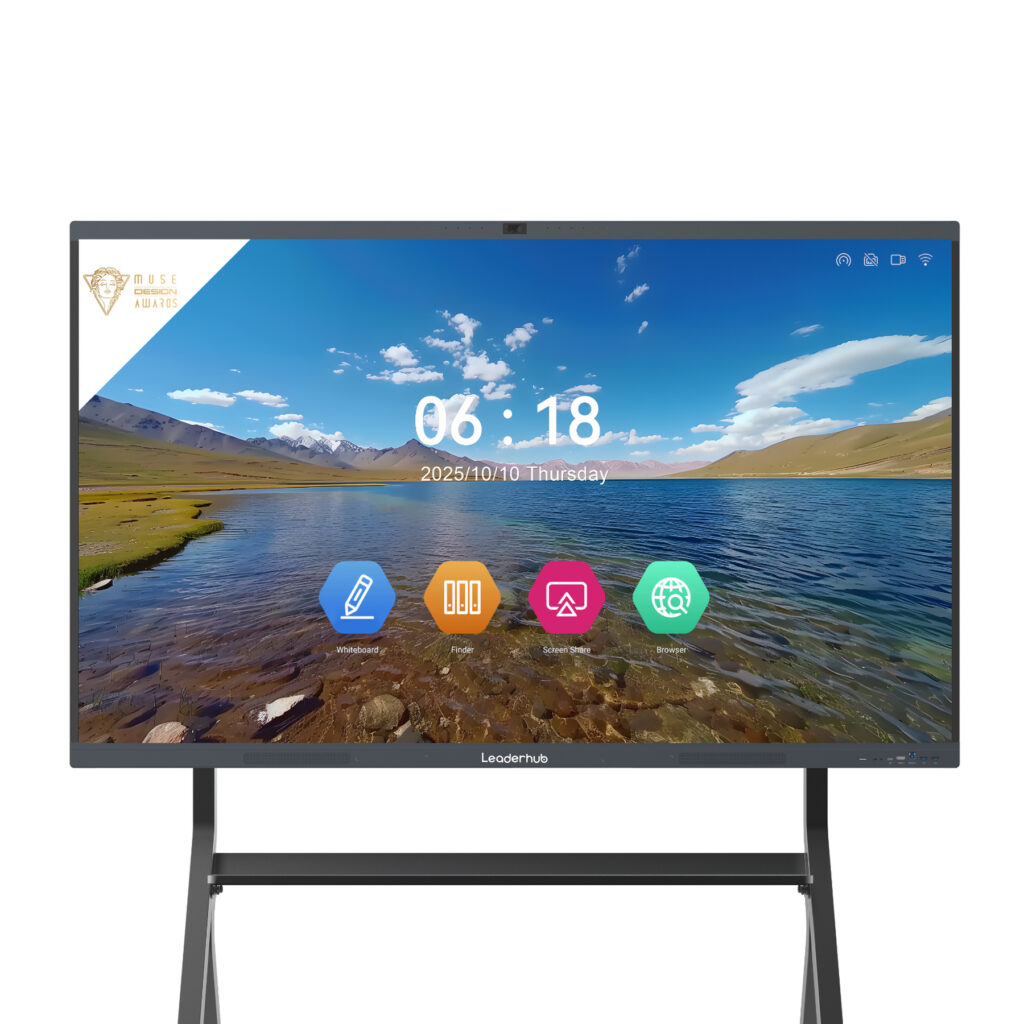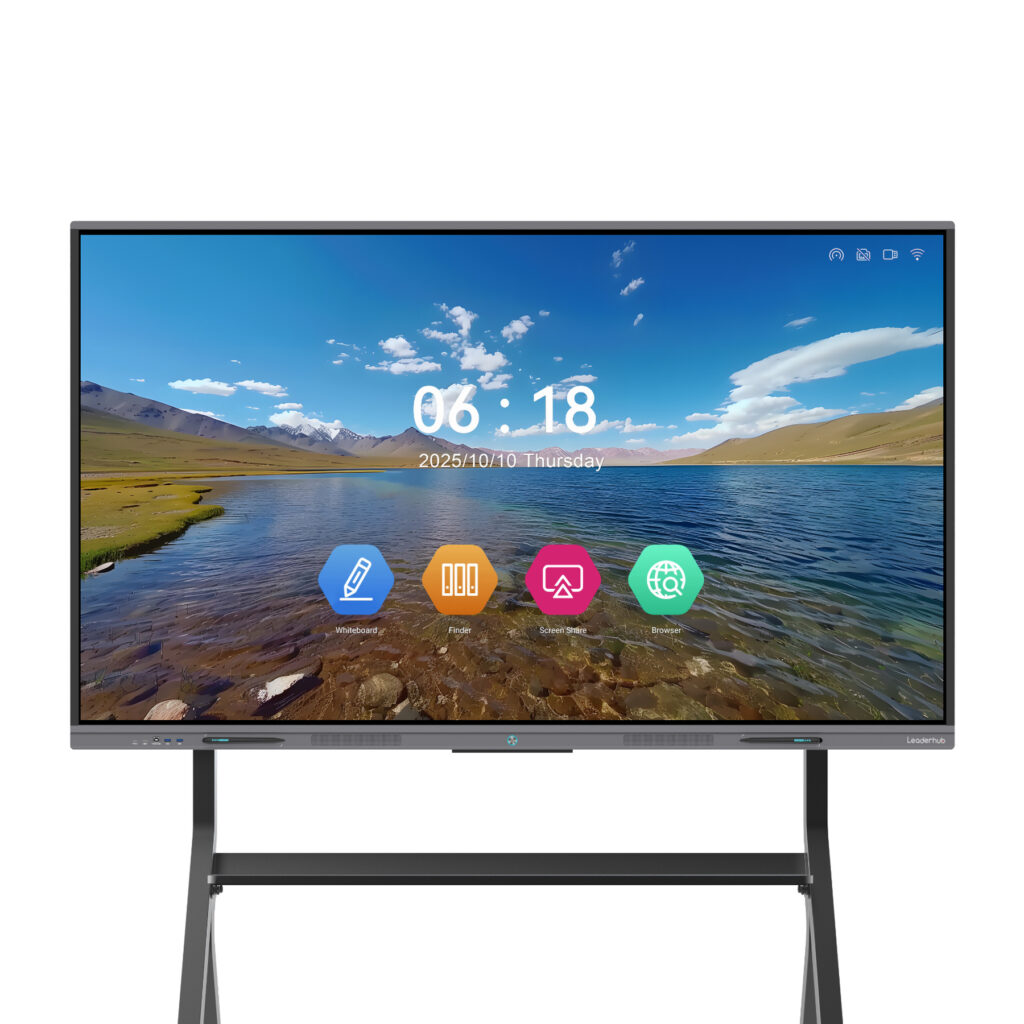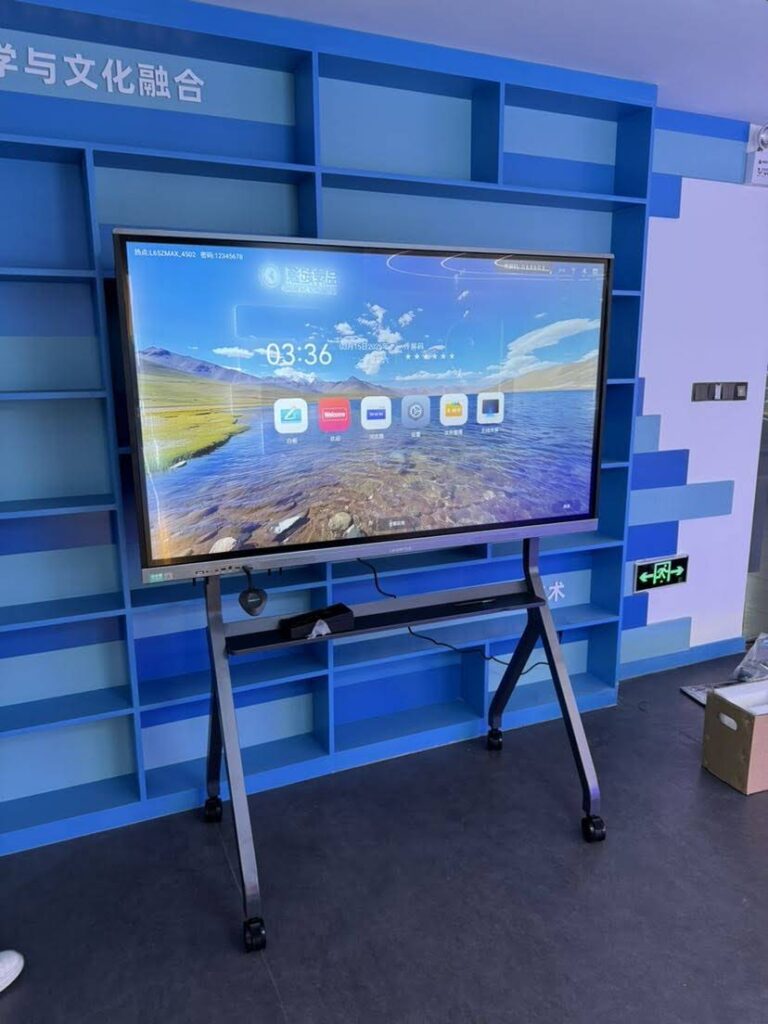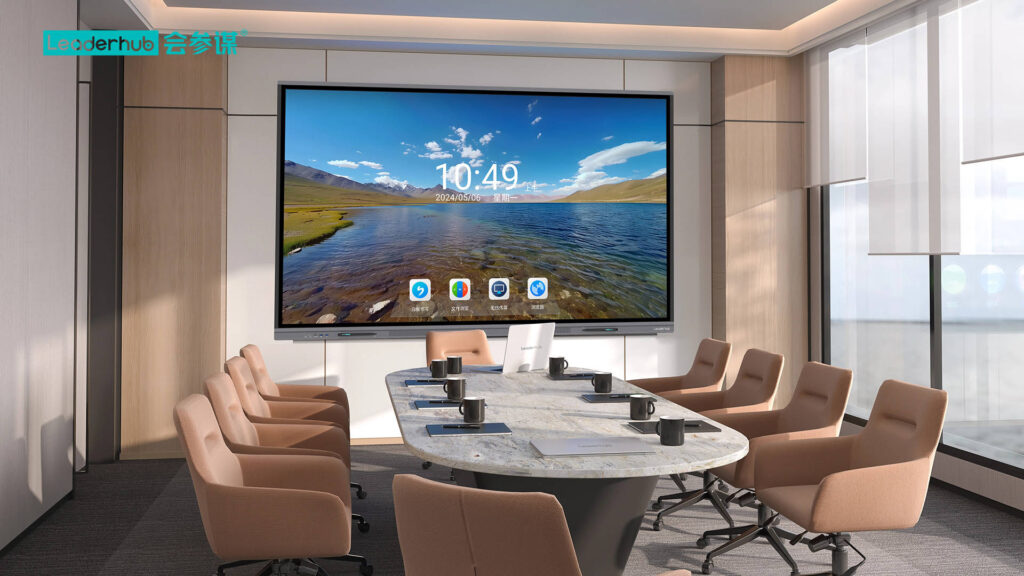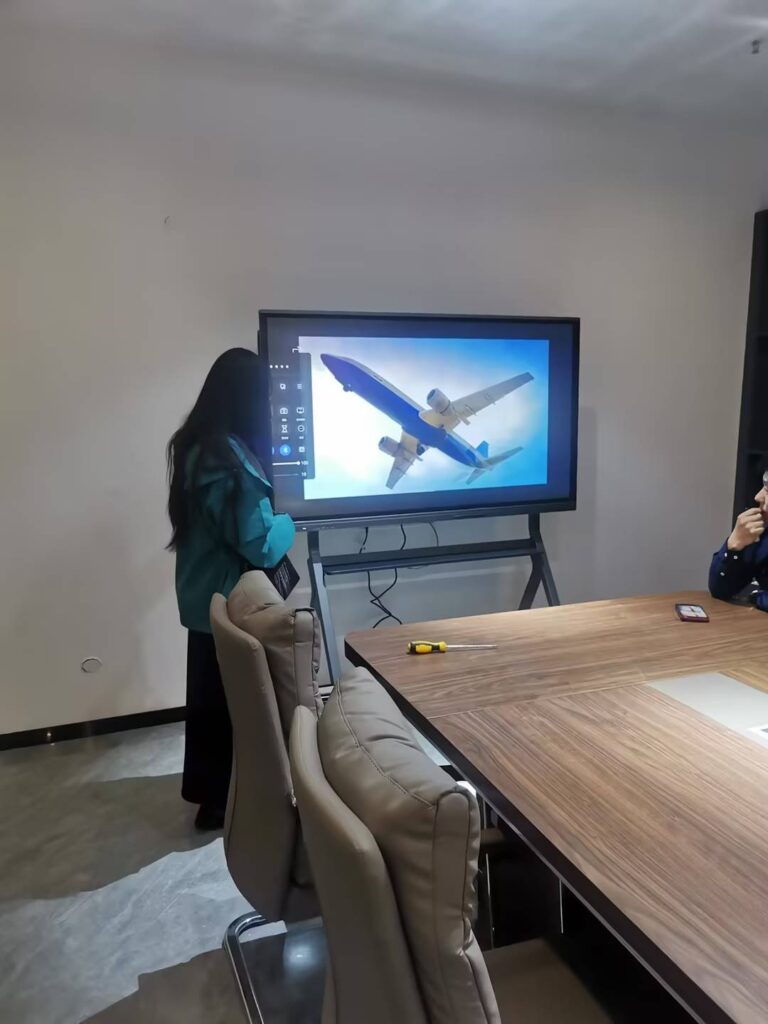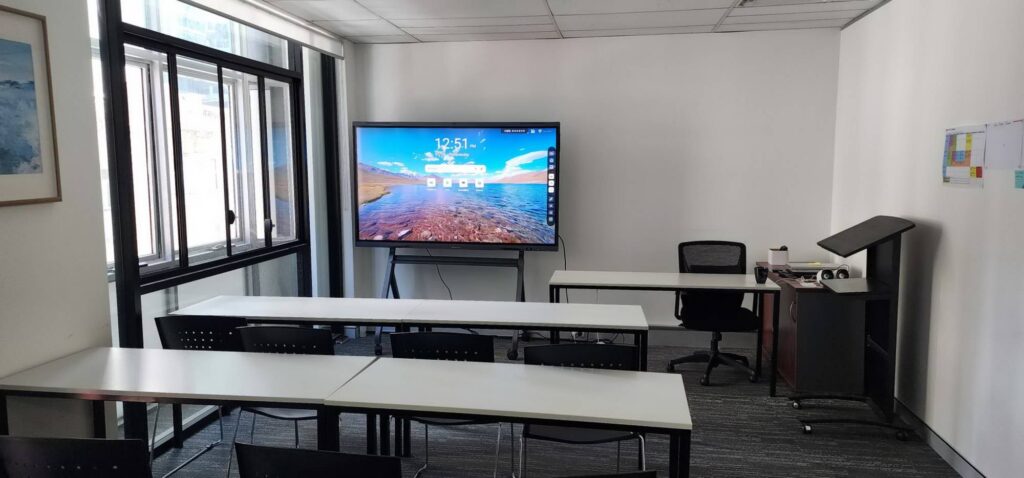
Running classroom technology across two campuses is a coordination exercise. Running it across five, ten or fifty campuses is a standardization problem. When every site buys its own interactive display, IT teams end up supporting a dozen firmware branches, teachers who transfer between buildings must relearn basic workflows, and procurement loses all of its negotiating leverage. A smart board for multi campus technology standardization strategy fixes this by defining one specification, one deployment playbook and one support model that every campus follows.
This guide walks through the full rollout lifecycle: auditing what you already own, writing a specification that survives three to five years, choosing screen sizes by room type, sequencing a phased deployment, locking down network and device management, training staff, and measuring whether the investment actually changed how people teach and meet.
Why Smart Board Standardization Matters Across Multiple Campuses
The Digital Transformation of Schools research from the OECD repeatedly finds that fragmented device estates reduce the return on education technology spending. The same pattern appears in corporate training networks and university systems. Standardizing the smart board platform delivers measurable benefits in four areas:
- Lower support cost — one firmware image, one remote management console, one set of spare parts.
- Faster onboarding — a teacher or trainer who moves between campuses uses the same whiteboard app, the same wireless casting flow and the same login.
- Procurement leverage — volume pricing, consolidated warranties and predictable replacement cycles.
- Consistent learning experience — shared lesson files, templates and recordings open identically everywhere.
UNESCO’s UNESCO Technology in Education Report adds a further point: technology only improves outcomes when it is chosen with a clear pedagogical purpose rather than adopted site by site because a budget happened to be available. A standardization plan forces that purpose to be written down.
Step 1: Audit Existing Classroom and Meeting Room Technology
Before writing a specification, document what each campus already runs. The audit does not need to be sophisticated, but it must be complete.
What to Record at Every Site
- Display inventory: brand, model, size, purchase year, warranty status and mounting type.
- Room inventory: dimensions, seating capacity, ambient light, existing cabling and power locations.
- Network readiness: wired drops near the front wall, Wi-Fi coverage, VLAN structure and bandwidth per classroom.
- Software estate: operating systems in use (Windows, Android, ChromeOS, macOS), LMS platform and video conferencing tools.
- Usage data: which rooms actually use interactive features versus those that only mirror a laptop.
Classify Rooms Into Tiers
Grouping spaces into a small number of tiers is what makes the specification manageable. Most multi-campus organizations end up with three or four tiers — small seminar rooms, standard classrooms, large lecture spaces and flexible or mobile use cases. Each tier maps to one screen size and one mounting method.
Step 2: Write a Single Smart Board Specification
The specification is the heart of any multi campus technology standardization program. It should be strict on items that affect interoperability and support, and flexible on items that only affect comfort. The table below shows the categories most organizations lock down.
| Specification Area | Recommended Baseline | Why It Matters for Standardization |
|---|---|---|
| Resolution | 4K UHD (3840 × 2160) | Shared content looks identical on every campus; readable from back rows. |
| Touch | 20-point or higher, pen and finger, palm rejection | Group work and annotation behave the same in every room. |
| Operating System | Android with optional slot-in or external Windows PC | One OS image for the panel, one for the PC, deployable via MDM. |
| Wireless Casting | Miracast, AirPlay, Google Cast in one built-in app | Teachers with any laptop or tablet connect without training. |
| Connectivity | HDMI × 3, USB-C with power delivery, Gigabit LAN, Wi-Fi 6 | Covers legacy and future devices without adapters. |
| Remote Management | Central console for firmware, apps, power schedules and monitoring | Single IT team supports every campus without travel. |
| Warranty | 3 years minimum, on-site or advance replacement | Aligns refresh cycle across all sites. |
Keep aesthetic preferences — bezel finish, stand color, speaker wattage — out of the mandatory section. Over-specifying these items drives up cost and narrows your supplier options without improving the user experience.
Step 3: Map Screen Sizes to Room Types
The most common rollout mistake is buying one size for everything. A 65-inch panel is excellent in a seminar room and inadequate in a 40-seat classroom. Using the room tiers from your audit, assign a size and model to each tier so that any campus can order from a short, pre-approved list.
| Room Tier | Typical Capacity | Recommended Size | Example Model |
|---|---|---|---|
| Seminar / Huddle | Up to 12 people | 65″ | L65ZM 65″ 4K Smart Panel |
| Standard Classroom | 20 – 35 students | 75″ | L75ZM 75″ Interactive Whiteboard |
| Large Classroom / Training Hall | 35 – 60 people | 86″ | L86HM 86″ 4K Smart Whiteboard |
| Lecture Theatre | 60+ people | 110″ | L110H 110-Inch Interactive Flat Panel |
| Flexible / Shared Spaces | Variable | 55″ mobile | U55Pro 55″ Mobile 4K Display |
Where possible, choose sizes from the same product family. Panels that share a chassis and software stack simplify spare parts, and staff who learn one model can operate all of them. You can compare the full range on the smart whiteboards category page.
Step 4: Plan a Phased Rollout Instead of a Big Bang
Deploying hundreds of panels across multiple campuses at once overwhelms installers, helpdesks and trainers simultaneously. A phased approach spreads risk and gives you data to correct the plan before most of the budget is spent.
Phase 0: Pilot Campus
Select one campus that is representative — not the easiest site, and not the most difficult. Install the full specification in 10 to 20 rooms covering every room tier. Run the pilot for at least one full academic term or business quarter. Collect helpdesk tickets, usage logs and teacher feedback, then revise the specification. The Choosing an Interactive Display for K-12 discussion in EdTech Magazine is a useful reference for the questions a pilot should answer.
Phases 1–3: Wave Deployment
Group remaining campuses into waves by geography, network readiness or refresh urgency. A typical schedule looks like this:
| Phase | Scope | Duration | Exit Criteria |
|---|---|---|---|
| Phase 0 – Pilot | 1 campus, 10–20 rooms | 1 term | Spec signed off, training materials finalized |
| Phase 1 | 2–3 campuses with best network readiness | 8–12 weeks | Remote management covering 100% of units |
| Phase 2 | Campuses requiring cabling upgrades | 12–16 weeks | Ticket volume below pilot baseline |
| Phase 3 | Remaining sites and legacy replacement | 8–12 weeks | Old devices decommissioned and recycled |
Schedule installation during breaks where possible, and have each wave’s installer team hand over to the campus IT lead with a signed room-by-room checklist.
Step 5: Network, Security and Device Management
Smart boards are networked computers on the classroom wall. Treat them with the same discipline as laptops and servers.
Network Checklist
- Place all panels on a dedicated VLAN with access to the LMS, video conferencing services and the management console only.
- Provide a wired Gigabit drop to every panel; use Wi-Fi as a fallback, not the primary connection.
- Reserve bandwidth for 4K wireless casting — plan for at least 20 Mbps per active room.
- Apply the same SSID and authentication method at every campus so devices roam without reconfiguration.
Device Management Checklist
- Enroll every panel in a mobile device management (MDM) platform during installation, before it reaches the classroom.
- Push a standard app set and block unapproved installs.
- Schedule automatic power-on and power-off to reduce energy use and extend panel life.
- Stage firmware updates through a test group on the pilot campus before organization-wide release.
If your specification pairs Android panels with a Windows environment for exam software or legacy applications, a compact external PC mounted behind the display is simpler to image and replace than an integrated module. Options such as the Leaderhub mini PC range can be deployed with the same Windows image across every campus.
Step 6: Teacher Training and Change Management
Hardware standardization fails if staff adoption varies by campus. The OECD report OECD Digital Teaching Guidance highlights that short, role-specific training repeated over time outperforms a single launch-day workshop. Build a training program with three layers:
- Day-one essentials — power on, cast a laptop, open the whiteboard, save a lesson. Thirty minutes, delivered in the teacher’s own room.
- Subject workflows — annotation over documents, split-screen video and notes, recording and sharing to the LMS. Delivered within the first month.
- Campus champions — one or two staff per site trained to an advanced level who provide peer support and feed requests back to IT.
Because every campus runs the same model, training videos, quick-reference cards and help articles only need to be produced once. Align the program with the ISTE Standards for Educators so professional development credit can be awarded for completion.
Step 7: Budget, Procurement and Total Cost of Ownership
Finance teams often compare interactive displays on unit price alone. A standardization project should instead present total cost of ownership over the warranty period, because the savings from a single platform appear in support and training rather than in the purchase order.
| Cost Category | Fragmented Estate | Standardized Estate |
|---|---|---|
| Hardware purchase | Retail or small-lot pricing per campus | Volume pricing negotiated once |
| Installation | Varies by site, different mounts and cabling | Fixed per-room rate using one install guide |
| Training | Repeated for each brand and model | Produced once, reused everywhere |
| Helpdesk | Multiple vendor portals and knowledge bases | One console, one escalation path |
| Spares | Stock for every model | Shared pool of pens, remotes and modules |
| Refresh | Unpredictable, reactive | Planned by phase on a fixed cycle |
When requesting quotes, ask suppliers to price the full room — panel, mount, cabling, optional PC, extended warranty and installation — so that campuses cannot unknowingly diverge by choosing cheaper accessories. Public-sector buyers can draw on the UK Department for Education’s Education Technology Implementation findings when building a business case.
Step 8: Measure Adoption and Learning Impact
Standardization is complete when the data says so, not when the last panel is mounted. Agree on a small set of metrics before Phase 0 and report them per campus after every wave.
Operational Metrics
- Percentage of panels online and reporting to the management console.
- Helpdesk tickets per 100 panels per month.
- Average time from fault report to resolution.
Adoption Metrics
- Daily active hours per panel, split by whiteboard, casting and video conferencing.
- Share of teaching staff who have completed each training layer.
- Number of lessons or recordings saved to the shared LMS per campus.
Where feasible, pair adoption data with learning or engagement indicators. The OECD study on Technology and Student Learning offers a framework for connecting classroom technology use to outcomes without over-claiming causation.
Common Mistakes in Multi-Campus Smart Board Rollouts
- Letting campuses opt out of the specification — one exception becomes ten, and the support model collapses.
- Skipping the network audit and discovering during installation that the front wall has no data drop.
- Buying a single screen size for every room to simplify ordering, then replacing undersized panels within two years.
- Treating training as a launch event instead of an ongoing program with campus champions.
- Choosing a supplier without confirming firmware support and spare-part availability for the full warranty period.
- Forgetting to decommission and securely wipe legacy displays that remain connected to the network.
Choosing a Supplier for a Multi-Campus Standard
A standardization program is a multi-year relationship, so evaluate suppliers on more than the datasheet. Look for a manufacturer that offers a consistent product family across 65″, 75″, 86″ and larger sizes, a remote management platform, firmware longevity, OEM or ODM flexibility for institutional branding, and documented experience shipping to the regions where your campuses operate.
Leaderhub is a Shenzhen-based interactive display manufacturer with 16 years of experience in the interactive panel industry, delivering smart whiteboards, interactive flat panels, mini PCs and portable smart screens to education and enterprise customers in 82 countries, and holding the NO.1 position in its JD.com subcategory. Its HM and ZM series share a common software platform across sizes, which is exactly the property that makes a multi-campus standard practical to support. Institutions evaluating a rollout can request volume pricing, sample units for a pilot campus and deployment documentation through the Leaderhub contact page.
Frequently Asked Questions
How long does a multi-campus smart board standardization project take?
For a network of five to ten campuses, plan on one term for the pilot followed by nine to twelve months of wave deployment. Larger systems commonly run the program over two budget years to align with refresh cycles.
Should every campus get the same screen size?
No. Standardize the product family and software, then assign sizes by room tier. A 65″ panel suits seminar rooms, 75″ fits most classrooms and 86″ or larger is needed for halls and lecture spaces.
Can we standardize if campuses already own different brands?
Yes. Use the audit to schedule replacement of the oldest or least-supported devices first, and freeze new purchases of non-standard models immediately. Within one refresh cycle the estate converges on the new specification.
What is the most important feature for multi-campus support?
Centralized remote management. The ability to push firmware, apps, power schedules and configuration changes to every panel from one console is what allows a small IT team to support many sites.
How do we handle Windows-only software on Android smart boards?
Pair the panel with a compact PC mounted behind the display and managed with your existing Windows imaging tools. This keeps the panel firmware and the PC image independent, so either can be updated or replaced without affecting the other.
Standardizing smart boards across multiple campuses is less about the display itself and more about discipline: one specification, one rollout playbook, one management console and one training program applied everywhere. Organizations that follow this sequence spend less on support, onboard staff faster and give every learner the same experience regardless of which building they walk into. To start scoping a pilot, explore the full range of interactive displays or speak with a deployment specialist about a smart board for multi campus technology standardization plan tailored to your sites.